_______
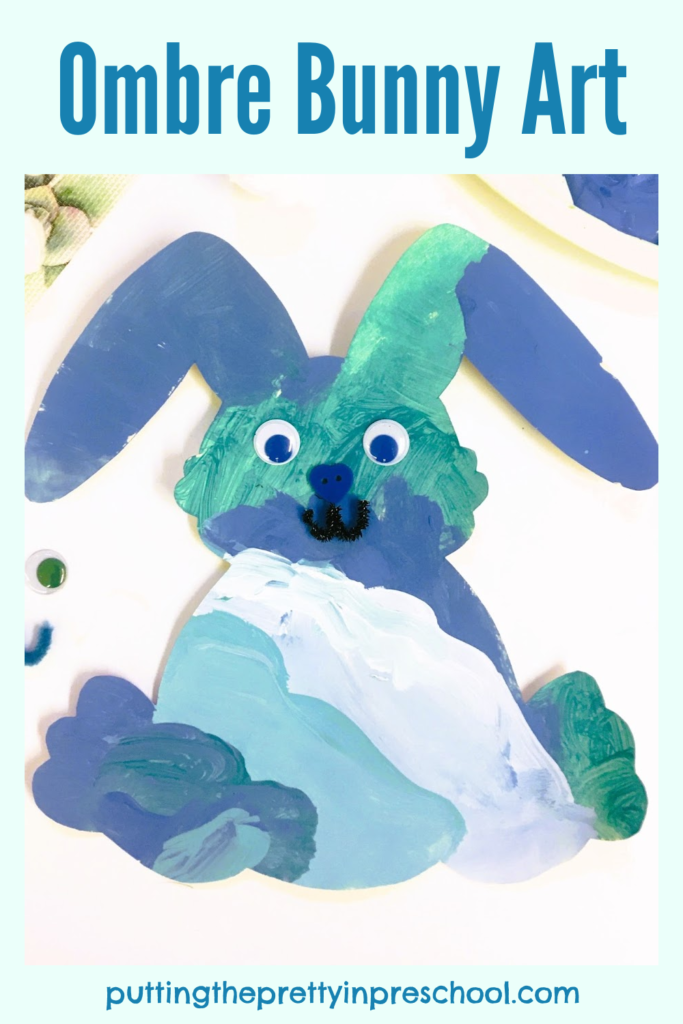
When doing a similar bunny art project year after year it’s nice to vary the color scheme. In this spring painting activity, shades of teal and blue are used to create ombre bunny art.
________
Follow me on Pinterest for more early learning ideas.
_______
Supplies To Collect
_______
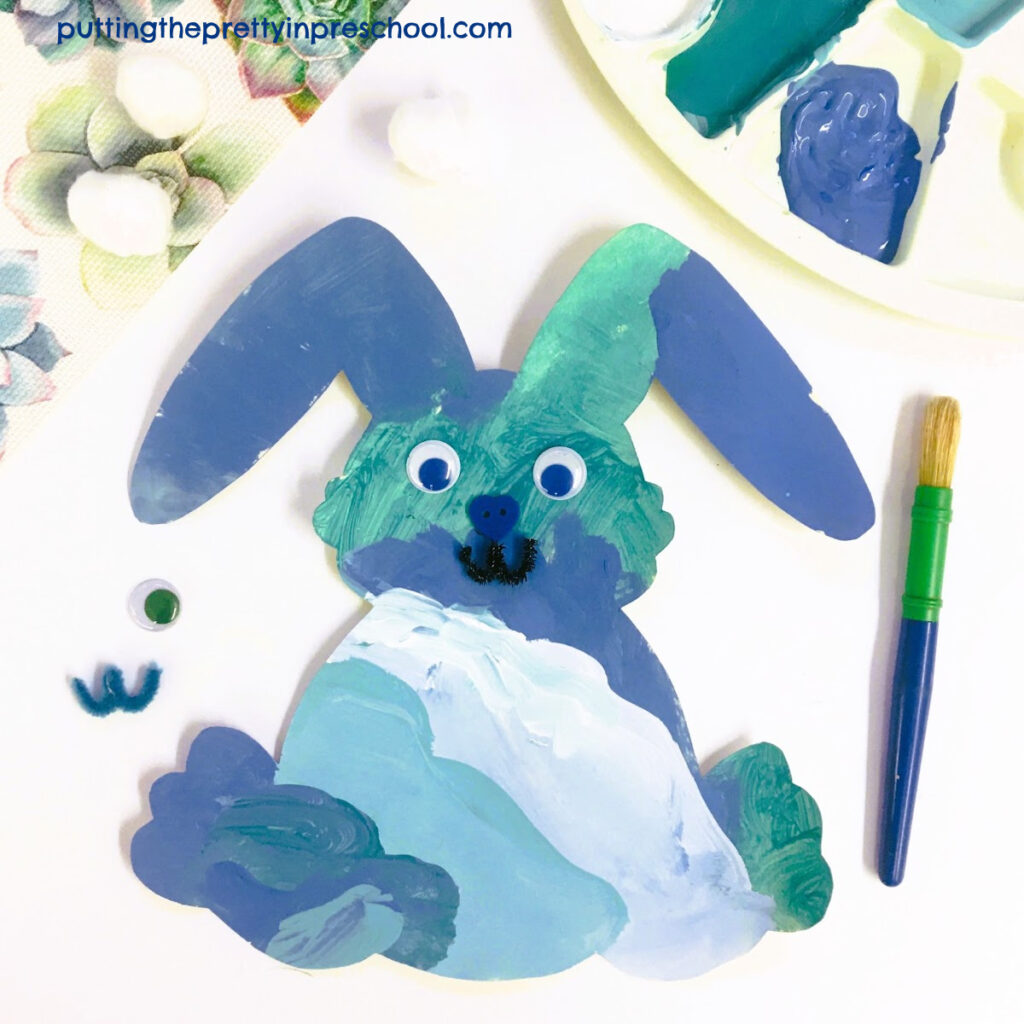
For this simple painting project, gather the following supplies:
- teal and deep blue tempera paint
- white tempera paint
- paint pots
- paintbrush
- paint palette
- bunny template
- manilla tag paper
- wiggly eyes
- black pipe cleaner
- blue button
- cotton balls
- spoons
- scissors and pencil
- white glue or glue gun
_______
The Ombre Bunny Art Project
_______
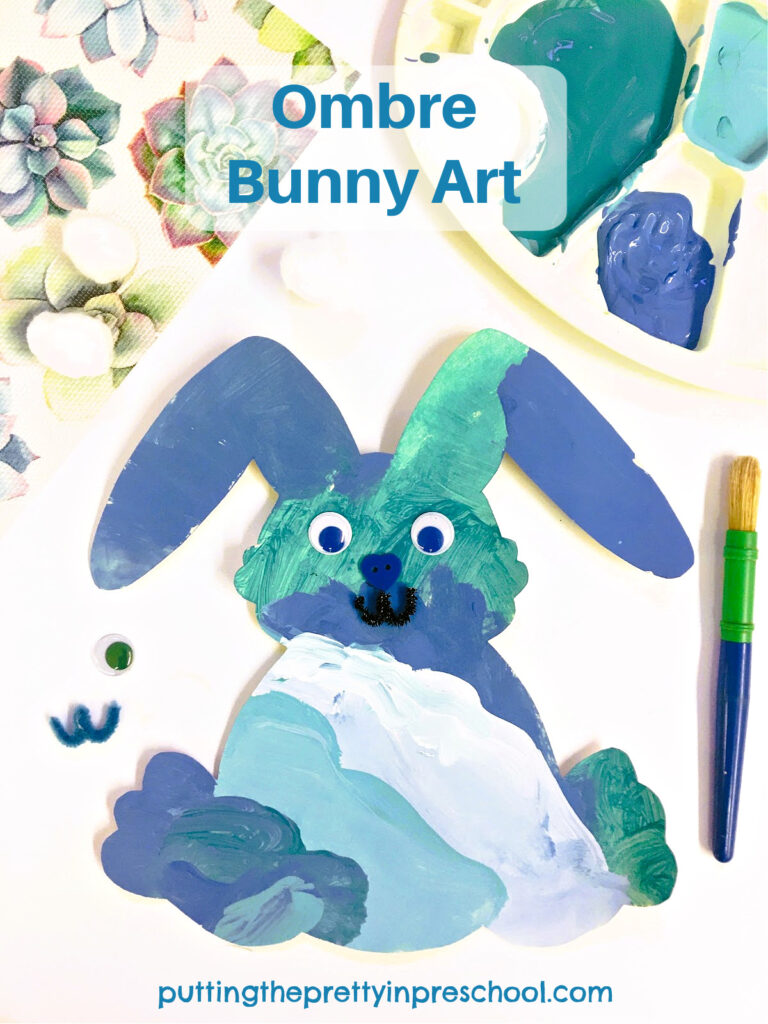
To start off, pick a bunny template to trace and cut out from manila tag paper, or another sturdy kind. My bunny design was traced from a dollar store wall plaque.
Then select a deep color of teal paint and add it to three paint pots. In two of the pots, stir in varying amounts of white paint. Pour dark blue paint into a fourth paint pot and mix in some white.
Afterward, spoon the blue paint shades and a little white into a paint palette.
Set the paint palette, bunny template, and paintbrush on an art table protected with newspapers or a disposable tablecloth.
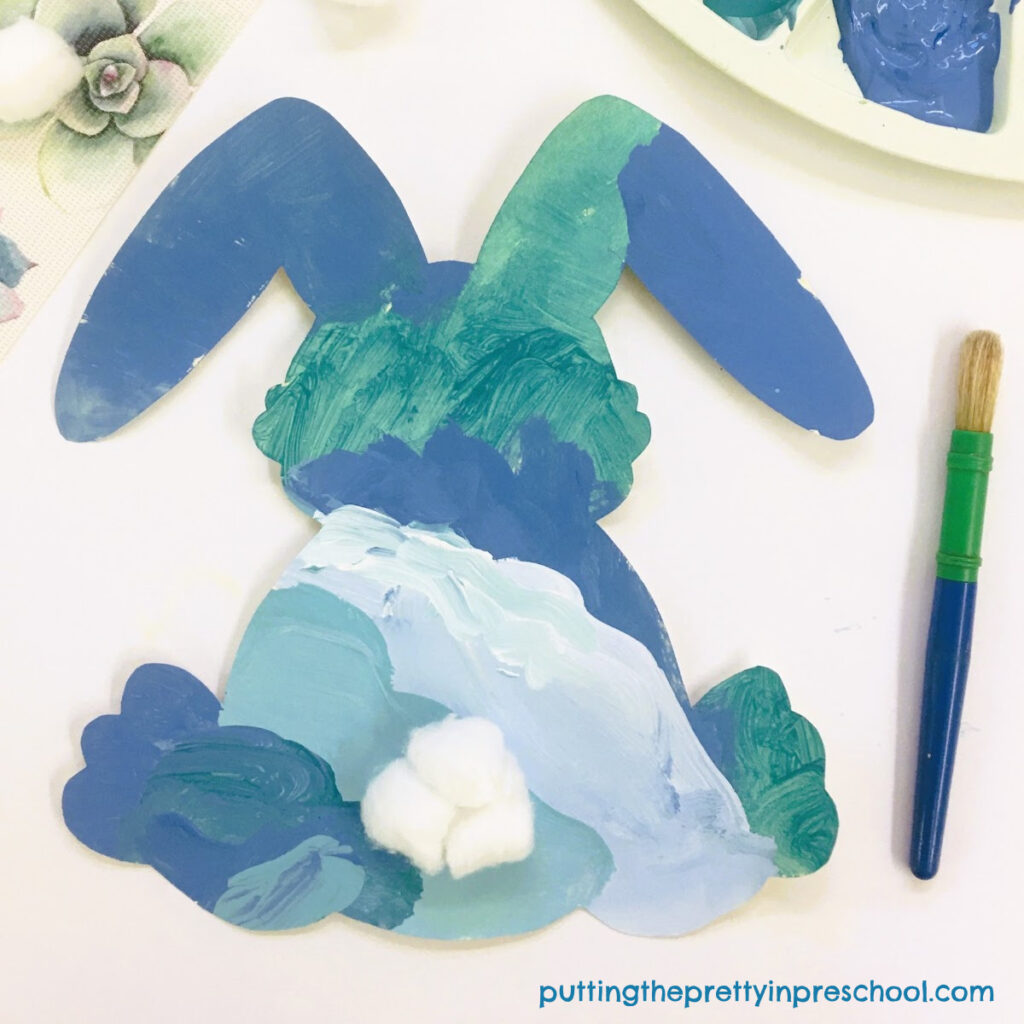
Brushing on blue shades from dark to light or light to dark will create an ombre effect.
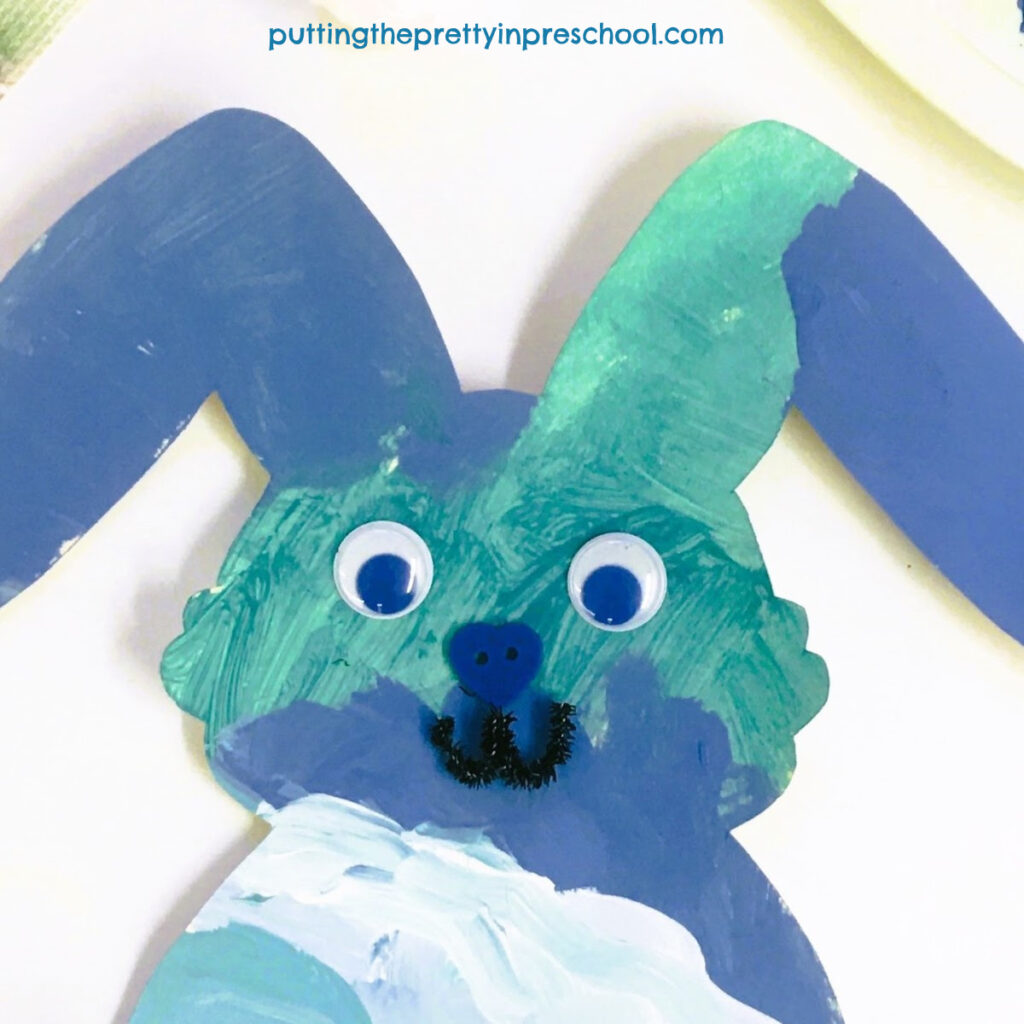
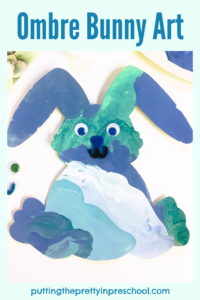
When the painting is dry, use a glue stick or glue gun to adhere two wiggly eyes, a button nose, and a bent pipe cleaner mouth to create a bunny face.
_______
Or glue one or more cotton balls to the bottom of the bunny to fashion a bunny tail.
_______
A pink, purple, or green color palette would also look pretty on this ombre bunny art project.
_______
More Bunny Art
_______
_______
You may also like:
_______
White Lilacs And Black Playdough
_______
Don’t forget to share this post on Pinterest or your favorite social media channel. Sharing is caring!
_______
© Annette Kaminsky March 25, 2023
_______
Let's connect on social media:
Leave a Reply