• Skip to secondary menu
  • Skip to main content
  • Skip to primary sidebar

Putting The Pretty In Preschool

Finding Beauty In Everyday Early Childhood Experiences

  • Home
  • About Me
  • Gingerbread Theme
  • Christmas
  • Winter
  • Chinese New Year
  • Blog
  • Contact Me
  • SHOP

process art

Chalk Paint Cave Art

August 16, 2025 by Annette Kaminsky Leave a Comment

Tweet
Share
Share
Pin

_______

Chalk paint is easy to make and oh so fun to use. It is a superb choice for a chalk paint cave art project, as it dries with a powdery finish that looks a lot like the natural pigments used in real caves.

Cave art was created by people who lived long ago. Deep inside caves on walls and ceilings, our ancestors made pictographs and etchings of wild animals such as deer, horses, bears, mammoths, and rhinos. They also created symbols, geometric patterns, handprints, and people.

_______

Follow me on Pinterest for more early learning activities.

_______

Creating Cave Drawings

_______

Before introducing the chalk paint cave art project, an optional activity is to show children pictures of ancient cave art and explain that people long ago made pigments from natural materials like minerals, charcoal, and finely ground clay. Then set out pastels and chunky crayons along with a sheet of brown Kraft paper, and invite participants to create cave drawings.

_______

Introducing Chalk Paint

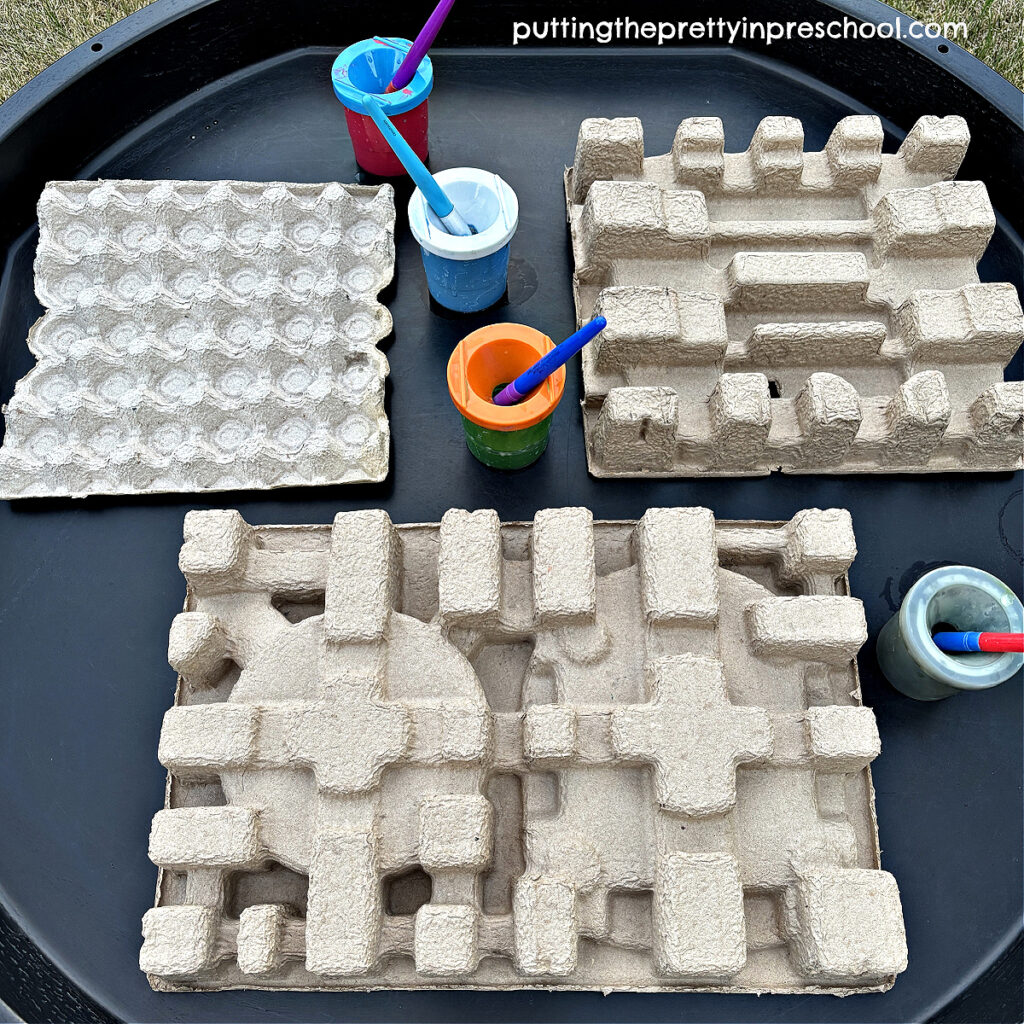
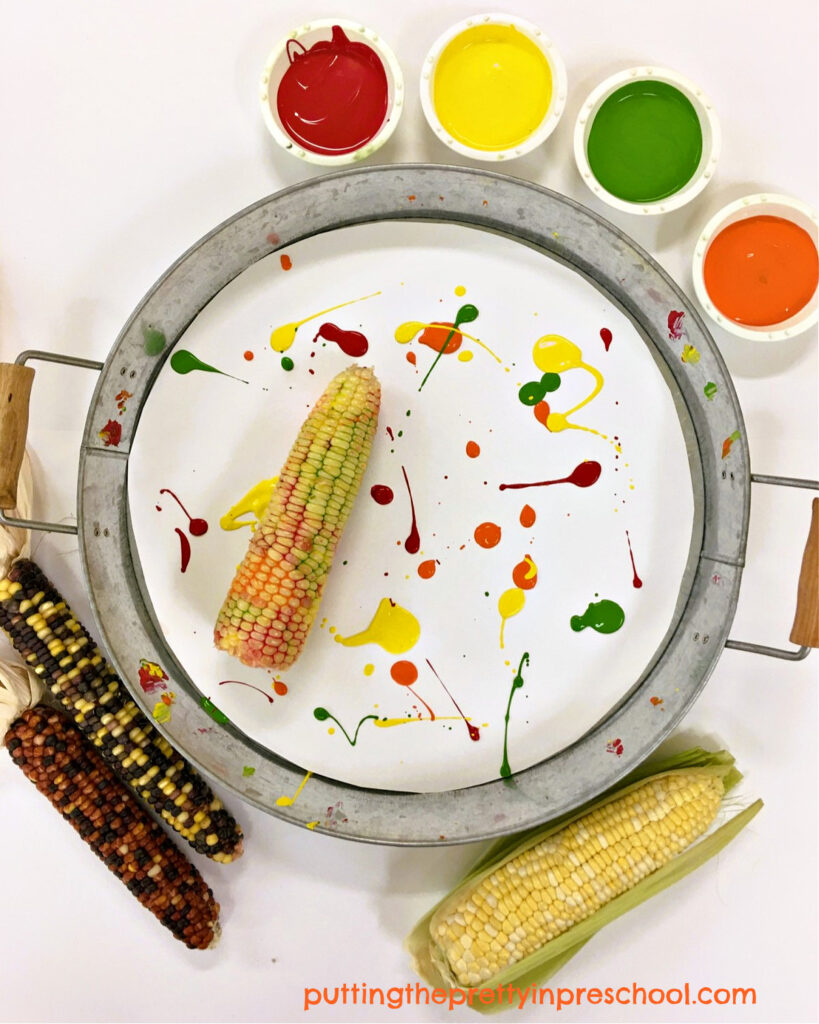
After children are familiar with cave art and have participated in the drawing activity, mix chalk paint colors in paint pots or a tempera cake tray. Since cave artists often used the hues black, white, yellow, red, and brown, these are paint colors in my tray.

Find the chalk paint recipe here: Homemade Sidewalk Chalk Paint

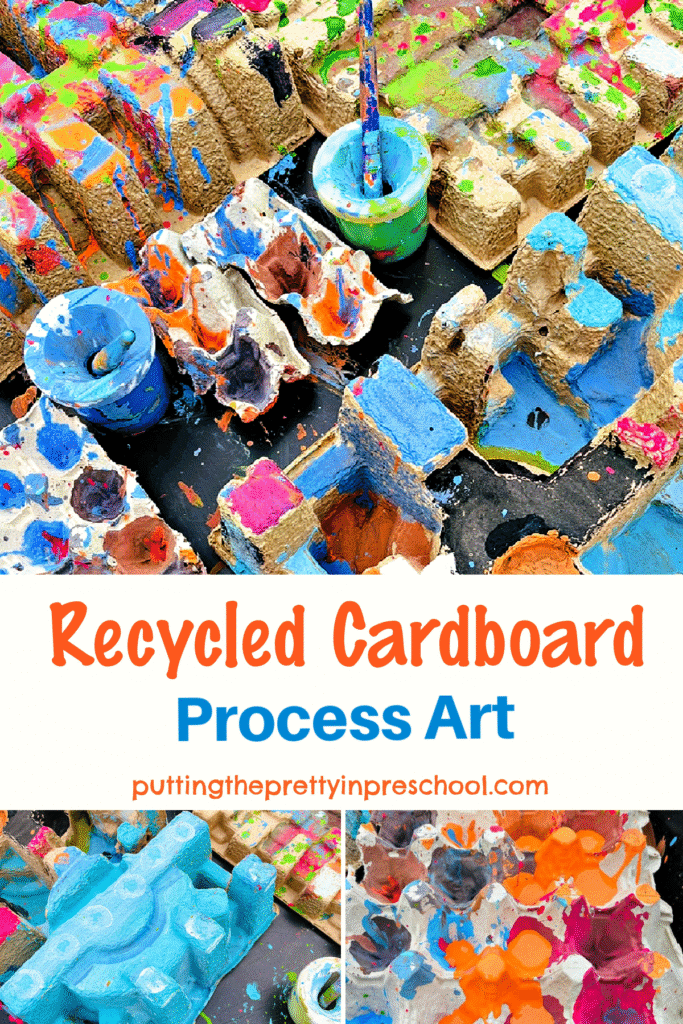
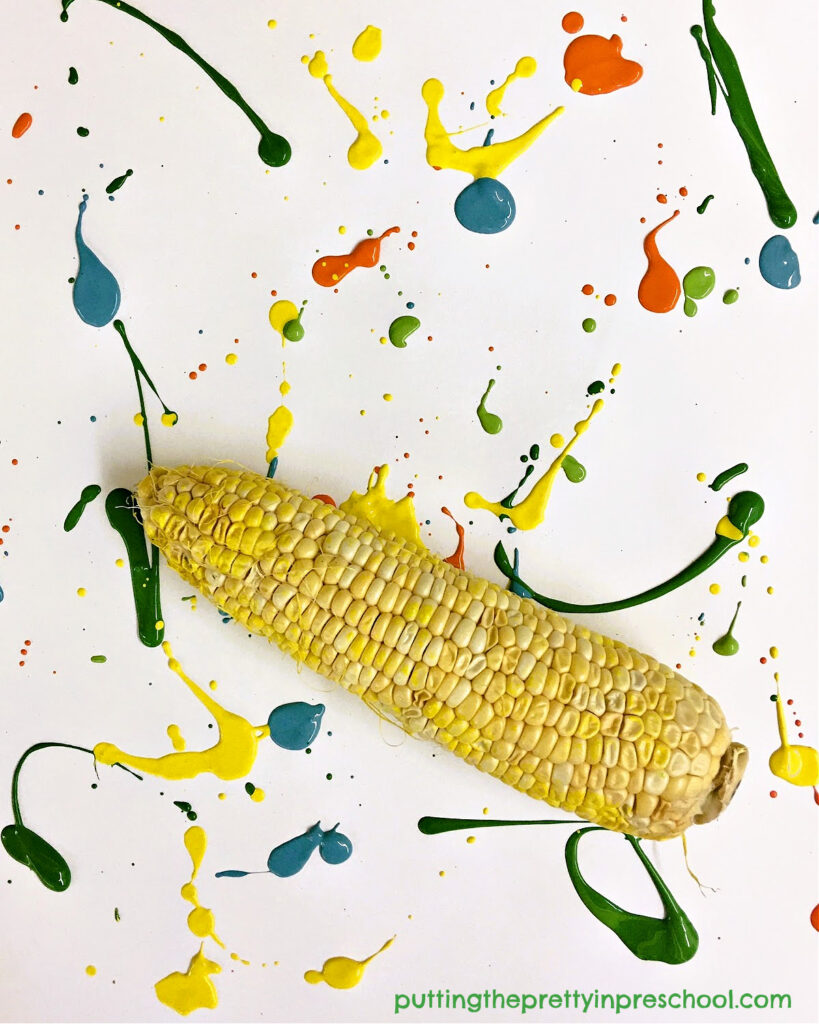
Then place a large sheet of brown cardboard on the ground, along with the chalk paints and brushes. Or position the large cardboard sheet against an outside wall or fence to simulate cave painting. Invite children to do a collaborative art project using the paints.

_______

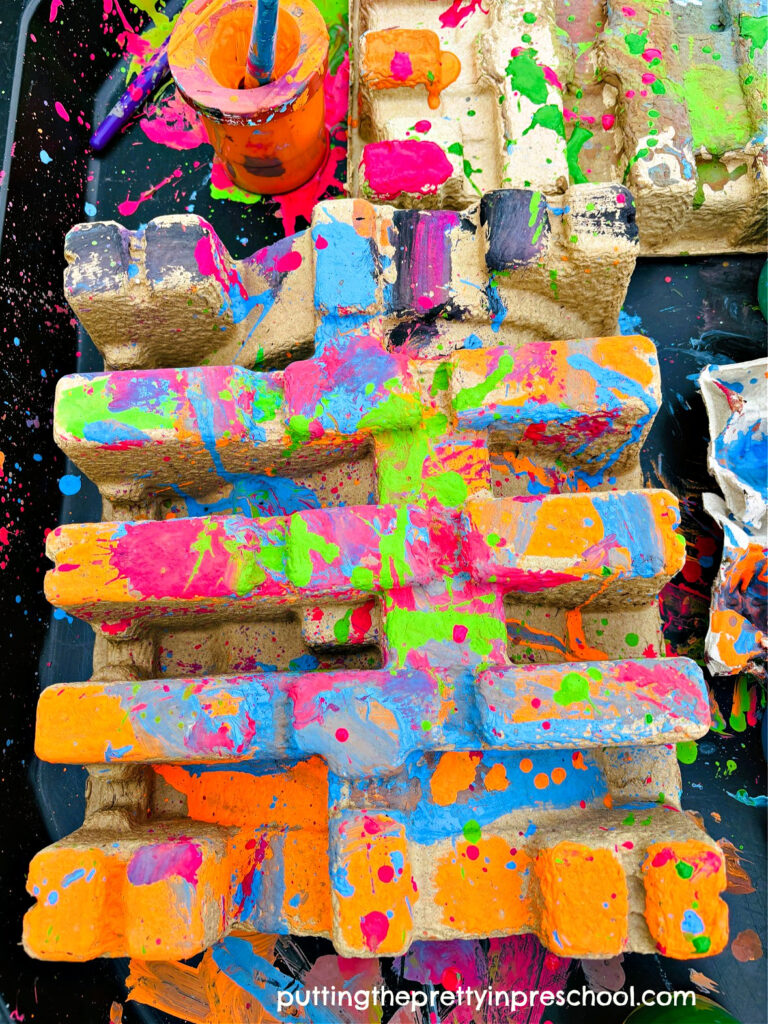
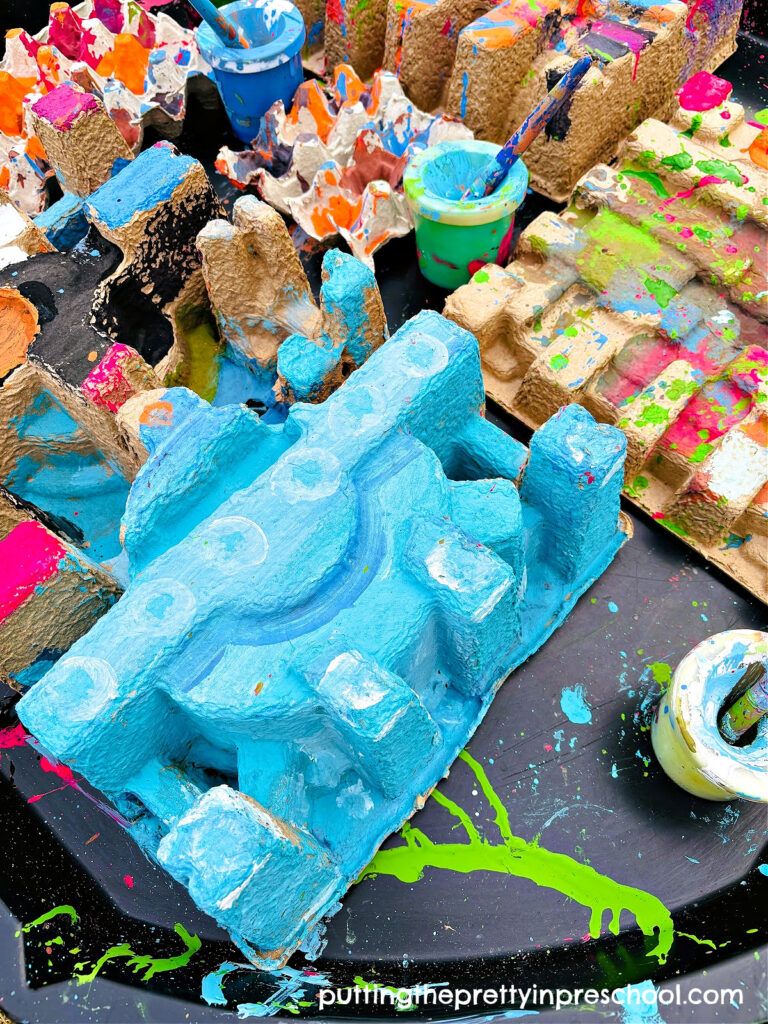
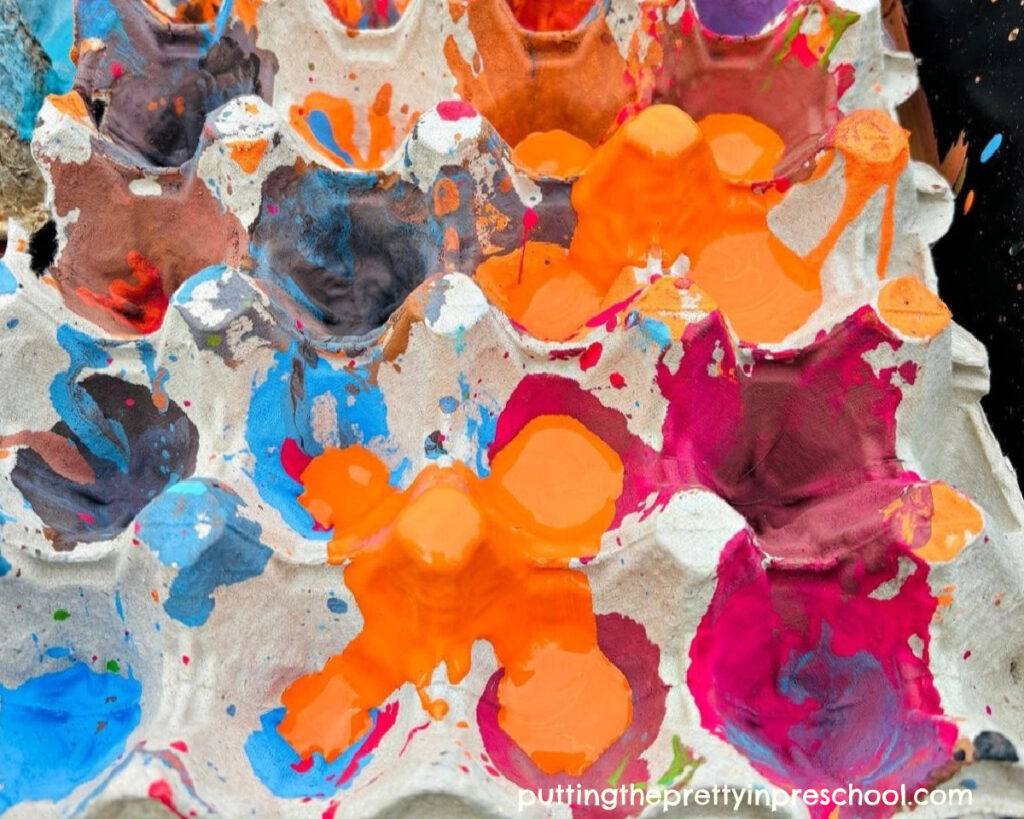
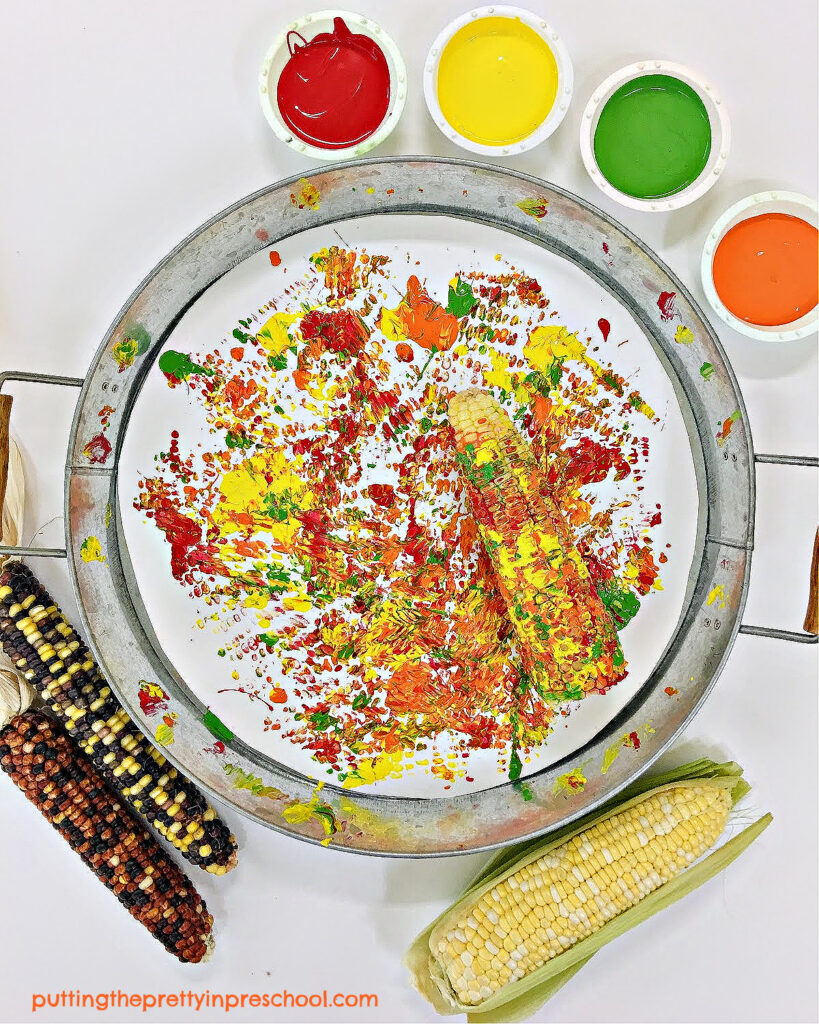
With these bold colors, the chalk paint looks super bright at first. As the paint dries, it transforms into earth tones with a soft, matte finish. The chalk-like look resembles some of the materials used by Earth’s earliest artists.

_______

_______

Chalk Paint Cave Art Follow-up Activity

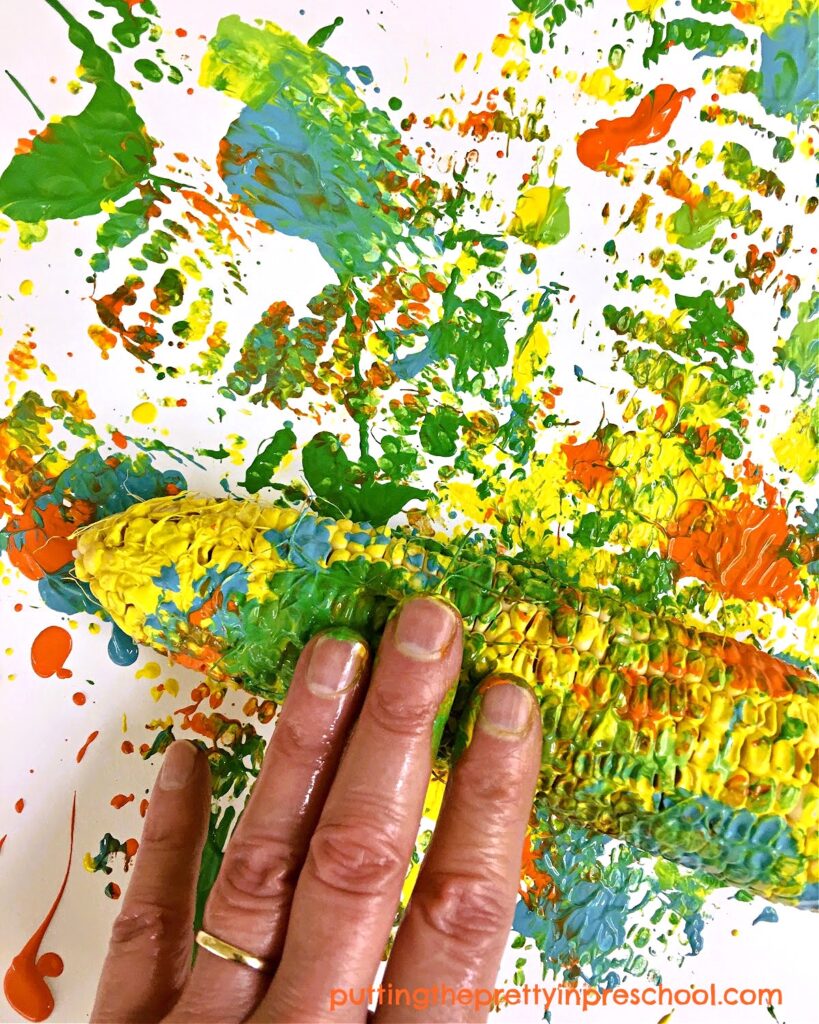
Our ancestors did not have the paints and paintbrushes we have access to today. Aside from creating paints from natural materials, they used sticks, leaves, feathers, and animal hair to apply the paints. As a next activity, invite children to design paintbrushes from these materials and use them with the chalk paint.

______

[Read more…] about Chalk Paint Cave Art
Tweet
Share
Share
Pin

Filed Under: art, preschool, science, summer Tagged With: chalk, painting, process art

Recycled Cardboard Process Art

June 22, 2025 by Annette Kaminsky Leave a Comment

Tweet
Share
Share
Pin

_______

If you are looking for an easy-to-set-up, inexpensive, intriguing art activity, this recycled cardboard process art invitation fits the bill. It is an effortless art invitation that yields beautiful results. The activity is a good choice for Earth Day or anytime of the year.

_______

Supplies to Collect

Cardboard pieces with interesting shapes are perfect for this unexpected process art painting activity. Gather the following:

  • cardboard protective packaging
  • egg filler flats
  • thinned tempera paint
  • paint pots and brushes
  • large sensory tray

_______

_______

Follow me on Pinterest for more early learning activities.

_______

Preparing the Recycled Cardboard Art Activity

A large active world tray is my go-to for this art activity. Place it indoors or outdoors on a stand or table. Or use an art table with a protective table cover.

Next, set recycled cardboard pieces in the sensory tray. Protective packaging and egg filler flats are good choices.

_______

Then pour paint into paint pots and mix in a little water to make it thinner. Add brushes, and set the pots around the cardboard molds. That’s it!!!

_______

The Recycled Cardboard Process Art Activity

A group of children can participate in this open-ended art activity with recyclables. Invite them to pick a spot to paint the three-dimensional shapes in the tray.

_______

When two children work on one cardboard shape the art activity is collaborative. While working on different sections of a piece, one child creates a frigid northern landscape, while the other chooses contrasting paint colors.

_______

A square egg filler flat inspires creating mini volcanoes with bright orange paint.

_______

The thinned tempera paints use fewer resources, cover the textured cardboard easily, and allow for spatter painting.

_______

Children may use the recycled cardboard pieces in other art projects when the paint dries.

_______

Benefits of the Recycled Cardboard Art Activity

In this cost-effective recycled cardboard art activity, children

  • participate in a relaxing, calming process art activity.
  • paint on novel, textured three-dimensional objects.
  • recognize patterns and design them with paint.
  • mix colors to create new ones (making brown is always a favorite.)
  • build hand strength and coordination while using paint and brushes.
  • have the freedom to paint without feeling pressure to produce a completed art project.
  • experience a collaborative art environment.
  • learn the value of recycling and reusing materials creatively.

_______

_______

_______

More Process Art Activities

Salt Painting Planet Art

Pump Bottle Watercolor Art

Watercolor Apples With Markers

Painting With Corn

Eye Dropper Pumpkin Art

Fall Leaf Salad Spinner Art

Squeegee Painting Heart Art

_______

[Read more…] about Recycled Cardboard Process Art
Tweet
Share
Share
Pin

Filed Under: art, Earth Day, preschool, sensory Tagged With: Earth Day, painting, process art

Salt Painting Planet Art

May 3, 2025 by Annette Kaminsky Leave a Comment

Tweet
Share
Share
Pin

_______

This salt painting planet art is super satisfying and oh so simple to do. The salt drip painting technique works well to create Earth or one of the other eight planets.

_______

Supplies to Collect

Gather the following supplies, which you probably have around your home, for this stunning planet art activity:

  • 8 ½ x 11-inch cardstock paper
  • table salt
  • white glue
  • glue paddle
  • food coloring
  • paint pots
  • eye droppers
  • paintbrush
  • teaspoon
  • disposable plate
  • scissors and pencil
  • glue stick or glue gun
  • washable table cover

_______

_______

Salt Painting Earth Art

The first planet to create is our Earth as seen from outer space. Complete this salty art activity over two days.

Day One:

Protect an art table with a washable or disposable table cover.

Cut out a circle measuring 18 cm/7 inches from 8 ½ x 11-inch or 9 x 12-inch cardstock paper.

Pour white glue into a small container or paint pot.

Set the sturdy paper circle, pot with white glue, glue paddle, and disposable plate on the prepared art table.

Dip the glue paddle into the white adhesive and spread it on the circle in shapes of land forms.

_______

Using a teaspoon, generously sprinkle salt over areas of the circle that contain glue.

Tip the circle sideways over a disposable plate and shake off excess salt. (The leftover spice can be used for more salt painting planet art projects.)

Let the gluey circle dry overnight.

_______

Day Two:

Cover an art table with a washable table cover.

Prepare the watercolor paints: Mix a few drops of blue food coloring into a paint pot containing water and a few drops of green food coloring into a second water-filled pot. Or mix a lighter and darker hue in each color for more variety.

_______

Set the raised salt circle on the art table with two hues of green food coloring. Add an eye dropper or pipette to each pot.

Using the droppers, carefully drip paint onto the salt-covered areas of the circle.

_______

Then, with a paintbrush, carefully brush blue watercolor paint around the raised salt land forms to represent water.

_______

Set the painted art project aside to dry.

The earth art looks stunning adhered with a glue stick or glue gun to a black or dark blue 8 ½ x 11-inch or 9 x 12-inch cardstock or construction paper background. Displayed in a group, this salt painting planet art project looks stunning.

_______

Follow me on Pinterest for more early learning activities.

_______

Salt Painting Jupiter Art

_______

Jupiter also looks amazing in a salt painting planet art activity. To create planet Jupiter with this art technique, spread the glue in a stripy design to show Jupiter’s banded, cloud-covered look. Sprinkle on salt and shake it off next. After the spice-covered glue dries, drip red and yellow food coloring paint onto the raised salt areas. Then, carefully brush orange food coloring paint (or orange liquid watercolor paint diluted with water) between the raised salt areas for contrast.

_______

As with the salt painting planet Earth project, a group of arty Jupiter planets looks stunning when displayed on dark cardstock paper backgrounds.

_______

The salt painting art with an Earth theme is a great activity for Earth Day. Both art projects are welcome additions for a space theme.

Is this post helpful? Which planet would you create with this technique?

_______

[Read more…] about Salt Painting Planet Art
Tweet
Share
Share
Pin

Filed Under: art, crafts, display, Earth Day, science, space Tagged With: earth craft, Earth Day, planets, process art, space

Eye Dropper Pumpkin Art

October 26, 2023 by Annette Kaminsky Leave a Comment

Tweet
Share
Share
Pin

_______

This eye dropper pumpkin art project is super easy to set up and loads of fun to do. Participants will want to make a few watercolor-painted pumpkins, so you will end up with a bunch of pumpkin art to display at home or in the classroom.

_______

Follow me on Pinterest for more early learning activities.

_______

Supplies To Collect

Gather the following supplies for this no-fuss pumpkin art project:

  • liquid watercolors
  • eye droppers or pipettes
  • paint pots
  • non-permanent black marker
  • permanent black marker
  • paper towel roll
  • pumpkin template
  • scissors and pencil
  • newspaper or waterproof tablecloth

_______

_______

Eye Dropper Pumpkin Art Preparation

Preparation for this eye dropper pumpkin art project is super quick. Start by tracing pumpkins onto one or two sheets of paper towel. Choosing a thick paper towel brand is recommended.

Next, mix liquid food colors and water into paint pots, and add an eye dropper or pipette to each one. In this project, my colors of choice are orange, yellow, and magenta, as they go nicely together.

Afterward, cover an art table with newspaper or a waterproof tablecloth.

Then set up art stations with liquid watercolor pots, eye droppers or pipettes, and paper towel pumpkins.

_______

The Eye Dropper Pumpkin Art

To create the gorgeous eye dropper art, invite your little learners to draw a mouth, nose, and eyes on a paper towel pumpkin using a black permanent marker.

Then direct your little charges to use the eye droppers or pipettes to squirt all three colors on their pumpkins. In no time the large fruits will be covered in brilliant hues.

_______

Let the arty pumpkins dry in the spot they were created or move them to a new place to do so. The painted pumpkins will likely be very wet, but by the end of the day, they will be totally dry.

_______

Eye Dropper Scary Pumpkin

If children use a non-permanent black marker to draw a face on their pumpkin before wetting it with liquid watercolors, the marker color will bleed during the art process. The pumpkins will have an ominous, scary look.

_______

Rainbow Pumpkin Art

You can choose to skip having your little artists draw a face on the paper towel pumpkin and get them right to work squirting liquid food colors on it. Adding a few more watercolor hues makes creating a rainbow pumpkin possible.

_______

Paper Towel Rainbow Art

If you run out of paper towel pumpkins for your eager art session participants, allow them to spread watercolors directly on rectangular or square sections of a disposable towel roll. They’ll be happy to use these as a canvas to continue exploring this watercolor painting technique.

_______

_______

Thanksgiving Printables

Shop Thanksgiving printables in my Etsy shop “Skills N Smiles“:

_______

_______

More Pumpkin Activities

Pumpkin Painting Process Art

Glow In The Dark Pumpkin Art

Pumpkin Tablescape Pretend Play

Edible Playdough Pumpkins

Pumpkin Color Activities

Pumpkin Playdough Activities

_______

[Read more…] about Eye Dropper Pumpkin Art
Tweet
Share
Share
Pin

Filed Under: art, autumn, fall, gardening, preschool Tagged With: painting, process art, pumpkins, watercolors

Painting With Corn

October 21, 2023 by Annette Kaminsky Leave a Comment

Tweet
Share
Share
Pin

_______

This painting with corn process art activity is quick and easy to do and offers young children an unexpected way to paint. It can be completed in a few different ways, adding variety and sensory options to the art experience.

_______

Follow me on Pinterest for more early learning ideas.

_______

Supplies To Collect

Gather the following supplies for painting with corn:

  • corn ear and husk
  • box or serving tray
  • large sheets of sturdy art paper
  • 8 ½ x 11-inch cardstock paper
  • tempera paint
  • paint pots
  • paint tray
  • teaspoons
  • sharp knife

_______

Painting With Corn Techniques

Corn Painting In a Tray

The first way to paint with corn is to set a piece of sturdy paper into a low-edged box or serving tray.

Next, spoon globs of paint in the colors of your choice onto the paper.

_______

Then shuck an ear of corn and drop it in the box or tray. Or use an ear of corn that is already shucked for the art activity.

Tip the box or tray carefully from side to side to move the corn ear around, and you’ll soon have a completed piece of art.

_______

For a little more control, paint the ear of corn instead of spooning paint onto the art paper. When the corn cob is covered in paint, drop it into the box or tray. Then tip the box from side to side as in the process above.

_______

Painting By Hand Rolling Corn

A second way to paint with corn is to forgo using a box or tray for the art process. Simply set a large piece of sturdy paper on a table covered with newsprint or a washable tablecloth.

_______

Then drop globs of paint onto the paper and roll the corn over them with your hands as if you were using a rolling pin.

_______

Or paint the corn ear first and then roll it in different directions over the paper.

This rolling corn technique just might go over best with little learners, as they love to mingle with the paint.

_______

Corn Half Paint Prints

The third method of painting is to start by cutting an ear of corn in half with a sharp knife, aiming to get a smooth sliced end on each half.  

Next, spoon tempera paint colors into pie tins, disposable plates, or paint trays.

Dip the sliced end of one corn ear half into a paint color and press it onto the paper.

_______

When switching colors, wipe the paint-filled edge of the corn with a paper towel sheet before dipping it in a new hue.

_______

Corn Cob Paint Print

In the last method of painting with corn, the goal is to make a realistic corn cob by using a printmaking technique. In this art activity, a corn cob and a husk are used to make paint prints.

_______

For the art project, set out an ear of shucked corn. Save one of the green husks to use.

With a paintbrush, first thoroughly paint a corn ear with yellow tempera paint.

Next, press the corn cob on a piece of 8 ½ x 11-inch cardstock paper, slightly rolling it back and forth with your fingers.

Remove the corn cob from the paper.

Then paint one side of a husk and press it down on the paper next to the corn print. Make a second husk print on the other side of the cob. Afterward, add a couple more husk prints around the corn.

_______

You may wish to try all of the above painting with corn methods as each adds an interesting twist to the art activity. Which corn process art painting technique is your favorite? Share in a comment below.

_______

Related: Corn Theme Activities

_______

[Read more…] about Painting With Corn
Tweet
Share
Share
Pin

Filed Under: art, autumn, fall, gardening, preschool Tagged With: corn, painting, process art

  • Page 1
  • Page 2
  • Page 3
  • Page 4
  • Go to Next Page »

Primary Sidebar

Hi, I'm Annette Kaminsky, a preschool teacher who loves sharing learning through play activities for young children. Thanks for visiting my site. Feel free to stay awhile!

Subscribe Via Email

Recent Posts

  • December Kindness Activities November 30, 2025
  • Fall Forest Sensory Bin November 30, 2025
  • DIY Turkey Bowling Game November 25, 2025
  • Fall Leaf Crown Paper Crafts November 23, 2025
  • Colors of Fall Sensory Bin October 13, 2025
  • Apple Theme Sensory Tray October 11, 2025
  • Three Dinosaur Sensory Bins September 7, 2025
  • Castle Theme Pretend Play August 26, 2025
  • Castle Theme Light Table Activity August 25, 2025
  • Castle Theme Playdough Tray August 24, 2025

Categories

Topics

apples block play bunnies butterflies Chinese New Year Christmas Christmas craft color colors dramatic play Easter fall flowers hearts holiday jewelry leaves leprechauns light table loose parts painting paper crafts playdough pretend play printables printmaking process art pumpkins rice bin scented playdough science experiment scissor skills sensory bin sensory play sensory tray shamrocks skeletons snakes spiders spring St. Patrick's Day sunflowers tablescapes Valentine's Day water play

Copyright © 2025 · Lifestyle Pro on Genesis Framework · WordPress · Log in