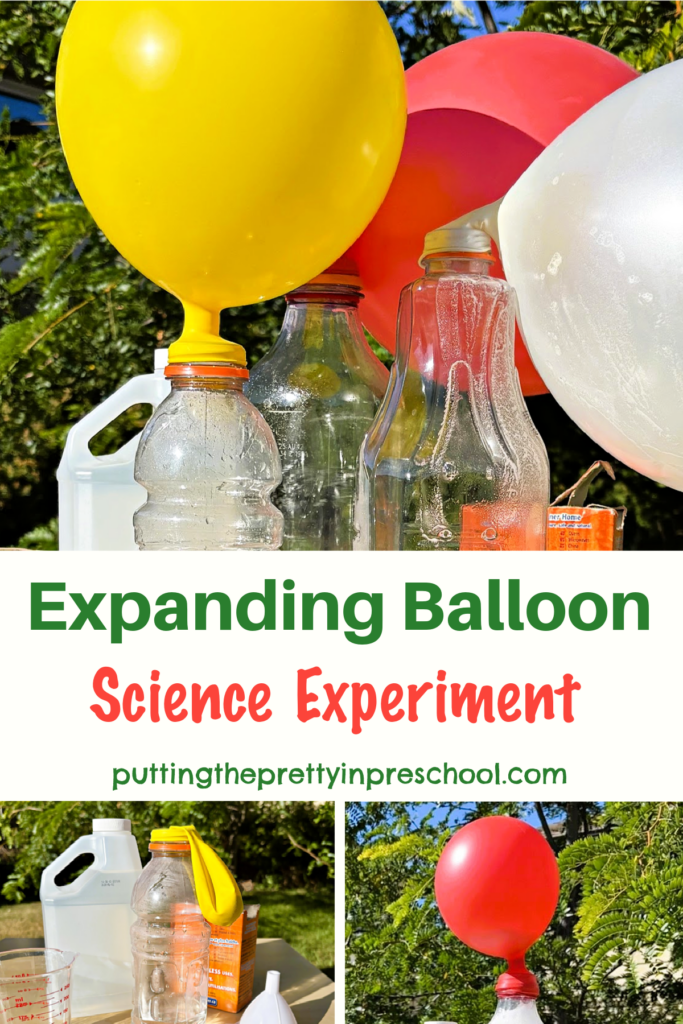
This super-easy expanding balloon science experiment includes balloons and two basic household staples, which is a win-win combination. The bubbly experiment is perfect for all ages, and children can easily help with the activity.
_______
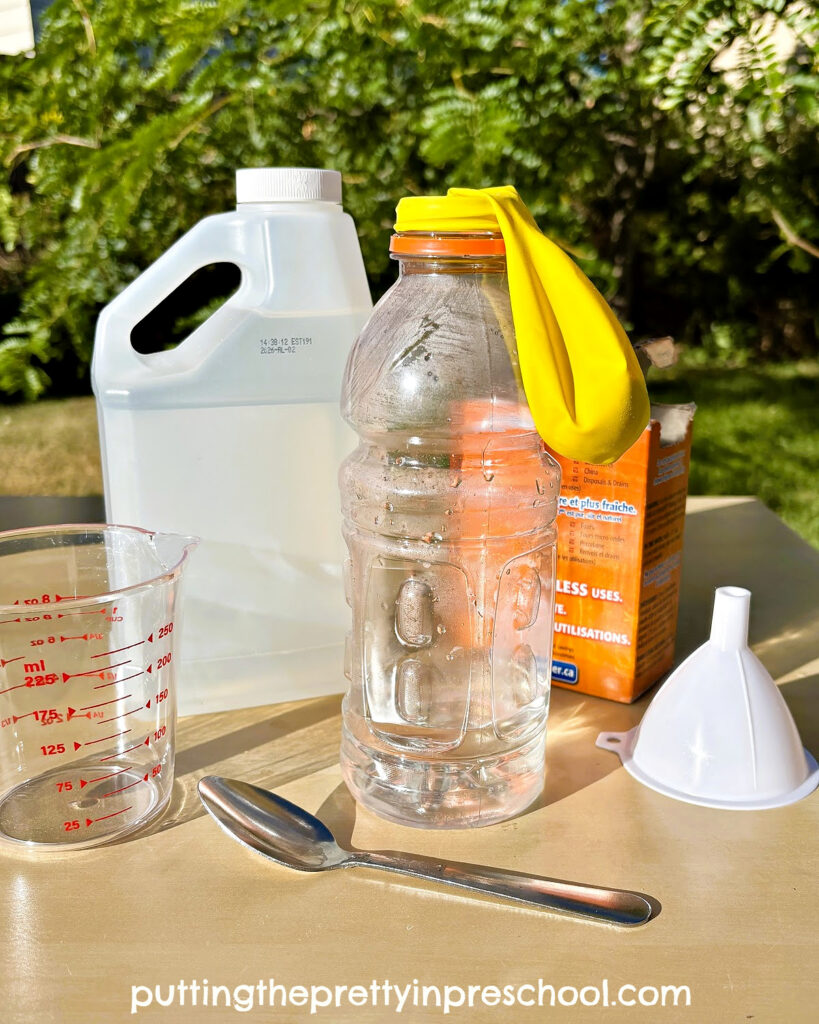
Supplies to Collect
To perform this fantastic chemistry experiment, gather the following inexpensive supplies:
- white vinegar
- baking soda
- large balloon
- water or juice bottle
- measuring cup (optional)
- measuring spoon
- funnel
The Expanding Balloon Science Experiment
In this fizzy science activity, start by stretching a large balloon and blowing a little air into it.
Next, let the air out and place a funnel inside the rolled edge. Spoon in three teaspoons of baking soda. If the bottle you will use is on the larger side, use heaping teaspoons of the powder. Shake the balloon a bit to get the baking soda to the bottom.
_______
Then pour vinegar into a clean water or juice bottle and fill it about ¼ to 1/3 of the way. Pour the vinegar into a measuring cup first to make this step easier.
Afterward, carefully fit the balloon snugly over the mouth of the bottle. Keep the balloon hanging off the side as you do this.
_______
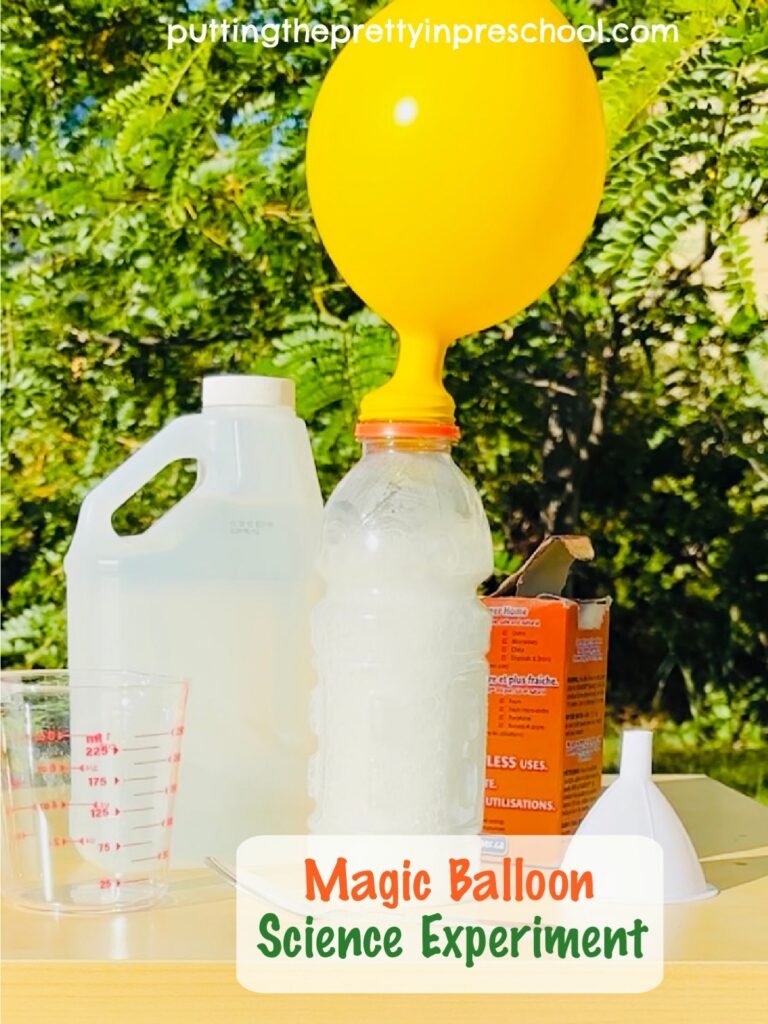
Lastly, lift the balloon so the baking soda drops into the bottle and watch the two ingredients bubble and fizz as they react. The balloon will magically self-inflate.
_______
Follow me on Pinterest for more early learning activities.
_______
The Science Behind This Balloon Experiment
Vinegar is a liquid, and baking soda is a solid. In this bubbly, fizzing science experiment, there is a chemical reaction between the vinegar (an acid) and the baking soda (a base). As the two ingredients interact, they release carbon dioxide gas. The gas expands and goes up the balloon, causing it to inflate.

_______
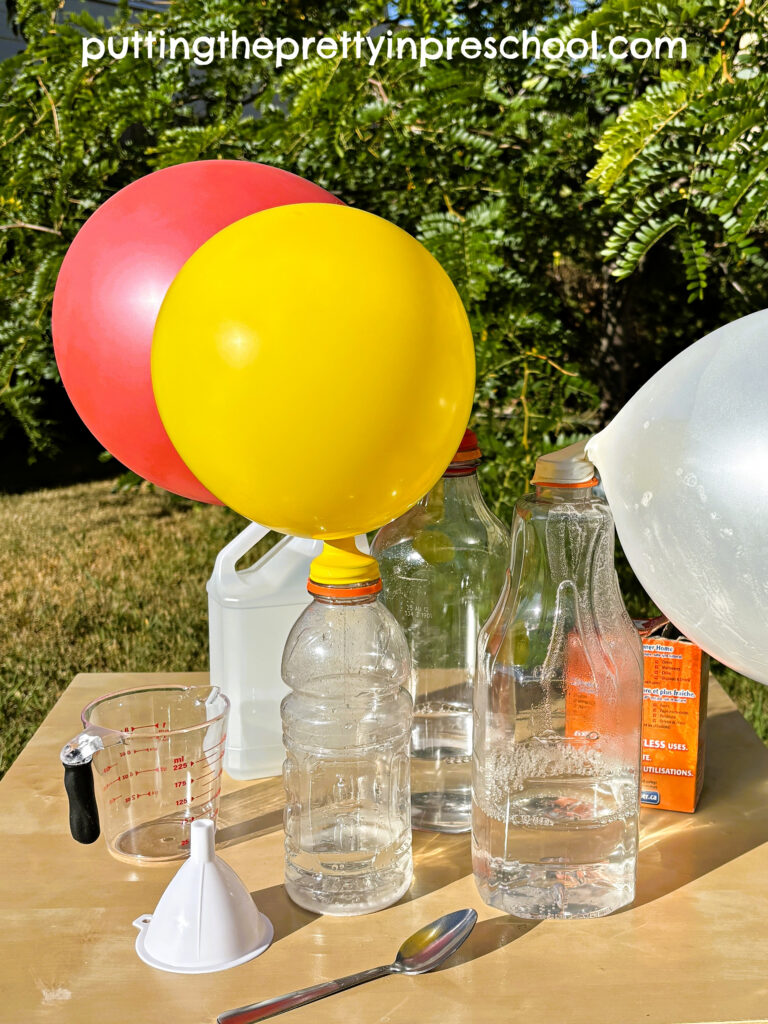
Variations of the Expanding Balloon Science Experiment
To extend this magical science activity, try using different-sized bottles and varying amounts of vinegar and baking soda to see if the experiment works out just as well.
_______
To make the eye-appealing activity even more colorful, add food coloring to the vinegar in the bottle and use a clear balloon.
Have you tried this expanding balloon science experiment?
_______
_______
More Science Activities
Salt and Ice Science Experiment
Floating Egg Science Experiment
Heart-shaped Dissolving Candy Science
Color Explosion Science Experiment
Beet Science and Sensory Activities
_______
[Read more…] about Expanding Balloon Science Experiment