_______
This “moon colors” art project is inspired by a gorgeous spiral montage of 48 moon hues photographed over the years by Marcella Pace. The stunning image was selected by NASA as the Astronomy Photo of the Day and is available as an art print.
The surface of the moon is a dull grey color due to the combination of minerals present. The moon appears lighted because it reflects light from the sun. It sometimes appears to change colors due to its position in the sky and the atmospheric conditions present. At times it can appear red, pink, yellow, orange, or even blue. The impending arrival of these uniquely hued full moons is regularly announced on social media platforms such as Facebook or X, giving everyone a heads-up about when to search for them in the night sky.
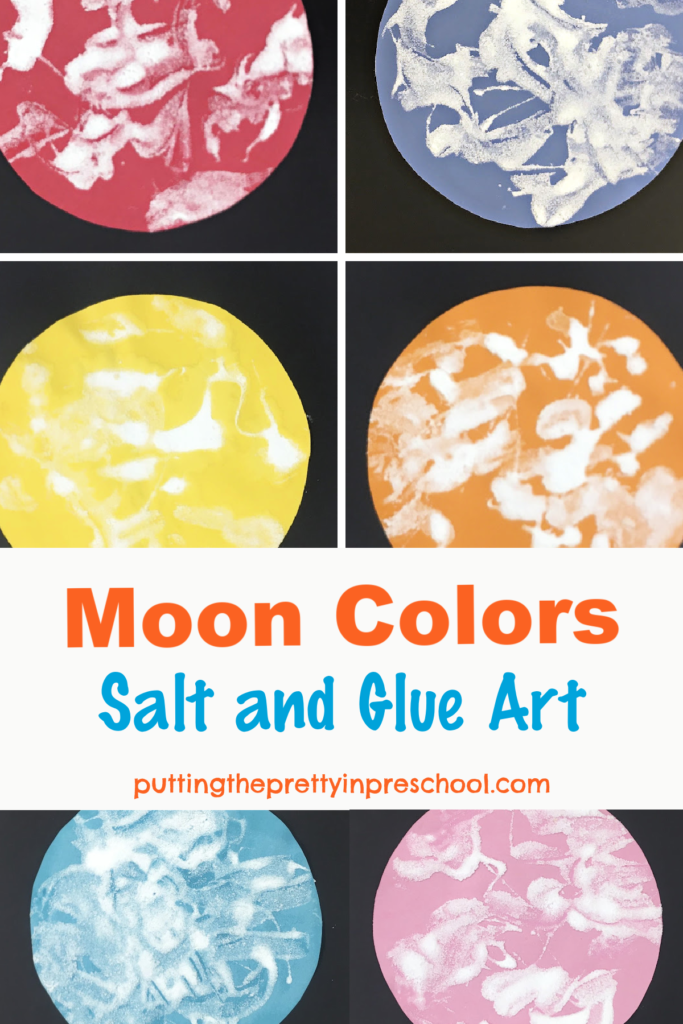
Since I love to feature objects in unexpected colors in creative activities, this art activity features moons in a variety of colors using a simple salt and glue technique. I previously debuted this popular art activity on a grey paper moon base in a post titled Salt and Glue Moon Art.
_______
Follow me on Pinterest for more early learning ideas.
_______
Colors of the Moon Art Supplies
Gather the following supplies for this striking moon art project:
- 8 ½ inch x 11-inch cardstock paper in red, pink, yellow, orange, blue, turquoise, purple, and green hues
- 9-inch x 12-inch black cardstock
- white glue
- glue paddle
- disposable plate
- table salt
- small bowls or paint cups
- spray adhesive
- hot glue gun
- table cover
_______
Colors of the Moon Art Process
To prepare this easy-to-do art activity, cut circles about 7 ½ inches in diameter from gray cardstock.
Next, set up a station for each child participating with a
- cardstock paper circle
- small bowl of salt and a teaspoon
- container of white glue and glue paddle
- disposable plate
_______
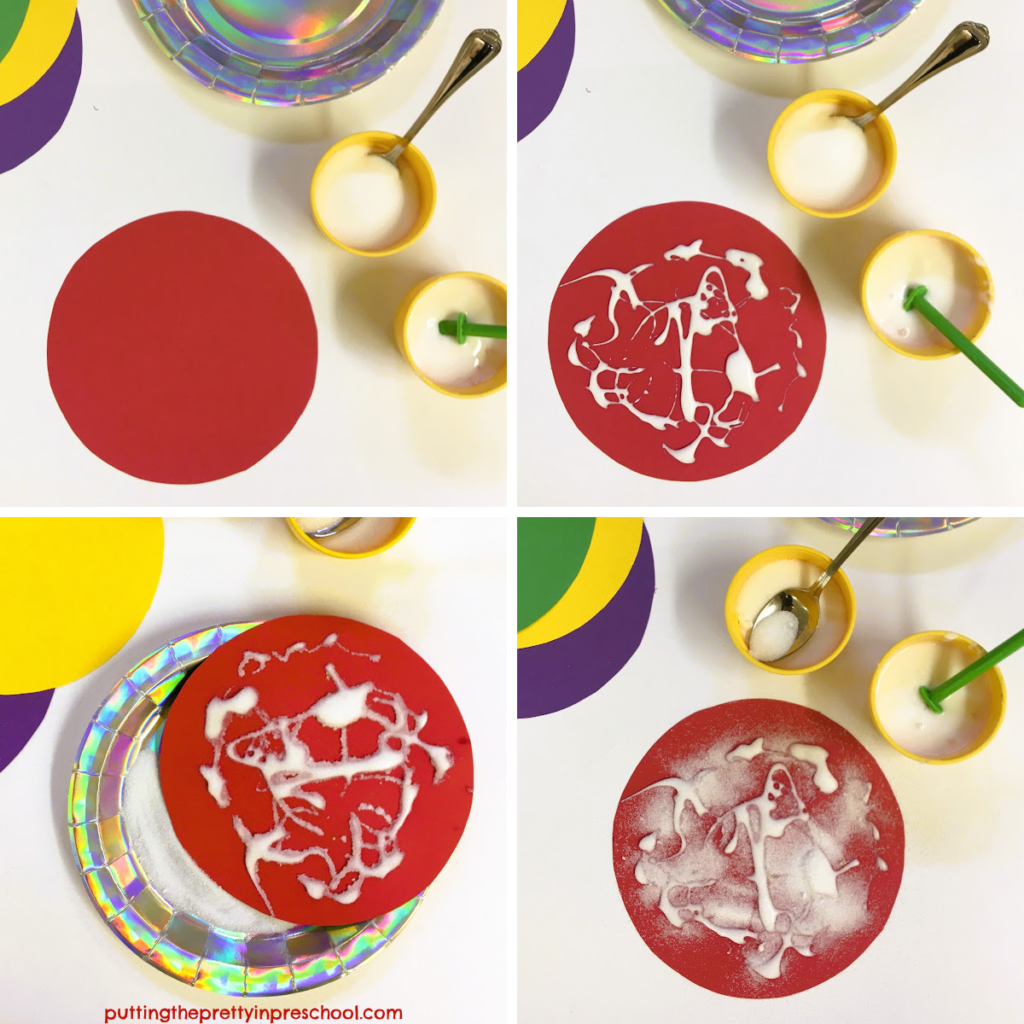
Invite little learners to drizzle white glue on their circle-shaped paper in a random manner.
Then have them sprinkle salt from a teaspoon over the glue, and shake excess salt onto their disposable plate.
Let the colorful art projects dry overnight.
To help preserve the moon art, spray each salted circle with adhesive spray. Hairspray works fine for this task too.
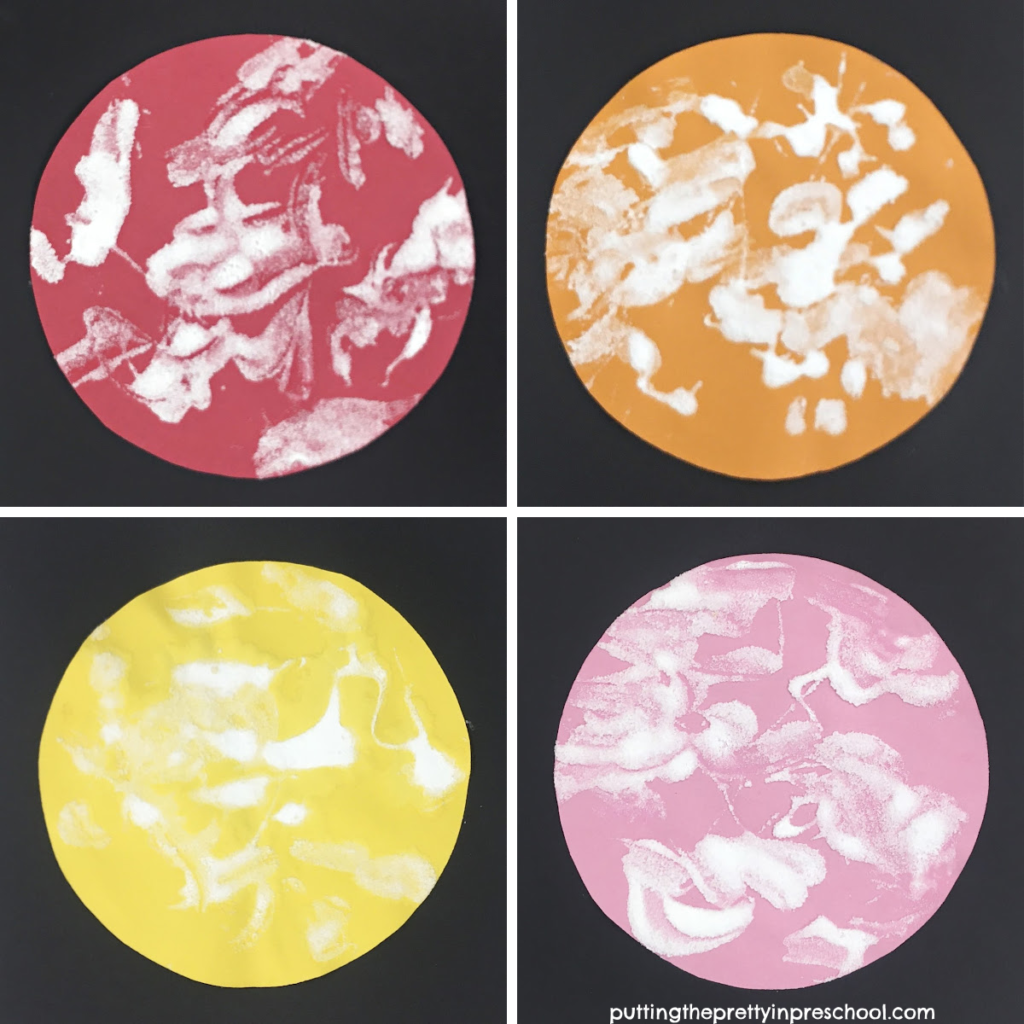
When thoroughly dry, adhere each salt and glue moon to a 9-inch x 12-inch sheet of black cardstock or construction paper background using a hot glue gun.
Display the striking moons on a bulletin board or wall. They will look amazing together!

_______
Different Moon Colors Explained
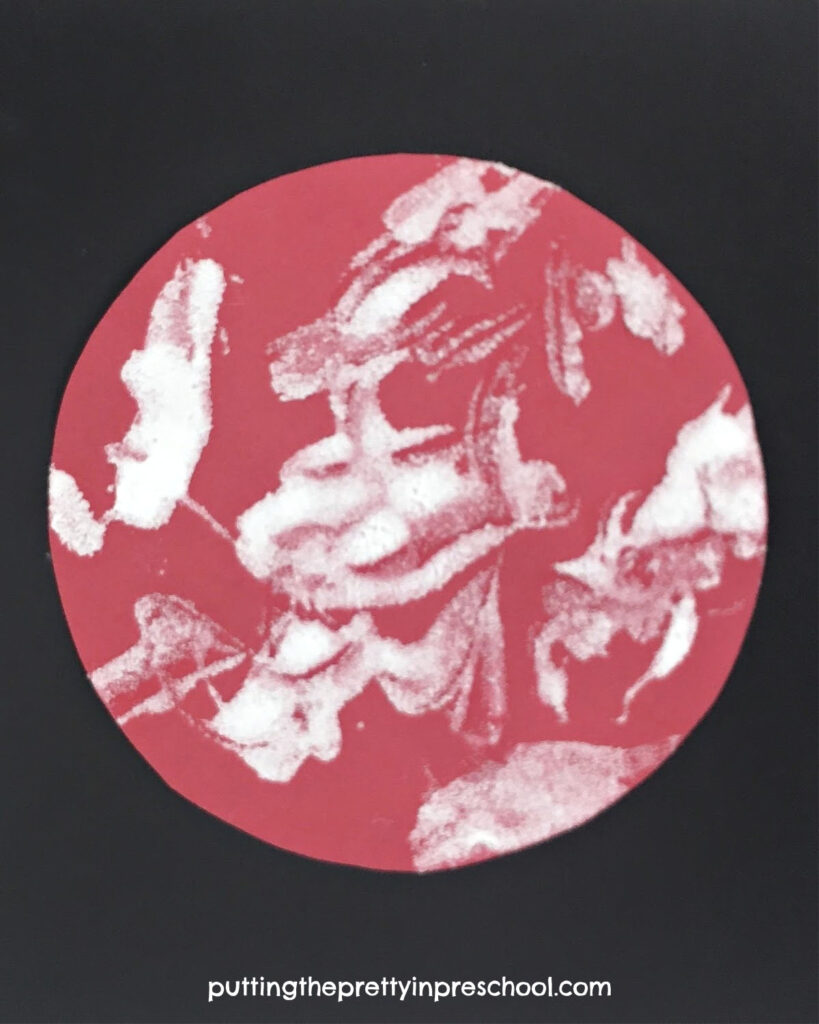
Red Moon
When the sun illuminates the whole moon in a lunar eclipse, it can appear red.
This moon is commonly called a “blood moon.”
_______
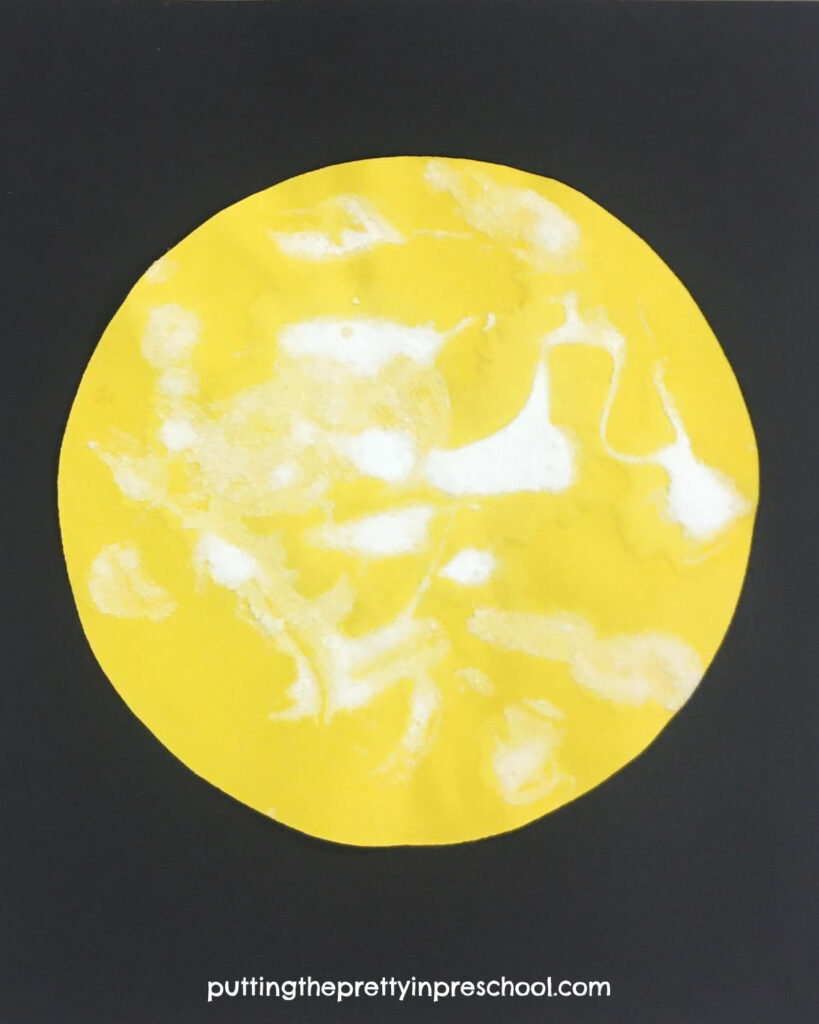
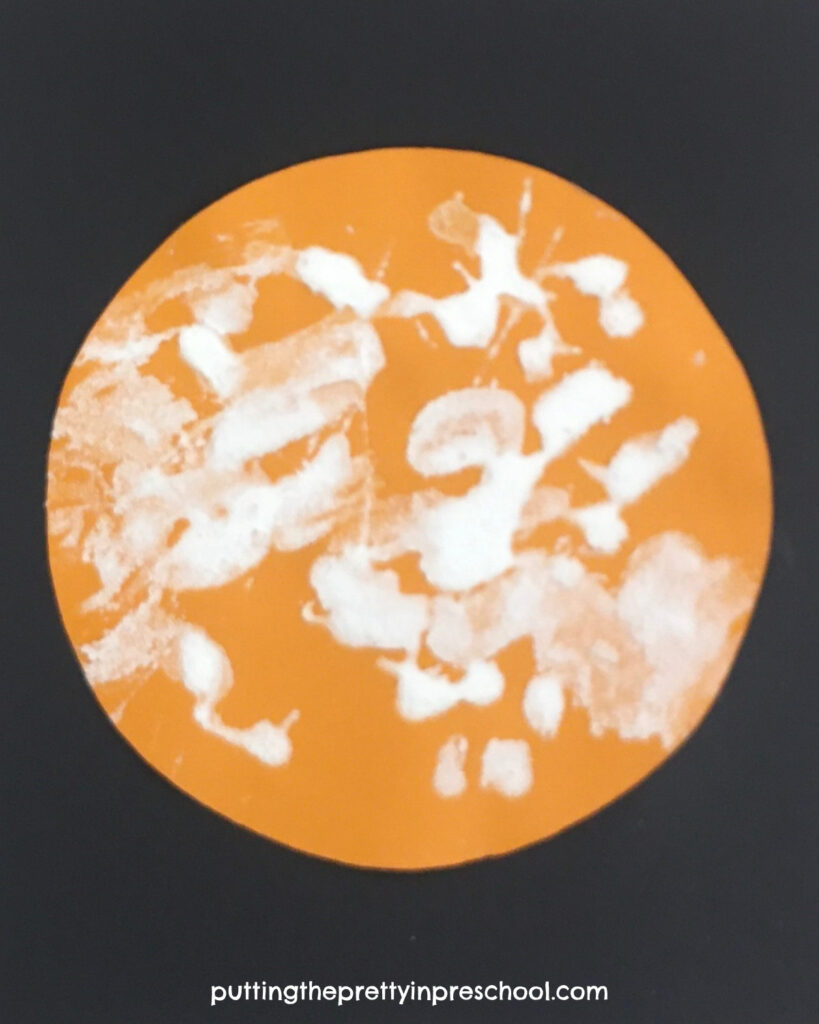
Yellow or Orange Moon
A yellow or orange moon is called a Harvest Moon since it is usually seen in late summer or early fall during harvest time. The moon can appear orange or yellow when it is close to the horizon.
_______
_______
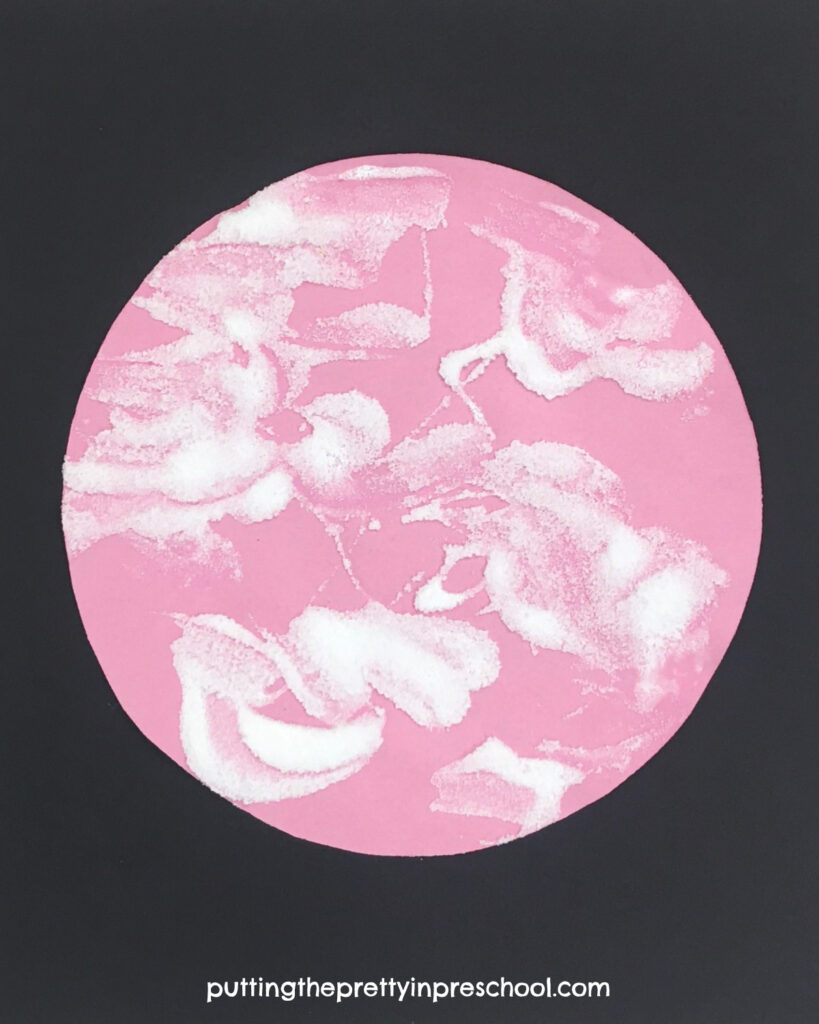
Pink Moon
The pink moon is the first full moon in April, and it only occasionally looks pink.
_______
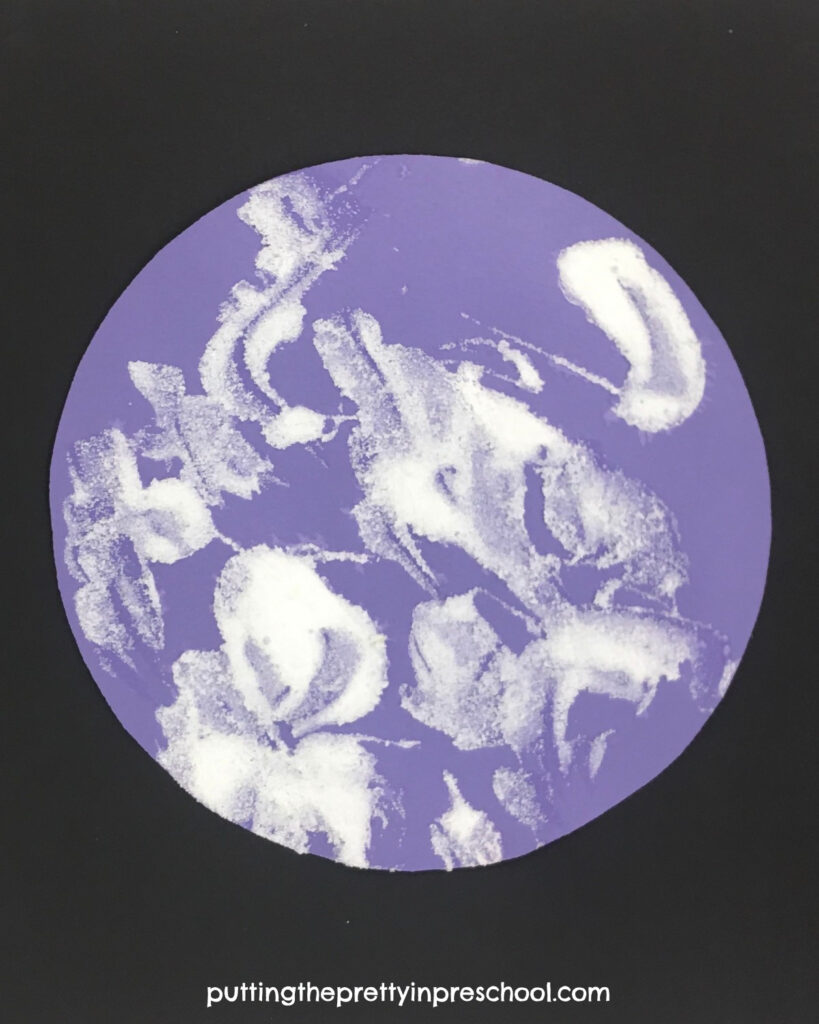
Purple Moon
Although it doesn’t look purple the second full moon in April is called a purple moon. It has been photographed as purple in Marcella Pace.
_______
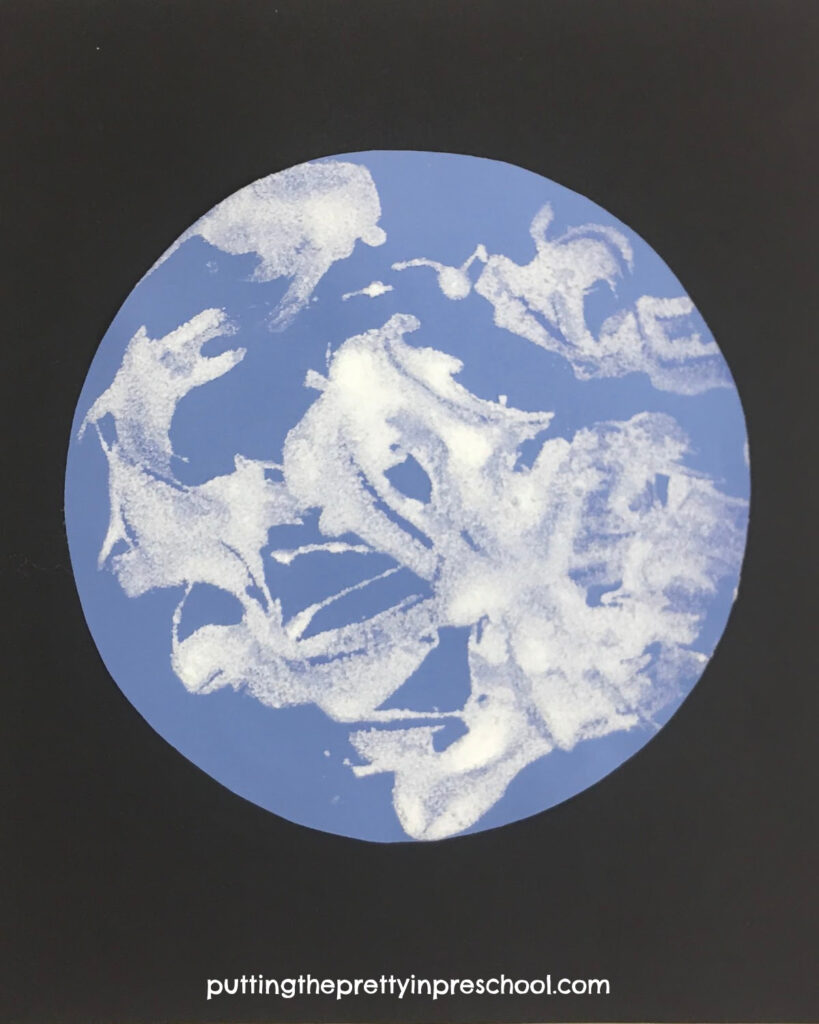
Blue Moon
The moon rarely appears blue. When it does look blue, the hue is the result of a huge amount of dust or smoke in the air due to a volcanic eruption or forest fire.
_______
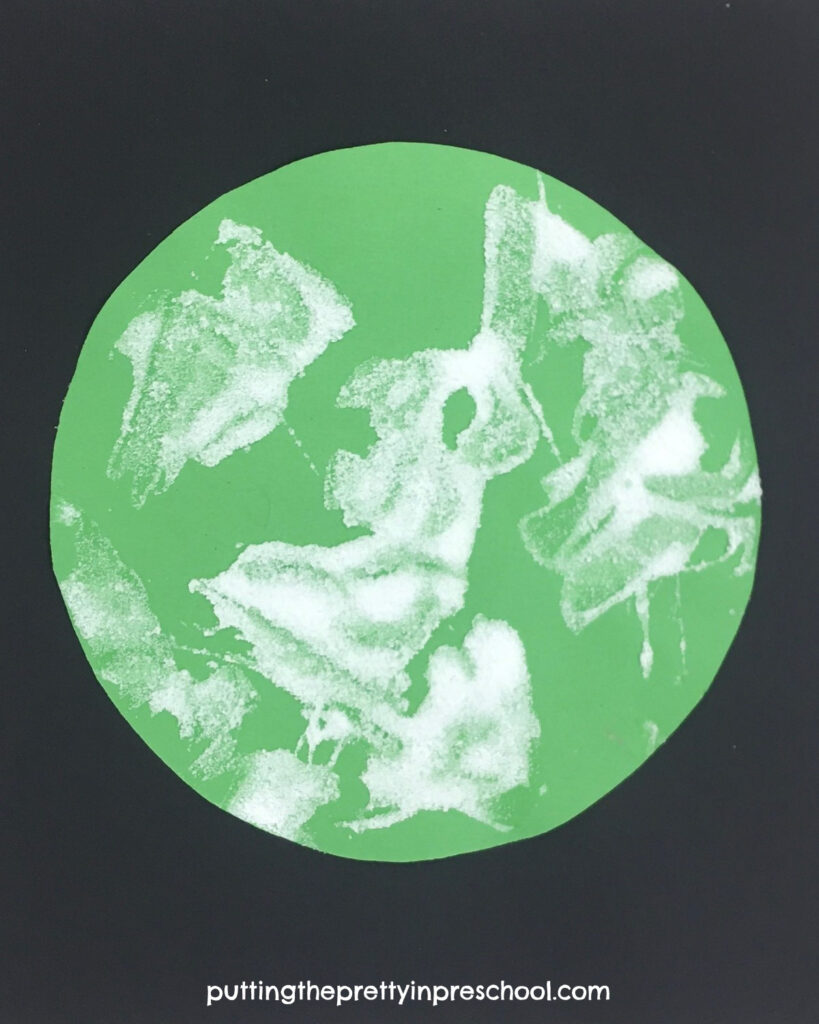
Green Moon
There have been no sightings of a green moon. But it is fun to reimagine the moon in a green hue using the salt and glue art technique.
_______
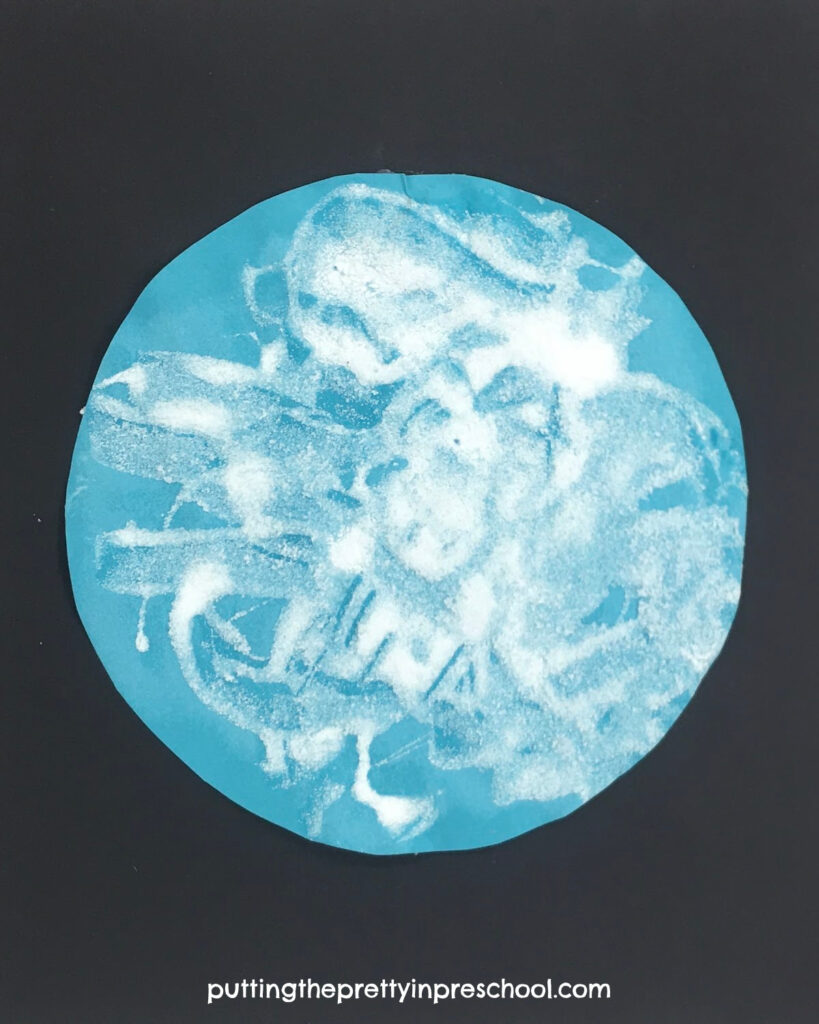
Turquoise Moon
Like a green moon, a turquoise moon won’t be spotted in the night sky. It is also fun to create in art.
_______
Moon Colors In Art
Depicting different colors of the moon is popular in digital art and photos, and there are many beautiful moon artworks available. Why not join in the fun and create colorful moon art using the salt and glue technique?
_______
Related:
Space Restaurant Dramatic Play
Watercolor Planets With Markers
_______
[Read more…] about Moon Colors Art Project