_______
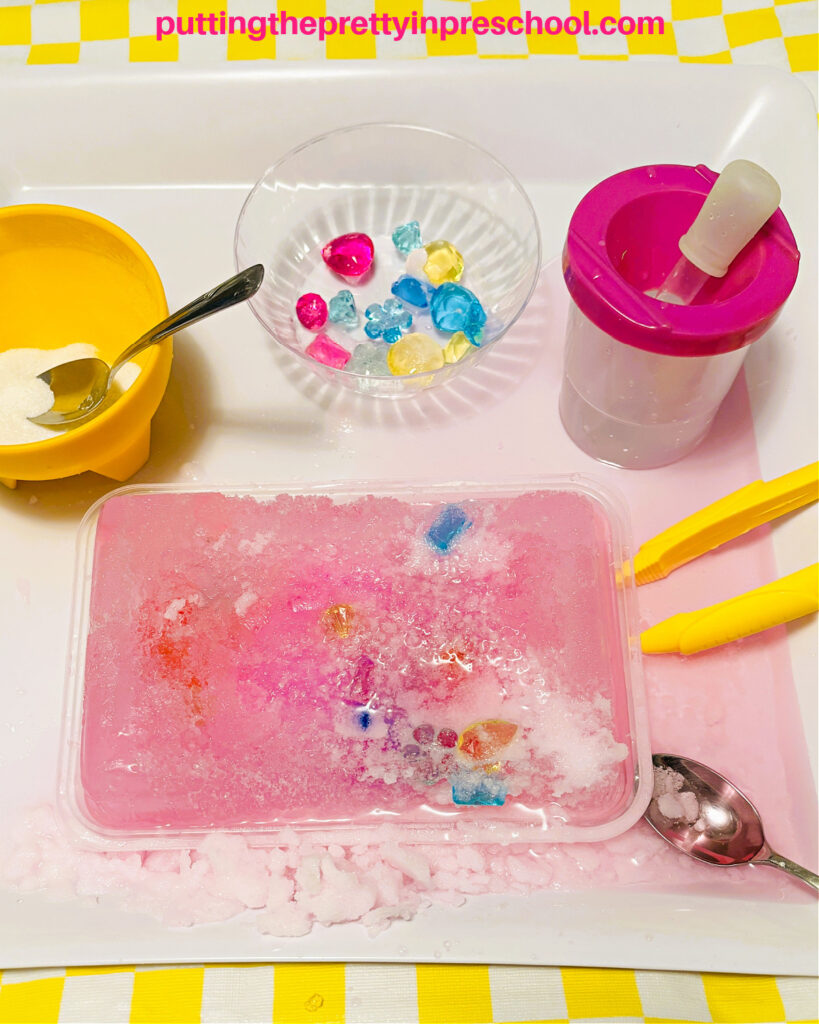
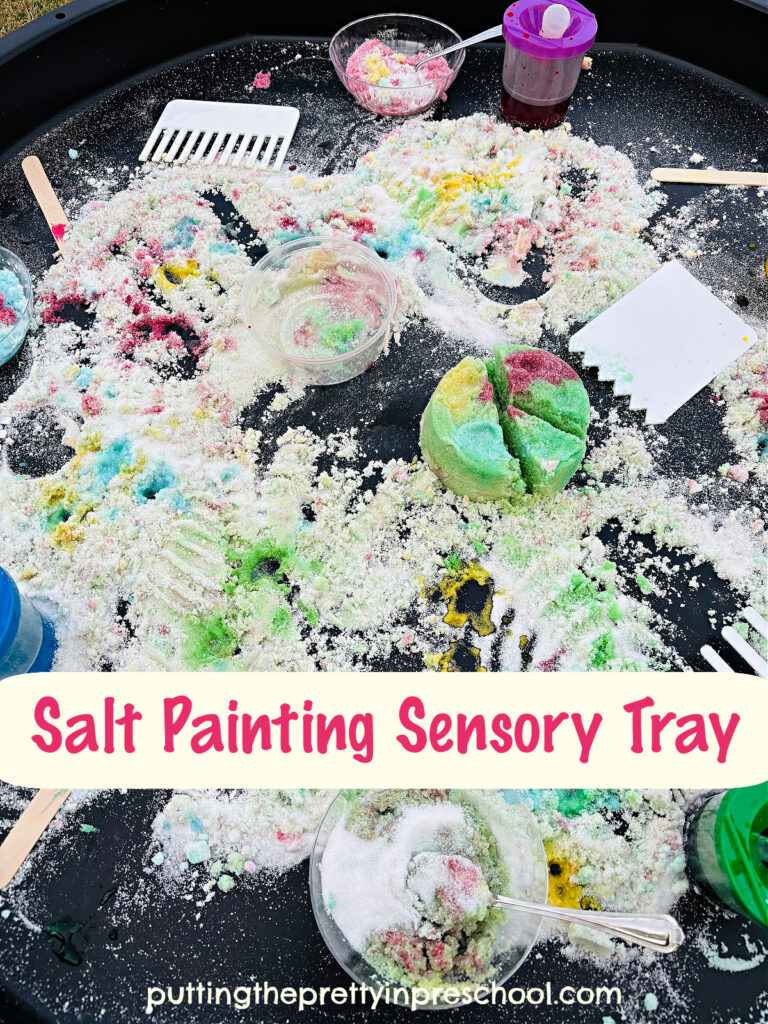
This gigantic salt painting sensory tray is inspired by the many eye-catching salt trays I’ve seen online over the years. In this activity, children are invited to color salt in a huge sensory tray and draw, design, and sculpt with the wet salt.
Salt is inexpensive and has a sand-like texture. It is taste-safe, non-perishable, and easy to color in many beautiful hues.
_______
Supplies to Collect
Gather the following supplies for this silky salt-based sensory bin:
- 4 boxes of salt
- food coloring
- paint pots
- eye droppers or pipettes
- small bowls
- clear storage containers
- tablespoons
- toothed scraping tools
_______
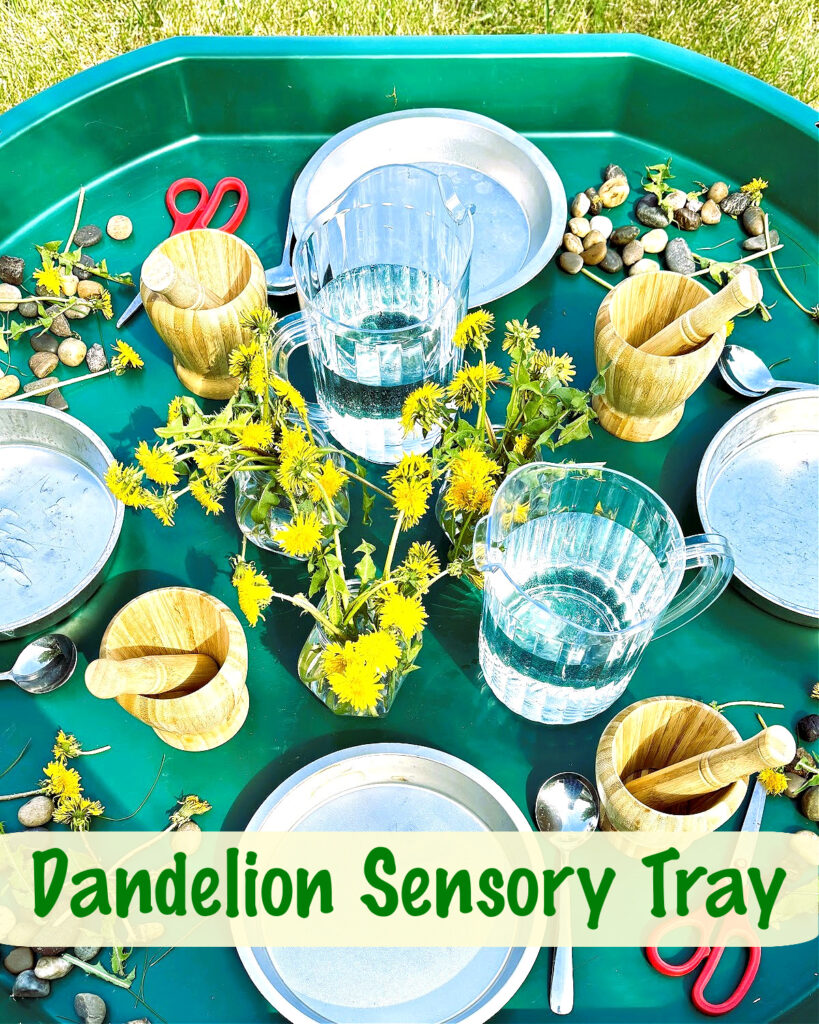
Setting Up the Salt Painting Sensory Tray
This low-cost sensory activity is effortless to set up and works splendidly indoors or outdoors.
If doing the activity indoors, set a large, low-edged sensory tray on a table or stand made for the tray. This light, transportable active world tray, also called a tuff tray, is up to the task. Outside, if a table isn’t available, it rests on four stackable stools or patio end tables. So easy!
Tip: Outside, I recommend placing the sensory tray away from plants and grass since salt harms them.

_______
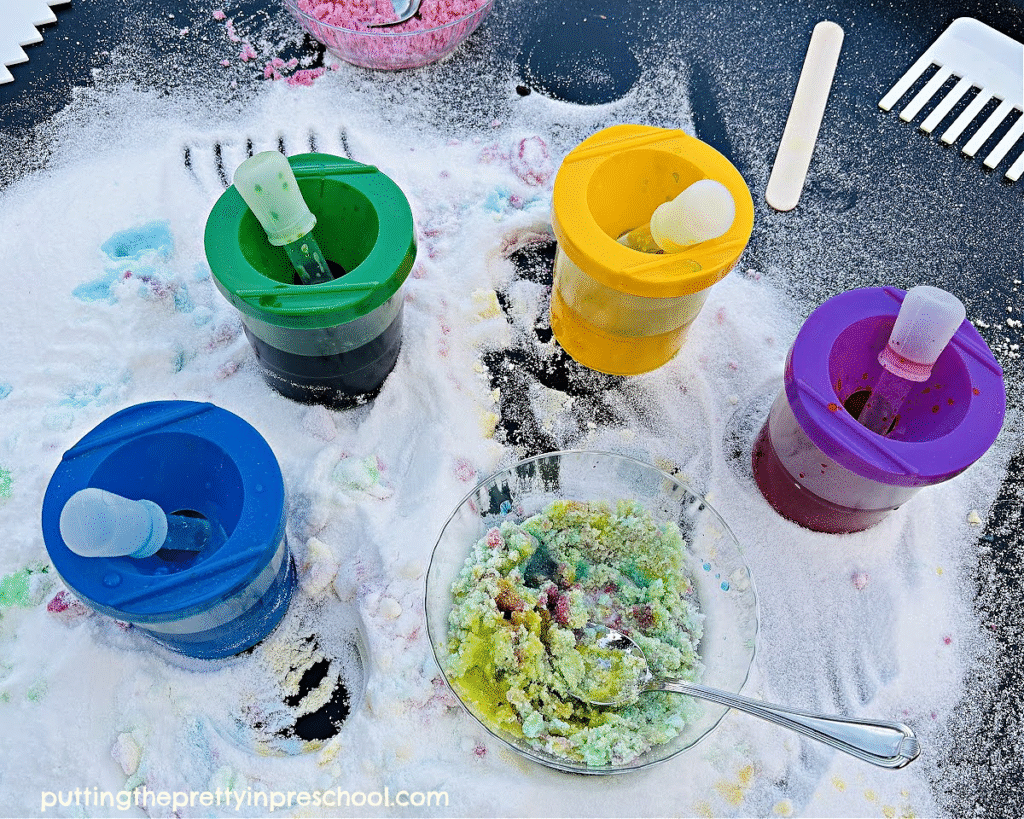
Next, add food coloring in a few hues to paint pots filled with water. Thinned tempera paints also work fine. Add eye droppers to the pots.
_______
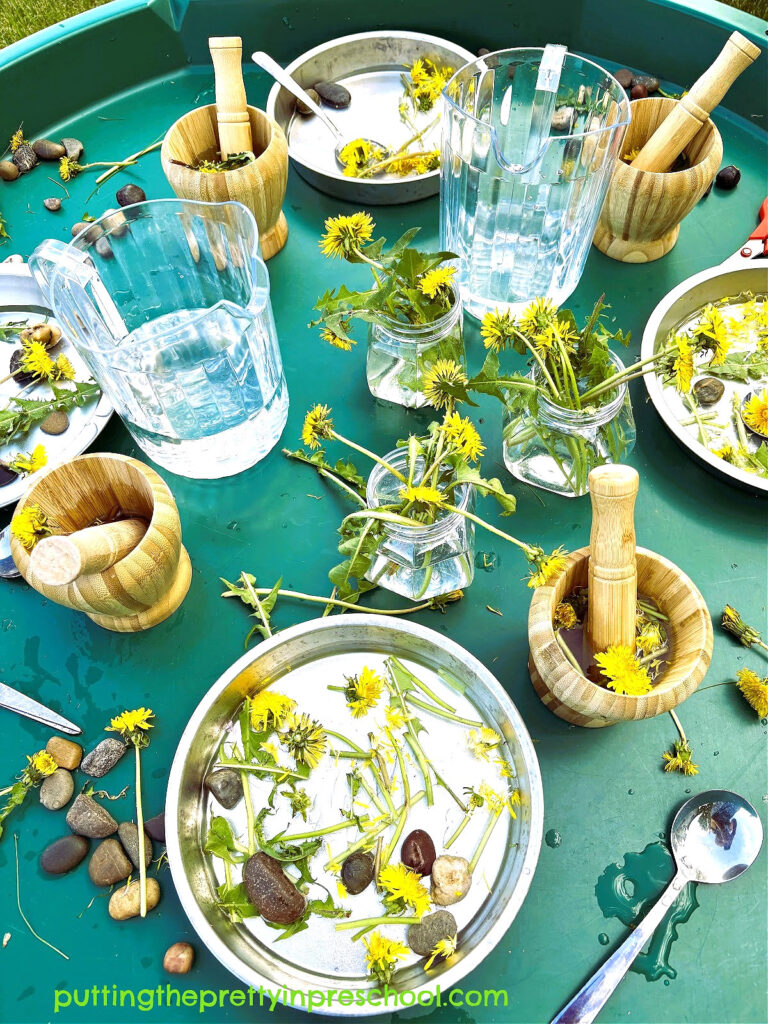
Then add bowls and tablespoons for scooping and mixing, and toothed scrapers for creating designs.
Lastly, pour three boxes of salt into the tray. Reserve one box to sprinkle in more doses of salt periodically to add interest to the sensory invitation as children are playing.
The salt tray is ready to explore.
_______
Follow me on Pinterest for more early learning activities.
_______
Exploring the Salt Painting Sensory Tray
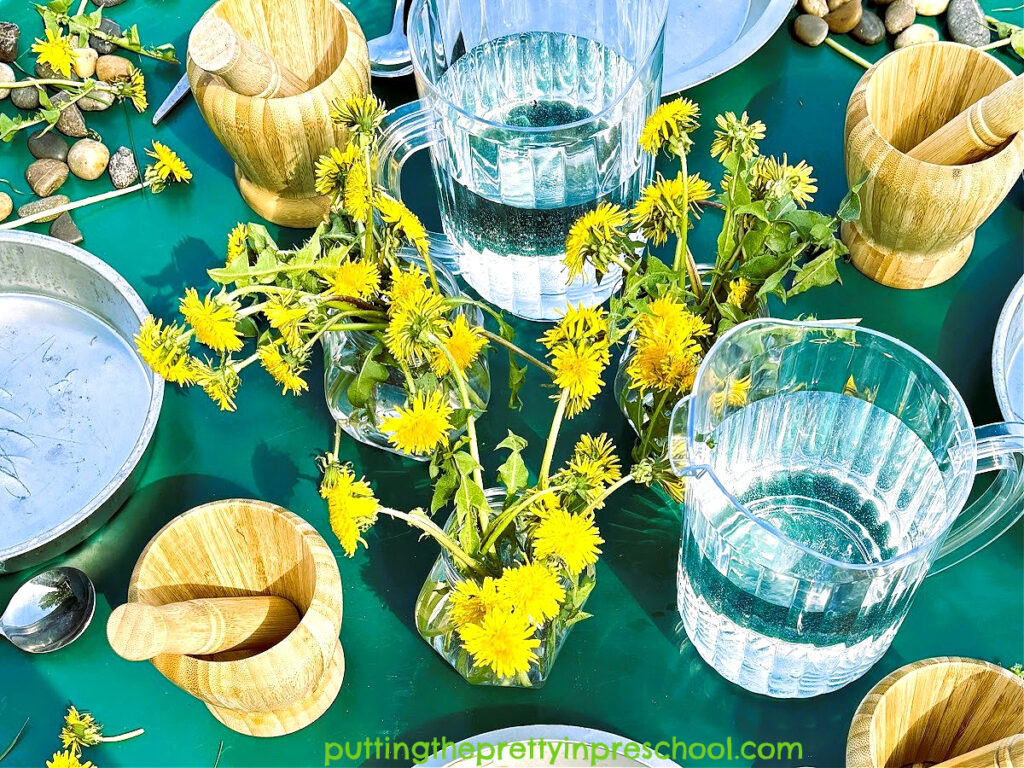
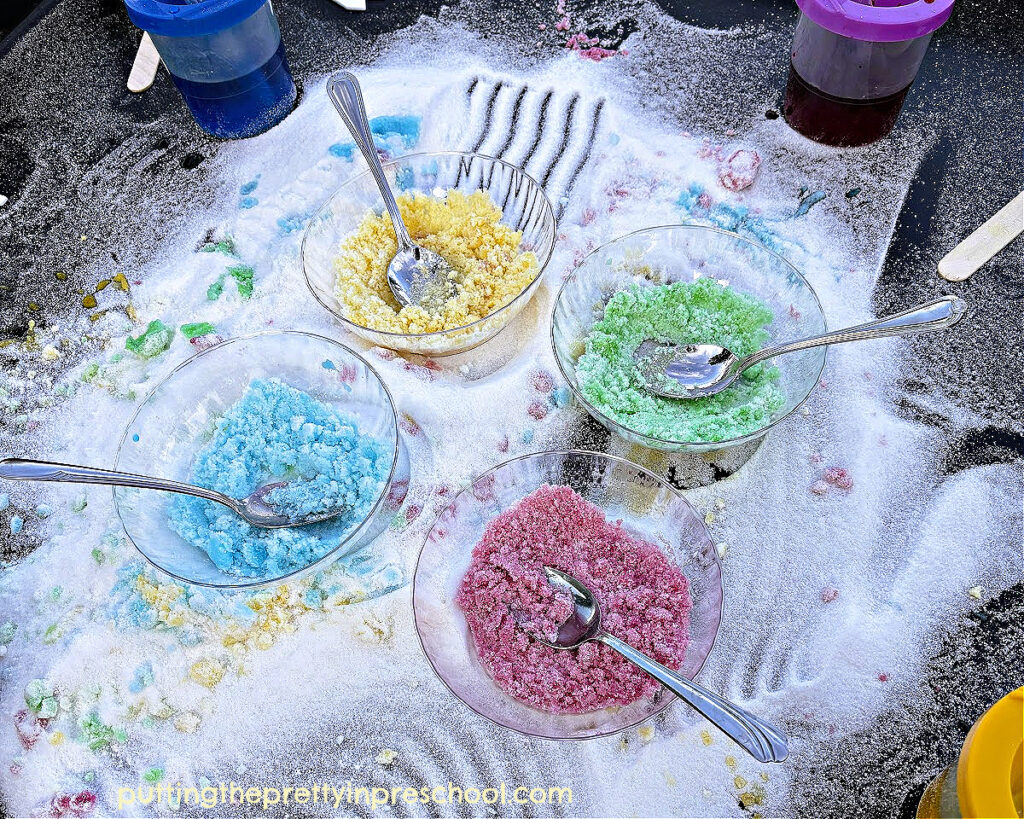
This salt painting sensory tray is suitable for a group of children to explore. Invite participants to drip paint onto the salt and mix it in. They will love the coloring process and delight in mixing colors in the bowls and clear containers.
_______
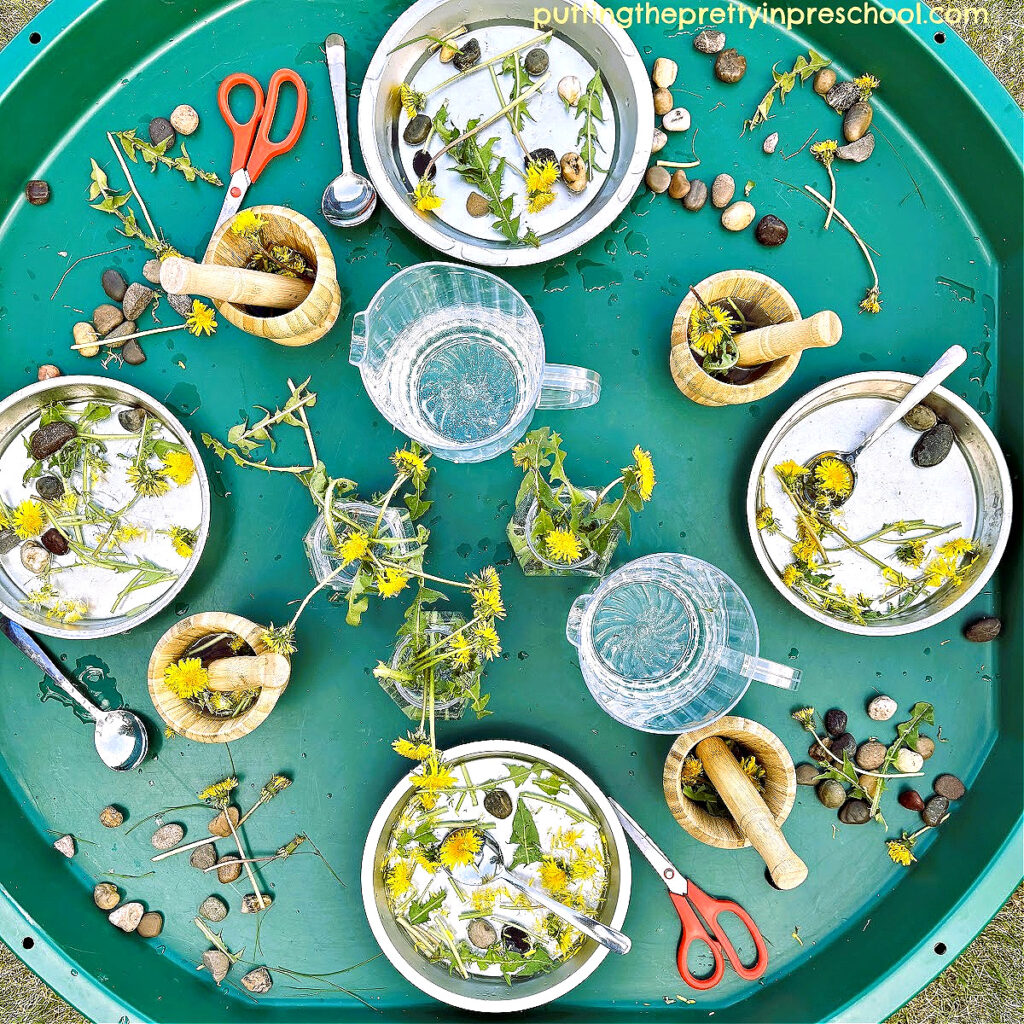
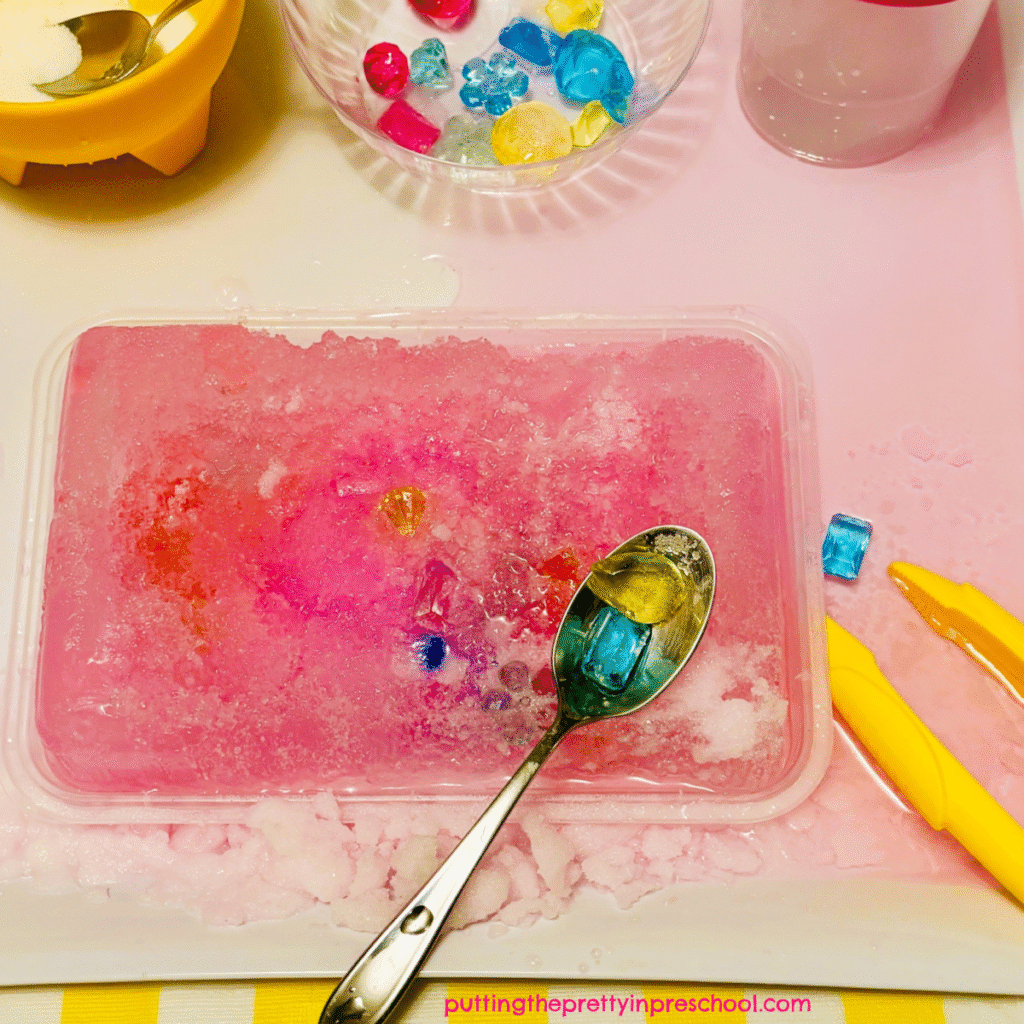
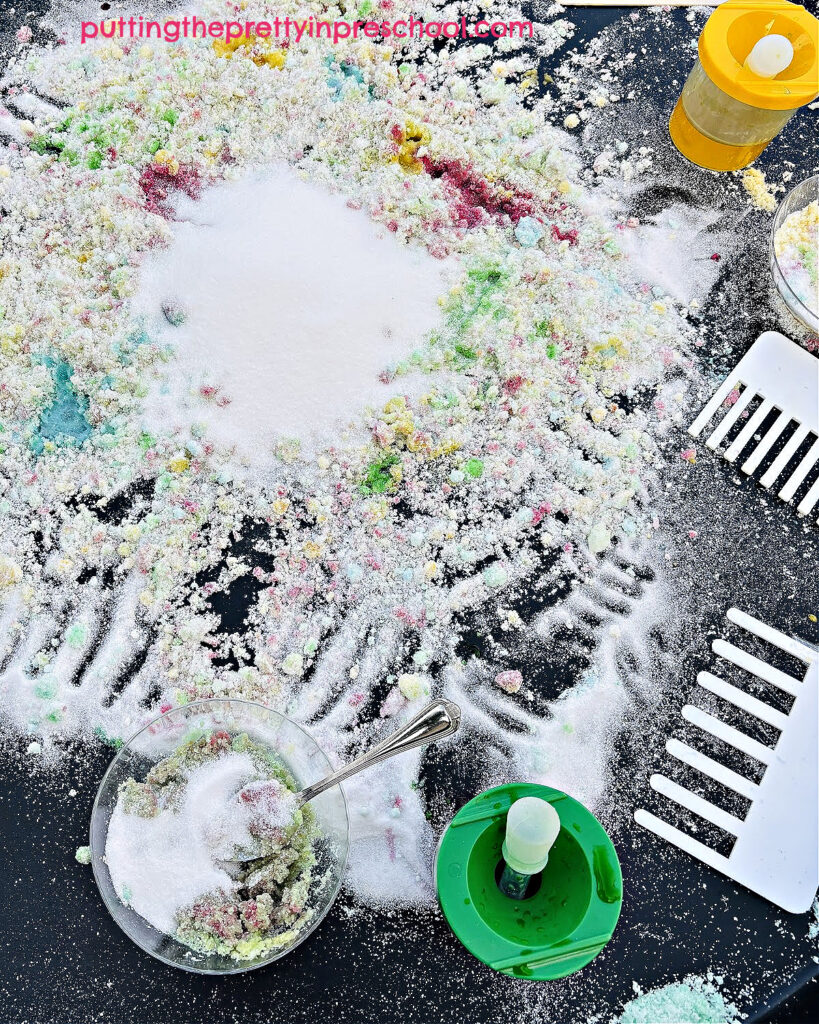
They’ll naturally pick up the tools to make designs in the salt.
_______
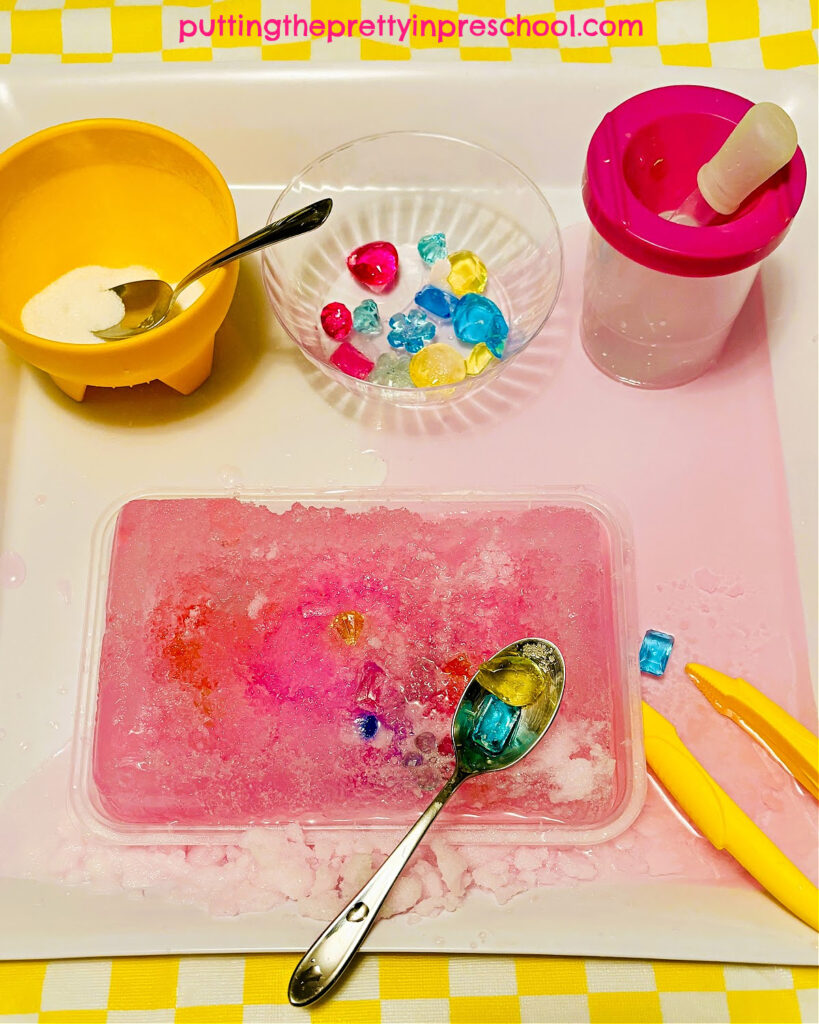
Periodically add more salt to the bin so they can continue mixing and changing the colors.
_______
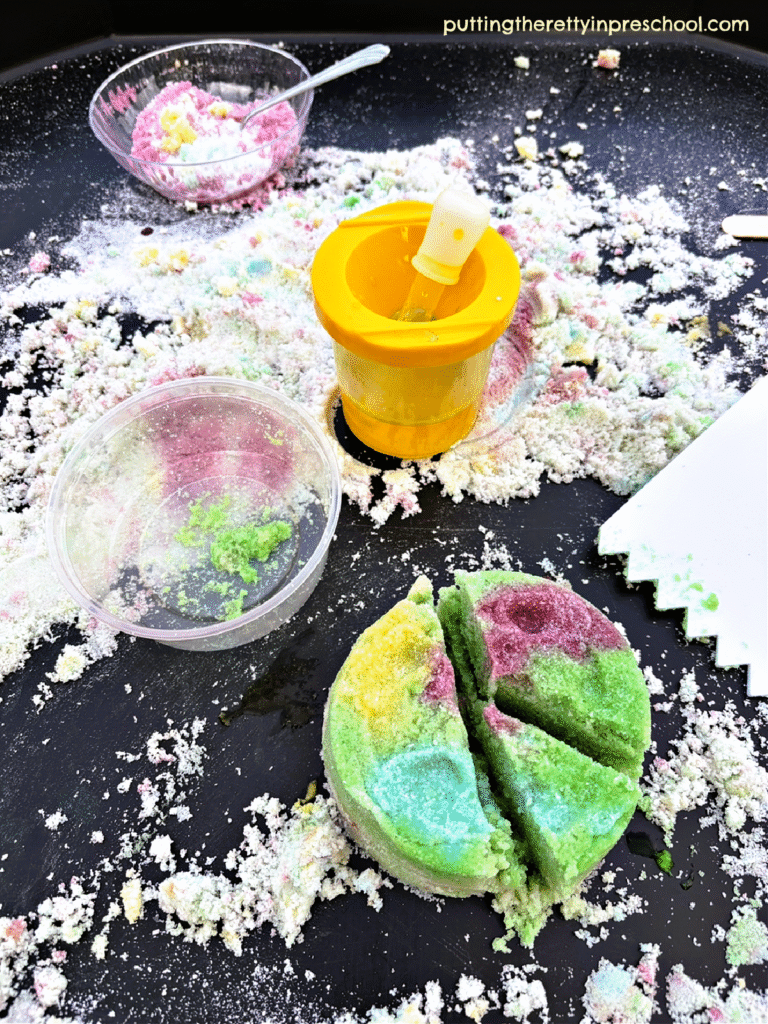
As the salt gets wetter, children may mold cakes and other items from the salt. When this happens, the scrapers make excellent slicers!
_______
When children are finished investigating the salty tray, have a water source nearby so they can wash up easily.
_______
Benefits of the Salt Painting Sensory Tray
Exploring a salt tray and mixing colors is a relaxing and satisfying science and sensory activity. Salt trays are also popular as prewriting invitations. Children experience a novel way to practice tracing and writing lines, letters, numbers, and shapes, using at least two of their senses. They develop eye-hand coordination and refine fine motor skills.
_______
_______
_______
More Sensory Activities
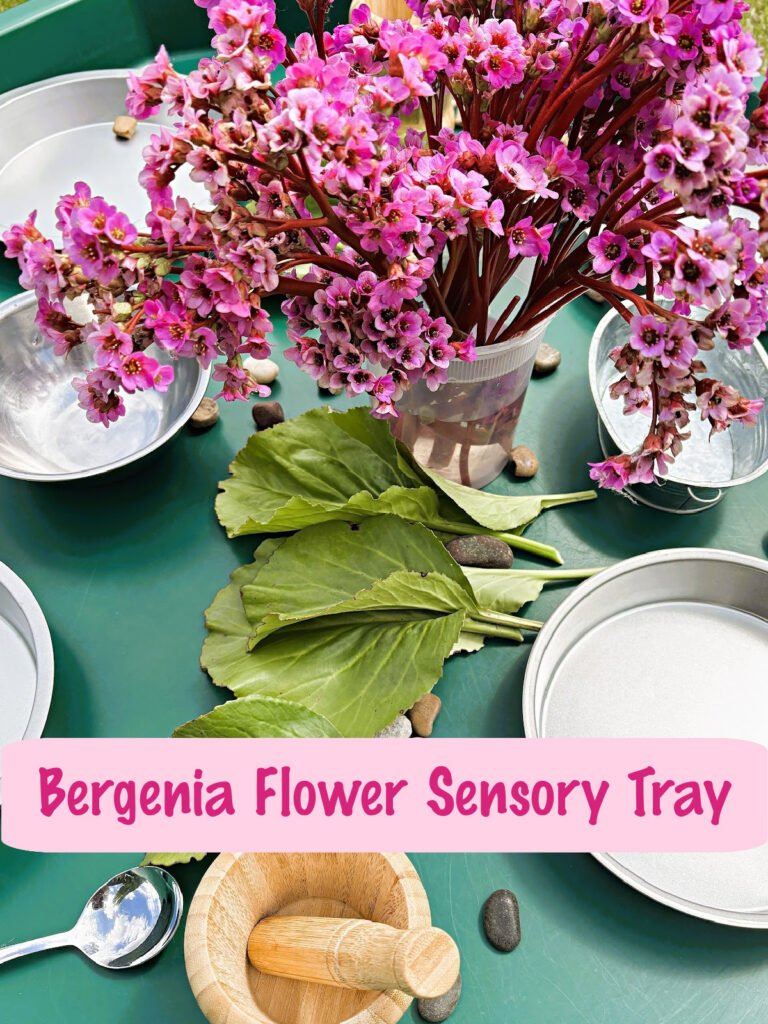
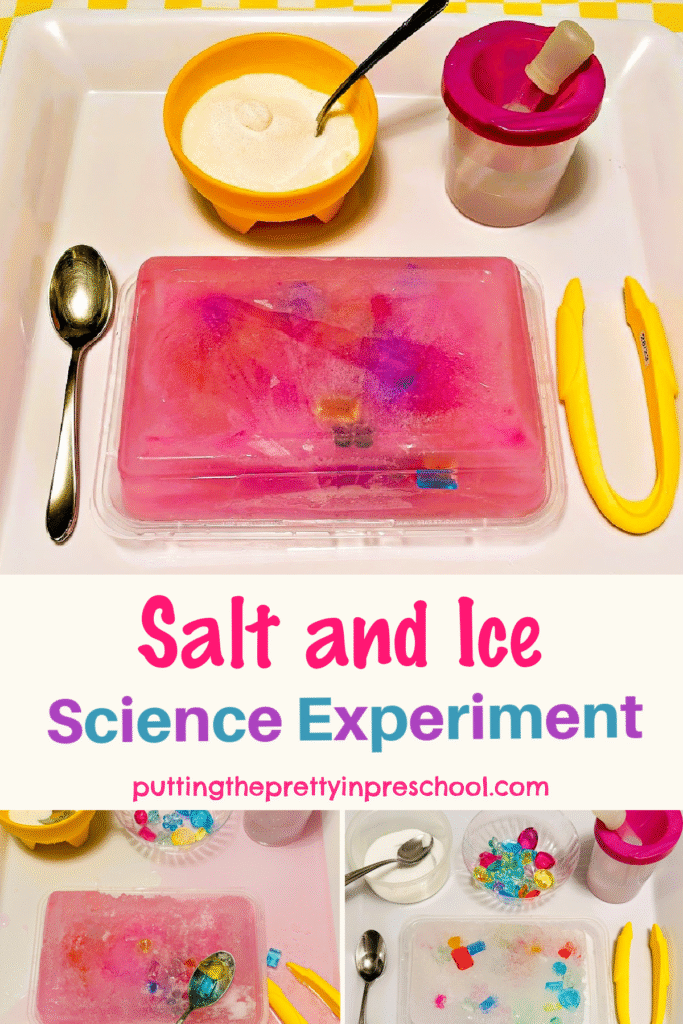
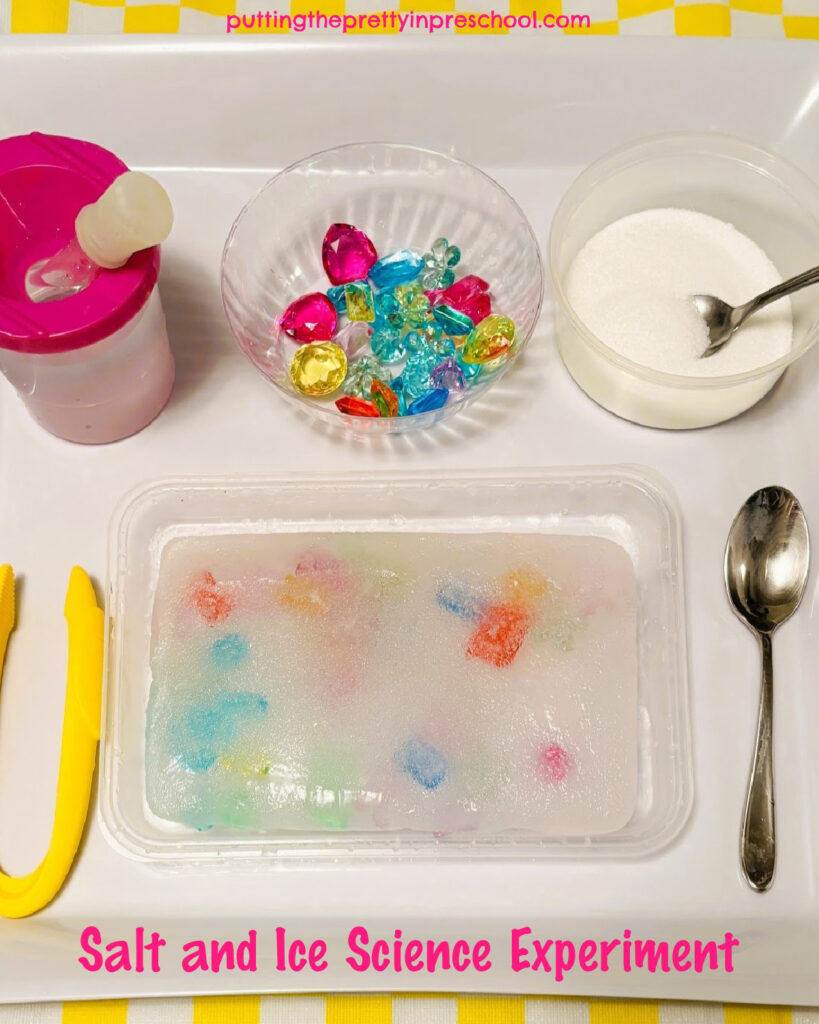
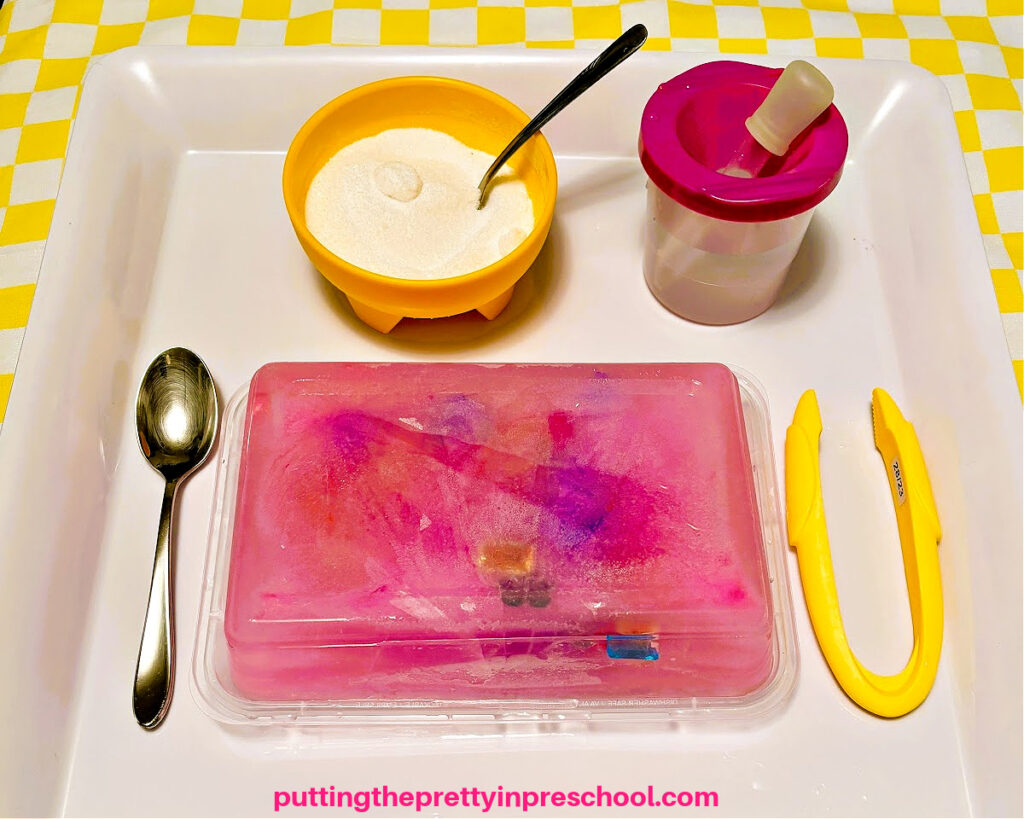
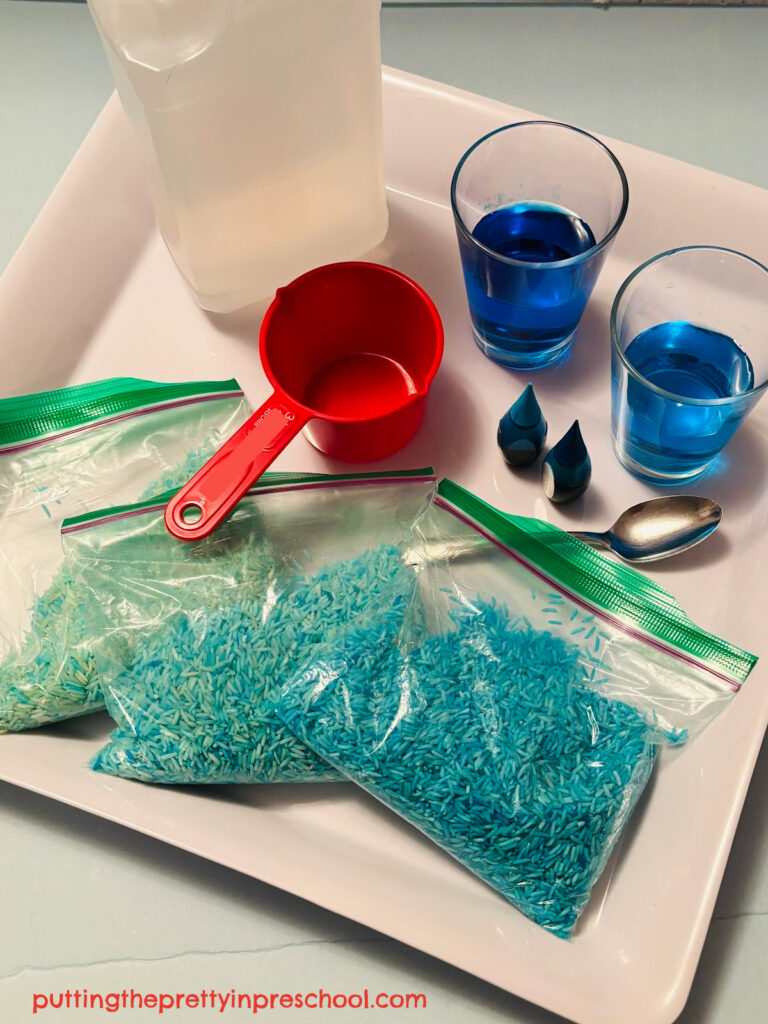
Salt and Ice Science Experiment
_______
[Read more…] about Salt Painting Sensory Bin