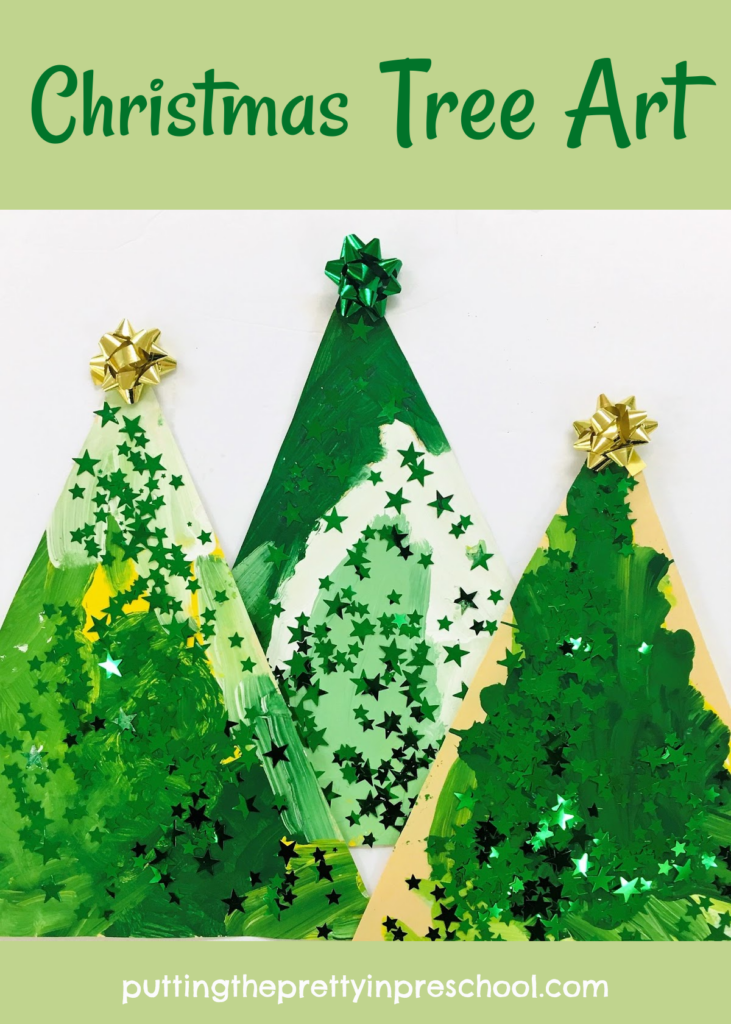
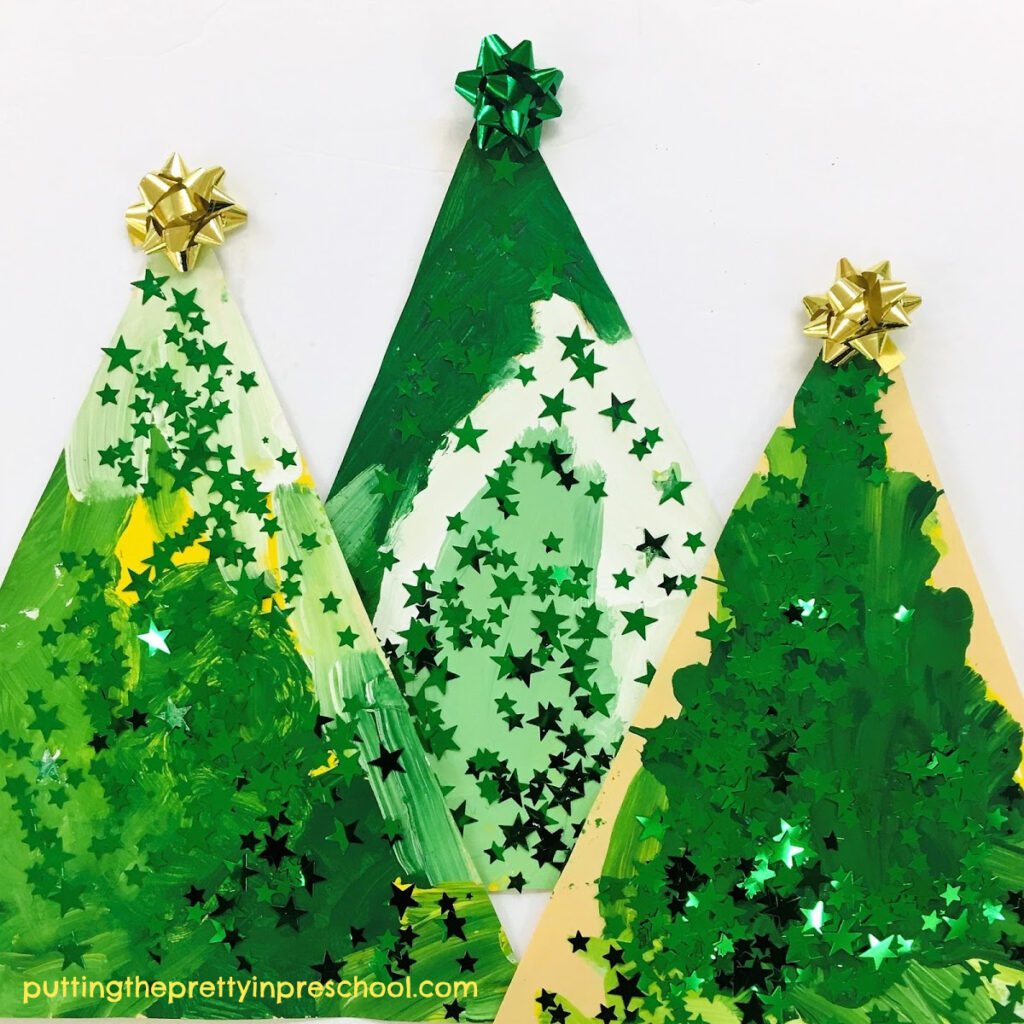
This Christmas tree art is quick to set up and simple to do. And it gives early learners a chance to explore color shades and brightness.
_______
Supplies to Collect
- green, yellow and white tempera paint
- 12-inch x 18-inch sturdy paper
- paint palettes
- paintbrushes
- paper towel squares
- metallic green star confetti
- gold and green Christmas gift bows
_______
Making The Christmas Tree Art
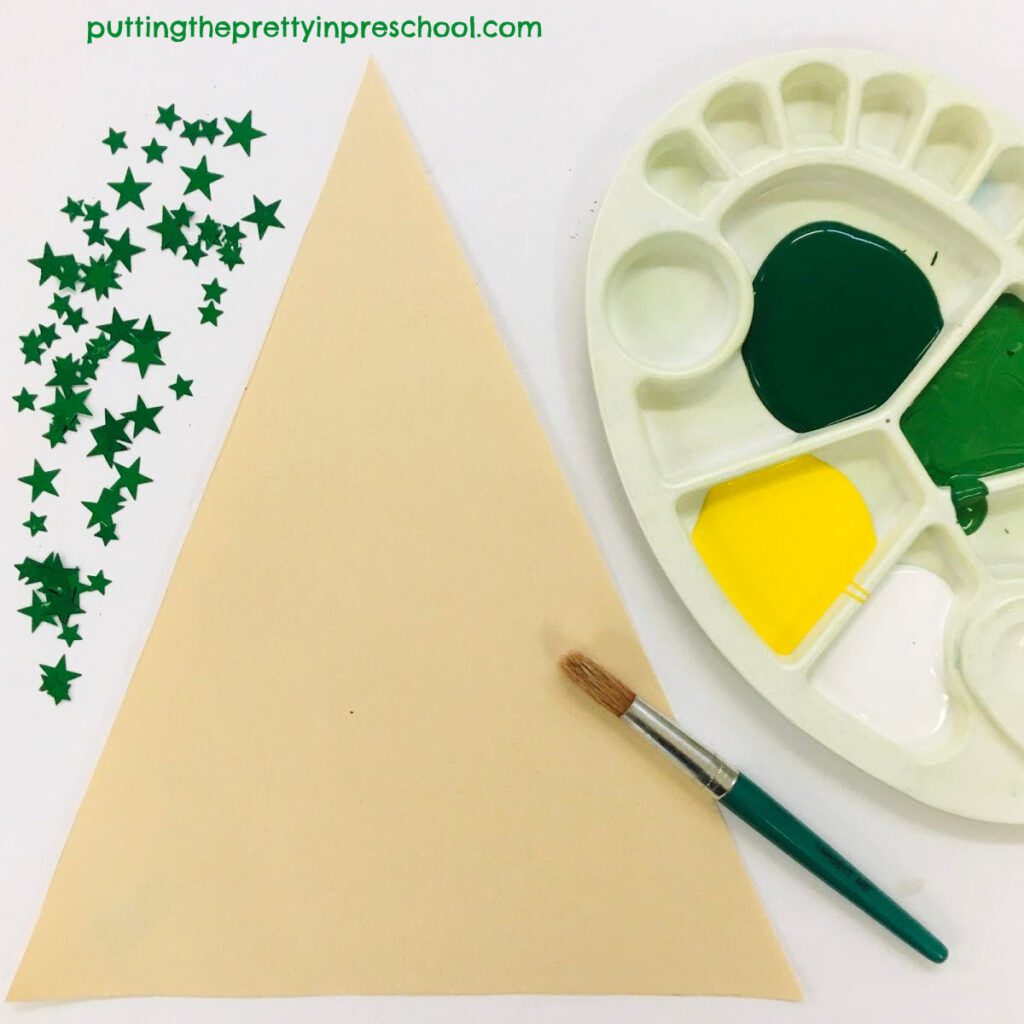
Cut long, narrow triangles from large sheets of sturdy paper. Shown below is manila paper.
Pour dark green, medium green, yellow, and white tempera paint into artist palettes. This color scheme works well when children keep the colors separate or do a lot of blending.
Invite your early learners to paint a triangle. They will embrace painting a unique shape.
_______
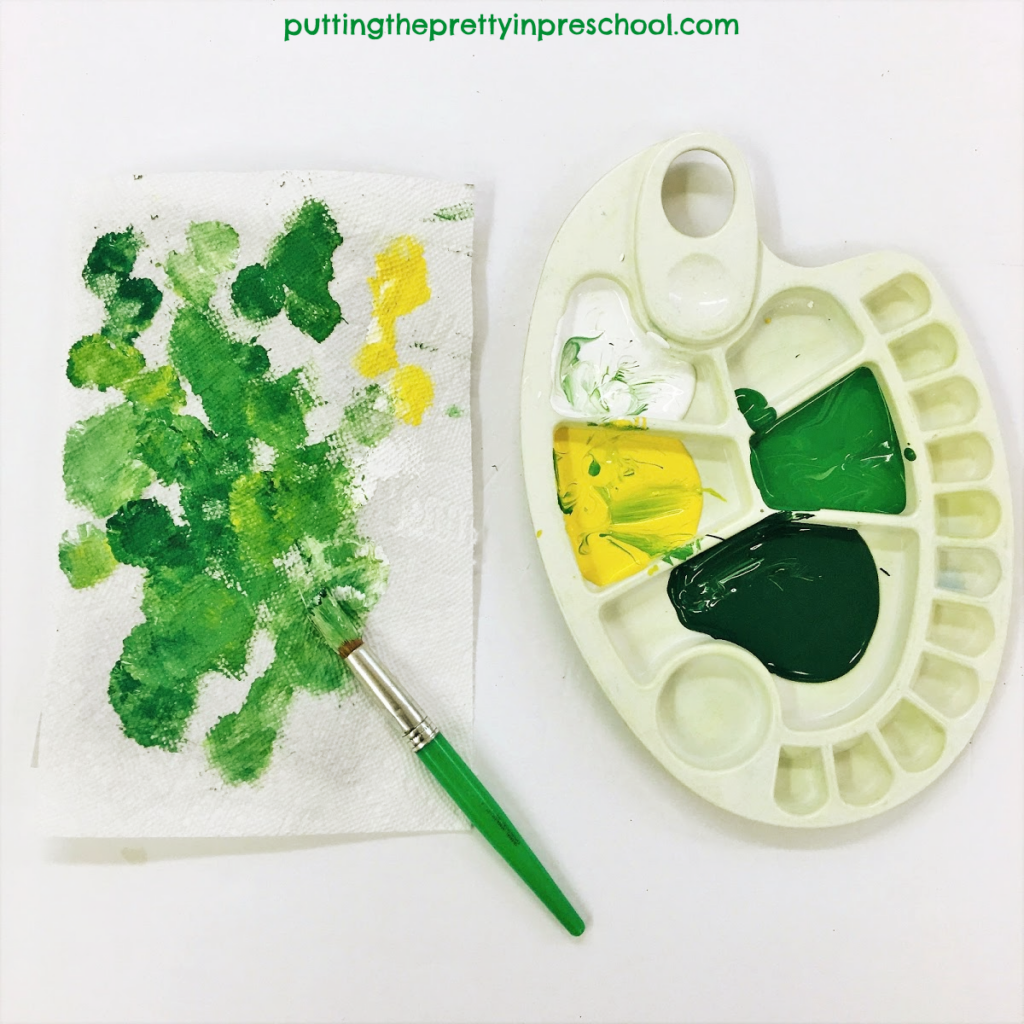
A paper towel works well to dab excess paint from the brush before switching to a new color. This is a helpful tip from Patty Palmer’s book “Draw, Paint, Sparkle.”
_______
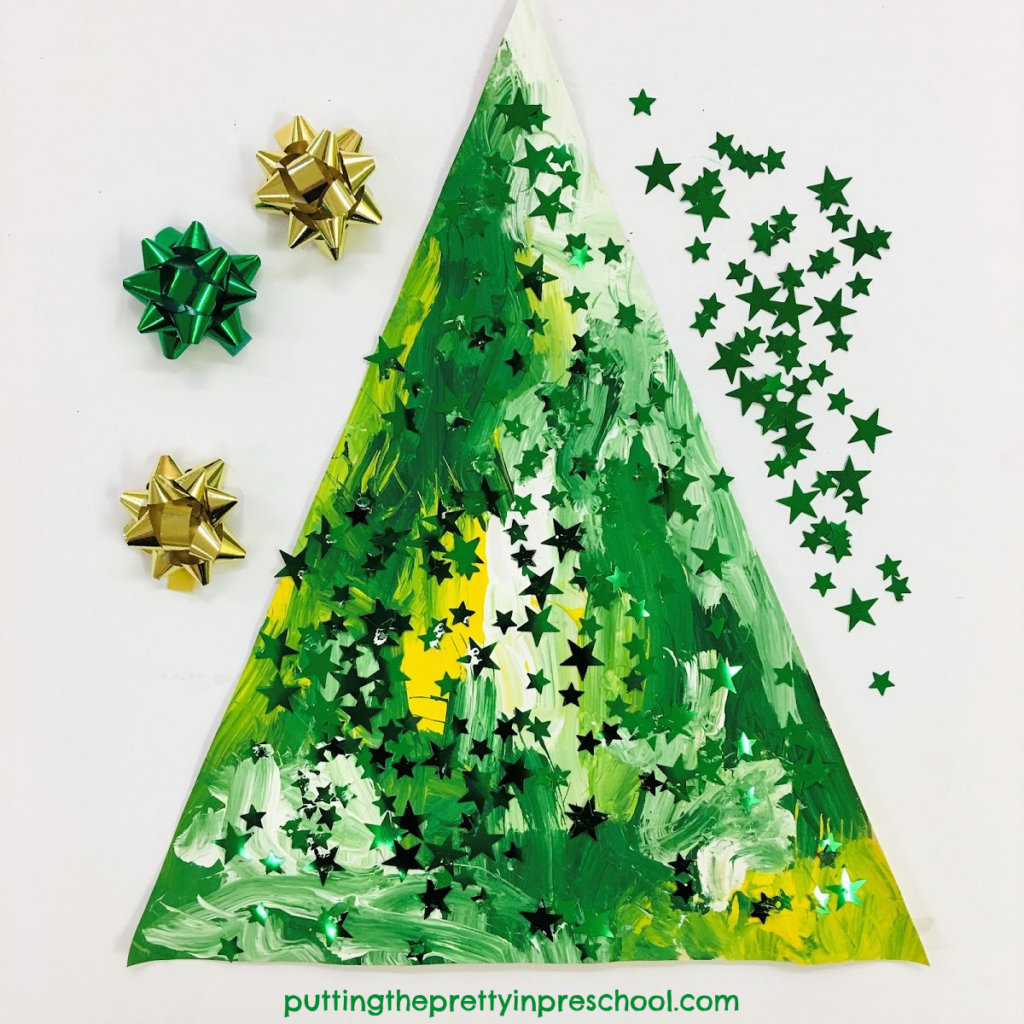
Next, have your little charges sprinkle on metallic stars while the paint is still wet. They will loooove doing this too!
_______
When the tree art is dry, spray on unscented hairspray from an aerosol can to help the stars stay on. (This is the first year I searched for unscented hairspray to use as a fixative. It was worth the time and slightly greater expense.)
Lastly, have your little learners pick a Christmas gift bow to stick on top of their tree.

_______
Discussing triangle shapes, using beautiful finishing touches, seeing how white added to darker green makes different shades, and noticing how yellow lightens and brightens green are some learning possibilities for this craft.
And these Christmas tree art projects look absolutely beautiful displayed together.
_______
_______
You may also like:
_______

_______
Don’t forget to share this post on Pinterest or your favorite social media channel. Sharing is caring!

_______
© Annette Kaminsky December 21, 2020
_______
Let's connect on social media:
Leave a Reply