_______
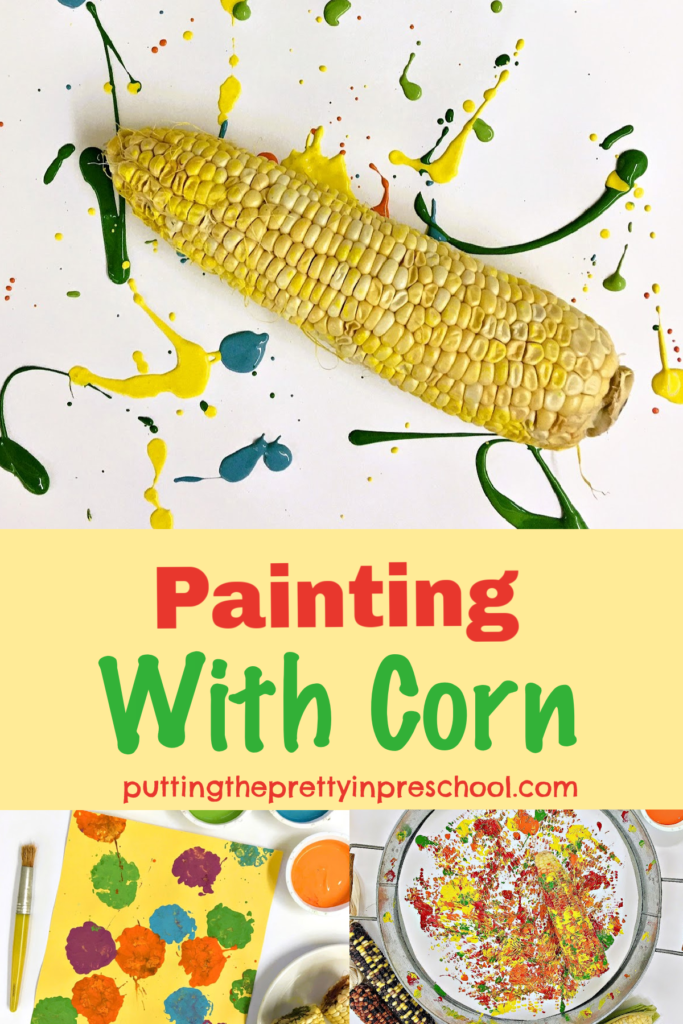
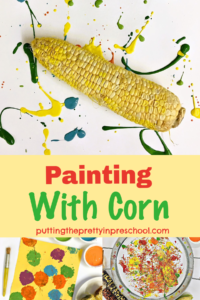
This painting with corn process art activity is quick and easy to do and offers young children an unexpected way to paint. It can be completed in a few different ways, adding variety and sensory options to the art experience.
_______
Follow me on Pinterest for more early learning ideas.
_______
Supplies To Collect
Gather the following supplies for painting with corn:
- corn ear and husk
- box or serving tray
- large sheets of sturdy art paper
- 8 ½ x 11-inch cardstock paper
- tempera paint
- paint pots
- paint tray
- teaspoons
- sharp knife
_______
Painting With Corn Techniques
Corn Painting In a Tray
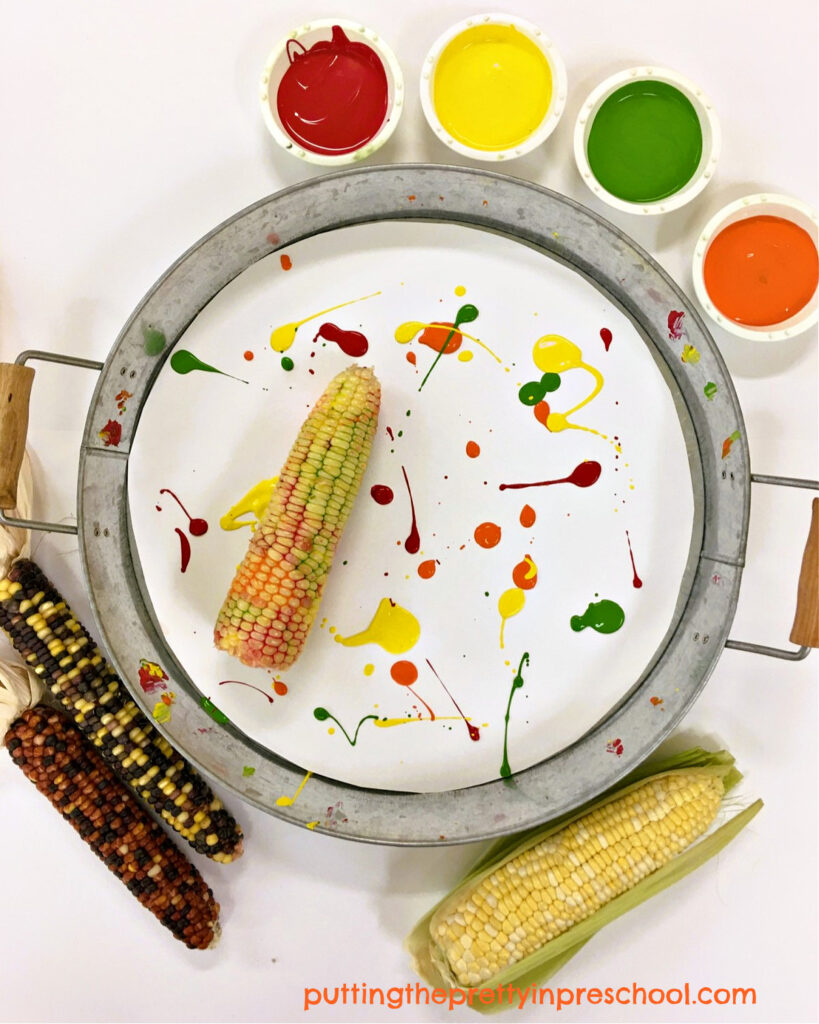
The first way to paint with corn is to set a piece of sturdy paper into a low-edged box or serving tray.
Next, spoon globs of paint in the colors of your choice onto the paper.
_______
Then shuck an ear of corn and drop it in the box or tray. Or use an ear of corn that is already shucked for the art activity.
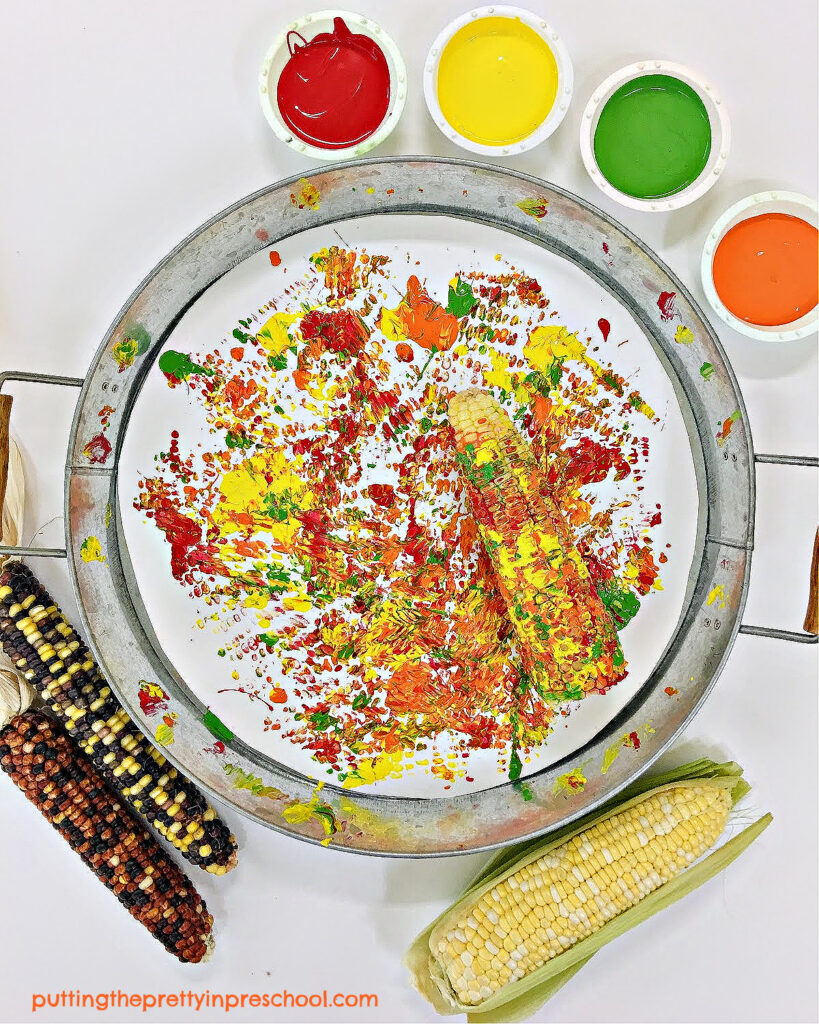
Tip the box or tray carefully from side to side to move the corn ear around, and you’ll soon have a completed piece of art.
_______
For a little more control, paint the ear of corn instead of spooning paint onto the art paper. When the corn cob is covered in paint, drop it into the box or tray. Then tip the box from side to side as in the process above.
_______
Painting By Hand Rolling Corn
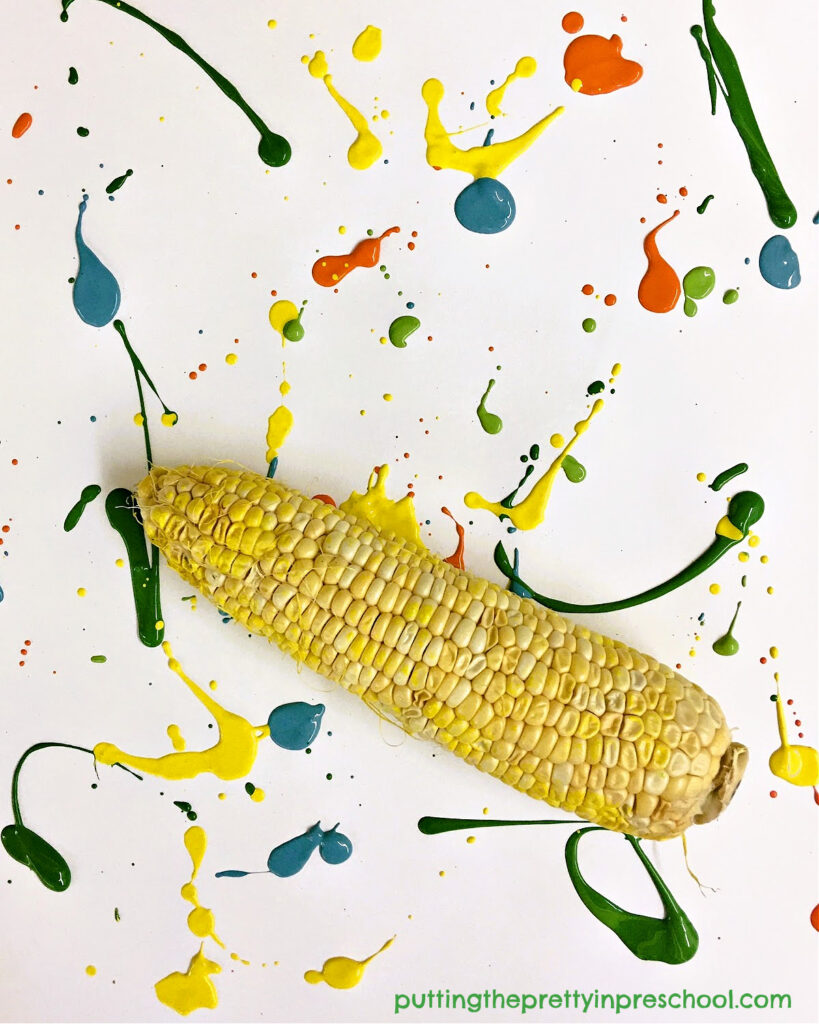
A second way to paint with corn is to forgo using a box or tray for the art process. Simply set a large piece of sturdy paper on a table covered with newsprint or a washable tablecloth.
_______
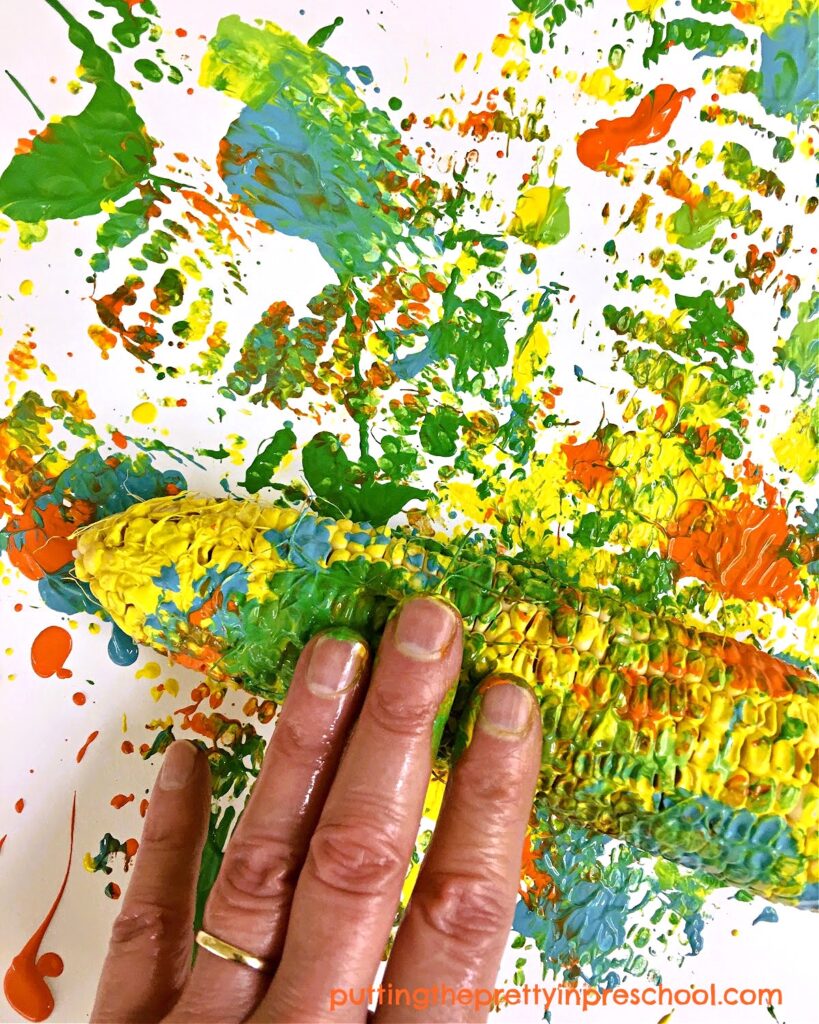
Then drop globs of paint onto the paper and roll the corn over them with your hands as if you were using a rolling pin.
_______
Or paint the corn ear first and then roll it in different directions over the paper.
This rolling corn technique just might go over best with little learners, as they love to mingle with the paint.
_______
Corn Half Paint Prints
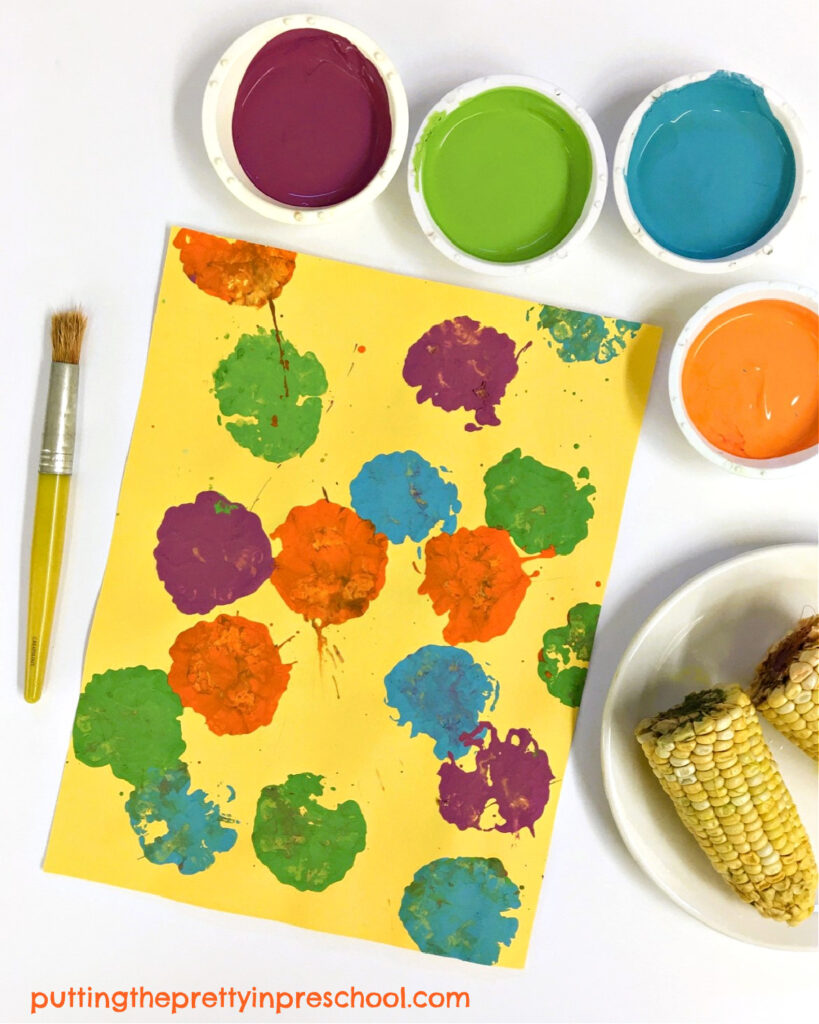
The third method of painting is to start by cutting an ear of corn in half with a sharp knife, aiming to get a smooth sliced end on each half.
Next, spoon tempera paint colors into pie tins, disposable plates, or paint trays.
Dip the sliced end of one corn ear half into a paint color and press it onto the paper.
_______
When switching colors, wipe the paint-filled edge of the corn with a paper towel sheet before dipping it in a new hue.
_______
Corn Cob Paint Print
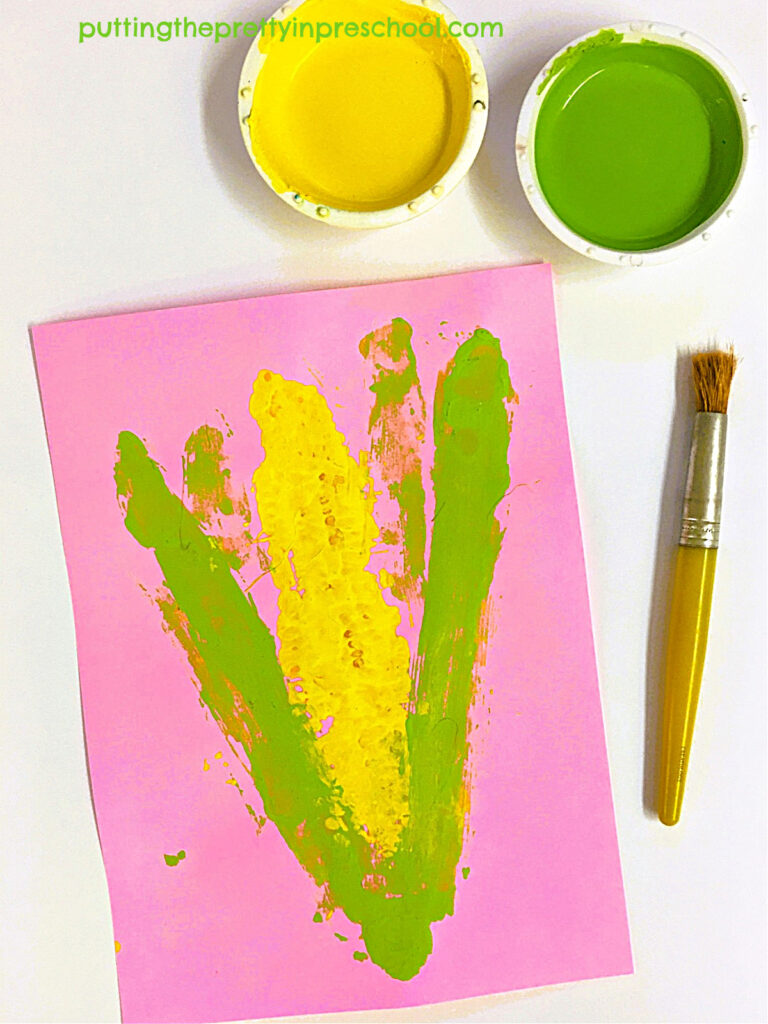
In the last method of painting with corn, the goal is to make a realistic corn cob by using a printmaking technique. In this art activity, a corn cob and a husk are used to make paint prints.
_______
For the art project, set out an ear of shucked corn. Save one of the green husks to use.
With a paintbrush, first thoroughly paint a corn ear with yellow tempera paint.
Next, press the corn cob on a piece of 8 ½ x 11-inch cardstock paper, slightly rolling it back and forth with your fingers.
Remove the corn cob from the paper.
Then paint one side of a husk and press it down on the paper next to the corn print. Make a second husk print on the other side of the cob. Afterward, add a couple more husk prints around the corn.
_______
You may wish to try all of the above painting with corn methods as each adds an interesting twist to the art activity. Which corn process art painting technique is your favorite? Share in a comment below.
_______
Related: Corn Theme Activities
_______
_______
You may also like:
_______
_______
Don’t forget to share this post on Pinterest or your favorite social media channel. Sharing is caring!
_______
© Annette Kaminsky October 21, 2023
_______
Let's connect on social media:
Leave a Reply