_______
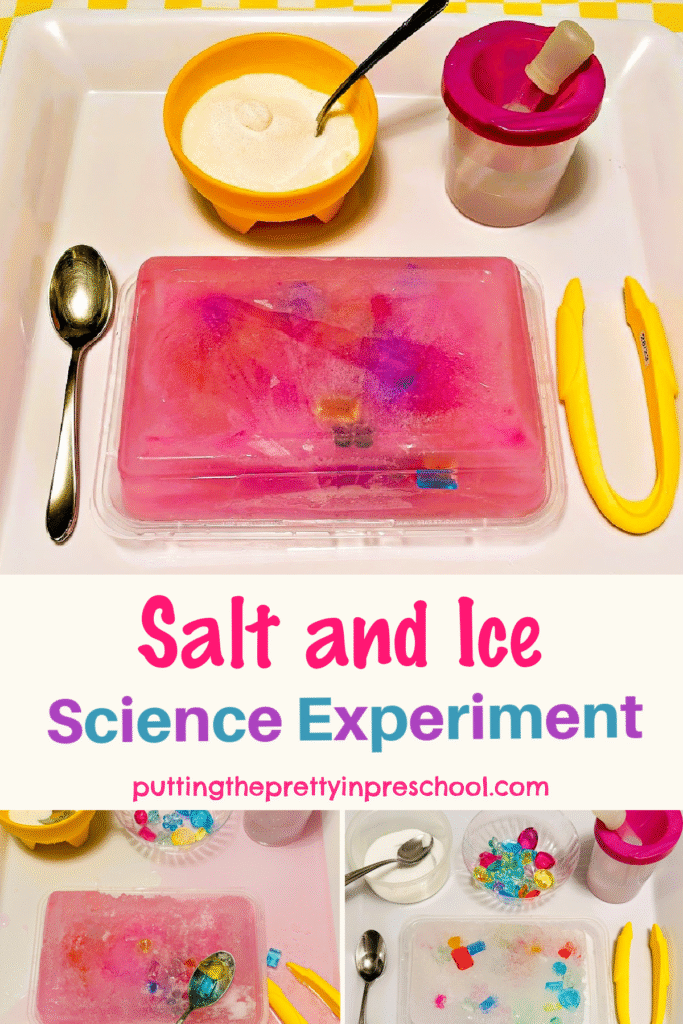
This salt and ice science experiment is simple to set up and fun to do. Just a few supplies are needed for this ice-cold science activity. It’s perfect on a hot day, and makes a good pirate theme or Mother’s Day activity.
_______
Supplies to Collect
Gather the following supplies for this ice and salt science experiment:
- food storage trays
- food coloring
- acrylic gems
- bowl with salt
- teaspoons
- paint pot with water
- eye droppers or pipettes
- play tweezers
- tray
- safety glasses
- waterproof table cover
_______
_______
Preparing the Salt and Ice Science Experiment
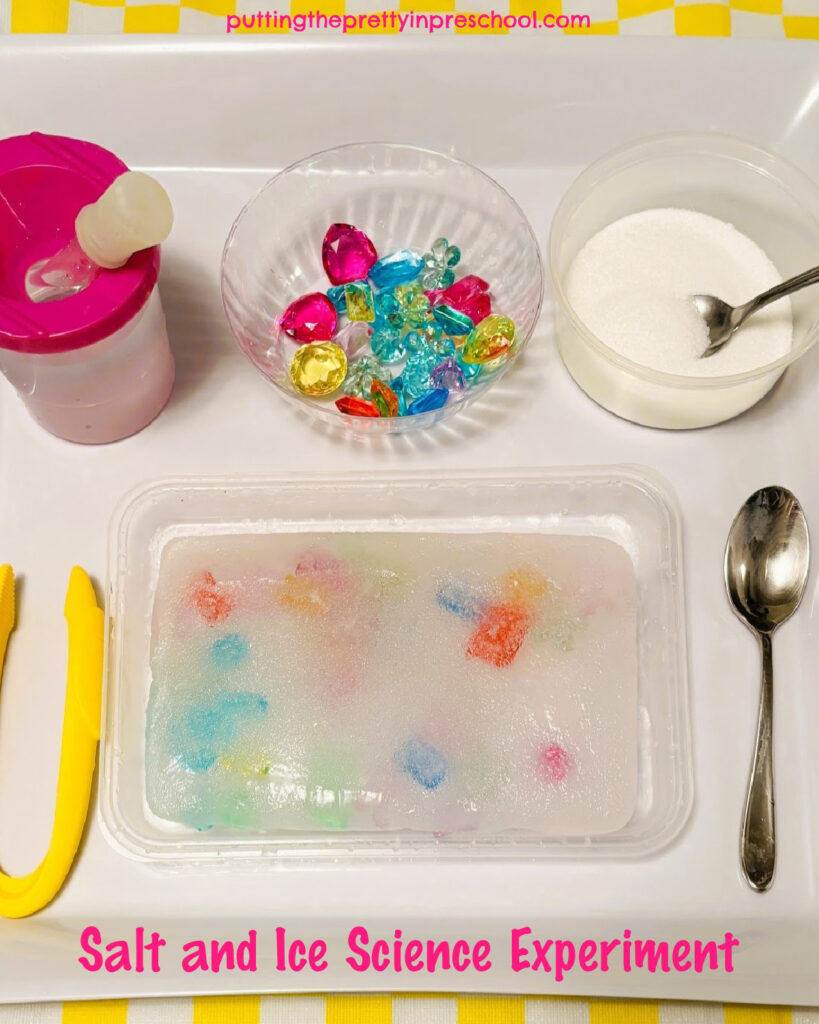
To prepare this science experiment, freeze gems in ice for two or three days.
Start by adding a layer of water with a few squirts of food coloring stirred in to the bottom of a food storage tray. Liquid watercolor paint also works well to tint the water.
Next, spread a handful of acrylic gems in the liquid. Then, carefully set the tray in the freezer.
Remove the tray from the freezer and add more water and gems the following day. Freeze the tray overnight again.
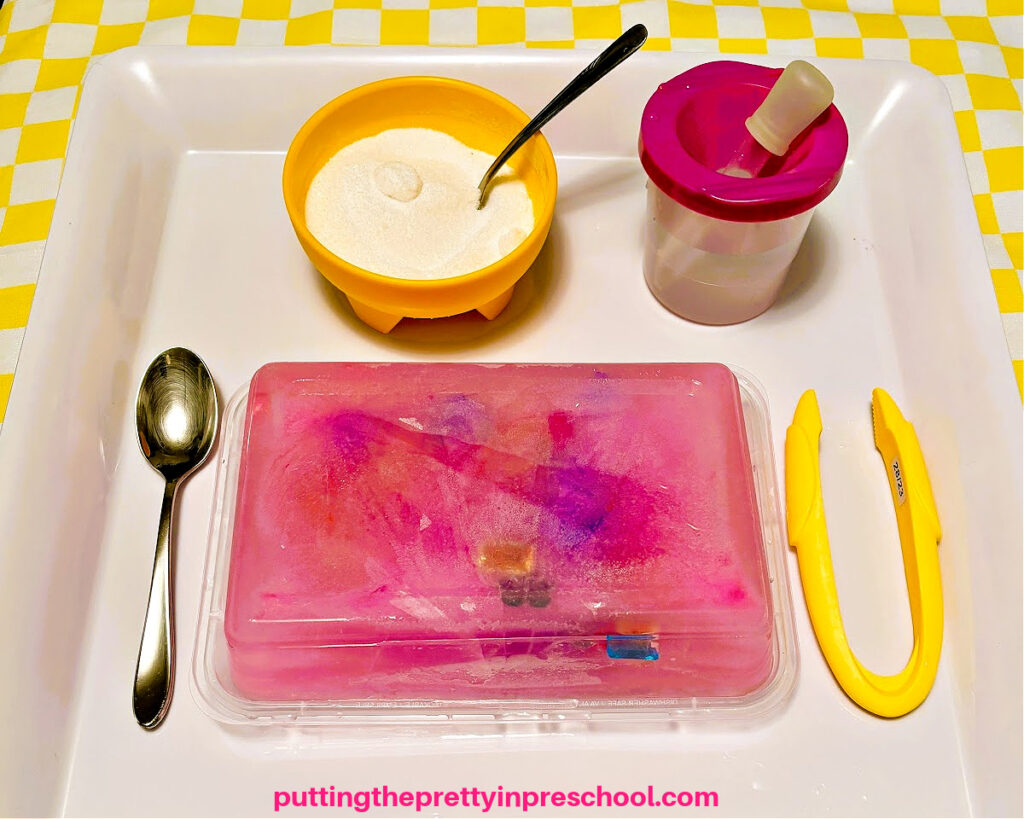
The third day, the ice is ready for the science and sensory activity. Many gems will be near the surface of the ice, and some may be sticking out a little. This is fine for younger children.
_______
To add more challenge for older children, pour a thin layer of water over the frozen gem-filled ice and freeze the tray again before setting out the activity.
_______
The Salt and Ice Science Experiment
When the layers of water are frozen, remove the ice from the food storage tray and set it on a large, edged tray placed on a table protected with a waterproof table cover.
_______
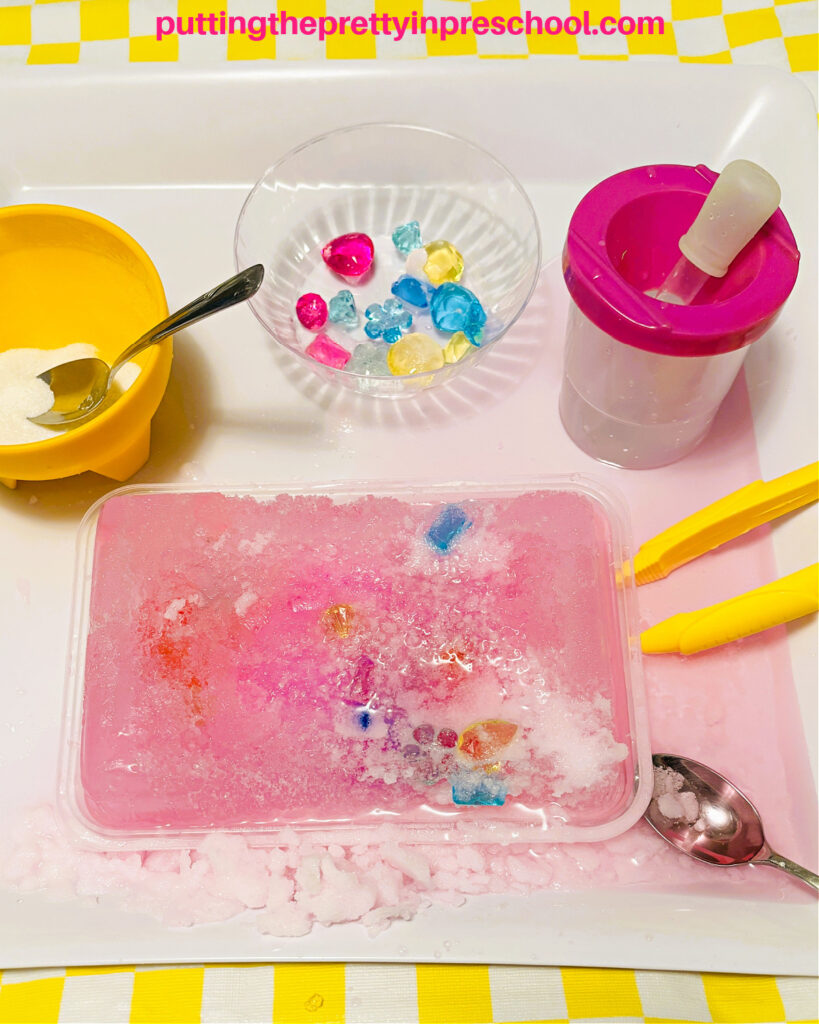
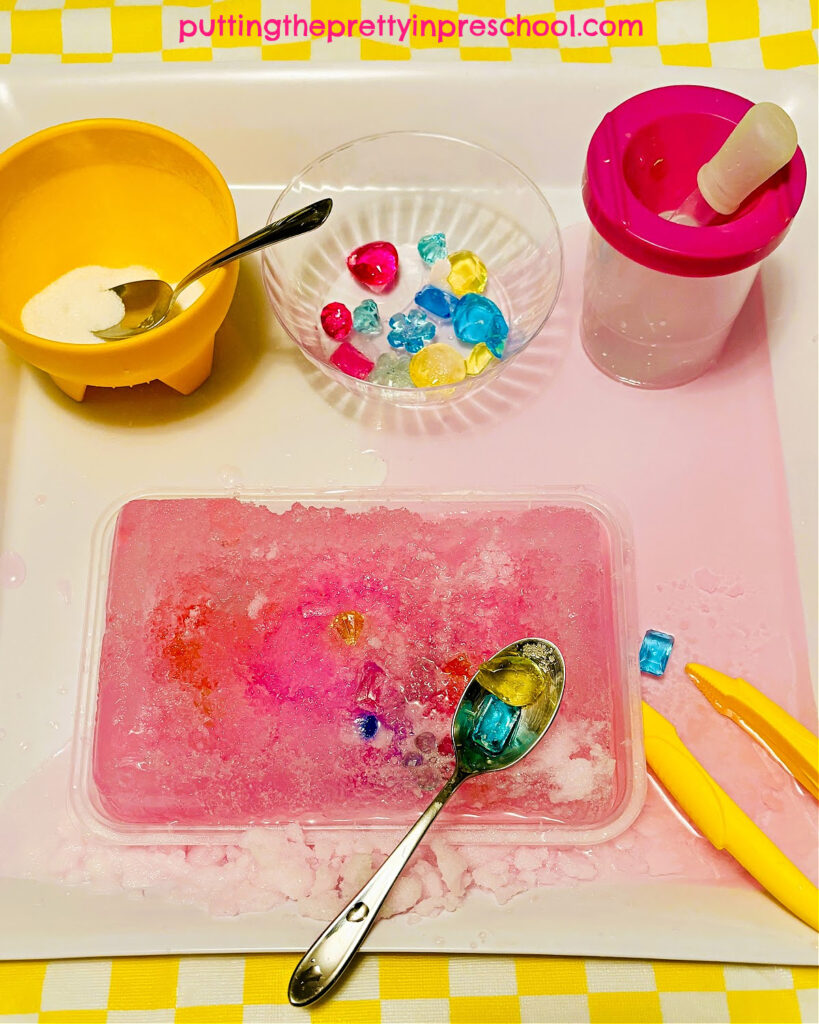
Add a bowl of salt with a teaspoon, an eye dropper or pipette in a paint pot filled with water, and a small bowl ready for freed gems. Include a set of play tweezers and a second teaspoon on the tray.
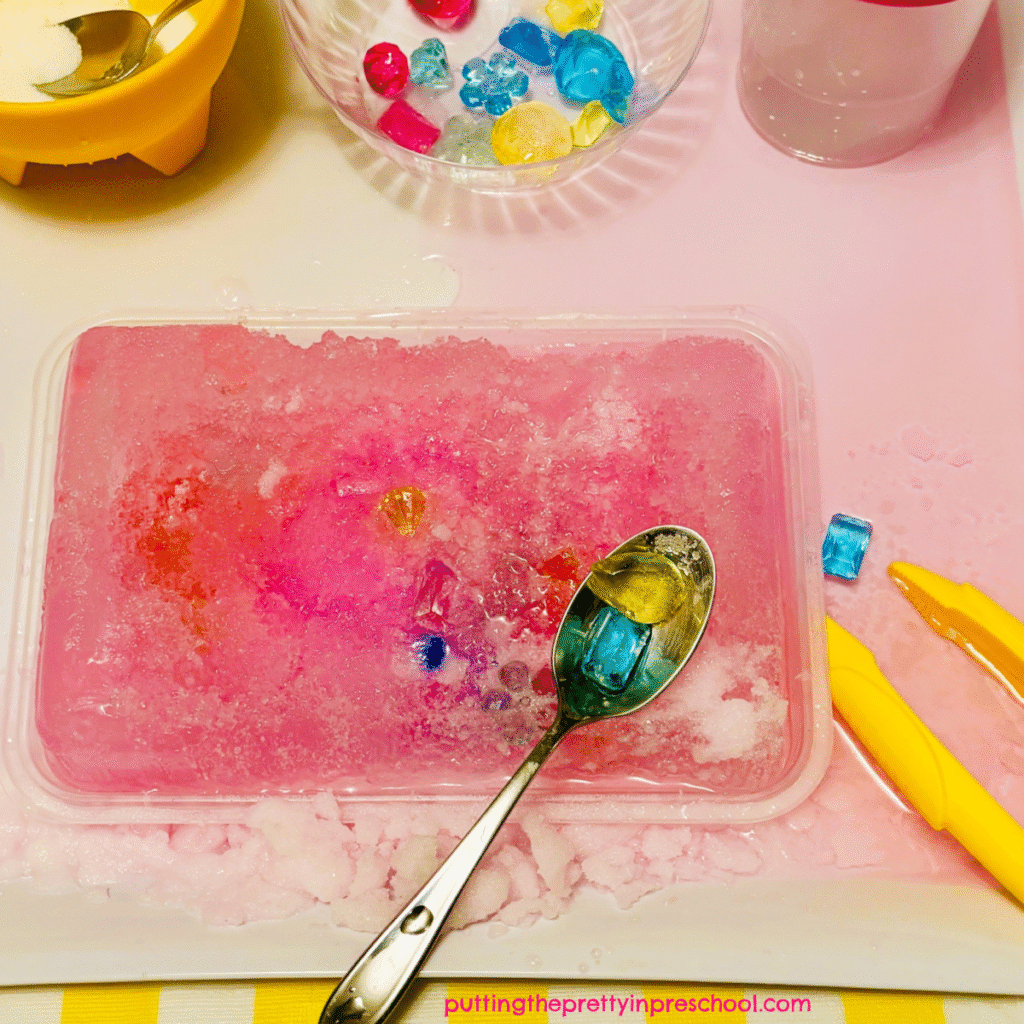
Drip water and sprinkle salt on the ice, and pry out the gems using teaspoons and tweezers. The salt and ice help melt the ice, making the removal of gems quicker and easier. Note: Safety glasses are recommended for this activity as gems may pop out of the ice. Check freed gems for broken edges and discard them.
_______
Follow me on Pinterest for more early learning ideas.
_______
Variations of the Salt and Ice Science Experiment
For variety or to use supplies on hand, replace the acrylic gems in this salt and ice science experiment with pom poms or animal figurines. Ocean animal figurines are a popular choice for this activity.

_______
Skip adding food coloring to the water during the freezing process. Note: The ice will be a little clearer if you use filtered or distilled water.
Offer the activity to a group of children by freezing four or more trays of gem-filled water and setting the supplies for each participant in a large active world tray.
_______
Explaining the Salt and Ice Science Experiment
Salt lowers the temperature of water. For this to happen, it must be in a solution with liquid water. The salt and water solution created in this experiment melts the ice quicker than letting the ice liquify on its own.
_______
Tying In Mother’s Day
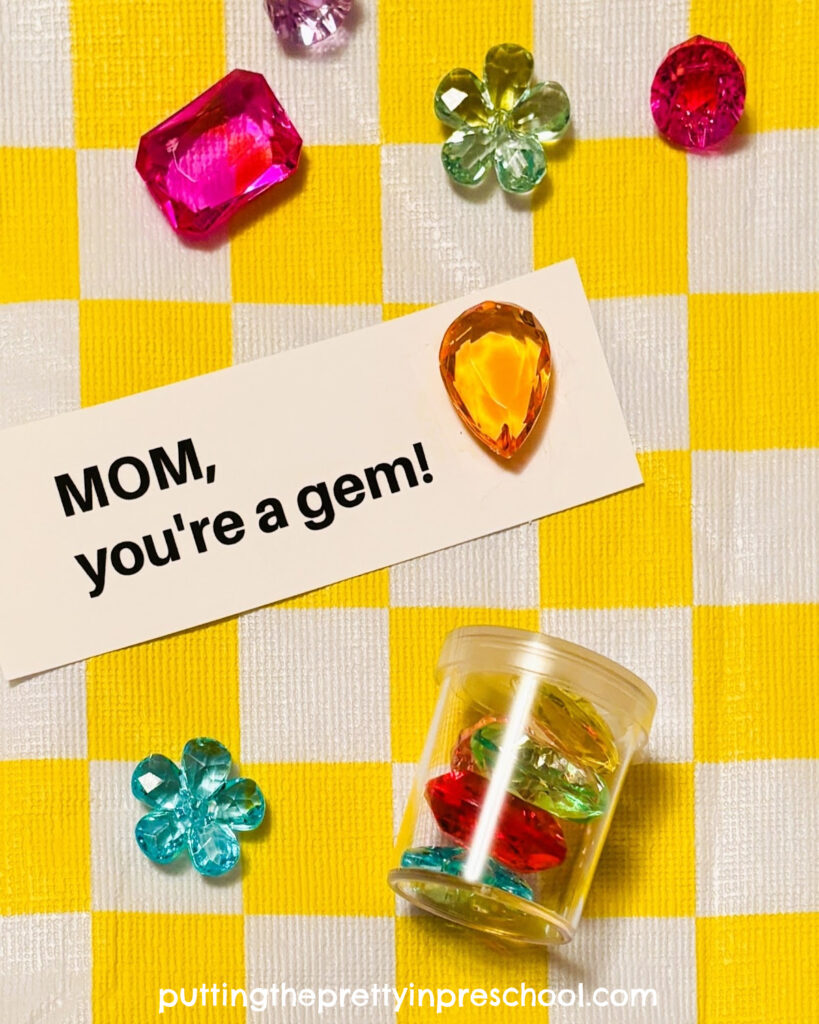
This salt and ice science experiment is a perfect Mother’s Day activity. After freeing gems from ice, allow participants to pick one to glue to a Mother’s Day greeting that says “Mom, you’re a gem.” Allow them to save more gems in a small container to add to their treasure collection.
_______
More Activities With Ice
Paint Pour Ice Cake Sensory Play
_______
[Read more…] about Salt and Ice Science Experiment