_______
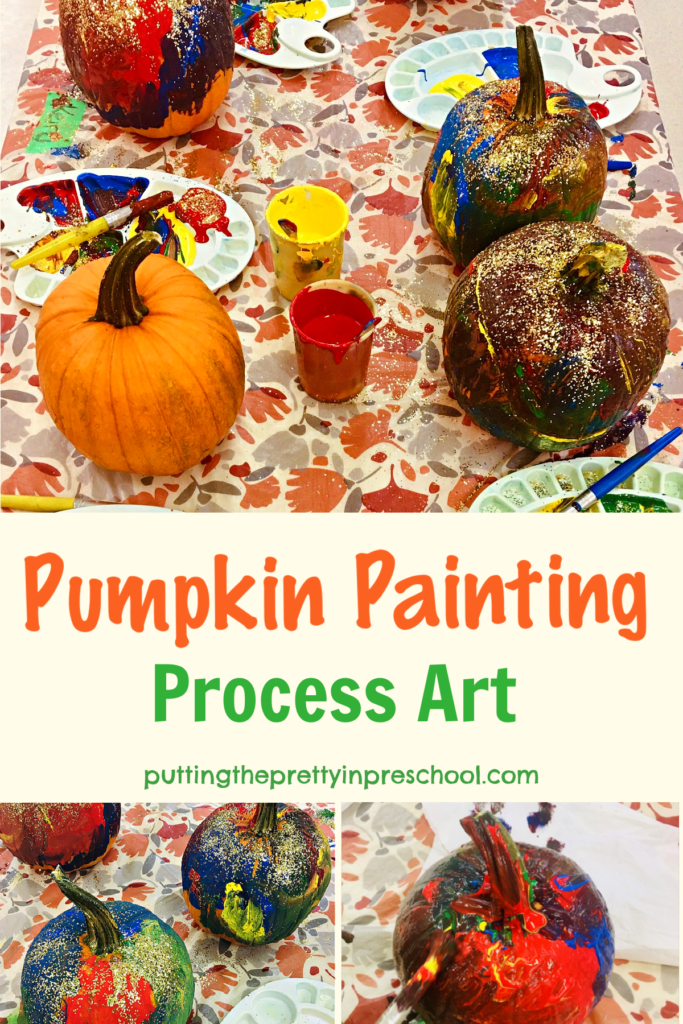
This pumpkin painting process art activity is easy and effortless to do. It looks a little messy but really isn’t at all. Your little learners will be very eager to participate in this unique art project.
_______
Follow me on Pinterest for more early learning ideas.
_______
Supplies To Collect
Gather the following supplies for this creative painting activity:
- tempera paints
- paint brushes
- napkins
- small pumpkins
- paint palettes
- gold glitter
- spray adhesive
- large disposable tablecloth
_______
Pumpkin Painting Process Art Set Up
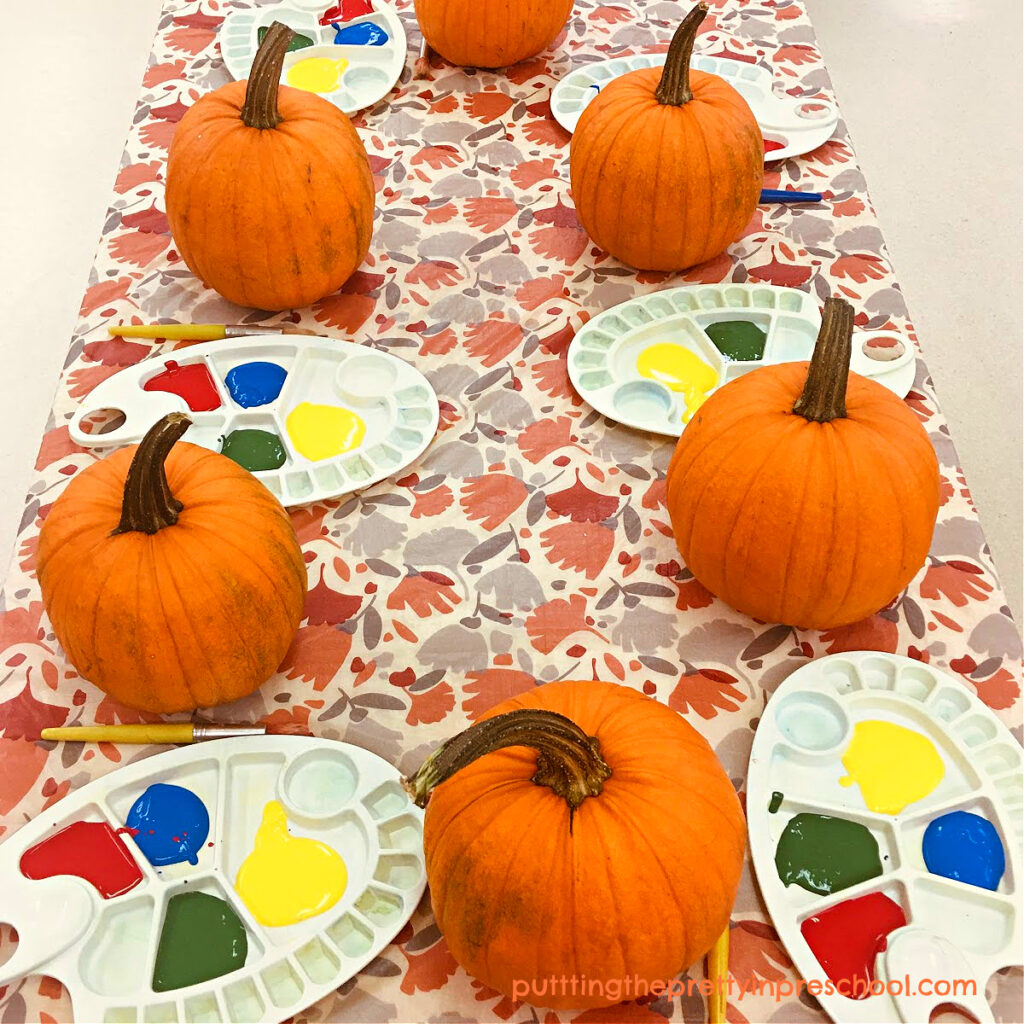
To offer this painting activity, first cover a table with a disposable tablecloth or one that can easily be wiped down afterward.
Then set out a small pumpkin for each child participating.
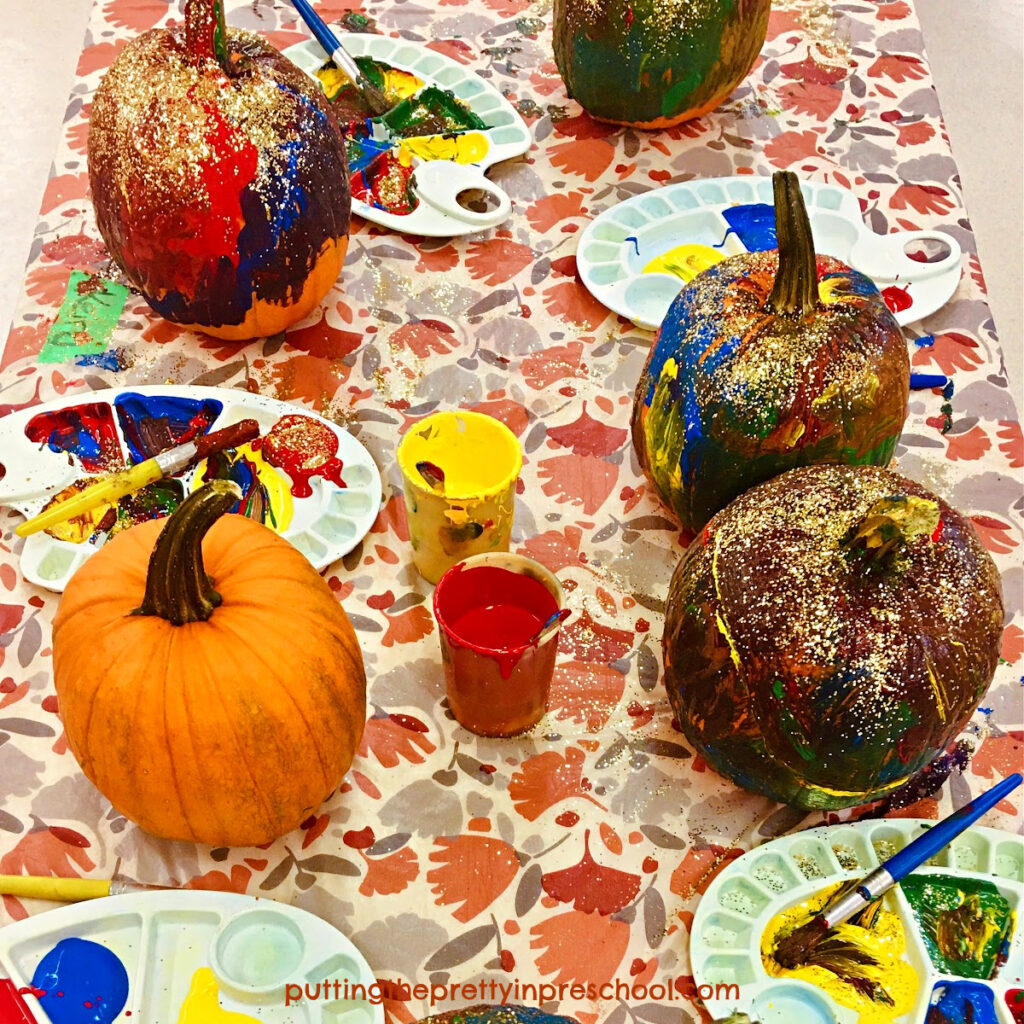
Next, add tempera paints to paint palettes. Place a paintbrush, filled palette, and napkin next to each pumpkin.
_______
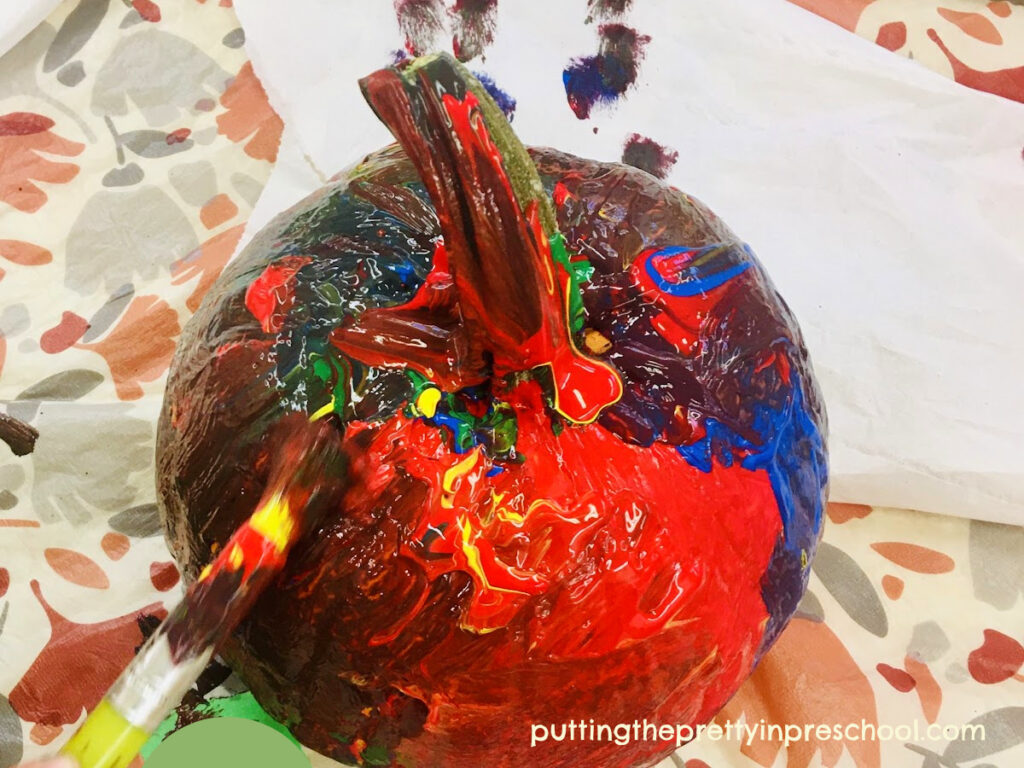
Invite children to choose a pumpkin and paint it any way they like.
_______
Encourage little artists to wipe their brushes on the napkin provided when switching hues.
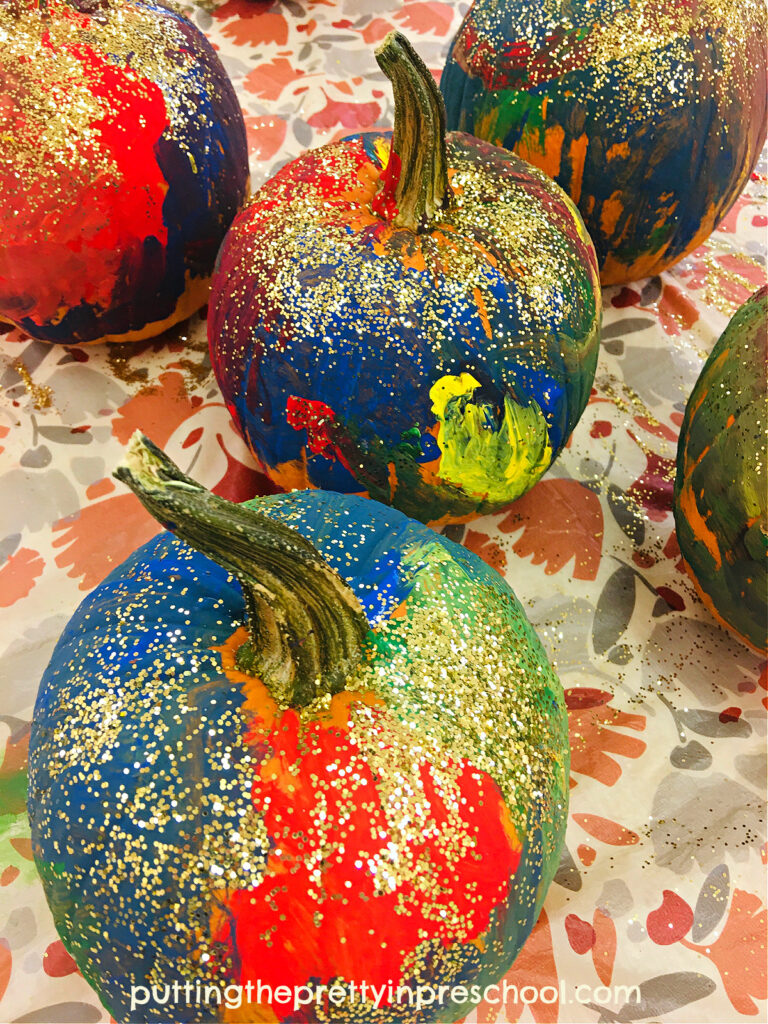
As a finishing touch, have them generously sprinkle gold glitter on top of their pumpkin. This glams up each one big time.
_______
After leaving the pumpkins to dry overnight, spray them generously with a craft adhesive to help the glitter stay on.
Now the pumpkins are ready to be displayed or taken home.
_______
Choosing Paint Colors
In this post, I feature primary tempera paint colors. A little yellow and/or white is added to each hue to lighten and brighten it up, as the paint colors are quite intense coming straight out of the jug. There are lots of brown hues on the decorated pumpkins, as little learners never tire of large-scale color mixing. Feel free to choose an entirely different color scheme for your pumpkin art project.
Note: I briefly touch on this pumpkin painting process art activity in a post titled “Pumpkin Color Activities.”
_______
Clean Up
A little handwashing and spot cleaning on the floor take care of cleanup quickly. Most of the glitter and paint are usually contained by the tablecloth. And if there are traces of glitter around the room, I say: “A little glitter never hurt anyone.” The added sparkle is welcome!
_______
Collaborative Pumpkin Process Art Project
Another way to do this fabulous art activity is to set out one large pumpkin. Give all children a chance to paint it, working in groups of two or three. Each day the pumpkin can be redecorated, giving it an entirely new look. Just remember to add the glitter at the last painting session.
_______
More Pumpkin Activities
Pumpkin Tablescape Pretend Play
_______
_______
You may also like:
_______
_______
Don’t forget to share this post on Pinterest or your favorite social media channel. Sharing is caring!
_______
© Annette Kaminsky October 29, 2022
_______
Let's connect on social media:
Leave a Reply