_______
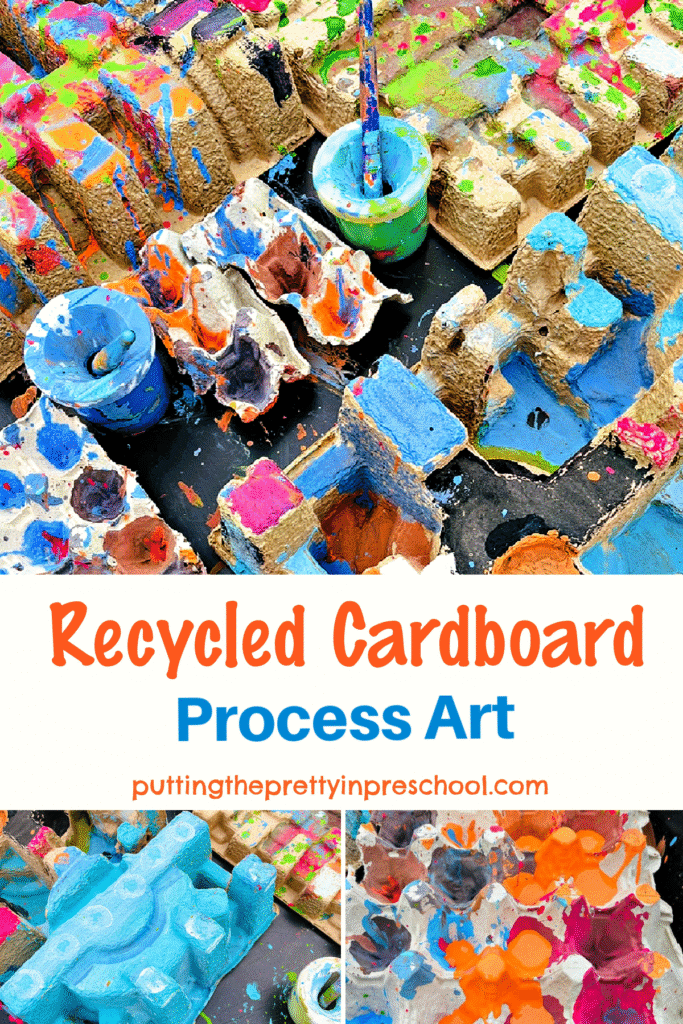
If you are looking for an easy-to-set-up, inexpensive, intriguing art activity, this recycled cardboard process art invitation fits the bill. It is an effortless art invitation that yields beautiful results. The activity is a good choice for Earth Day or anytime of the year.
_______
Supplies to Collect
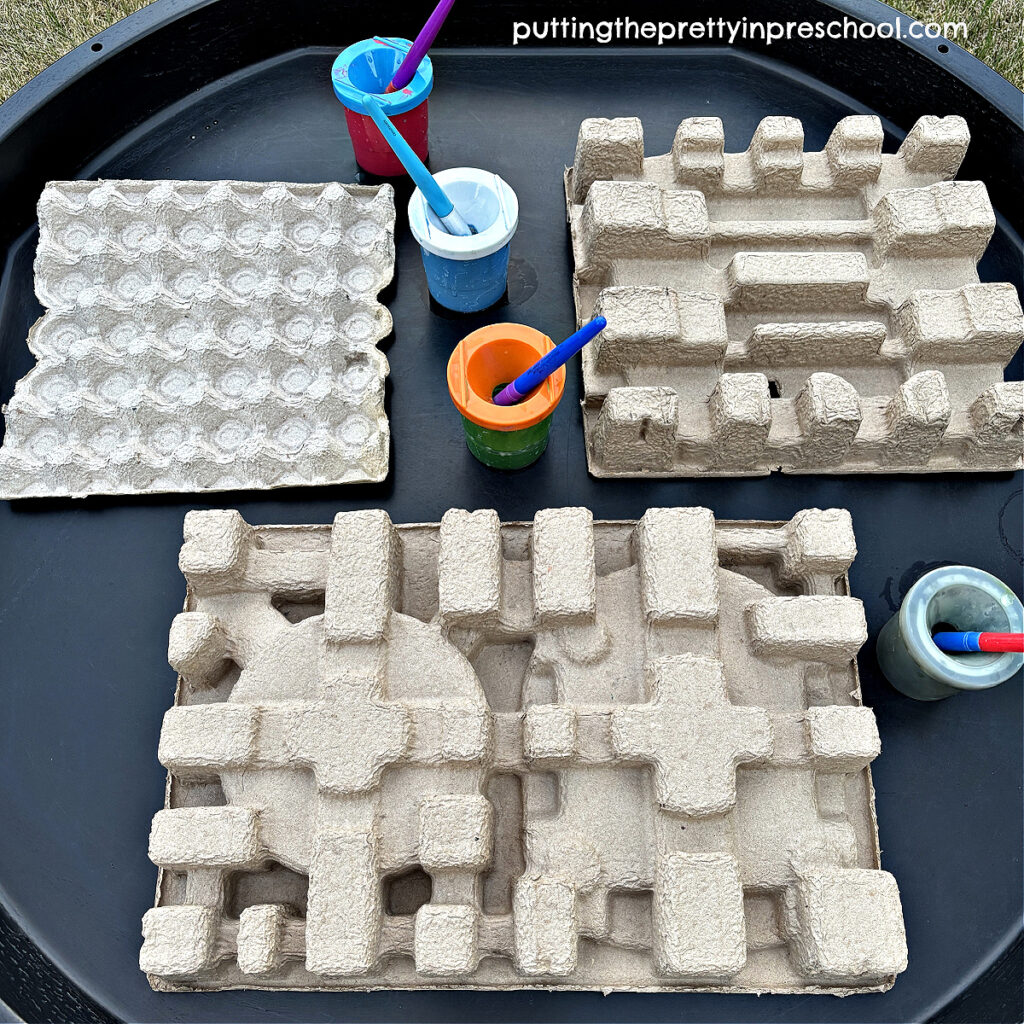
Cardboard pieces with interesting shapes are perfect for this unexpected process art painting activity. Gather the following:
- cardboard protective packaging
- egg filler flats
- thinned tempera paint
- paint pots and brushes
- large sensory tray
_______
_______
Follow me on Pinterest for more early learning activities.
_______
Preparing the Recycled Cardboard Art Activity
A large active world tray is my go-to for this art activity. Place it indoors or outdoors on a stand or table. Or use an art table with a protective table cover.
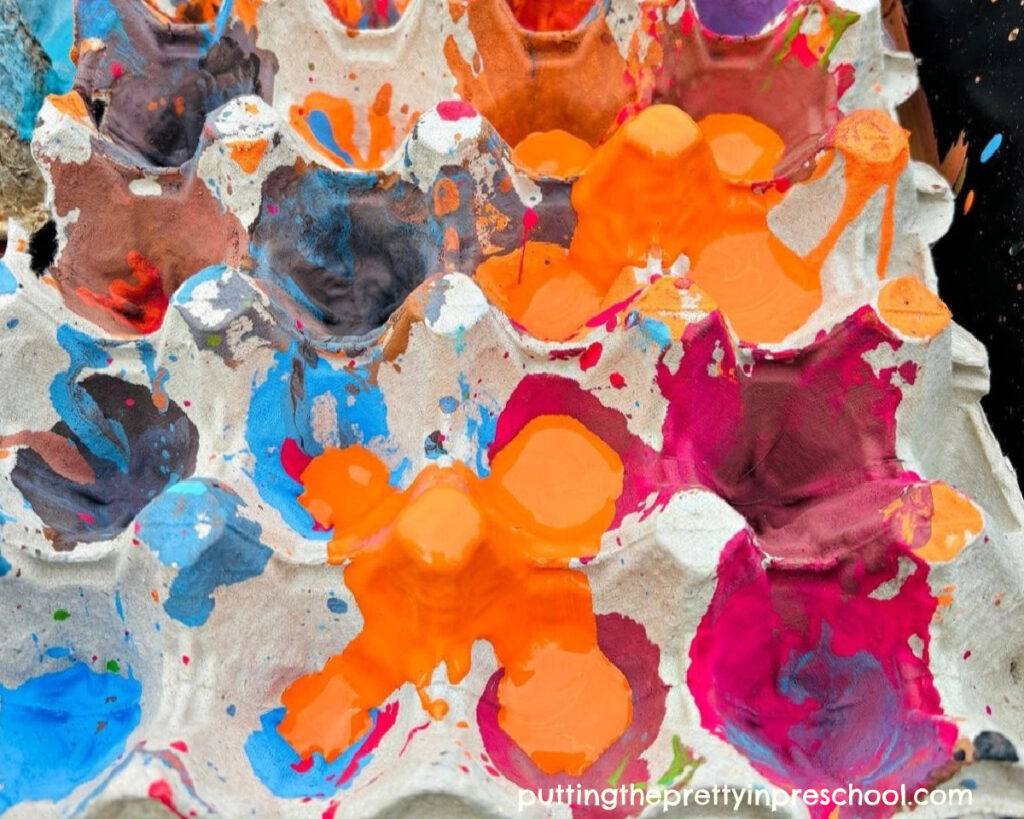
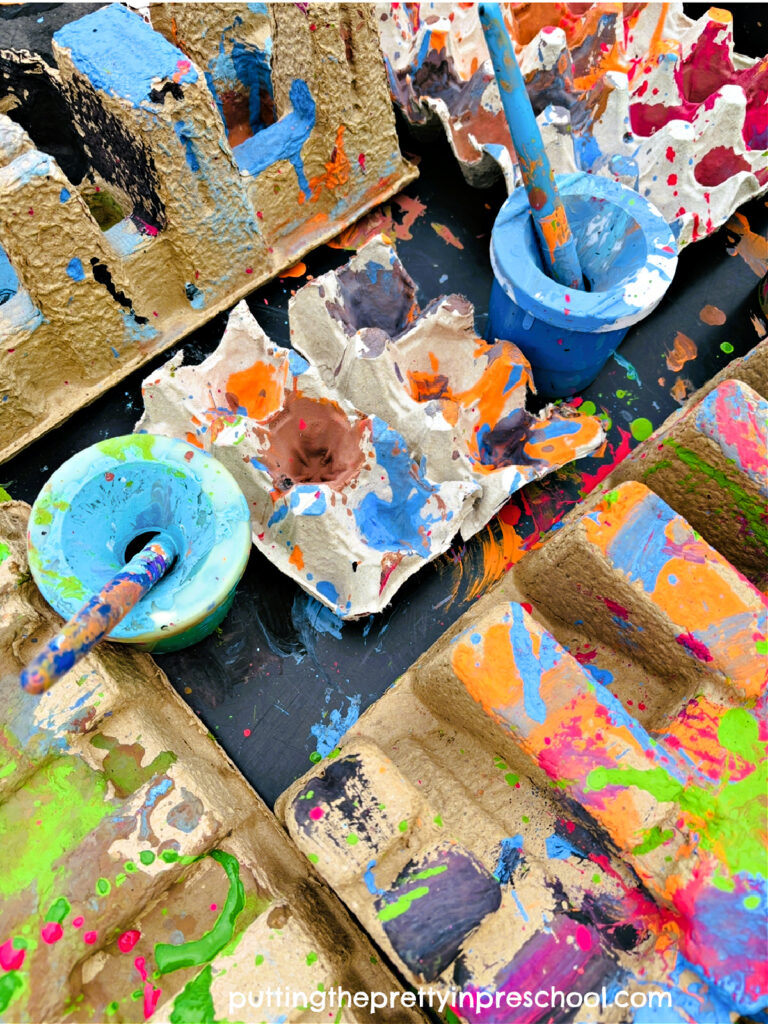
Next, set recycled cardboard pieces in the sensory tray. Protective packaging and egg filler flats are good choices.
_______
Then pour paint into paint pots and mix in a little water to make it thinner. Add brushes, and set the pots around the cardboard molds. That’s it!!!
_______
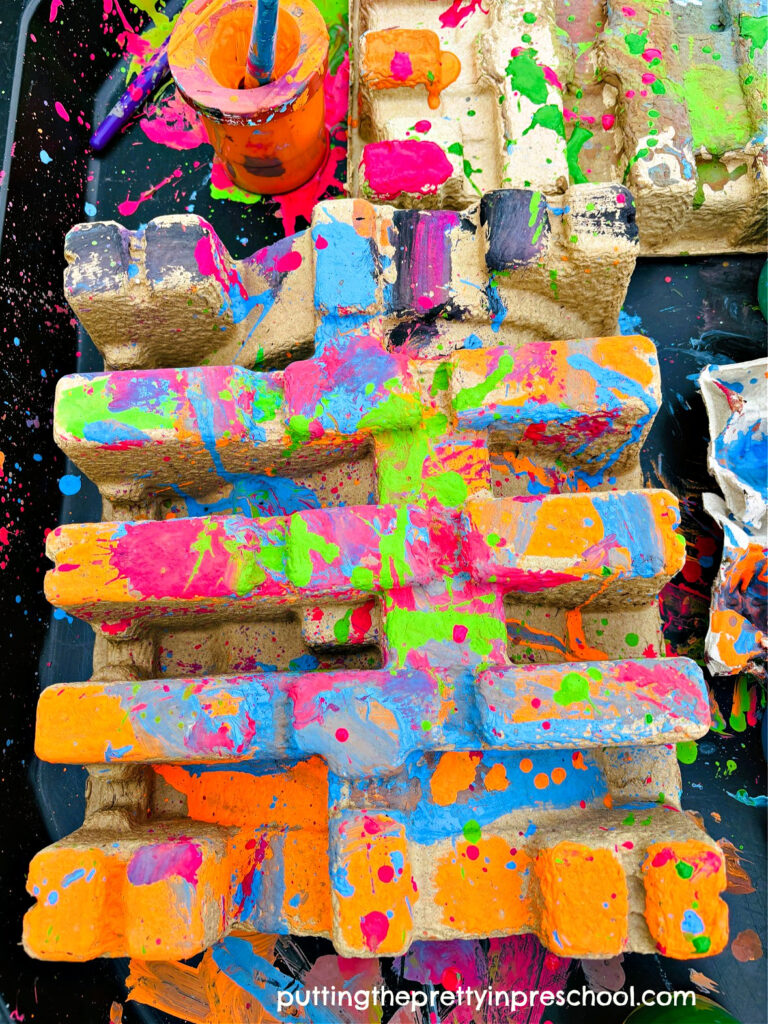
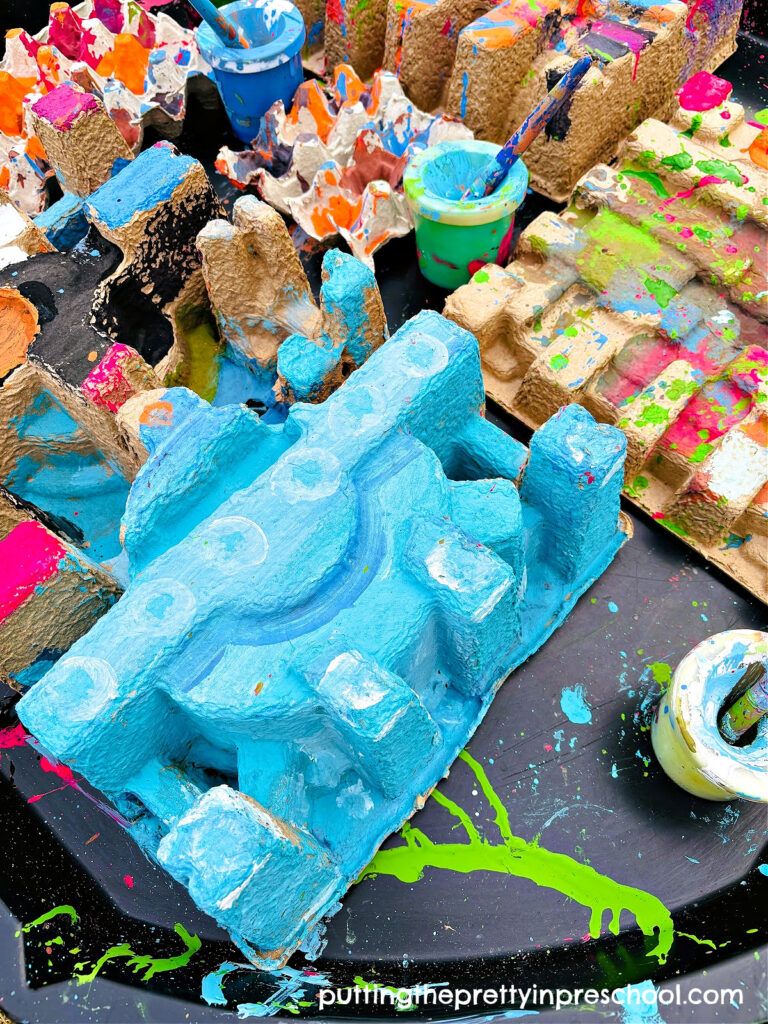
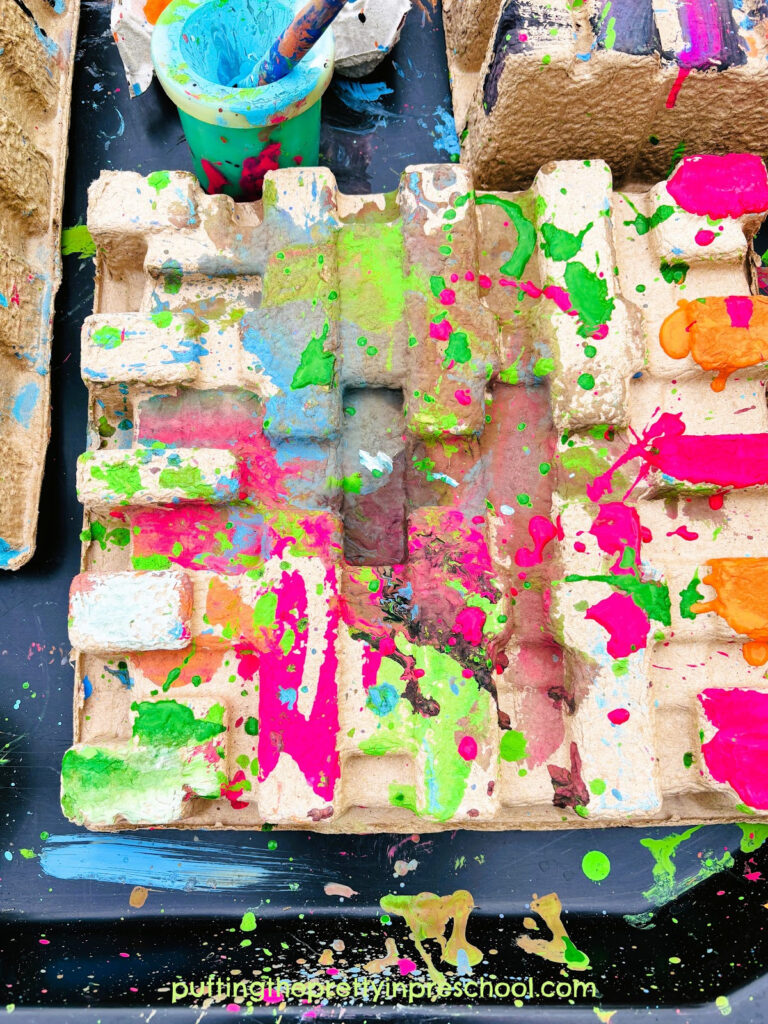
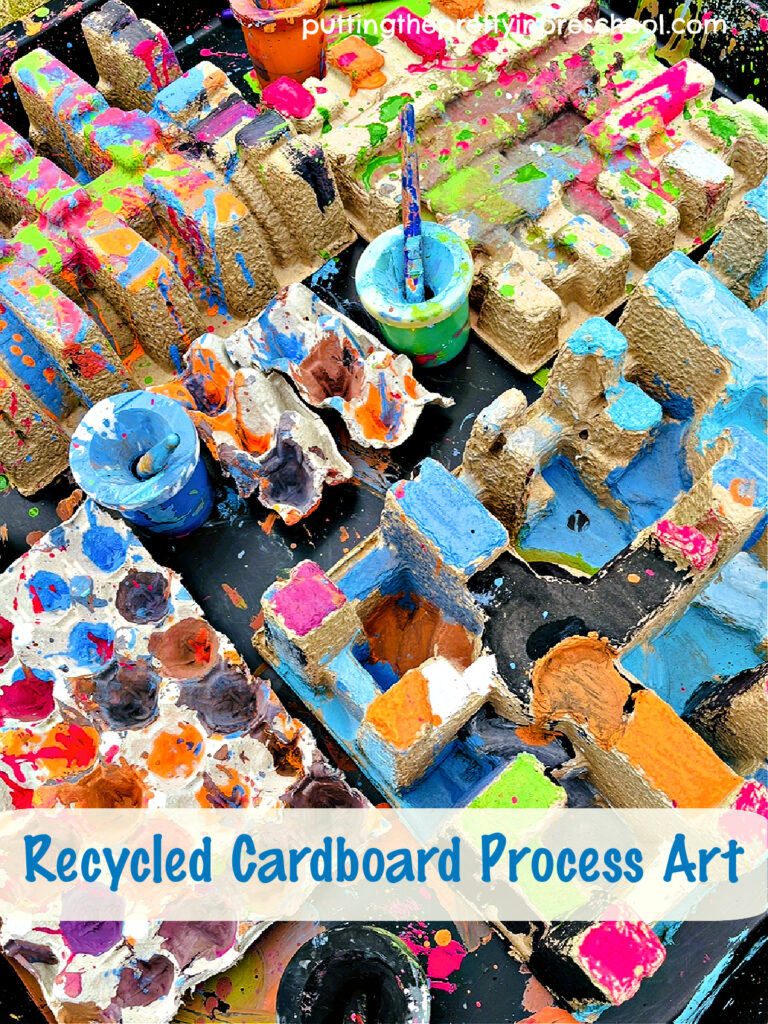
The Recycled Cardboard Process Art Activity
A group of children can participate in this open-ended art activity with recyclables. Invite them to pick a spot to paint the three-dimensional shapes in the tray.

_______
When two children work on one cardboard shape the art activity is collaborative. While working on different sections of a piece, one child creates a frigid northern landscape, while the other chooses contrasting paint colors.
_______
A square egg filler flat inspires creating mini volcanoes with bright orange paint.
_______
The thinned tempera paints use fewer resources, cover the textured cardboard easily, and allow for spatter painting.
_______
Children may use the recycled cardboard pieces in other art projects when the paint dries.
_______
Benefits of the Recycled Cardboard Art Activity
In this cost-effective recycled cardboard art activity, children
- participate in a relaxing, calming process art activity.
- paint on novel, textured three-dimensional objects.
- recognize patterns and design them with paint.
- mix colors to create new ones (making brown is always a favorite.)
- build hand strength and coordination while using paint and brushes.
- have the freedom to paint without feeling pressure to produce a completed art project.
- experience a collaborative art environment.
- learn the value of recycling and reusing materials creatively.
_______
_______
_______
More Process Art Activities
Watercolor Apples With Markers
_______
[Read more…] about Recycled Cardboard Process Art