• Skip to secondary menu
  • Skip to main content
  • Skip to primary sidebar

Putting The Pretty In Preschool

Finding Beauty In Everyday Early Childhood Experiences

  • Home
  • About Me
  • Winter
  • Chinese New Year
  • Blog
  • Valentine’s Day
  • Contact Me
  • Easter Activities

Salt and Ice Science Experiment

May 20, 2025 by Annette Kaminsky Leave a Comment

_______

This salt and ice science experiment is simple to set up and fun to do. Just a few supplies are needed for this ice-cold science activity. It’s perfect on a hot day, and makes a good pirate theme or Mother’s Day activity.

_______

Supplies to Collect

Gather the following supplies for this ice and salt science experiment:

  • food storage trays
  • food coloring
  • acrylic gems
  • bowl with salt
  • teaspoons
  • paint pot with water
  • eye droppers or pipettes
  • play tweezers
  • tray
  • safety glasses
  • waterproof table cover

_______

_______

Preparing the Salt and Ice Science Experiment

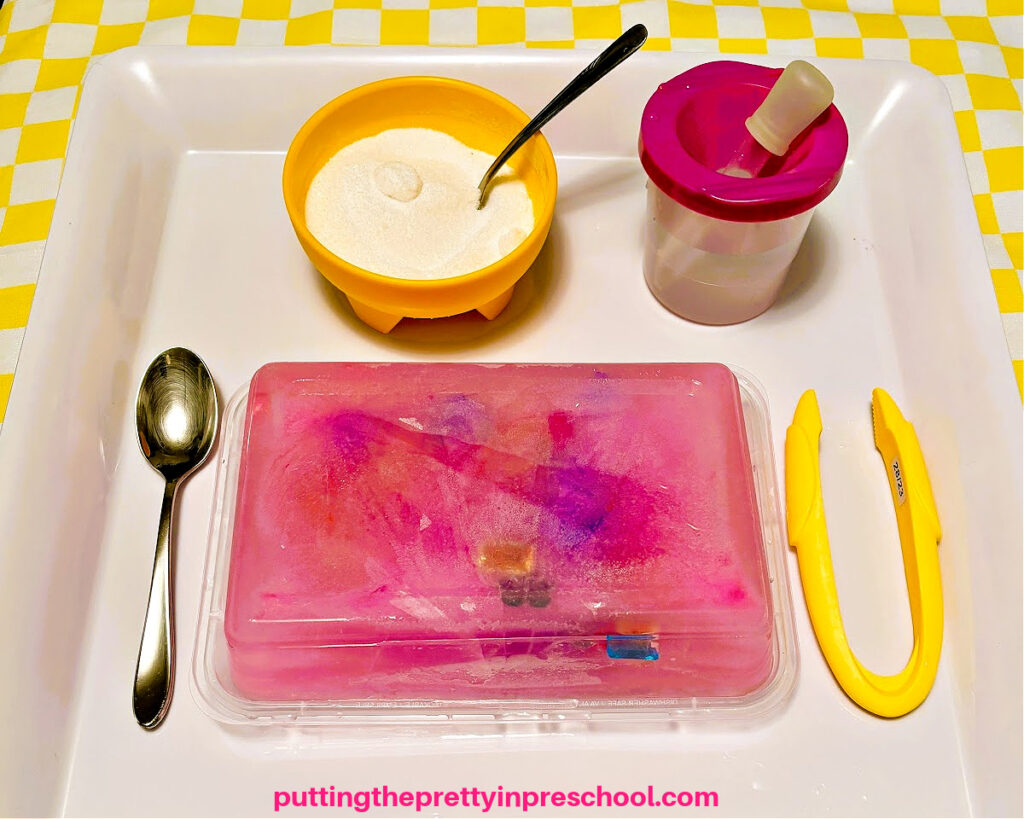
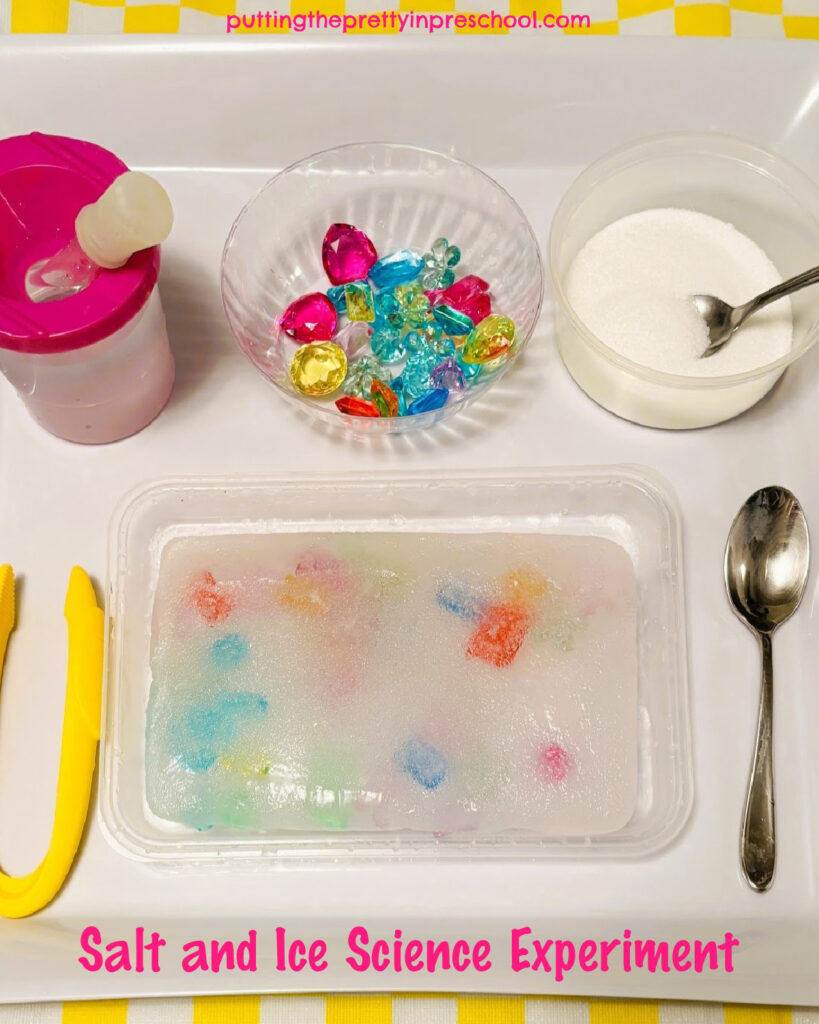
To prepare this science experiment, freeze gems in ice for two or three days.

Start by adding a layer of water with a few squirts of food coloring stirred in to the bottom of a food storage tray.  Liquid watercolor paint also works well to tint the water.

Next, spread a handful of acrylic gems in the liquid. Then, carefully set the tray in the freezer.

Remove the tray from the freezer and add more water and gems the following day. Freeze the tray overnight again.

The third day, the ice is ready for the science and sensory activity. Many gems will be near the surface of the ice, and some may be sticking out a little. This is fine for younger children.
_______

To add more challenge for older children, pour a thin layer of water over the frozen gem-filled ice and freeze the tray again before setting out the activity.

_______

The Salt and Ice Science Experiment

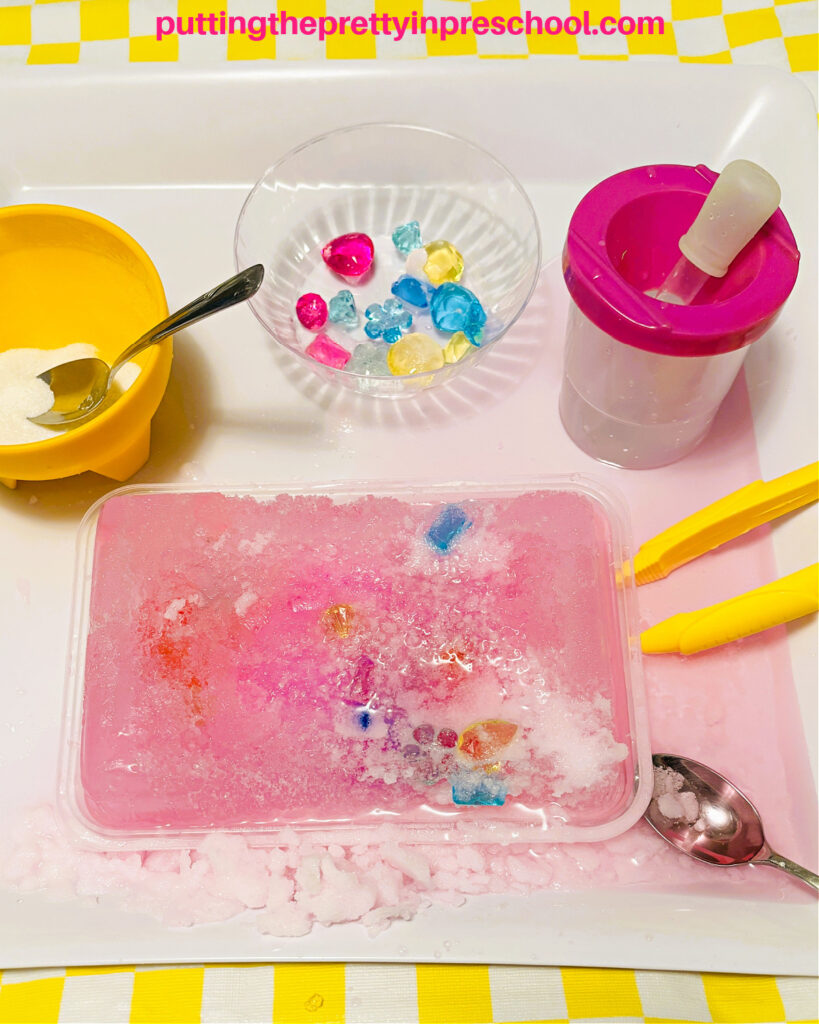
When the layers of water are frozen, remove the ice from the food storage tray and set it on a large, edged tray placed on a table protected with a waterproof table cover.
_______

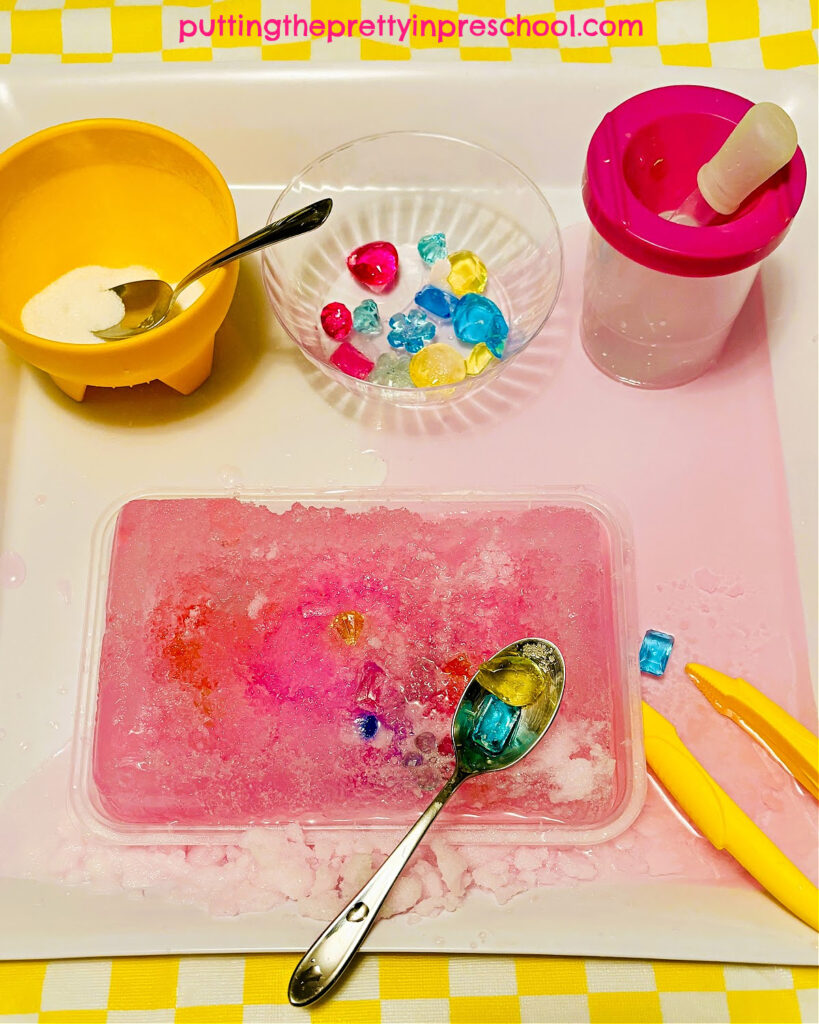
Add a bowl of salt with a teaspoon, an eye dropper or pipette in a paint pot filled with water, and a small bowl ready for freed gems. Include a set of play tweezers and a second teaspoon on the tray.

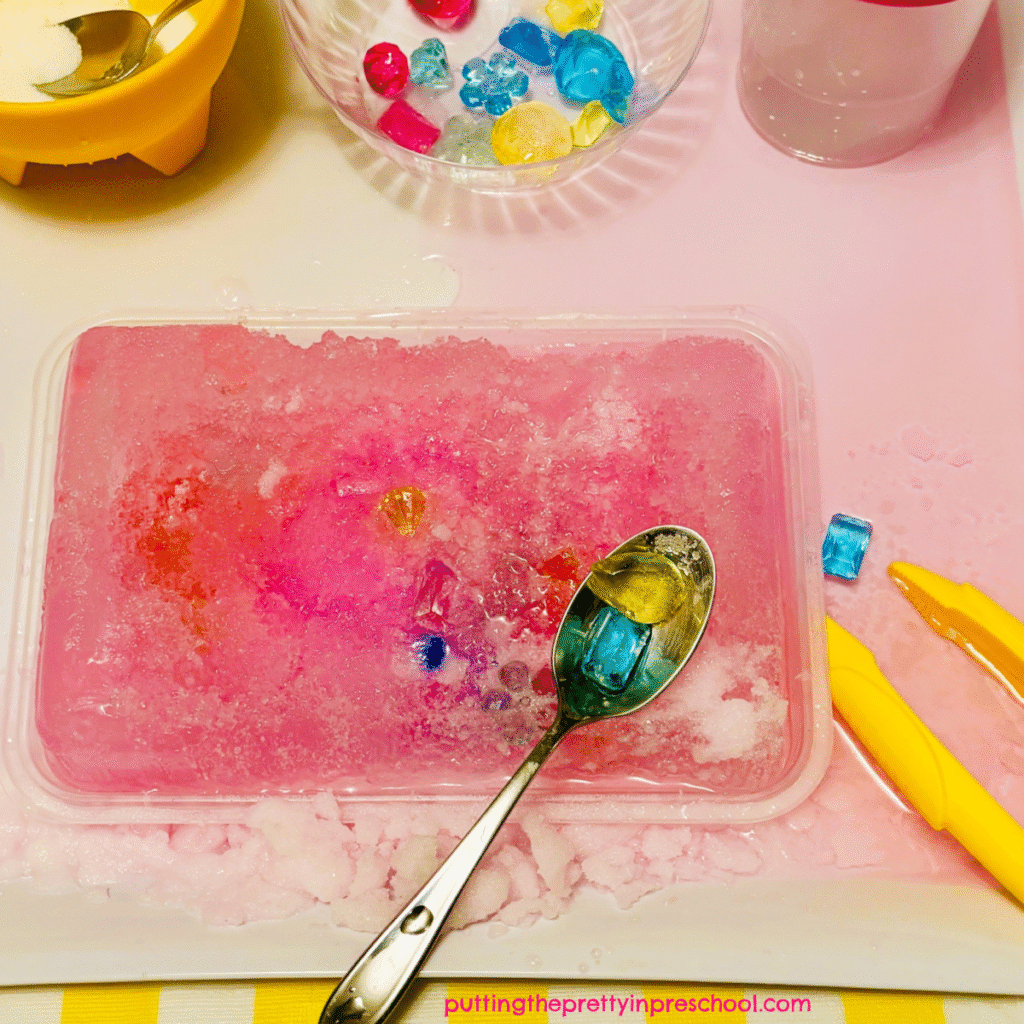
Drip water and sprinkle salt on the ice, and pry out the gems using teaspoons and tweezers. The salt and ice help melt the ice, making the removal of gems quicker and easier. Note: Safety glasses are recommended for this activity as gems may pop out of the ice. Check freed gems for broken edges and discard them.
_______

Follow me on Pinterest for more early learning ideas.

_______

Variations of the Salt and Ice Science Experiment

For variety or to use supplies on hand, replace the acrylic gems in this salt and ice science experiment with pom poms or animal figurines. Ocean animal figurines are a popular choice for this activity.
_______

Skip adding food coloring to the water during the freezing process. Note: The ice will be a little clearer if you use filtered or distilled water.

Offer the activity to a group of children by freezing four or more trays of gem-filled water and setting the supplies for each participant in a large active world tray.

_______

Explaining the Salt and Ice Science Experiment

Salt lowers the temperature of water. For this to happen, it must be in a solution with liquid water. The salt and water solution created in this experiment melts the ice quicker than letting the ice liquify on its own.
_______

Tying In Mother’s Day

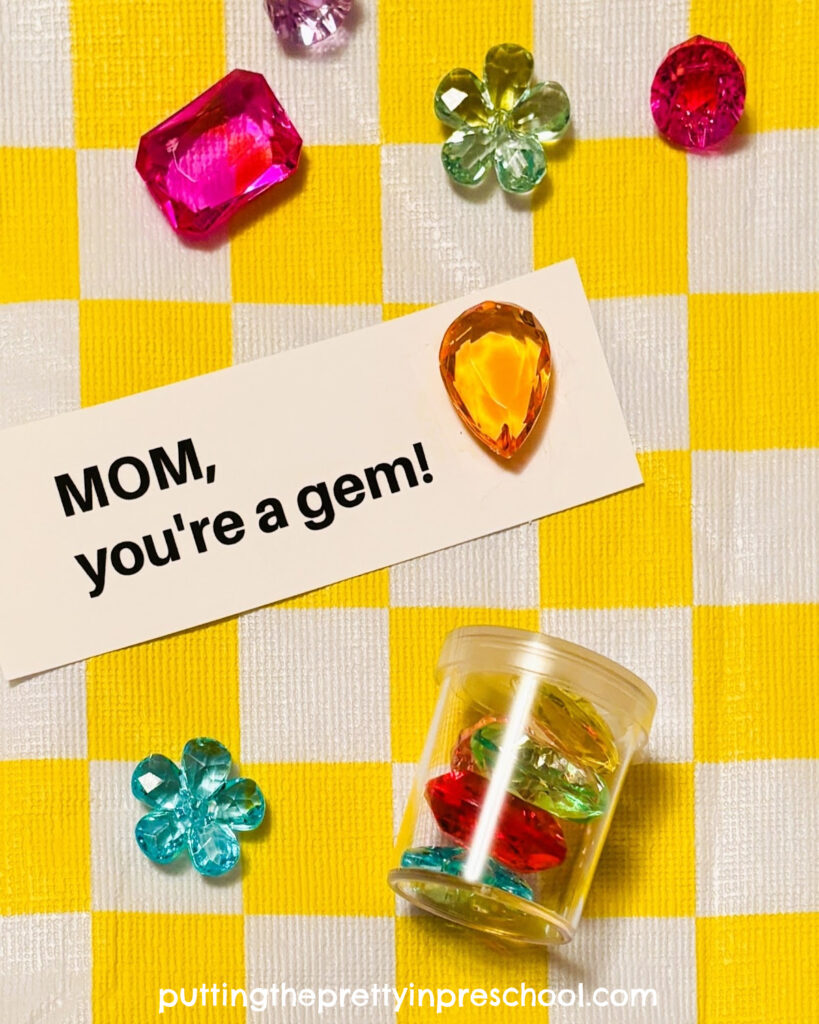
This salt and ice science experiment is a perfect Mother’s Day activity. After freeing gems from ice, allow participants to pick one to glue to a Mother’s Day greeting that says “Mom, you’re a gem.” Allow them to save more gems in a small container to add to their treasure collection.
_______

More Activities With Ice

Hockey Game Small World

Paint Pour Ice Cake Sensory Play

Ice Drum Musical Instruments

Painting Ice and Snow

_______

[Read more…] about Salt and Ice Science Experiment
Filed Under: Mother's Day, preschool, science, sensory, winter Tagged With: ice, science experiment, sensory play, sensory tray

Airplane Rice Sensory Bin

May 16, 2025 by Annette Kaminsky Leave a Comment

_______

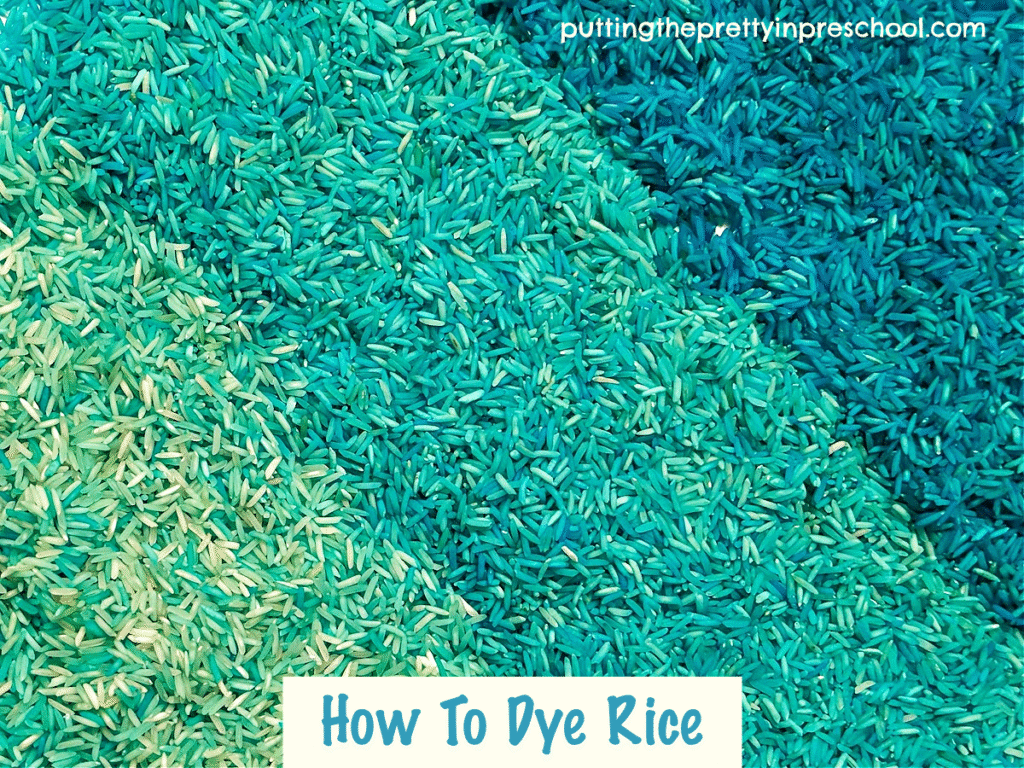
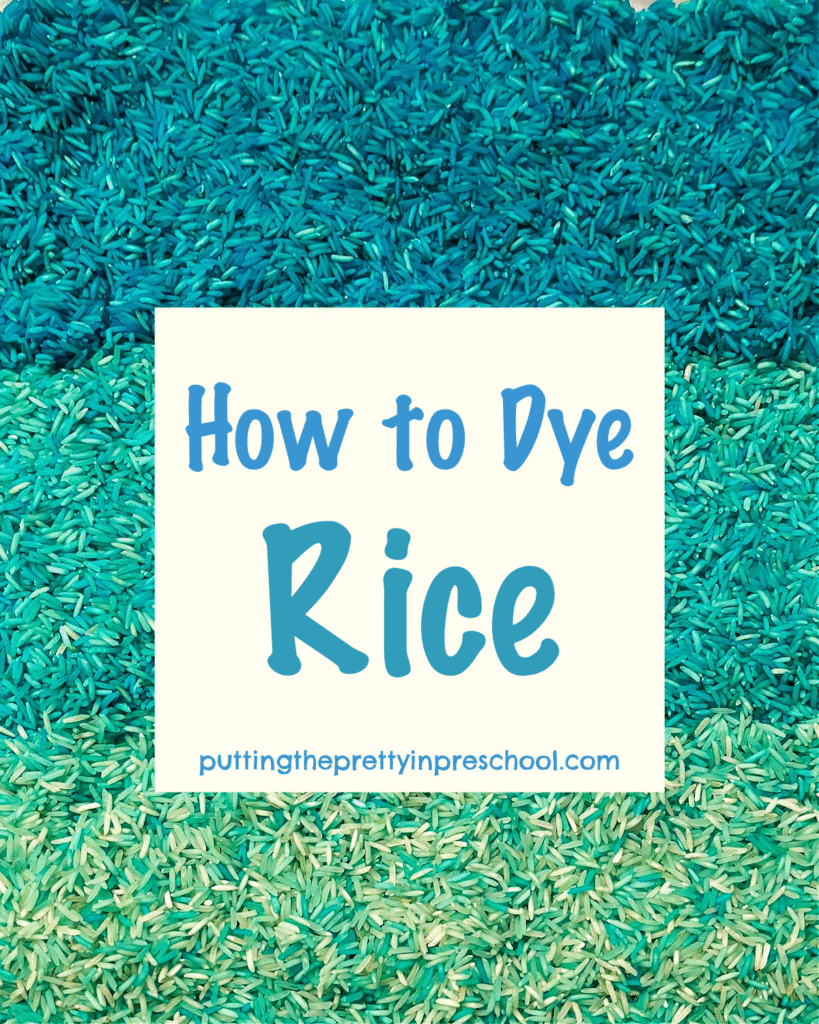
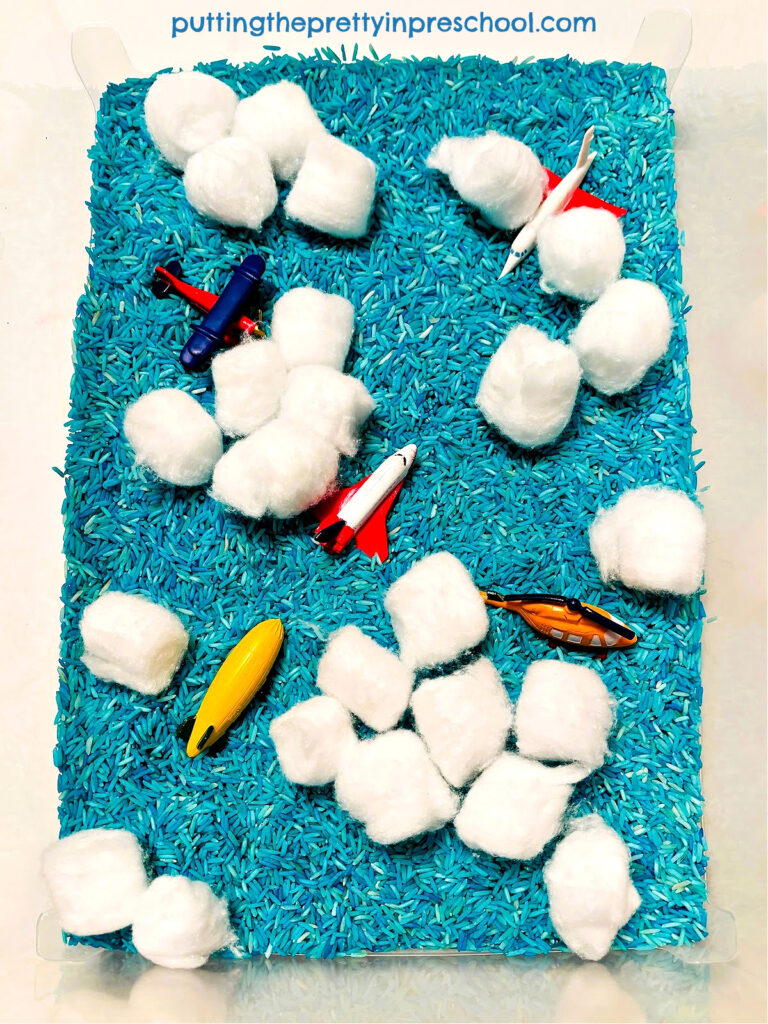
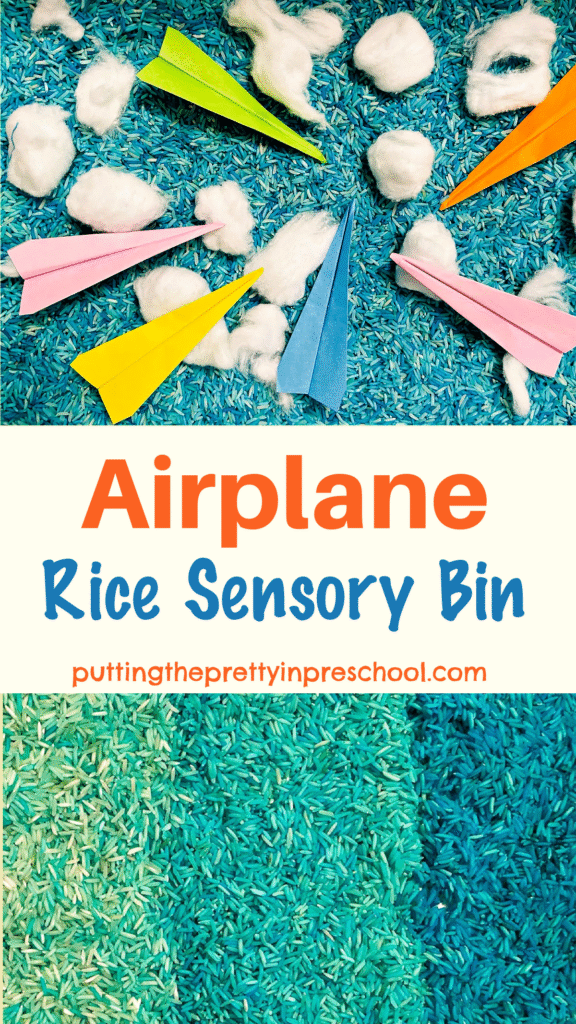
This airplane rice sensory bin is easy to set up and pleasing to the eye. Putting it together is the perfect opportunity to practice how to dye rice in gorgeous blue hues.

_______

How to Dye Rice

_____

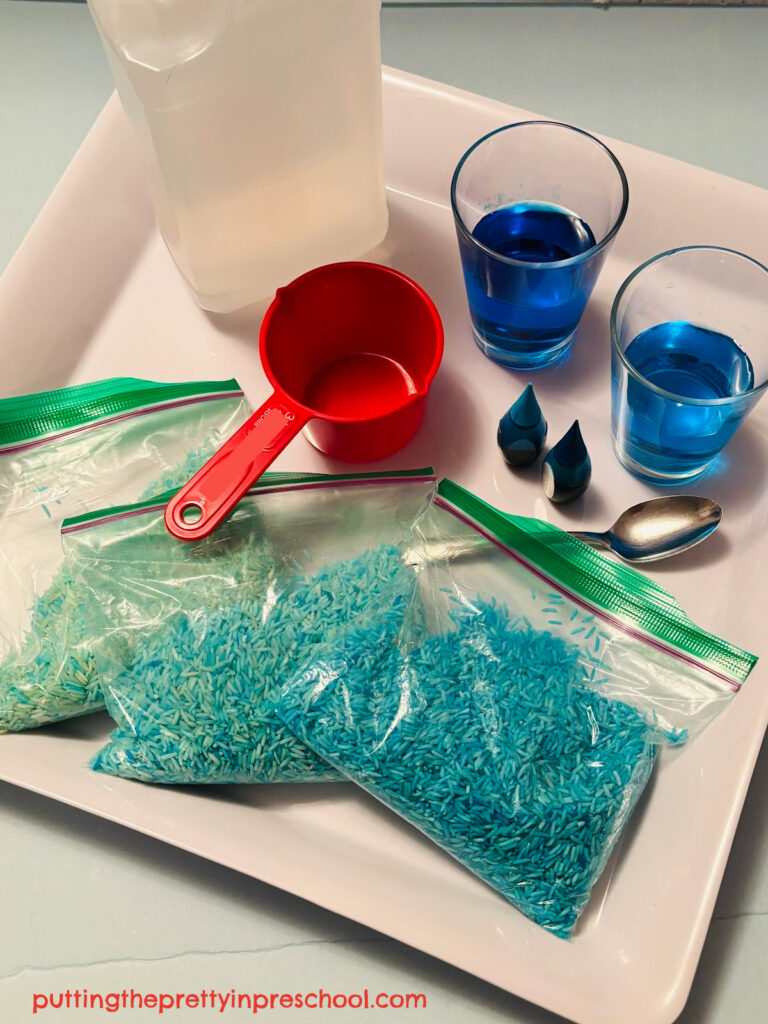
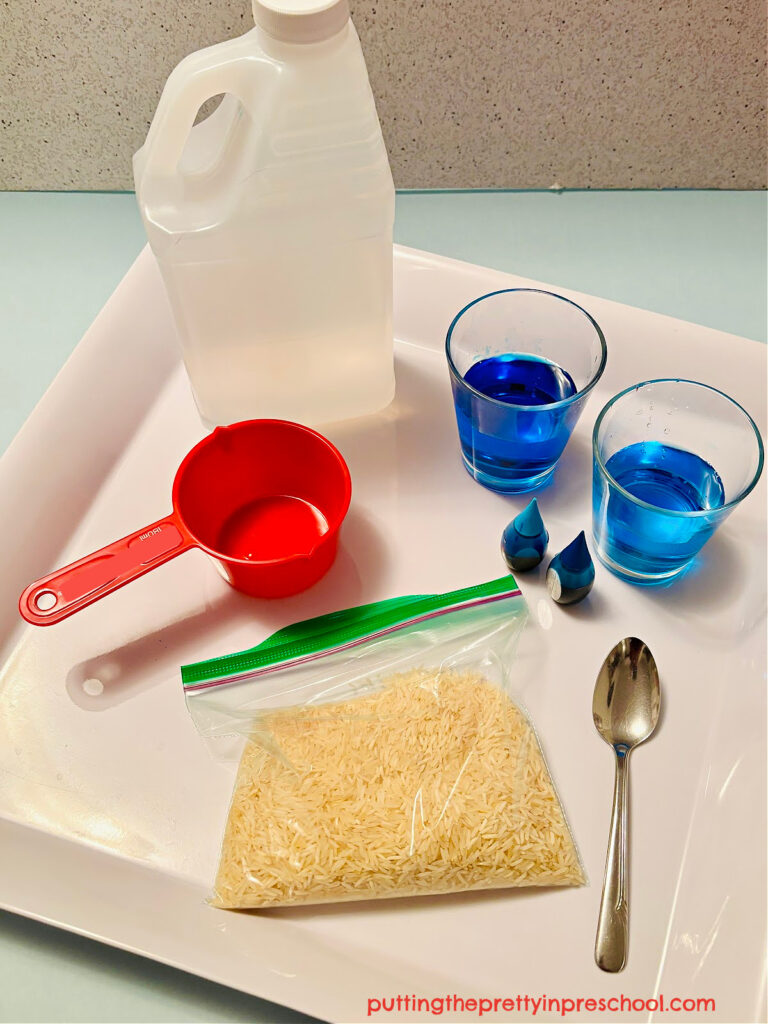
The process of dying rice is super simple and very satisfying! Gather the following supplies:

  • white rice
  • blue food coloring
  • vinegar
  • measuring cup
  • closable sandwich bags
  • teaspoon
  • parchment paper
  • large tray

_______

The Rice Dyeing Process

Dyeing rice is a quick process as rice doesn’t need much drying time. I feature basmati rice for the task, but any kind of white rice will work.

The first step in dyeing the grain is to measure one cup of rice into a closable sandwich bag.

_______

Next, drop in a teaspoon of vinegar.

Afterward, add three generous drops of blue or turquoise food coloring.

Seal the bag and shake and squeeze the contents until the blue color distributes evenly.
Note: An alternative to this method is to add a few teaspoons of vinegar to a jar and stir in the food coloring. Then spoon a teaspoon of colored vinegar into the rice-filled sandwich bag.

If the blue shade of the rice isn’t as dark as you would like, simply add a little more food coloring and vinegar to the bag and shake it some more.

_______

Lastly, spread the colored rice on a large serving tray covered with a sheet of parchment paper and leave it to dry for about twenty minutes. If you do not have parchment paper, just spread the rice on the tray. Any excess food color should wipe off pretty easily with a wet cloth.

The closable sandwich bag is reusable, and more batches of rice can be colored in it.

To add variety when dying multiple batches of rice, add a little more vinegar and food coloring to some bags. The mix of lighter and darker hues will add interest to a sensory bin. Using blue and turquoise food colors in different batches also adds contrast.

This activity is perfect for children to participate in, and it is bound to be a hit. Give each child a closable sandwich bag to measure in rice and color it. Or offer them a plastic storage container with a lid to dye the rice. As the ingredients are mixed, the container makes a shaker, adding a musical experience to the activity.

_______

The Airplane Rice Sensory Bin

_______

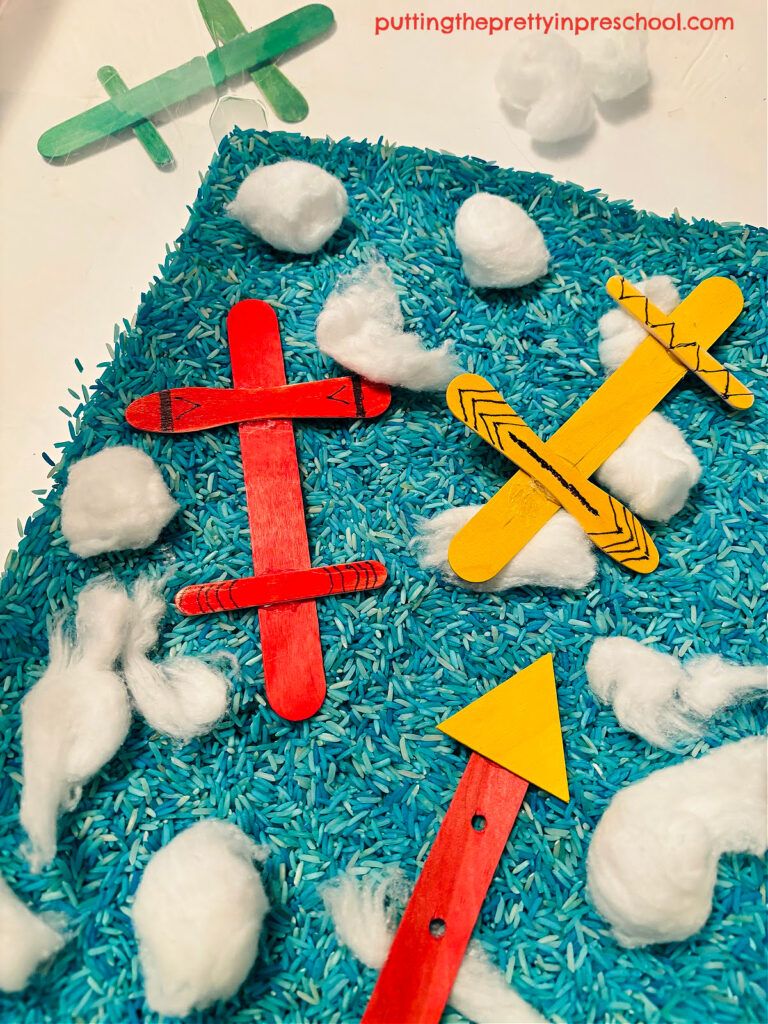
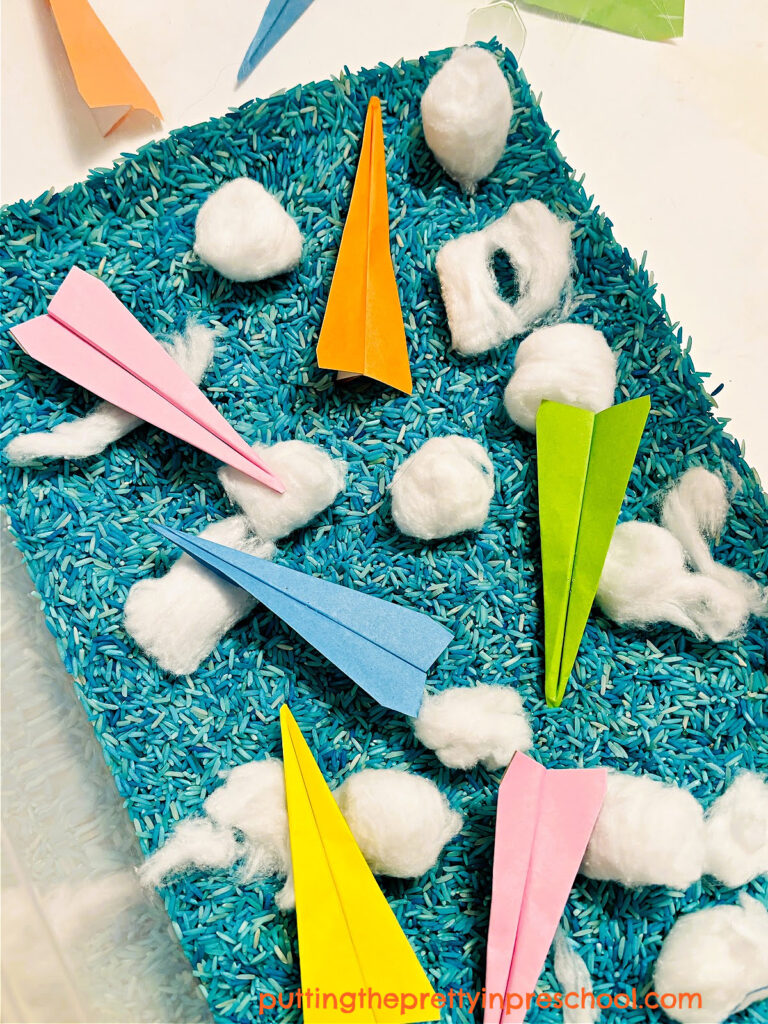
Putting together the airplane rice sensory bin is as easy as dying the rice. Simply pour the rice into a small storage bin. Add a few airplane figurines and some cotton balls for clouds. Or instead of the figurines, add popsicle stick or mini paper planes.

_______

_______

Follow me on Pinterest for more early learning ideas.

_______

More Sensory Bins:

Starry Sky Sensory Bin

Bee and Sunflower Sensory Bin

Lucky Cat Sensory Bin

Unicorn Theme Sensory Play

Easter Bunny Sensory Bins

_______

[Read more…] about Airplane Rice Sensory Bin

Filed Under: preschool, pretend play, science, sensory, transportation Tagged With: airplanes, rice bin, sensory bin

Salt Painting Planet Art

May 3, 2025 by Annette Kaminsky Leave a Comment

_______

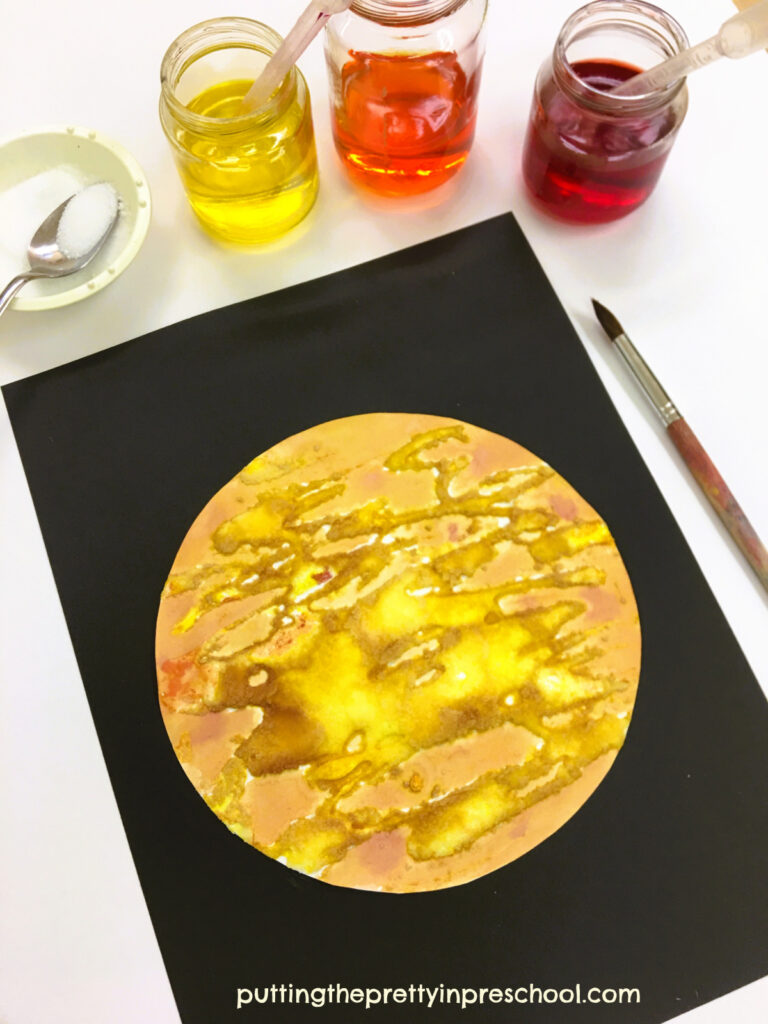
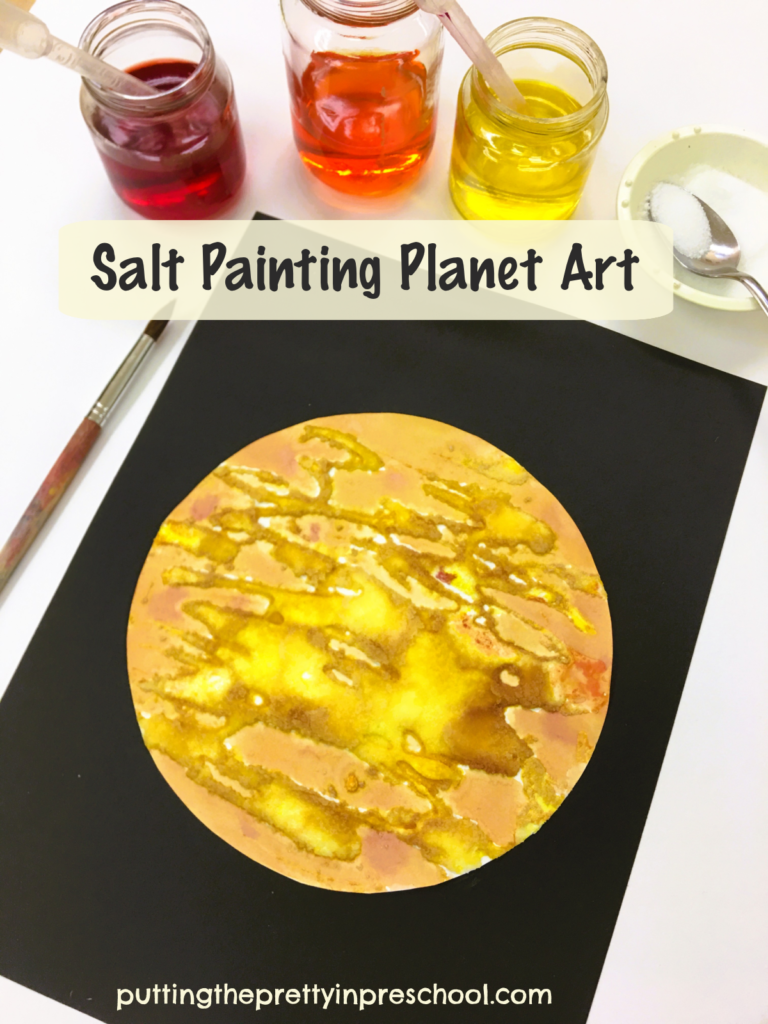
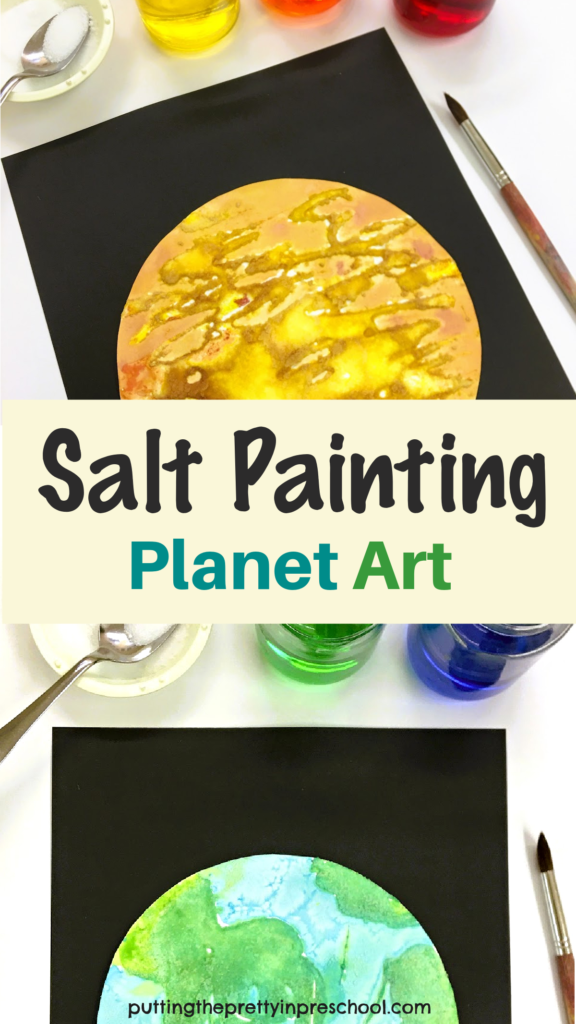
This salt painting planet art is super satisfying and oh so simple to do. The salt drip painting technique works well to create Earth or one of the other eight planets.

_______

Supplies to Collect

Gather the following supplies, which you probably have around your home, for this stunning planet art activity:

  • 8 ½ x 11-inch cardstock paper
  • table salt
  • white glue
  • glue paddle
  • food coloring
  • paint pots
  • eye droppers
  • paintbrush
  • teaspoon
  • disposable plate
  • scissors and pencil
  • glue stick or glue gun
  • washable table cover

_______

_______

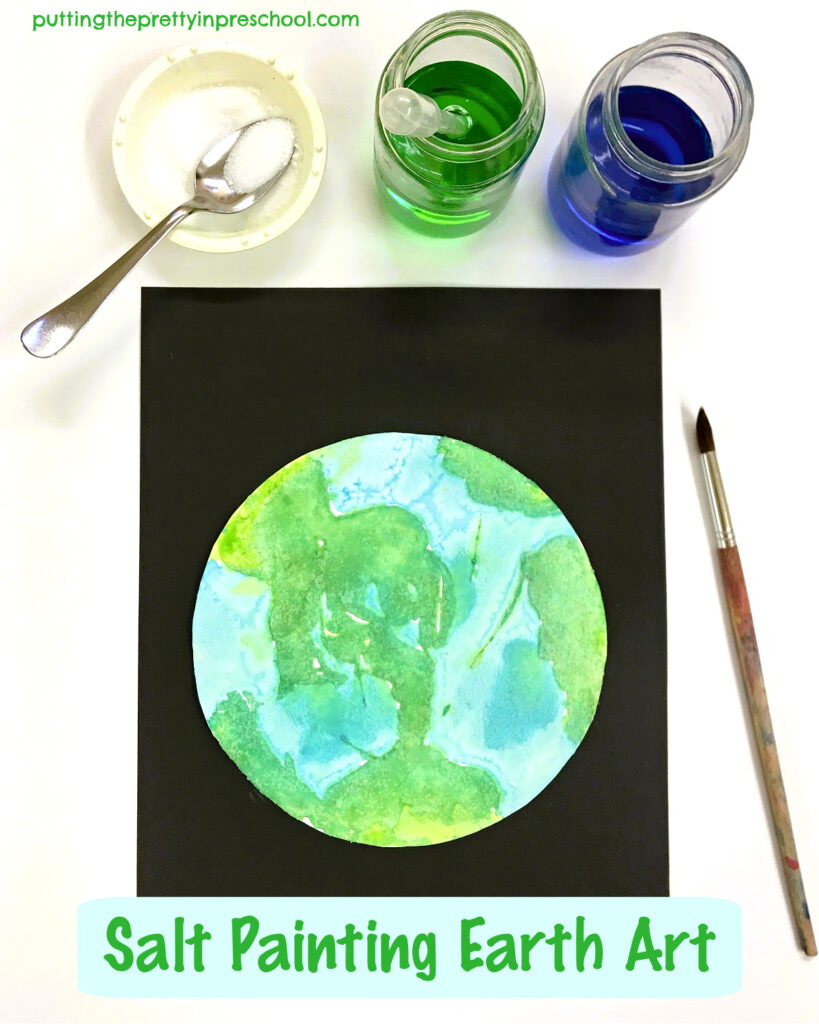
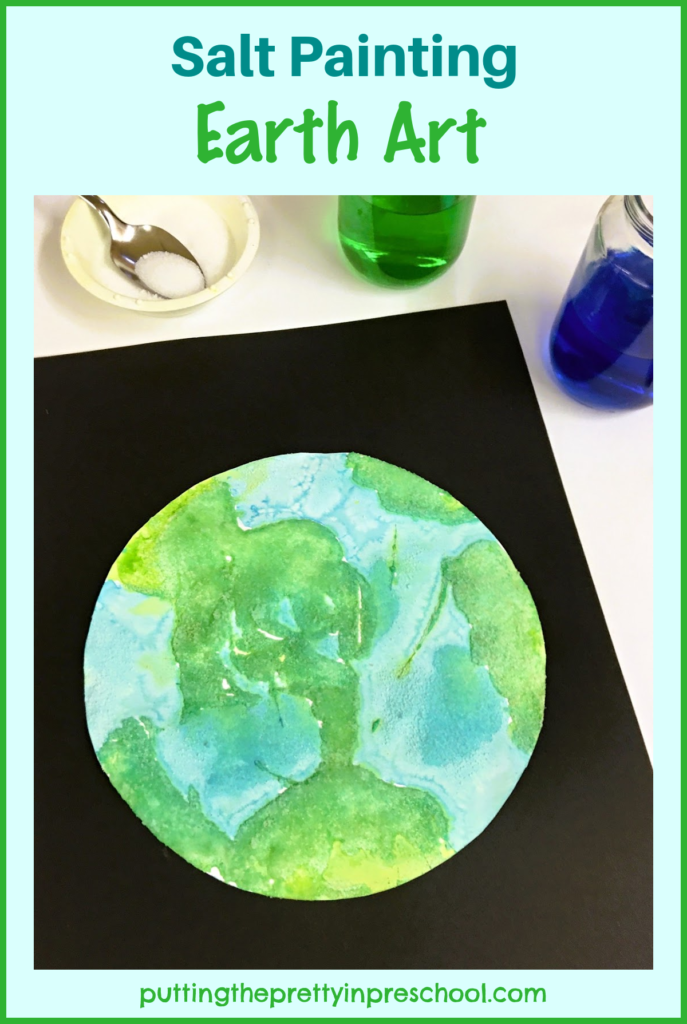
Salt Painting Earth Art

The first planet to create is our Earth as seen from outer space. Complete this salty art activity over two days.

Day One:

Protect an art table with a washable or disposable table cover.

Cut out a circle measuring 18 cm/7 inches from 8 ½ x 11-inch or 9 x 12-inch cardstock paper.

Pour white glue into a small container or paint pot.

Set the sturdy paper circle, pot with white glue, glue paddle, and disposable plate on the prepared art table.

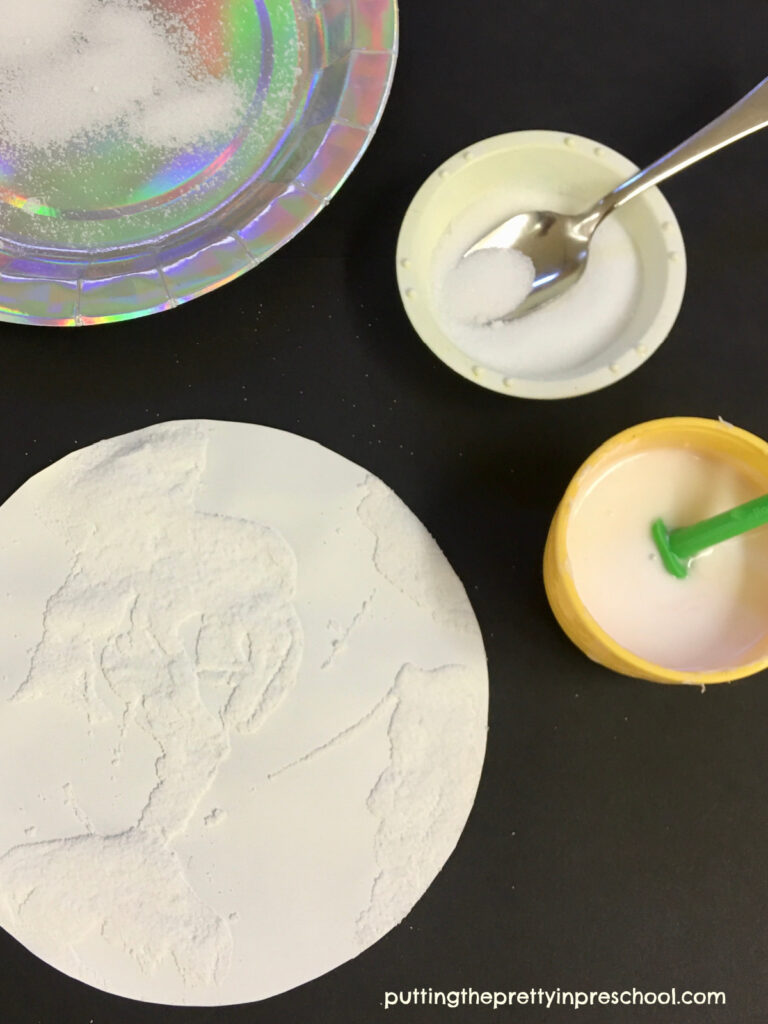
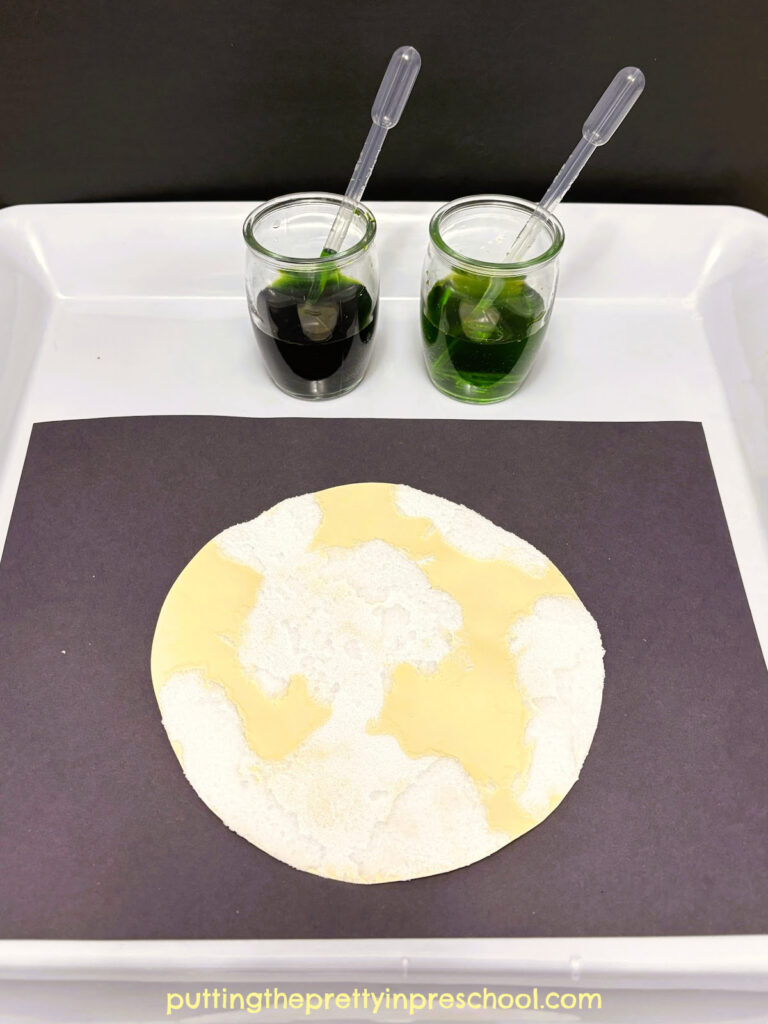
Dip the glue paddle into the white adhesive and spread it on the circle in shapes of land forms.

_______

Using a teaspoon, generously sprinkle salt over areas of the circle that contain glue.

Tip the circle sideways over a disposable plate and shake off excess salt. (The leftover spice can be used for more salt painting planet art projects.)

Let the gluey circle dry overnight.

_______

Day Two:

Cover an art table with a washable table cover.

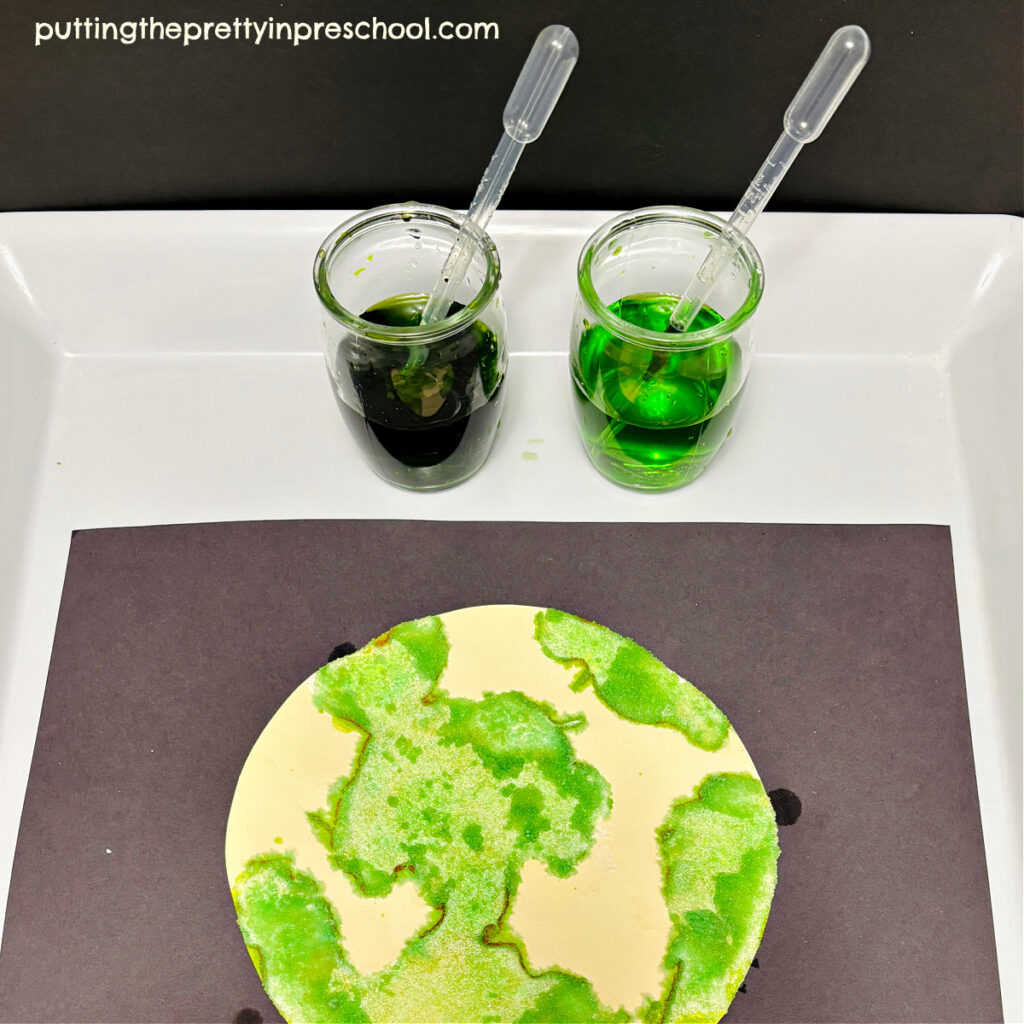
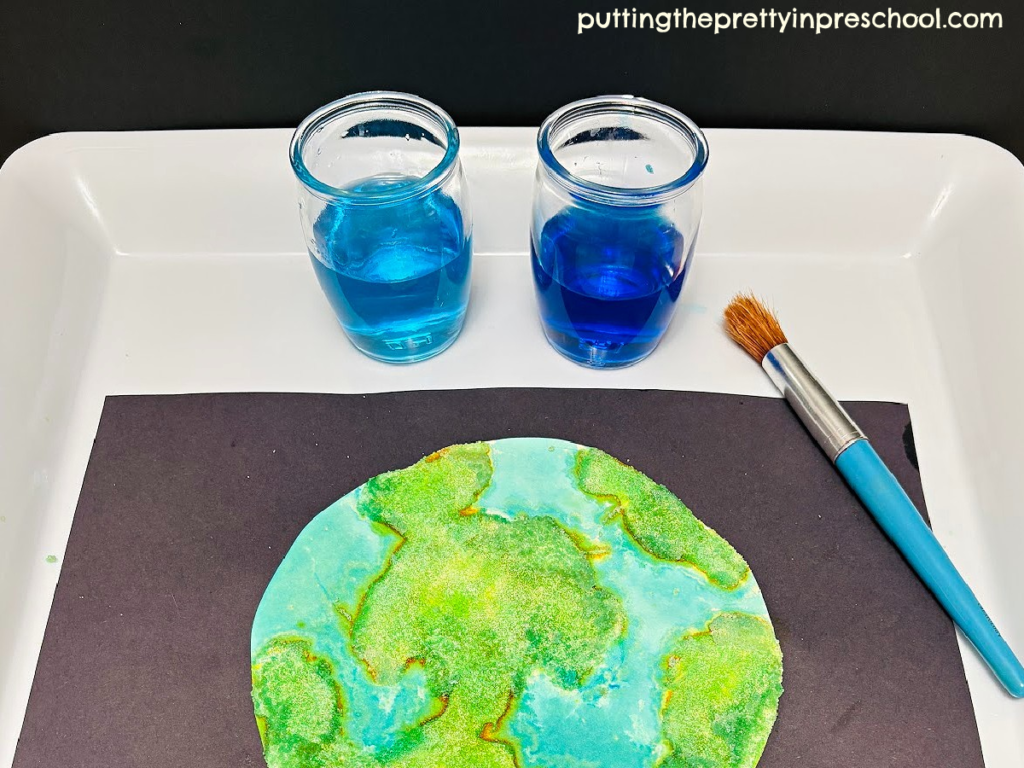
Prepare the watercolor paints: Mix a few drops of blue food coloring into a paint pot containing water and a few drops of green food coloring into a second water-filled pot. Or mix a lighter and darker hue in each color for more variety.

_______

Set the raised salt circle on the art table with two hues of green food coloring. Add an eye dropper or pipette to each pot.

Using the droppers, carefully drip paint onto the salt-covered areas of the circle.

_______

Then, with a paintbrush, carefully brush blue watercolor paint around the raised salt land forms to represent water.

_______

Set the painted art project aside to dry.

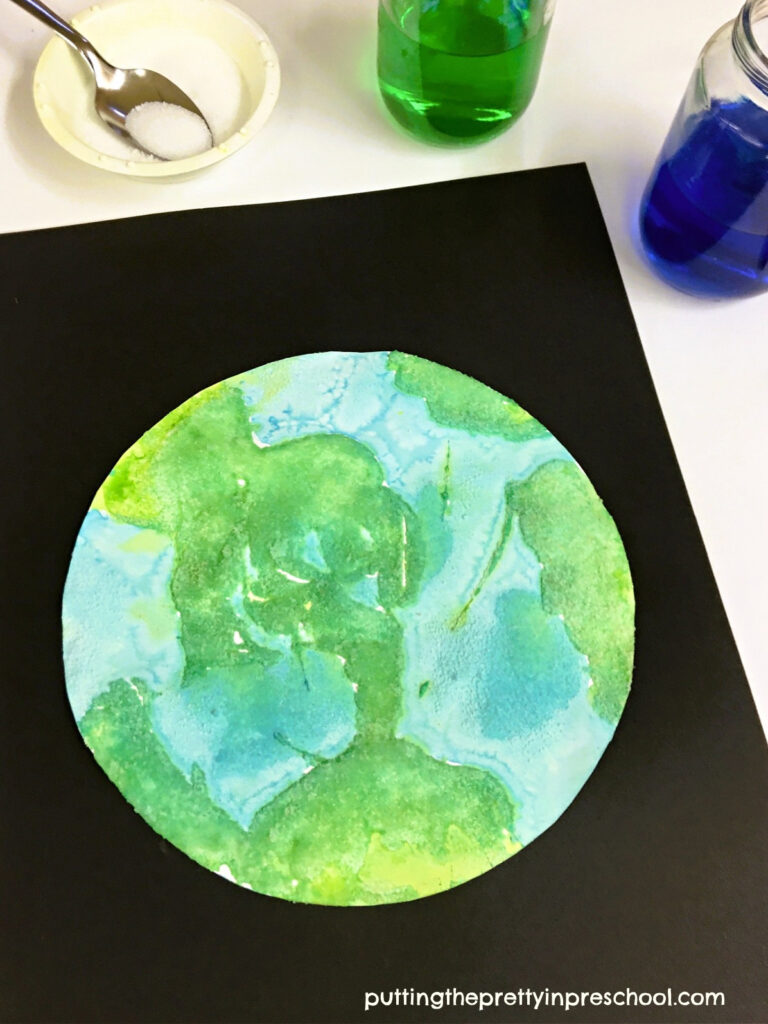
The earth art looks stunning adhered with a glue stick or glue gun to a black or dark blue 8 ½ x 11-inch or 9 x 12-inch cardstock or construction paper background. Displayed in a group, this salt painting planet art project looks stunning.

_______

Follow me on Pinterest for more early learning activities.

_______

Salt Painting Jupiter Art

_______

Jupiter also looks amazing in a salt painting planet art activity. To create planet Jupiter with this art technique, spread the glue in a stripy design to show Jupiter’s banded, cloud-covered look. Sprinkle on salt and shake it off next. After the spice-covered glue dries, drip red and yellow food coloring paint onto the raised salt areas. Then, carefully brush orange food coloring paint (or orange liquid watercolor paint diluted with water) between the raised salt areas for contrast.

_______

As with the salt painting planet Earth project, a group of arty Jupiter planets looks stunning when displayed on dark cardstock paper backgrounds.

_______

The salt painting art with an Earth theme is a great activity for Earth Day. Both art projects are welcome additions for a space theme.

Is this post helpful? Which planet would you create with this technique?

_______

[Read more…] about Salt Painting Planet Art

Filed Under: art, crafts, display, Earth Day, science, space Tagged With: earth craft, Earth Day, planets, process art, space

Spring Bunny Sensory Bin

April 19, 2025 by Annette Kaminsky Leave a Comment

_______

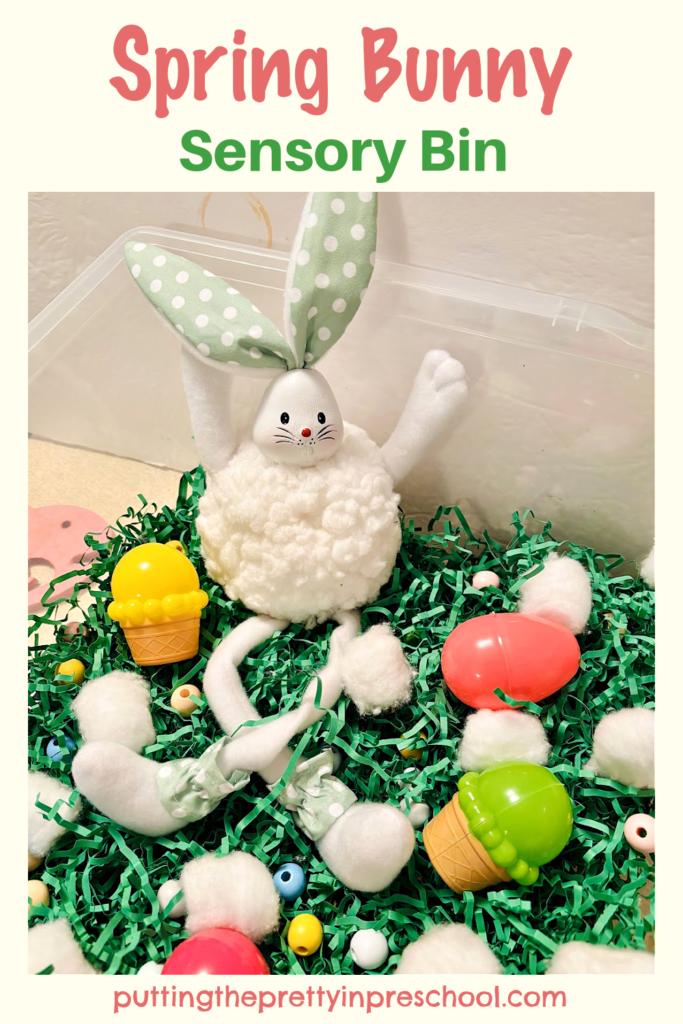
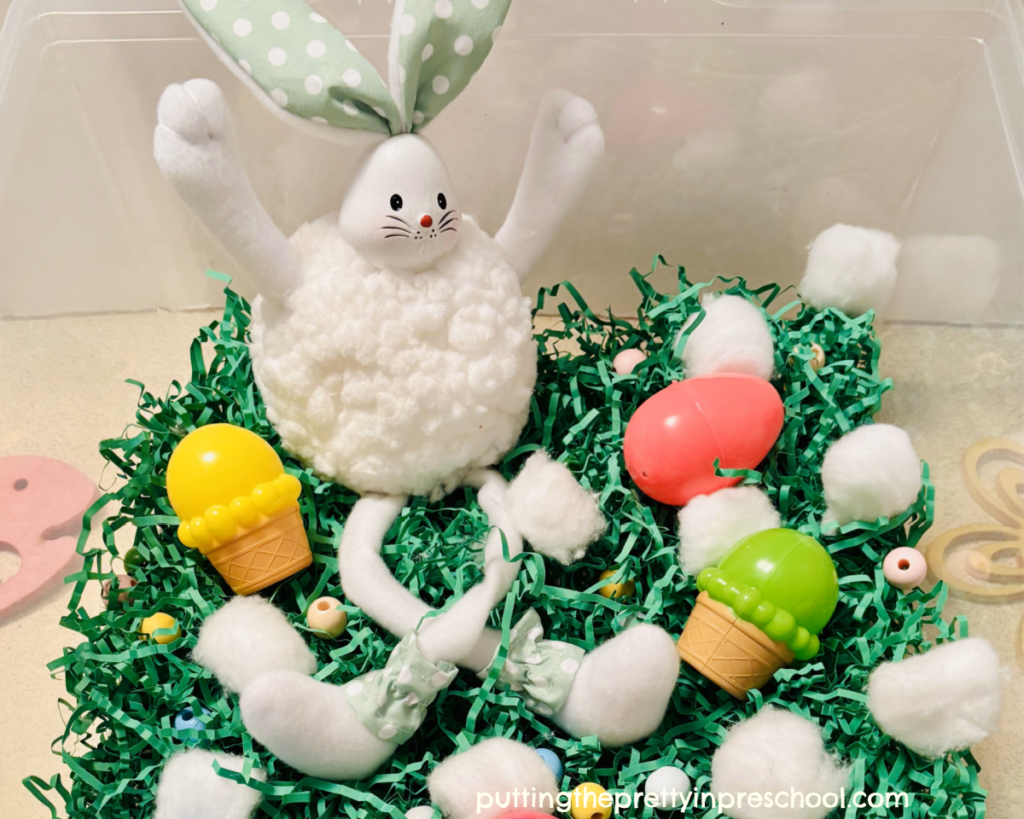
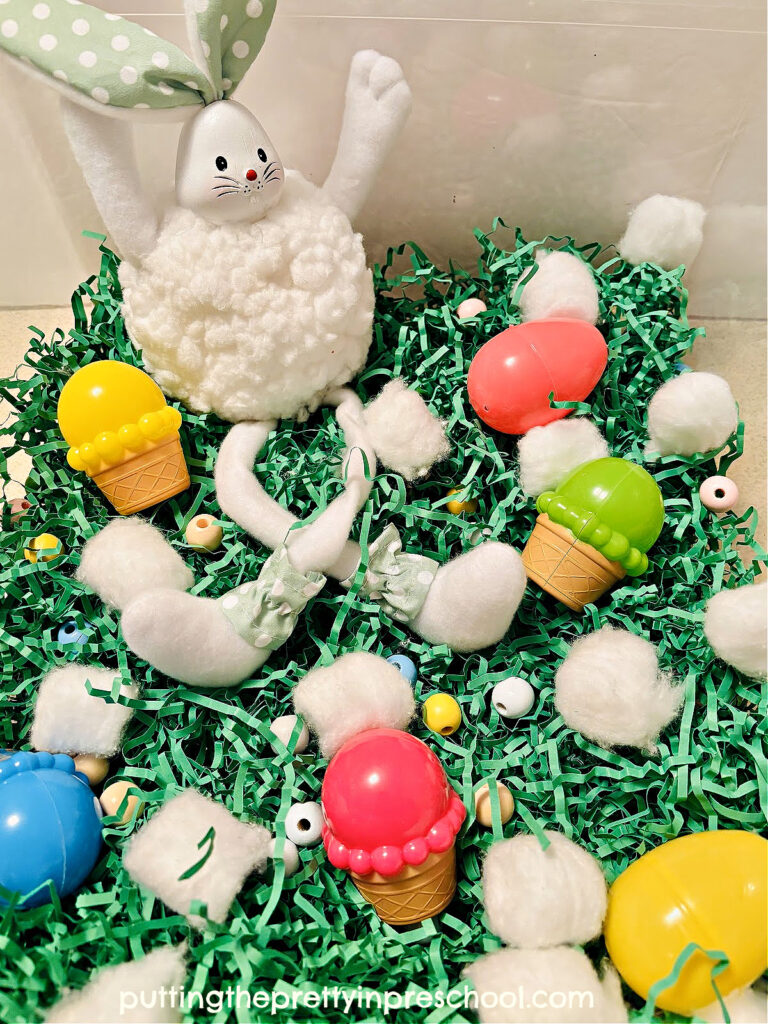
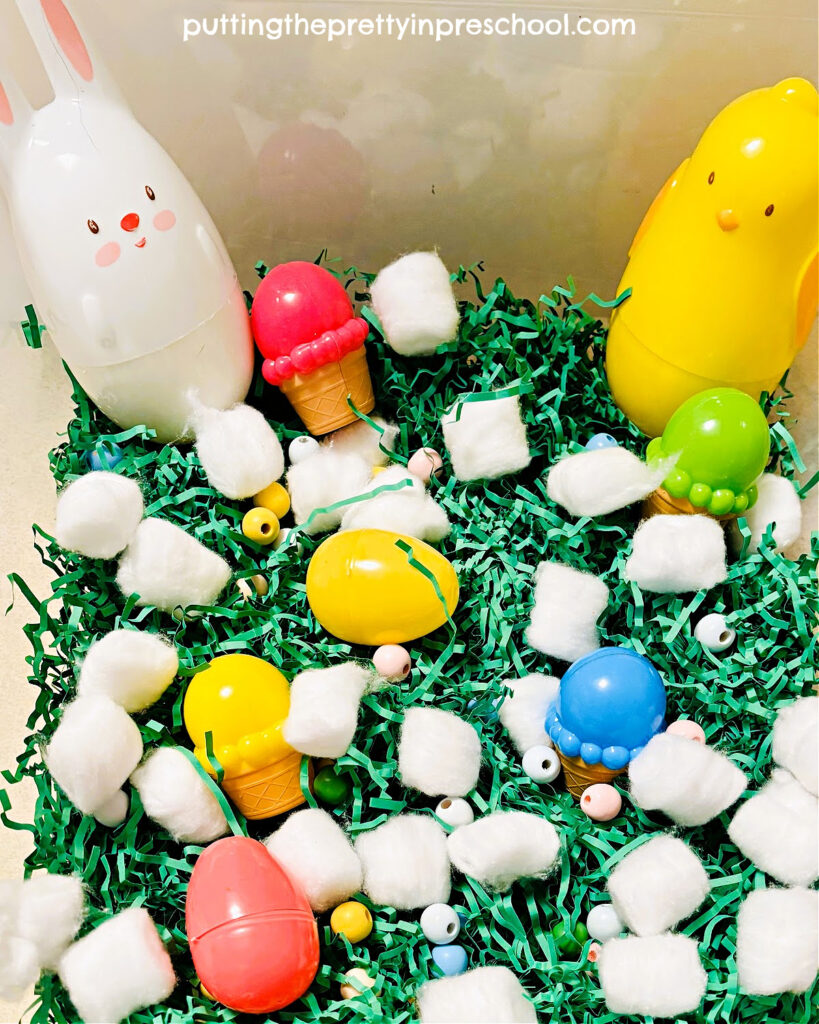
This spring bunny sensory bin is so easy to set up, making it a great last-minute activity. Just a few supplies are needed to make the colorful bin a hit with little learners.

_______

Supplies To Collect

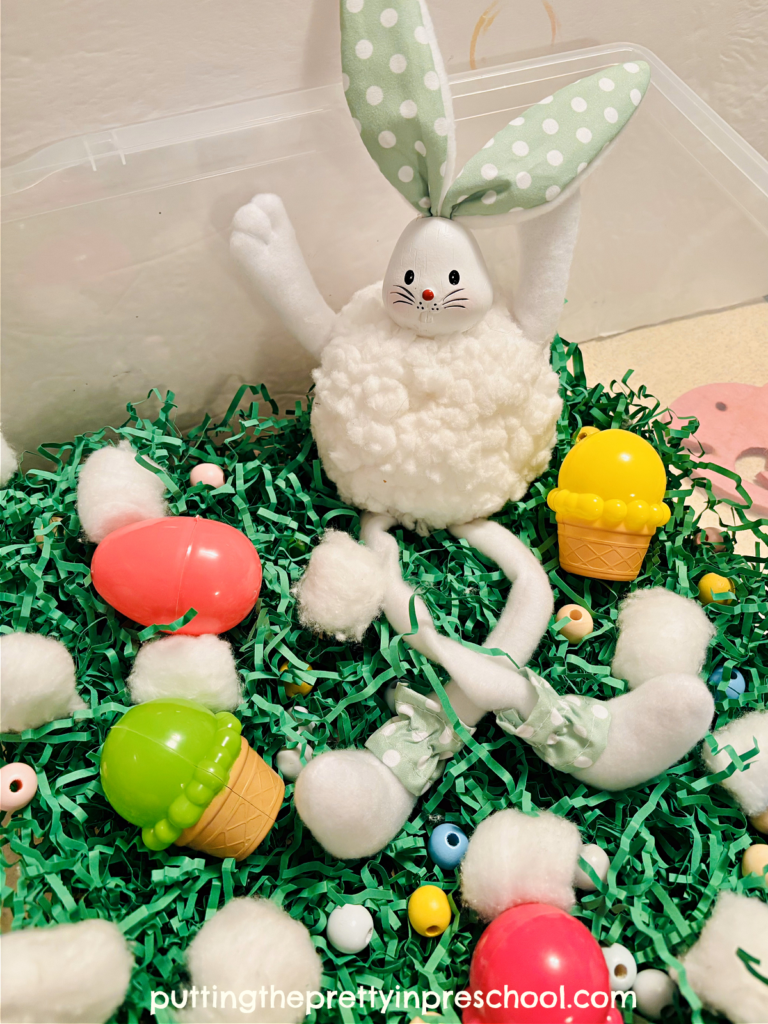
The following supplies are in this oh-so-fun sensory bin, perfect for an Easter or Spring theme:

  • small storage tub
  • green Easter grass
  • ice cream cone-shaped treat holders
  • fillable eggs
  • wooden beads
  • stuffed bunny

_______

_______

The Spring Bunny Sensory Bin

A small, clear storage tub holds the supplies in this bin. This size is ideal for taking sensory activities on the road.

A package of bright green paper Easter grass is the base. Fluffed up, it spreads over the bottom of the bin nicely.

_______

Ice cream cone-shaped treat holders, a new find this year, provide fine motor control opportunities. They would also be fantastic in an ice cream stand center, extending their value as a play accessory.

Cotton balls are a reminder of bunny tails, and can be reimagined as ice cream.

Pastel-hued small wooden beads give participants a chance to practice eye-hand coordination.

_______

A white and green long-legged stuffed bunny is the star of the spring sensory bin.

_______

Follow me on Pinterest for more early learning activities.

_______

Variation of the Spring Bunny Sensory Bin

_______

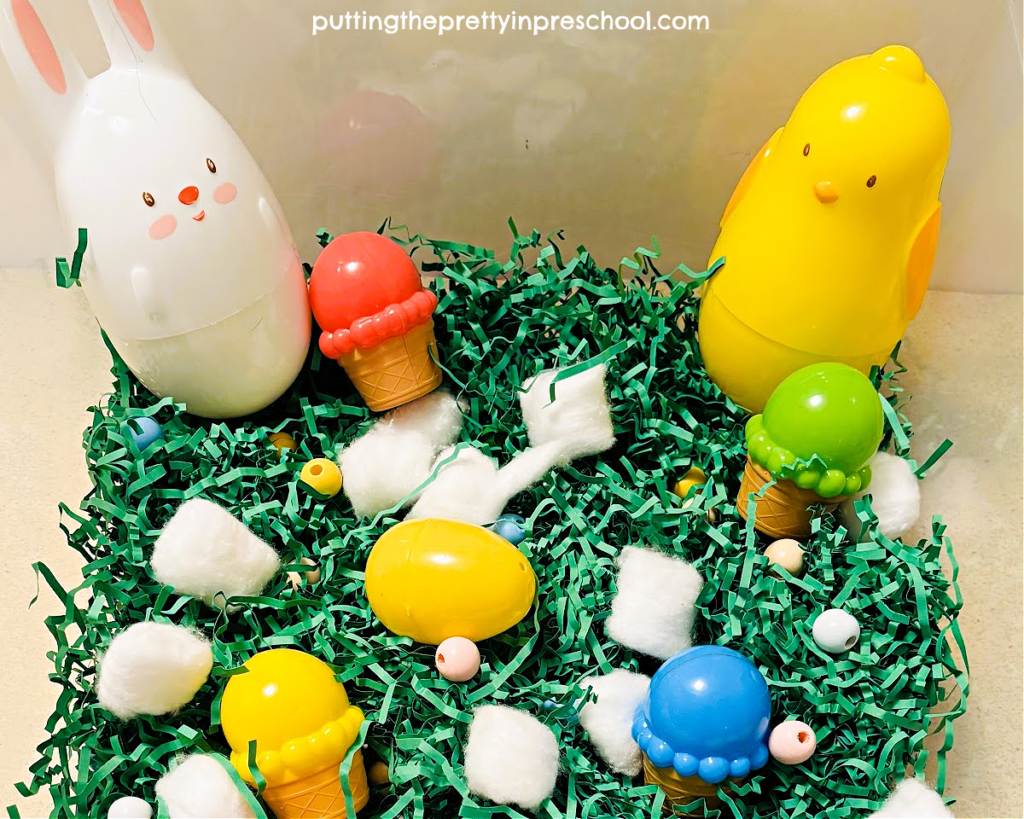
When this sensory bin is set out for a few days, small changes add interest. This second bin features large bunny and chick treat holders instead of the stuffed bunny.

_______

[Read more…] about Spring Bunny Sensory Bin

Filed Under: Easter, preschool, sensory, spring Tagged With: bunnies, Easter, sensory bin, sensory play, spring

Tin Foil Egg Printing

April 17, 2025 by Annette Kaminsky Leave a Comment

_______

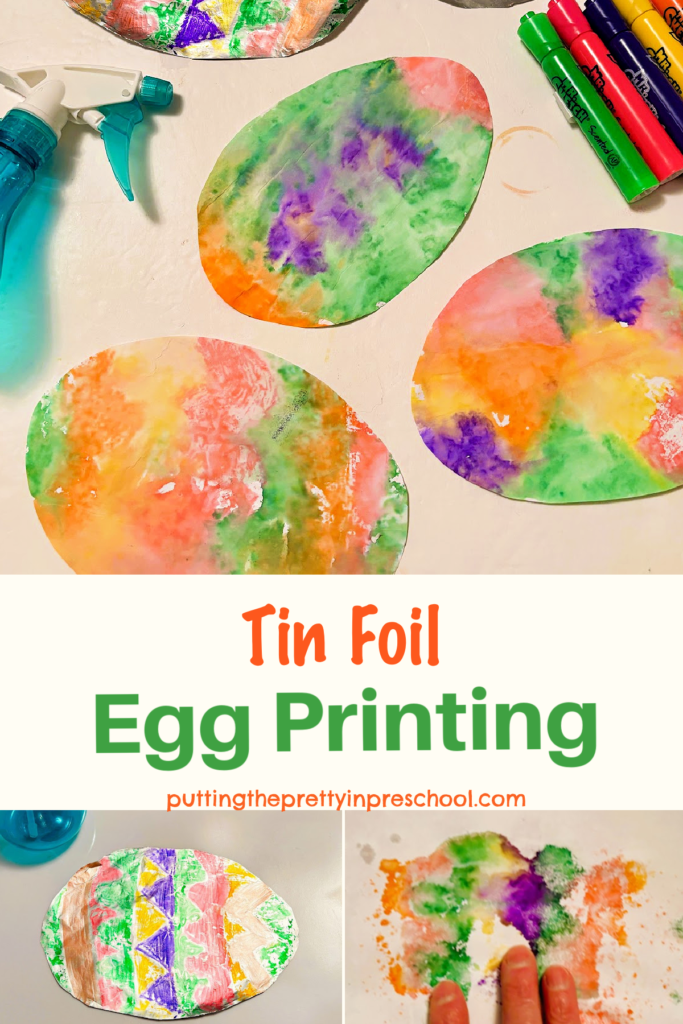
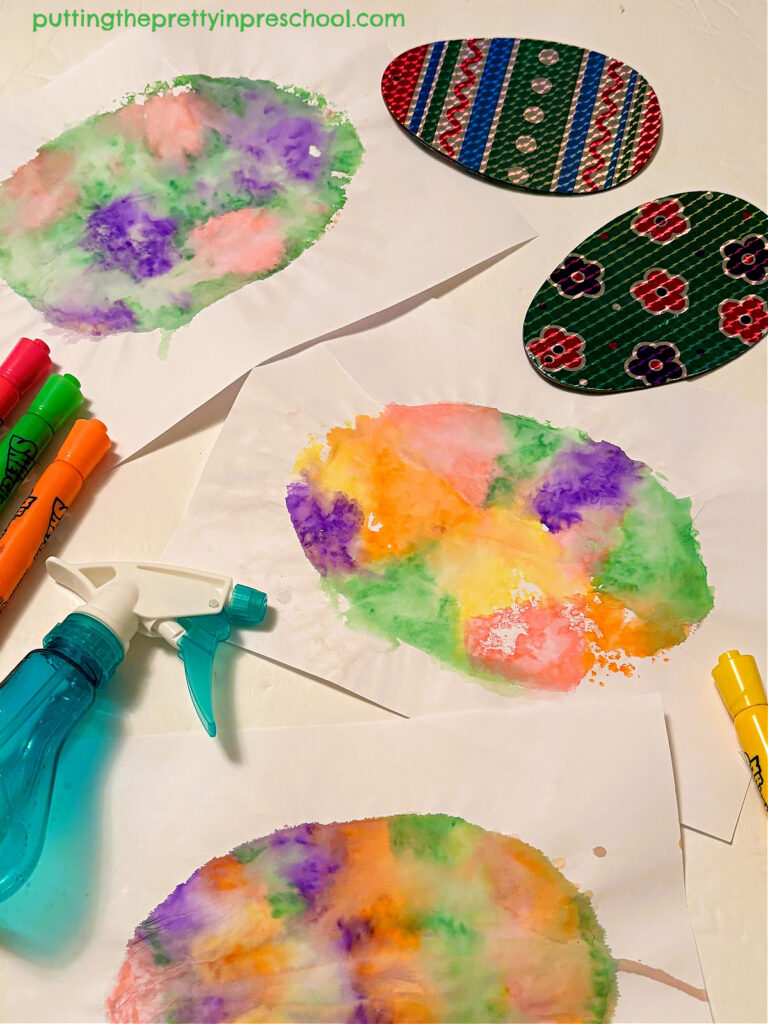
This tin foil egg printing art project is easy to set up and oh-so-much fun. Just a few basic supplies are needed for this creative spring activity.

_______

Tin Foil Egg Printing Supplies

_______

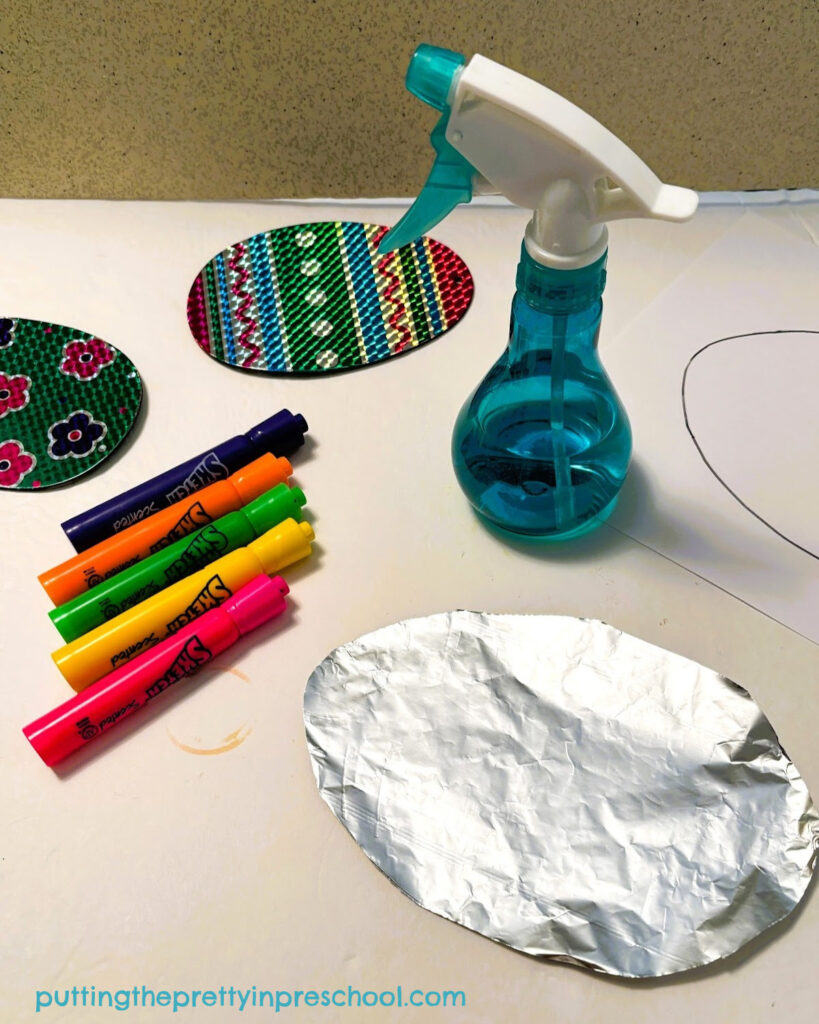
Gather the following supplies for this egg-themed art project:

  • tin foil roll (also called aluminum foil)
  • water-based marker
  • spray bottle
  • 8 ½ x 11-inch paper
  • scissors
  • tray

_______

Follow me on Pinterest for more early learning activities.

_______

Tin Foil Egg Printing Instructions

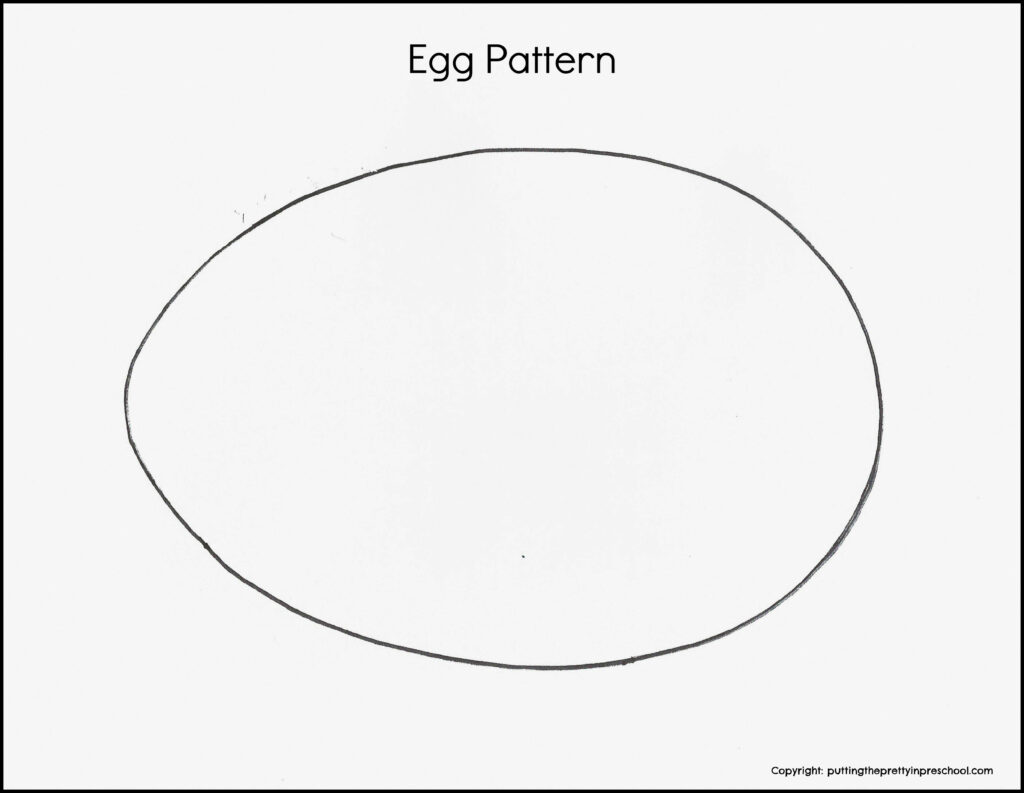
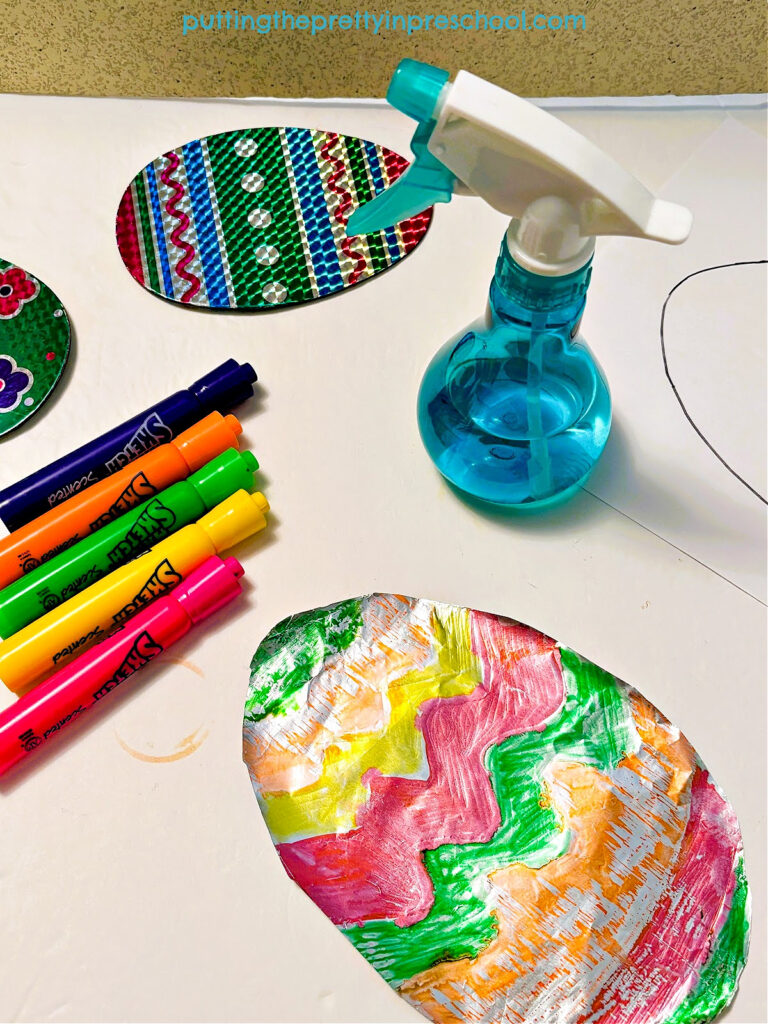
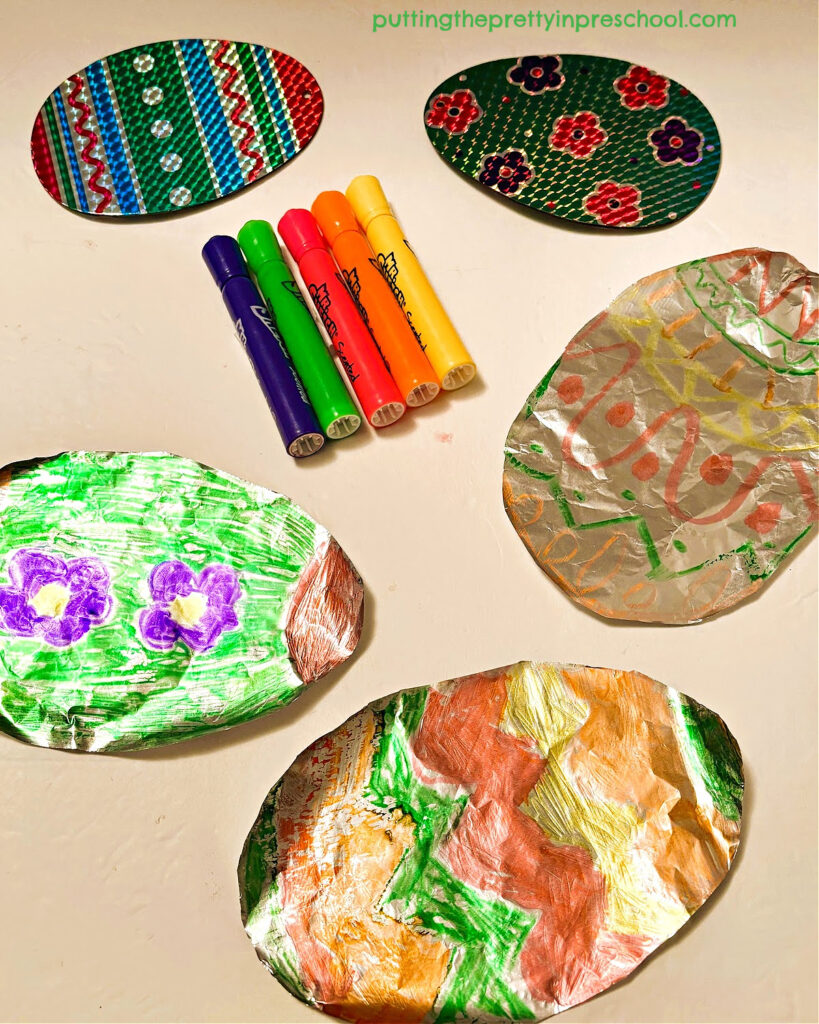
For this printing art project, first cut eggs from tin foil (commonly called aluminum foil). Select strong tin foil if you have it available. Feel free to download this printable to use as a pattern.

_______

Egg PrintableDownload

_______

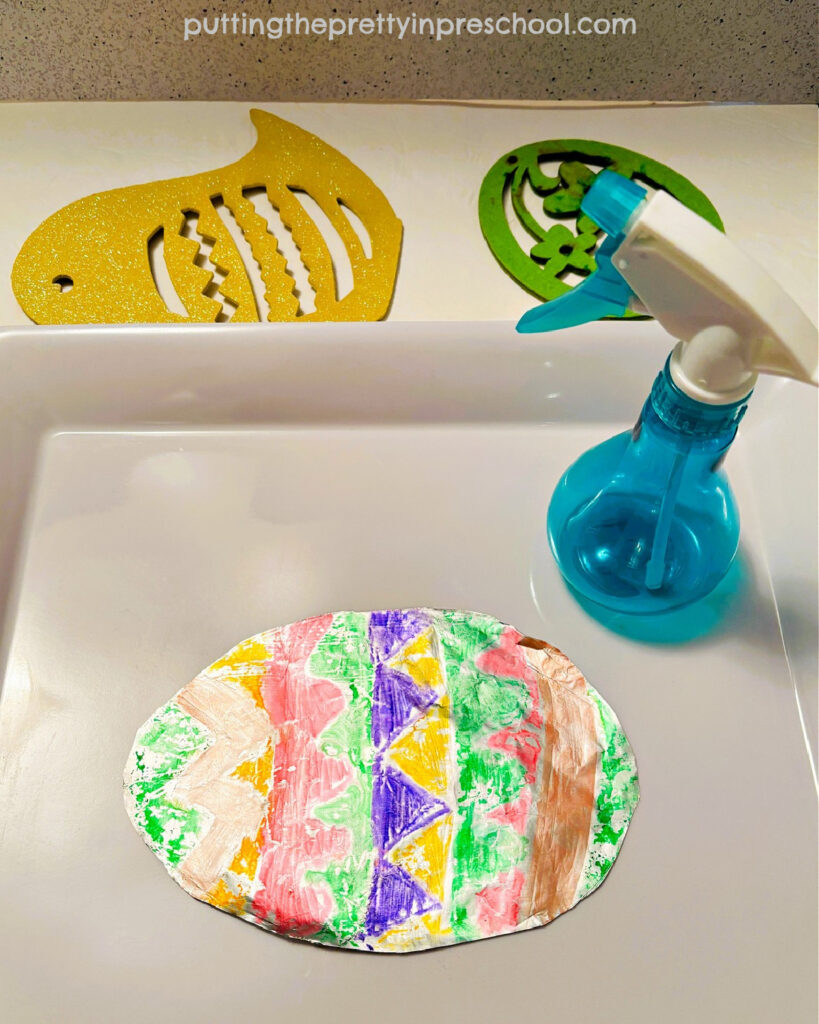
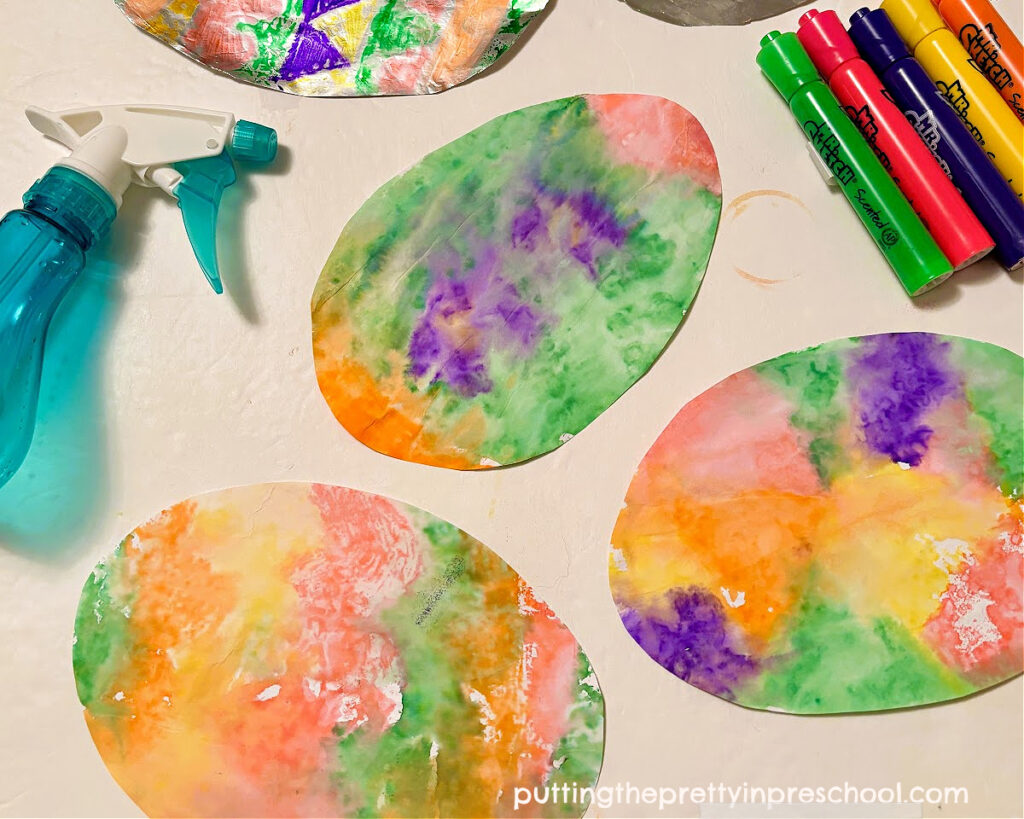
Next, color a foil egg (a unique, unexpected canvas) with water-based markers. Set out a few decorated eggs to offer inspiration.

_______

Then place the egg in a low-edged, flat tray and spray it with a small bottle filled with water. Give each area of the egg a little squirt. (Young children will love this step.)

_______

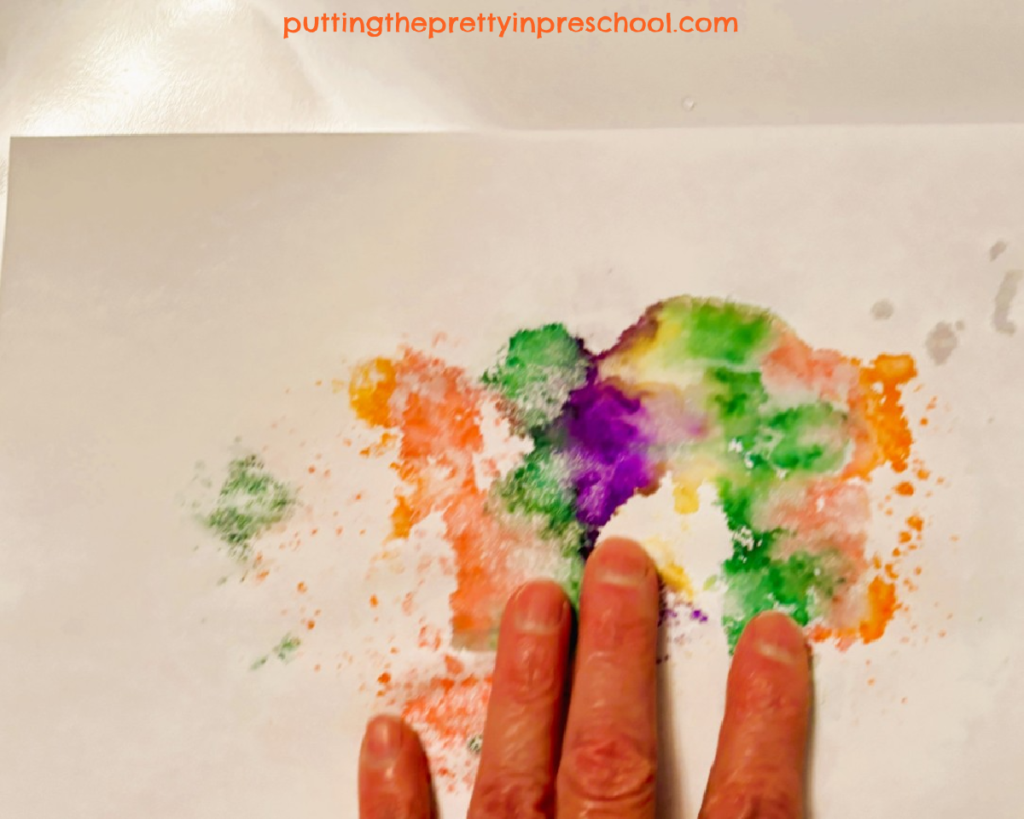
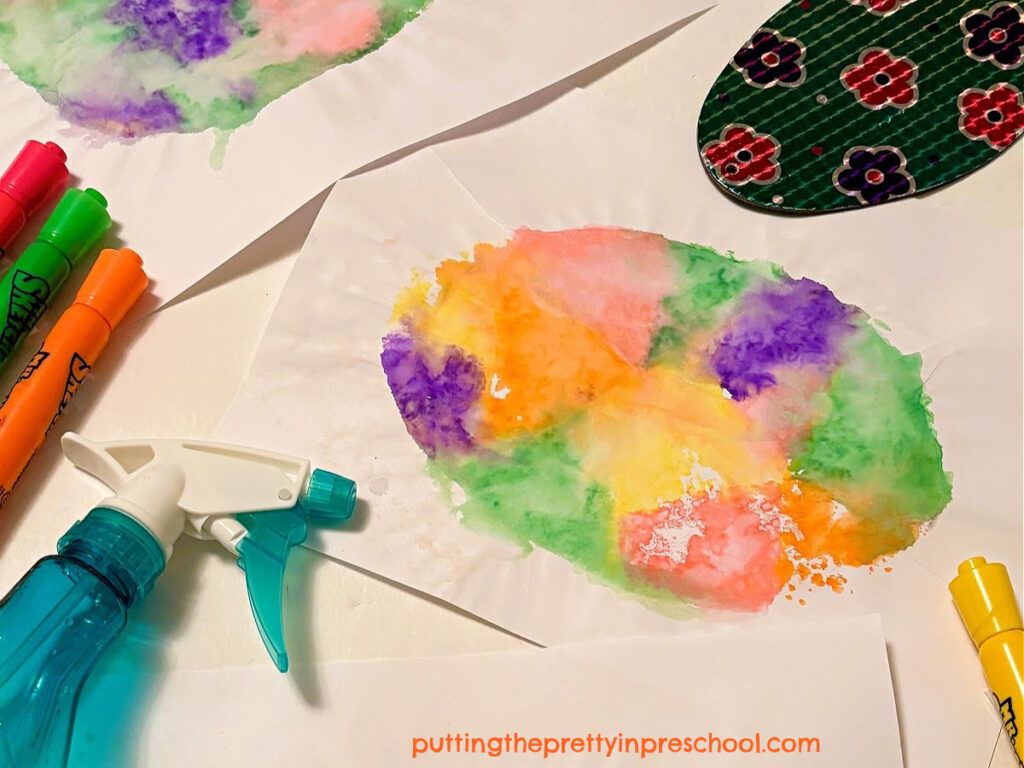
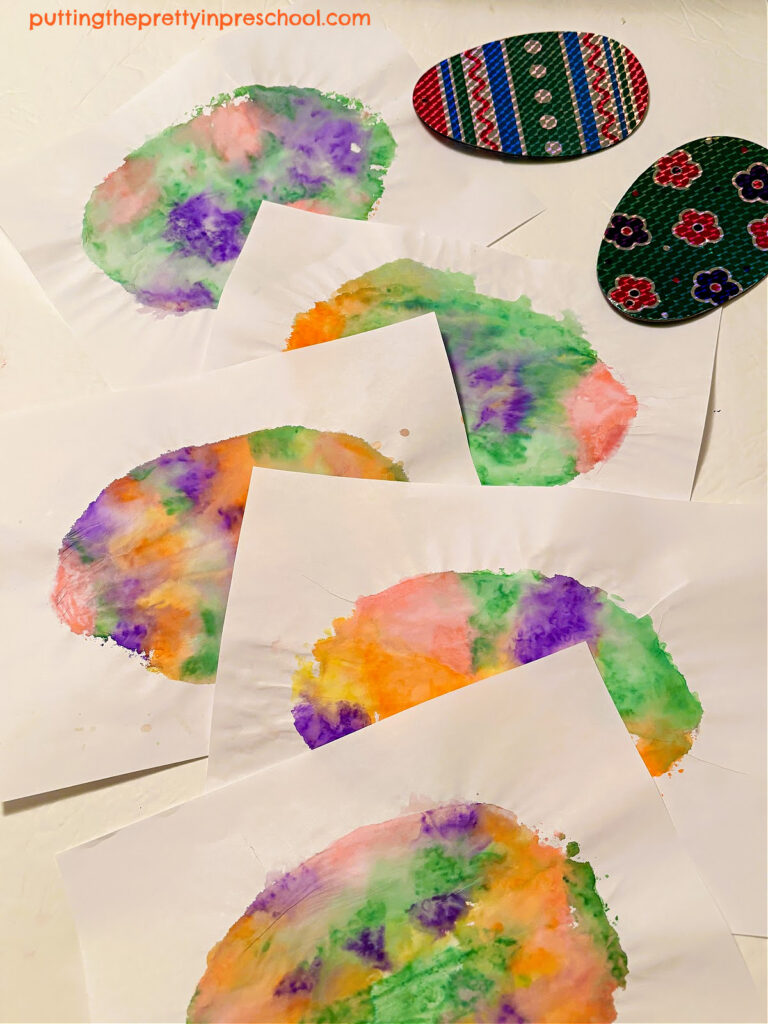
Afterward, lay an 8 ½ x 11-inch sheet of paper over the wet foil egg and firmly rub over the egg. The marker colors will transfer over to the paper.

Tips: Sturdy paper works best for this activity. Watercolor paper or cardstock is a good choice. In addition, the foil eggs are reusable as a printmaking base if dried with a cloth or paper towel after each use.

_______

_______

_______

_______

Lastly, cut the printed egg out with scissors after the paper has dried.

_______

_______

A group of printed eggs would look lovely in a garland or mounted on complementary hues of cardstock.

Some decorated foil eggs could be left as is. The marker colors will dry, and the eggs will look lovely this way, too.

_______

What do you think of this activity?

_______

_______

More Easter Art Activities

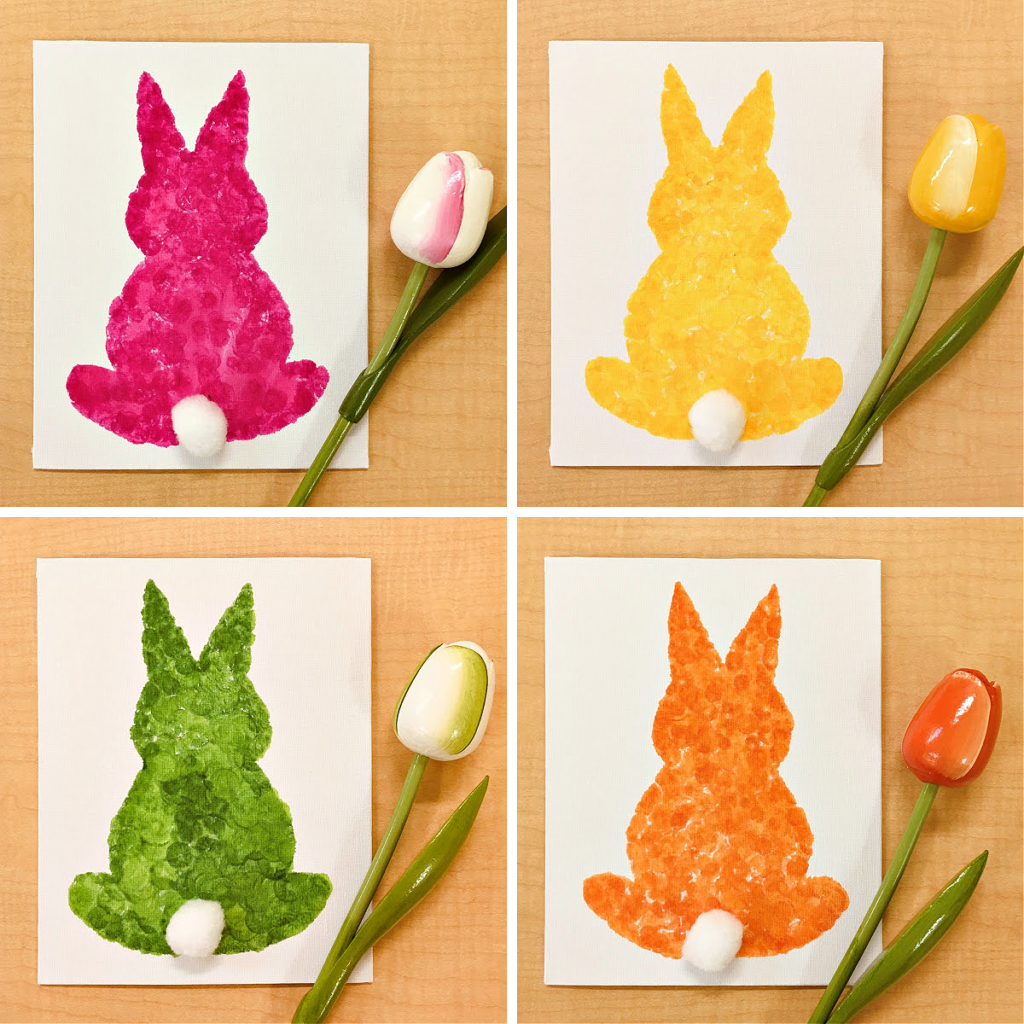
Silhouette Bunny Art
Easter Transient Art
Bunny Rolling Pin Art
Dot Marker Easter Bunnies
Chick Headband Craft
Bunny Ombre Art

_______

[Read more…] about Tin Foil Egg Printing

Filed Under: art, Easter, spring Tagged With: Easter, eggs, printables, printmaking, spring

  • « Go to Previous Page
  • Page 1
  • Page 2
  • Page 3
  • Page 4
  • Interim pages omitted …
  • Page 73
  • Go to Next Page »

Primary Sidebar

Hi, I'm Annette Kaminsky, a preschool teacher who loves sharing learning through play activities for young children. Thanks for visiting my site. Feel free to stay awhile!

Subscribe Via Email

Recent Posts

  • Recycled Cardboard Process Art June 22, 2025
  • Flower Treasure Blocks June 21, 2025
  • Salt Painting Sensory Bin June 15, 2025
  • Dandelion Sensory Tray June 3, 2025
  • Bergenia Flower Sensory Bin May 31, 2025
  • Salt and Ice Science Experiment May 20, 2025
  • Airplane Rice Sensory Bin May 16, 2025
  • Salt Painting Planet Art May 3, 2025
  • Spring Bunny Sensory Bin April 19, 2025
  • Tin Foil Egg Printing April 17, 2025

Categories

Topics

block play bunnies butterflies Chinese New Year Christmas Christmas craft color colors dramatic play Easter flowers hearts holiday jewelry leaves leprechauns light table loose parts painting paper crafts playdough pretend play printables printmaking process art pumpkins rice bin scented playdough science experiment scissor skills sensory bin sensory play sensory tray shamrocks skeletons snakes snowflakes spiders spring St. Patrick's Day sunflowers tablescapes trees Valentine's Day water play
Copyright © 2025 · Lifestyle Pro on Genesis Framework · WordPress · Log in