_______
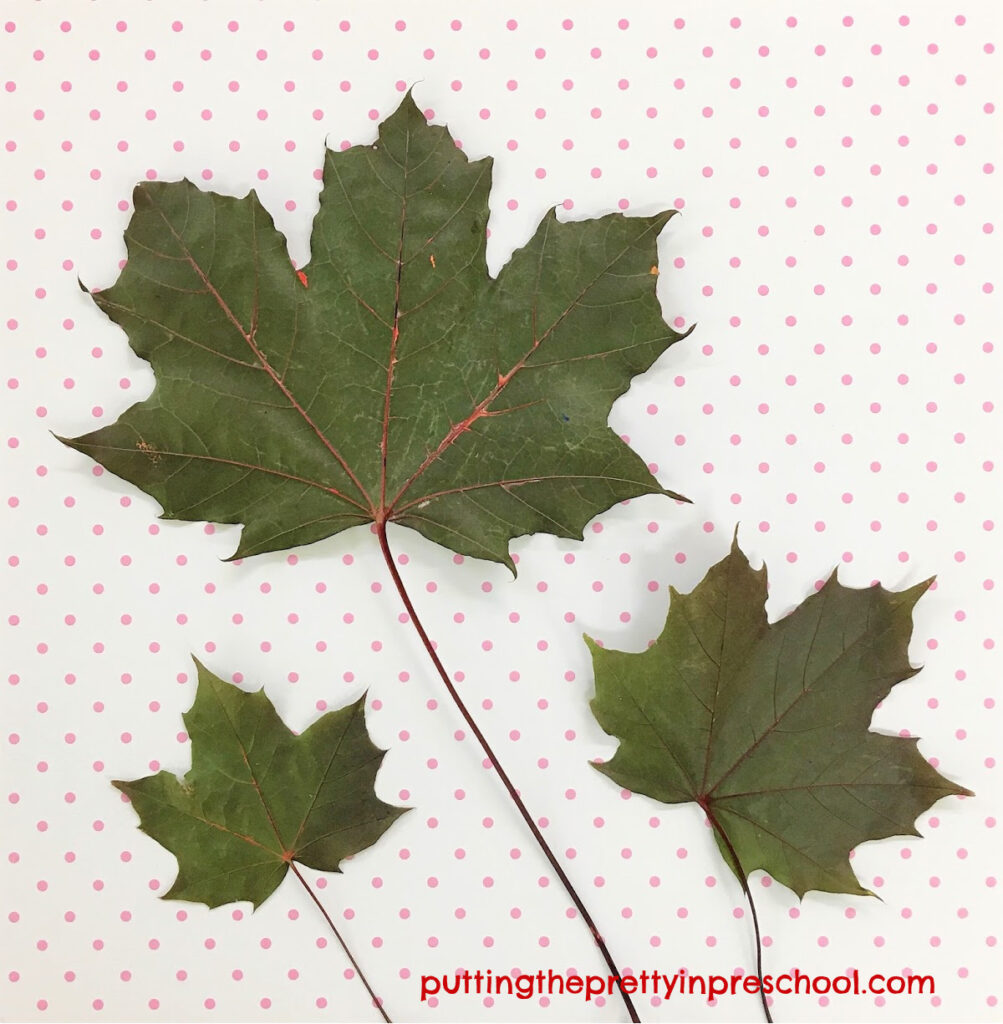
Maple trees flourish in eastern Canada and turn vibrant colors in autumn. But I happily settled for these deep green maple leaves from a tree that can survive our harsh Alberta winters. When painted, they produce striking leaf prints. The prints look stunning displayed but can also be used for other maple leaf activities.
_______
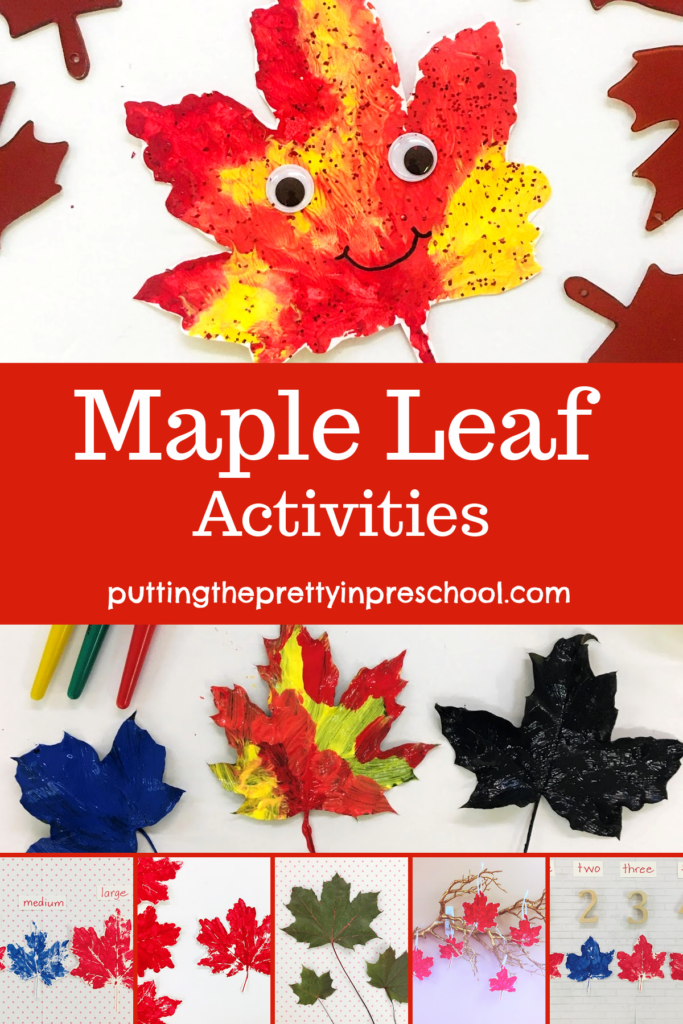
Maple Leaf Activities
Leaf Prints
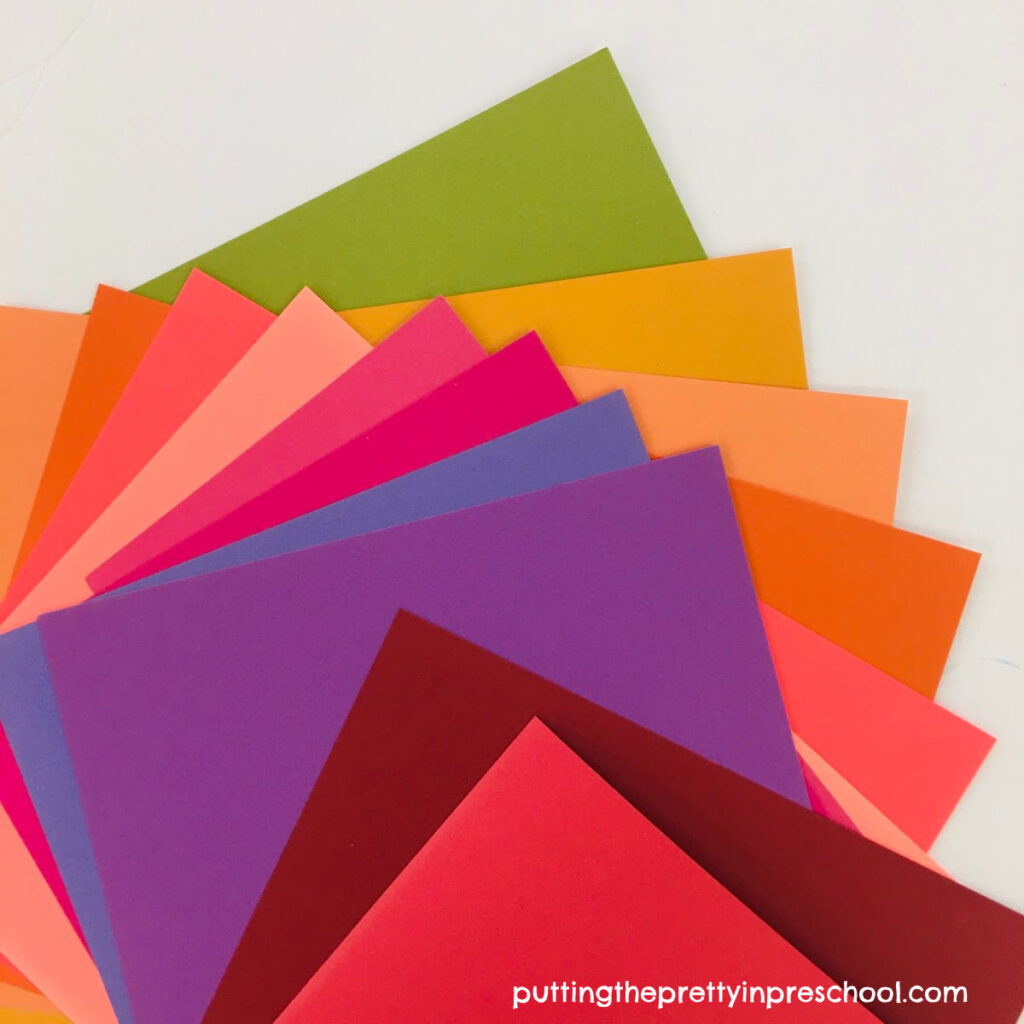
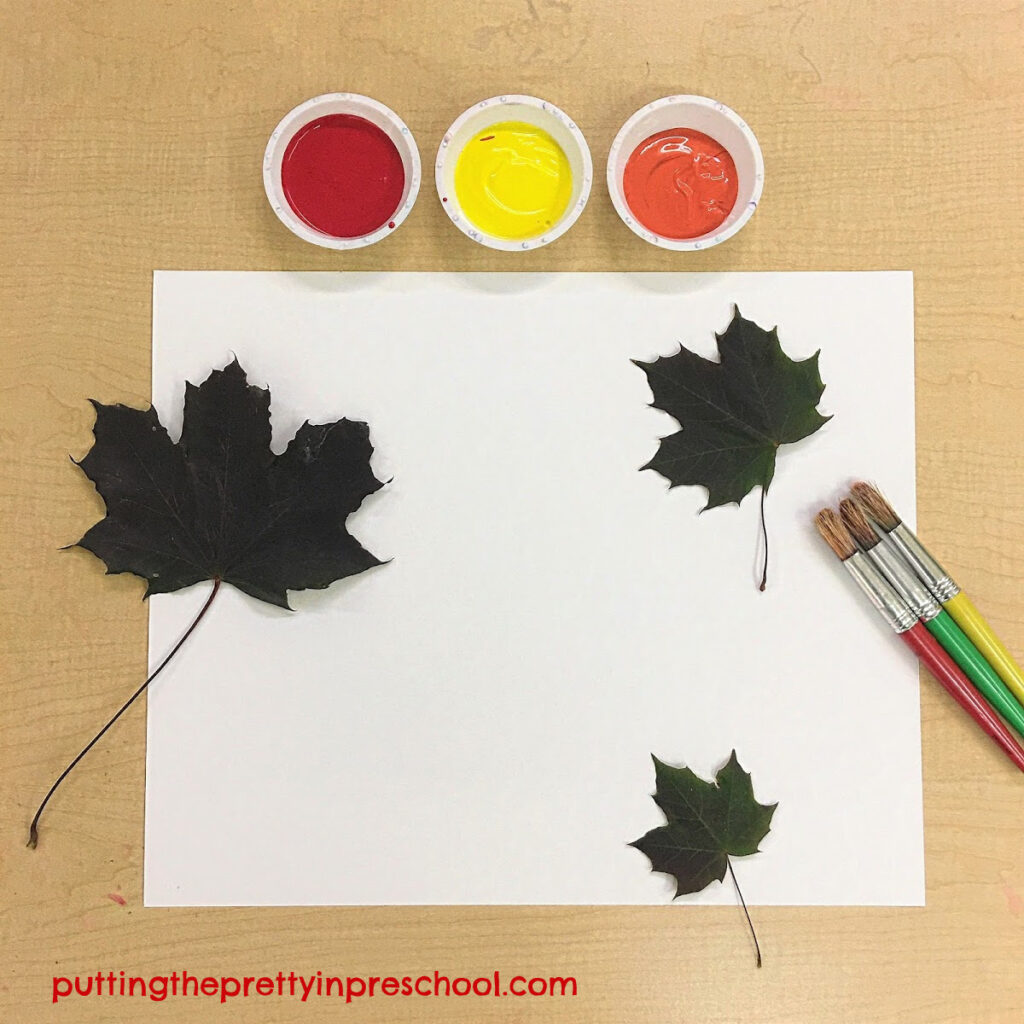
Early learners can join in making maple leaf prints. Set out orange, yellow, and red tempera paints, paintbrushes, and large pieces of sturdy paper. Invite your little learners to paint the leaves, turn them over, and press them onto the paper. Encourage them to gently rub all over each leaf before removing them.
_______

_______
Glitter can be sprinkled on the leaf prints to add a dose of glam before they dry.

_______
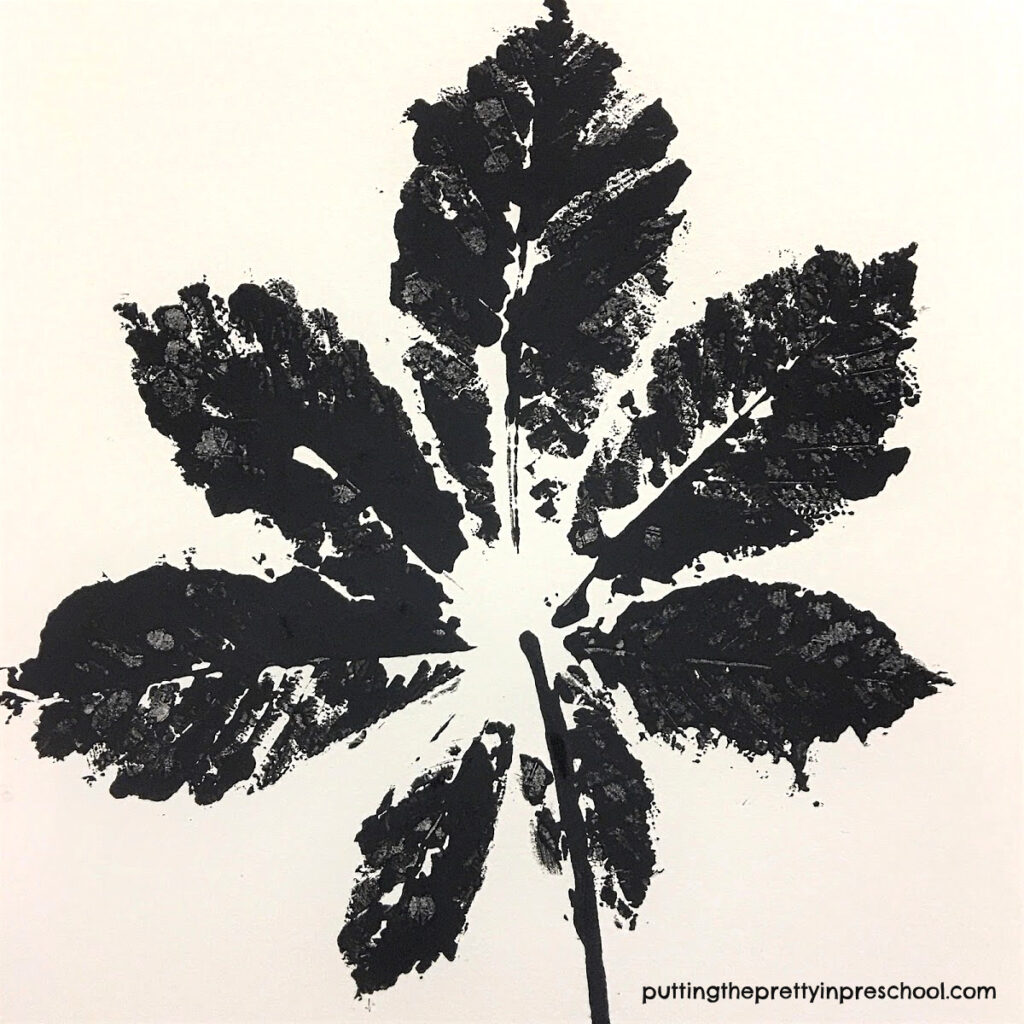
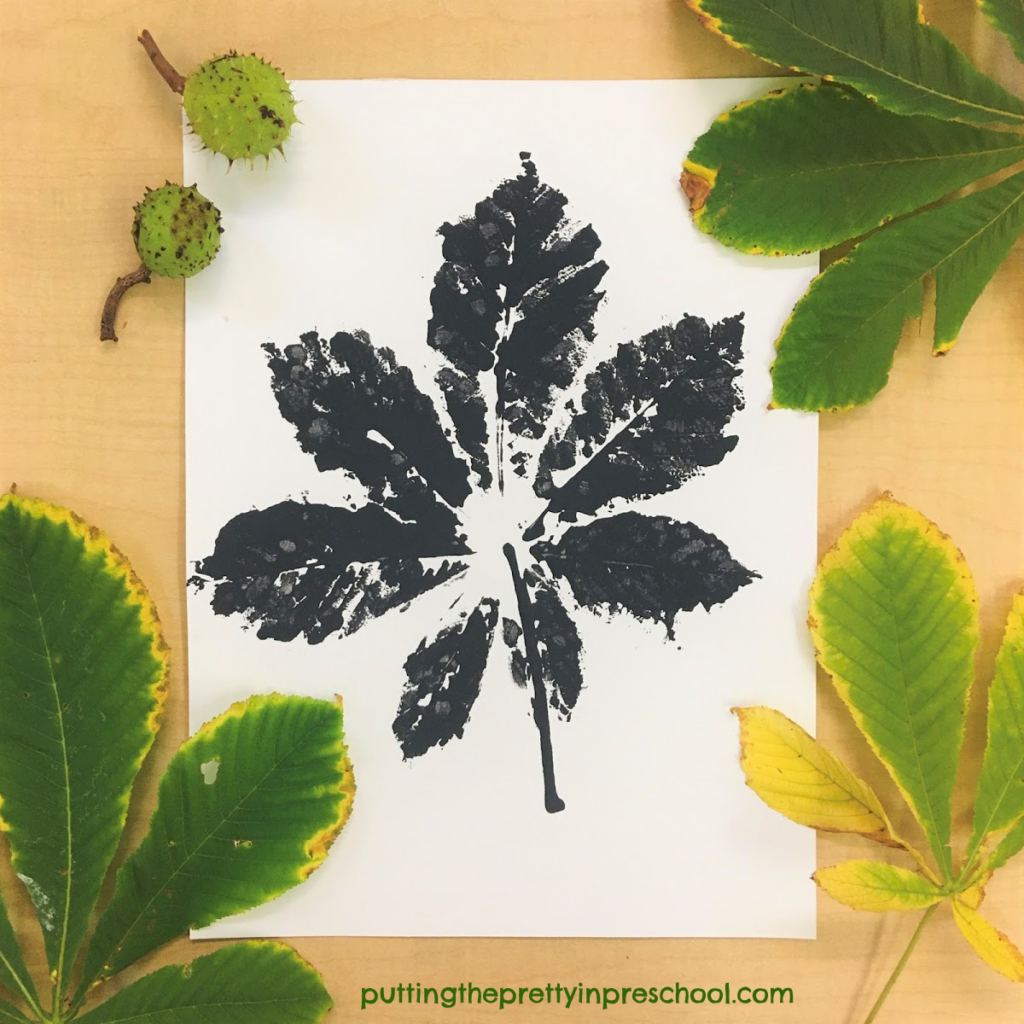
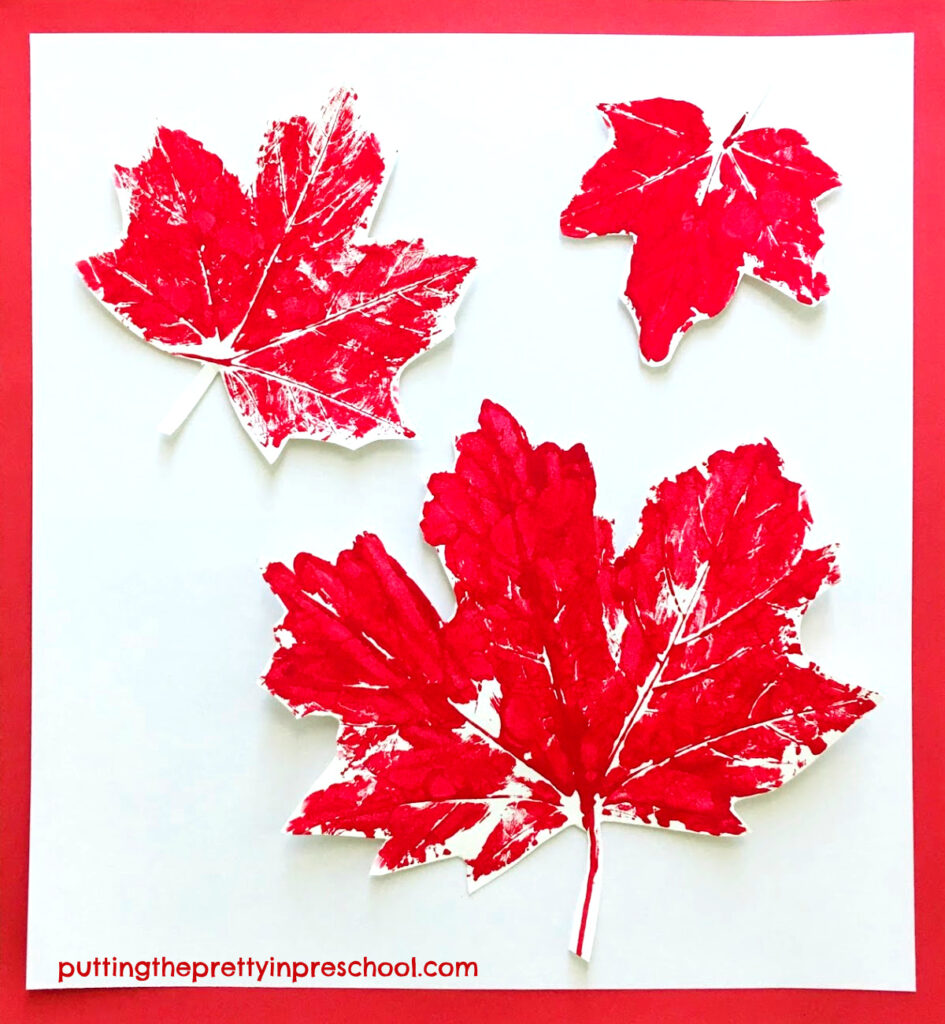
Painting the back of a leaf, and pressing it on paper clearly reveals the midrib and veins.

_______
Unexpected colors of paint, such as black or blue can be offered.

_______

_______
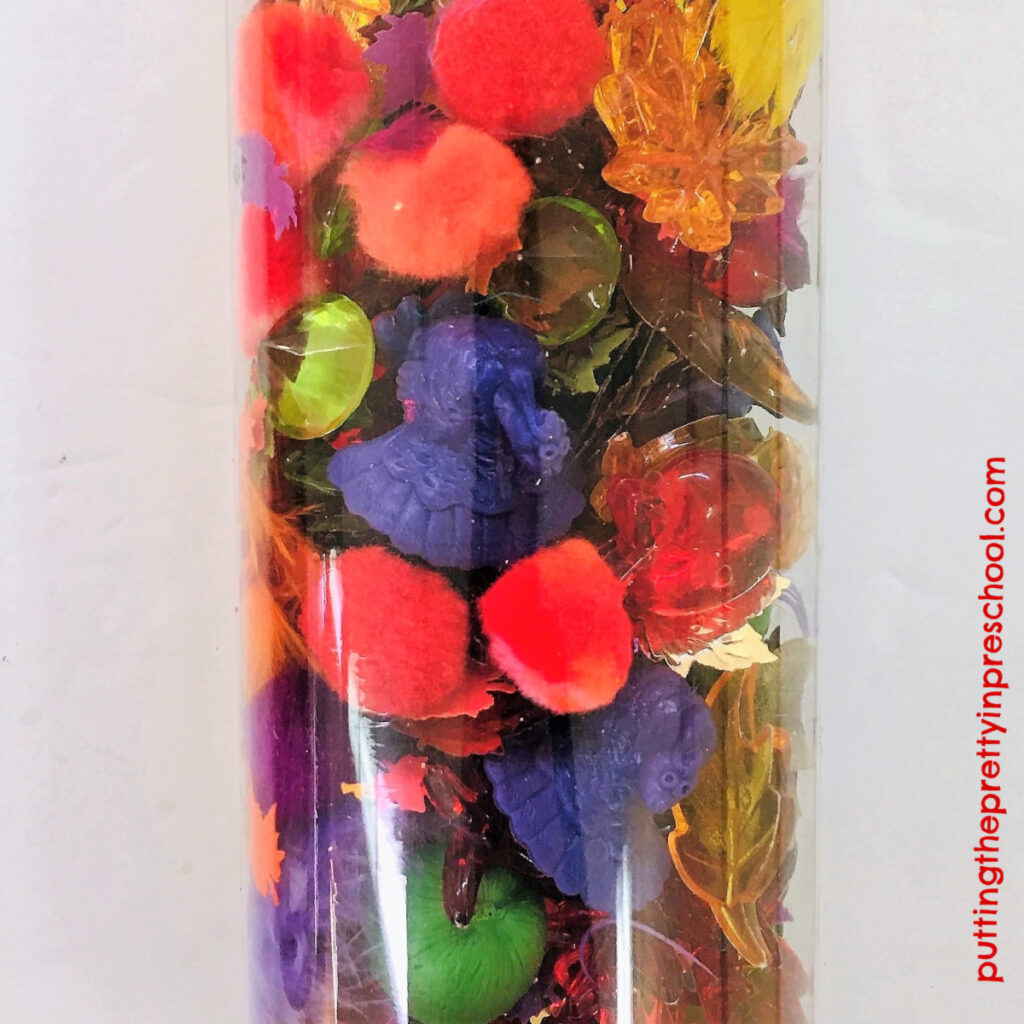
After the leaf prints dry, cut some out for other activities.
_______
Maple Leaf Person
Have your little learners bring a leaf to life by adding wiggly eyes and a permanent felt pen smile.

_______
Canadian Flag Art
The maple leaf is part of our Canadian flag, so it’s extra special to me.
Your early learners can help make a leaf print Canadian flag. Select a big red leaf to glue onto the center of a large, rectangular piece of paper. Have children take turns adding smaller, red leaves on each side to complete the flag.

_______
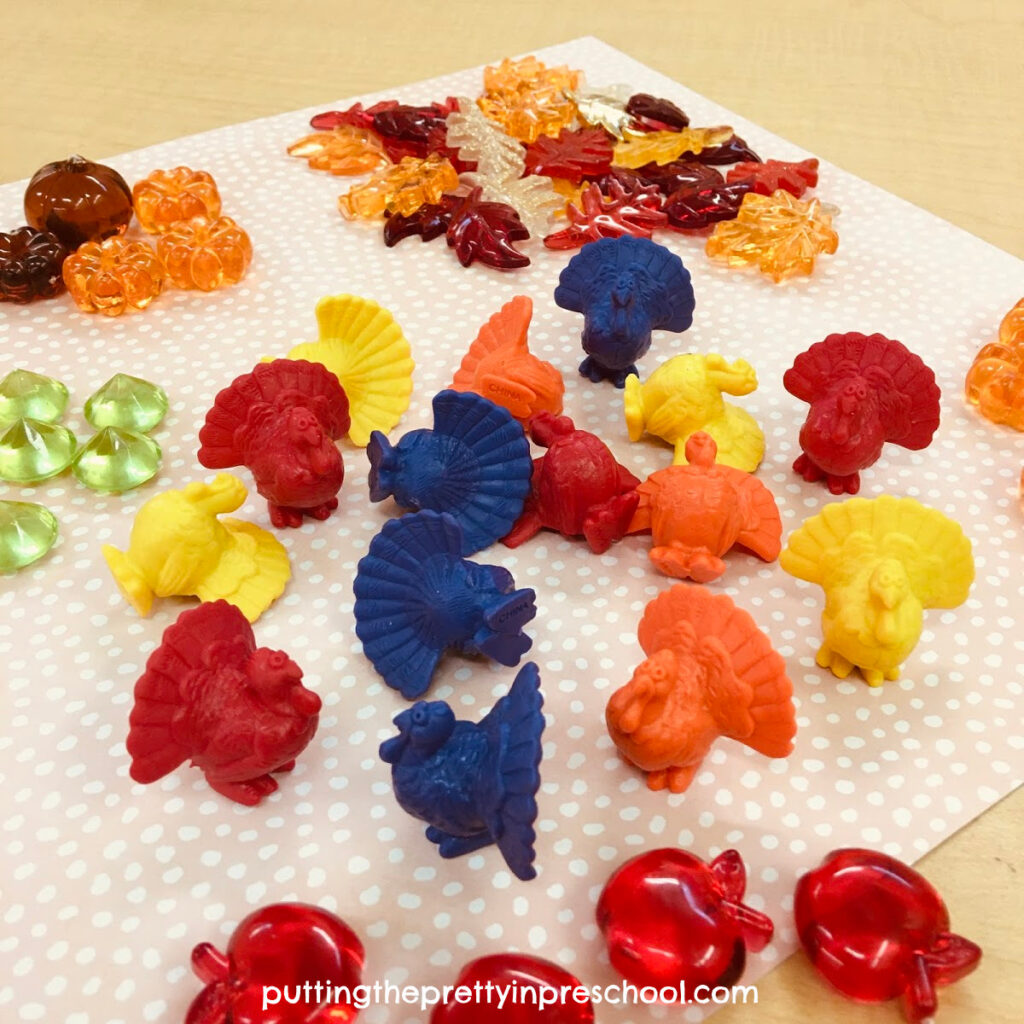
Maple Leaf Math
Select different sized crafted leaves for your early learners to order from smallest to largest.

_______
Use some leaves for counting fingerplays.

_______
Leaf Art Displays
Mount cut leaves onto a white piece of paper with double-sided tape. Add a paper background in a contrasting color. Display the art on a shelf or wall.
_______
Hang trimmed maple leaves from a twig tree, or a decorative branch hung on a wall.

_______
Do you have a favorite tree to introduce early learning activities with? Share in the comments section below.
_______
_______
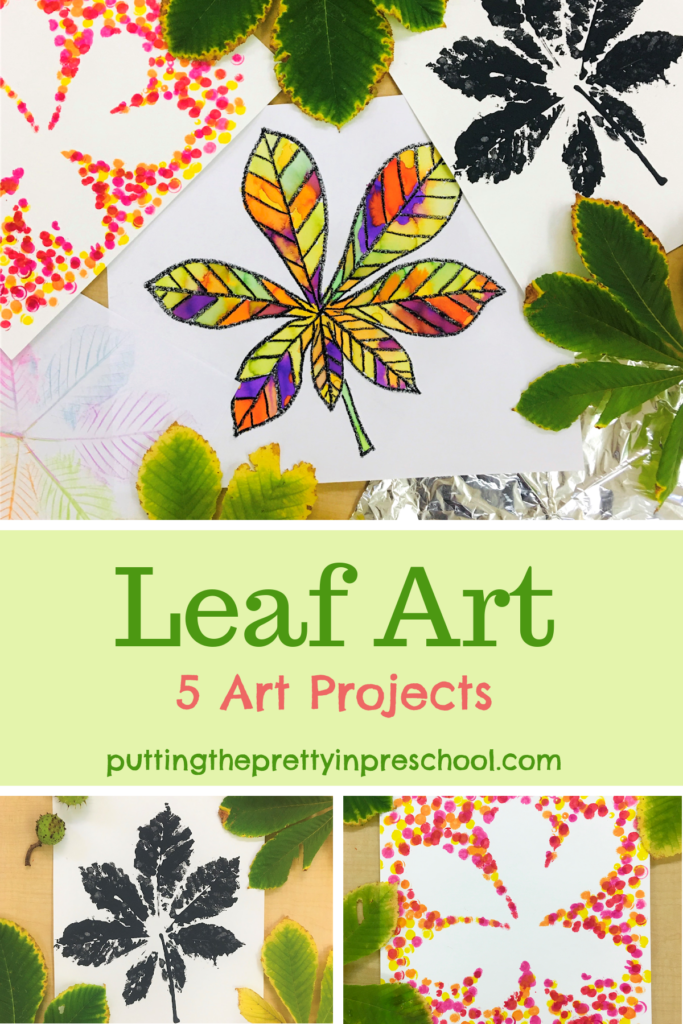
Related: Fall Leaf Crown Paper Crafts
Make a gorgeous leaf crown craft with one of these leaf crown printables.

_______
[Read more…] about Maple Leaf Activities