
_______
Why debut a turtle pond sensory bin, eggs included, in fall? Because although we generally associate spring as the time for baby animals to be born, many turtle hatchlings peck out of their shells in autumn.
And…because I have a light-up “toss and dive” turtle set that I’ve longed to use for over two years! I never stored it in a permanent spot because I was always planning to do a pond activity “very soon.” But with so many fantastic curriculum ideas to choose from every week, “soon” never came.
So this September as I was reorganizing storage areas, I noticed the colorful turtles once again. I googled “turtles in fall” to see how I could use them alongside typical fall themes such as leaves, pumpkins, bats, and spiders. Finding that turtle eggs and hatchlings are part of the fall season motivated me to include the diving turtles in a sensory activity at this time.
_______
Ten Turtle Reproduction Facts
- Although turtles spend a lot of time in water, nearly all lay their eggs on land.
- Many turtles lay a clutch of eggs in about 3 – 6 weeks after mating.
- Mother turtles dig a nest in sandy or wet dirt with their hind legs. They cover the eggs laid in the nest with soil and plants.
- Depending on turtle size and species, there can be from 5 to 100 eggs in a clutch.
- Most turtles don’t guard their nests, leaving right afterwards.
- It takes the baby turtles two to three months to hatch.
- Most hatch in autumn, pecking their way out with an egg tooth.
- These fall babies often stay in the nest through winter and emerge the following spring.
- They survive their first winter by not eating and living on their own fat reserves. Some can handle cold temperatures and may even produce a sort of antifreeze.
- Only a few turtles survive to adulthood. Turtle eggs and hatchlings have many predators.
_______
Turtle Pond Supplies To Collect
_______
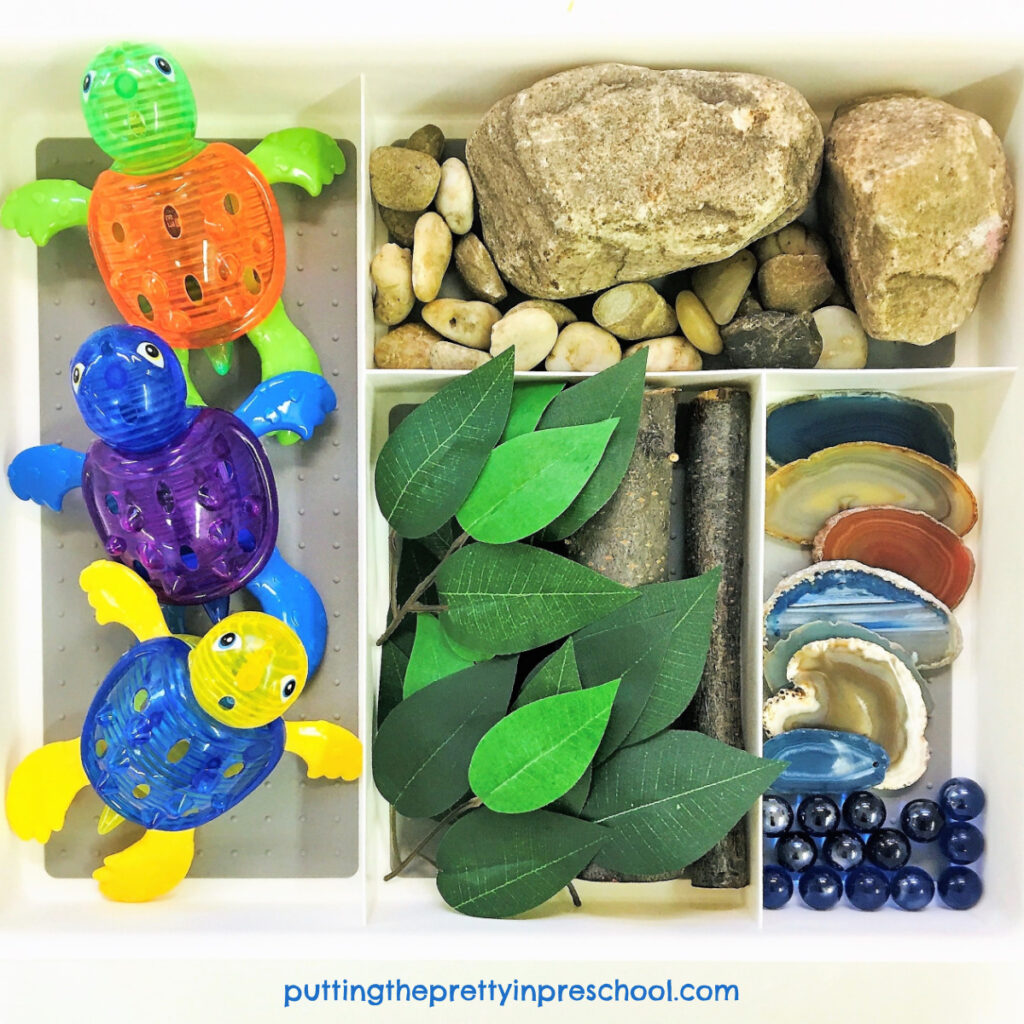
A turtle-themed sensory bin can be set up very quickly with the following supplies:
- kitchen supply bus bin
- turtle figurines
- rocks of varying sizes
- small logs or twigs
- gemstone slices
- real or artificial leaves
- marbles
- small disposable food container with a ridge
- a large piece of brown craft foam
_________
Making The Turtle Pond Sensory Bin
_______
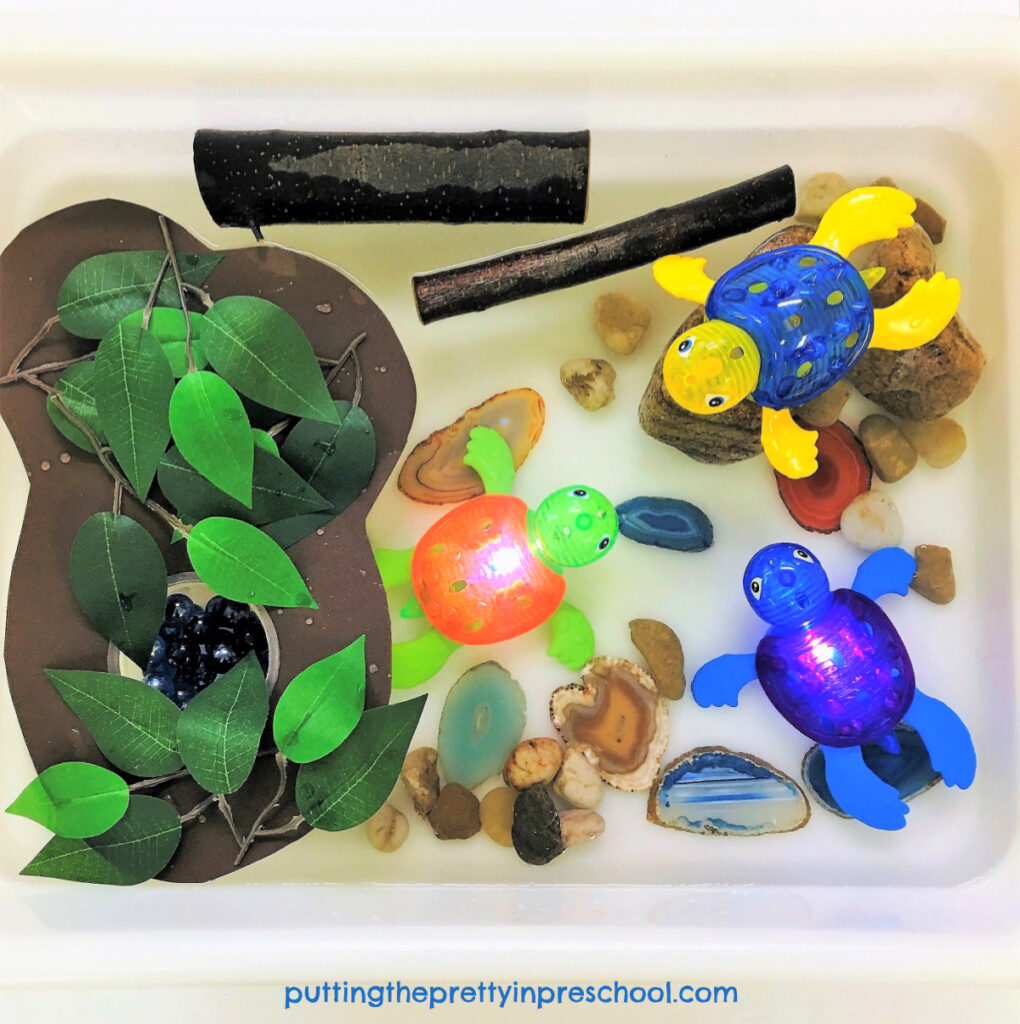
Pour a layer of water into the bin. I used a kitchen bus bin for this activity.
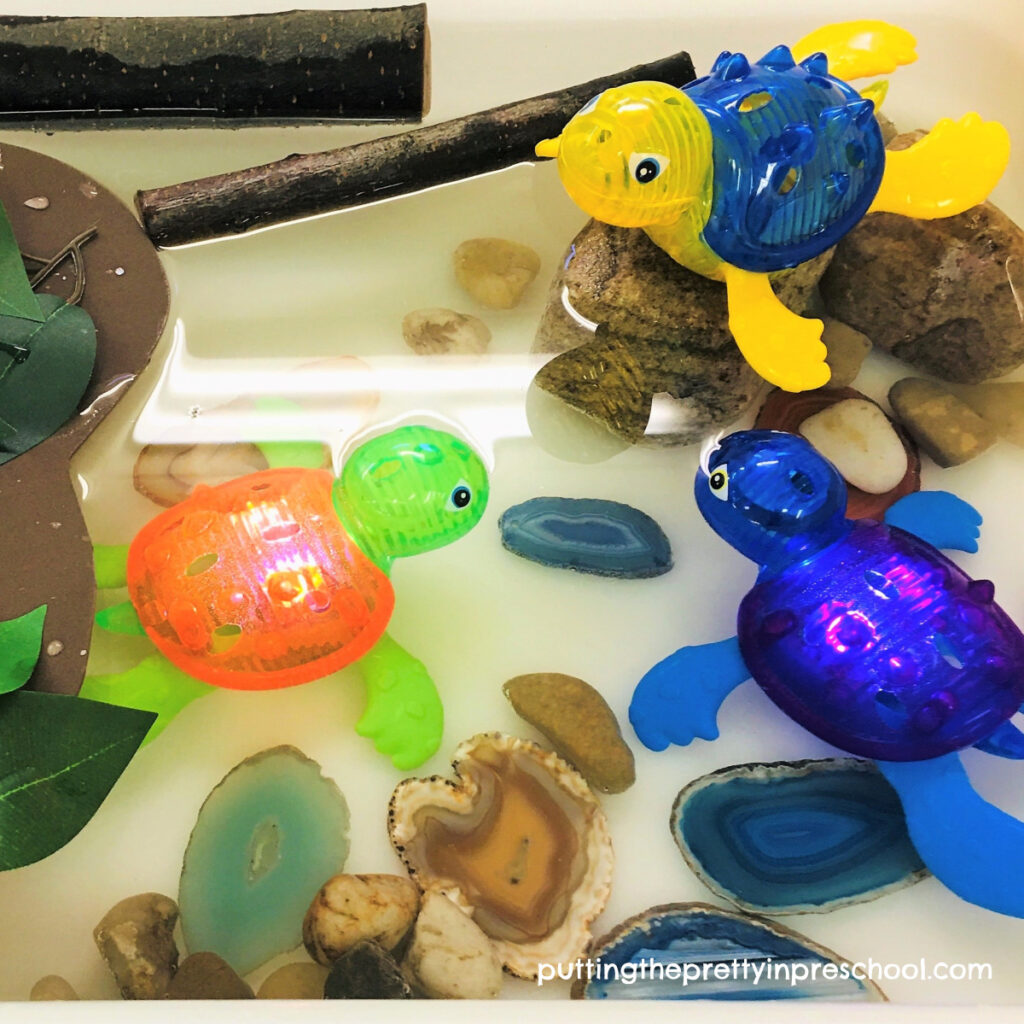
Add rocks, logs, and gemstone slices.
Cut a few curves around the edge of the foam, and a hole in the middle just big enough to fit the disposable container. Float the foam in the water.
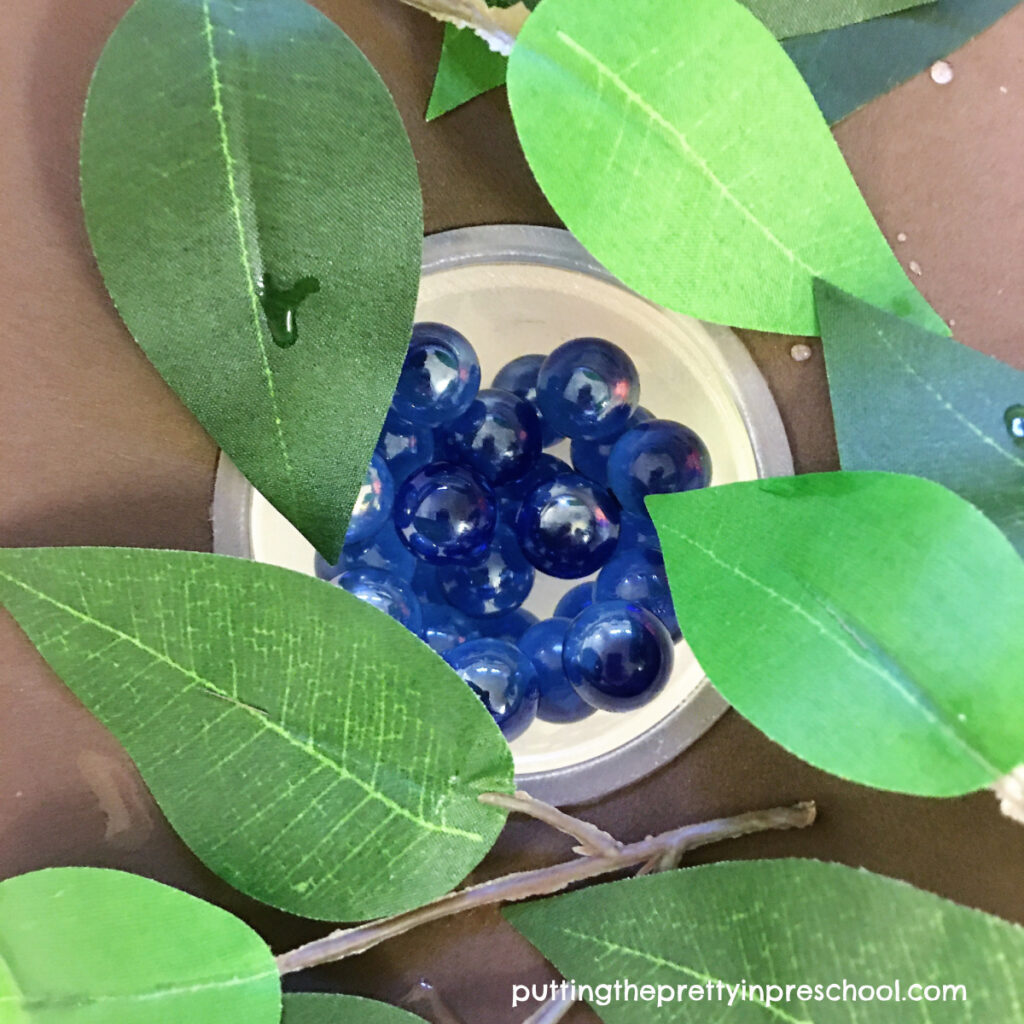
Set the disposable container in the hole to represent a turtle nest.
Add marble “eggs” to it. I used blue marbles because they were handy, but real turtle eggs are white or cream-colored.
_______
Surround the “nest” with a few craft or real leaves for covering the eggs up.
Add turtle figurines. Three light-up “toss and dive” turtles are the stars of this sensory bin, but any turtle figurines would be heartily welcomed by early learners.
_______
[Read more…] about Turtle Pond Sensory Bin


