_______
This candy cane tree experiment is easy to set up and is sure to be a conversation piece. It works well as a Christmas science activity, and also fits a forest theme.
_______
Follow me on Pinterest for more early learning ideas.
_______
Supplies To Collect
_______
For this simple science experiment, gather the following four supplies:
- package of mini candy canes
- one round striped candy
- large flat white or cream-colored plate
- flask of warm water
_______
The Candy Cane Tree Experiment
_______
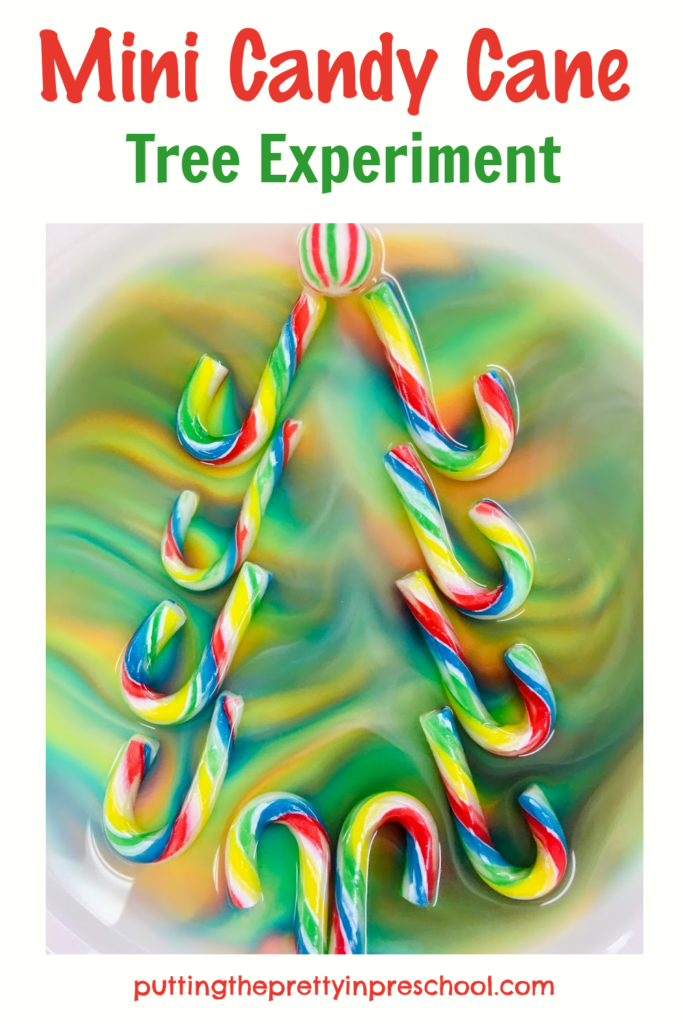
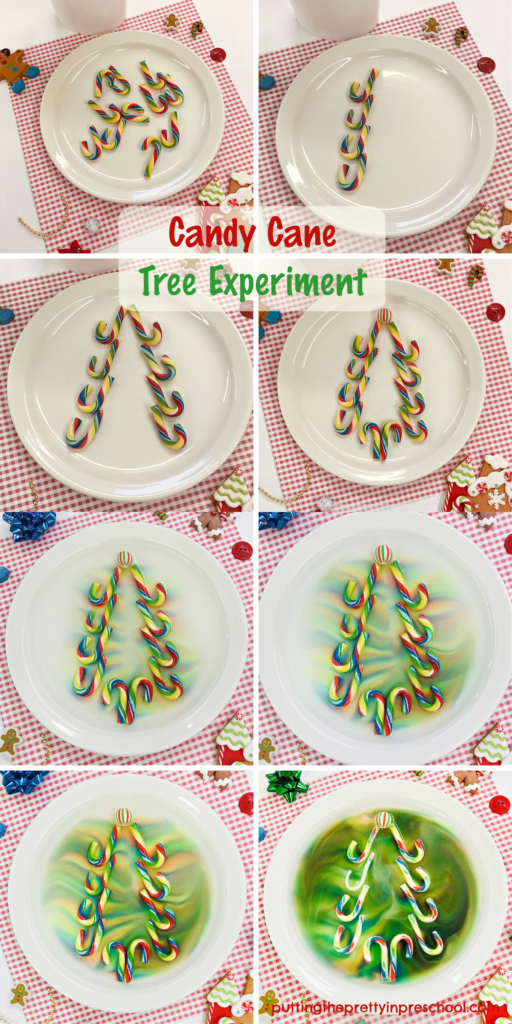
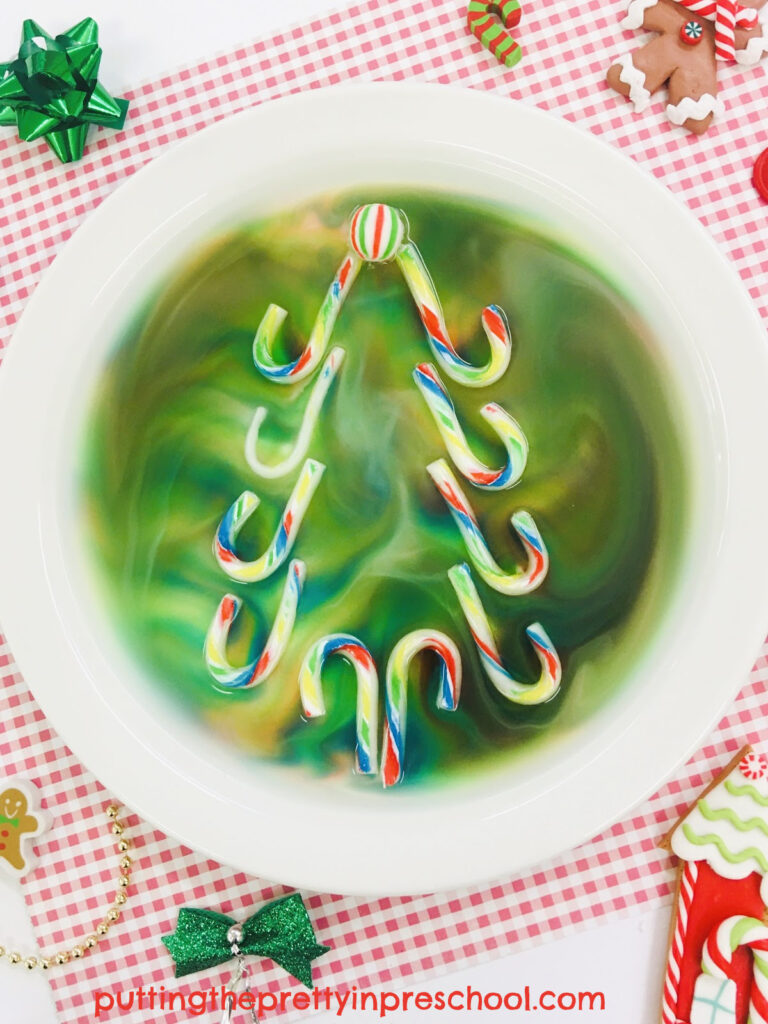
To perform this showy science experiment, start by arranging mini candy canes on a plate in a Christmas/coniferous tree design. The colorful and fruity candy canes above were a great find at a Dollar Store.
Next, set a round candy on top of the tree to be the tree topper.
Then fill a flask with warm water.
Carefully set the plate with the tree design on a table.
Now the experiment is ready to be performed. Invite participants to gather around the candy tree. Slowly pour water from the flask into the plate and invite everyone to watch what happens. It’s that simple!
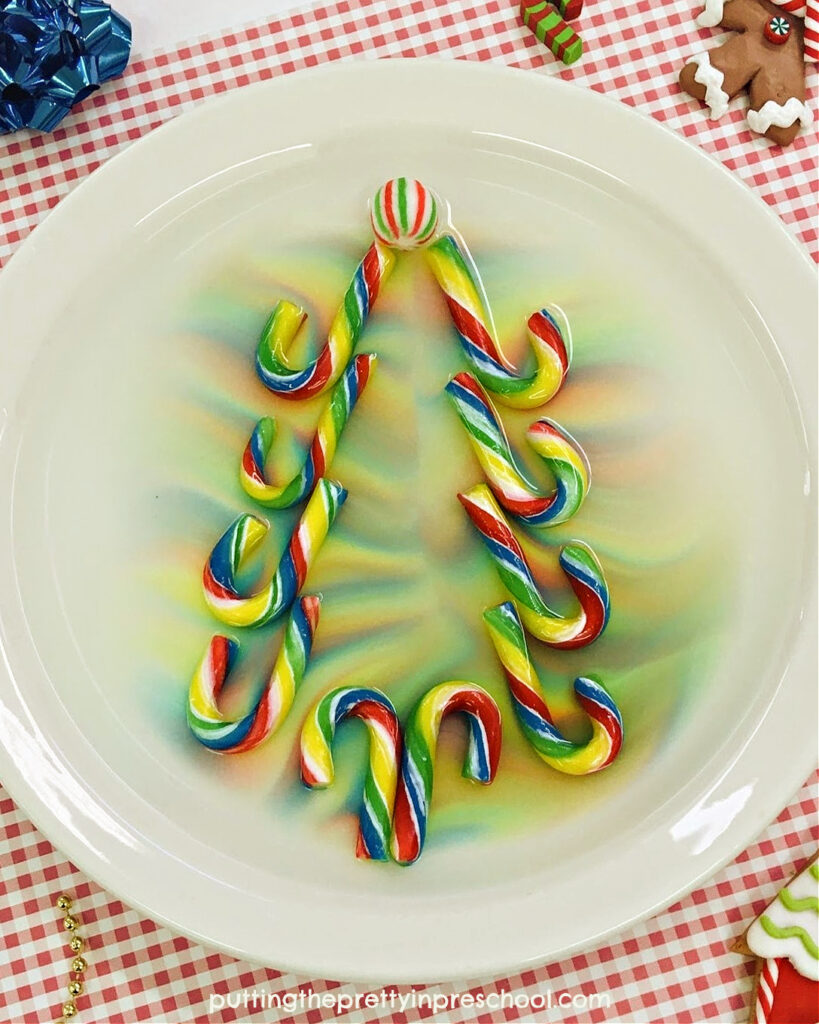
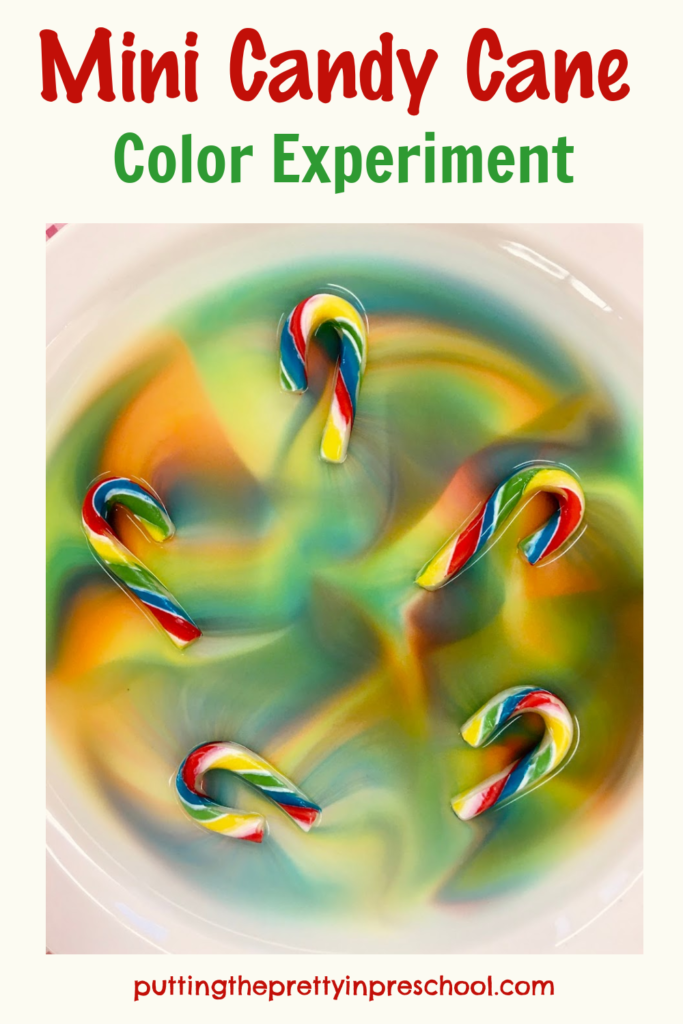
Participants will be wowed at how the colors in the candy canes quickly spread through the water, making beautiful designs.
_______
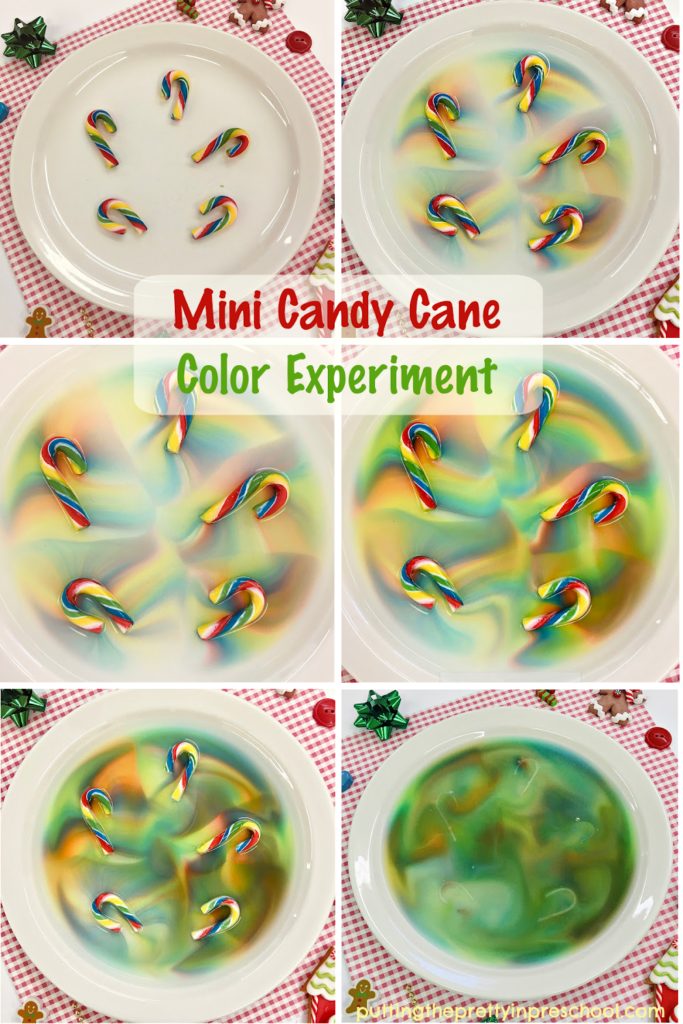
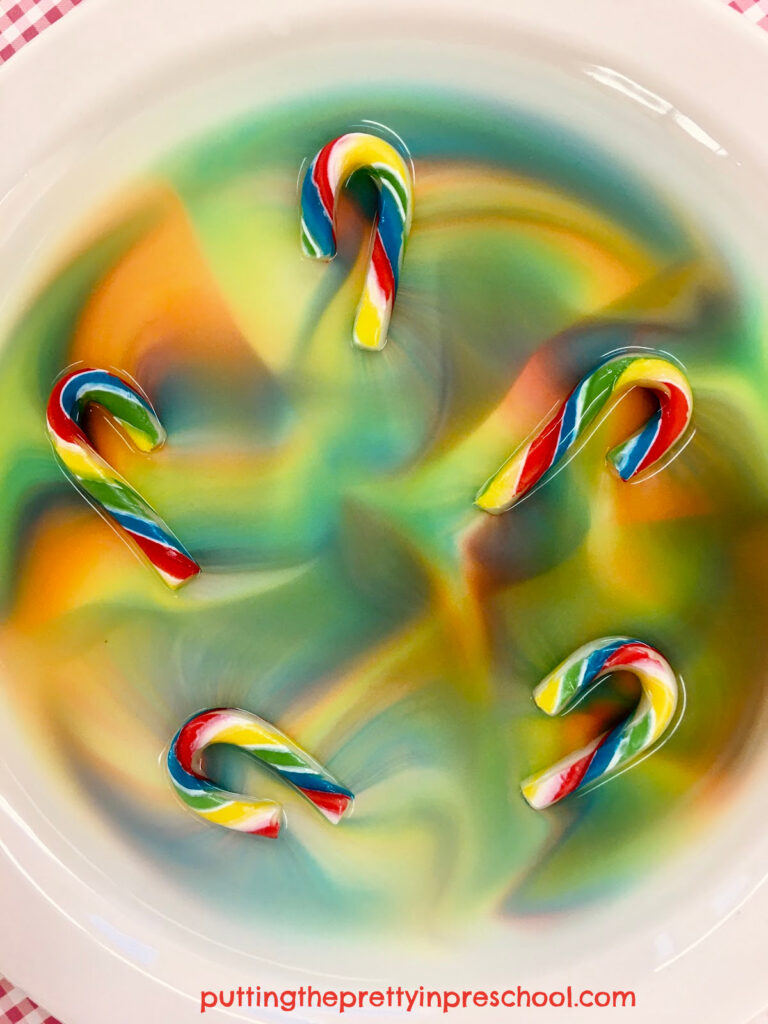
Color changes will be instant. Over time the colors and their intensity will change.
_______
Note: This tree-shaped experiment can be done with standard-sized candy canes in a large ridged serving tray.
_______
The Science Behind The Candy Cane Tree Experiment
The candy canes are made of sugar. The water breaks the sugar molecules apart. Then the food colors move through the water from areas of higher sugar concentration (near the candy) to areas with less sugar (the center and rim of the tray.) When the sugar concentration is the same in all areas, the colors stop moving.
Water temperature is a variant in this experiment. Sugar dissolves more quickly in warm water, and food coloring moves at a faster pace.
Candy Cane Color Experiment Variations
_______
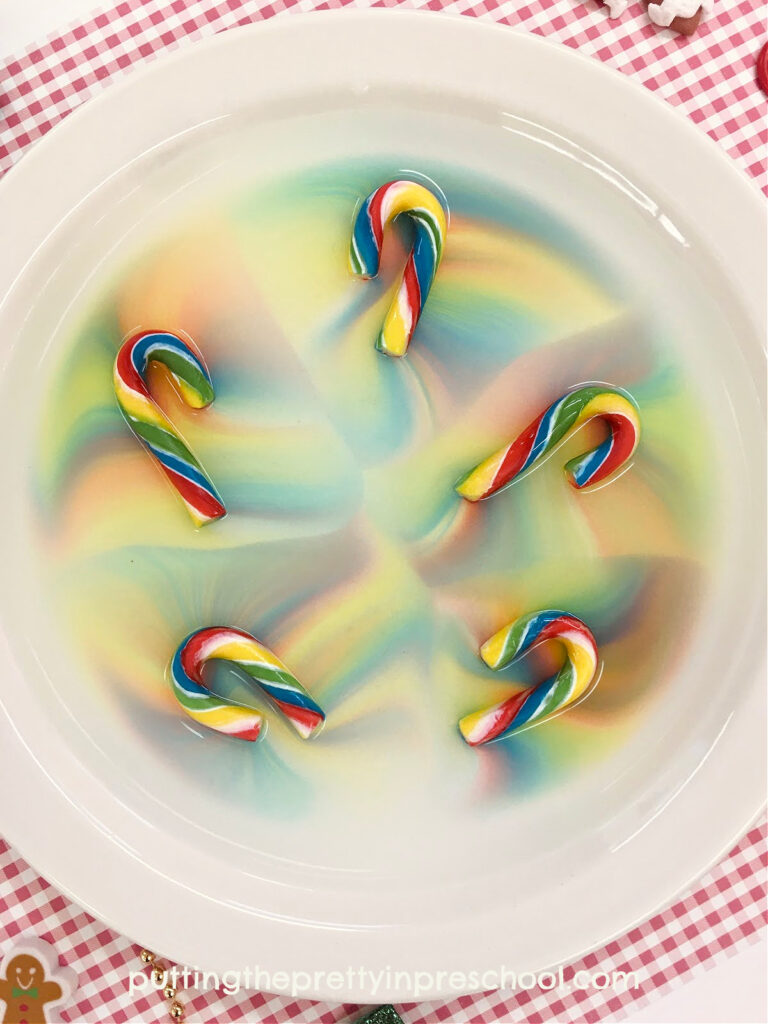
You can forgo making a tree shape with the candy canes, and spread a few around a plate instead. The color movement is just as interesting in this more basic version.
_______
_______
And if you have been following my blog for a while, you may have discovered that I have done a few other candy/candy cane color experiments. Here are more variations:
Blue Candy Cane Science Experiment
Shamrock Dissolving Candy Experiment
_______
_______
[Read more…] about Candy Cane Tree Experiment