_______
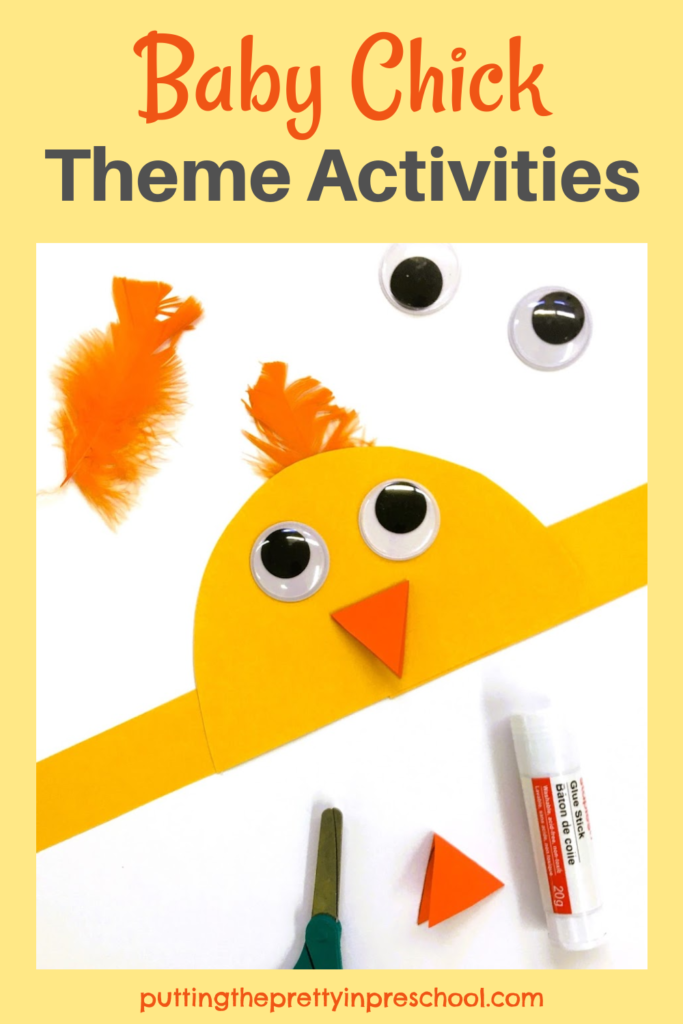
These baby chick theme activities are inspired by Mo Willem’s picture book titled “That Is Not A Good Idea.” The activities include two storybooks about chicks, a chick headband craft, chick songs and chants, a hen and chick coloring page, discussing the life stages of a chicken, and performing “The Chicken Dance.” A free downloadable chick headband template is included in the post.
Picture Books About Hens and Chicks
Two picture books perfect for a baby chick theme day are:
- “The Cow That Laid An Egg” by Andy Cutbill. In the humorous story, chickens hatch a plan to help a cow that thinks she is ordinary feel extraordinary. A little chick hatched from an egg is part of the plan.
- “That Is Not A Good Idea” by Mo Willems. The characters in the picture book are a wolf, a hen, and a brood of chickens. The story is suspenseful and fun and has a delightful surprise ending.
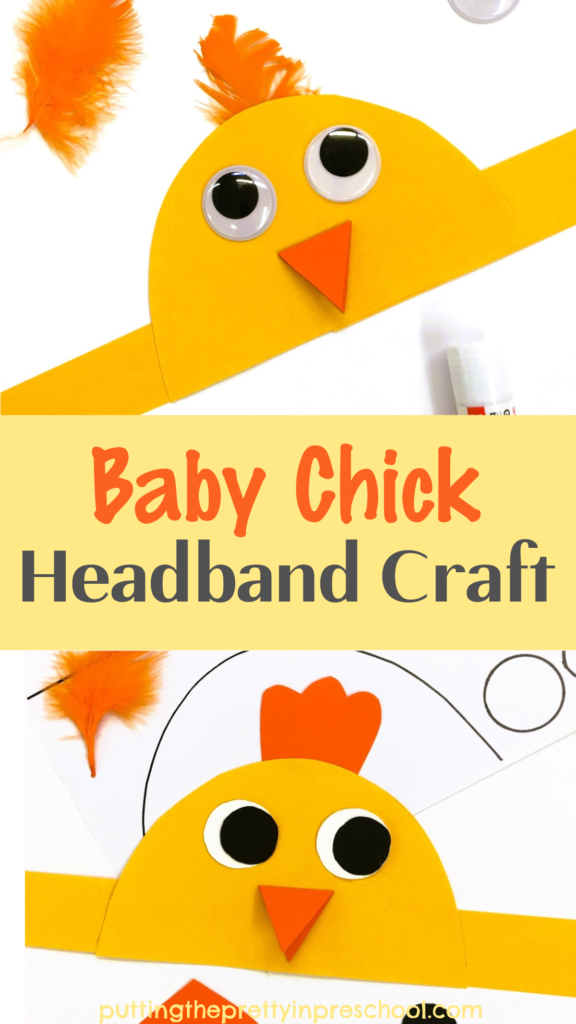
Chick Headband Crafts
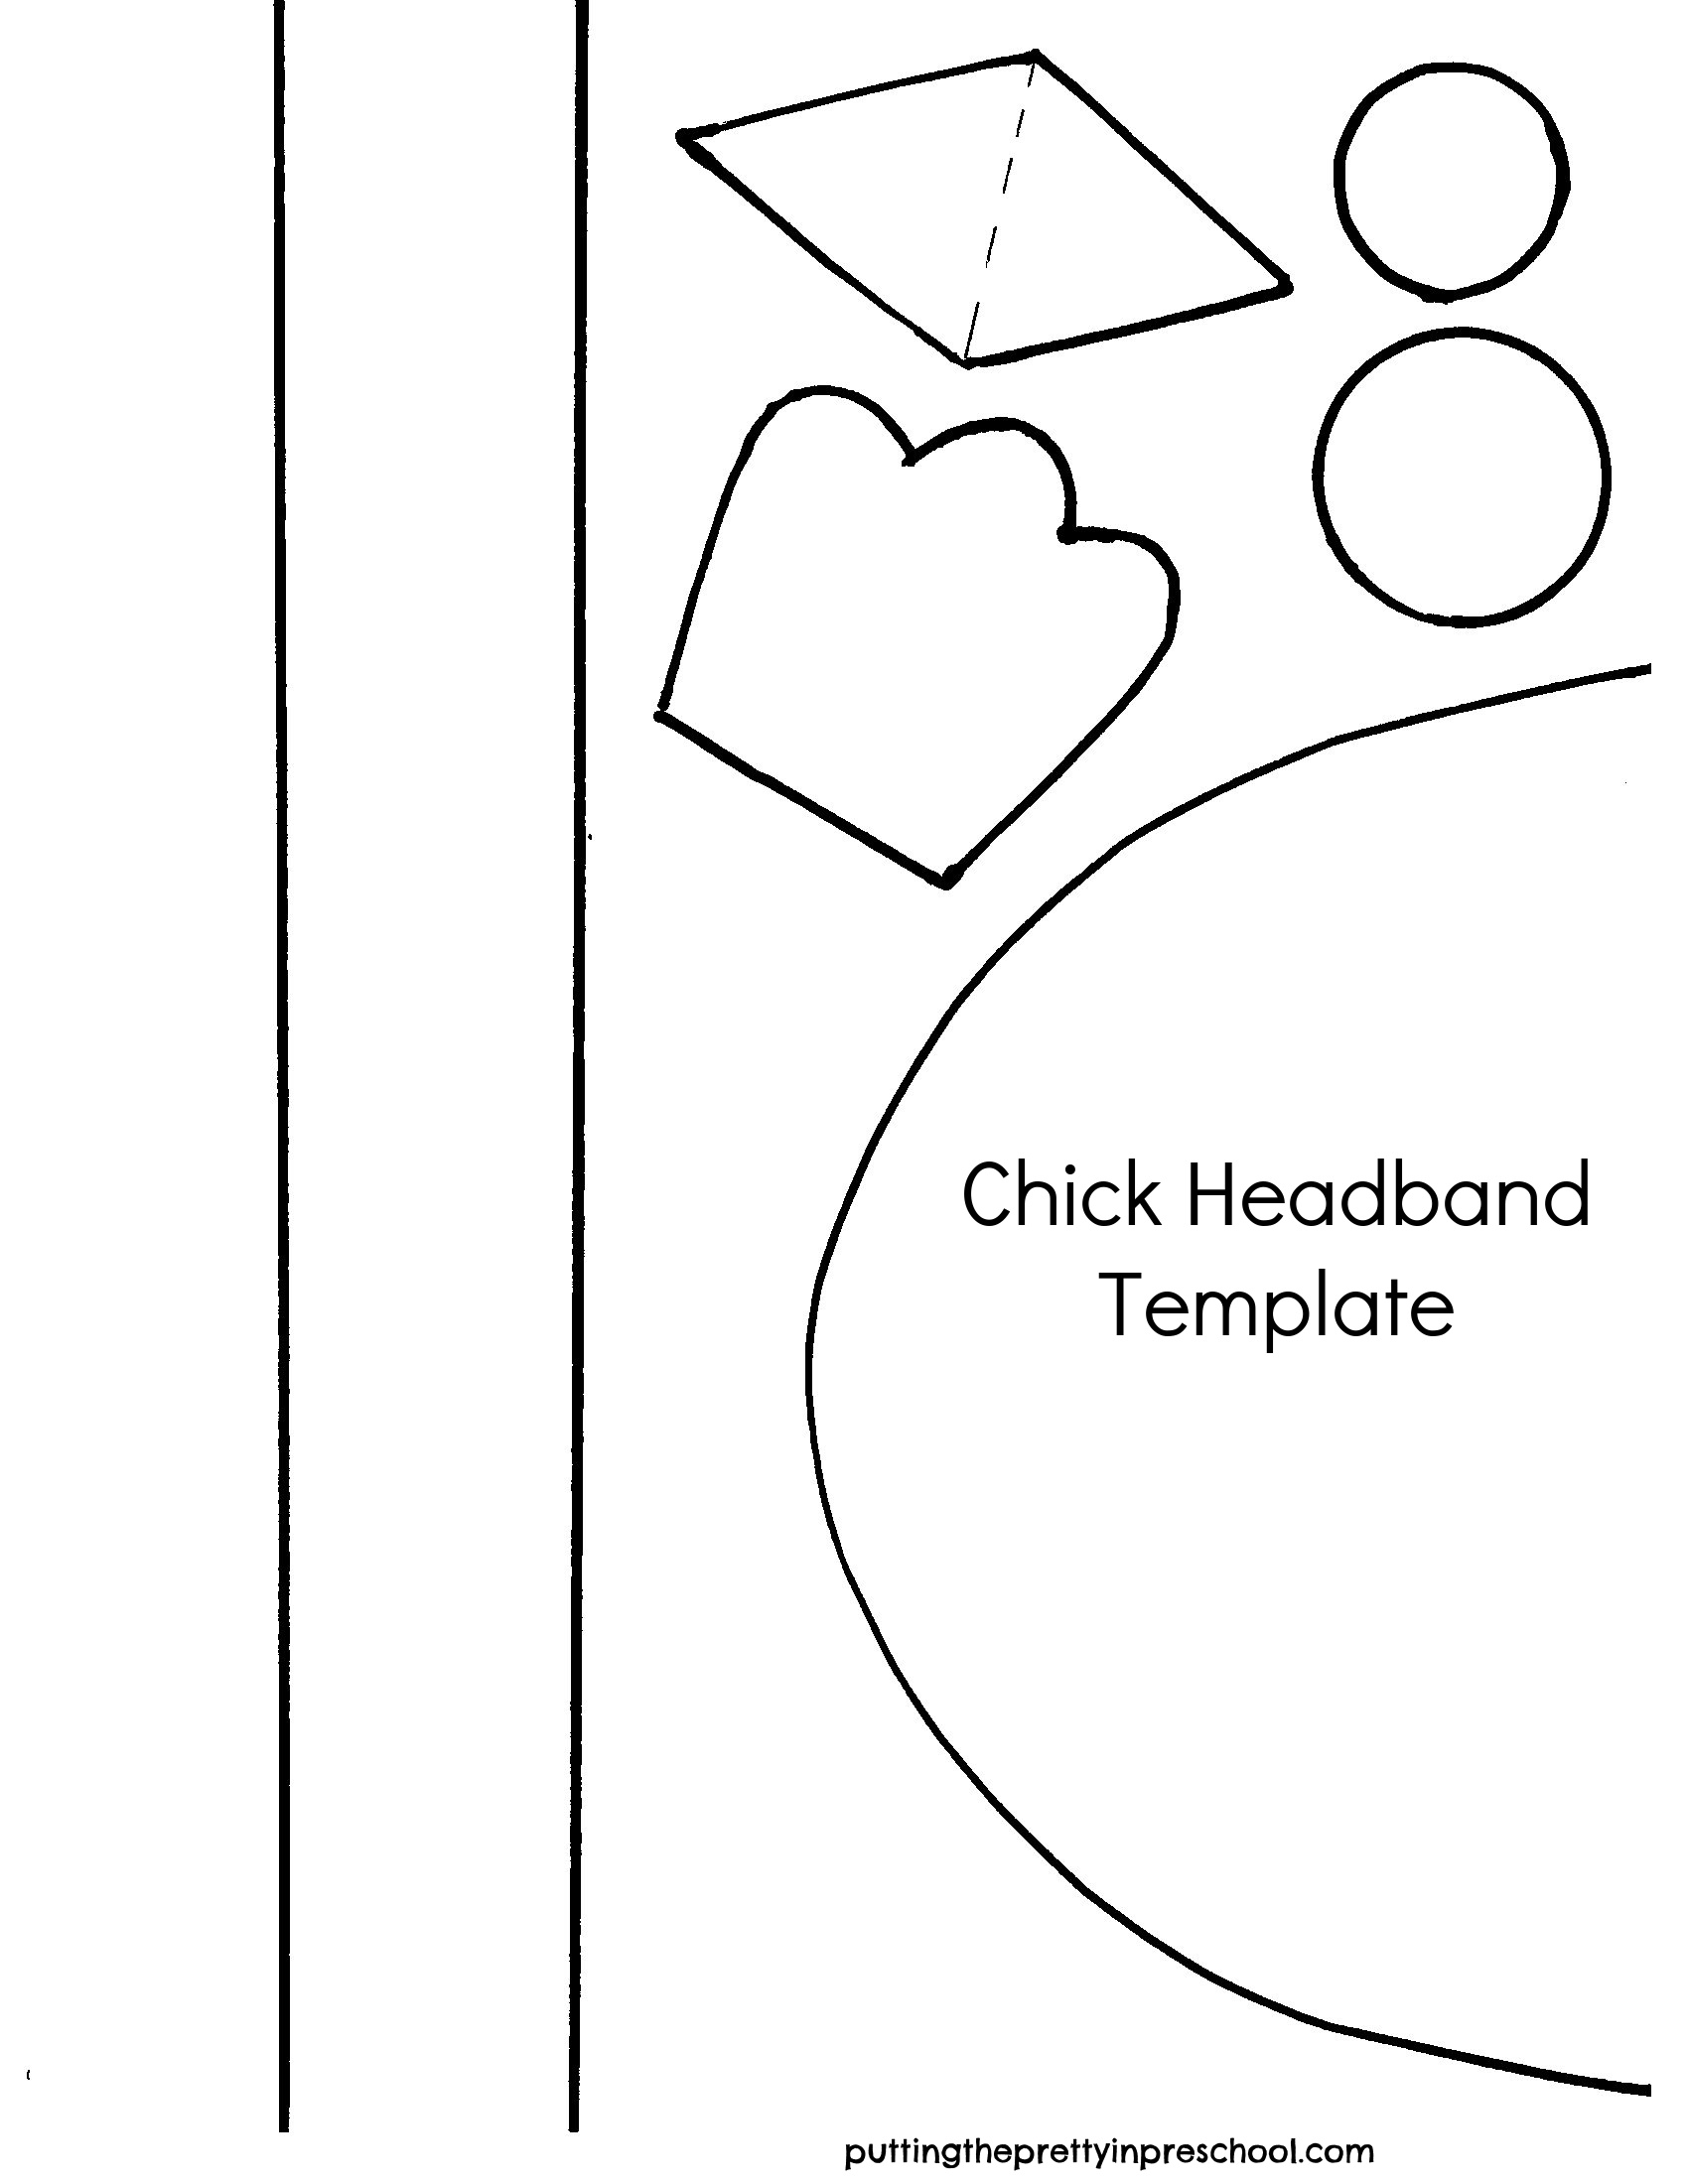
These simple chick headband crafts look super cute and help get little learners in the mood to act out baby chicks in rhymes, chants, and action songs. Pick one design to create with your little learners. Then invite them to wear it for music time and dramatic play.

_______
Children welcome the opportunity to use specialized art supplies in a craft. Wiggly eyes and a feather tuft accent this first chick headband.
_______
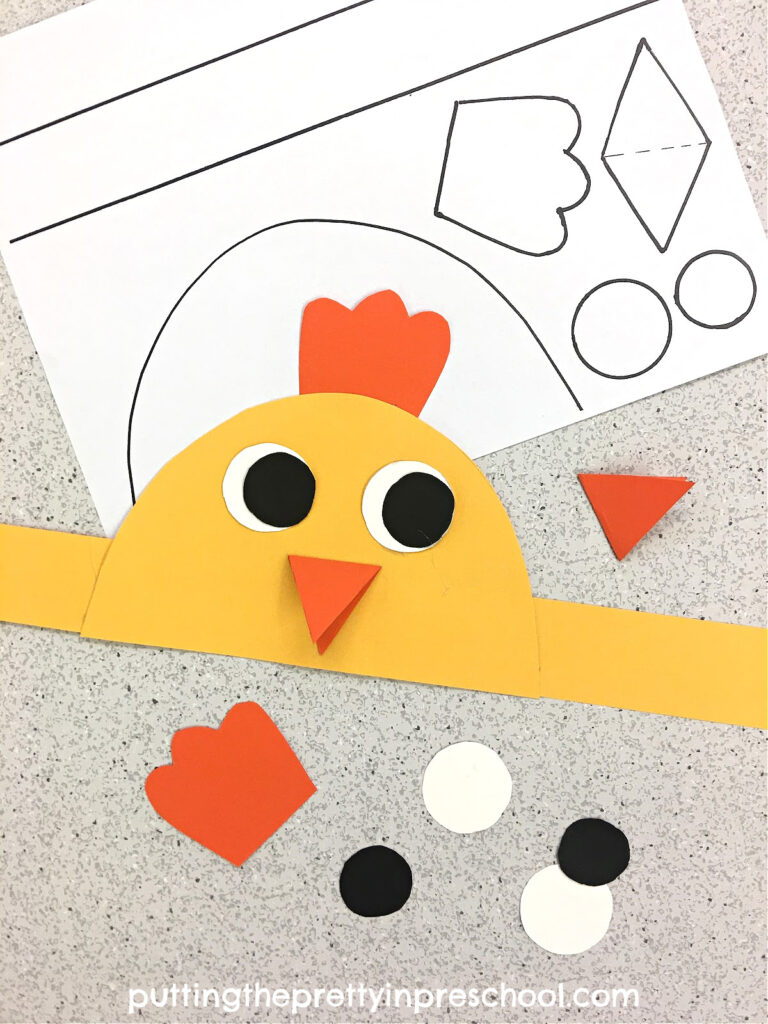
To keep the craft simpler, use construction paper for the entire headband. The colorful paper headband looks equally sweet.
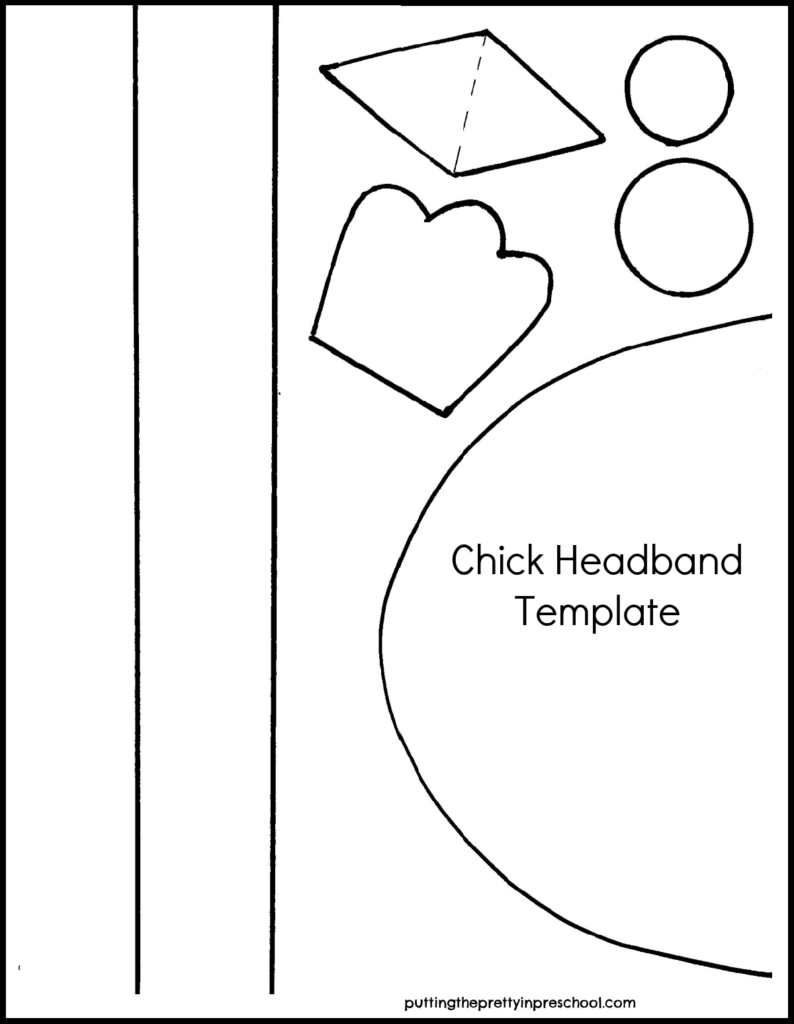
To make craft preparation super easy, download this free chick headband template to use for the craft.
_______
This printable is for individual or one classroom use only.
_______
Don’t have construction paper in the colors needed? No problem. Download the template and invite participants to use crayons to color the pieces before assembling them into a chick headband.
Songs And Chants About Baby Chicks
Wearing a chick headband sets the mood for language arts and musical activities. The fun baby chick songs and chants featured in a blog post by Teaching Mama are perfect for the theme.
Chick Coloring Page
A simple hen and chick coloring page is a good calming activity. There are many options to choose from online.
Life Cycle of a Chicken Figurines
Hen and chick life cycle figurines by Safari Ltd. are great accessories to use to explain the life cycle of a chicken.
The Chicken Dance Song
A fitting ending for the baby chick theme day is dancing to a version of The Chicken Dance song. It’s bound to send everyone off in good spirits.
These baby chick theme activities are perfect for an Easter, spring, or farm animal theme.
_______
_______
[Read more…] about Baby Chick Theme Activities


