_______
Out shopping this fall, I couldn’t help but notice the beautiful skull art in craft and home décor stores. Pastel skull heads were one of my favorite finds, and this colorful dyed Q-Tip skeleton craft is inspired by them. It is super fun to do, so why not give it a try.
_______
Follow me on Pinterest for more early learning ideas.
_______
Supplies To Collect
_______
For this cute skeleton craft, gather the following supplies:
- Q-tips
- liquid food coloring
- paint pots or small jars
- paint brushes
- black fadeless construction paper
- white paper
- paper in pastel shades
- thin marker
- scissors
- paper towel roll
- white glue
- glue stick
- glue paddle
_______
How To Dye Q-Tips

_______
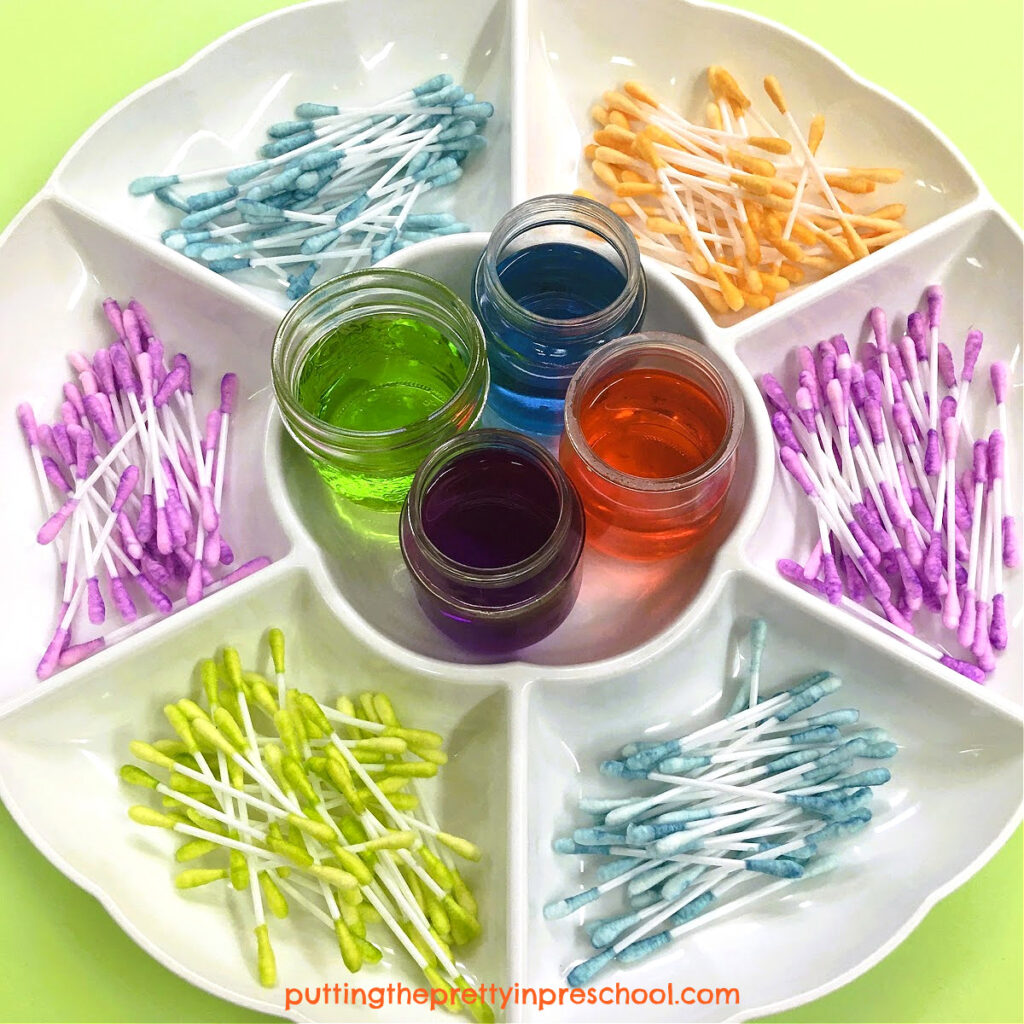
Before setting out supplies for this craft, dye a package of Q-tips in various pastel shades.
To dye Q-tips, pour liquid food colors of choice into small paint pots or jars, and mix in a little water. My chosen colors were turquoise, orange, violet, and neon green.
Next, quickly dip each soft Q-tip end into a jar of liquid color and lay the Q-tips out to dry onto paper towel strips.
When dry, gather the Q-tips and sort them by color into a compartment tray.
_______
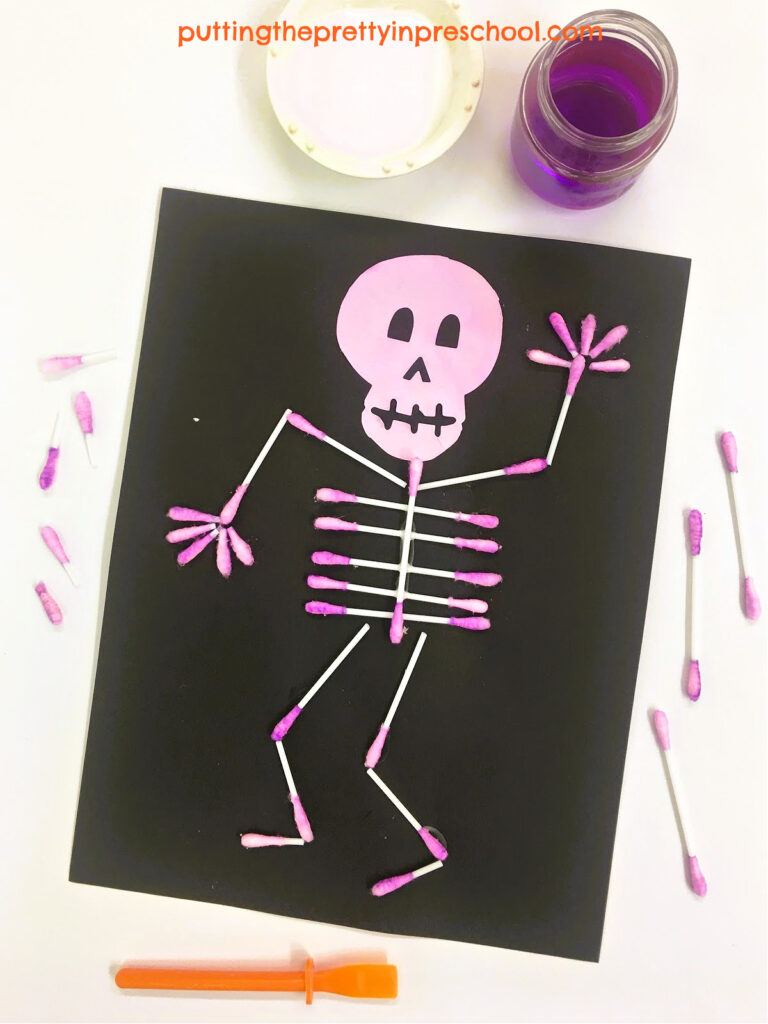
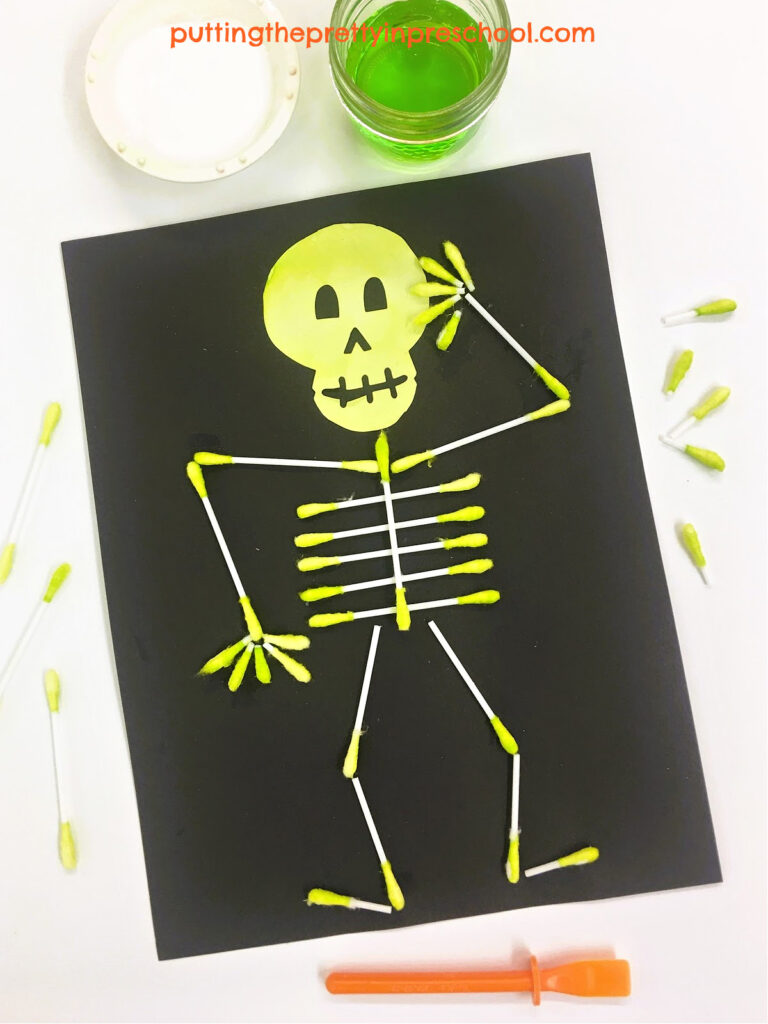
The Q-tip Skeleton Craft
The first thing to do when making a Q-tip skeleton is to select or craft a skull to use. Here are three options:
- Draw a skull on white or pastel paper using a marker, and fill in the eye socket and teeth details. Then cut it out.
- Select a sticker or crafted skull.
- Use a skull rubber stamp/ink pad to print the skull.
On a last-minute shopping trip, I was happy to find a package of skull-themed paper doilies, from which I cut a few skull heads. They work perfectly for the craft as they can be painted.
_______
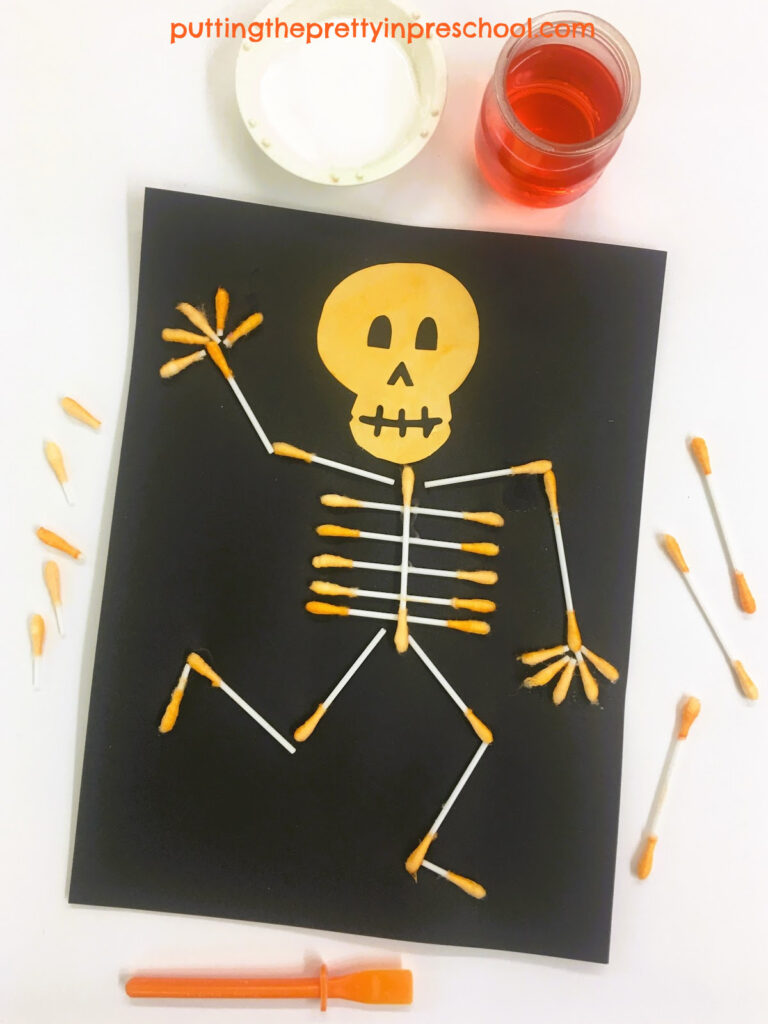
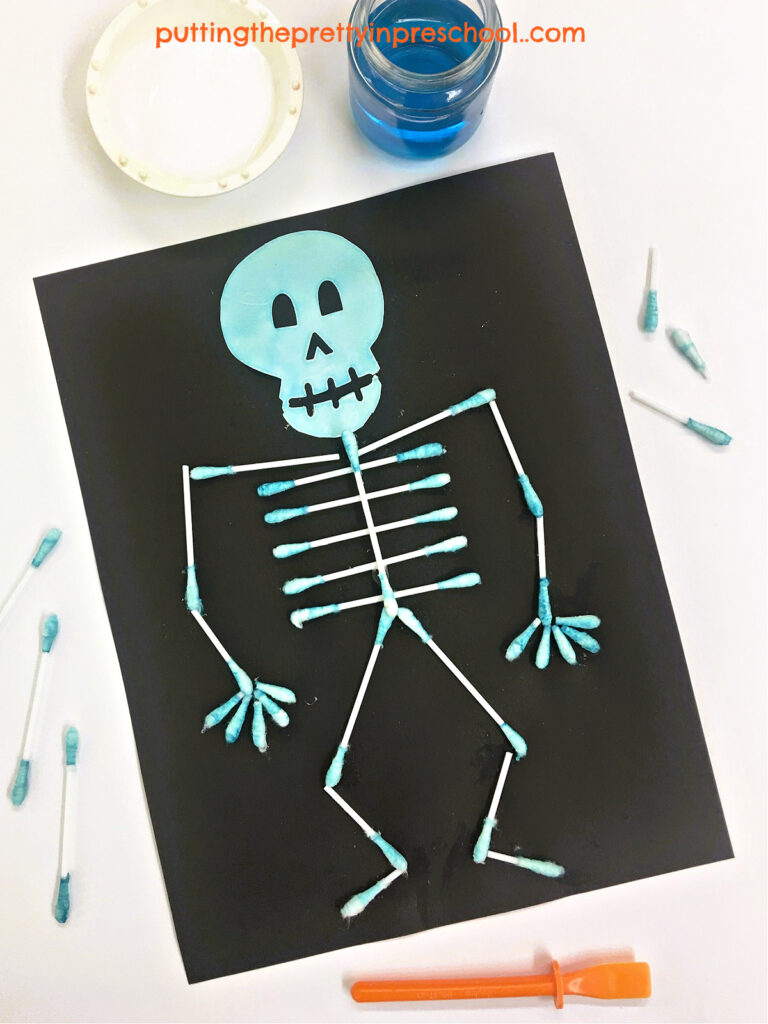
After picking out a skull design and painting it with a pastel shade if desired, use white glue or a glue stick to tack it near the top of a black piece of fadeless construction paper.
Next, lay out Q-tips in the shape of a skeleton below the skull. Whole Q-tips work fine for the rib cage and backbone, and Q-tips cut into various lengths with a pair of scissors are best for the arms and legs. Q-tip ends are perfect for the little fingers.
_______
When you have a design that you are happy with, use a glue paddle to add white glue to the Q-tip ends, and carefully affix them one by one to your skeleton design.
_______
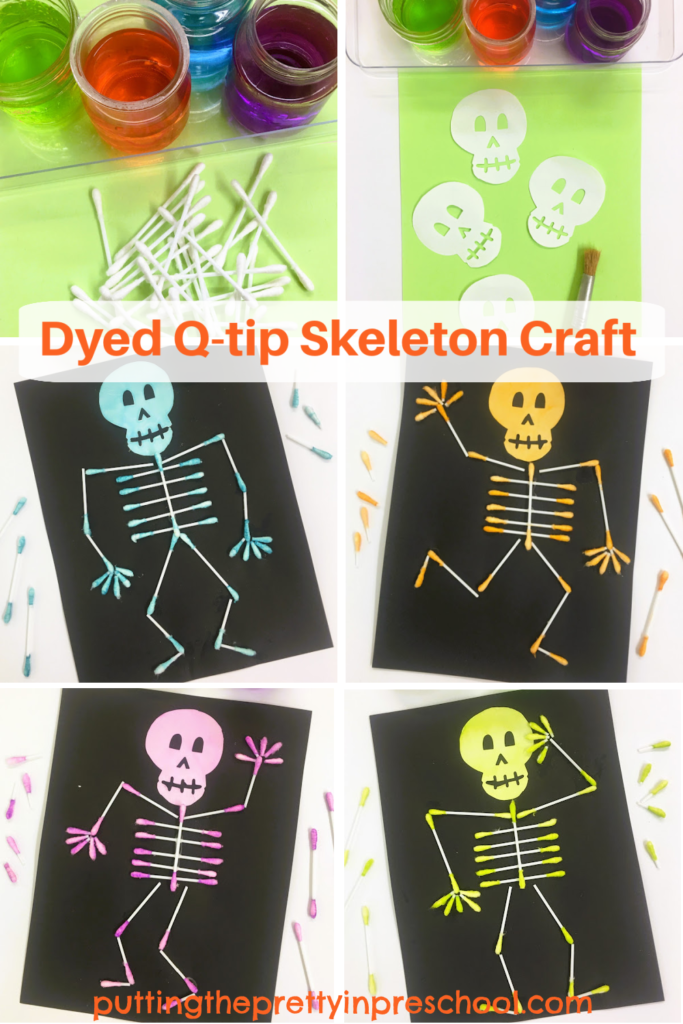
A group of crafted Q-Tip skeletons would be eye-catching if displayed together, as each pose is bound to look different.
_______
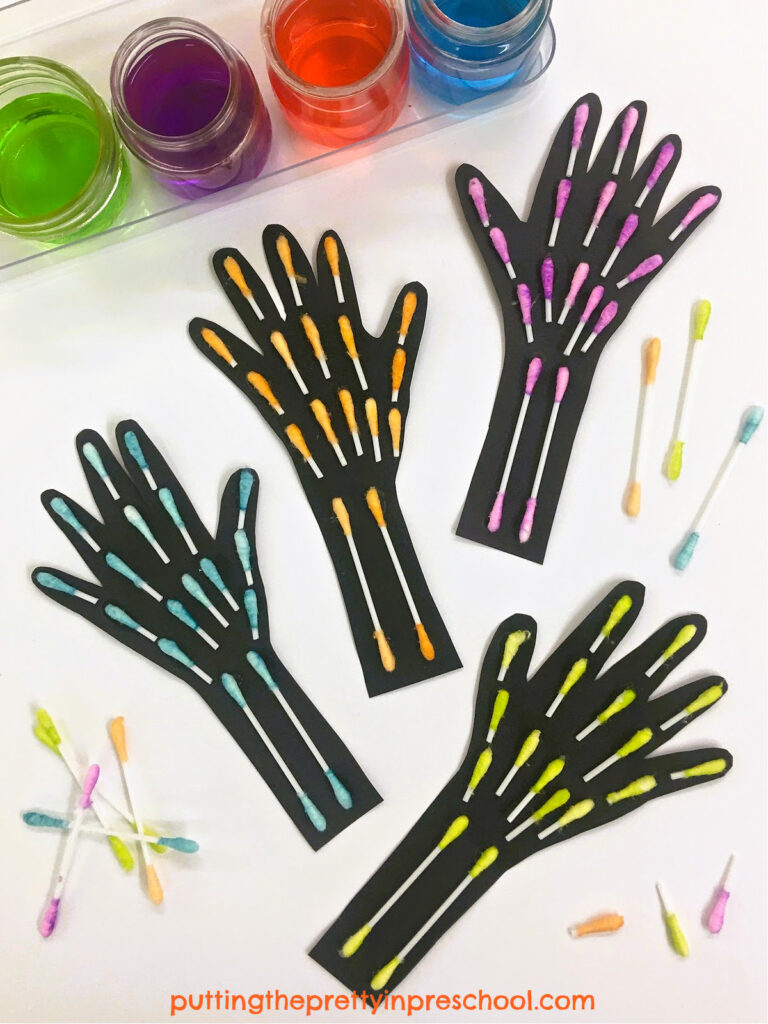
Q-tip Skeleton Arm
Instead of making a whole skeleton out of Q-tips, trace an arm from black construction paper, cut it out, and glue Q-tip pieces to it. This Q-tip craft version draws attention to the many bones in the hands, and the two bones in the lower arm.
_______
Q-tip Skeleton Transient Craft
If you are short on time but would still like to offer a Q-tip skeleton-building experience, this craft project could be set up as a transient craft invitation.
_______
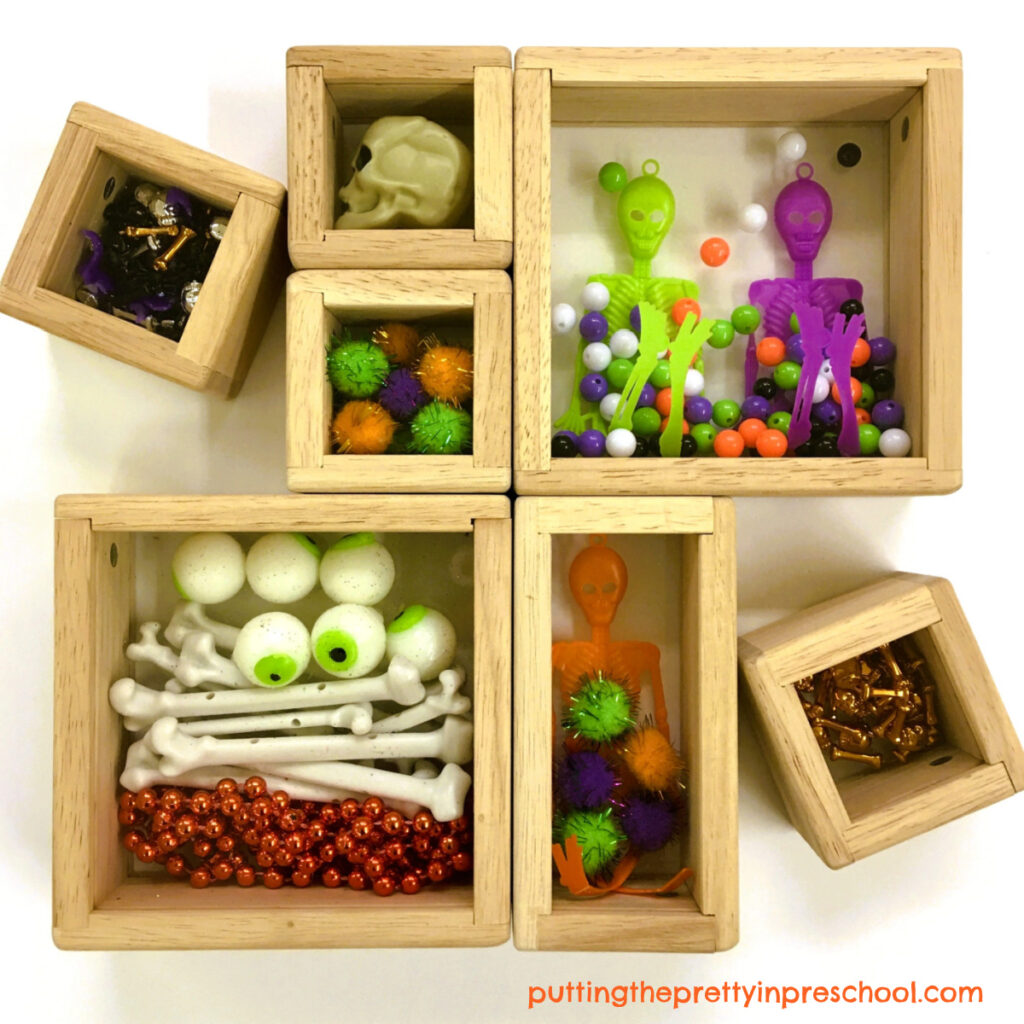
More Skeleton Activities
Skeleton and Eyeball Waterplay
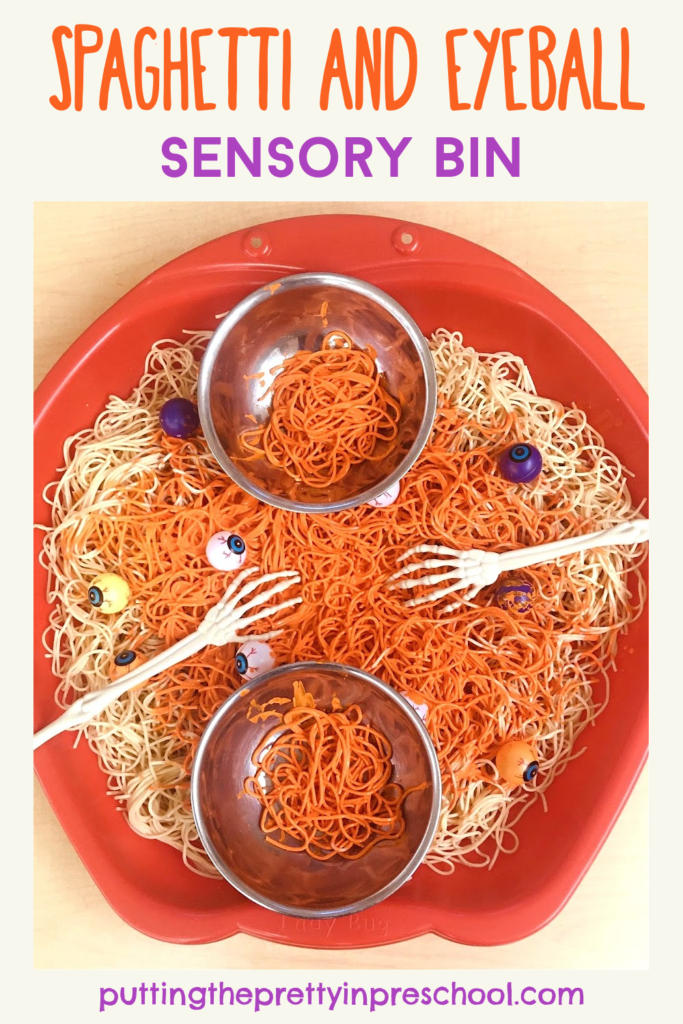
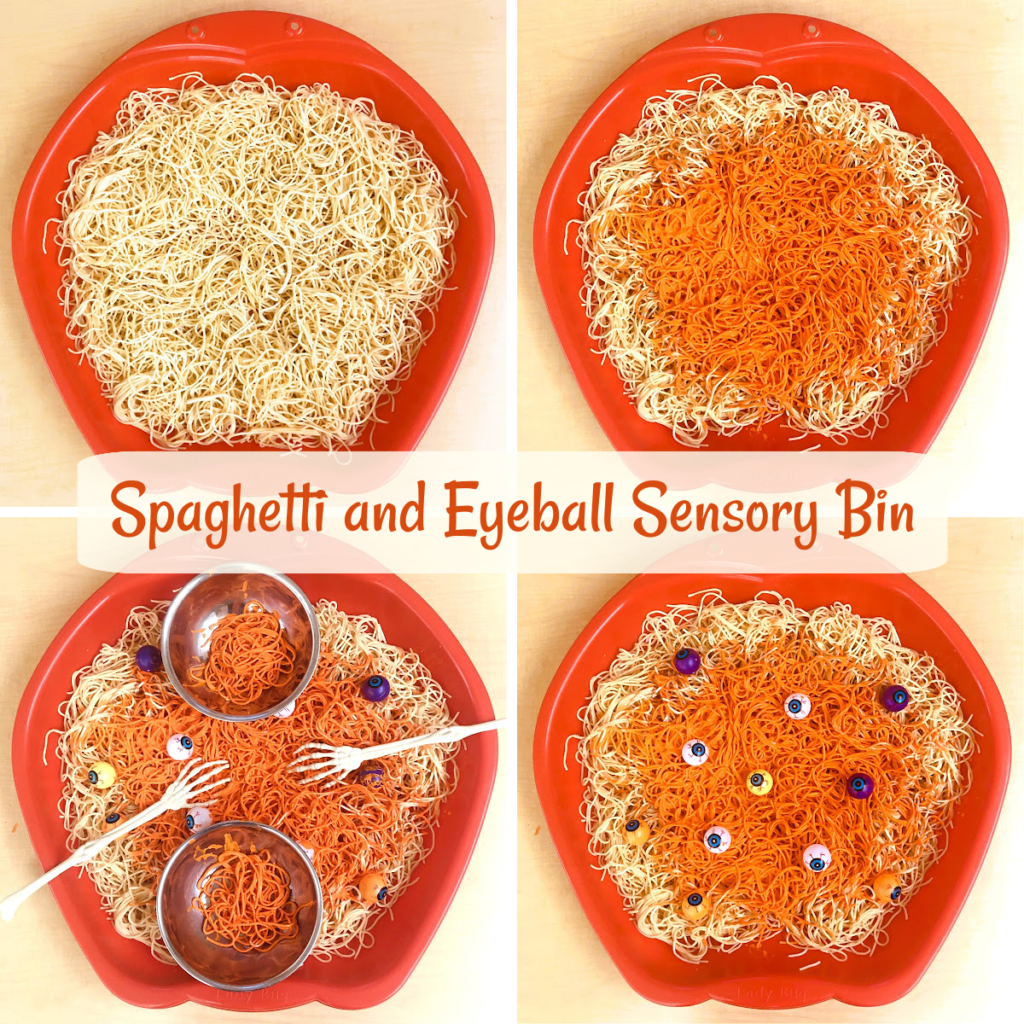
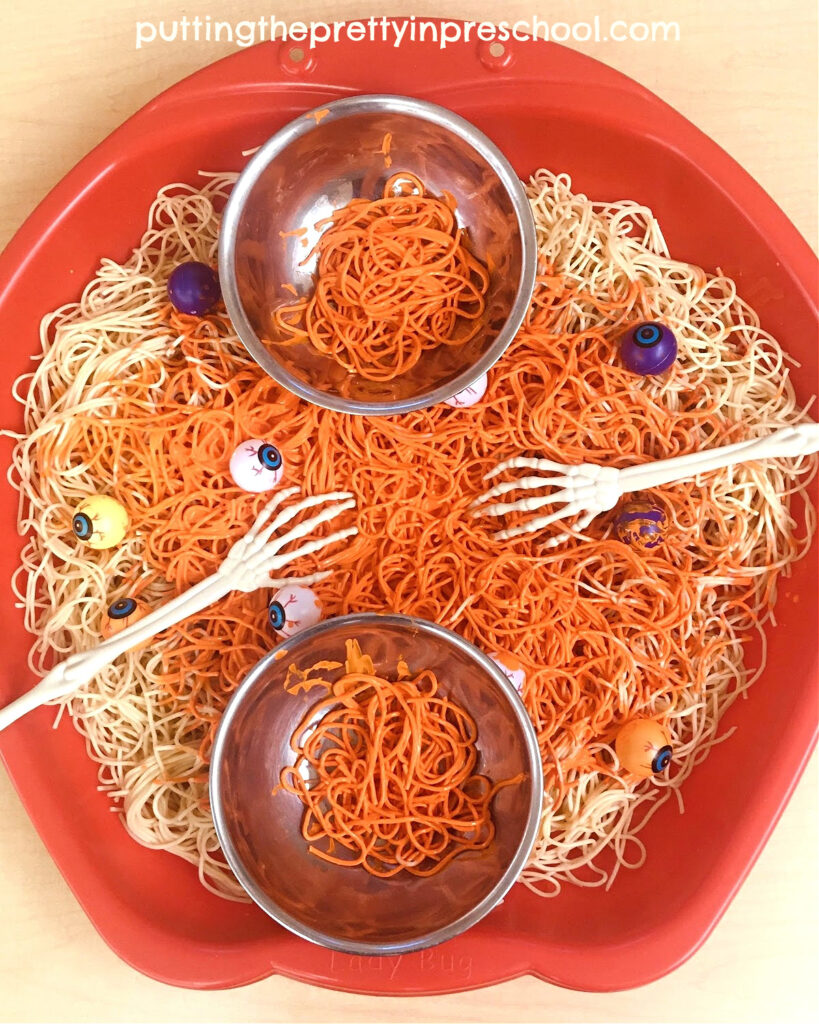
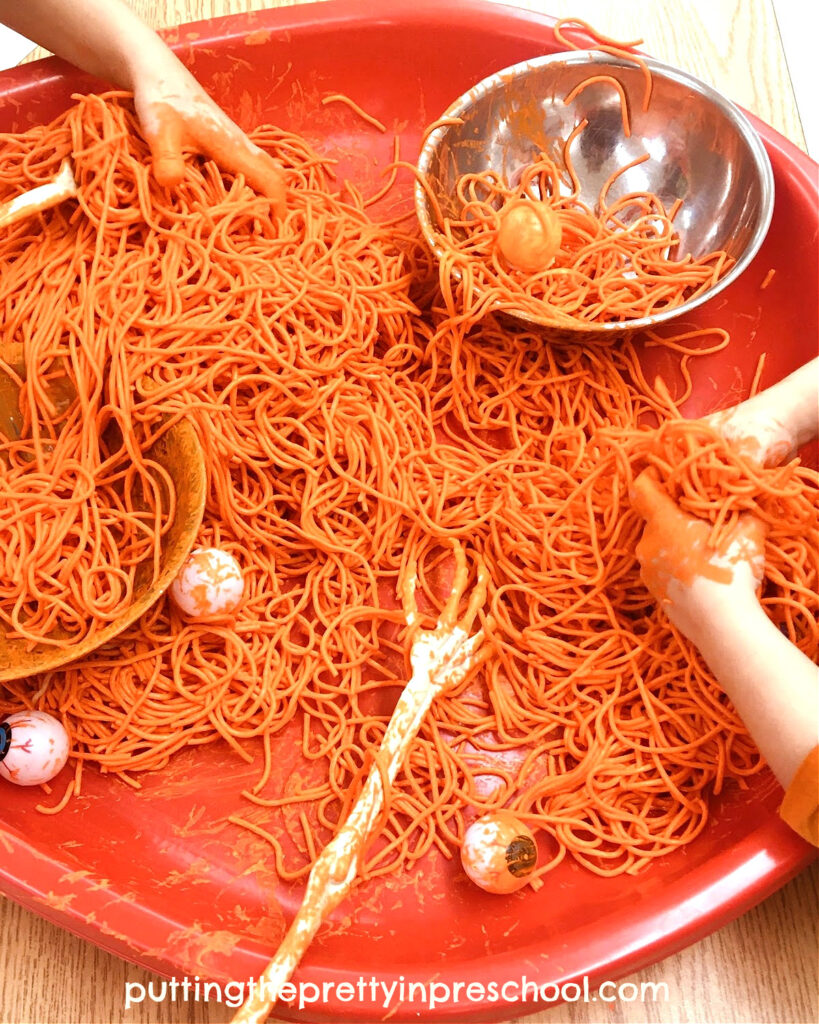
Spaghetti and Eyeball Sensory Bin
_______
[Read more…] about Q-tip Skeleton Craft