
_______
The weather is super snowy and cold in my part of the world right now, and this Snowflake Café dramatic play center fits right in. The center incorporates many loose parts, which little learners love to use in imaginative ways.
_______
Follow me on Pinterest for more early learning ideas.
_______
Snowflake Restaurant Supplies

_______
The following supplies are in the snowflake café set up:
- acrylic snowflakes and gems
- white styrofoam balls
- felt, foam, and wooden snowflakes
- ice cream play food
- iridescent bead necklaces
- snowflake-themed bells
- metal trays, cookie pans, and muffin tray
- frosted disposable goblets
- disposable plates
- clear spoons and forks
- play coffee machine and cups
- play money
- restaurant signs and menu items
- table and chairs with a vase of flowers
_______
The Snowflake Cafe

_______
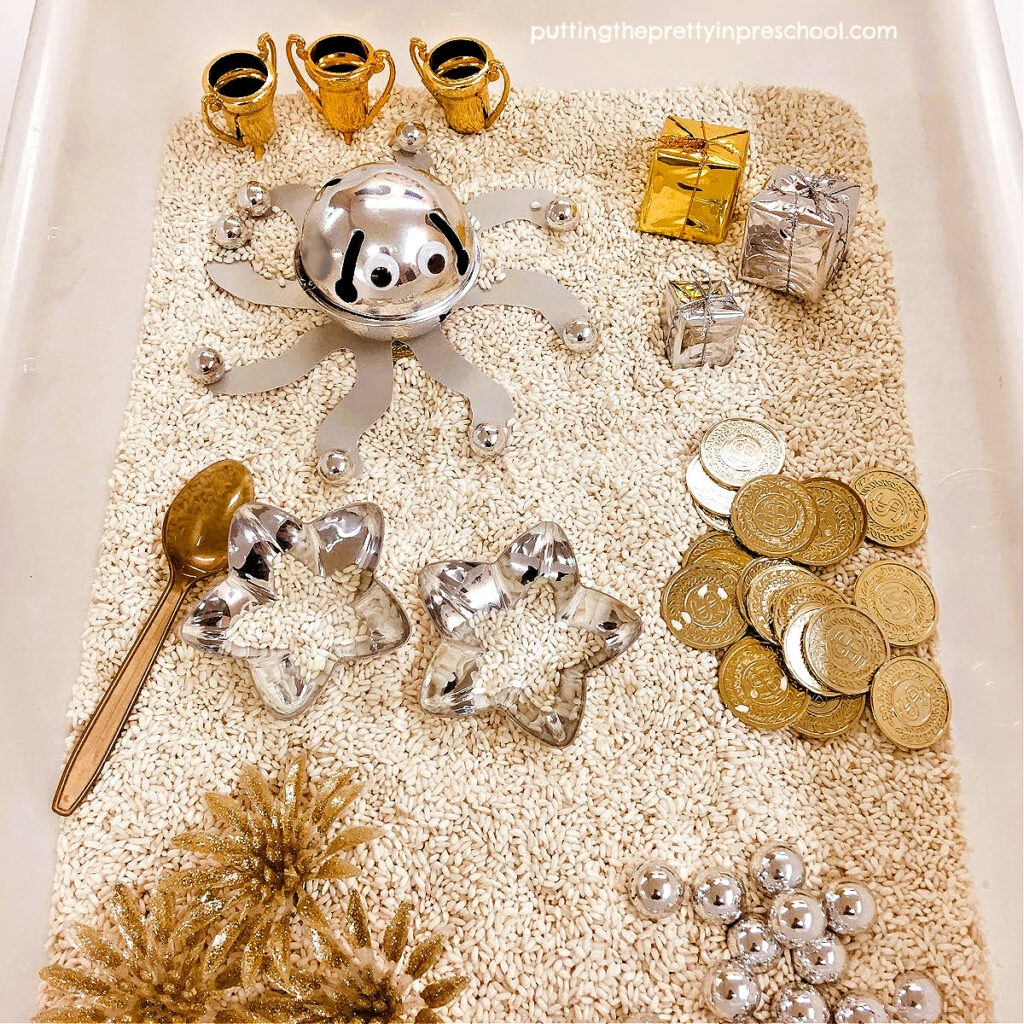
The color scheme for the winter-themed Snowflake Café dramatic play center is blue, white, silver, and gold.
Snowflakes in various sizes and materials make up a large part of the play food. In checking my supplies and scouring stores in our area I found them in felt, foam, acrylic, and wood.

_______
The wooden snowflakes are painted with gold, silver, or shades of blue acrylic craft paint to match the color scheme.

_______
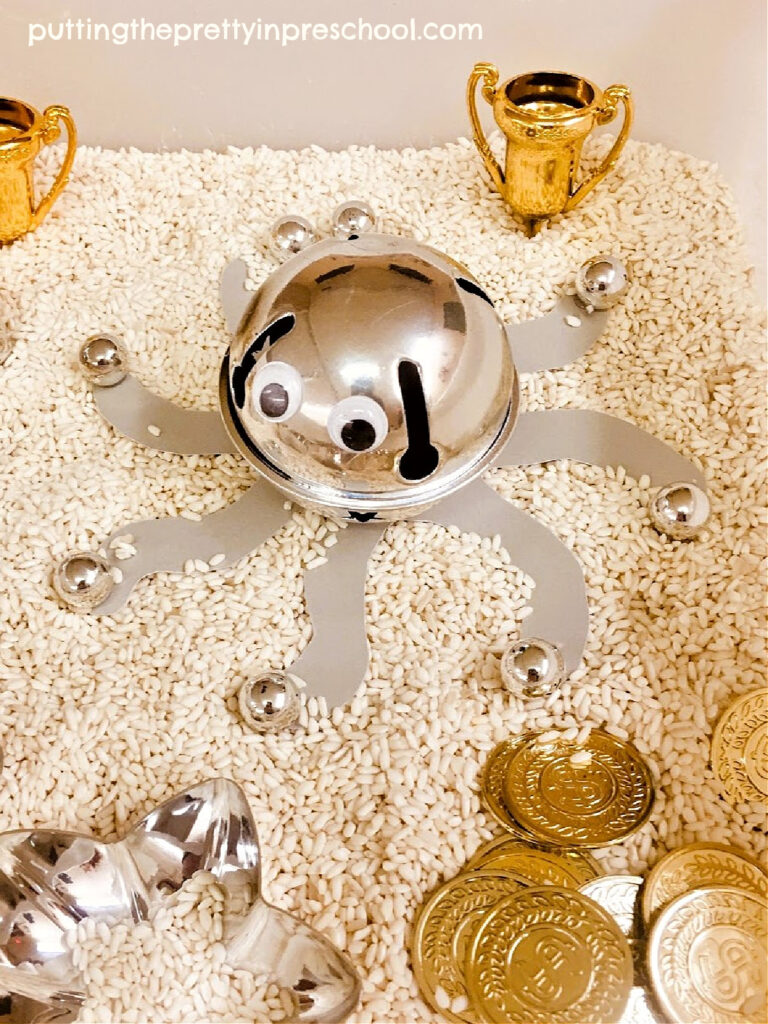
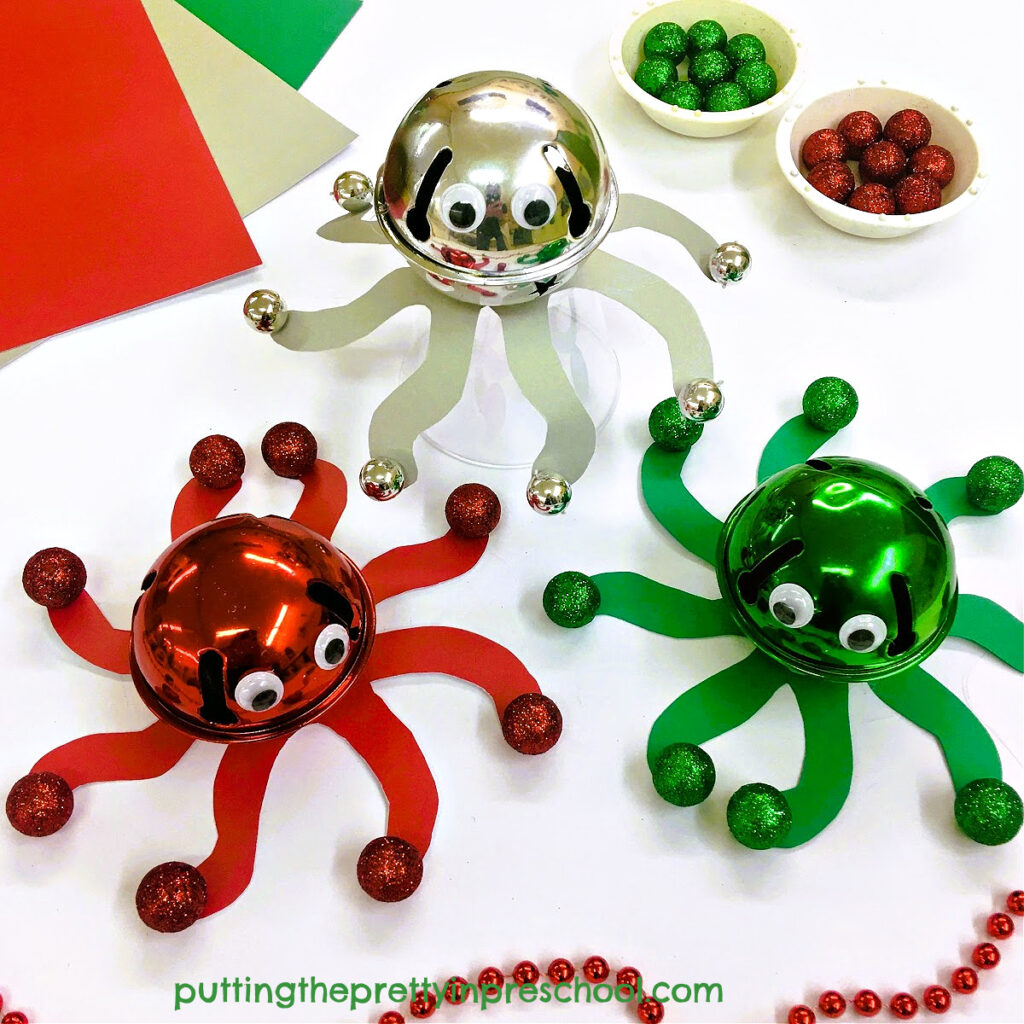
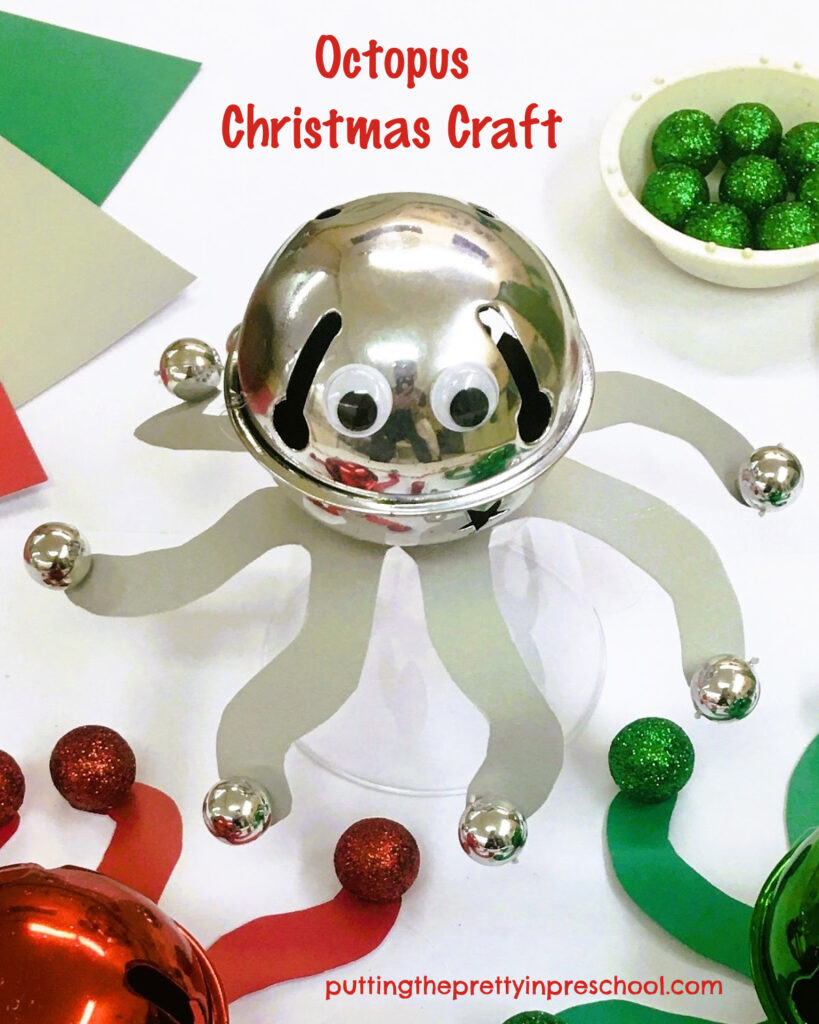
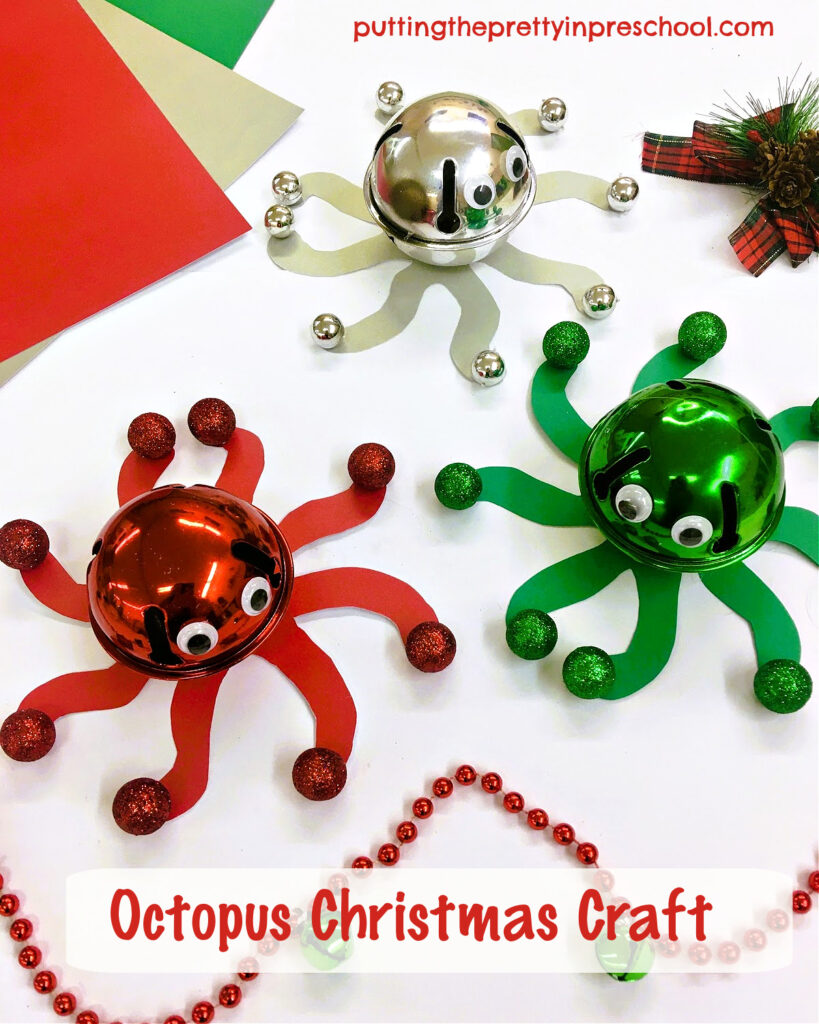
Including play spaghetti in my dramatic play centers is so fun. In the café iridescent necklaces cut into strips are the noodles, and small snowflake-themed bells are the meatballs.

_______
Styrofoam balls are snow cupcakes or muffins.

_______
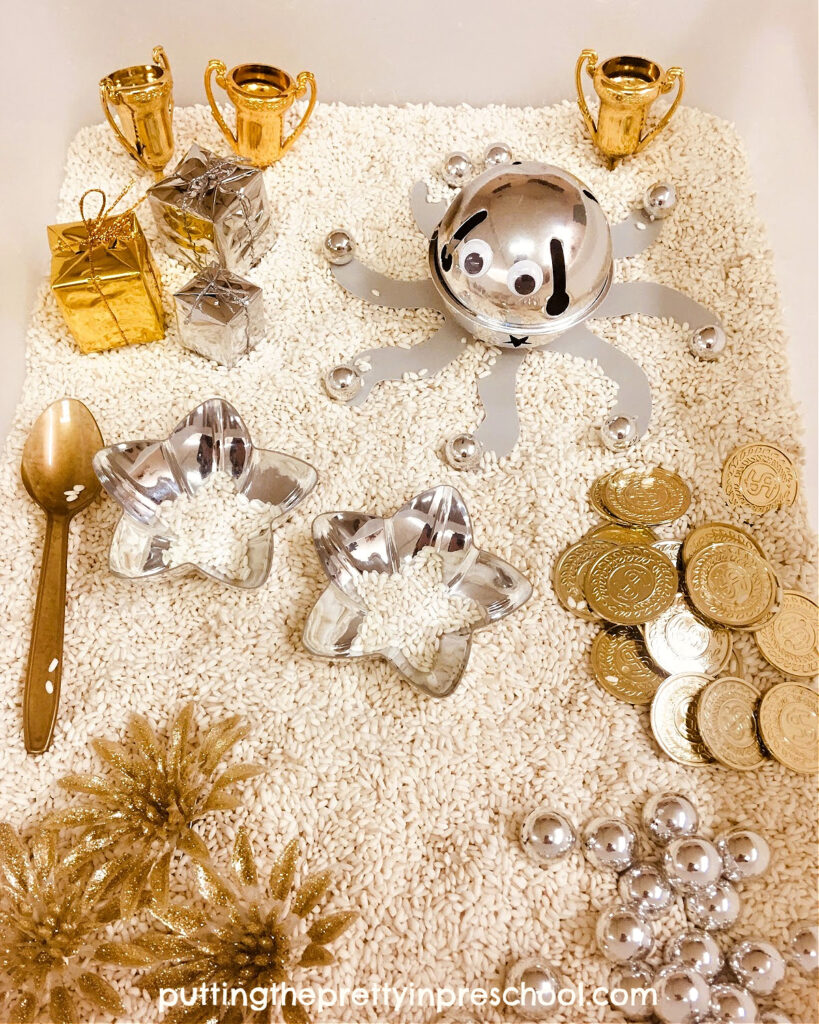
Disposable frosted goblets and silver trays add elegance to the center.

_______
Little learners love to mix and match supplies in the snowflake café and use their imagination to decide what play food the loose parts will be. They relish in preparing food, serving it to customers, and handling play money.

_______
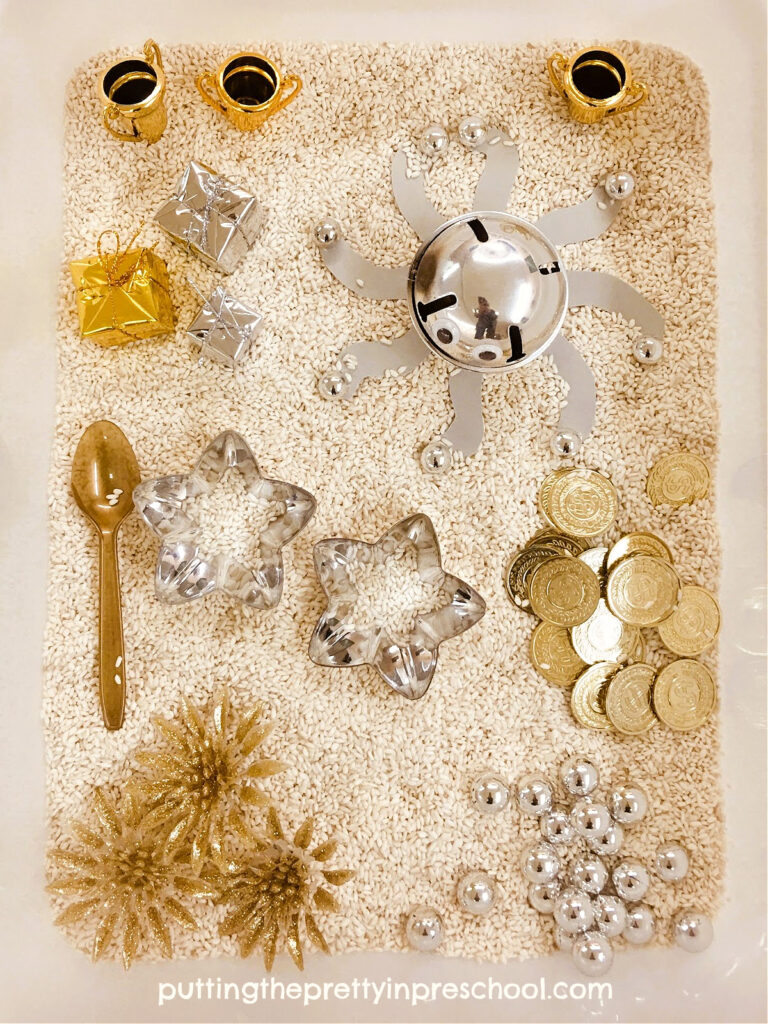
Variation Of The Snowflake Cafe
Below, the loose parts and clear tableware in the Snowflake Cafe along with a few additional supplies set the tone for an inviting dining experience on the light table.

_______
_______
Snowflake Cafe Digital Download
A digital download Snowflake Cafe printable set , available in my Skills N Smiles Etsy Shop, is an alternative to this loose-part rich, winter dramatic play center.
This engaging, winter-themed pretend play resource is designed for
- preschool dramatic play centers
- kindergarten classroom centers
- early elementary role play
- child care settings
- homeschool learning spaces
- at-home pretend play setups
- play dates with friends
- rainy day imaginative play
- a travel activity

_______
Learning Benefits:
This easy-to-set-up, easy-to-store learning through play center
- develops scissor skills (cutting out play food)
- builds communication and vocabulary
- encourages simple math skills (counting, money concepts)
- develops social and cooperative play
- offers opportunities for role play
- ispires creativity and storytelling
Whether you’re creating a seasonal dramatic play center, adding fresh excitement to your winter curriculum, or introducing a fun winter activity at home, the Snowflake Café printable set is a delightful way to keep children learning and playing throughout the season.
_______
_______
Related:
Winter Pretend Play Tablescape
_______
[Read more…] about Snowflake Cafe Dramatic Play


