_______
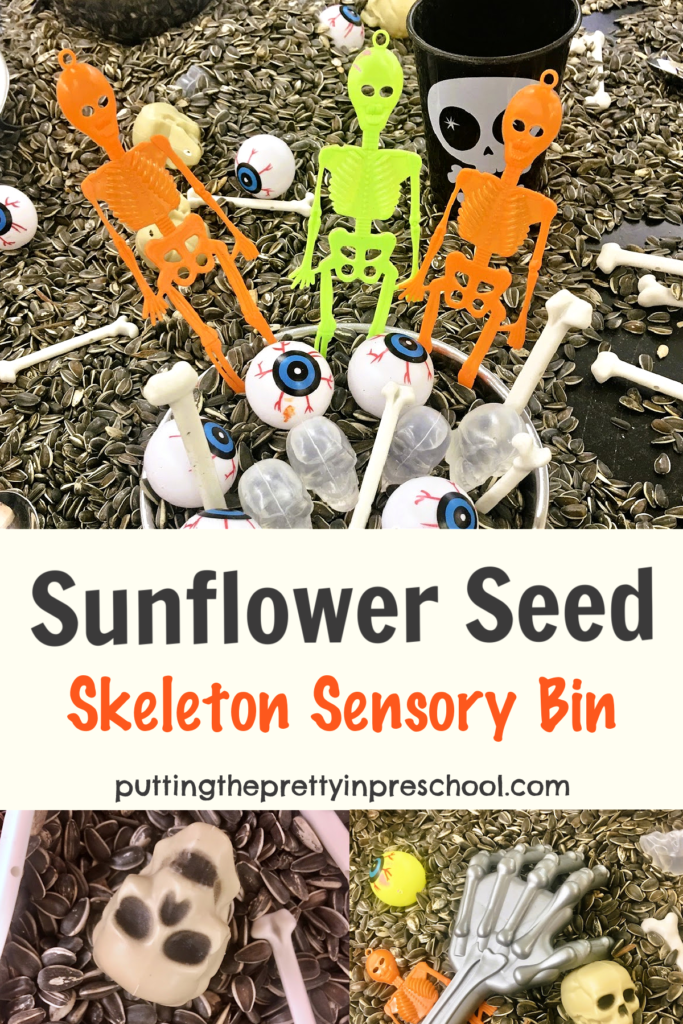
If you need an easy sensory bin idea for a skeleton theme, this skeleton sunflower seed bin is for you. Set it up in minutes, and you’ll have a super engaging sensory invitation your little learners will be happy to explore.
_______
Follow me on Pinterest for more early learning ideas.
_______
Supplies To Collect
_______
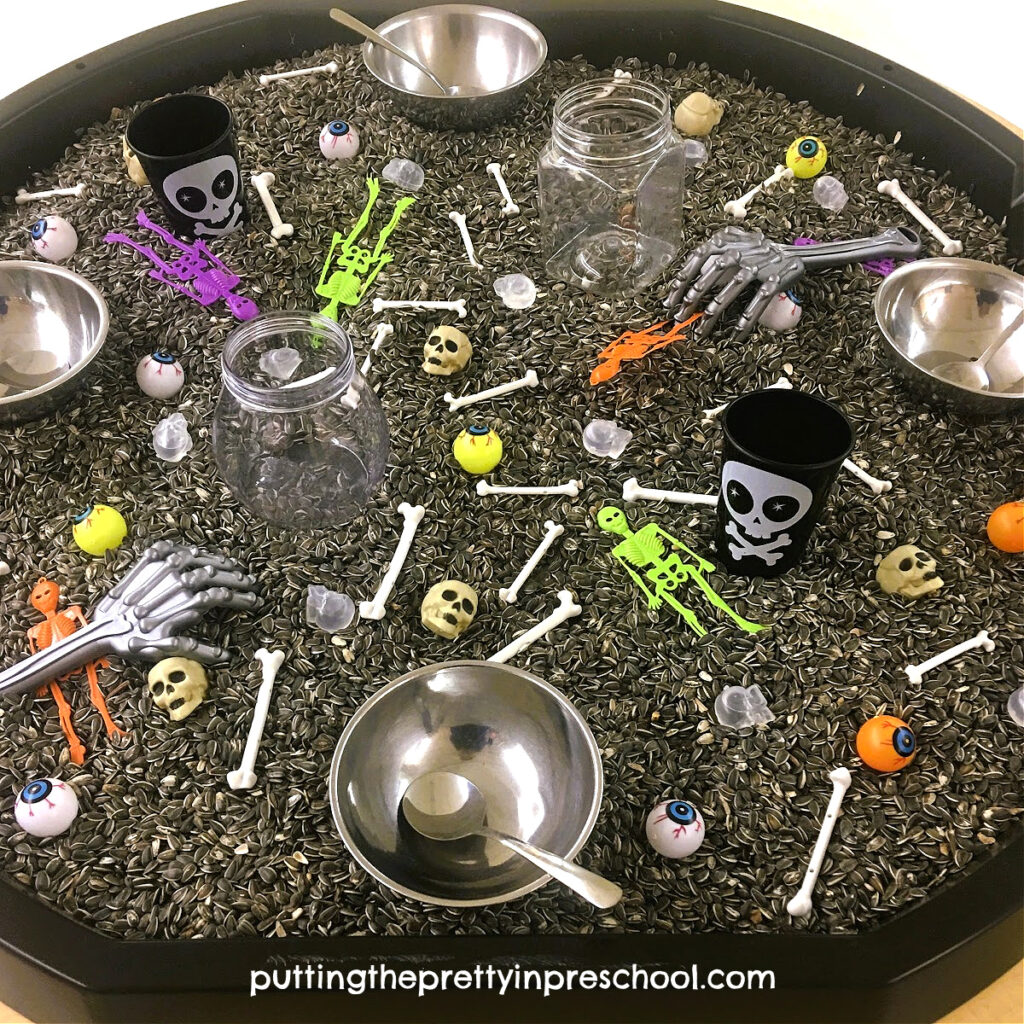
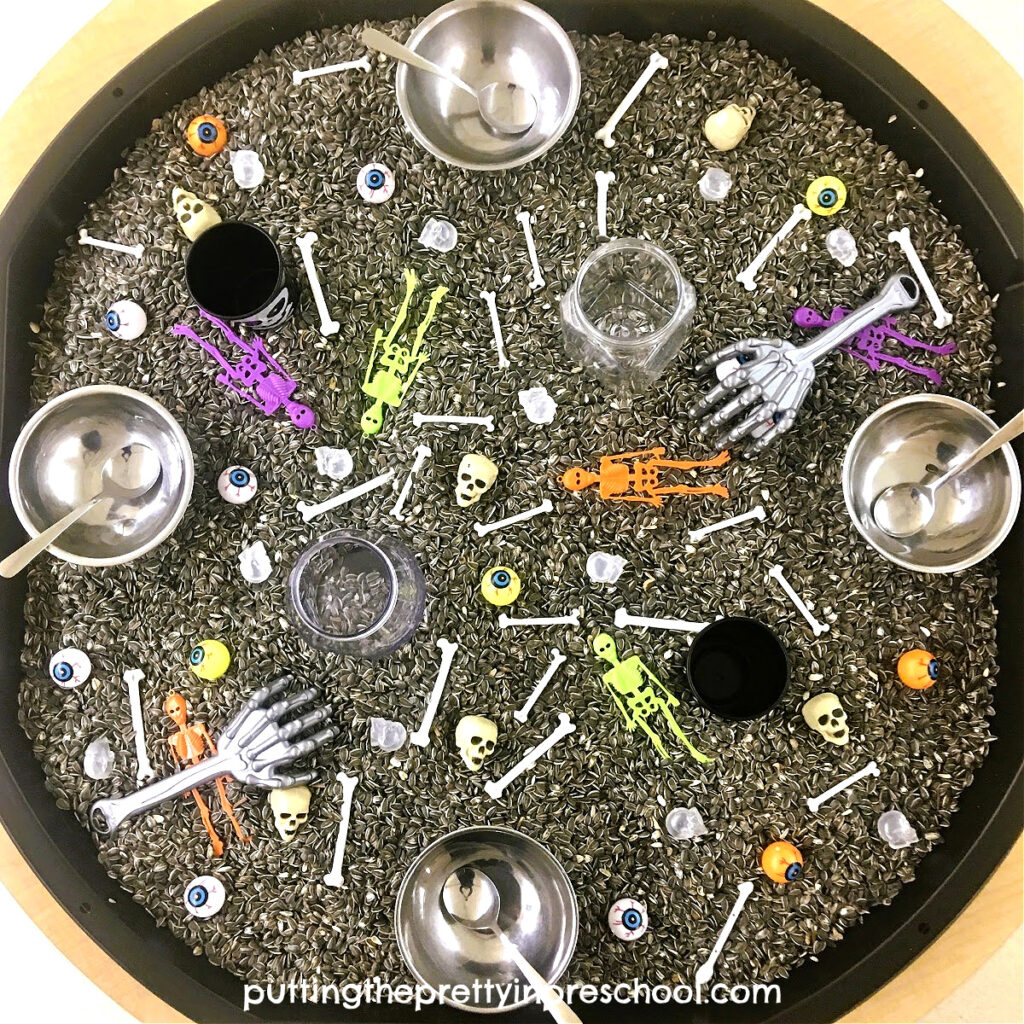
The following supplies are in the sunflower seed sensory bin:
- sunflower seeds
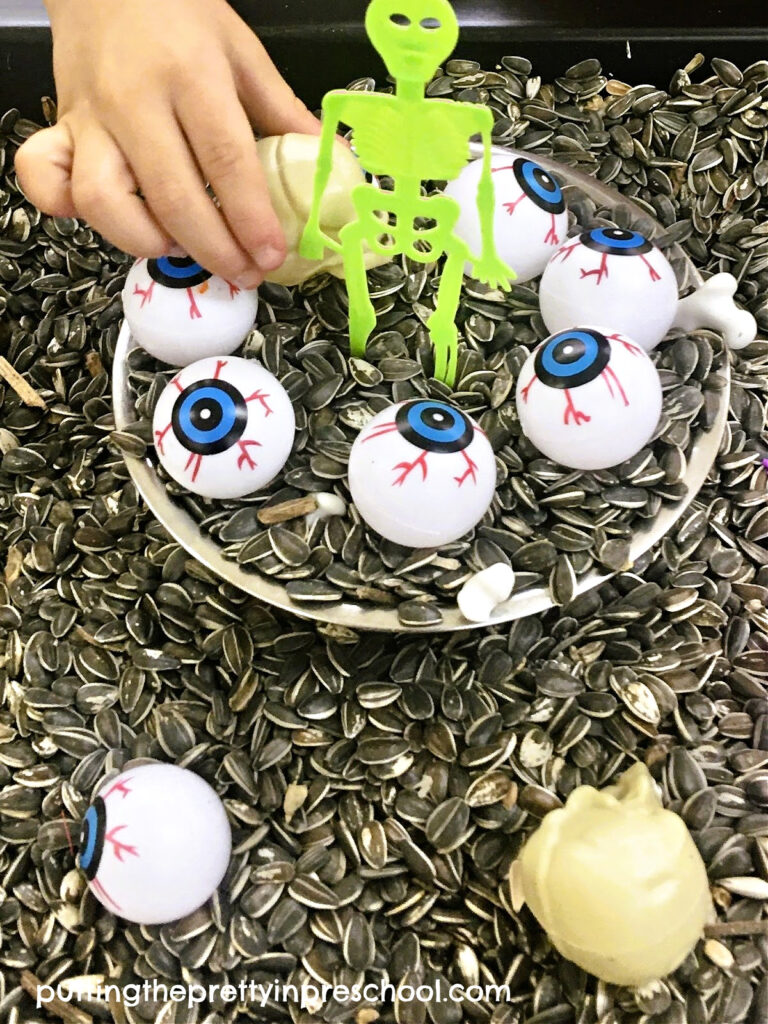
- skeleton figurines
- skeleton arm scoops
- toy bones
- skull reusable ice cubes
- toy eyeballs in different colors
- skull treat holders
- skull cups
- clear non-breakable jars
- silver bowls and serving spoons
_______
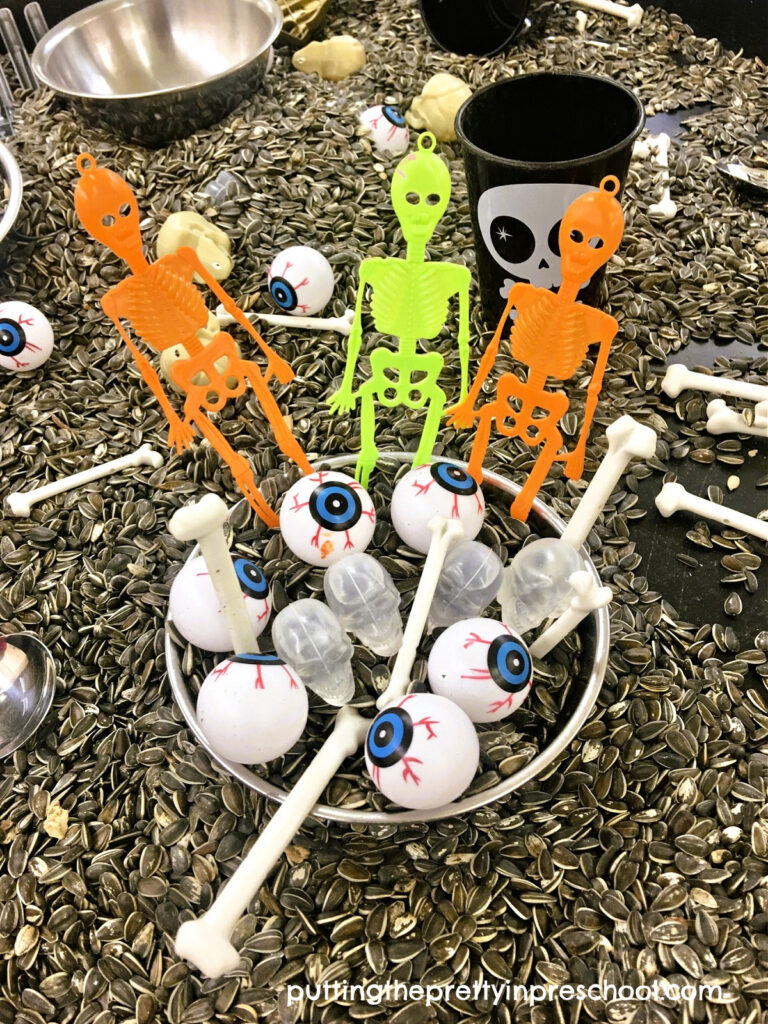
The Skeleton Sunflower Seed Bin
_______
Striped sunflower seeds are the base for this seedy skeleton bin. They are economical to buy and provide a unique sensory experience. In my active world tray, two large bags of seeds work nicely. For a smaller bin such as a bus tub or saucer sled, one large bag would be enough.
The sunflower seeds bring plenty of color, so there is no need to dye anything. This saves a lot of preparation time.
The toy skeletons, skulls, and bones are supplies easily scooped up at dollar and party stores, or the seasonal section of a big box store.
_______
It’s always nice to see the excited look of children when they discover a new sensory bin invitation, and their reaction to this bin did not disappoint. There was lots of imaginative and creative play.
_______
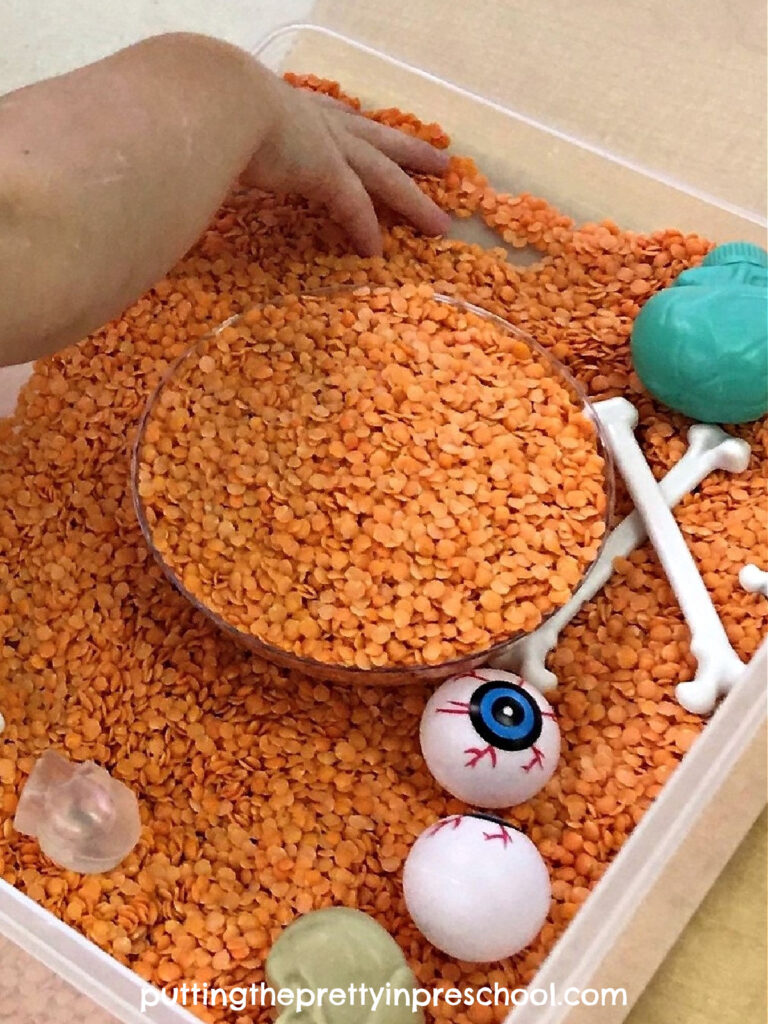
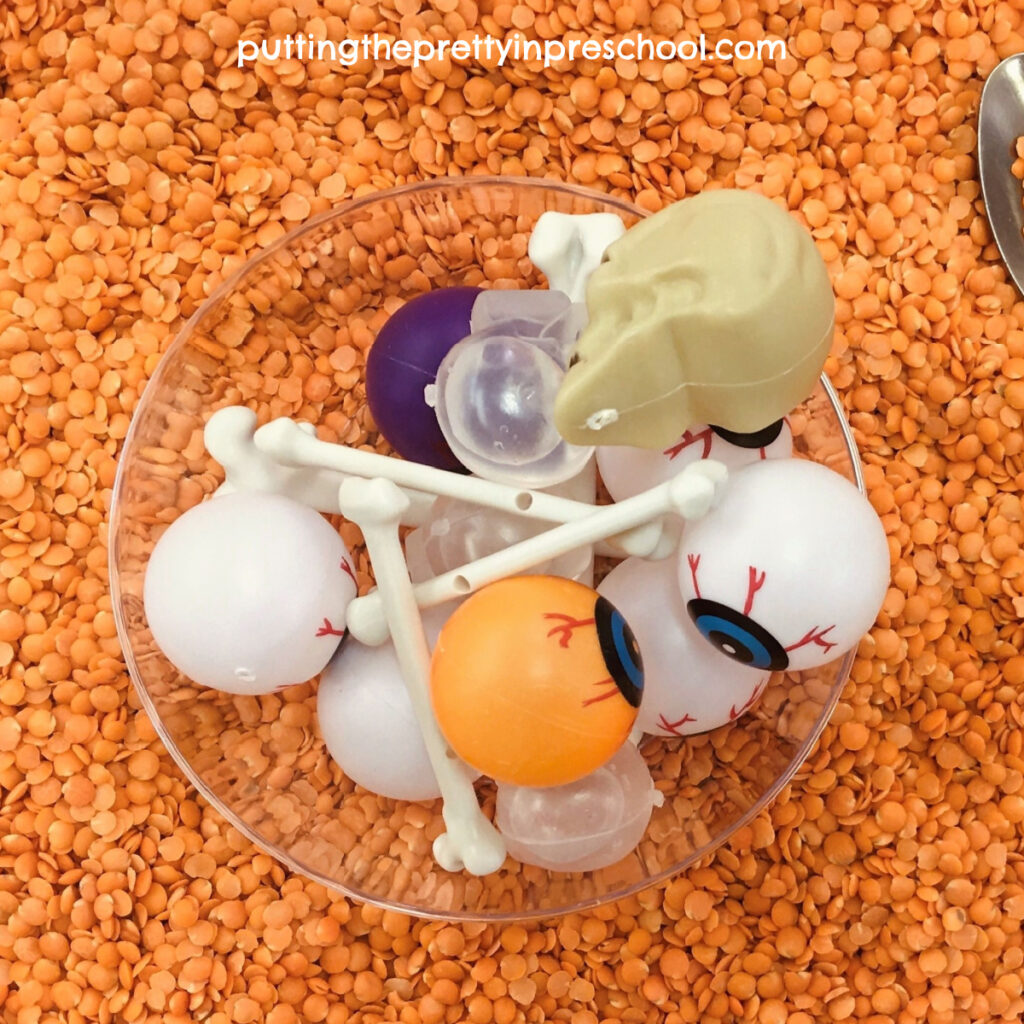
Skeleton Lentil Bin Sensory Play
To keep the interest in skeleton sensory play going, offer the same supplies in a lentil-based bin. The red lentils are another base ingredient that brings its own color to the sensory invitation.
_______
_______
More Sunflower Seed Sensory Play
After children have had plenty of time to explore the skeleton-themed accessories, swap them out for a pumpkin or sunflower and dinosaur-themed bin using the same striped sunflower seeds as a base.
_______
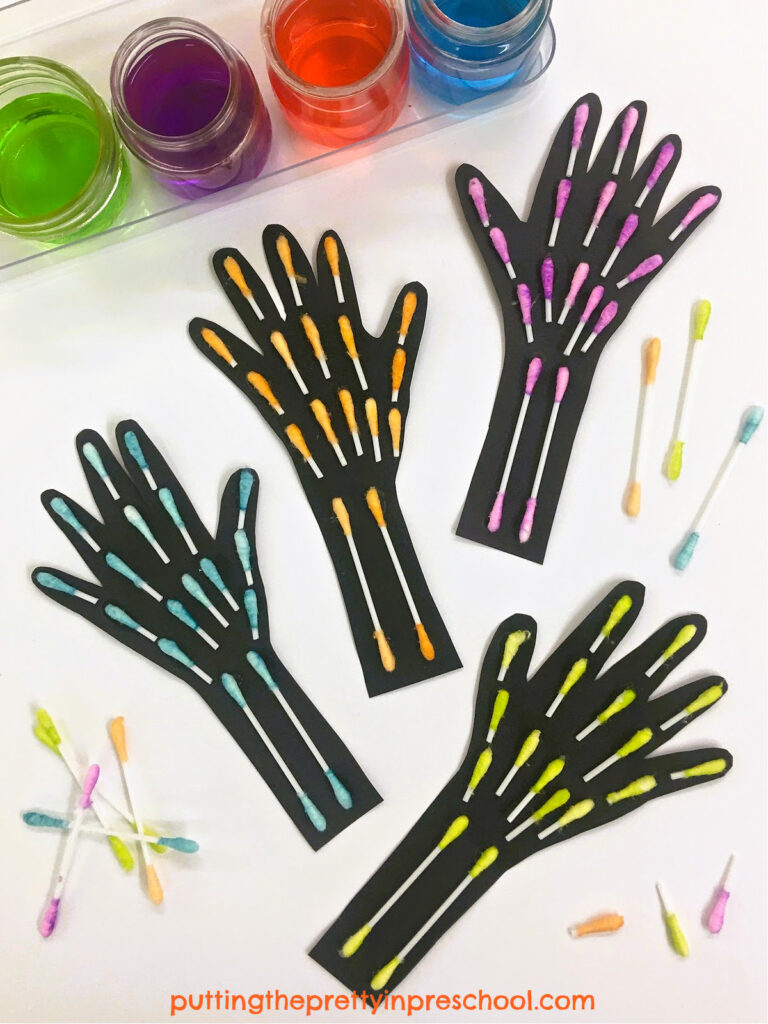
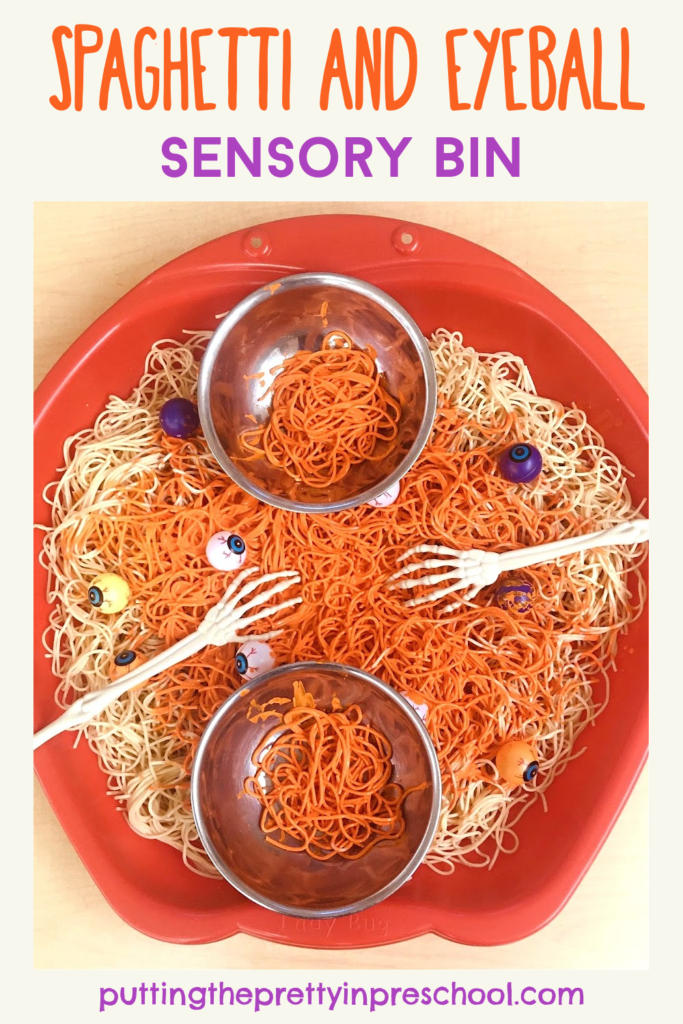
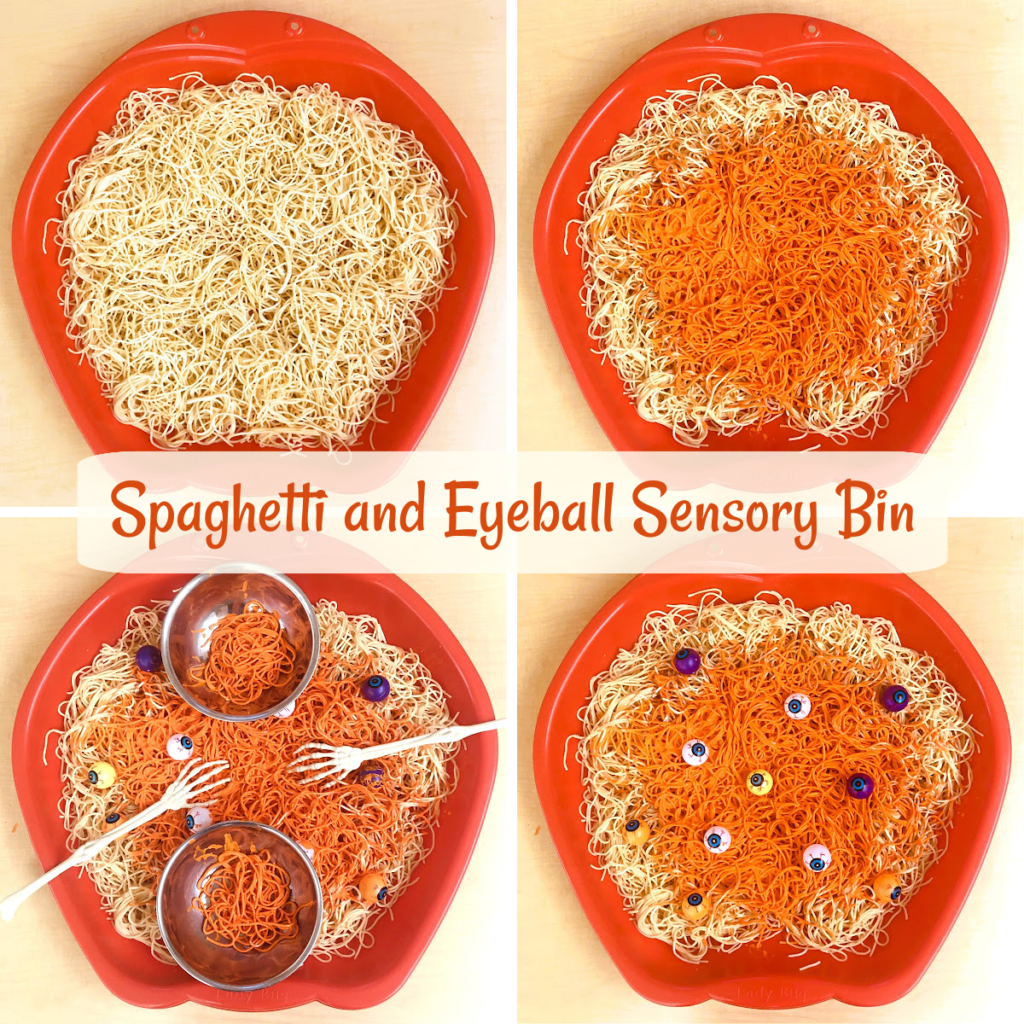
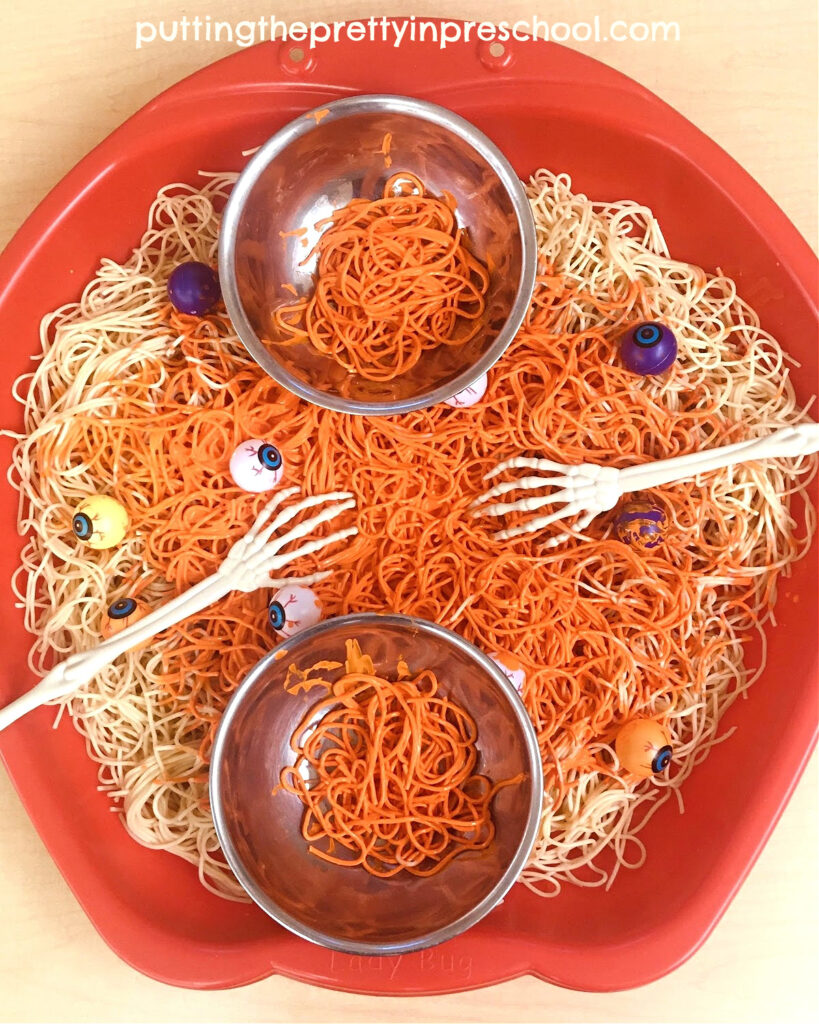
More Skeleton Activities
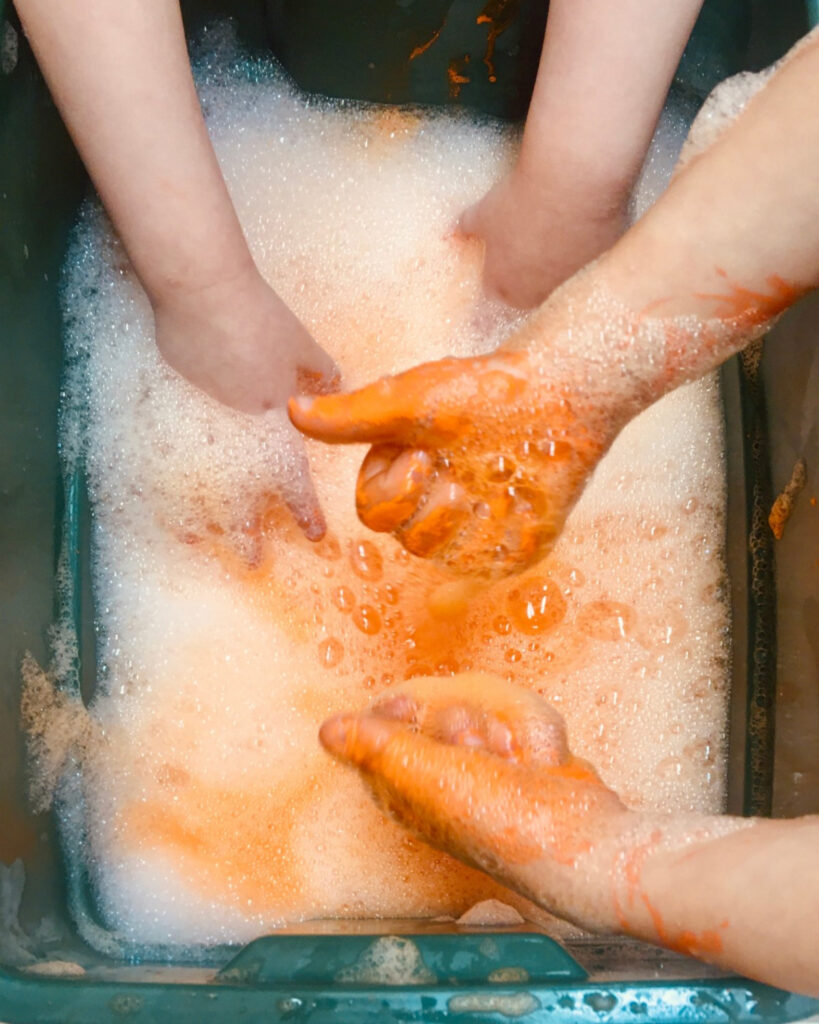
Skeleton and Eyeball Waterplay
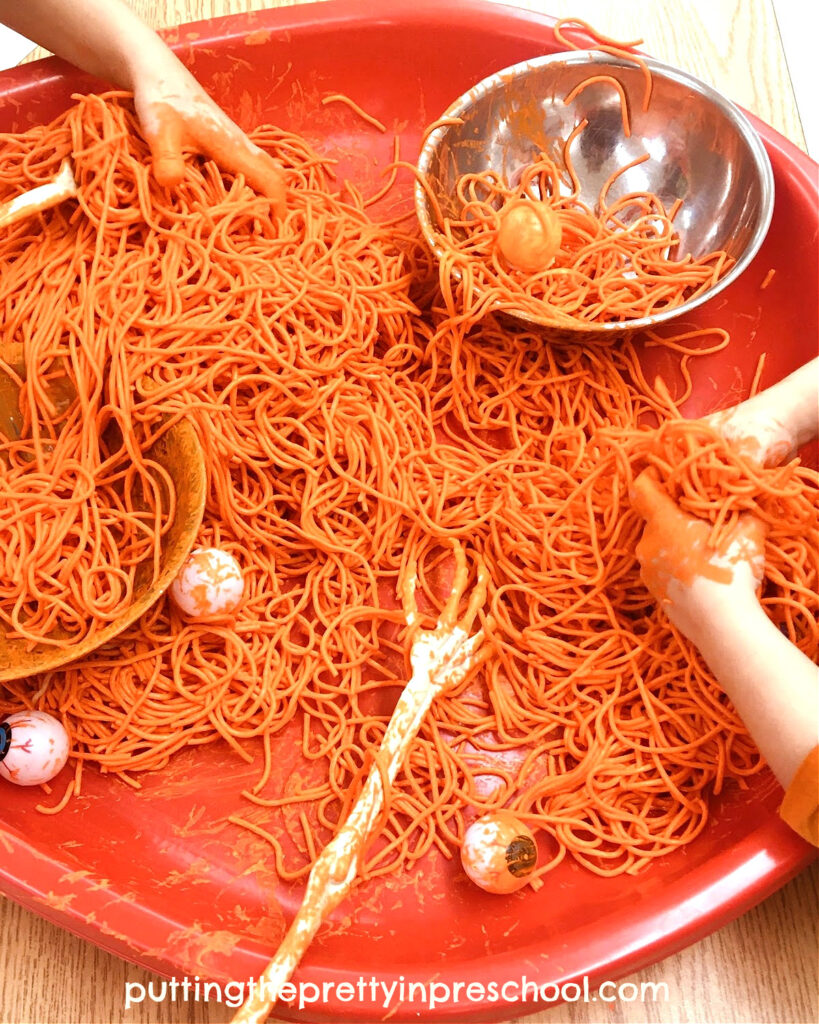
Spaghetti and Eyeball Sensory Bin
_______
[Read more…] about Skeleton Sunflower Seed Bin