• Skip to secondary menu
  • Skip to main content
  • Skip to primary sidebar

Putting The Pretty In Preschool

Finding Beauty In Everyday Early Childhood Experiences

  • Home
  • About Me
  • Winter
  • Chinese New Year
  • Blog
  • Valentine’s Day
  • Contact Me
  • Easter Activities

art

Painted Skeleton Sensory Bin

October 25, 2024 by Annette Kaminsky Leave a Comment

_______
Skeletons can appear more than a little scary, but bold or subtle artsy touches soften them up and make them fun for little learners to explore. I recently found a gorgeous little folk art wooden skeleton and decided to repurpose it in a painted skeleton sensory bin.

_______
Skeleton Sensory Bin Supplies

_______
The following simple supplies were used for the sensory bin:

  • wooden skeleton parts
  • skeleton figurine
  • acrylic paint
  • paint palette and brushes
  • pom poms
  • beads
  • wooden flowers
  • spider figurines
  • white rice
  • sensory bin

_______

Follow me on Pinterest for more early learning ideas.

_______

The Painted Skeleton Sensory Bin

The sky is the limit regarding accessories suitable for sensory bins, so it is super easy to collect supplies. A beautifully painted folk art skeleton featuring bones attached with jute twine was a find one fall day. Although meant to be a wall hanging, I saw possibilities for sensory play.

The skeleton parts were daintily painted in folk art designs on one side and were white everywhere else. After snipping off the jute connectors, I decided to paint the white sides in matching colors to add interest to the pieces and help them stand out.

_______

Out came acrylic paints in blue and pink colors along with an artist’s palette and paintbrushes. I mixed the paints into pink and light blue hues and carefully painted the skeleton pieces other than the skull with a few coats of color.

_______

When the painted wooden bones were dry, I placed them in a rice-filled bin. Then I dropped in pom poms, beads, wooden flowers, and spider figurines in similar colors to add design possibilities.

_______

Finally, I included a toy skeleton figurine in the bin to model how a complete skeleton looks. A diagram of a skeleton would be a great addition too.

_______

More Skeleton Activities

Skeleton Sunflower Seed Bin

Skeleton Treasure Blocks

_______

Glam Skeleton Playdough Tray

Skeleton and Eyeball Water Play

Q-Tip Skeleton Craft

_______

Glam Skeleton Sensory Bin

Skeleton Preschool Theme

_______

[Read more…] about Painted Skeleton Sensory Bin

Filed Under: art, autumn, fall, preschool, science, sensory Tagged With: loose parts, rice bin, skeletons

Spider Web Doily Art

October 16, 2024 by Annette Kaminsky Leave a Comment

_______

Arty spider webs are everywhere during this time of year, and doilies are an exquisite supply for creating web décor. These spider web doily art projects are color-infused with gorgeous seasonal hues using a crayon-resist painting technique.

_______

Spider Web Doily Art Supplies

_______

Gather the following supplies for this anything-but-creepy spider-themed art project:

  • paper doilies in a variety of sizes and shapes
  • watercolor tempera paint cakes
  • white crayon
  • pencil
  • ruler
  • paint brush
  • paint pot
  • scissors
  • spider figurine
  • glue gun
  • waterproof table cover

_______

Follow me on Pinterest for more early learning ideas.

_______

Creating Spider Web Doily Art

To create beautiful watercolor doily art first cover an art table with a waterproof tablecloth.

Next, select a doily to use as a canvas for painting.

Then, use a pencil and ruler to draw faint straight lines that radiate from a focal point in the center of the doily. Draw over the white lines with a white crayon or any color. Add silky curved connecting lines with the crayon to complete the web.

Note: When offering this activity to early learners, you may wish to draw the webs on the doilies and have them paint over them.

_______

Afterward, set watercolor tempera cakes in the colors of your choice in a paint tray. I love the pink, purple, orange, and gold hues spotted on web décor on recent shopping trips and use these colors.

Fill a paint pot with water, wet the tempera cakes, and paint over the drawn spider web. Spread the color over the whole doily or up to the lacy edging.

Note: Liquid watercolors are a luminous alternative for this painting activity.

When the arty web is dry use a glue gun to add a spider figurine in a matching or contrasting color. Adhere the paper spider web to a contrasting cardstock paper hue if desired.

_______

If using a large round doily, it’s a nice look to cut out a section of the web to become your finished design.

_______

Variations of the Spider Web Doily Art

Round or rectangular craft doilies are easy to find, but heart doilies also work wonderfully as a canvas for a spider web art activity. In addition to being super lacy, they remind us to give spiders some much-needed love.

_______

Crochet doilies make perfect ready-made spider webs. Left unpainted, white or cream-colored ones look like natural webs. It is superbly satisfying to add color to them, as watercolor paints soak in very well. For a stunning look display a color-infused web and spider figurine on a mirror.

_______

More Spectacular Doily Art

In addition to providing the canvas for spider web doily art, use the exquisite paper shapes in a novel way for more painting fun. In the projects below, doilies are placed on paper, and the lacy cutouts are carefully filled with watercolor tempera paints. A beautiful design appears after the doily is lifted off.

_______

In this second project, the area above the doily is painted too. When the doily is removed, the design is so realistic it looks exactly like the paper doily.

_______

_______

More Spider Activities

Spider Theme Activities

Green Huntsman Spider Activities

_______

[Read more…] about Spider Web Doily Art

Filed Under: art, autumn, crafts, preschool, science Tagged With: painting, spiders, watercolors

Ribbon and Cord Pumpkin Craft

October 1, 2024 by Annette Kaminsky Leave a Comment

_______

At this time of year, there are many beautiful, vibrant fall décor and craft supplies to view. A stroll through any craft or home décor store is a pure delight. A splendid bundle of sewing supplies spotted on one excursion inspired this easy-to-make ribbon and cord pumpkin craft. Download the free pumpkin pattern in this post to make craft preparation easier.

_______

Ribbon and Cord Pumpkin Craft Supplies

_______

The following supplies are used for this colorful autumn craft:

  • cardstock in green, gold, tan, and cream hues
  • fabric ribbon
  • rickrack trim
  • braided cord
  • pom pom fringe
  • craft ribbon
  • double-sided tape
  • white glue and glue gun
  • scissors and pencil

Follow me on Pinterest for more early learning ideas.

_______

The Ribbon and Cord Pumpkin Craft

To make this textured fall pumpkin craft, start by selecting yarn, thin braided cord, sewing and craft ribbons, rickrack trim, and dainty pom pom fringe in the colors and patterns of your choice. Orange, tan, green, and brown hues are featured in mine.

Once your ribbon and cord hues are picked out, choose complementary cardstock and construction paper colors. Green, gold, cream, and tan are natural choices.

_______

Using white glue or a glue gun, affix varying colors and widths of the ribbon and cord in rows to a piece of sturdy paper. Make sure to leave a little bit of space around the edge of the cardstock. My design is made with craft supplies placed horizontally, but a vertical or diagonal placement would work wonderfully too.

Next, cut strips of double-sided tape and add one near each corner of the ribbon and cord-embellished paper. Add additional tape strips if needed.

_______

Then trace and cut out a pumpkin from the same-sized paper in another hue, leaving the border around the pumpkin shape uncut. Feel free to download this pumpkin pattern for the task.

_______

Pumpkin Craft PrintableDownload

This printable is for individual or one classroom use only.

_______

Finally, gently position the paper with the pumpkin cut out on top.

_______

The ribbon and cord pumpkin craft is ready for display.

_______

Variations of the Pumpkin Craft

Little learners may find it easier to glue the ribbon and cord sewing supplies in a random design. The results would be equally interesting.

_______

_______

This craft uses a variety of colors and textures of sewing and crafting ribbons and cords. Feel free to use the supplies you have available for the craft. It would look equally stunning with only yarn colors or craft ribbon hues.

_______

_______

[Read more…] about Ribbon and Cord Pumpkin Craft

Filed Under: art, autumn, crafts, fall, preschool, pumpkins Tagged With: crafts, fall craft, pumpkins

Fall Pom Pom Tree Craft

September 29, 2024 by Annette Kaminsky Leave a Comment

_______

Fall is such a pretty time of year, and for many people, it is their favorite season. Aside from the leaves changing into gorgeous, radiant colors, the home décor is also stunning, and is super fun! The colors and décor of this fall season inspired the bat-topped fall pom pom tree craft.

_______

Fall Pom Pom Tree Craft Supplies

_______

Gather just the following few supplies for this soft and simple autumn tree craft:

  • pom poms in pink, melon, white, and purple hues
  • 9-inch x 12-inch cardstock or construction paper
  • 8 1/2 x 11-inch cream colored cardstock
  • white glue
  • glue gun
  • bat sticker
  • bat ring party favors
  • scissors and pencil

_______

Follow me on Pinterest for more early learning ideas.

_______

The Fall Pom Pom Tree Craft

The design of this tree is a triangular Christmas tree shape. So it’s a little like creating a Christmas craft early. The tree base is cut from cream-colored cardstock.

Young children enjoy using special craft supplies such as pom poms and will love gluing them to the paper triangle base. The pom poms can be squished together or spread apart in a random design. White glue works well for this task. 34 pom poms are affixed to this crafted tree.

_______

A metallic gold sticker bat is the unexpected but delightful tree topper, tying into the fall theme wonderfully. A bat cut from paper adhered with glue would work fine too.

An optional addition is to glue bat ring party favors between the pom poms for even more flare.

_______

Finally, a tree trunk cut from gold foil tissue paper and the pom pom-decorated tree display nicely when glued on a 9-inch x 12-inch piece of colored construction paper.

_______

An alternate way to showcase the crafted tree is to cut a thin cylinder from a toilet paper roll and cut two slits opposite from each other. Gently slide the bottom of the fall pom pom tree in the slits. The tree stands up sturdily on a table or shelf.

_______

Pom poms in pink, purple, ochre, and white provide the color scheme for this seasonal tree craft. But the craft would look spectacular in any color scheme.

_______

_______

Related:

Bat Theme Pretend Play

Bat Necklace Craft

Neon Finger Paint Tree Art

Gorgeous neon finger paint tree art inspired by the picture book "The Tree In Me" by Corinna Luyken. An all-ages, easy-to-do art activity. A free template is included.

_______

_______

More Fall Activities

Fall Tablescape Pretend Play

Fall Leaf Salad Spinner Art

Fall Scissor Skills Activities

_______

[Read more…] about Fall Pom Pom Tree Craft

Filed Under: art, autumn, crafts, fall, preschool, trees Tagged With: bats, fall craft, tree art, trees

String Painting Snake Art

August 5, 2024 by Annette Kaminsky Leave a Comment

_______

This string painting snake art is perfect for a reptile theme. In addition to enhancing the topic of snakes, it offers children a novel way to paint.

_______

Follow me on Pinterest for more early learning ideas.

_______

Supplies To Collect

_______

Gather the following supplies for this simple string painting activity:

  • sturdy paper
  • tempera paint
  • small disposable plates
  • yarn
  • scissors
  • clothespins
  • spoons
  • waterproof table cover

_______

Preparing The String Painting Snake Art Activity

To set up this novel string art activity, cover a table with a waterproof table cover.

Then spoon tempera paint into small disposable plates.

Next, cut the yarn into lengths about 6 to 8 inches long.

Afterward, attach a clothespin to the end of each strip of yarn.

Set the paint dishes, prepared string, and sturdy pieces of paper onto the art table and the activity is ready to go.

_______

The String Painting Snake Art Project

_______

To create snake-like painted shapes, lay a string on a paint-filled plate, draping the clothespin attached end over the edge.

Use a spoon to press down on the string to ensure it is covered in paint.

Next, carefully lift off the string and lay it on the paper in a snake-like, serpentine pattern.

Then gently put the string back in the same color of paint.

Repeat the process with more paint colors to create snakes in additional hues.

_______

Variations of the String Art Project

After participants have completed a snake art project, invite them to explore more string painting techniques:

  • Dragging the string across the paper covers it more quickly, and allows for paint mixing.
  • Using fingers to manipulate the string instead of clothespins adds a tactile experience.
  • Experimenting with thick and thin string, and longer and shorter pieces creates different effects.
  • Spooning paint on the paper first, and dragging the string through it is another way to paint.

_______

_______

_______

Related:

Northern Lights Squish Painting

Balloon Painting Flower Art

_______

Apple Print Activities

Corn Syrup Paint Sunflowers

Eye Dropper Pumpkin Art

_______

Painting with Corn

Cauliflower Paint Prints

_______

_______

More Reptile-themed Activities

Reptile Theme Activities

Black Playdough Snakes

Reptile Egg Science

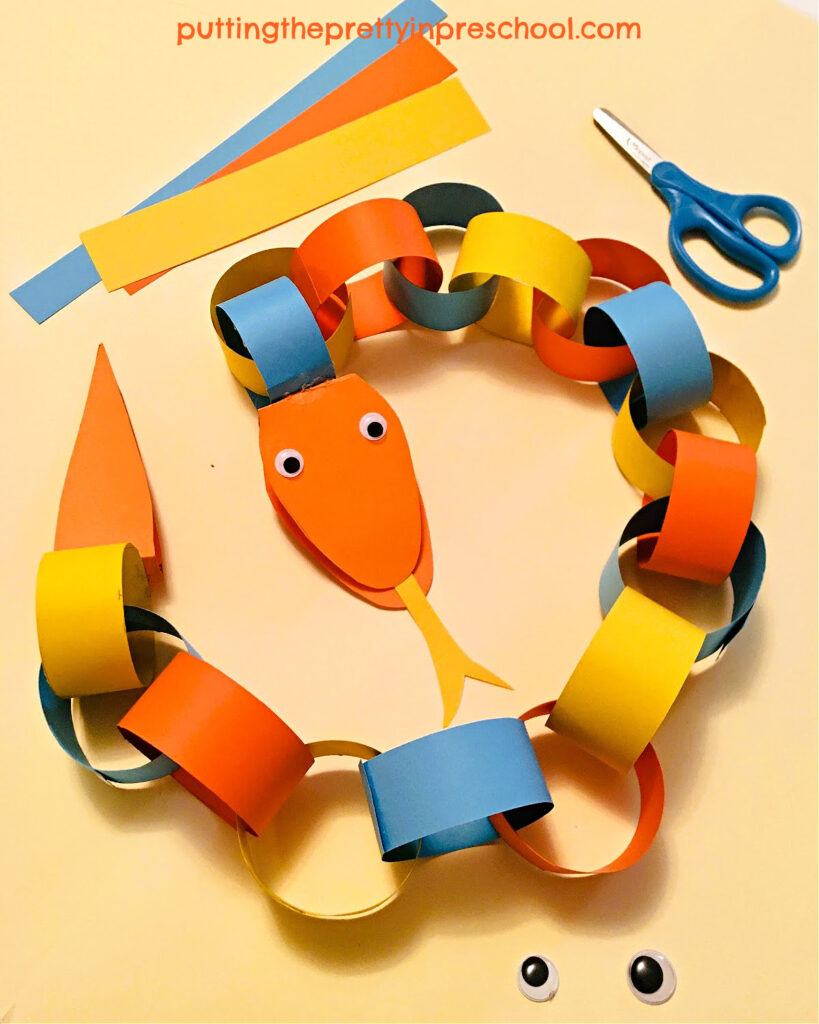
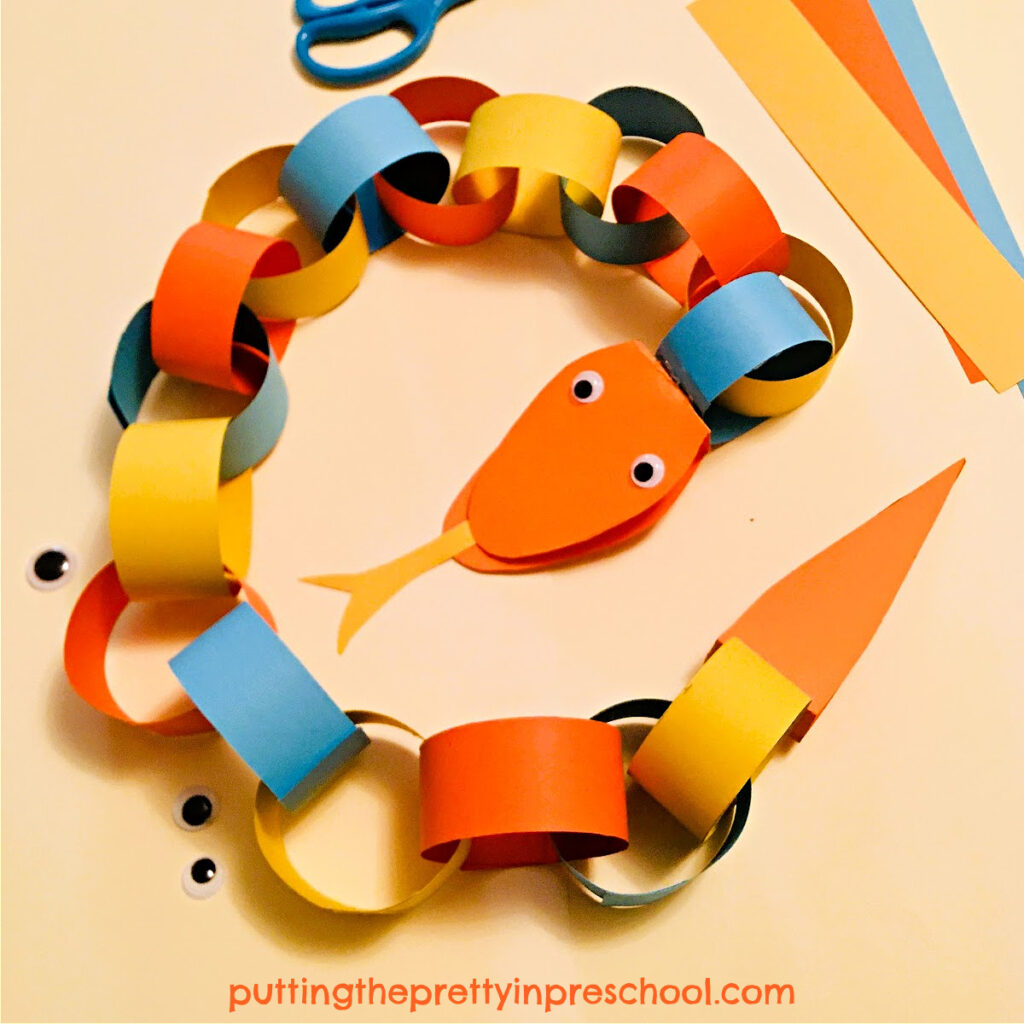
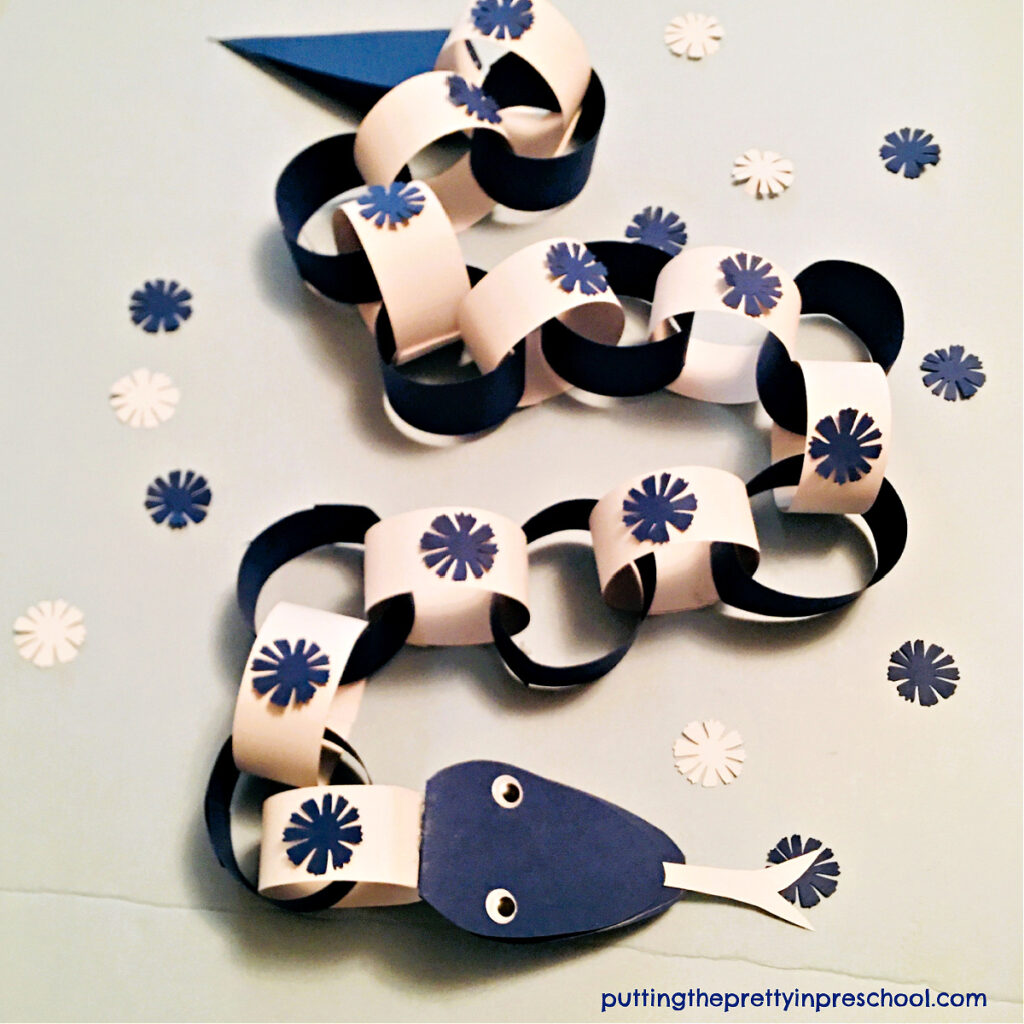
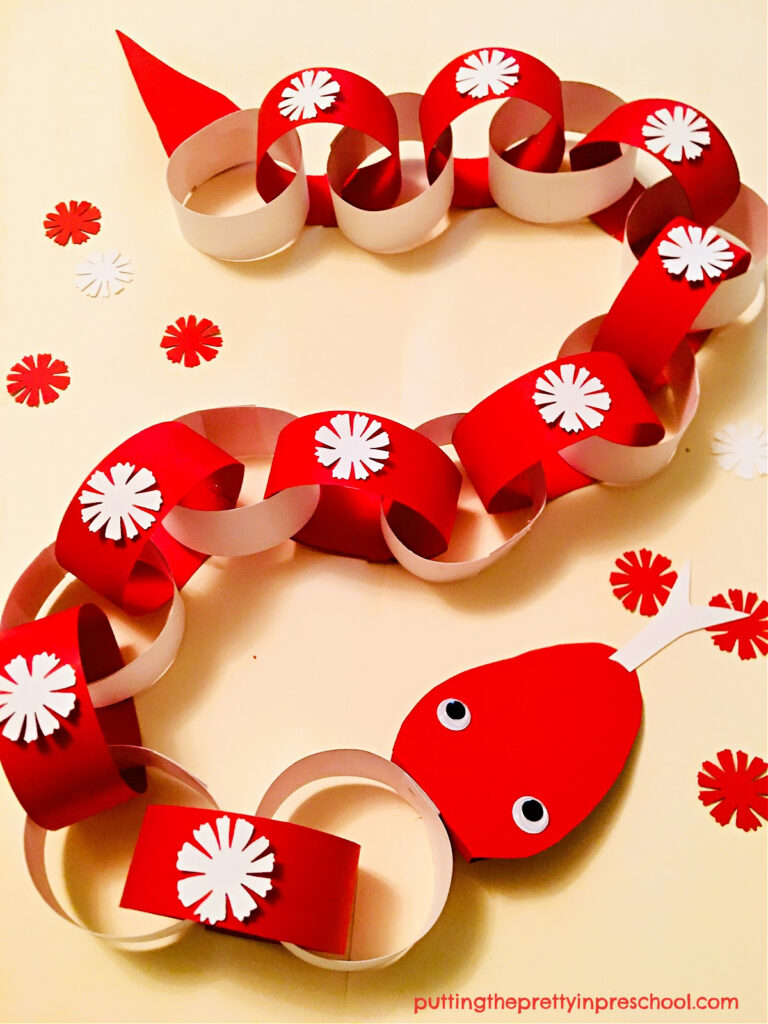
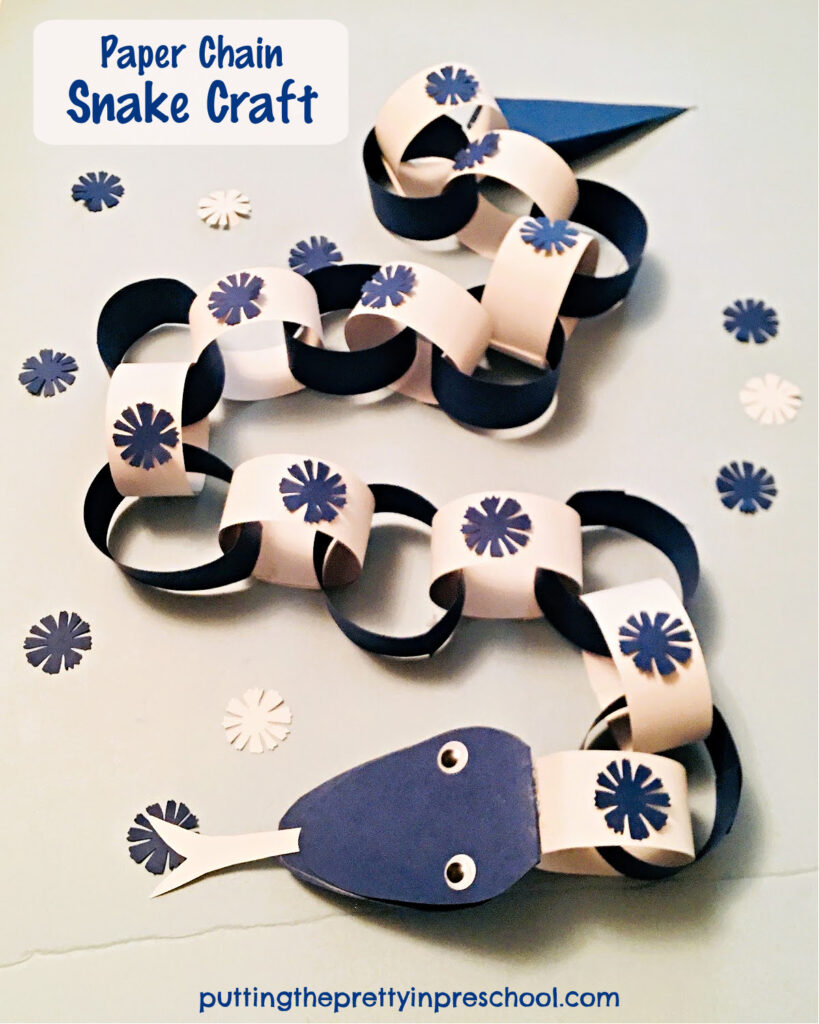
Paper Chain Snake Craft

Reptile Active World Tray

Reptile Pet Store Center

_______

[Read more…] about String Painting Snake Art

Filed Under: art, reptiles, science, themes Tagged With: painting, printmaking, snakes

Balloon Painting Flower Art

July 28, 2024 by Annette Kaminsky Leave a Comment

_______

This balloon painting flower art is quick and easy to do and can make a room look cozier in no time. It is an unexpected, novel way to create art. Since children love activities with balloons, they’ll surely enjoy participating in this art invitation.

_______

Supplies To Collect

Gather the following supplies for this large-scale art project:

  • round balloons
  • tempera paints in a variety of colors
  • paper plates
  • 18-inch x 24-inch sturdy paper
  • paintbrushes and paint pots
  • sponge dish wands
  • thin metallic garland
  • white glue and glue paddle
  • scissors
  • waterproof table cover

_______

_______

Balloon Painting Flower Art Set Up

To set up this art project, start by covering an art table with a waterproof table cover.

Next, blow up round balloons to about 1/3 their usual size. Small balloons work fine for this project.

Then pour tempera paint in a variety of colors onto paper plates.

Afterward, drop paint into small plates or paint pot lids and add a sponge dish wand into each one.

Set out the paint trays, balloons, dish wands, and large sheets of sturdy paper on the art table. Your painting invitation is now ready to go.

_______

The Balloon Painting Flower Art Project

_______

To create eye-catching balloon art flowers, press a balloon into one of the paint colors, lift it off, and carefully press it down onto a piece of sturdy paper.

Tip: The firmer a paint-dipped balloon is pressed on paper, the bigger the print. Pressing the balloon down gently creates a smaller print.

_______

Continue to make balloon prints. It’s fun to create flowers in hues of blue and green in addition to more commonly seen colors.

_______

Afterward, dip a sponge dish wand into a contrasting paint color and stamp a circle in the center of each flower-shaped print.

_______

When the roundish prints are dry, cut them out.

Then dip a paintbrush into a pot of green tempera and paint leaves and stems on a large sheet of cardstock paper.

For a shimmery look, add a line of white glue to each leaf and press on a strip of thin metallic garland.

_______

Next, glue the round, bold, balloon-painted flowers on top of the stems using white glue or a glue gun.

To embellish the flower centers, add a circle of glue to each one and affix a strip of thin metallic garland to each of them.

_______

You will have large-scale, stunning flower art ready for display.

_______

_______

Related:

Tulip Art Painting Project

Dish Wand Print Flower Art

Flower Theme Activities

Mother’s Day Crafts and Gifts

_______

[Read more…] about Balloon Painting Flower Art

Filed Under: art, display, flowers, preschool, summer Tagged With: balloons, flowers, painting, printmaking

Dish Wand Print Flower Art

May 5, 2024 by Annette Kaminsky Leave a Comment

_______

This dish wand print flower art project is so easy to do. Grab some round sponge dish wands at a dollar store and a few basic art supplies and you are good to go.

_______

Supplies To Collect

Gather the following for this dish wand print flower art activity:

  • round sponge dish wands
  • tempera paint in a variety of colors
  • fade-resistant cardstock or construction paper
  • paint dishes
  • markers
  • table cover

_______

Follow me on Pinterest for more early learning ideas.

_______

_______

The Dish Wand Print Flower Art Project

To begin this pretty flower art project, pour tempera paint on paint dishes in colors of your choice. Add a little bit of white or yellow paint to your hues to lighten and brighten them if desired.

Next, place a round sponge dish wand in each paint-filled dish.

Then set out 9-inch x 12-inch sheets of construction paper by the paint trays. 8 1/2 x 11-inch cardstock paper works fine too.

_______

Invite participants to make flower prints with the sponge dish wands by dipping them in a color of paint and pressing them on the art paper.

After the dish wand flower prints dry, ask children to use markers to draw a stem below each sponged flower.

_______

Two different paint colors for each flower look nice. In the art piece above the two-toned flower prints are created by using yellow paint first. Afterward, each flower gets an additional color with a wand dipped in orange paint.

_______

Swirling a little magenta and purple paint into white paint before using a dish wand is another way to create two-toned flower art.

_______

Finishing Touches

Enhance this dish wand print flower art project by adding a saying or including paper embellishments.

_______

Add a “Happy Mother’s Day” greeting for a beautiful Mother’s Day keepsake craft.

_______

Glue on a few paper-punched butterflies in a complementary hue for an elegant look.

_______

More Activities With Flowers

Contact Paper Flower Art

Petunia Flower Sensory Tray

Flower Stand Dramatic Play Center

Lilac Flower Sensory Tray

Flower Planting Sensory Tray

Flower Theme Activities

‘

_______

[Read more…] about Dish Wand Print Flower Art

Filed Under: art, flowers, Mother's Day, preschool, summer Tagged With: flowers, keepsakes, printmaking

Paper Plate Sun Craft

May 3, 2024 by Annette Kaminsky Leave a Comment

_______

A few weeks ago, I was looking for tableware for a space kitchen dramatic play center and found speckled and silver supplies that fit the bill. These metallic rainbow plates gleamed next to the iridescent silver ones I chose, and caught my attention. It was a no-brainer to use them in an easy and cute paper plate sun craft.

_______

Supplies To Collect

Just the following few supplies are needed for this simple sun craft:

  • 9-inch metallic rainbow party plates
  • bright yellow cardstock paper
  • marker
  • glue stick
  • scissors and pencil

_______

Follow me on Pinterest for more early learning ideas.

_______

Preparing The Paper Plate Sun Craft

_______

Craft preparation is easy for this paper plate sun craft. First, use a marker to draw lines along the ribs on the edge of 9-inch rainbow plate backs. The lines will be about two inches long.

Next, cut circles from bright yellow cardstock, about 6 inches in diameter.

Then choose a marker in a matching color to use for creating sun faces.

Set out a paper plate front side down and a pair of scissors for each child participating.

_______

The Paper Plate Sun Craft

For this craft, invite children to cut along the lines on the back side of their plate. This is great scissor skill practice.

_______

Next, have each participant draw a face on their yellow circle using a color that matches one of the metallic plate hues.

_______

After turning their paper plate right side up, give each child a glue stick to affix their yellow paper face to the center of their sun.

Finally, encourage participants to bend up every other fringed section on the edge of their plate to enhance the sun’s rays and create a 3D effect.

_______

The shiny, adorable paper pate suns beg to be displayed and will look cute together tacked to a bulletin board or wall.

_______

Variation of the Paper Plate Sun Craft

As an alternative to using metallic plates for this craft, offer plain white paper plates. Invite children to paint or color their plate yellow or orange, snip sun rays around the edge, and then glue on a round yellow paper face.

_______

Related:

Scented Moon Playdough

Outer Space Pretend Play

_______

[Read more…] about Paper Plate Sun Craft

Filed Under: art, crafts, display, preschool, space, summer, weather Tagged With: paper plate crafts, scissor activity, scissor skills, space, sun craft

Moon Colors Art Project

April 20, 2024 by Annette Kaminsky Leave a Comment

_______

This “moon colors” art project is inspired by a gorgeous spiral montage of 48 moon hues photographed over the years by Marcella Pace. The stunning image was selected by NASA as the Astronomy Photo of the Day and is available as an art print.

The surface of the moon is a dull grey color due to the combination of minerals present. The moon appears lighted because it reflects light from the sun. It sometimes appears to change colors due to its position in the sky and the atmospheric conditions present. At times it can appear red, pink, yellow, orange, or even blue. The impending arrival of these uniquely hued full moons is regularly announced on social media platforms such as Facebook or X, giving everyone a heads-up about when to search for them in the night sky.

Since I love to feature objects in unexpected colors in creative activities, this art activity features moons in a variety of colors using a simple salt and glue technique. I previously debuted this popular art activity on a grey paper moon base in a post titled Salt and Glue Moon Art.

_______

Follow me on Pinterest for more early learning ideas.

_______

Colors of the Moon Art Supplies

Gather the following supplies for this striking moon art project:

  • 8 ½ inch x 11-inch cardstock paper in red, pink, yellow, orange, blue, turquoise, purple, and green hues
  • 9-inch x 12-inch black cardstock
  • white glue
  • glue paddle
  • disposable plate
  • table salt
  • small bowls or paint cups
  • spray adhesive
  • hot glue gun
  • table cover

_______

Colors of the Moon Art Process

To prepare this easy-to-do art activity, cut circles about 7 ½ inches in diameter from gray cardstock.

Next, set up a station for each child participating with a

  • cardstock paper circle
  • small bowl of salt and a teaspoon
  • container of white glue and glue paddle
  • disposable plate

_______

Invite little learners to drizzle white glue on their circle-shaped paper in a random manner.

Then have them sprinkle salt from a teaspoon over the glue, and shake excess salt onto their disposable plate.

Let the colorful art projects dry overnight.

To help preserve the moon art, spray each salted circle with adhesive spray. Hairspray works fine for this task too.

When thoroughly dry, adhere each salt and glue moon to a 9-inch x 12-inch sheet of black cardstock or construction paper background using a hot glue gun.

Display the striking moons on a bulletin board or wall. They will look amazing together!

_______

Different Moon Colors Explained

Red Moon

When the sun illuminates the whole moon in a lunar eclipse, it can appear red.

This moon is commonly called a “blood moon.”

_______

Yellow or Orange Moon

A yellow or orange moon is called a Harvest Moon since it is usually seen in late summer or early fall during harvest time. The moon can appear orange or yellow when it is close to the horizon.

_______

_______

Pink Moon

The pink moon is the first full moon in April, and it only occasionally looks pink.

_______

Purple Moon

Although it doesn’t look purple the second full moon in April is called a purple moon. It has been photographed as purple in Marcella Pace.

_______

Blue Moon

The moon rarely appears blue. When it does look blue, the hue is the result of a huge amount of dust or smoke in the air due to a volcanic eruption or forest fire.

_______

Green Moon

There have been no sightings of a green moon. But it is fun to reimagine the moon in a green hue using the salt and glue art technique.

_______

Turquoise Moon

Like a green moon, a turquoise moon won’t be spotted in the night sky. It is also fun to create in art.

_______

Moon Colors In Art

Depicting different colors of the moon is popular in digital art and photos, and there are many beautiful moon artworks available. Why not join in the fun and create colorful moon art using the salt and glue technique?

_______

Related:

Scented Moon Playdough

Starry Sky Sensory Bin

Space Father’s Day Craft

Space Restaurant Dramatic Play

Watercolor Planets With Markers

Outer Space Pretend Play

Earth Day Heart Art

Earth Day Craft

Space Loose Parts Play

Space Theme Light Table

_______

[Read more…] about Moon Colors Art Project

Filed Under: art, display, preschool, science, space Tagged With: colors, moon

Baby Chick Theme Activities

April 18, 2024 by Annette Kaminsky Leave a Comment

_______

These baby chick theme activities are inspired by Mo Willem’s picture book titled “That Is Not A Good Idea.” The activities include two storybooks about chicks, a chick headband craft, chick songs and chants, a hen and chick coloring page, discussing the life stages of a chicken, and performing “The Chicken Dance.” A free downloadable chick headband template is included in the post.

Picture Books About Hens and Chicks

Two picture books perfect for a baby chick theme day are:

  1. “The Cow That Laid An Egg” by Andy Cutbill. In the humorous story, chickens hatch a plan to help a cow that thinks she is ordinary feel extraordinary. A little chick hatched from an egg is part of the plan.
  2. “That Is Not A Good Idea” by Mo Willems. The characters in the picture book are a wolf, a hen, and a brood of chickens. The story is suspenseful and fun and has a delightful surprise ending.

Chick Headband Crafts

These simple chick headband crafts look super cute and help get little learners in the mood to act out baby chicks in rhymes, chants, and action songs. Pick one design to create with your little learners. Then invite them to wear it for music time and dramatic play.

_______

Children welcome the opportunity to use specialized art supplies in a craft. Wiggly eyes and a feather tuft accent this first chick headband.

_______

To keep the craft simpler, use construction paper for the entire headband. The colorful paper headband looks equally sweet.

To make craft preparation super easy, download this free chick headband template to use for the craft.

_______

Chick Headband PrintableDownload

This printable is for individual or one classroom use only.

_______

Don’t have construction paper in the colors needed? No problem. Download the template and invite participants to use crayons to color the pieces before assembling them into a chick headband.

Songs And Chants About Baby Chicks

Wearing a chick headband sets the mood for language arts and musical activities. The fun baby chick songs and chants featured in a blog post by Teaching Mama are perfect for the theme.

Chick Coloring Page

A simple hen and chick coloring page is a good calming activity. There are many options to choose from online.

Life Cycle of a Chicken Figurines

Hen and chick life cycle figurines by Safari Ltd. are great accessories to use to explain the life cycle of a chicken.

The Chicken Dance Song

A fitting ending for the baby chick theme day is dancing to a version of The Chicken Dance song. It’s bound to send everyone off in good spirits.

These baby chick theme activities are perfect for an Easter, spring, or farm animal theme.

_______

_______

[Read more…] about Baby Chick Theme Activities

Filed Under: art, book theme, crafts, dramatic play, farm animals, preschool, pretend play, science, spring, themes Tagged With: chicks, dramatic play, music, paper crafts

  • « Go to Previous Page
  • Page 1
  • Page 2
  • Page 3
  • Page 4
  • Interim pages omitted …
  • Page 17
  • Go to Next Page »

Primary Sidebar

Hi, I'm Annette Kaminsky. I am a preschool teacher who loves to share easy and fun early learning activities. Thanks for visiting my blog. Feel free to stay awhile!

Subscribe Via Email

Recent Posts

  • Salt Painting Planet Art May 3, 2025
  • Spring Bunny Sensory Bin April 19, 2025
  • Tin Foil Egg Printing April 17, 2025
  • Lentil Easter Bunny Sensory Bin April 15, 2025
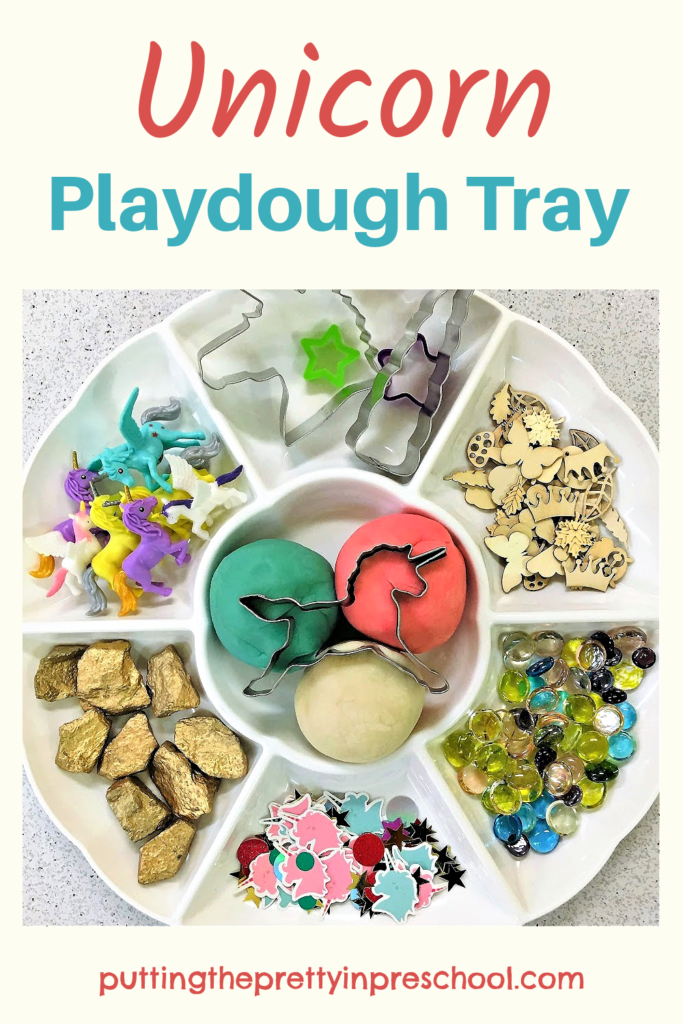
  • Unicorn Store Dramatic Play Center March 25, 2025
  • Easter Store Dramatic Play Center March 23, 2025
  • Origami Heart Wreath February 28, 2025
  • Black History Month Mixed Media Art February 26, 2025
  • Pink Shirt Day Necklace Craft February 20, 2025
  • Origami Heart Valentines February 9, 2025

Categories

Topics

block play bunnies butterflies Chinese New Year Christmas Christmas craft color colors dramatic play Easter flowers hearts holiday jewelry leaves leprechauns light table loose parts painting paper crafts playdough pretend play printables printmaking process art pumpkins rice bin scented playdough science experiment scissor skills sensory bin sensory play sensory tray shamrocks skeletons snakes snowflakes spiders spring St. Patrick's Day sunflowers tablescapes trees Valentine's Day water play

Copyright © 2025 · Lifestyle Pro on Genesis Framework · WordPress · Log in