_______
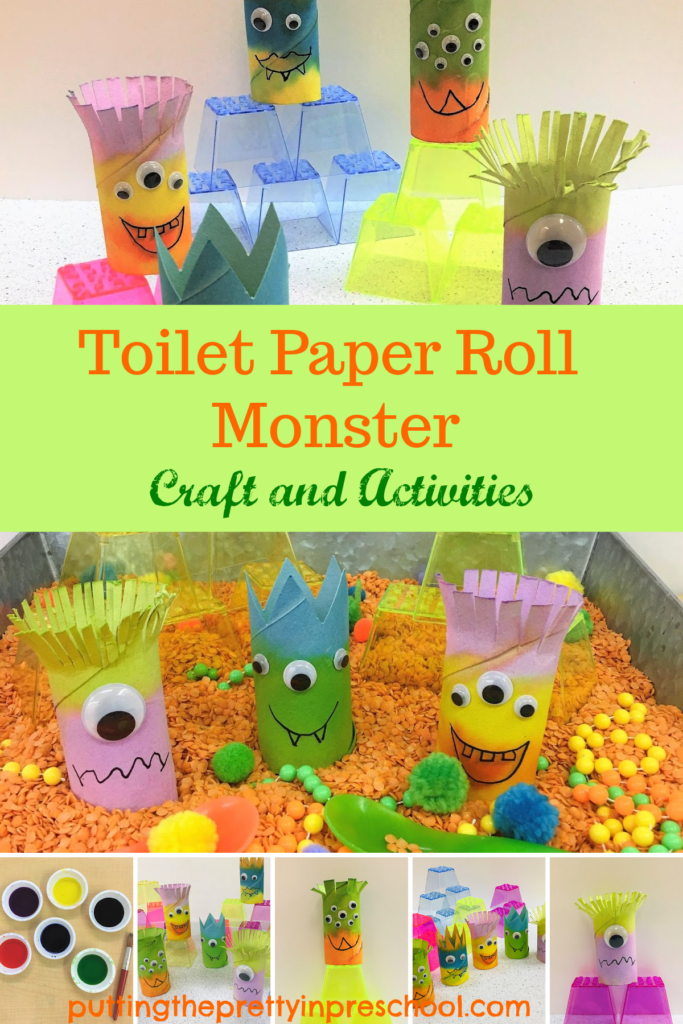
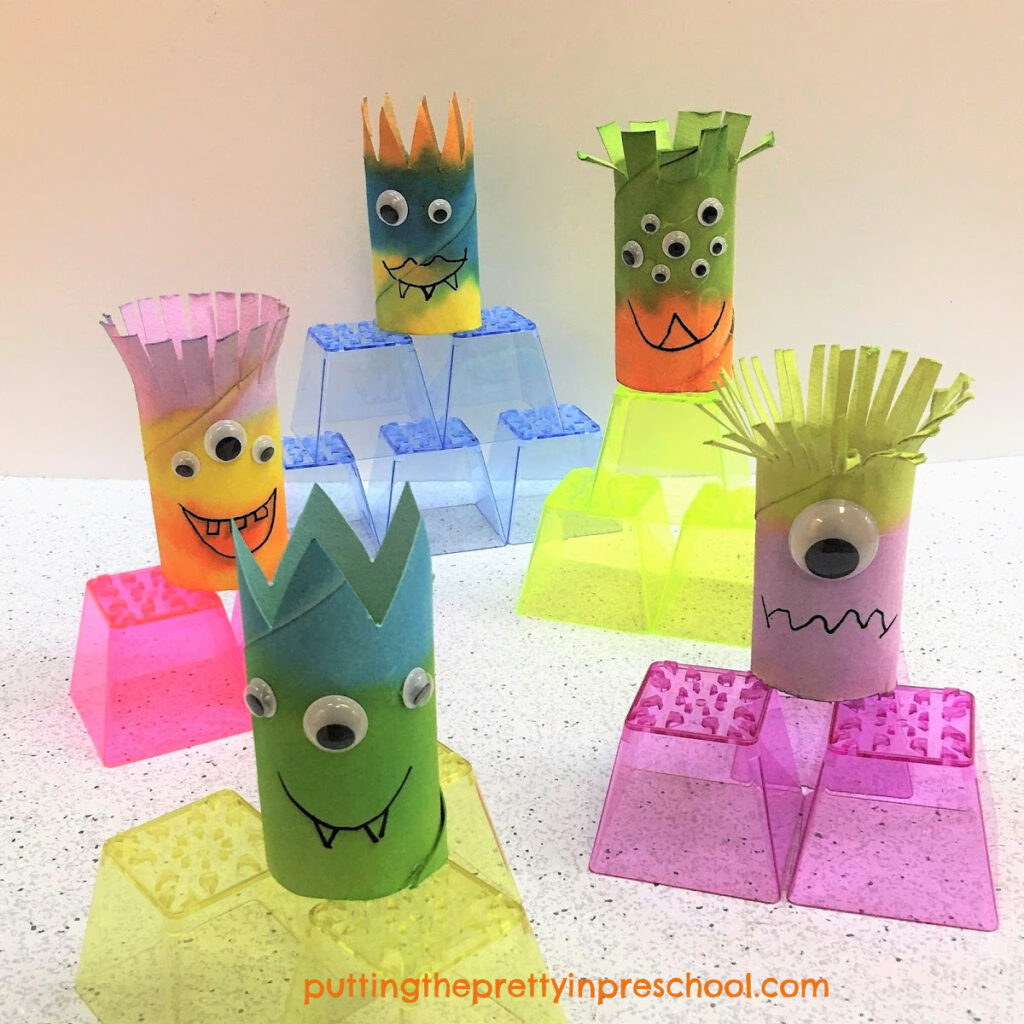
For most of the year, there has been a plethora of recycled crafts and activities posted on blogs and social media, and toilet paper rolls have been a “hot” material for craft and sensory projects. Debuting in this post are spunky toilet paper roll monsters. They are so simple to make and can be used with toys or in sensory bins for imaginative play.
_______
Supplies To Collect
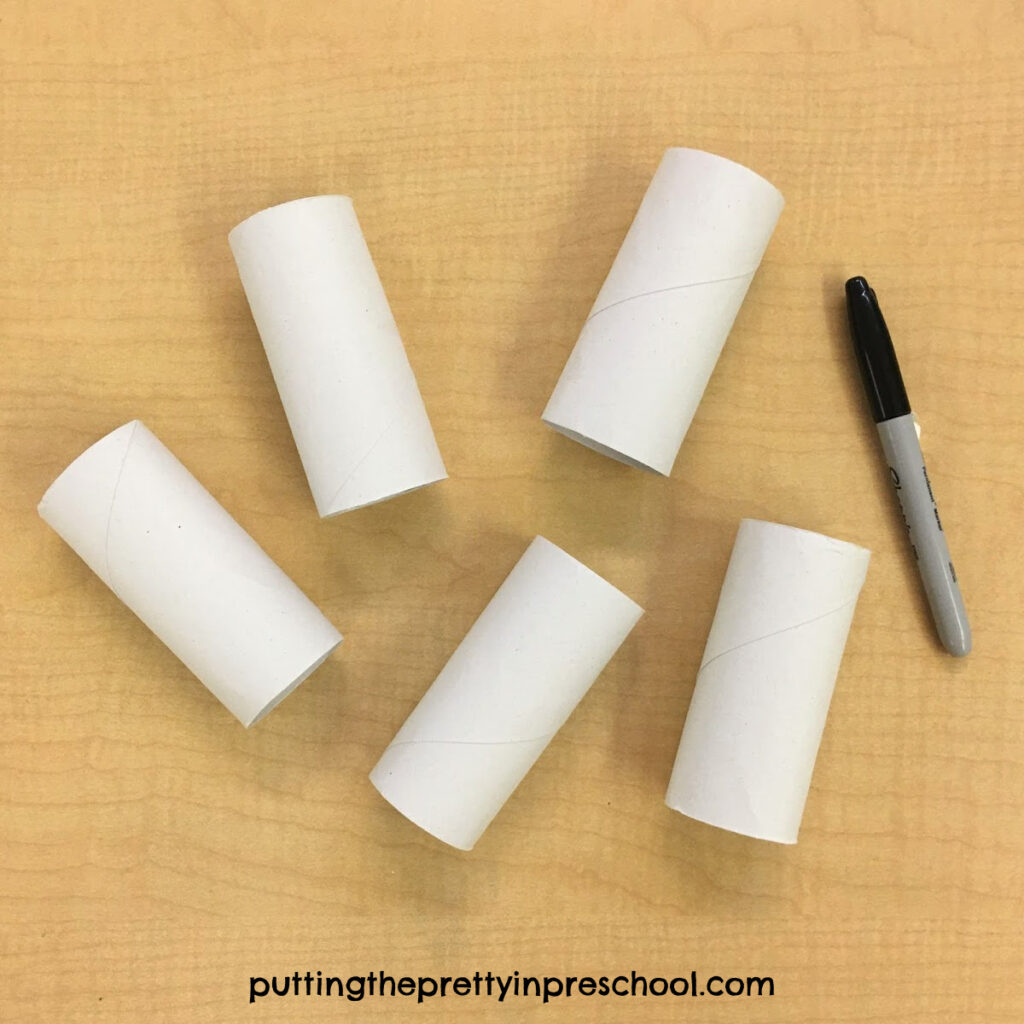
- toilet paper rolls
- black permanent felt pen
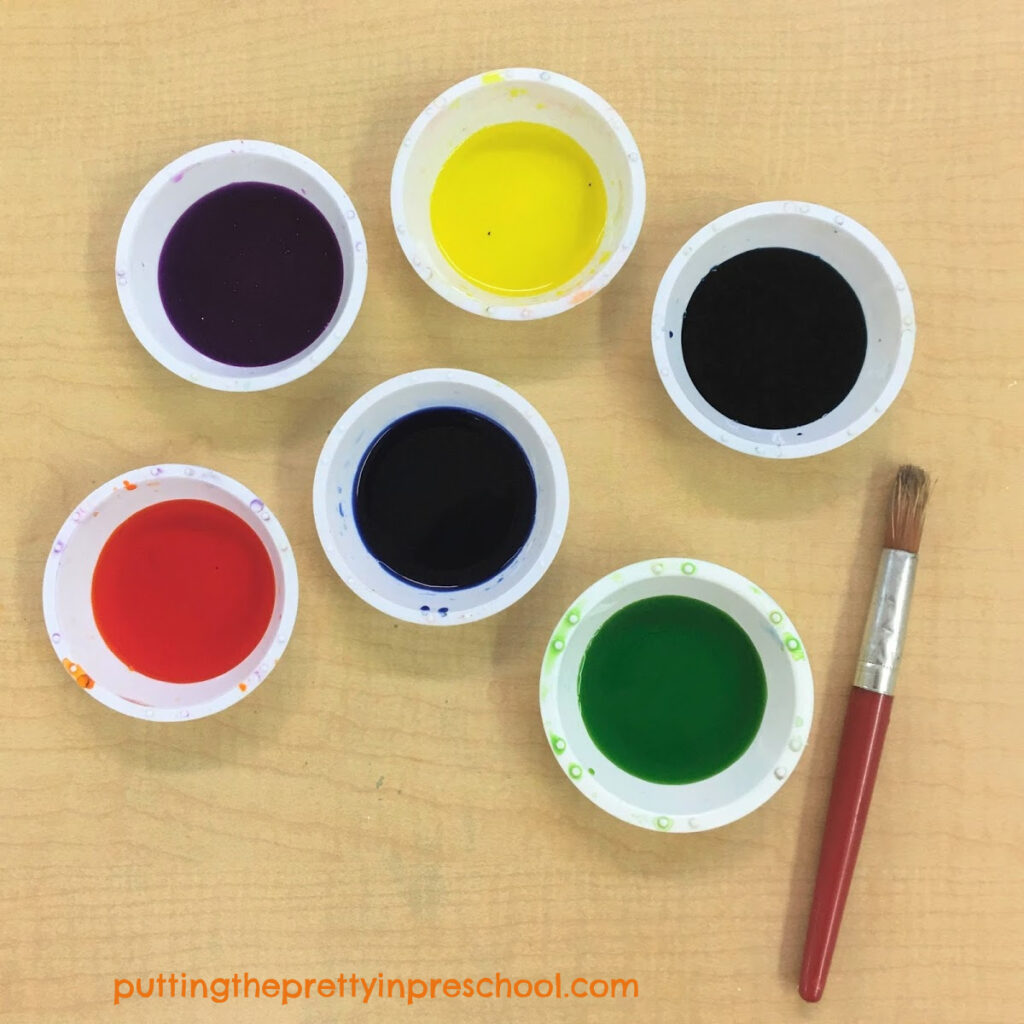
- liquid watercolors or food coloring
- paintbrush
- napkin or paper towel
- googly eyes in various sizes
- scissors
- glue stick
- hot glue gun
_______
Making The Toilet Paper Roll Monsters
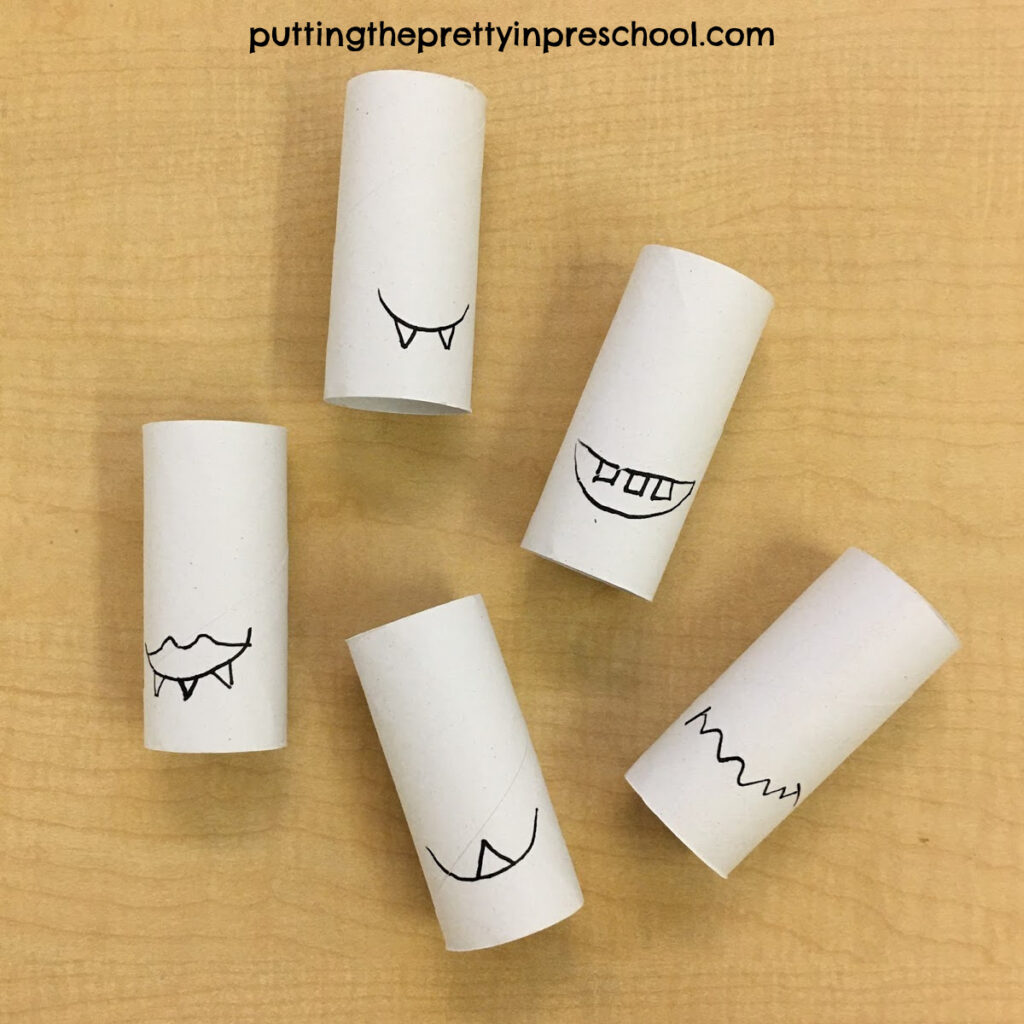
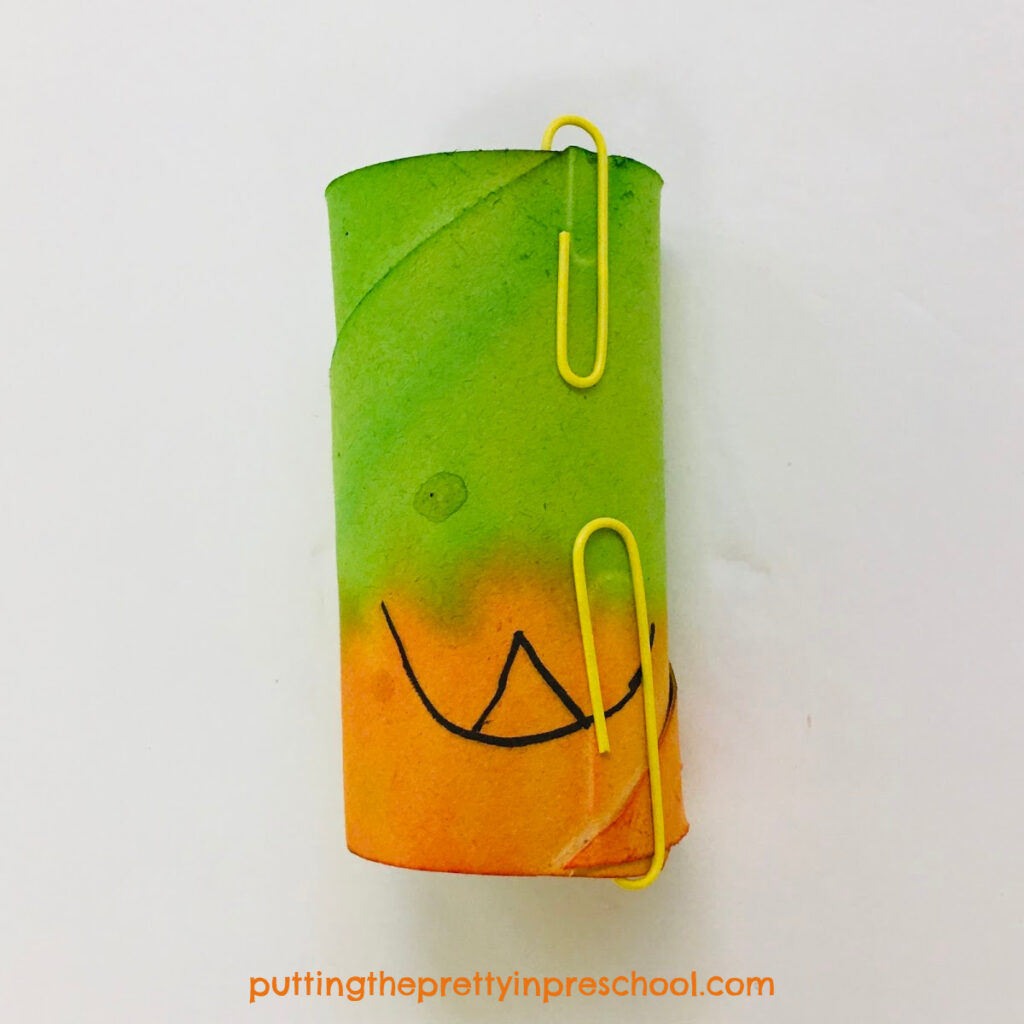
Invite your early learner to add a mouth and teeth to toilet paper rolls with a black permanent felt pen.
_______
_______
Set out watercolor paints along with a paintbrush and napkin.
_______
Encourage your little one to paint the cardboard rolls, dabbing the paintbrush on the napkin in between hues to remove excess water. The inside of the paper roll tops could be painted as well.
If a paper roll starts to come apart because of wetness, attach large paper clips to the loose parts. After the paint dries, use a glue gun to reassemble the tube.
_______
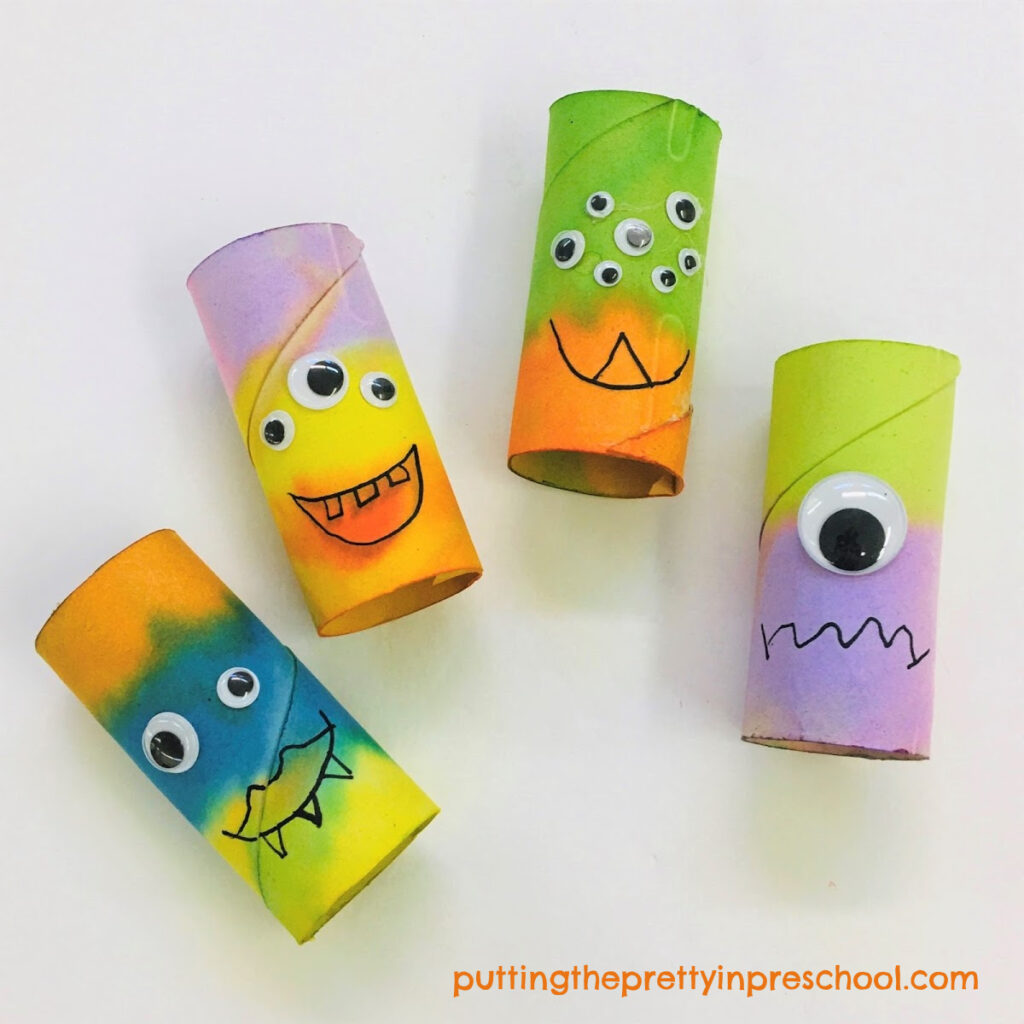
When the toilet paper rolls are dry, ask your little learner to add googly eyes. Adhesive wiggle eyes are the easiest to attach. A glue stick or glue gun can be used to add non-adhesive eyes.
_______
Eyes can be drawn on the monsters with the permanent felt pen if craft eyes aren’t available to use.
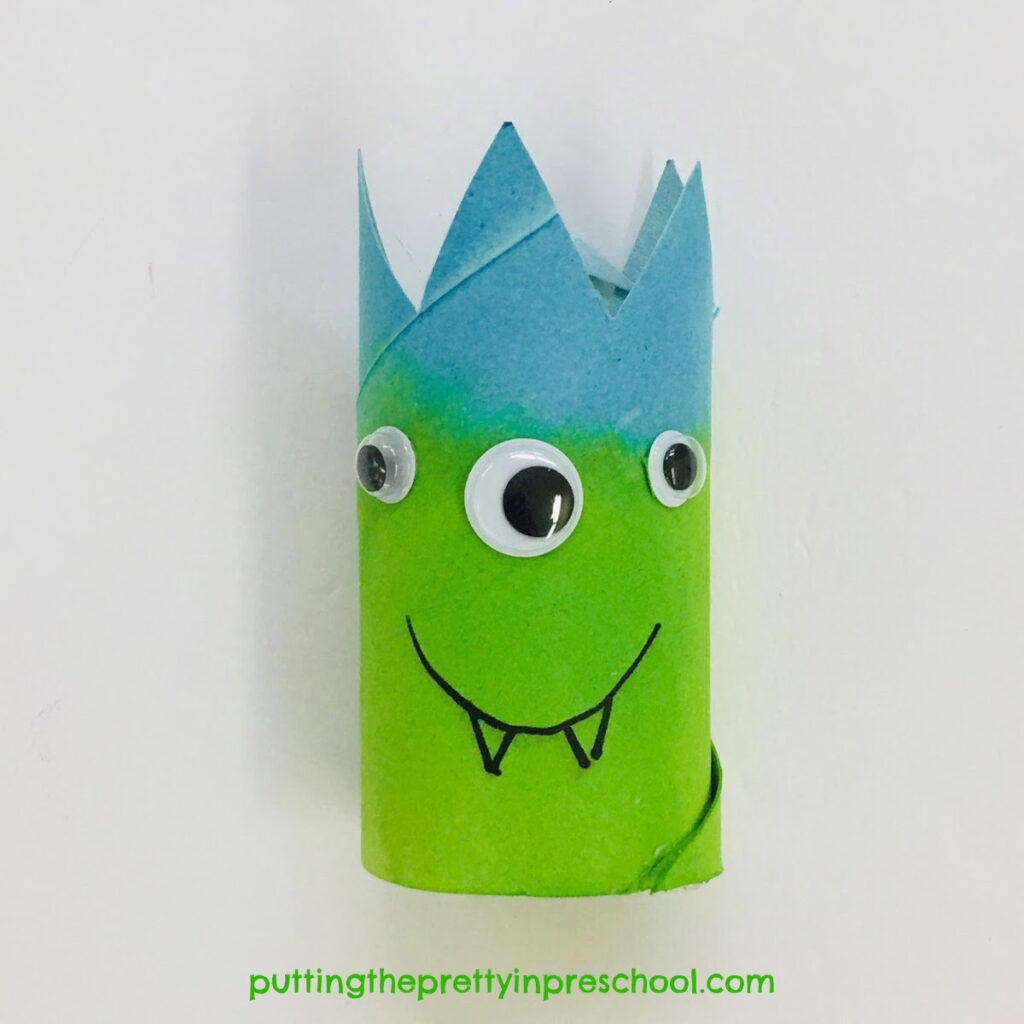
Offer your early learner scissors to snip and style the top part of the paper rolls into “monster hair.”
_______
Toilet Paper Roll Monster Imaginative Play
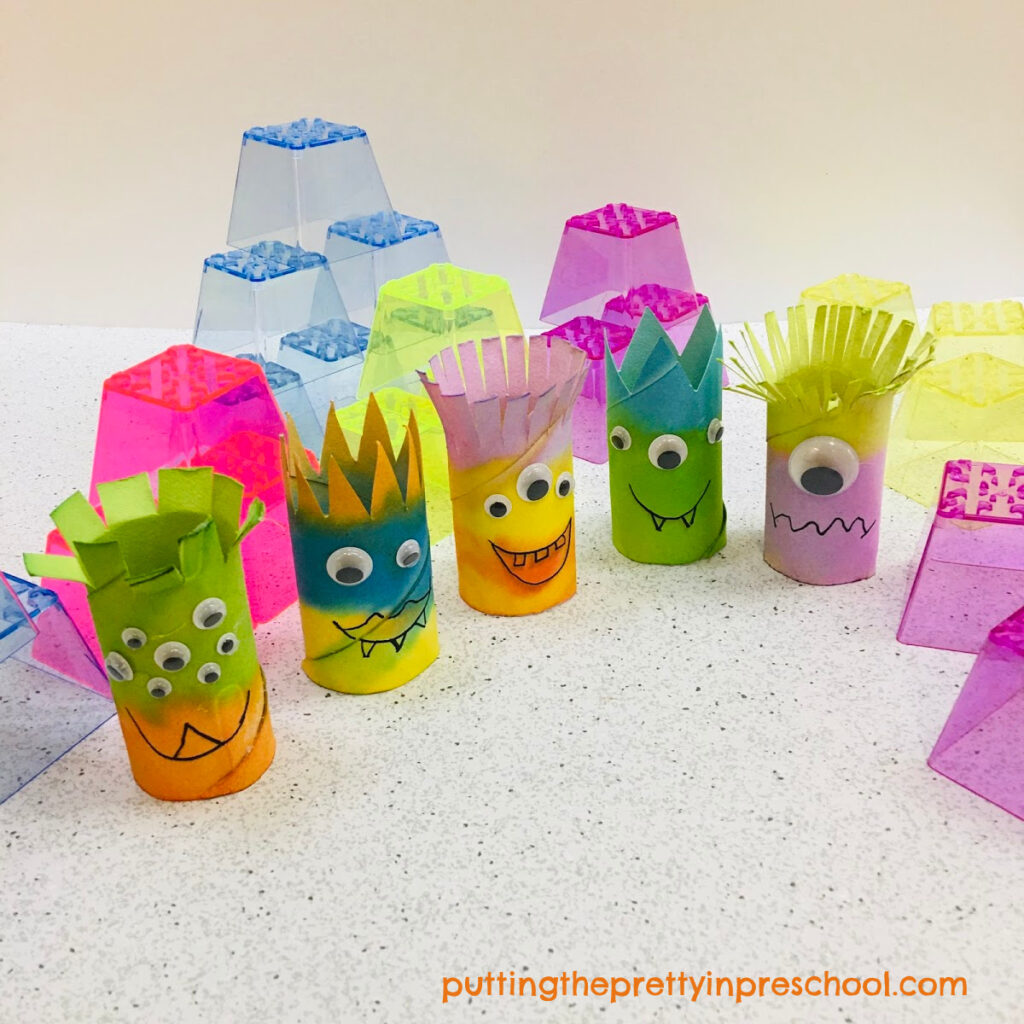
These peppy monsters can be set out with a construction toy such as stacking blocks for your little learner to use in imaginative play.
_______
The monsters are the highlight of this red split lentil-based sensory bin your early learner will love sifting through. Included are loose parts and stacking blocks that double up as scoops.

_______
Which of these toilet paper roll monsters is your favorite? Share in the comments section below.
_______
Related: Monster-Themed Snacks
_______
[Read more…] about Toilet Paper Roll Monsters