_______
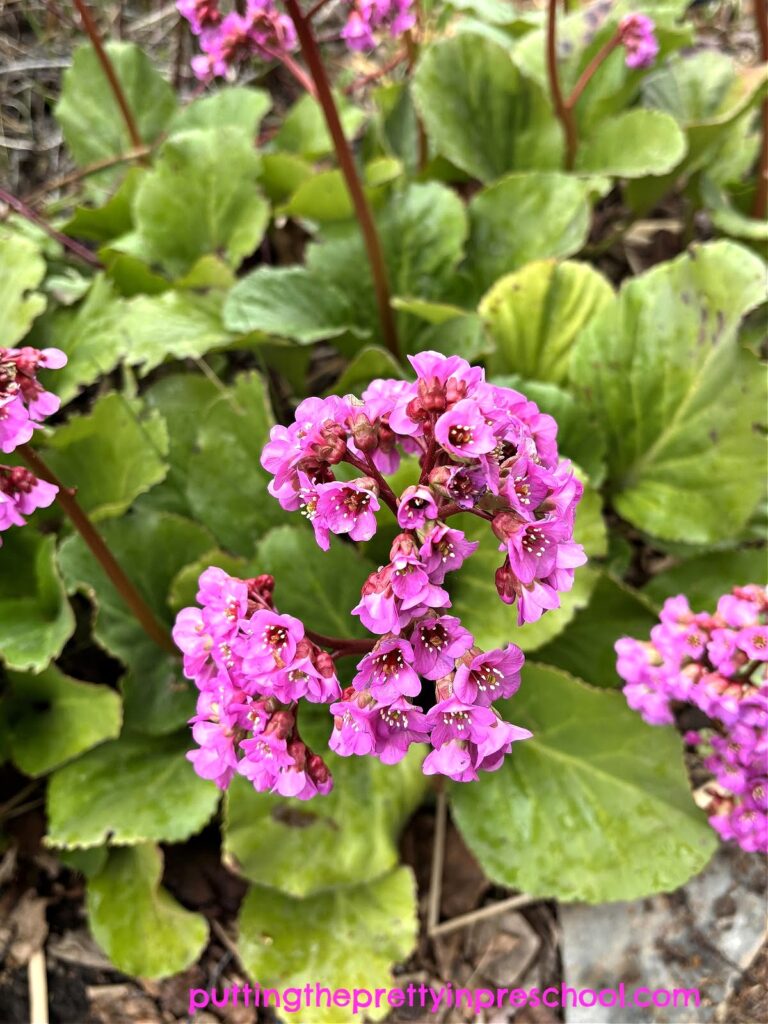
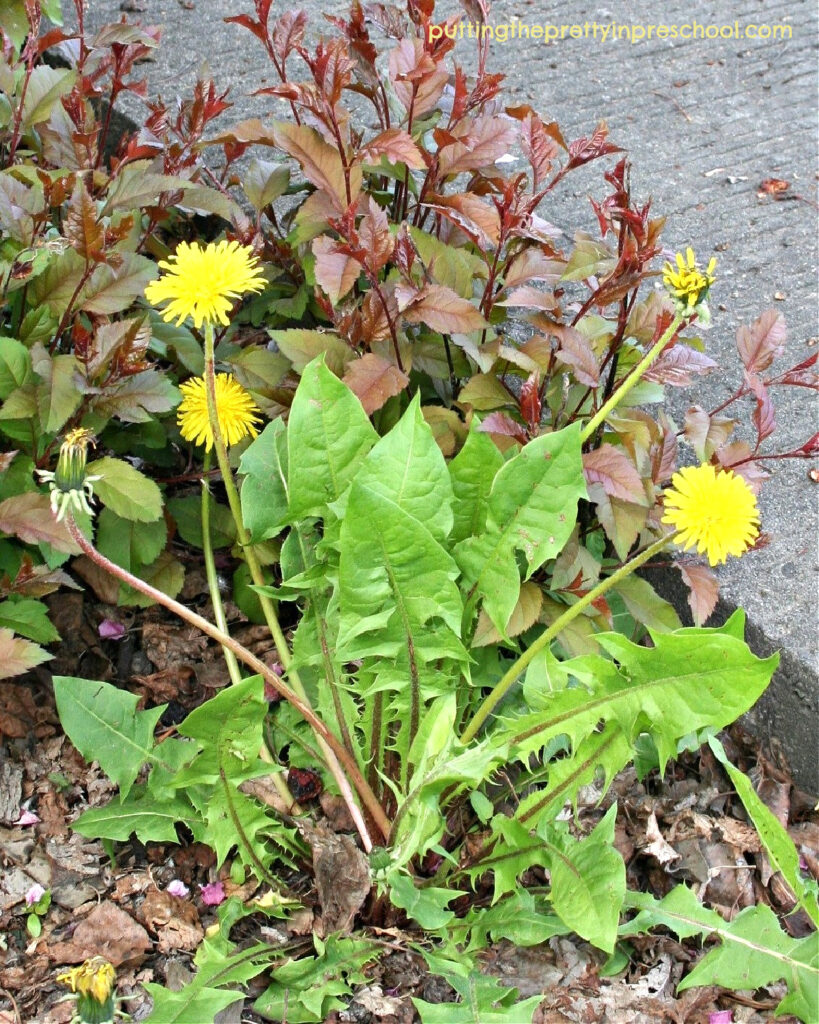
With their cheery, bright color and ability to grow profusely in many different places, dandelions are super noticeable during the spring, summer, and fall seasons. All parts of dandelions are safe for handling and are edible, so the weedy flower is suitable for many educational activities.
_______
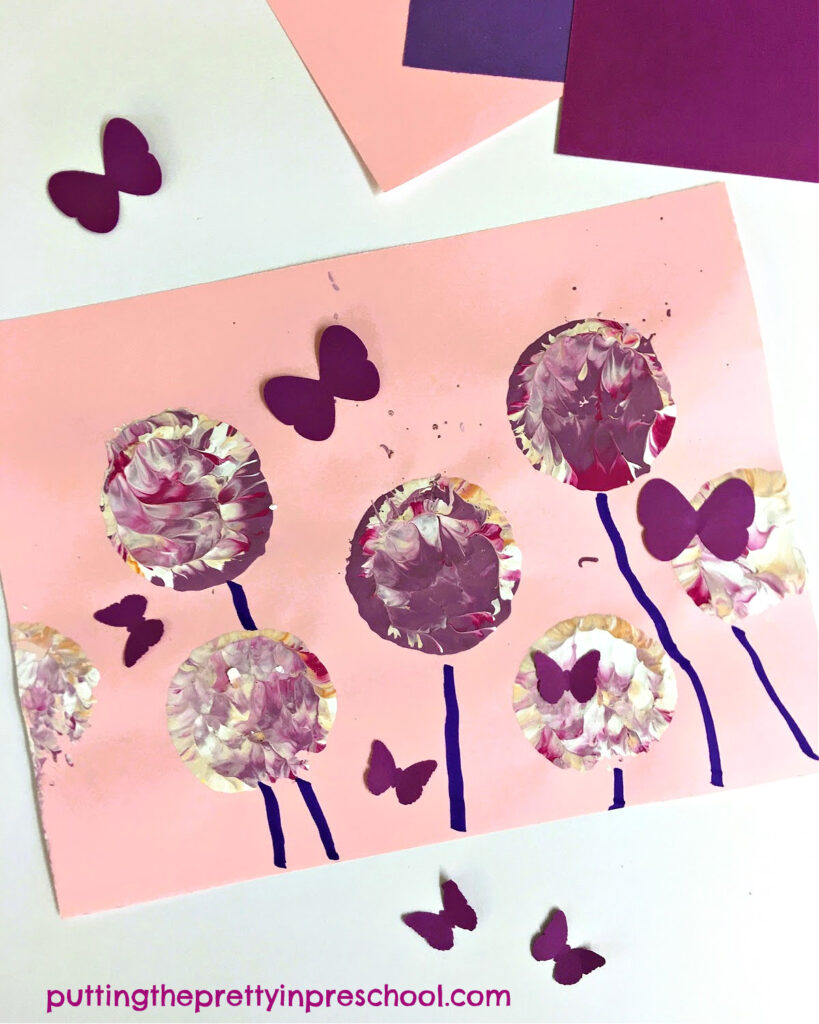
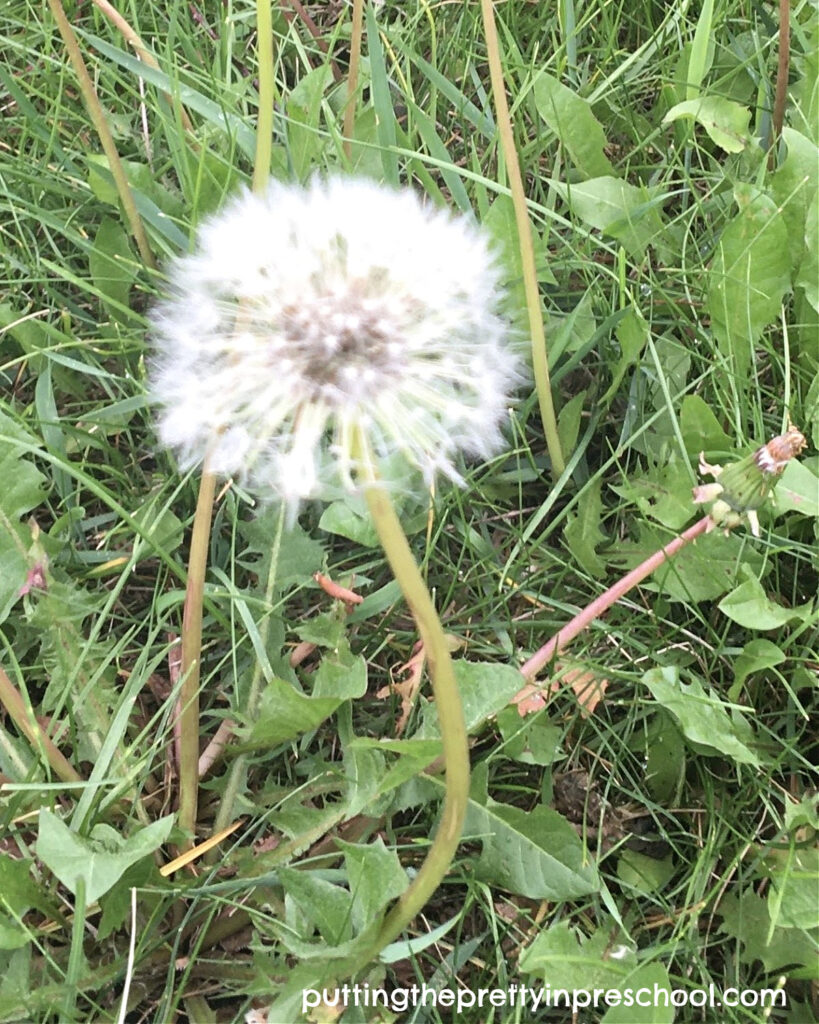
Young children delight in an early spring sighting of a field of dandelions, and the first thing they often excitedly do is make a bouquet of fluffy yellow flowers for their mom or teacher. After the petals fall off, a puffball forms on each plant, which children love to blow. This dandelion sensory tray allows early learners to explore the fast-growing, nutritious plant in another way.
_______
Supplies to Collect
_______
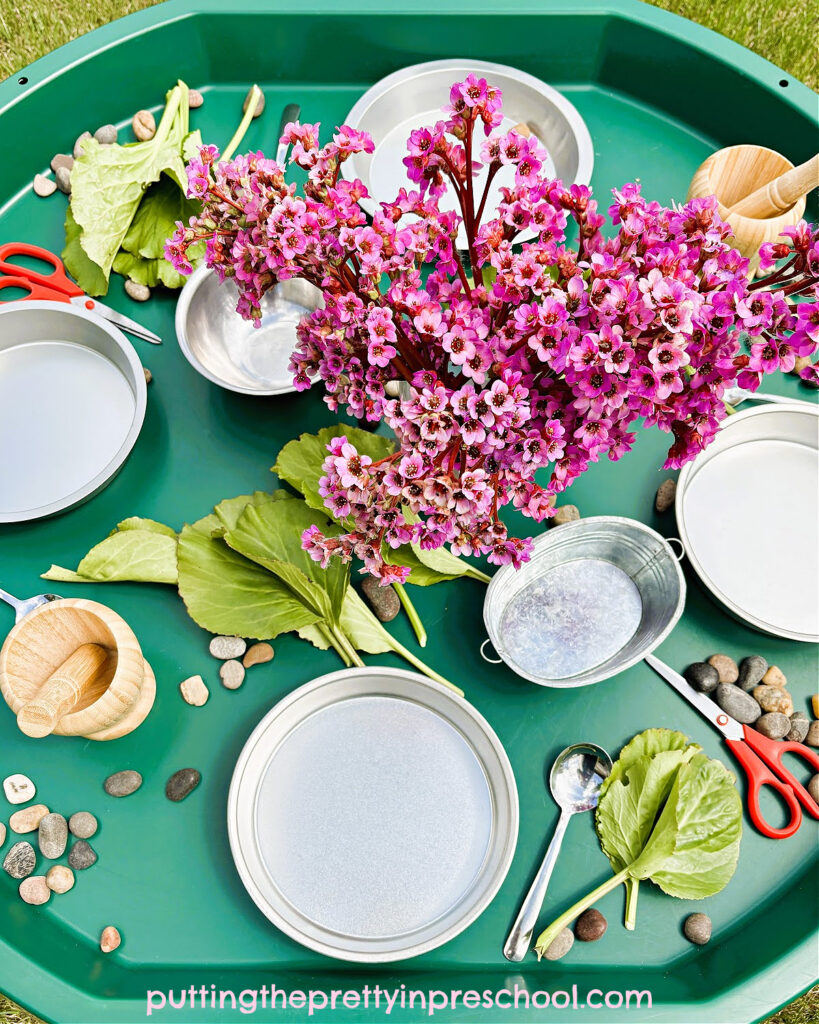
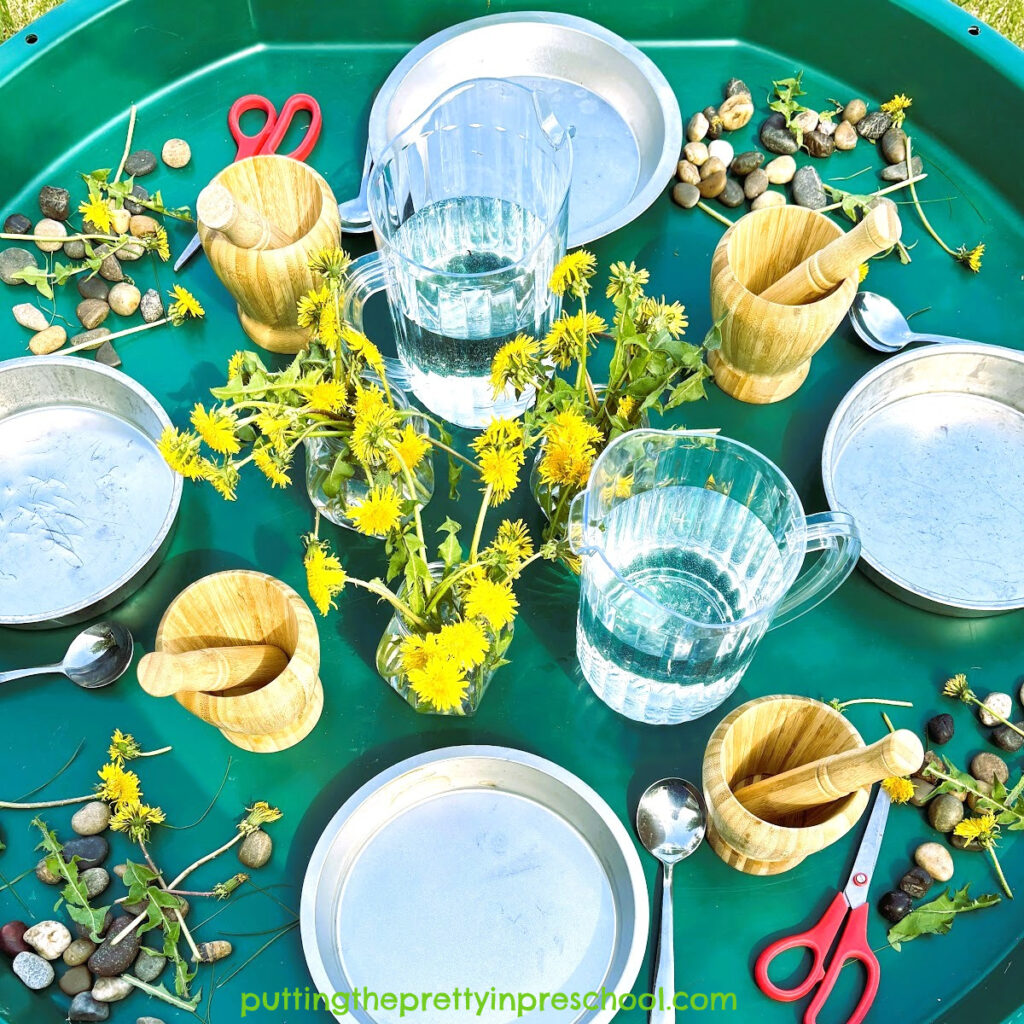
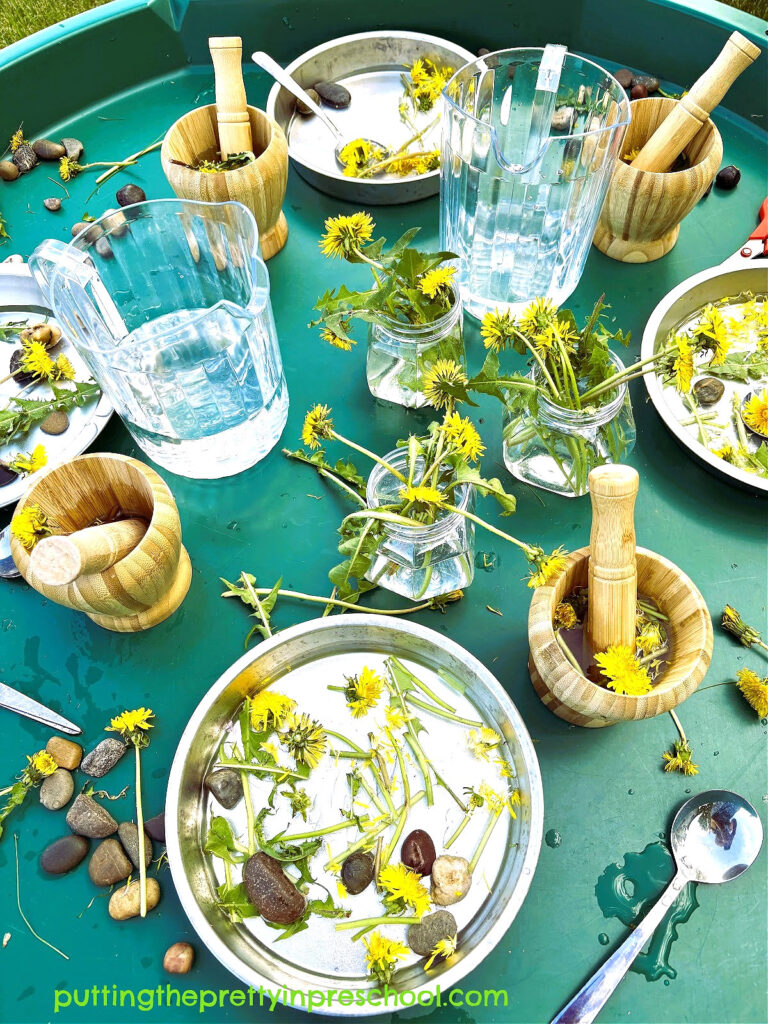
Since dandelions grow on lawns, in parks, and in many other environments, collecting them for a flower nature sensory tray is quick and easy. Gather a bunch of dandelion flowers and leaves from an area where no pesticides have been used. Include large plants if available. As shown in many of my other nature sensory bins, the following supplies make suitable accessories:
- non-breakable vases or storage jars
- pitchers with water
- mortar and pestle sets
- baking tins
- spoons
- scissors
- small rocks
_______
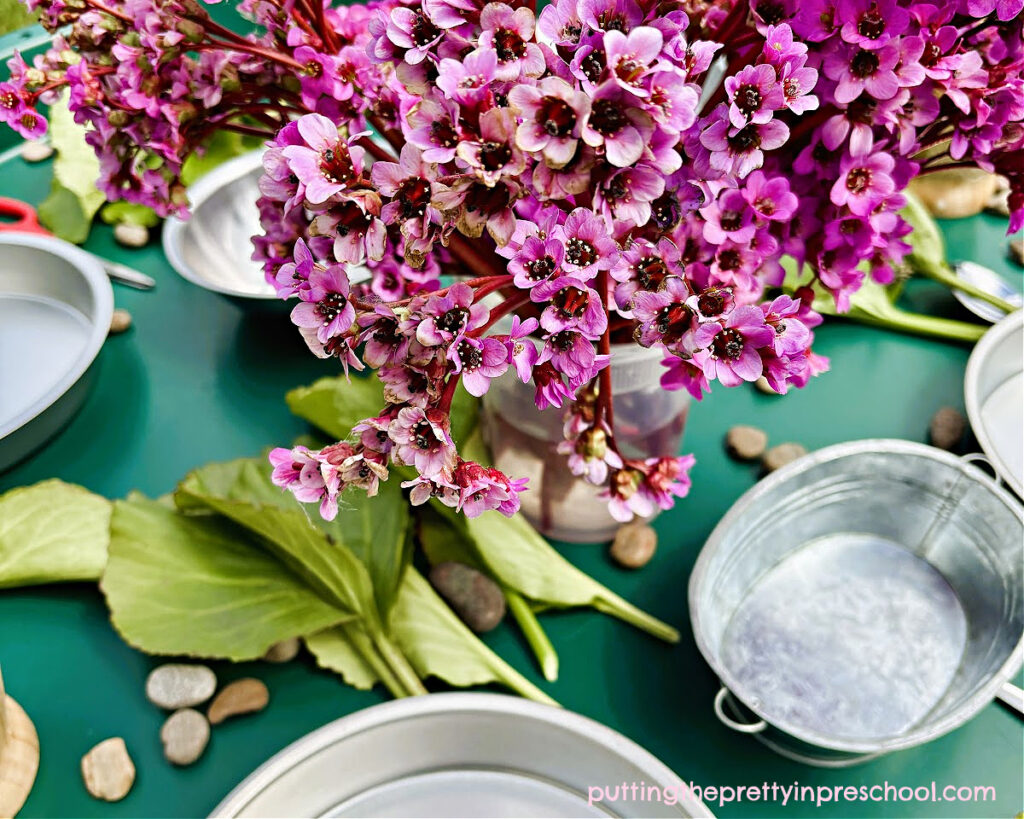
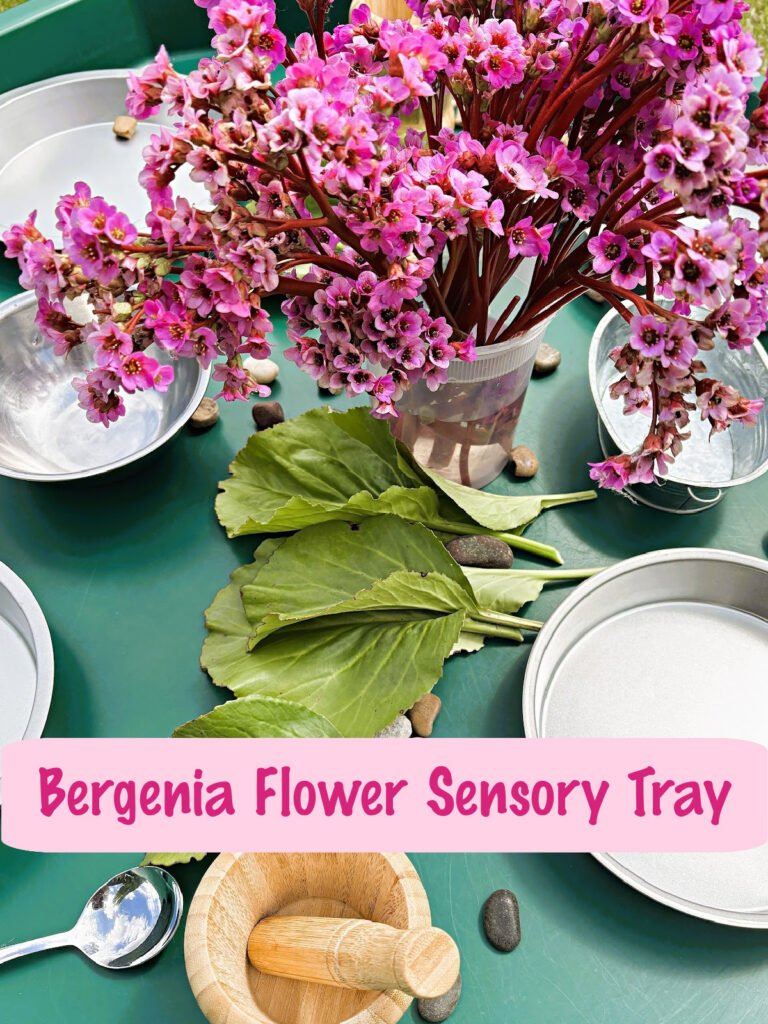
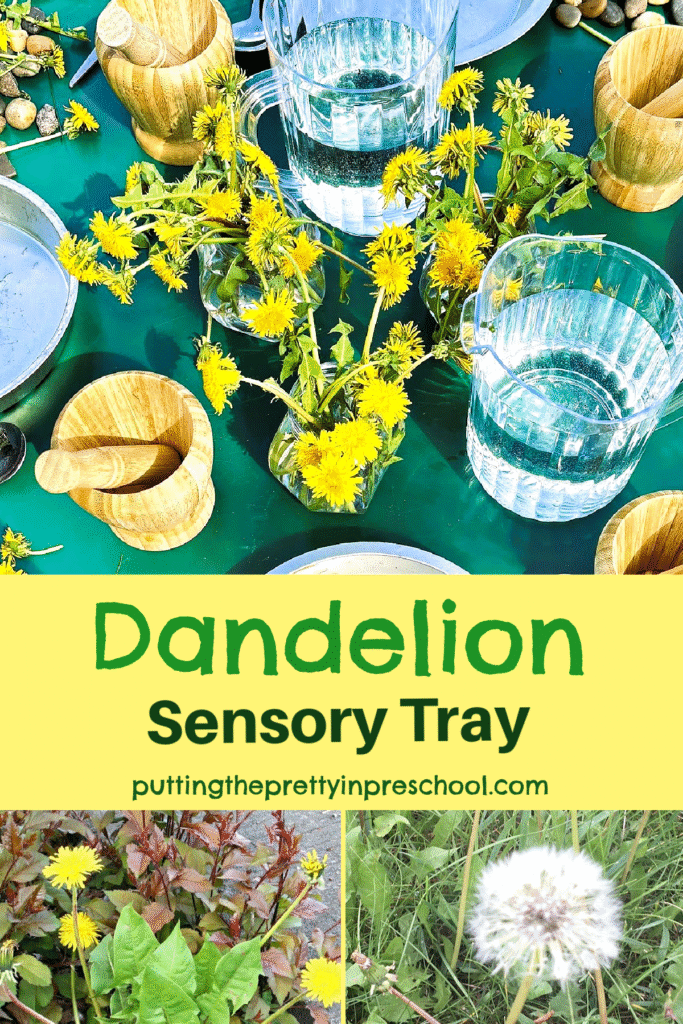
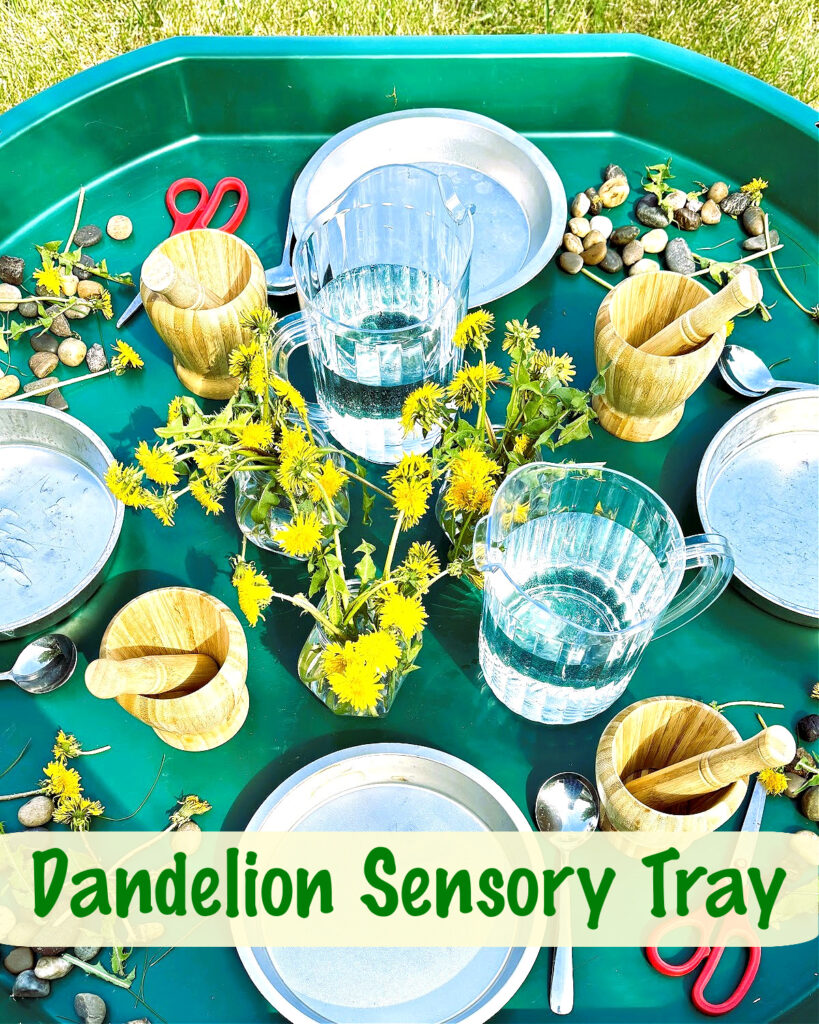
Preparing the Dandelion Sensory Tray
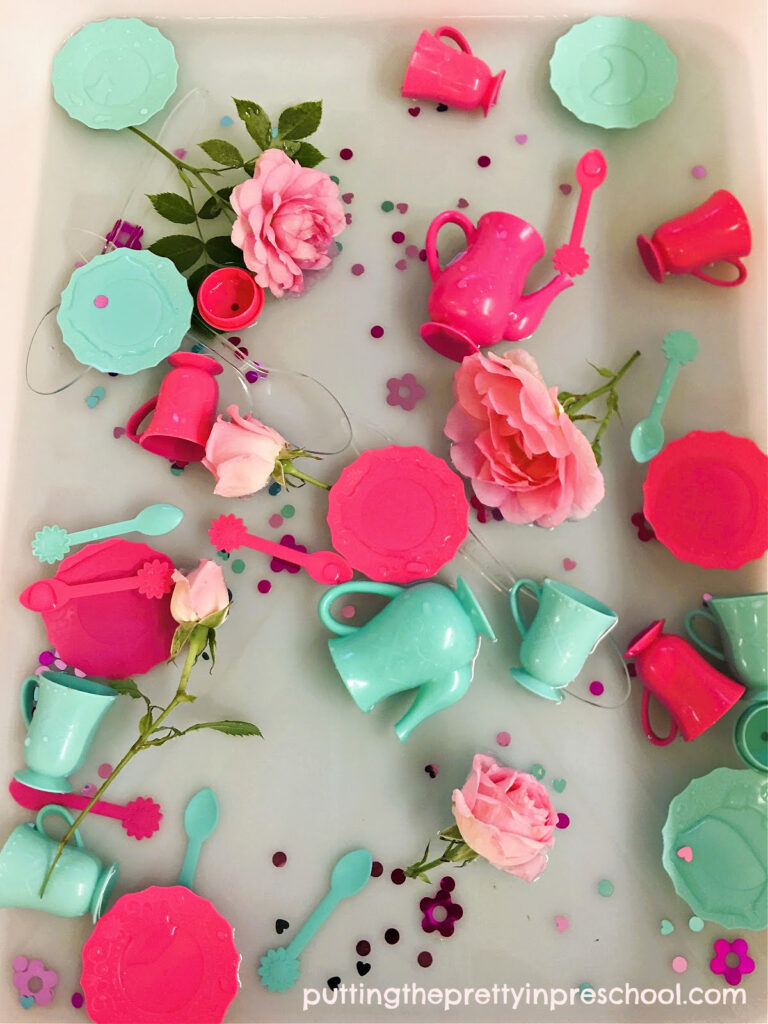
Sensory bins are often one of the most effortless play invitations to offer, and this dandelion sensory tray is no exception.
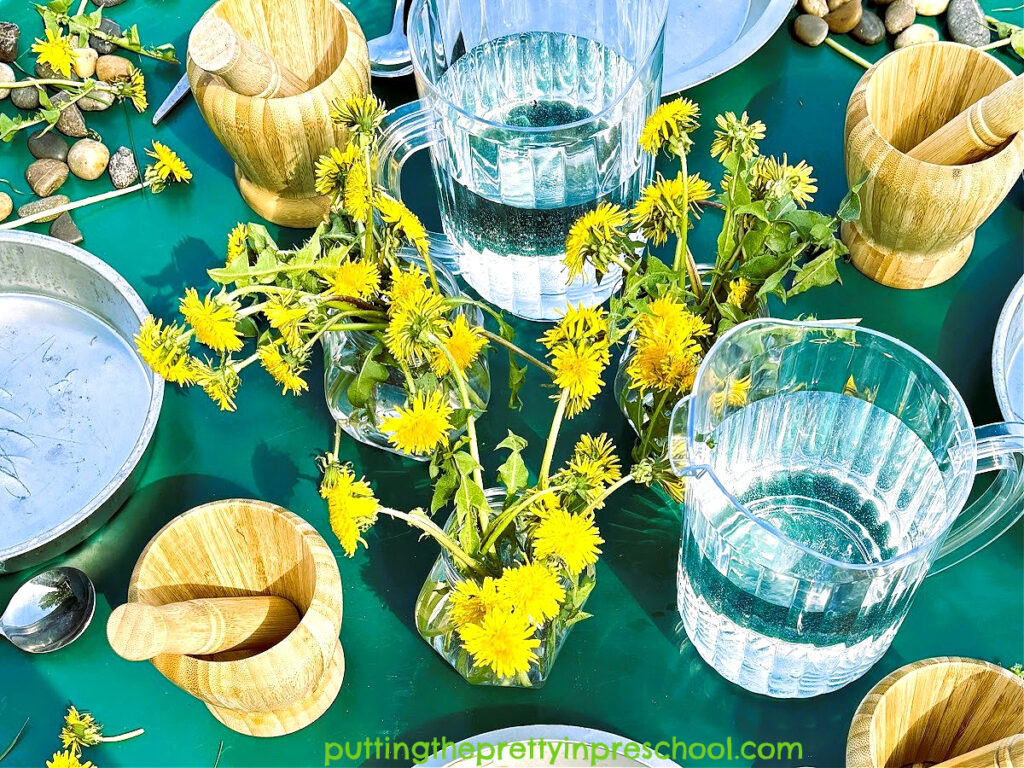
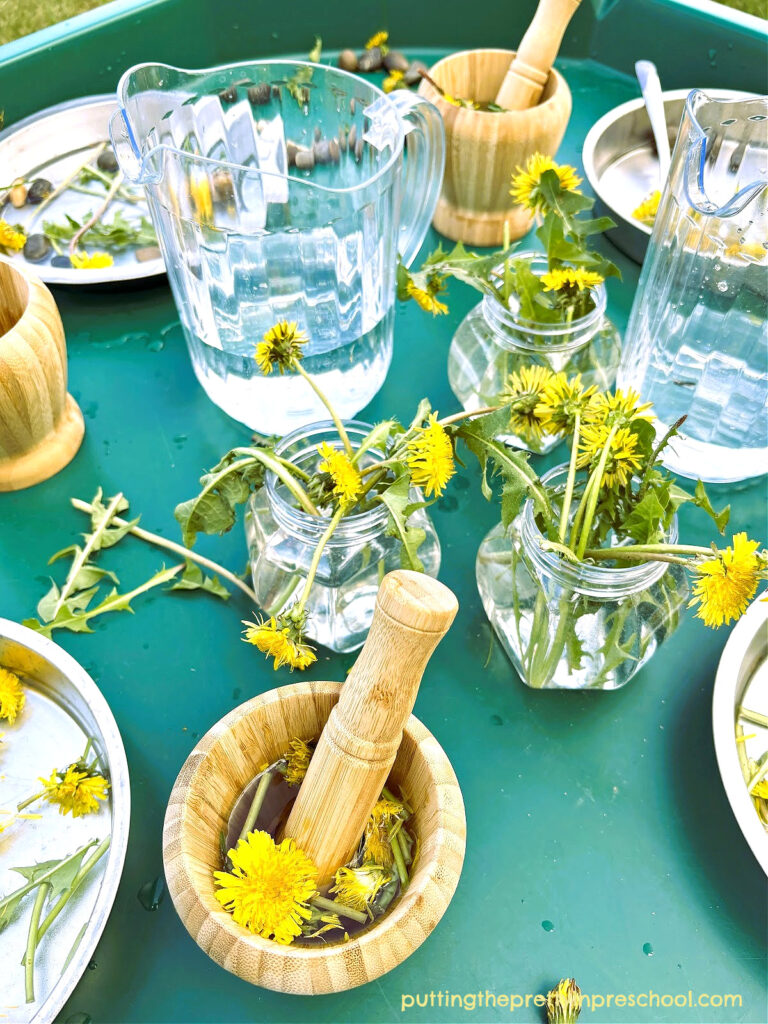
First, set dandelions in small non-breakable vases or storage jars with water added.
Note: Wash the dandelions first if you have children participating who may put them in their mouths.
_______
Next, add two or more pitchers filled with cool water.
Then arrange place settings with baking tins and spoons.
Add a few mortar and pestle sets, and two or more pairs of scissors.
Lastly, sprinkle small stones and more dandelions around the bin. The tray is now ready for participants to investigate.
_______
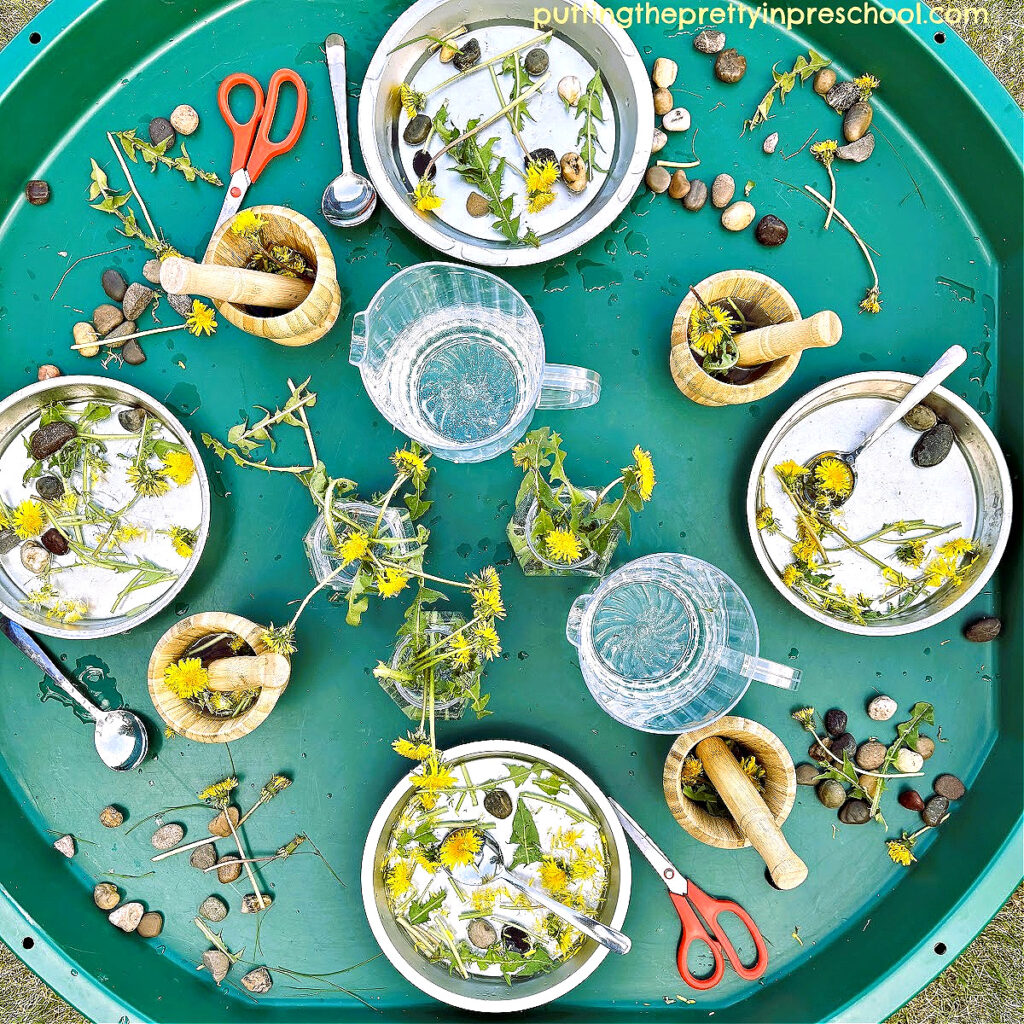
Exploring the Dandelion Sensory Tray
_______
Children welcome sensory experiences of any kind, and this dandelion play invitation is sure to delight. The flower-filled tray offers the following benefits:
Smelling fresh dandelions exercises the sense of smell.
_______
Hand and finger muscles are strengthened when children pluck and separate the flower petals.
Using a mortar and pestle to crush and grind dandelions improves eye-hand coordination and strengthens arm and shoulder muscles.
_______
Cutting dandelions into bits facilitates skill in using scissors.
Exploring the supplies in the bin and including water in the experience is a calming activity that helps children regulate their emotions and focus their attention.

_______
Follow me on Pinterest for more early learning ideas.
_______
More Nature-based Sensory Bins
_______
[Read more…] about Dandelion Sensory Tray