_______
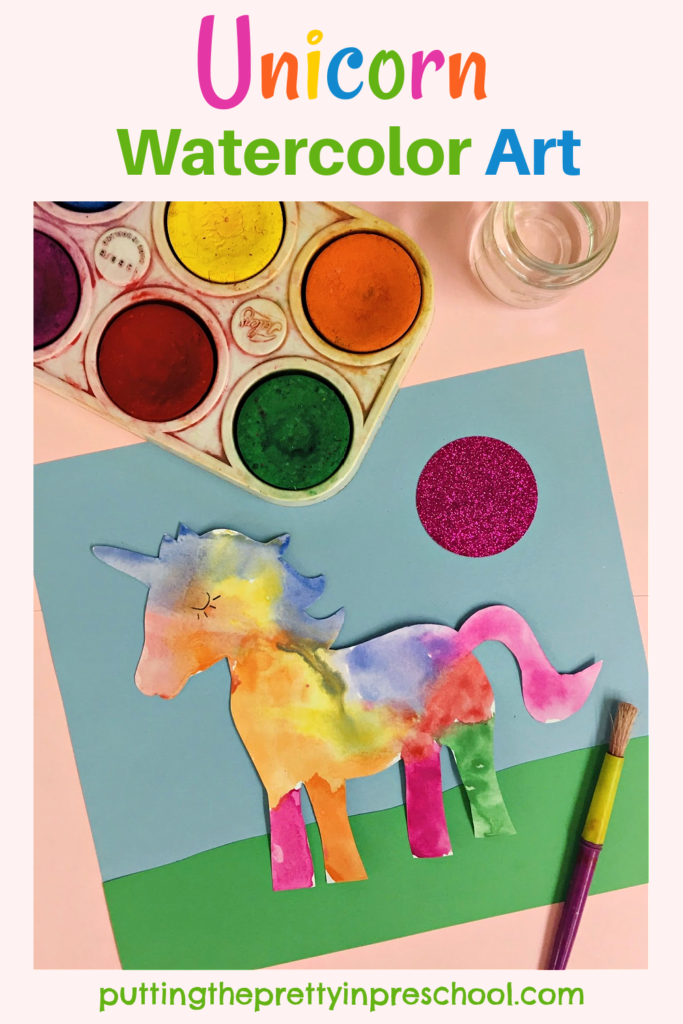
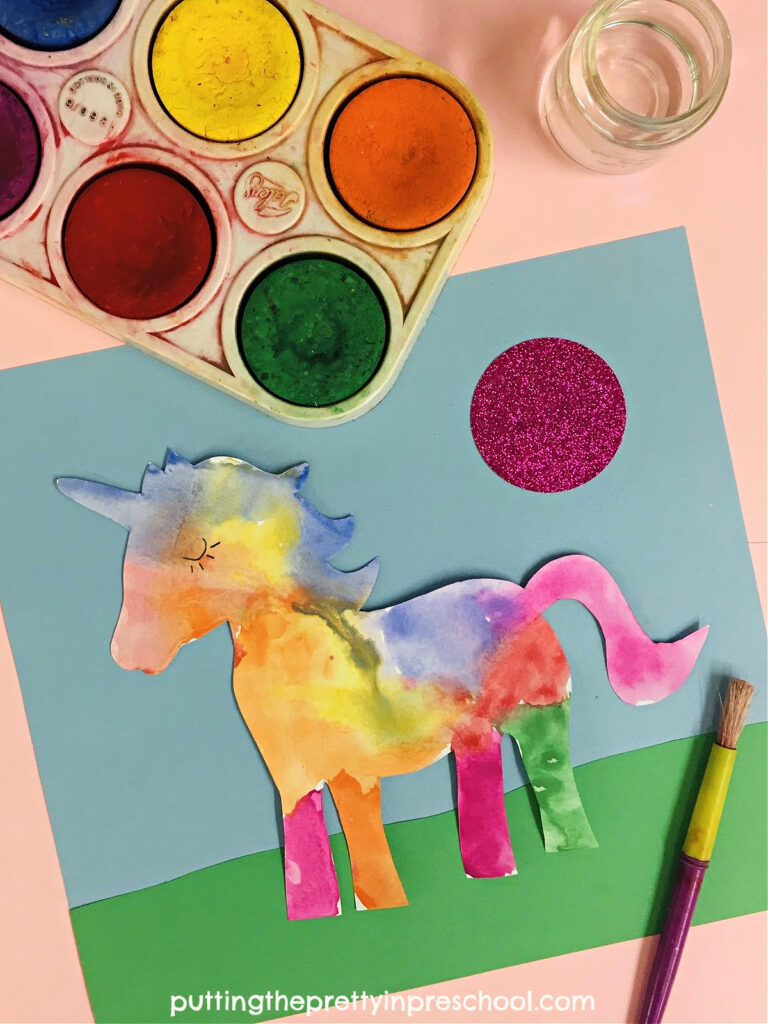
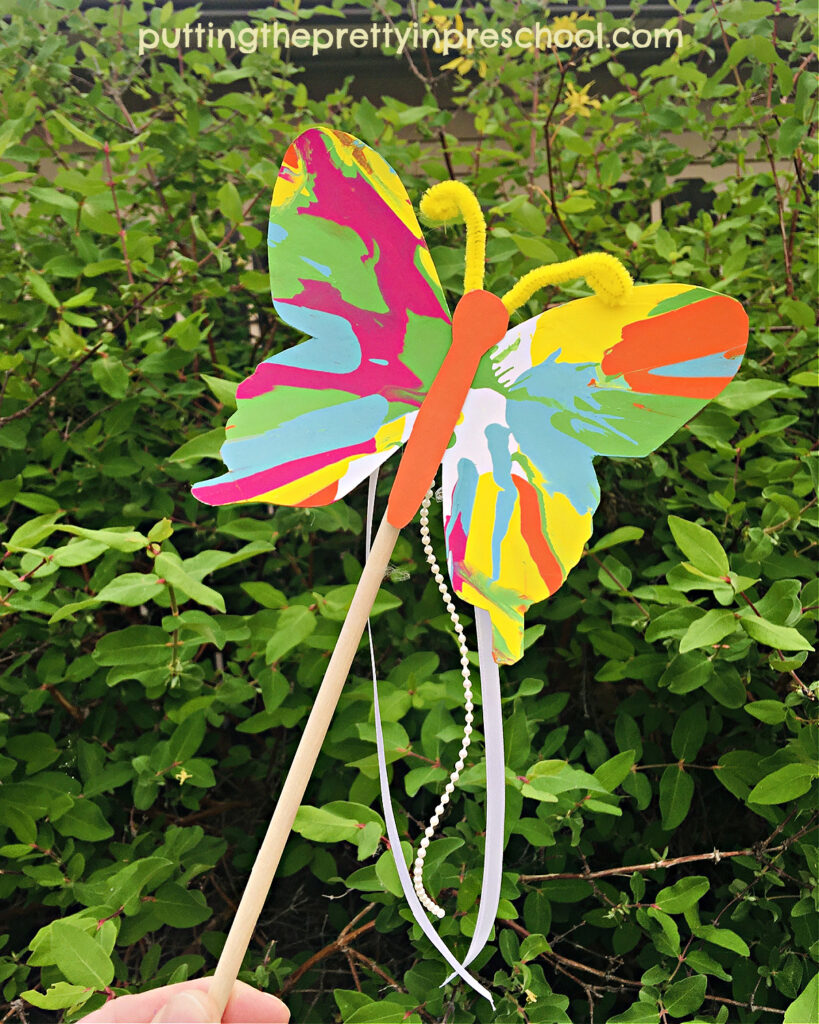
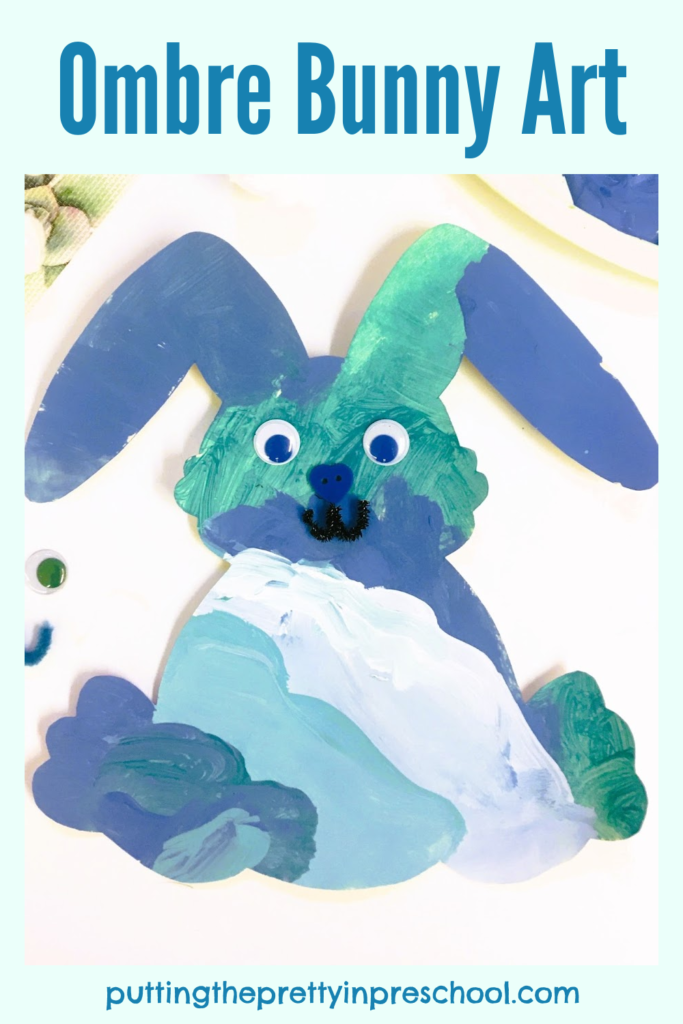
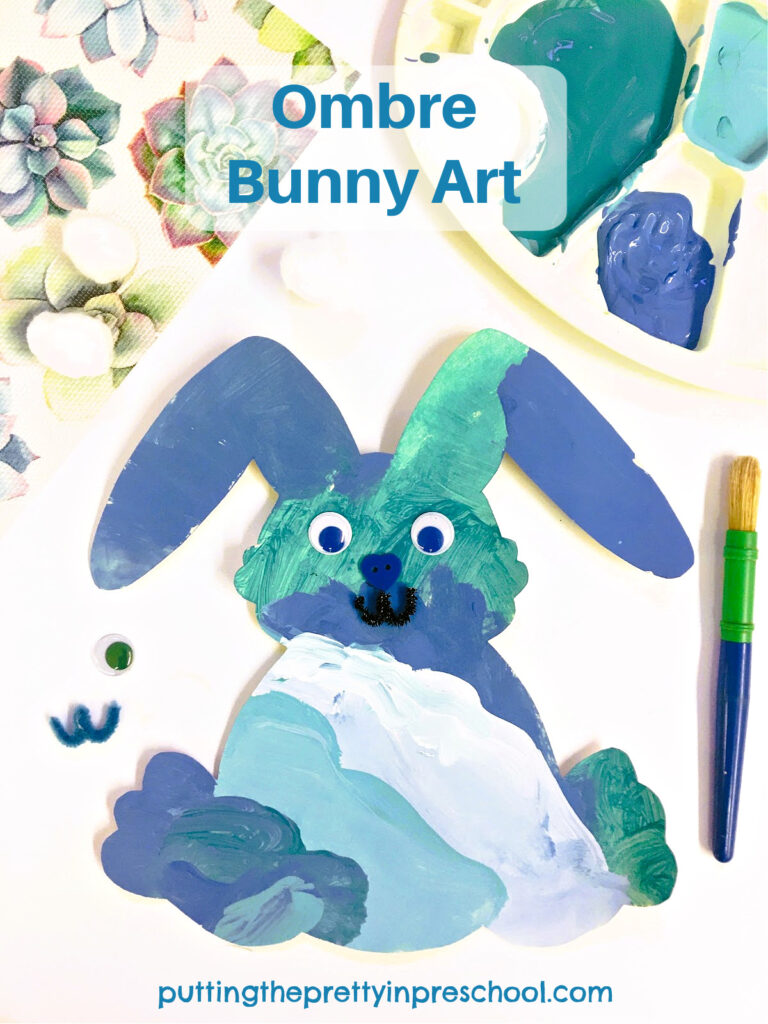
Tempera paint pucks are a great medium for decorating a unicorn template, as they have a whimsical watercolor look. They come in a variety of bright, vibrant hues, and an added bonus is that the paint dries quickly. In this unicorn watercolor art project, painted unicorns are included in a pretty paper craft scene.
_______
Follow me on Pinterest for more early learning ideas.
_______
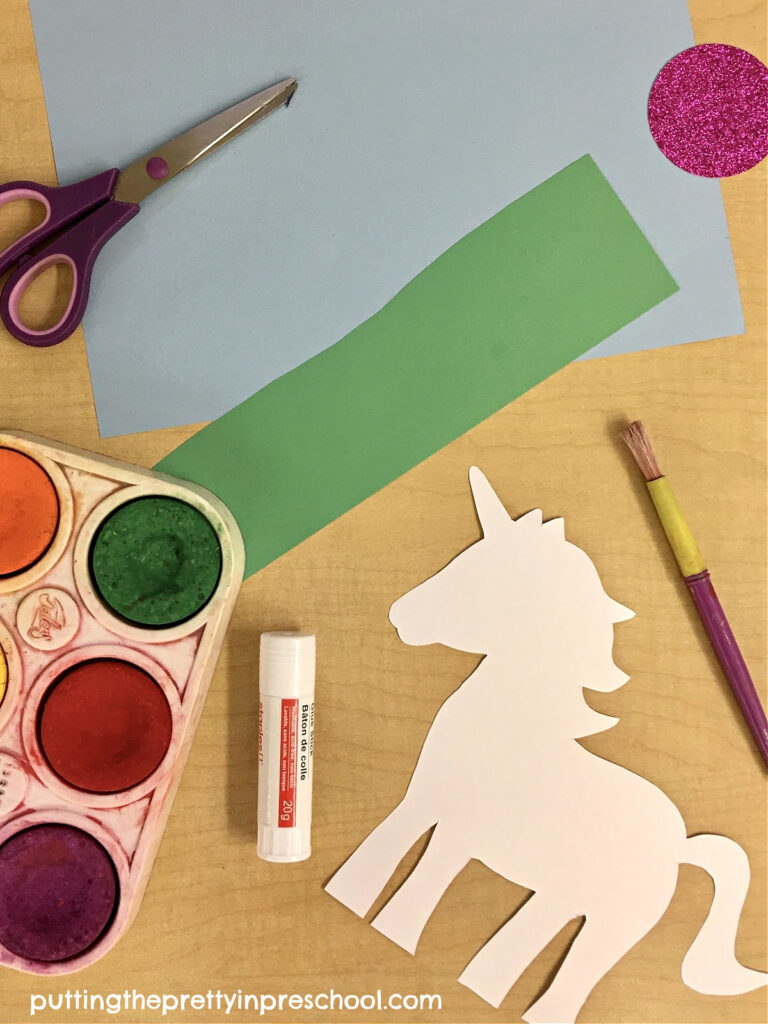
Supplies To Collect
_______
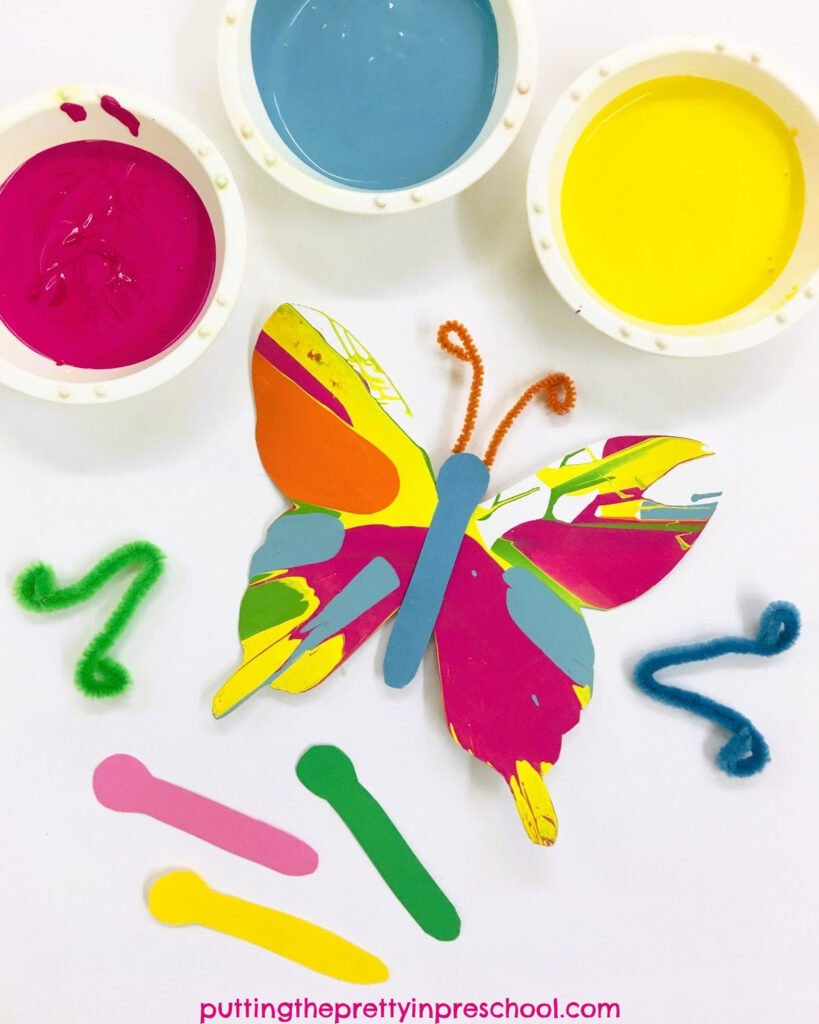
Gather the following supplies to complete the beautiful unicorn scene:
- non-toxic tempera paint pucks in a variety of colors
- paint cake trays or muffin tins
- paintbrushes and pots
- 8 ½ inch x 11 inch white cardstock paper
- 8 ½ x 11 inch green and light blue cardstock paper
- metallic cardstock
- circle paper punch
- pencil and scissors
- glue stick or glue gun
- waterproof tablecloth or newsprint
_______
The Unicorn Watercolor Art Project
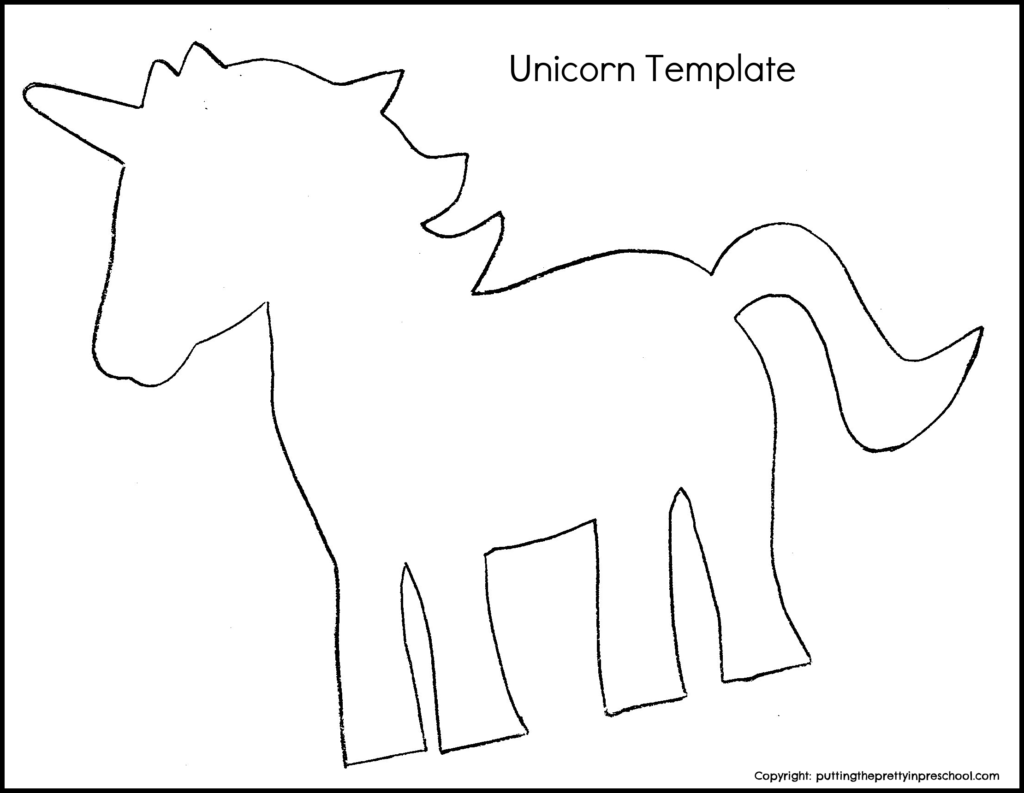
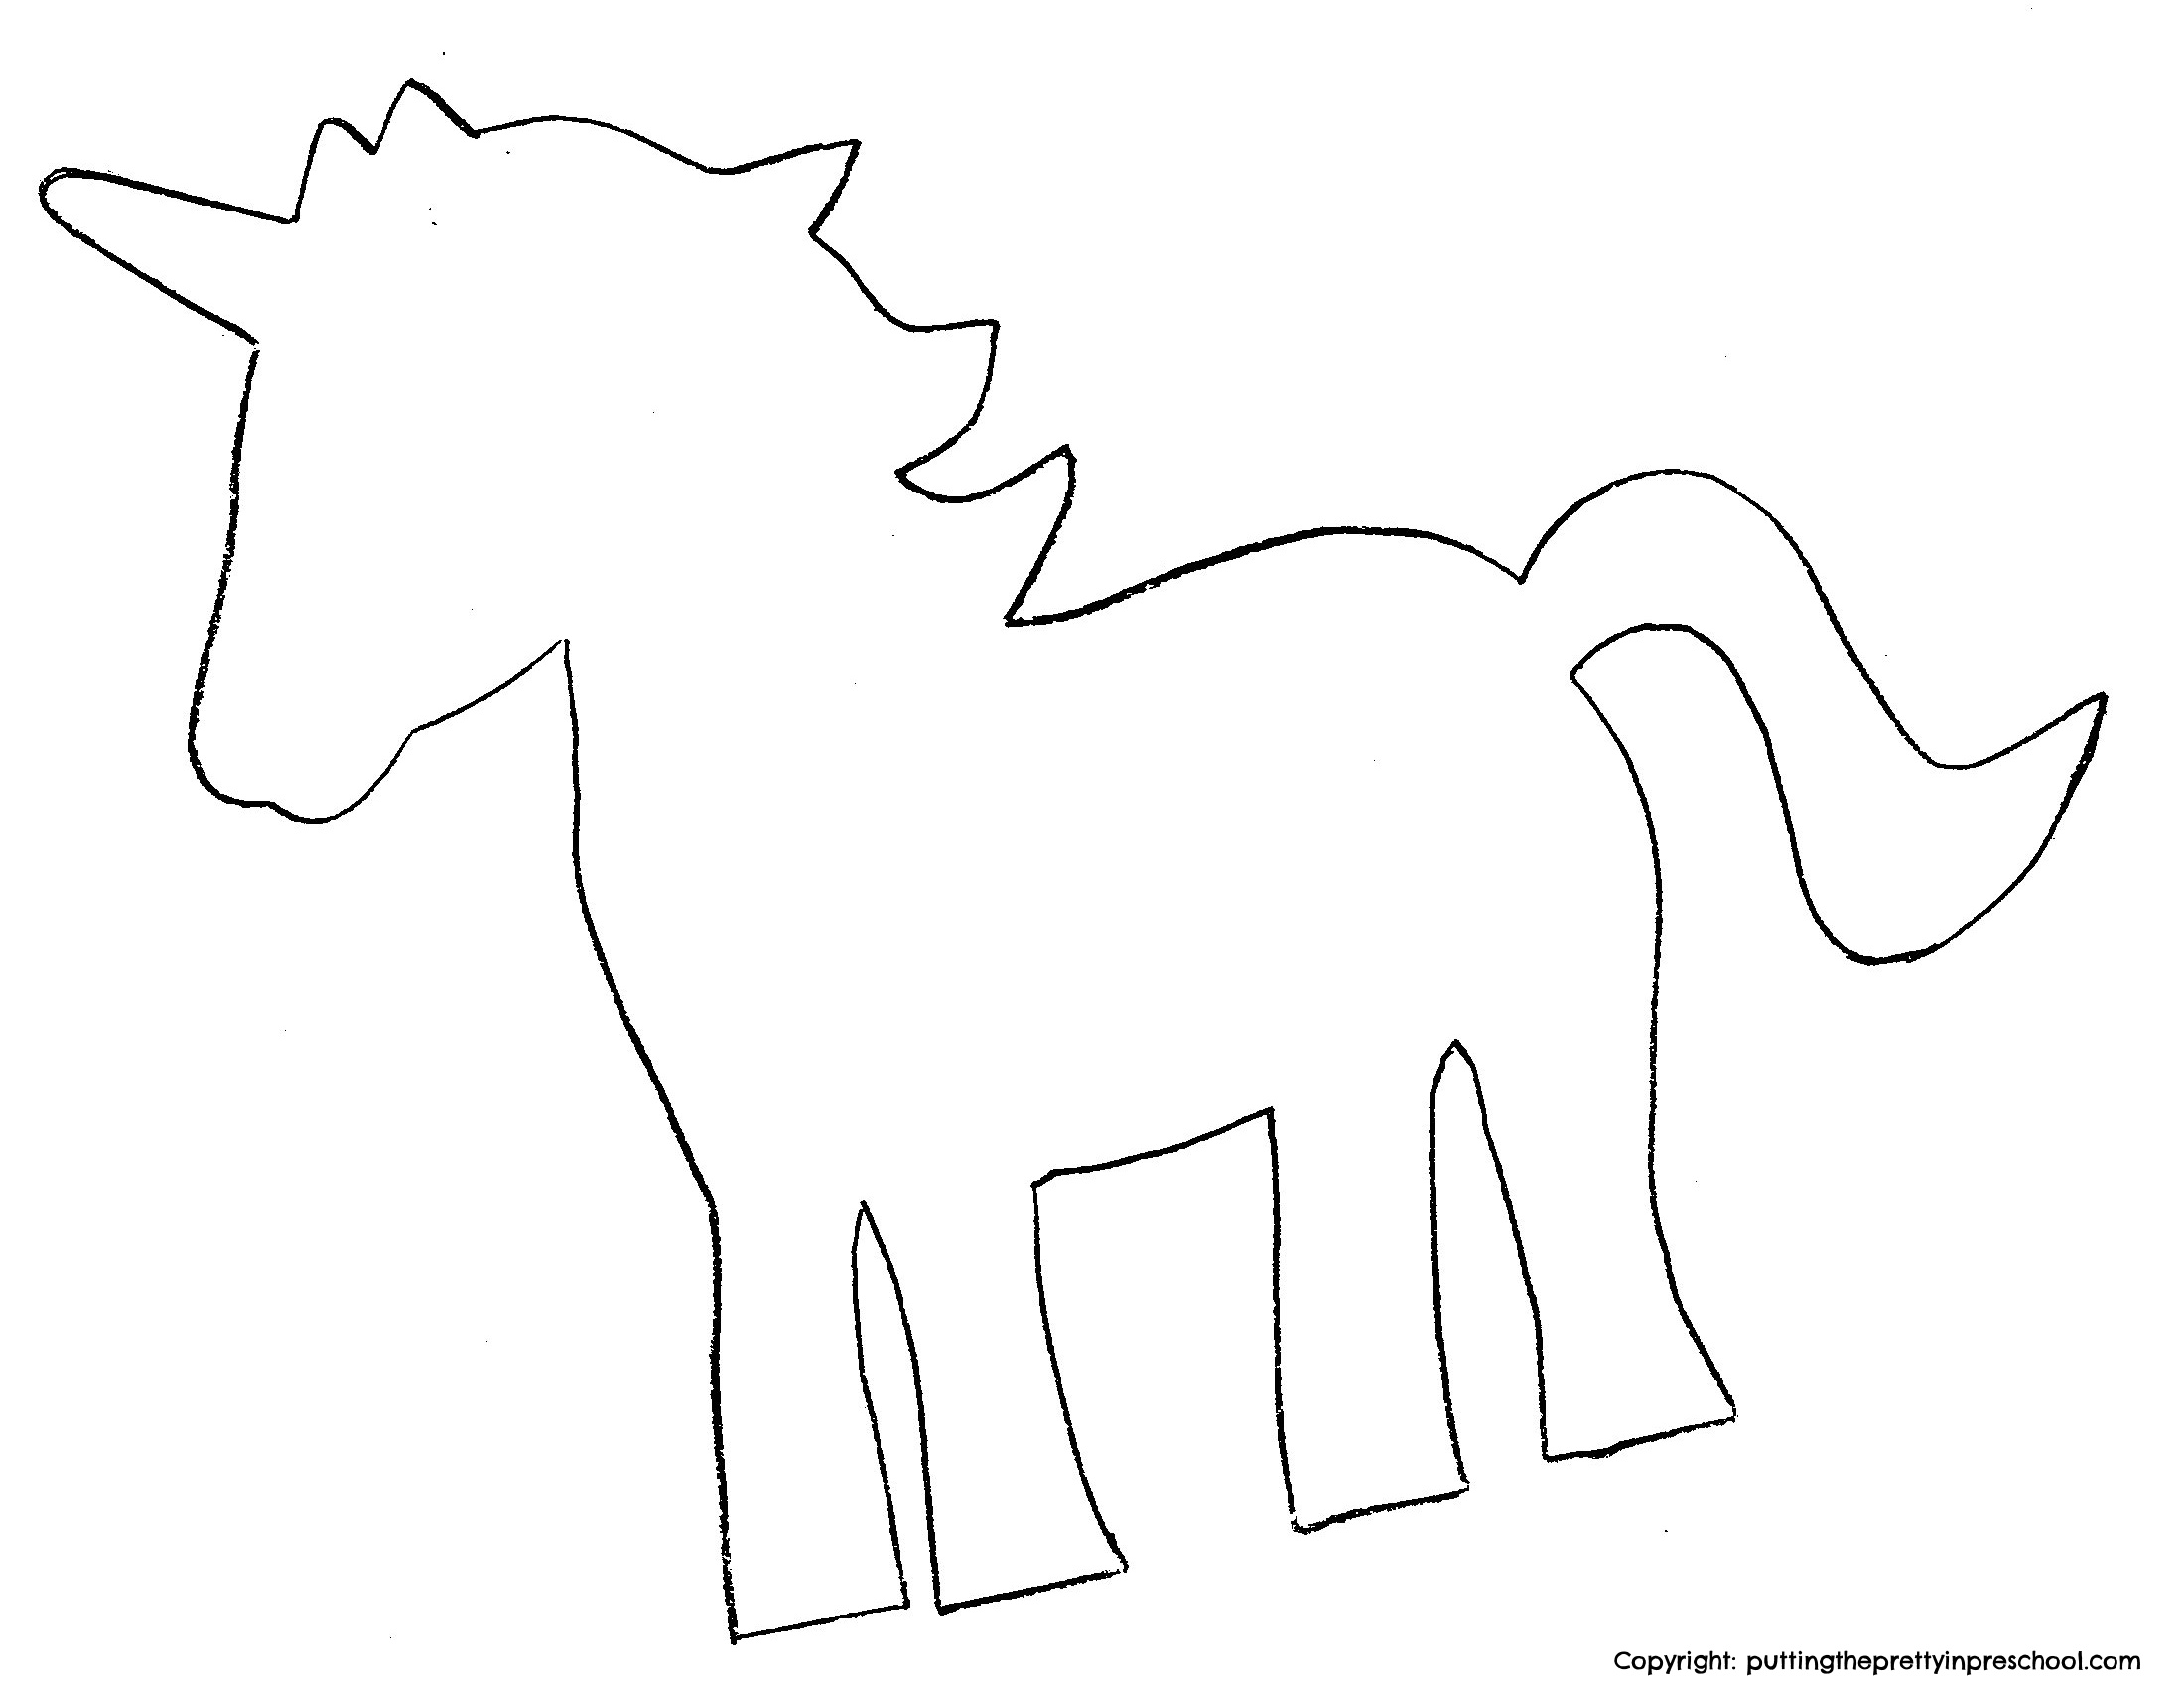
To start this stunning mythical-themed art project, first trace and cut out unicorns from white cardstock paper. Download the free template below for the activity, or choose your own design.
_______
This printable is for individual or one classroom use only.
_______
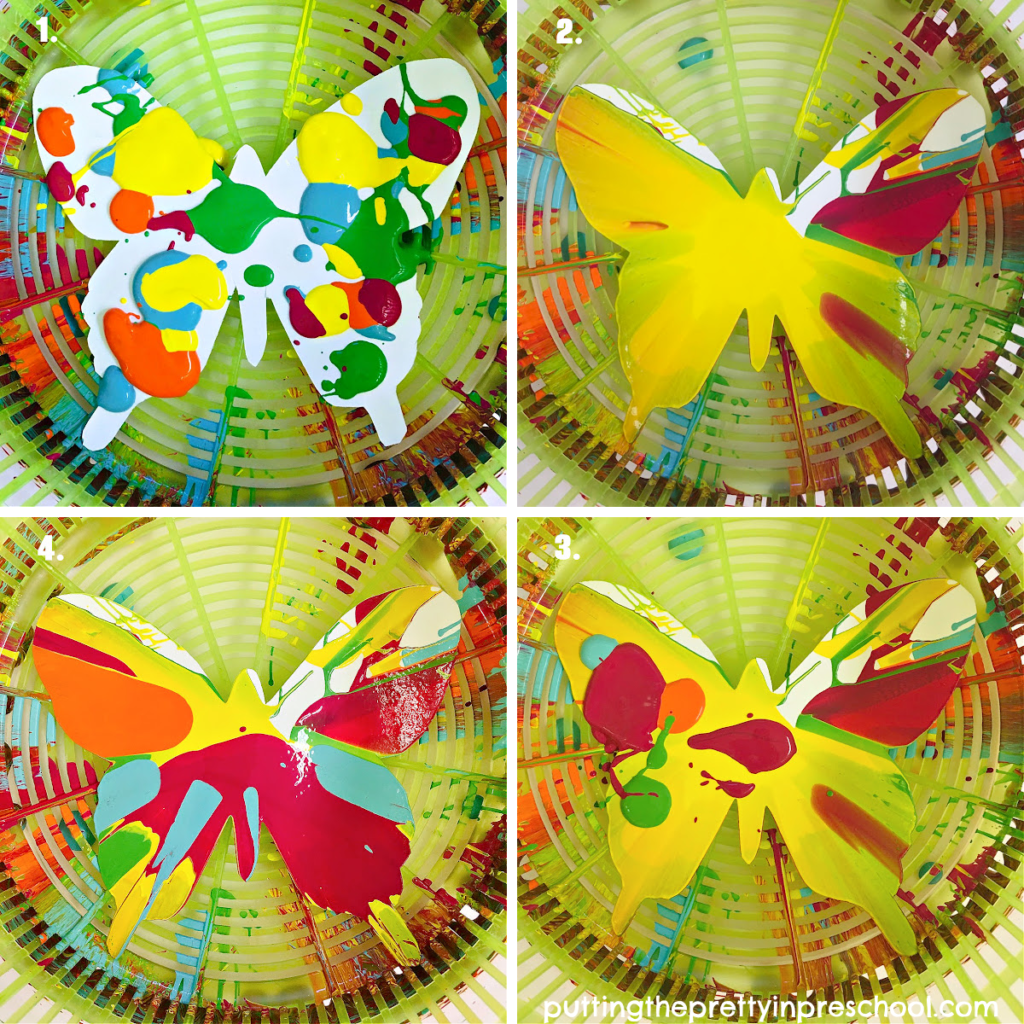
Next, cover a table with a waterproof tablecloth or newsprint.
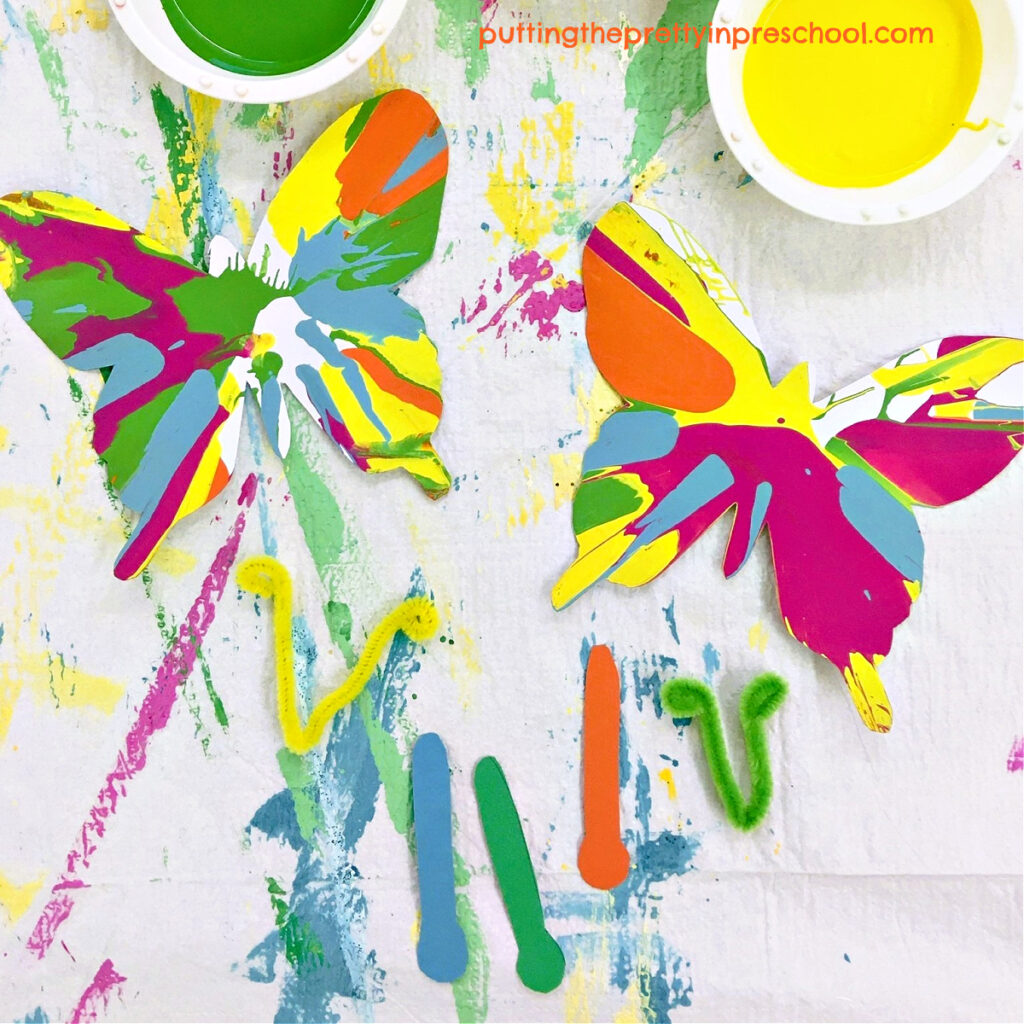
Then set up stations with a paper unicorn, paintbrush, paint pot filled with water, and tray with tempera paint pucks in bright hues.
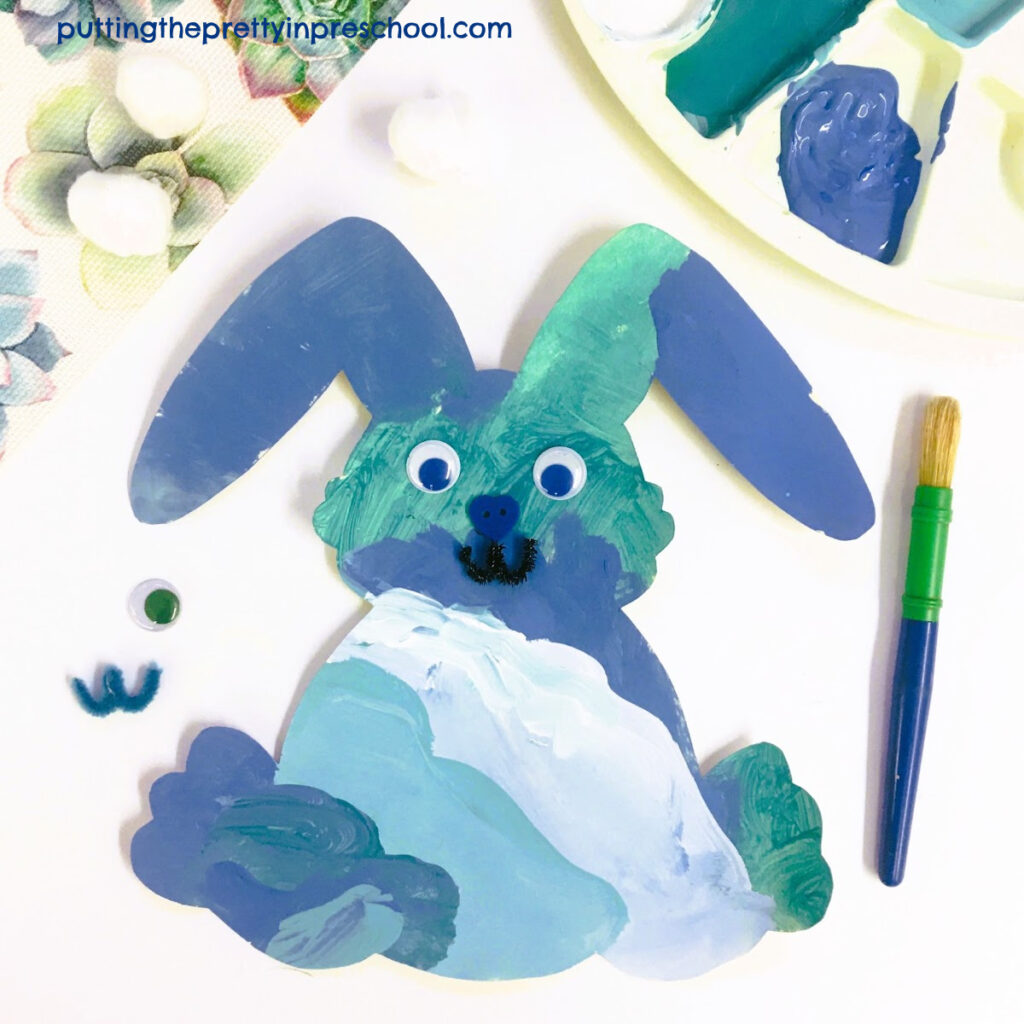
Invite each participant to dip their paintbrush in water and generously wet a paint puck, and then begin painting their unicorn. Between colors, paintbrushes should be rinsed in a pot of water.
Tip: Prewetting tempera pucks with a paintbrush and water makes this activity easier for little learners and helps them get off to a good start.
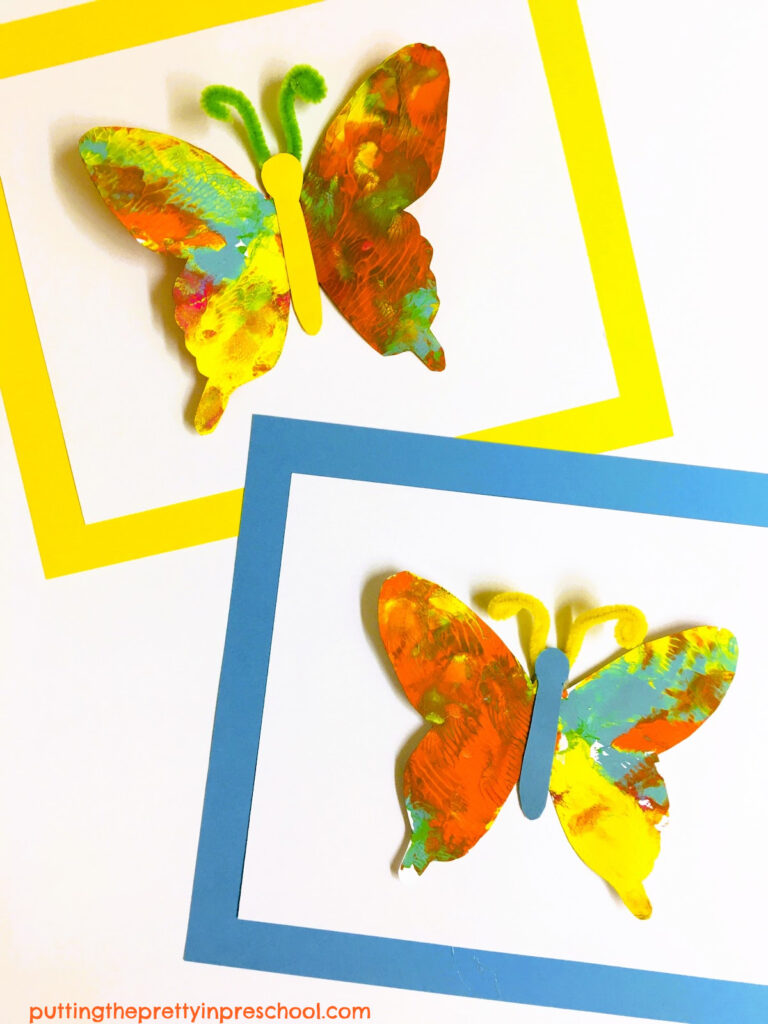
When completed, set aside the decorated unicorns to dry. This will take under an hour.
If there is time, participants may enjoy more watercolor painting on a rectangular or square piece of cardstock or copy paper.
After everyone has finished, rinse off the paint trays, pat them with a paper towel to remove excess water, and let them dry.
_______
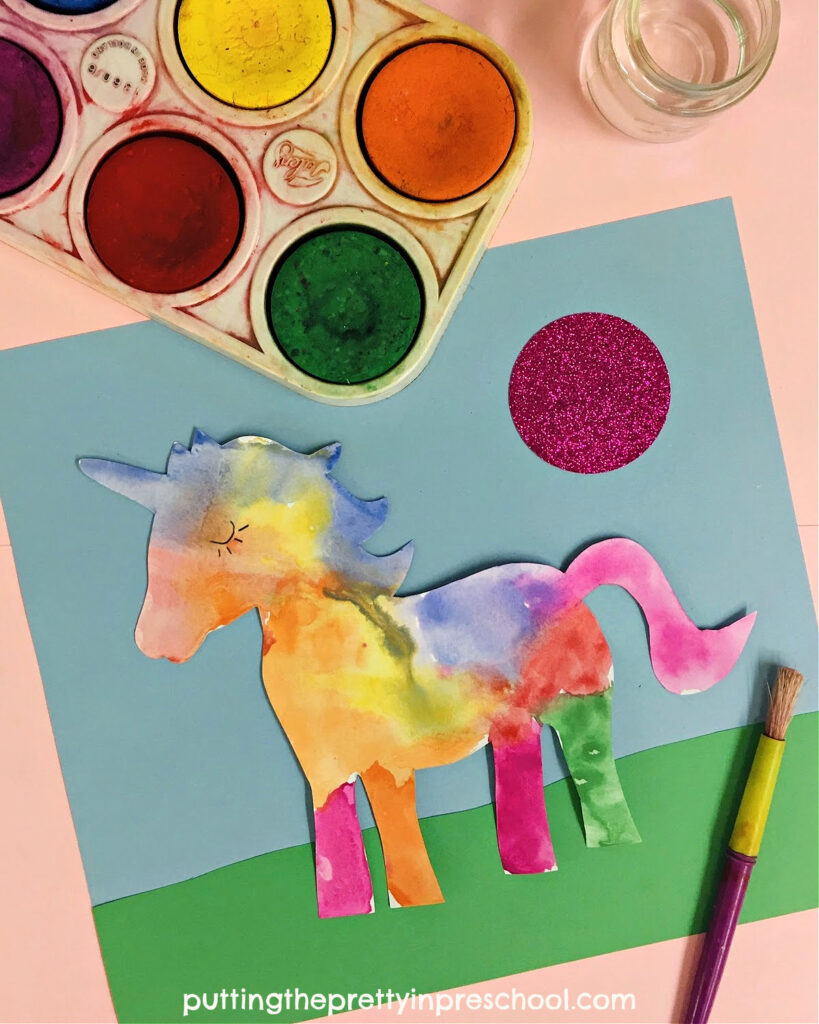
Creating A Unicorn Scene
To create a beautiful unicorn scene for each painted creature, cut a narrow, green strip from fadeless construction paper to represent grass.
Using a glue gun or glue stick. adhere the green strip to the bottom of a piece of light blue construction paper.
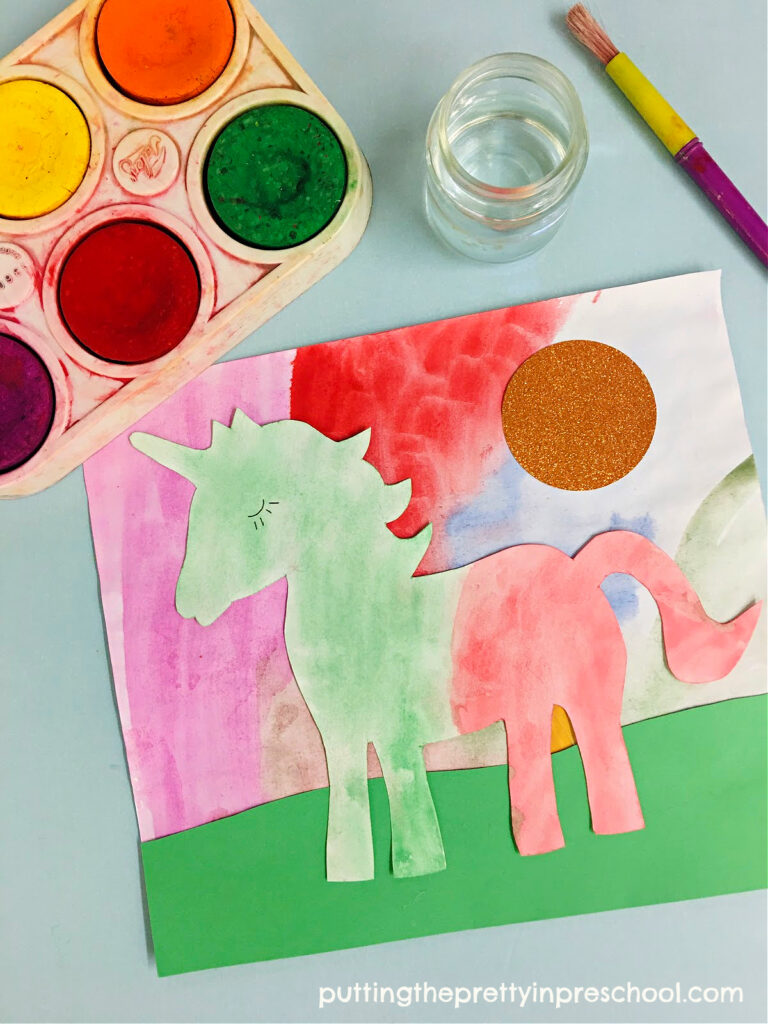
Then punch or cut a circular sun from metallic cardstock in a hue that complements the painted unicorn.
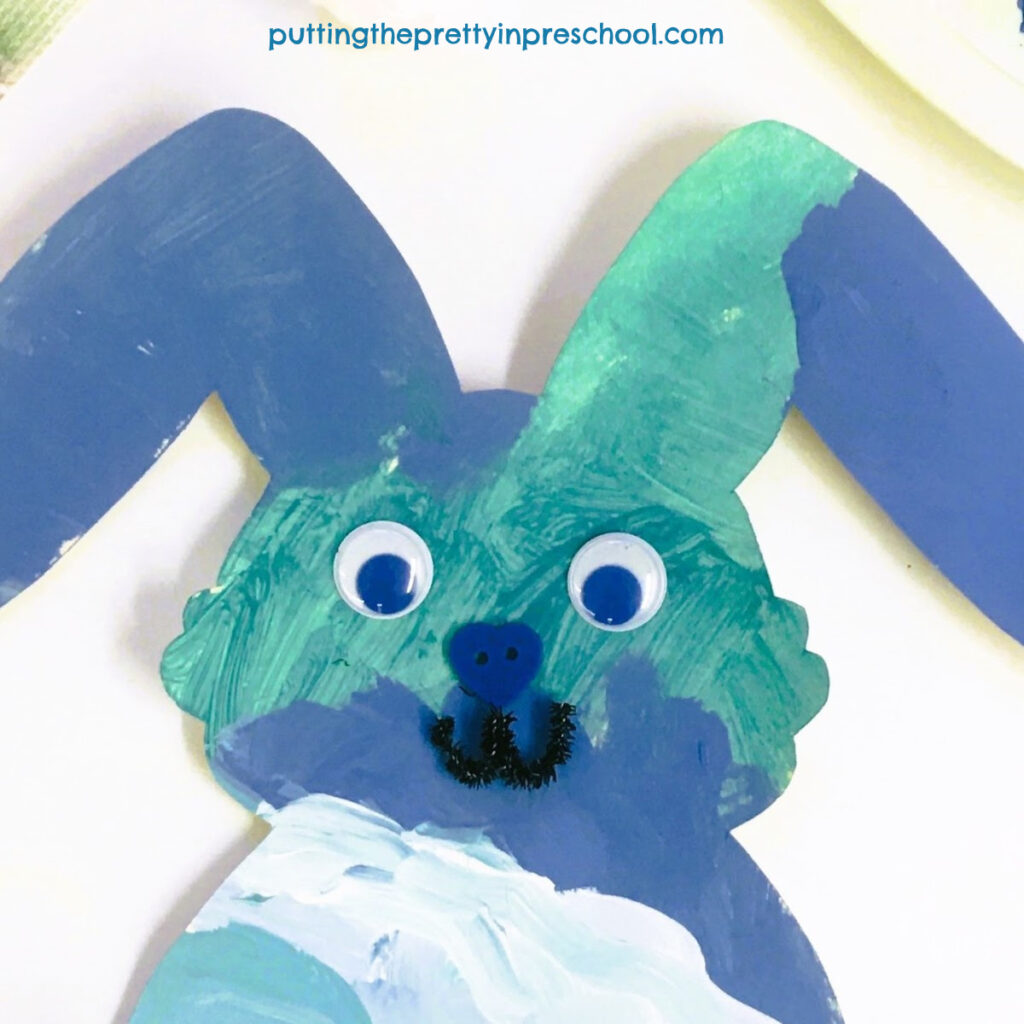
Finally, glue a sun and unicorn to the blue and green construction paper background, and pencil in a unicorn eye.
Note: Older children can complete these unicorn scene steps on their own.
_______
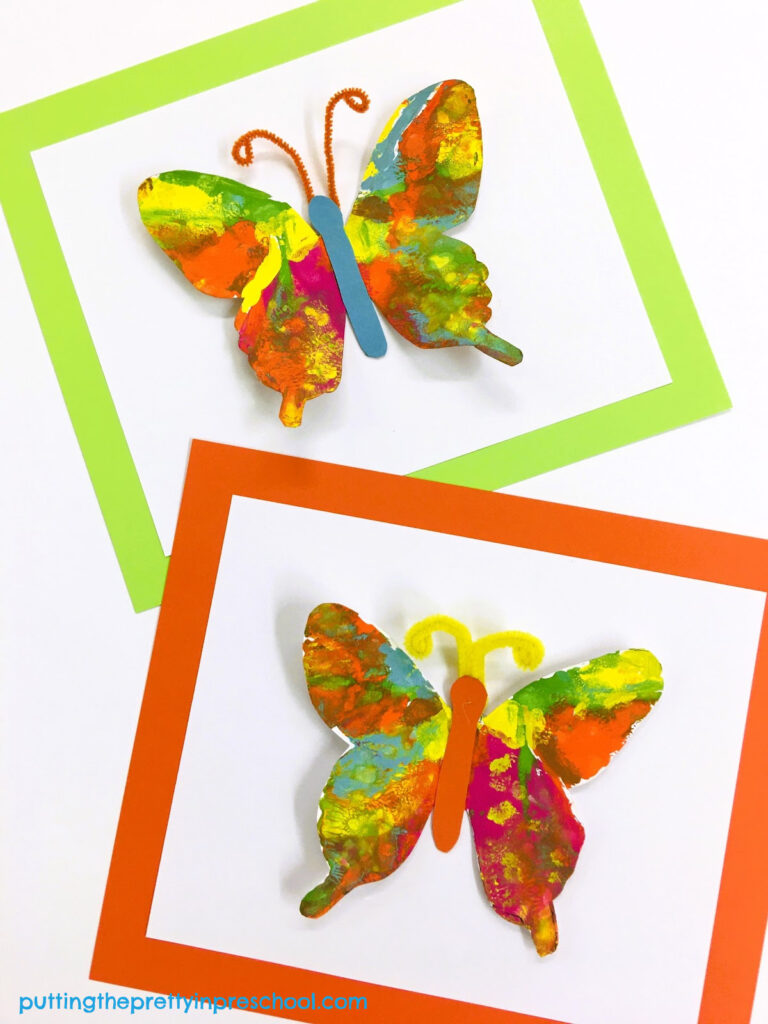
Watercolor-painted cardstock or copy paper would also work nicely as a backdrop for a painted unicorn.
_______
Non-Toxic Paint Pucks
Non-toxic tempera paint pucks are a nice resource to have in your collection of art supplies. Here is a little more information about them:
- Tempera paint pucks are watercolor paints in a puck or cake form.
- These easy-to-use paints come in many beautiful hues.
- Color possibilities are limitless, as the paints can be mixed to make new hues.
- The paint cakes sit nicely in art trays or standard muffin tins that stack easily and take very little room when stored.
- The non-permanent paints can be used on paper, cardboard, fabric, and wood.
- Adding differing amounts of water to the cakes results in different effects and lighter and darker shades.
- Crayons and oil pastels work beautifully with the tempera paint pucks.
- This art medium requires minimal preparation and clean-up time and is easy to use with a large group or classroom of students.
- The tempera pucks and trays are inexpensive to buy and last a long time.
_______
Related:
_______
[Read more…] about Unicorn Watercolor Art
