_______
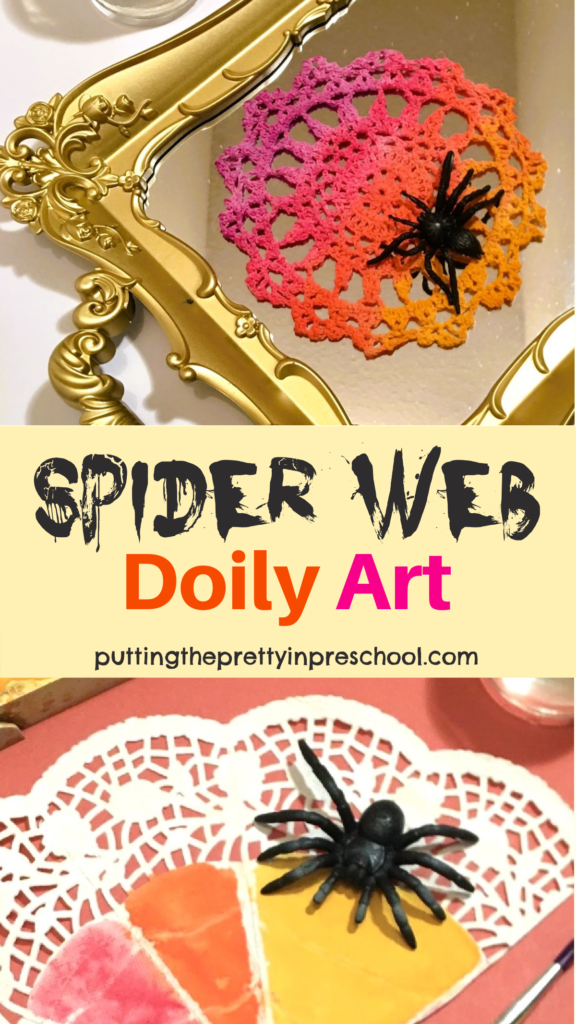
Arty spider webs are everywhere during this time of year, and doilies are an exquisite supply for creating web décor. These spider web doily art projects are color-infused with gorgeous seasonal hues using a crayon-resist painting technique.
_______
Spider Web Doily Art Supplies

_______
Gather the following supplies for this anything-but-creepy spider-themed art project:
- paper doilies in a variety of sizes and shapes
- watercolor tempera paint cakes
- white crayon
- pencil
- ruler
- paint brush
- paint pot
- scissors
- spider figurine
- glue gun
- waterproof table cover
_______
Follow me on Pinterest for more early learning ideas.
_______
Creating Spider Web Doily Art
To create beautiful watercolor doily art first cover an art table with a waterproof tablecloth.
Next, select a doily to use as a canvas for painting.
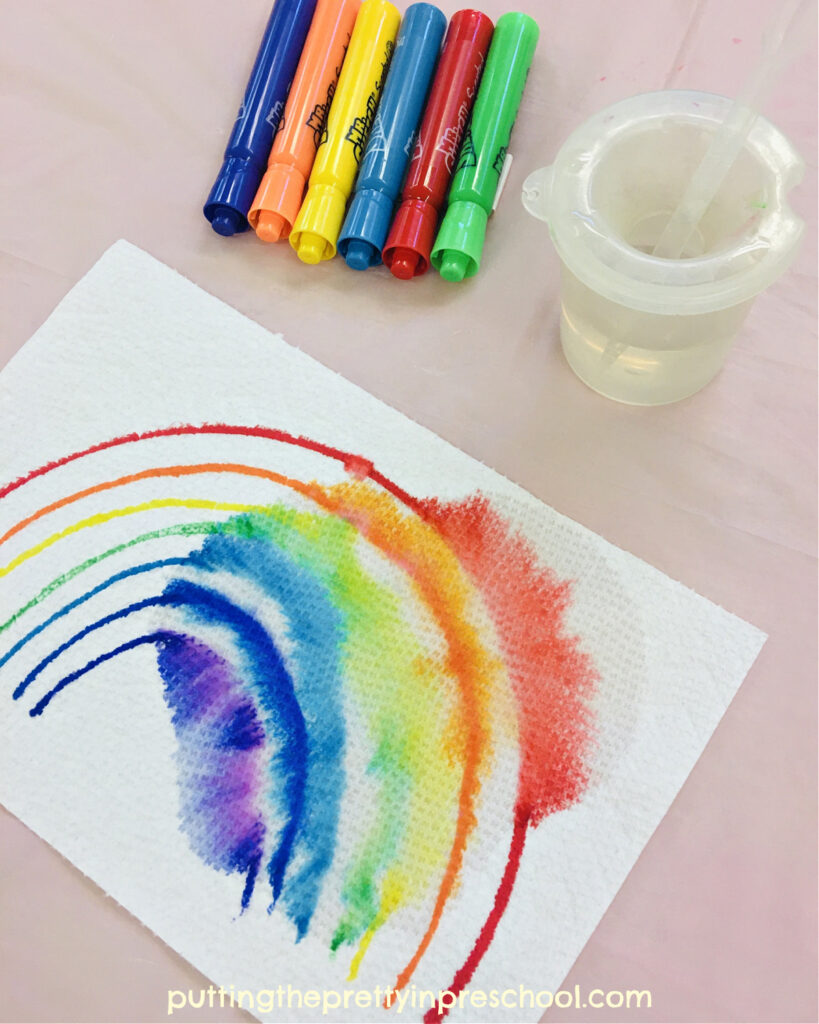
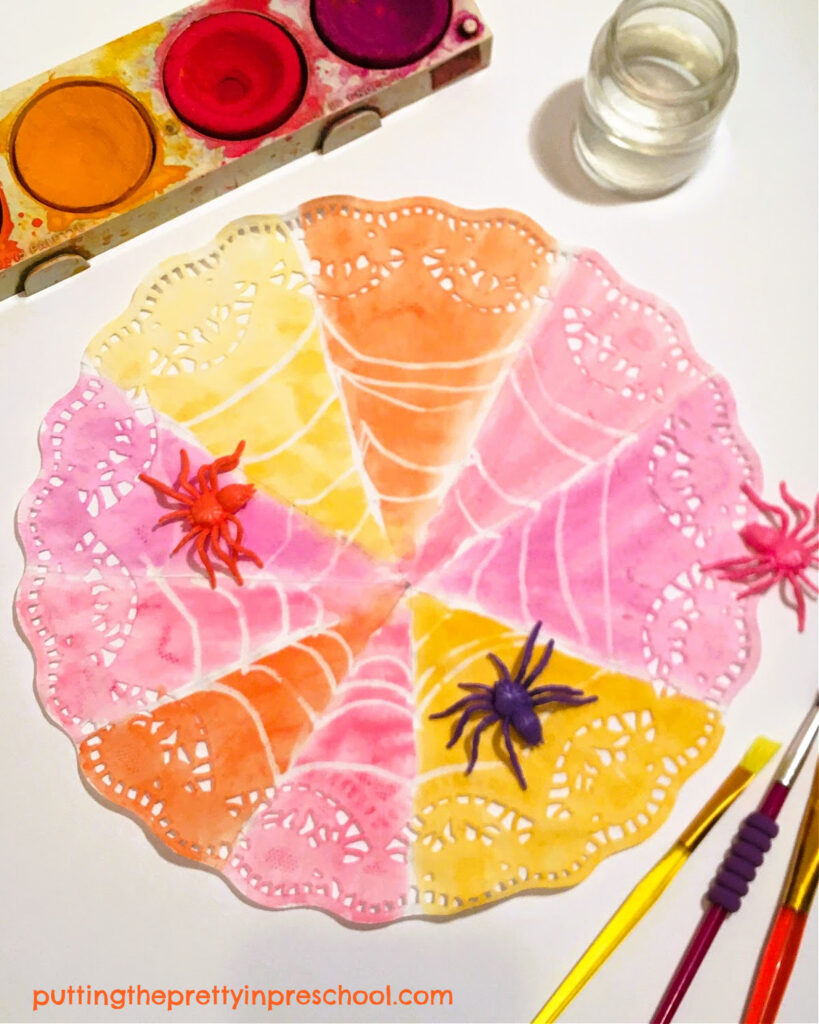
Then, use a pencil and ruler to draw faint straight lines that radiate from a focal point in the center of the doily. Draw over the white lines with a white crayon or any color. Add silky curved connecting lines with the crayon to complete the web.
Note: When offering this activity to early learners, you may wish to draw the webs on the doilies and have them paint over them.
_______
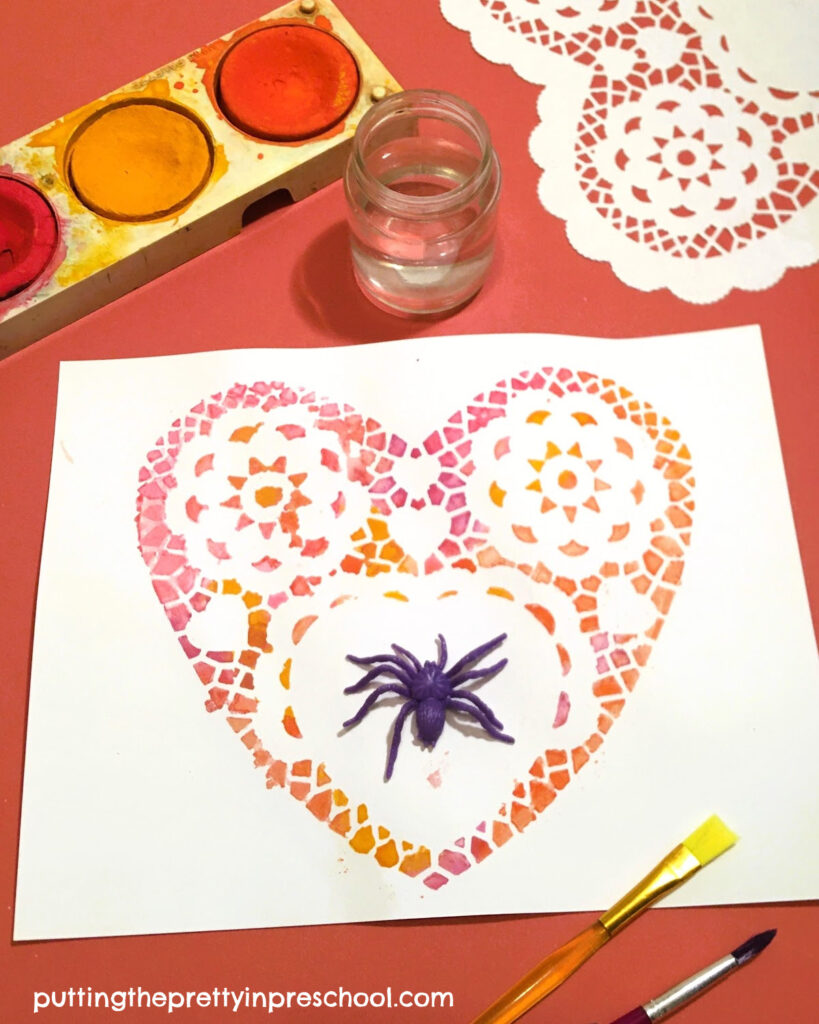
Afterward, set watercolor tempera cakes in the colors of your choice in a paint tray. I love the pink, purple, orange, and gold hues spotted on web décor on recent shopping trips and use these colors.
Fill a paint pot with water, wet the tempera cakes, and paint over the drawn spider web. Spread the color over the whole doily or up to the lacy edging.
Note: Liquid watercolors are a luminous alternative for this painting activity.
When the arty web is dry use a glue gun to add a spider figurine in a matching or contrasting color. Adhere the paper spider web to a contrasting cardstock paper hue if desired.
_______
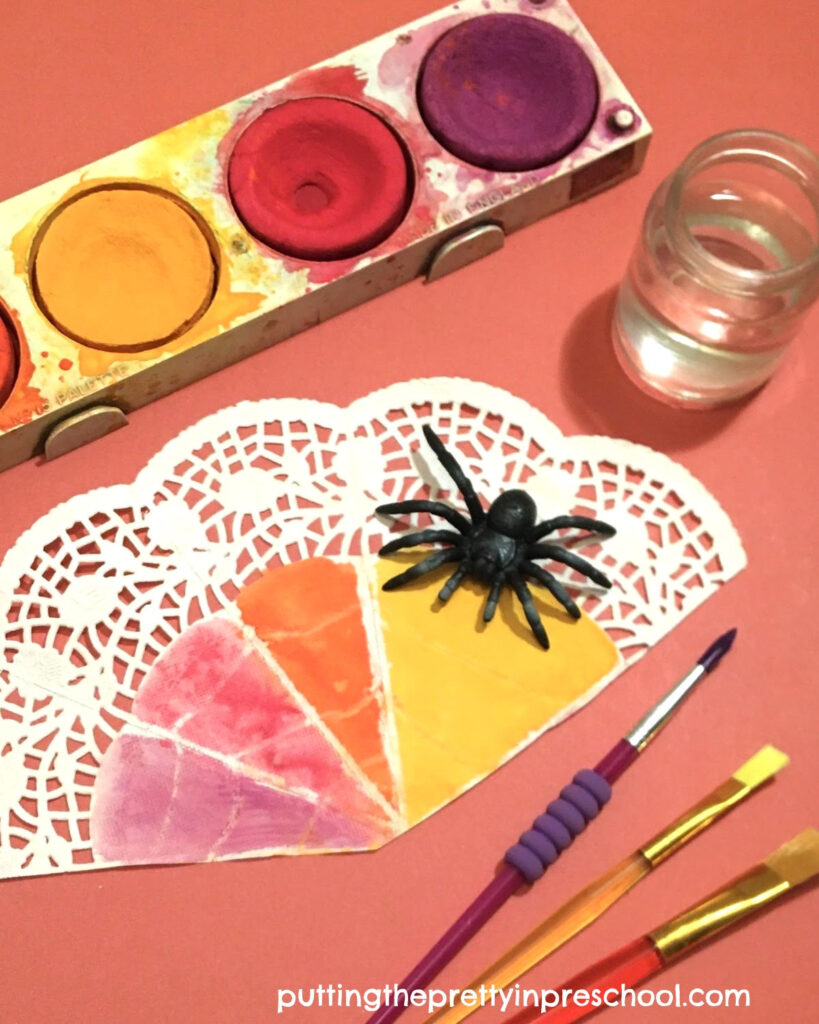
If using a large round doily, it’s a nice look to cut out a section of the web to become your finished design.
_______
Variations of the Spider Web Doily Art
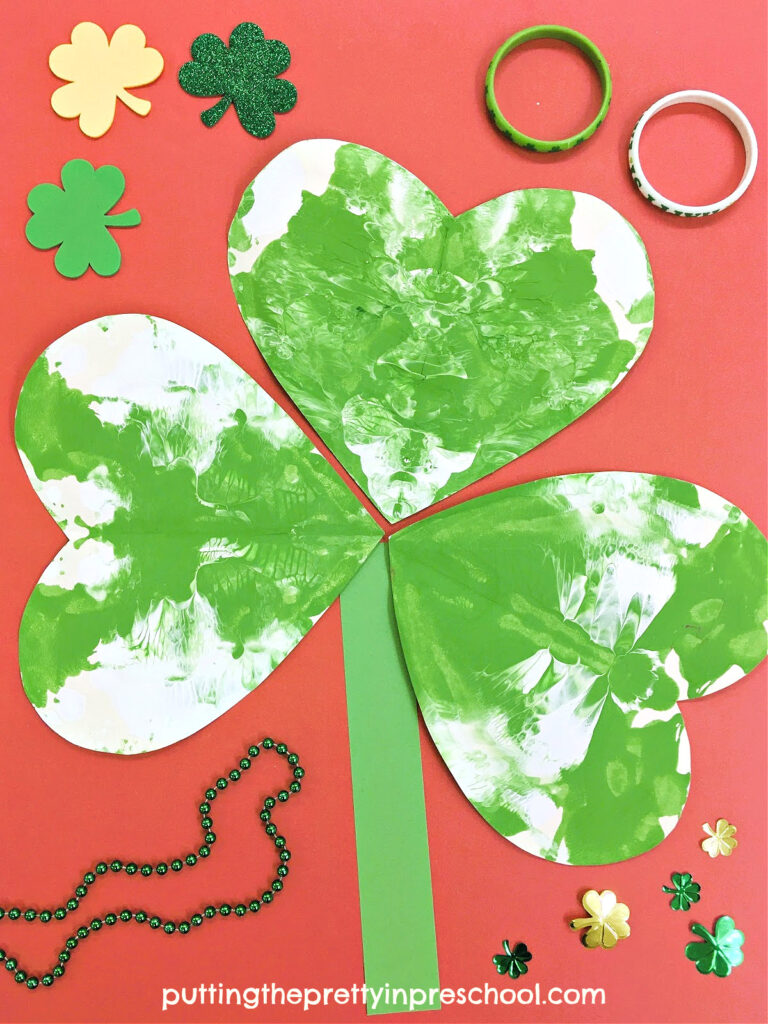
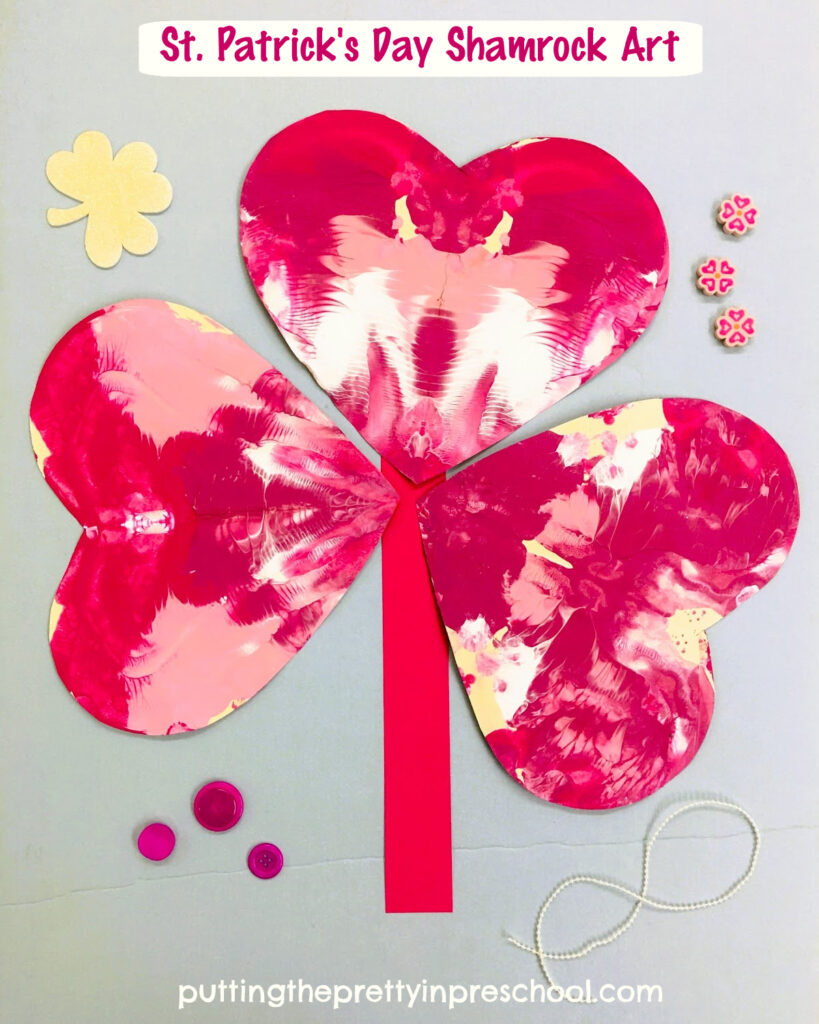
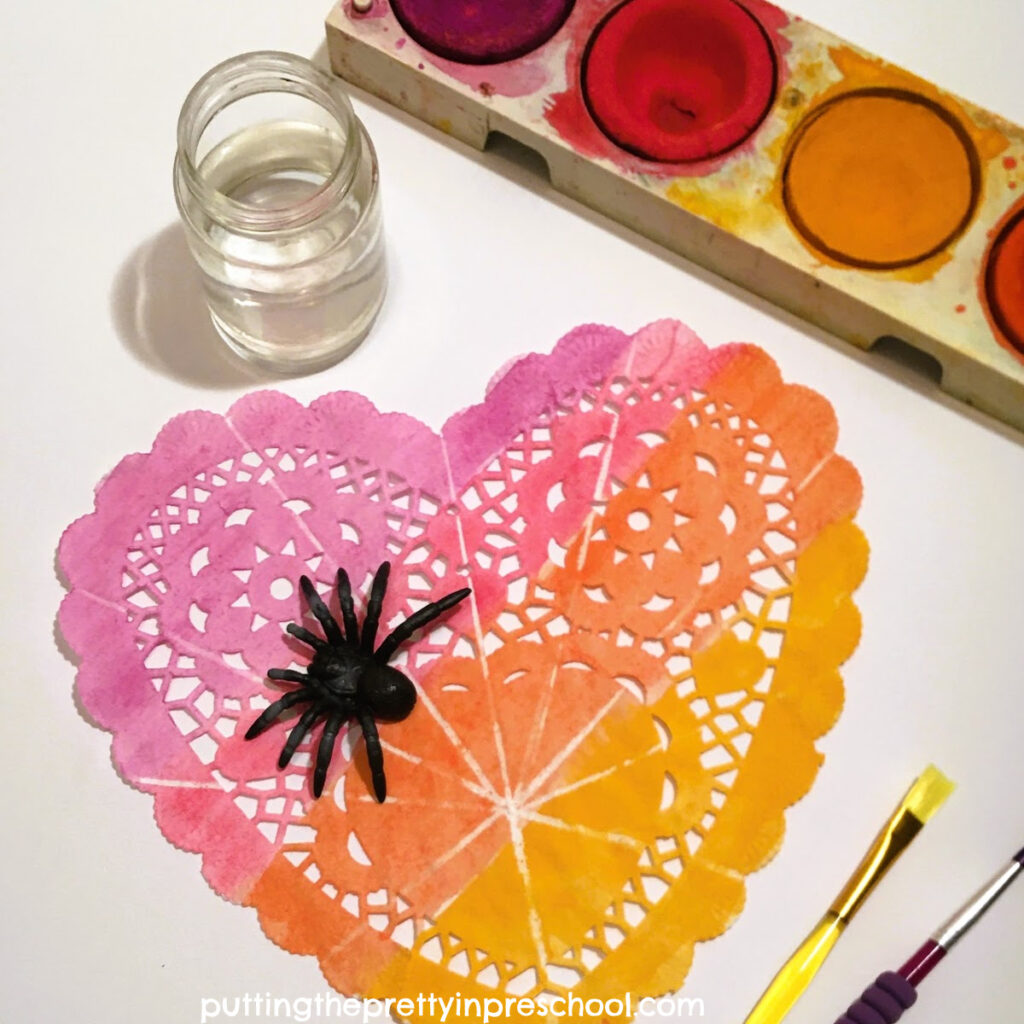
Round or rectangular craft doilies are easy to find, but heart doilies also work wonderfully as a canvas for a spider web art activity. In addition to being super lacy, they remind us to give spiders some much-needed love.
_______
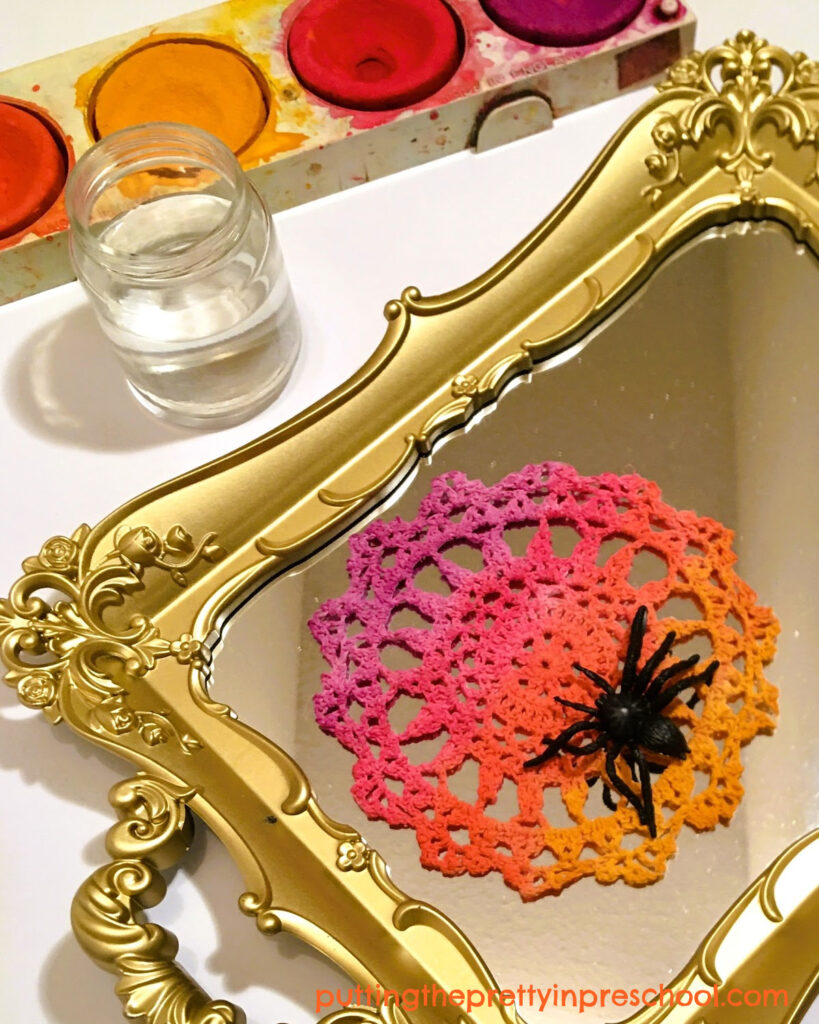
Crochet doilies make perfect ready-made spider webs. Left unpainted, white or cream-colored ones look like natural webs. It is superbly satisfying to add color to them, as watercolor paints soak in very well. For a stunning look display a color-infused web and spider figurine on a mirror.
_______
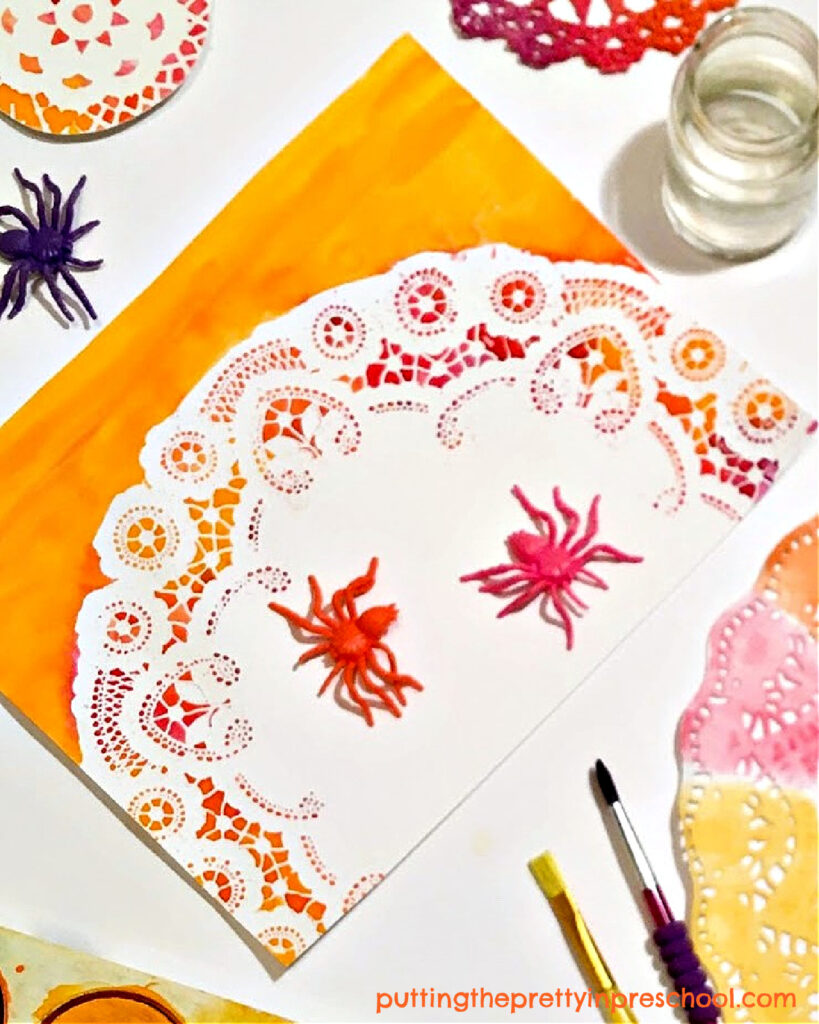
More Spectacular Doily Art
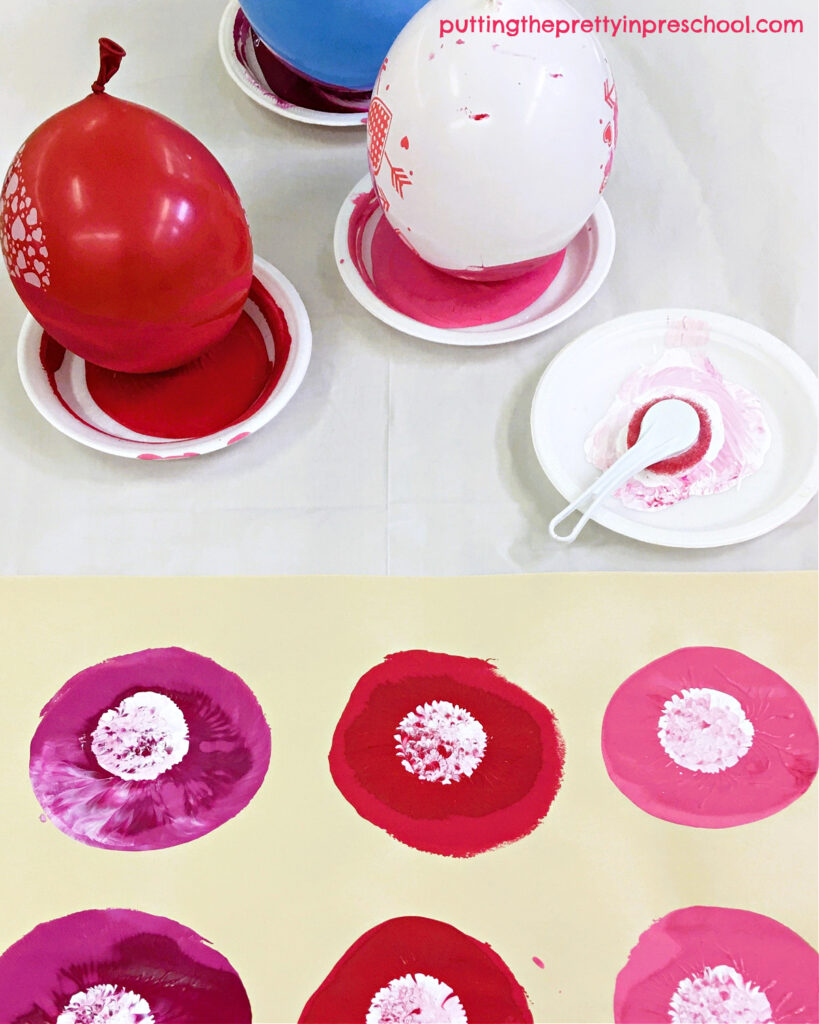
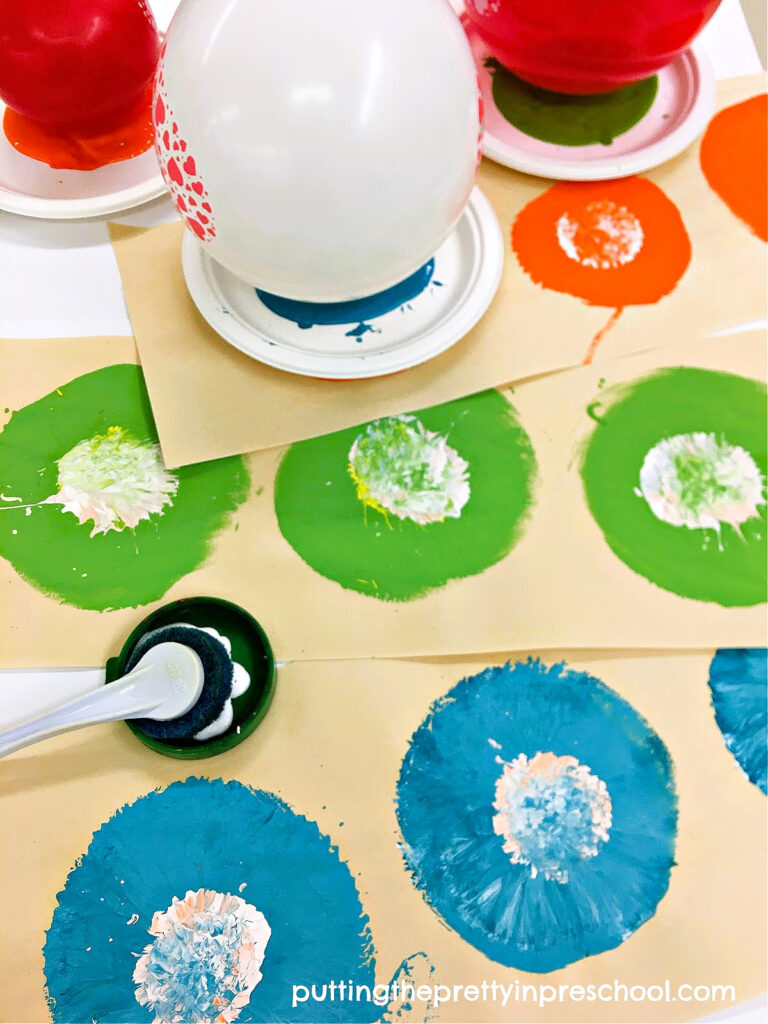
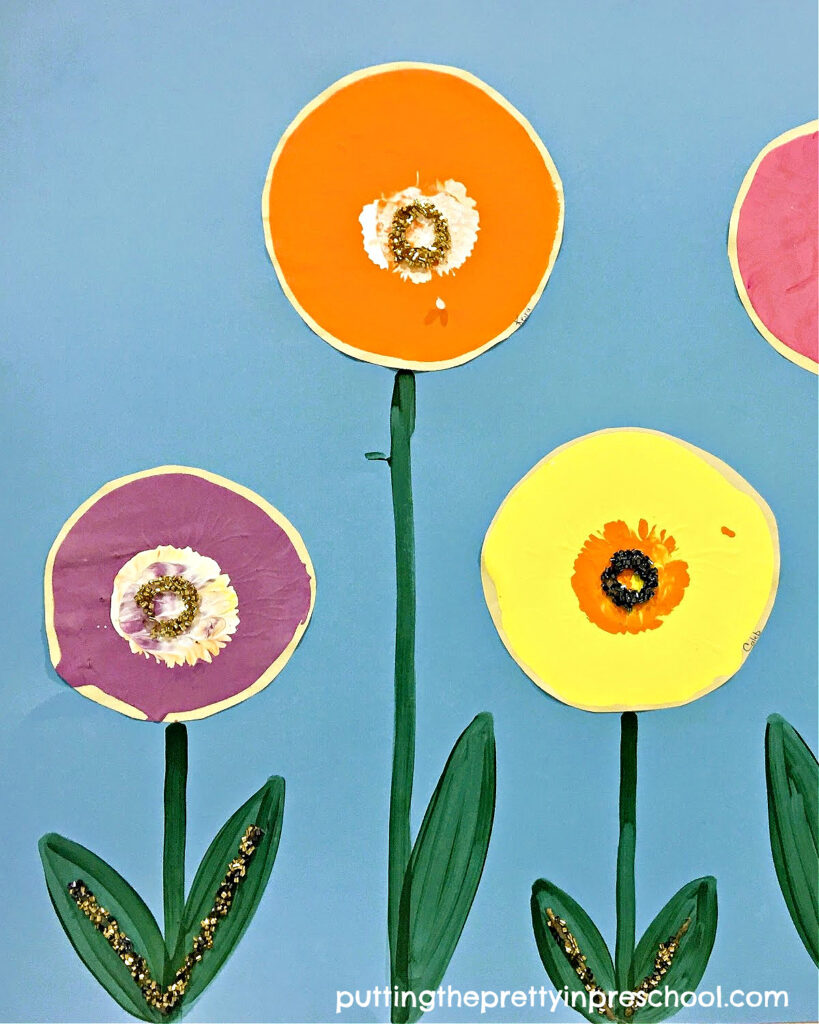
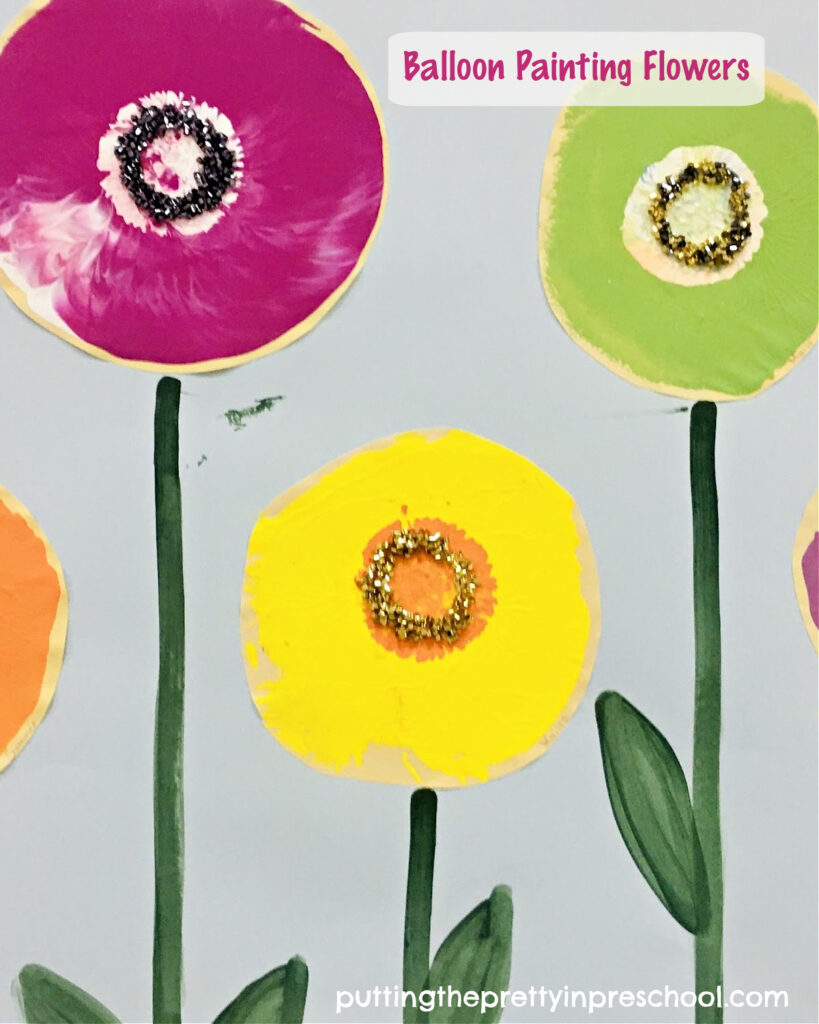
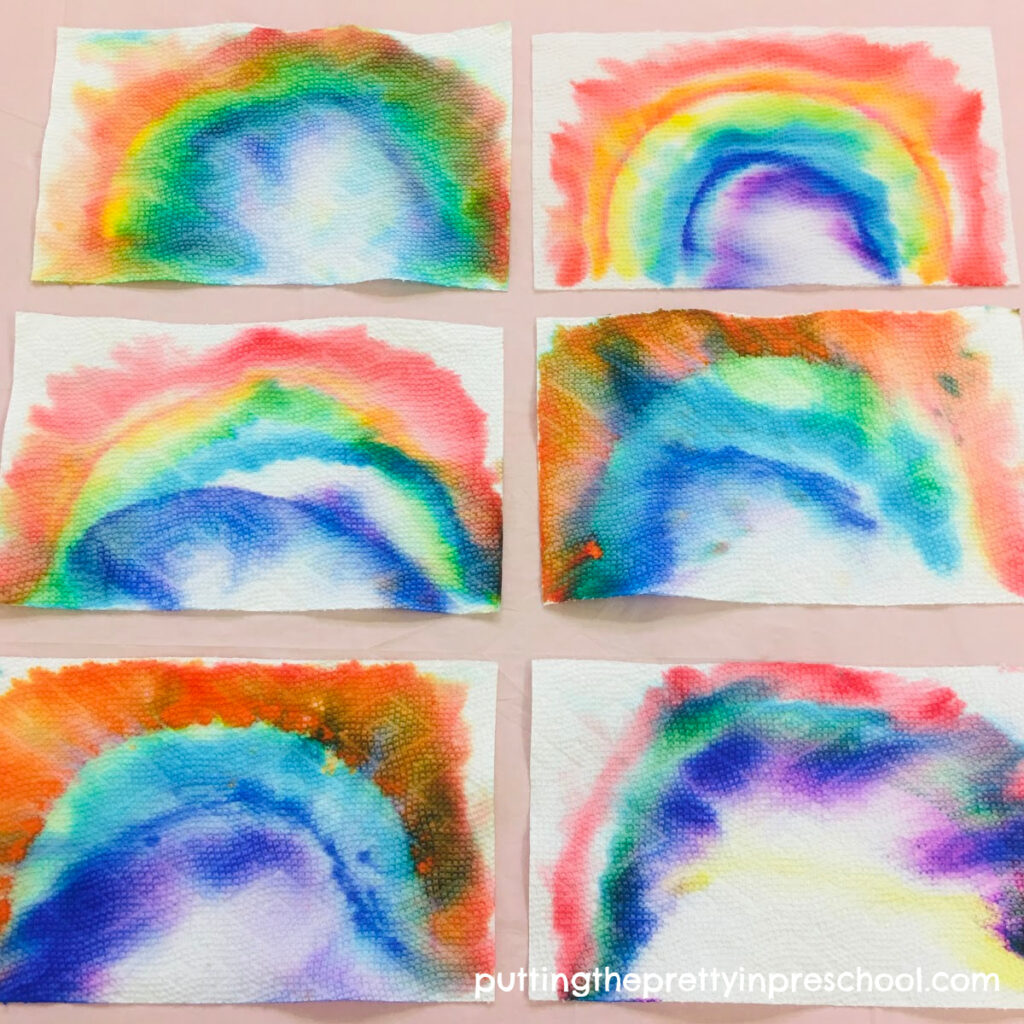
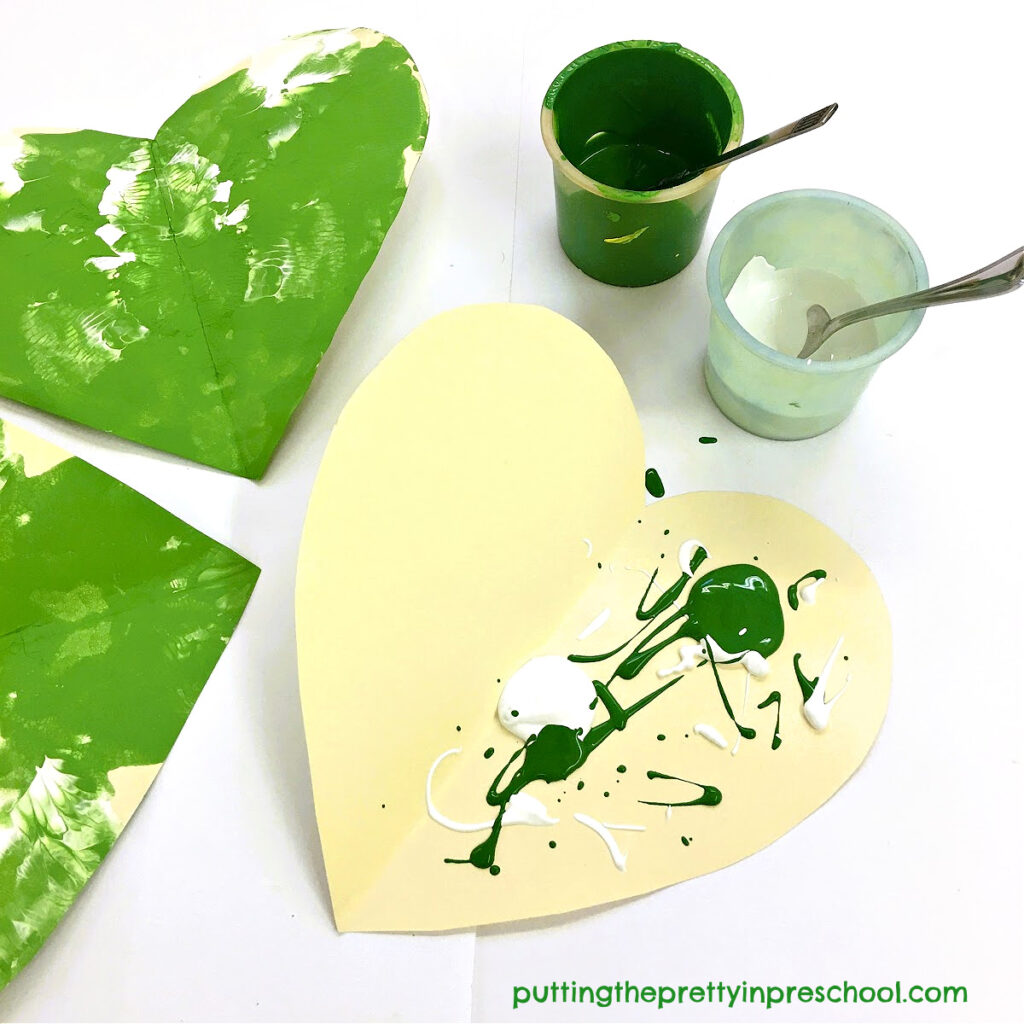
In addition to providing the canvas for spider web doily art, use the exquisite paper shapes in a novel way for more painting fun. In the projects below, doilies are placed on paper, and the lacy cutouts are carefully filled with watercolor tempera paints. A beautiful design appears after the doily is lifted off.
_______
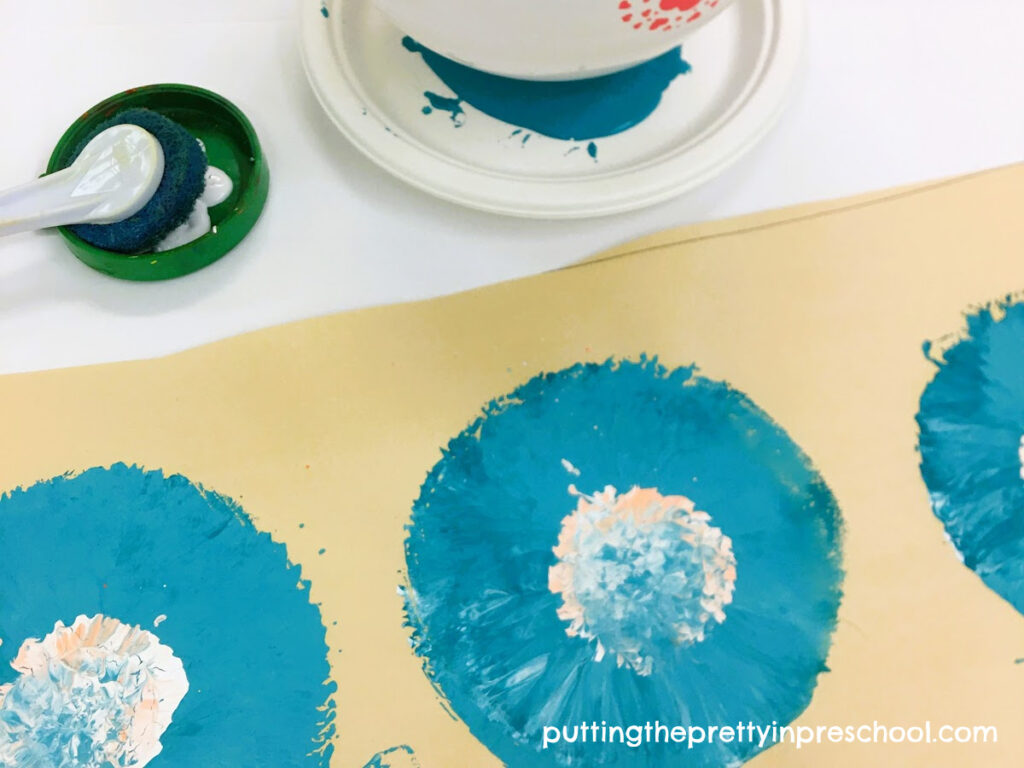
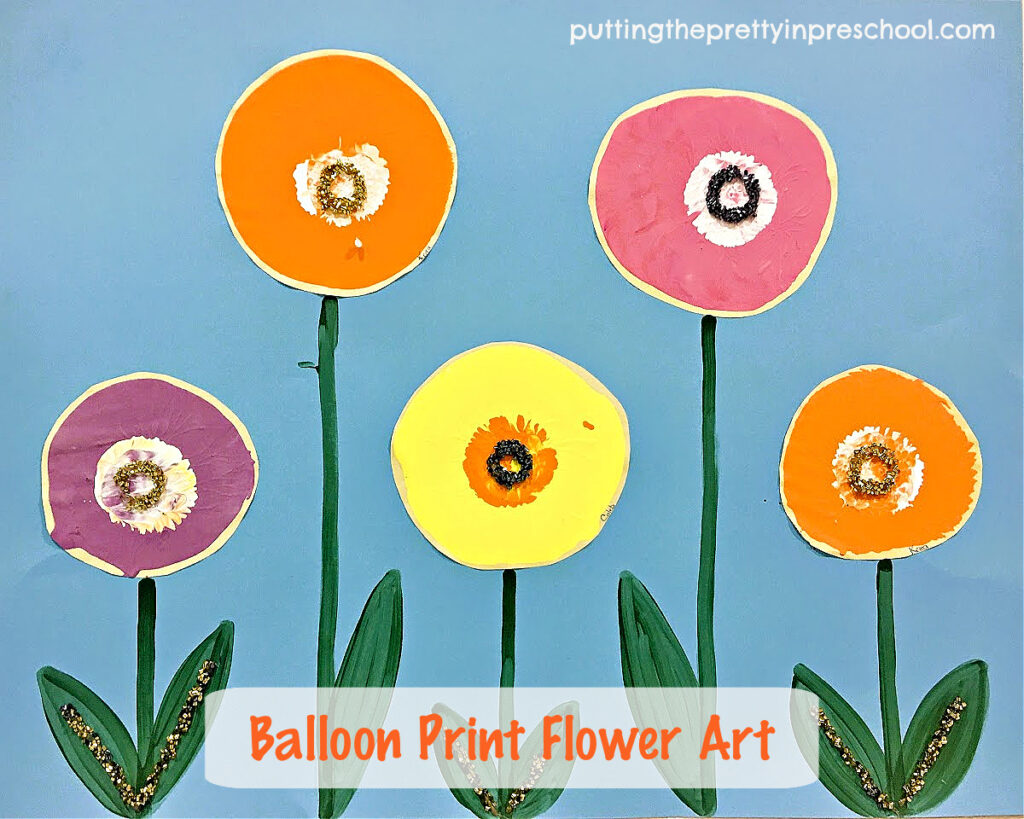
In this second project, the area above the doily is painted too. When the doily is removed, the design is so realistic it looks exactly like the paper doily.
_______
_______
More Spider Activities
Green Huntsman Spider Activities
_______
[Read more…] about Spider Web Doily Art