_______
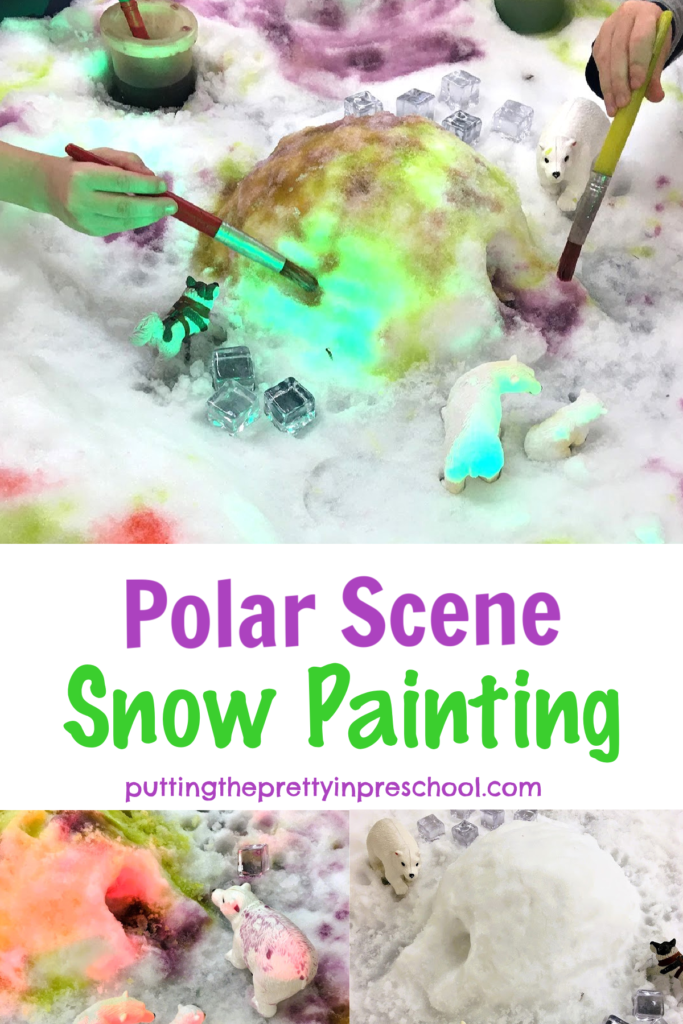
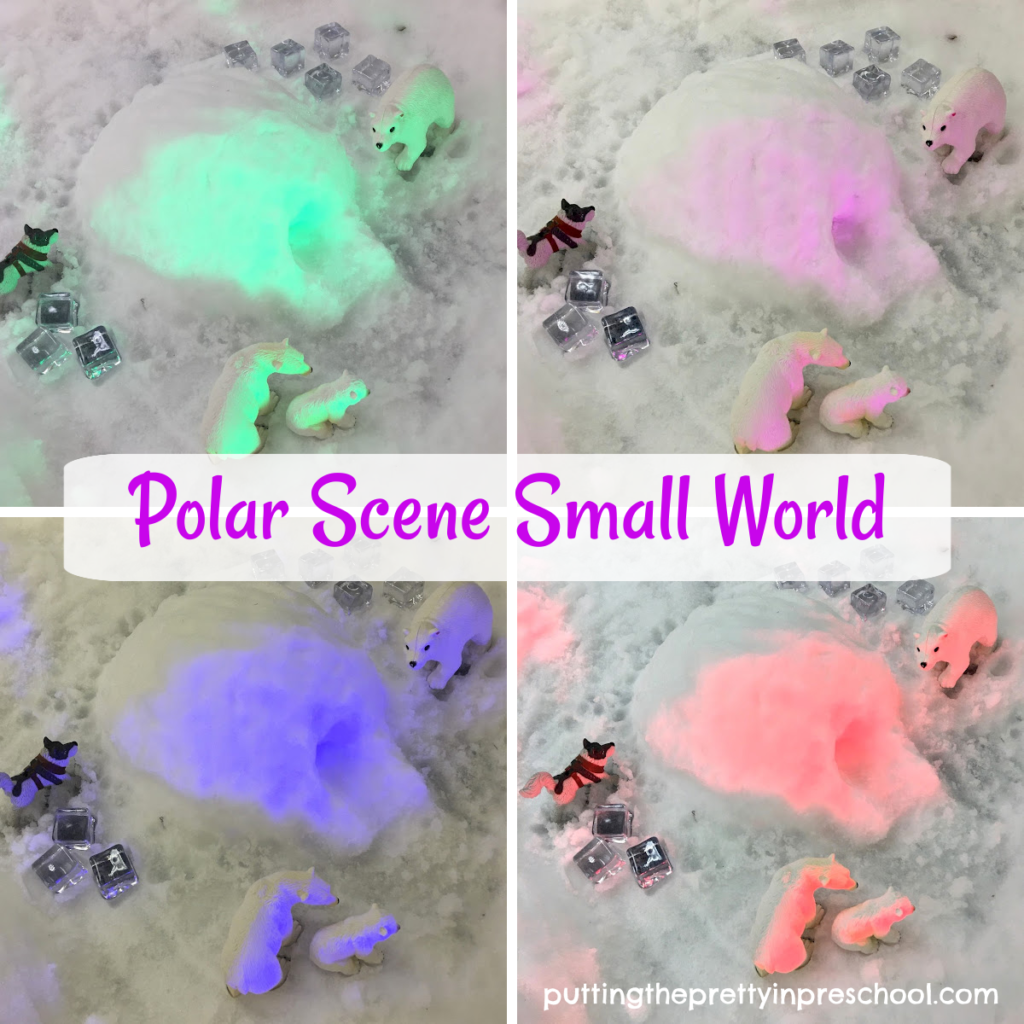
This polar scene snow painting activity was a last minute set up after a group discussion about igloos and the possibility of making one. We just happened to have a lot of snow in our city that week, so it was a good fit. Save this idea for the next time you have snow…the art and sensory activity is sure to be a hit.
_______
Follow me on Pinterest for more early learning ideas.
Follow me on Pinterest for more early learning ideas.
Supplies to Collect
Just the following few supplies are needed for this polar scene snow painting activity:
- sensory tray
- bus tub
- large bowl
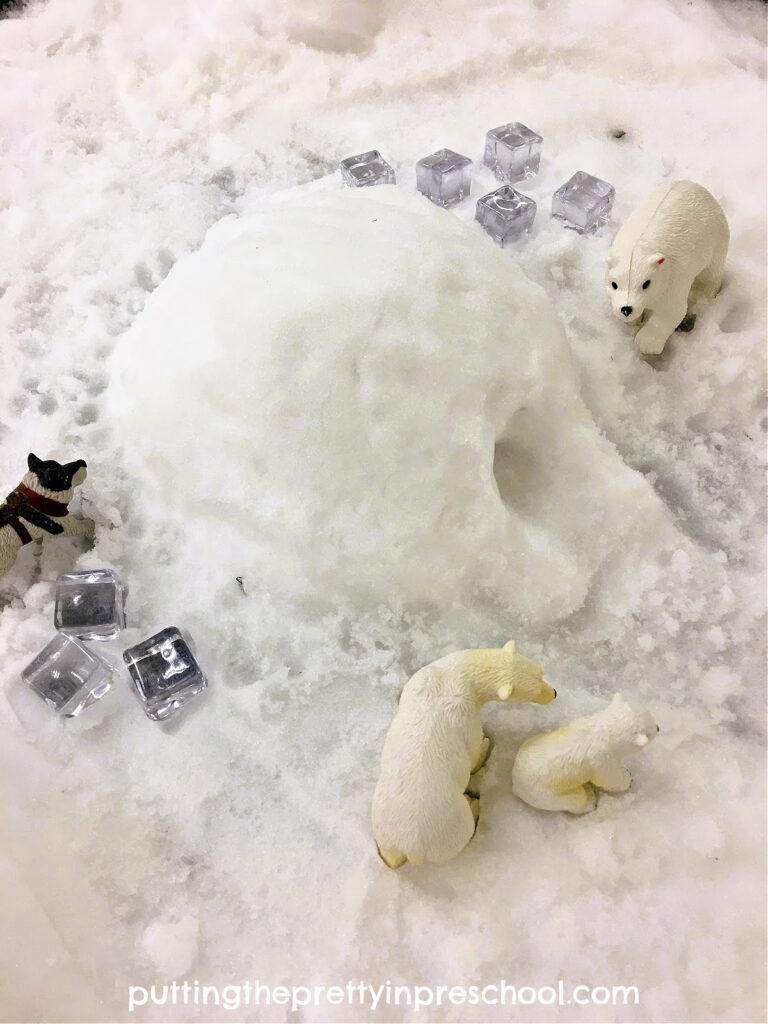
- polar animal figurines
- ice cubes or acrylic ice cubes
- snow
- paint pots and paintbrushes
- neon food coloring or liquid food colors
- stage light (optional)
_______
Polar Scene Snow Painting
_______
To set up this snowy sensory set up, the first thing to do is to select a sensory tray. For this activity, I picked a large active world tray. It is gernously-sized, and has room for six to eight children to paint at a time. For three to four children, a smaller tray or bin would work just fine.
Next, fill a bus tub or similar-sized utility box with snow and pour it into the bin.
Afterward, pack a salad bowl-sized metal bowl full of snow and let it sit for a few minutes.
Then tip the bowl over in the center of the snow-filled tray to create an igloo. Pack more snow around the dome if necessary to ensure a rounded shape.
Dig a little hole in one part of the igloo to become an entrance.
Then add ice cubes or acrylic ice cubes around the snow house.
_______
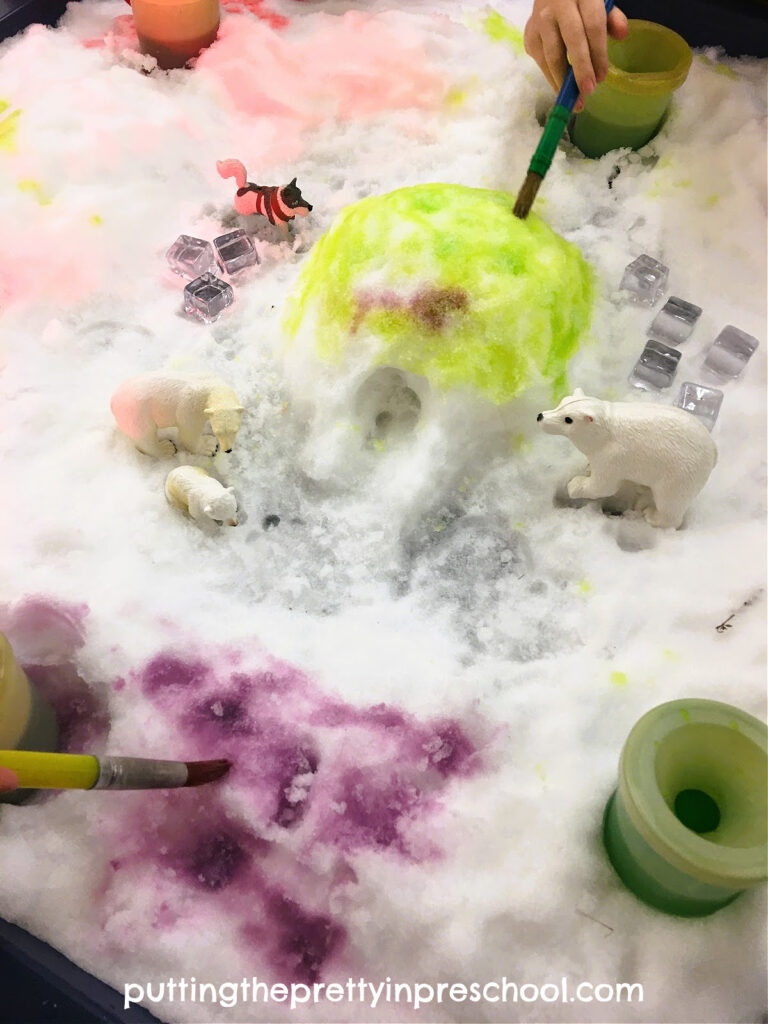
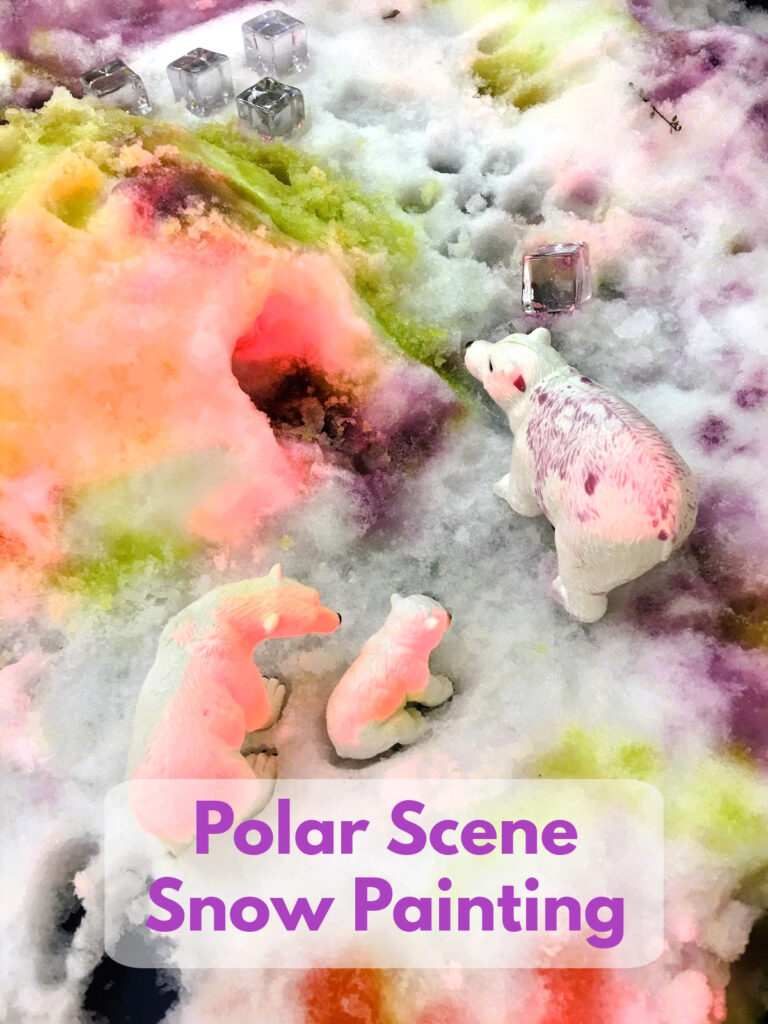
Next, generously squirt neon food colors such as green, pink, and purple into paint pots half-filled with water. Add a paintbrush to each pot.
Note: The food color choices are inspired by hues displayed in northern lights, which frequently flood the arctic skies and illuminate the land.
Finally, invite your little charges to paint the igloo and snow.
_______
To extend this transient art invitation and add ambiance, set up a stage light and position it to shine on the igloo and animal figurines while the children are participating in the polar scene snow painting activity.
_______
Children may wish to paint the animal figurines during the art and sensory experience. The paint washes off easily with a little soap and water.
_______
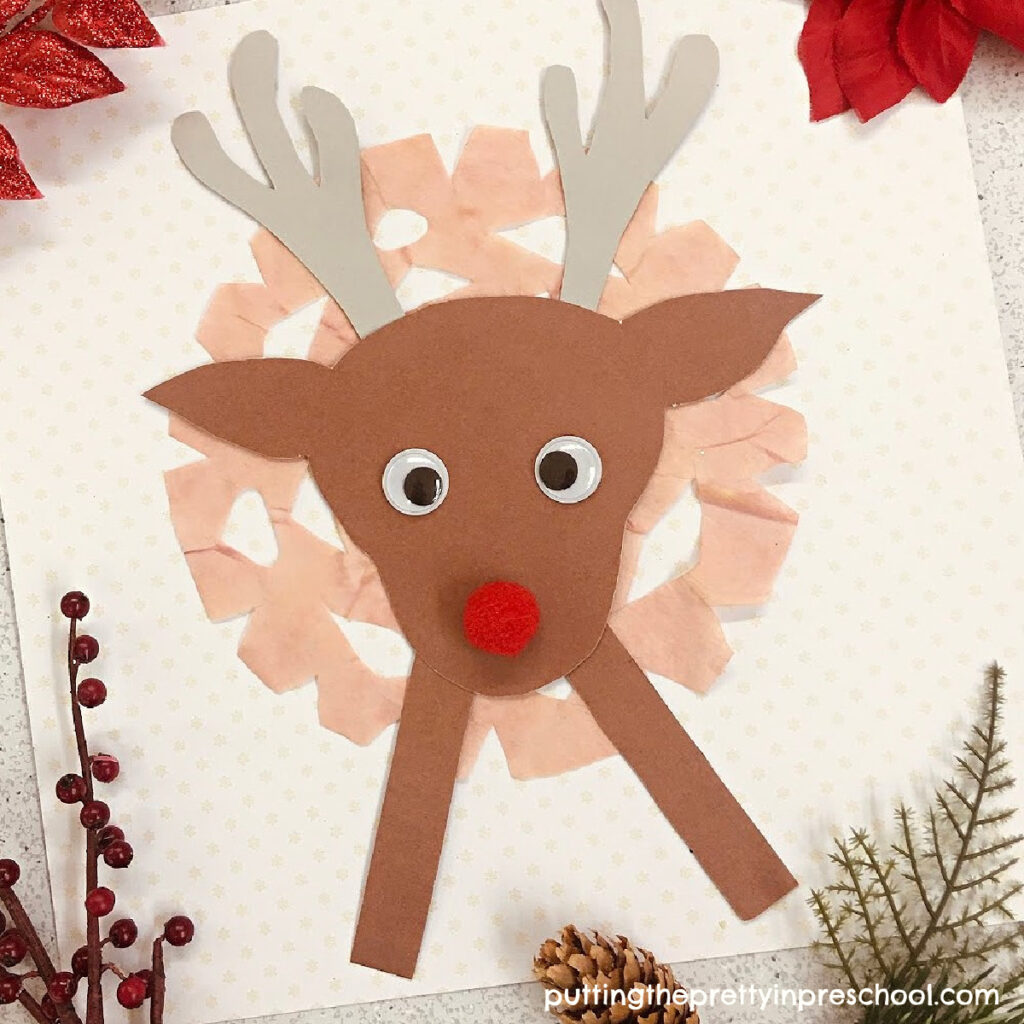
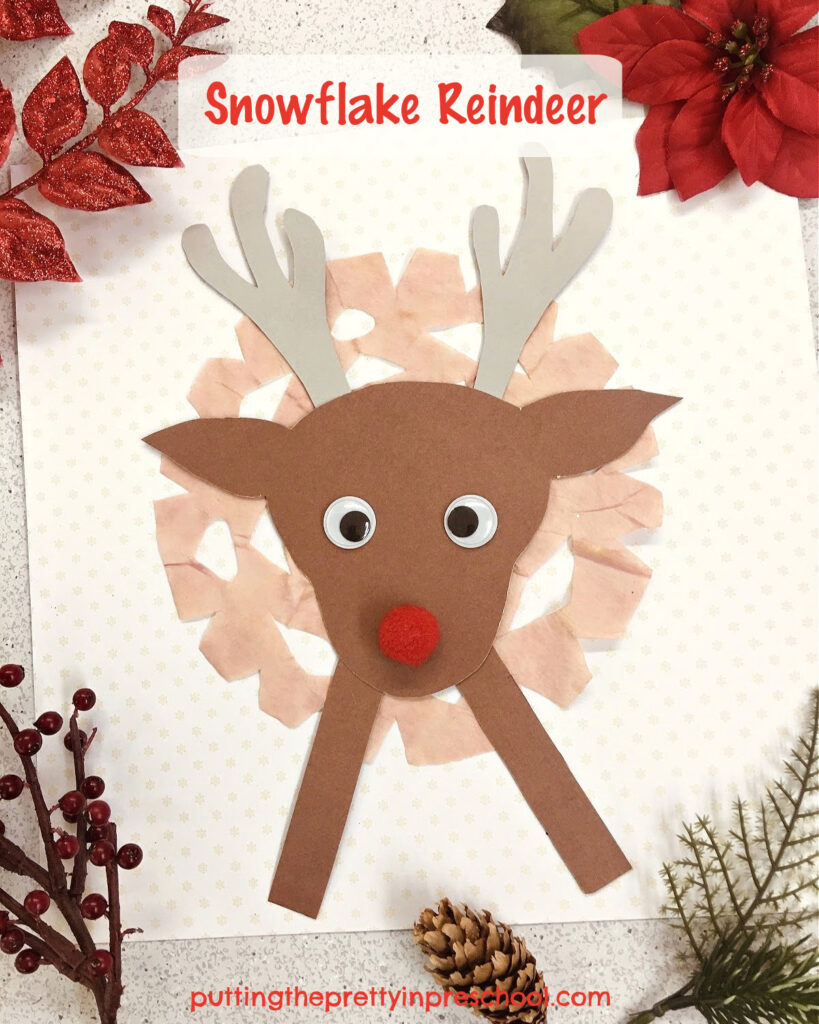
More Northern Lights-inspired Activities
Northern Lights Squish Painting
_______
[Read more…] about Polar Scene Snow Painting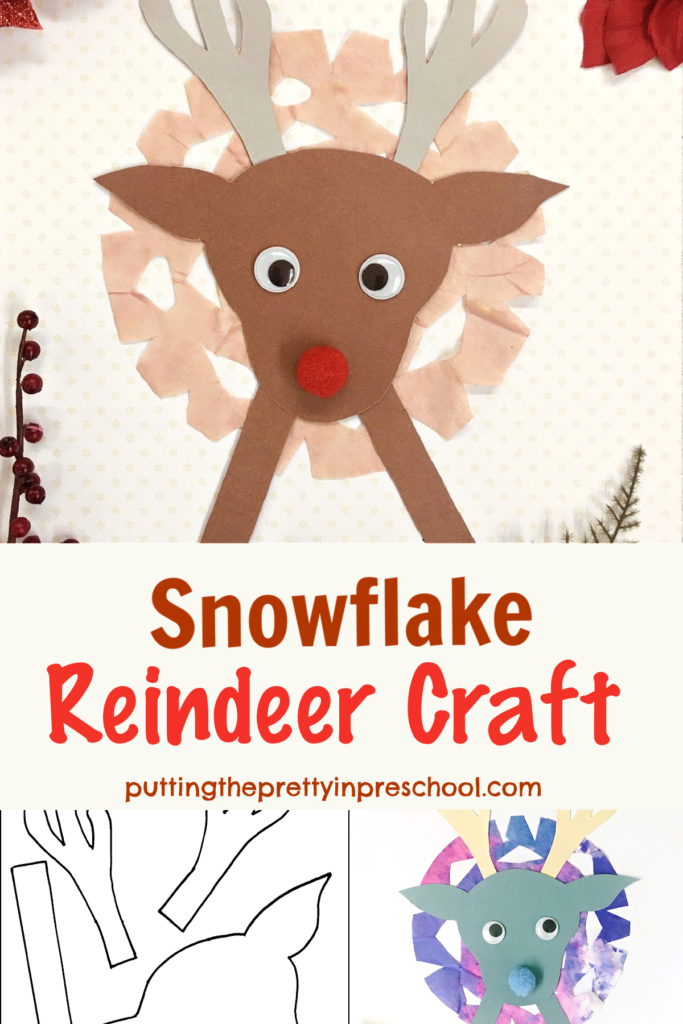


