_______
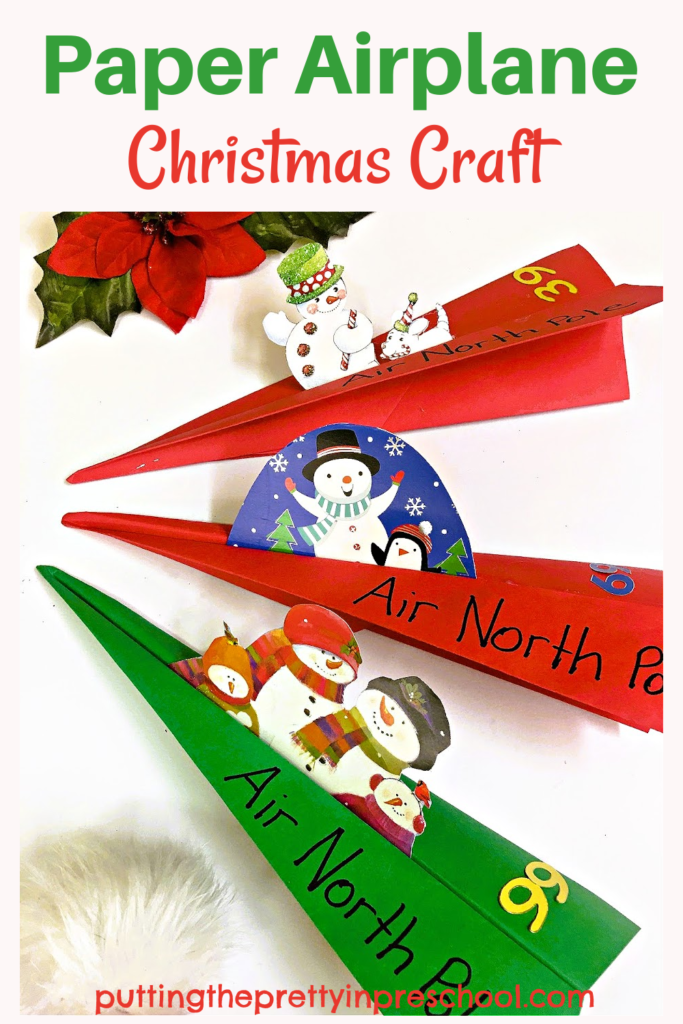
Children tend to get more and more energetic during the countdown to Christmas, and this paper airplane Christmas craft is bound to put some of that boundless energy to productive use. With the holiday airplane, children can transport paper passengers to the North Pole and back…so fun!
_______
Follow me on Pinterest for more early learning ideas.
_______
Supplies To Collect
Gather the following supplies for this Christmas air transportation craft:
- red and green copy paper
- recycled Christmas or gift cards
- number stickers
- scissors
- glue stick or glue gun
- black marker
_______
The Paper Airplane Christmas Craft
_______
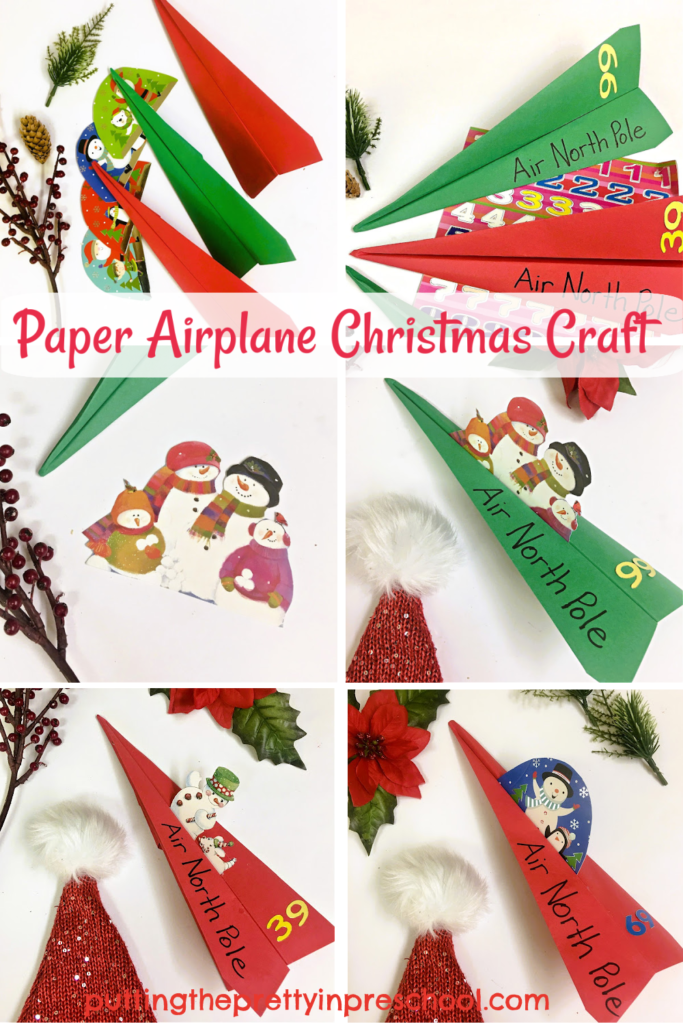
To make the craft, fold 8 ½ x 11- inch pieces of red and green copy paper into airplanes. I picked a basic model for the craft. HGTV has a great blog post titled “How To Make A Paper Airplane” detailing how to design it and craft a few other unique airplane styles.
_______
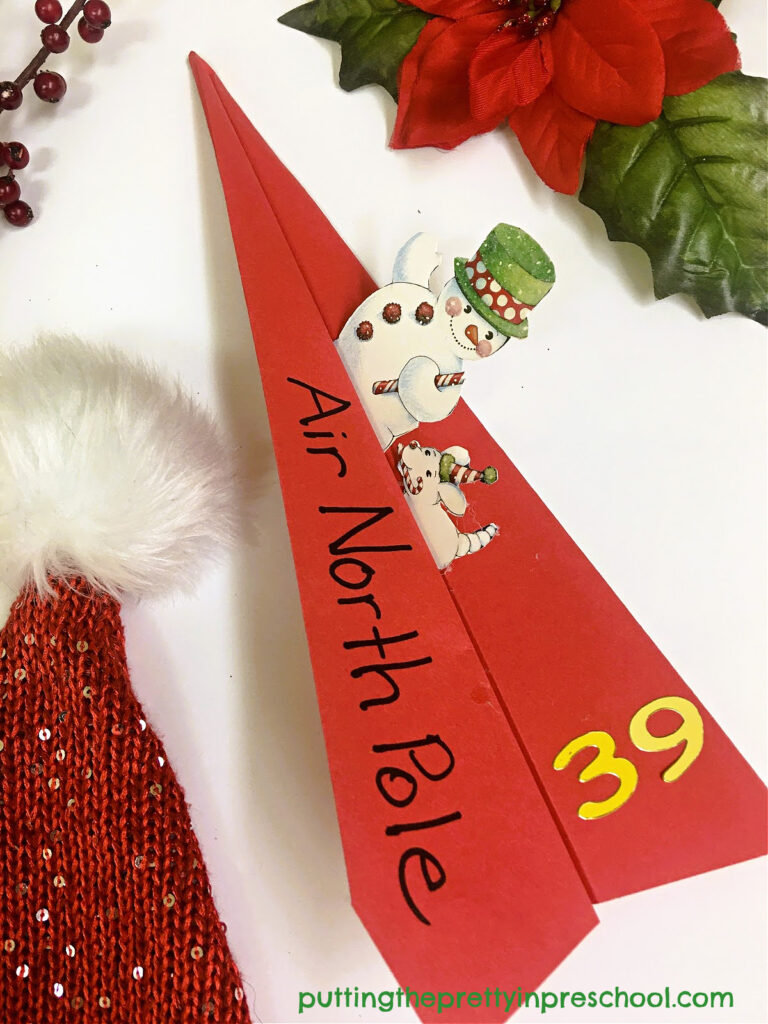
Then, select recycled Christmas or gift cards with animal or snowman characters and cut around them. A cardstock Santa would be fun to include too.
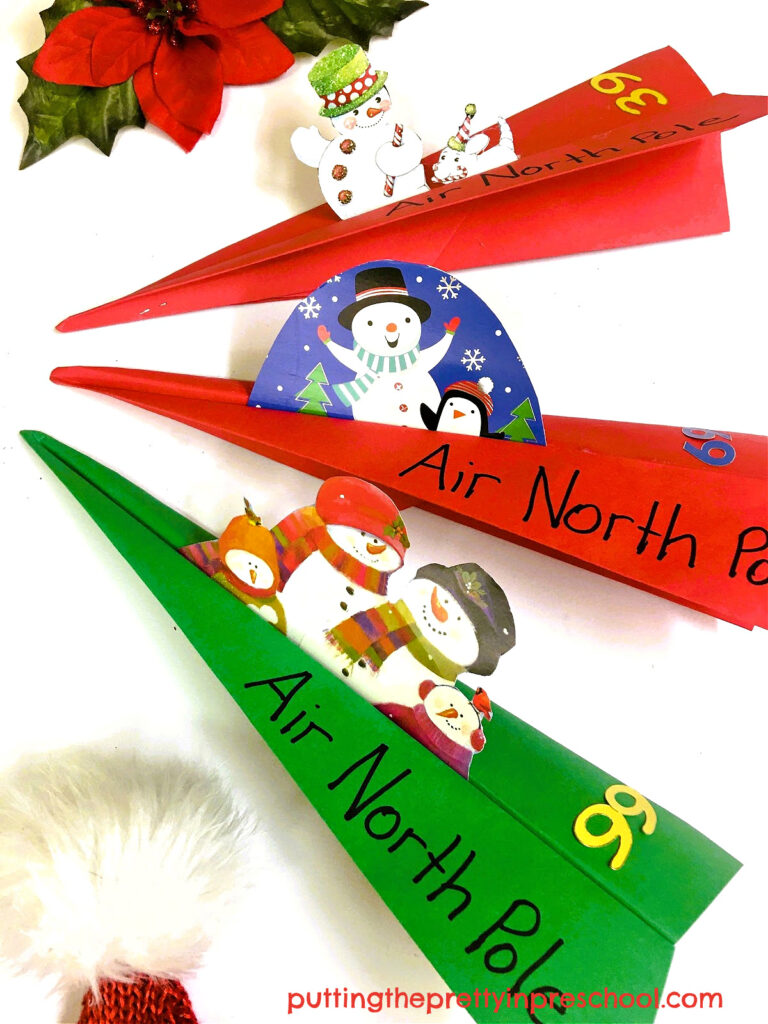
Next, use a glue stick or glue gun to affix the cutouts in the middle of Christmas planes. Then add more glue in spots that keep the airplanes folded together. As an alternative, use tape to secure the folded paper into airplane shapes.
Afterward, using a black marker, write the name of a North Pole airline on one side of the airplanes, and add number stickers to the other side. Or use the marker for the numbers too.
_______
Now the Christmas airplanes are ready to be tested in a flight. Little aviators can see how high, far, and fast their airplane can fly.
_______
Variations of the Paper Airplane Christmas Craft
Here are two variations of this festive airliner craft:
- Use thin Christmas-themed double-sided scrapbook paper for the airplanes. This is an easy way to add color and pattern to the craft.
- Use photo cutouts of your child and his friends to insert into the plane instead of animals, snowmen, and Santas.
_______
More Christmas Crafts:
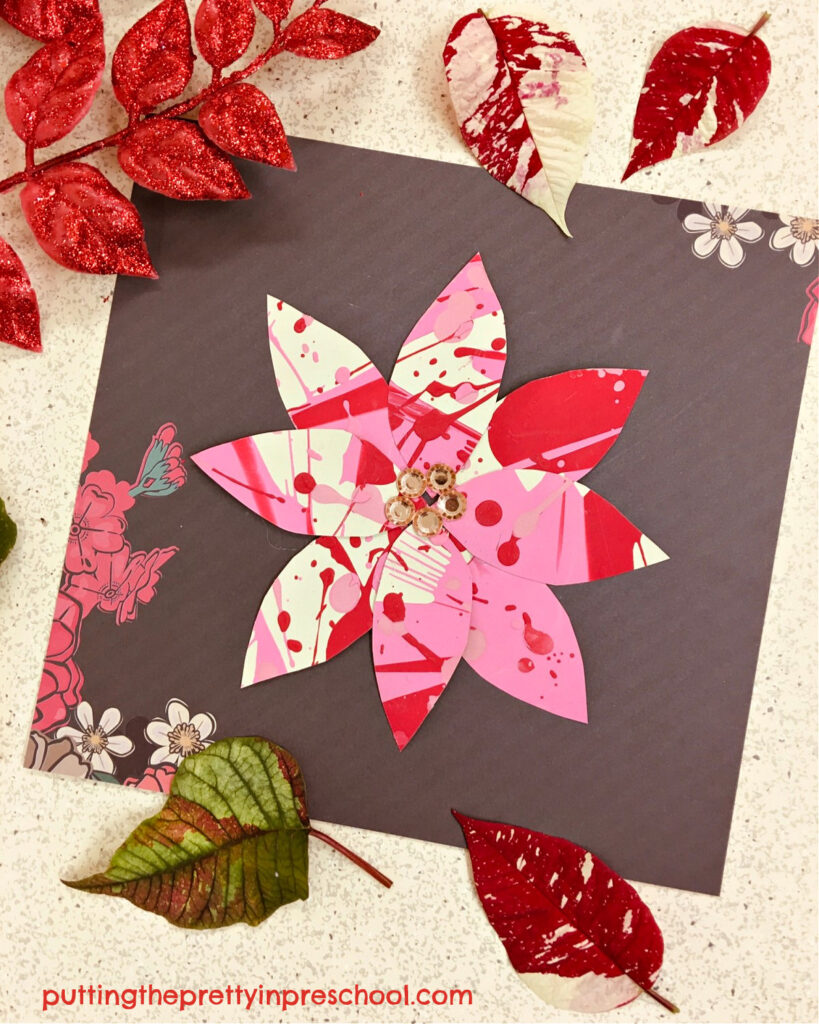
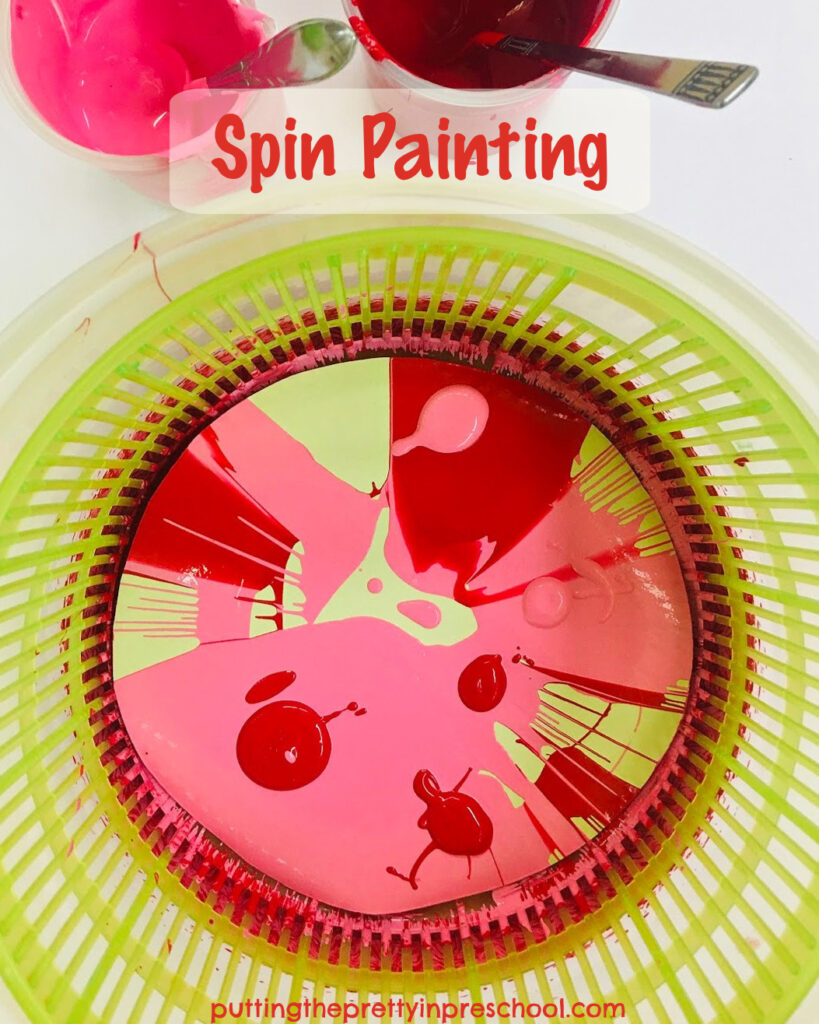
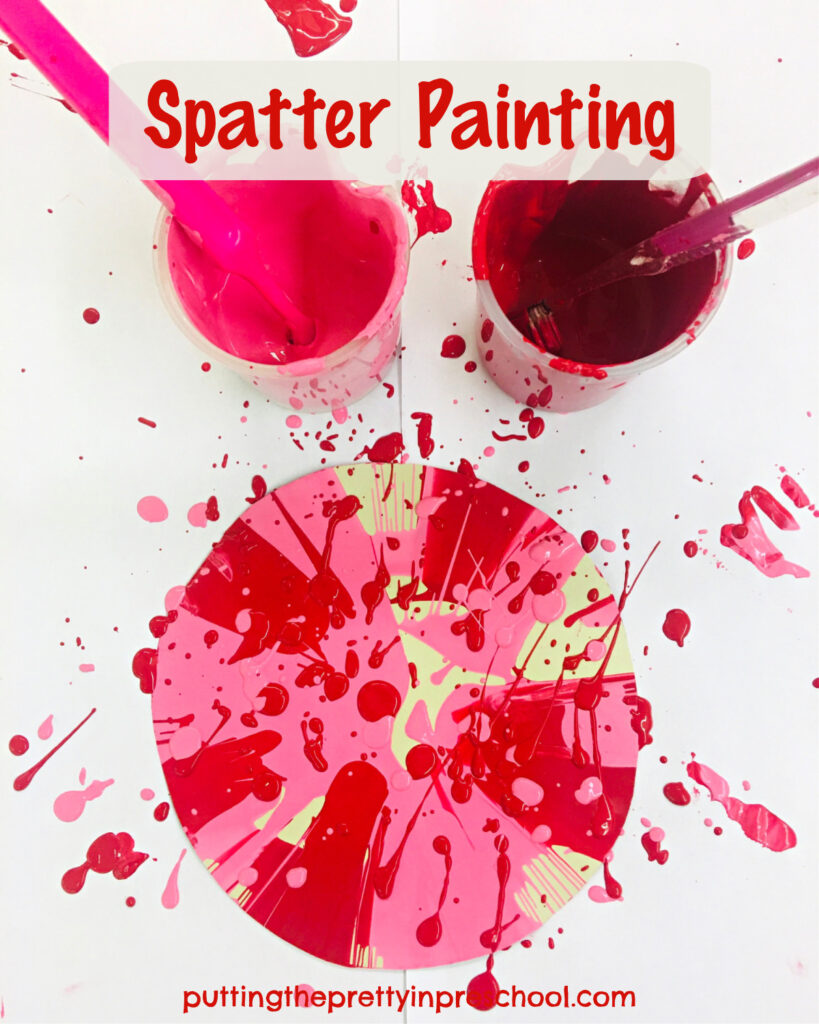
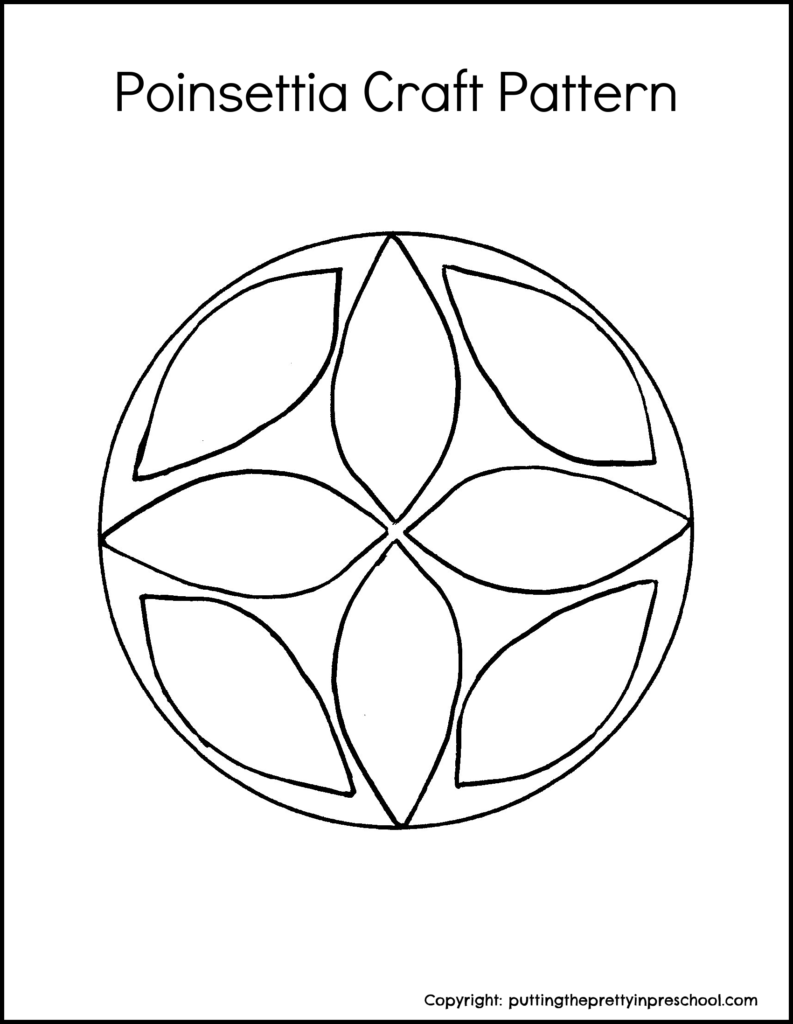
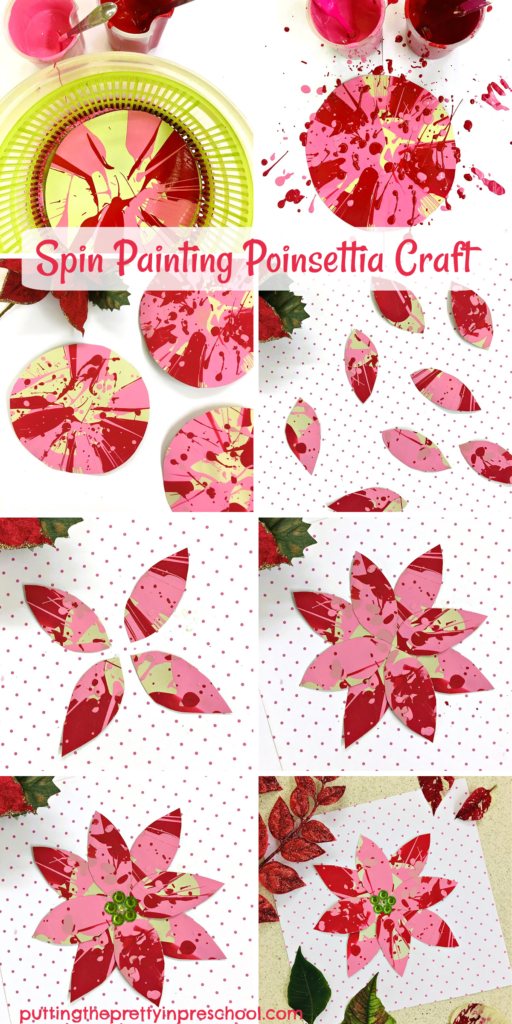
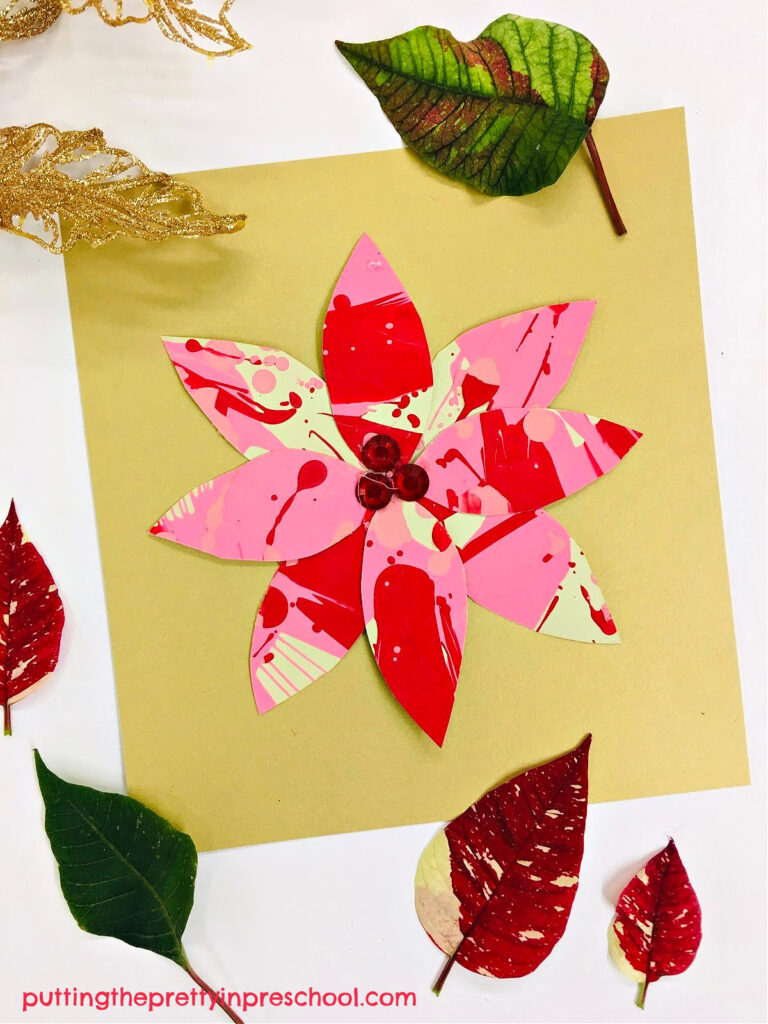
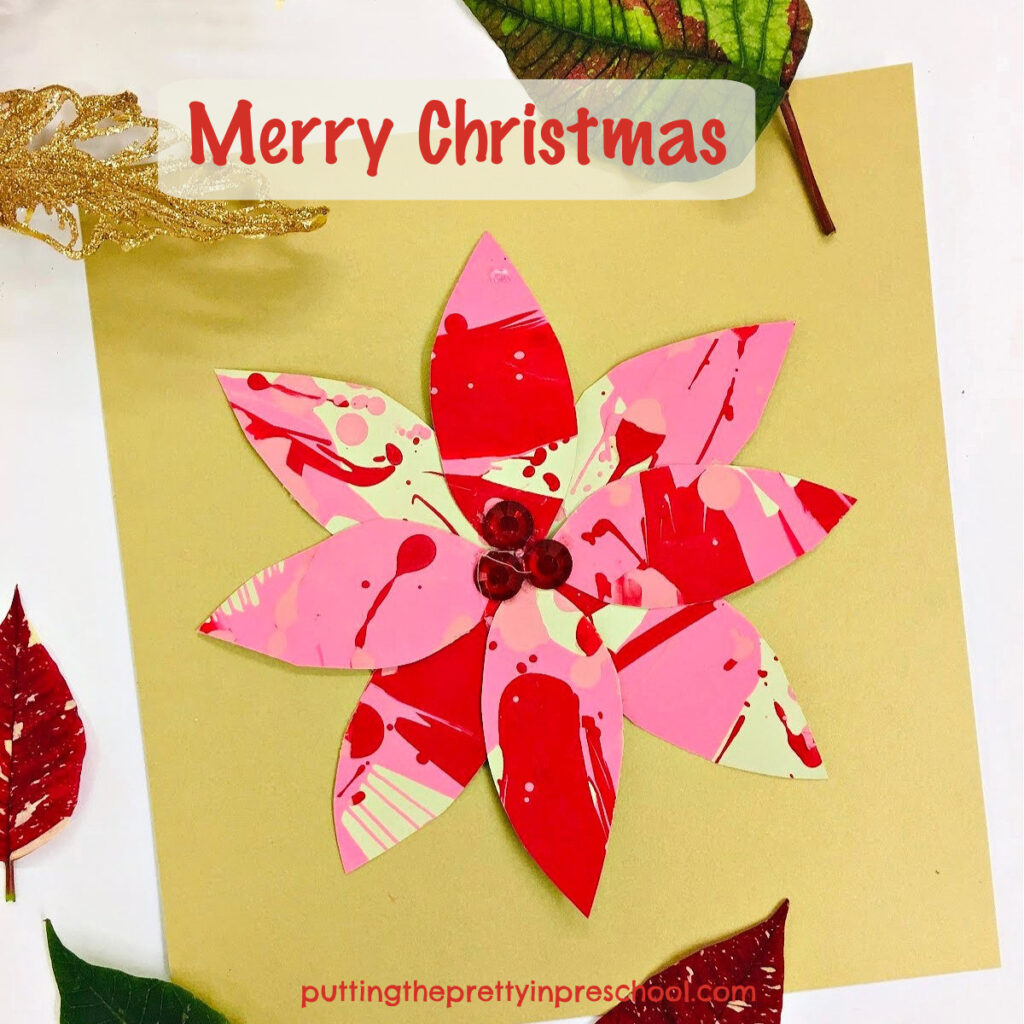
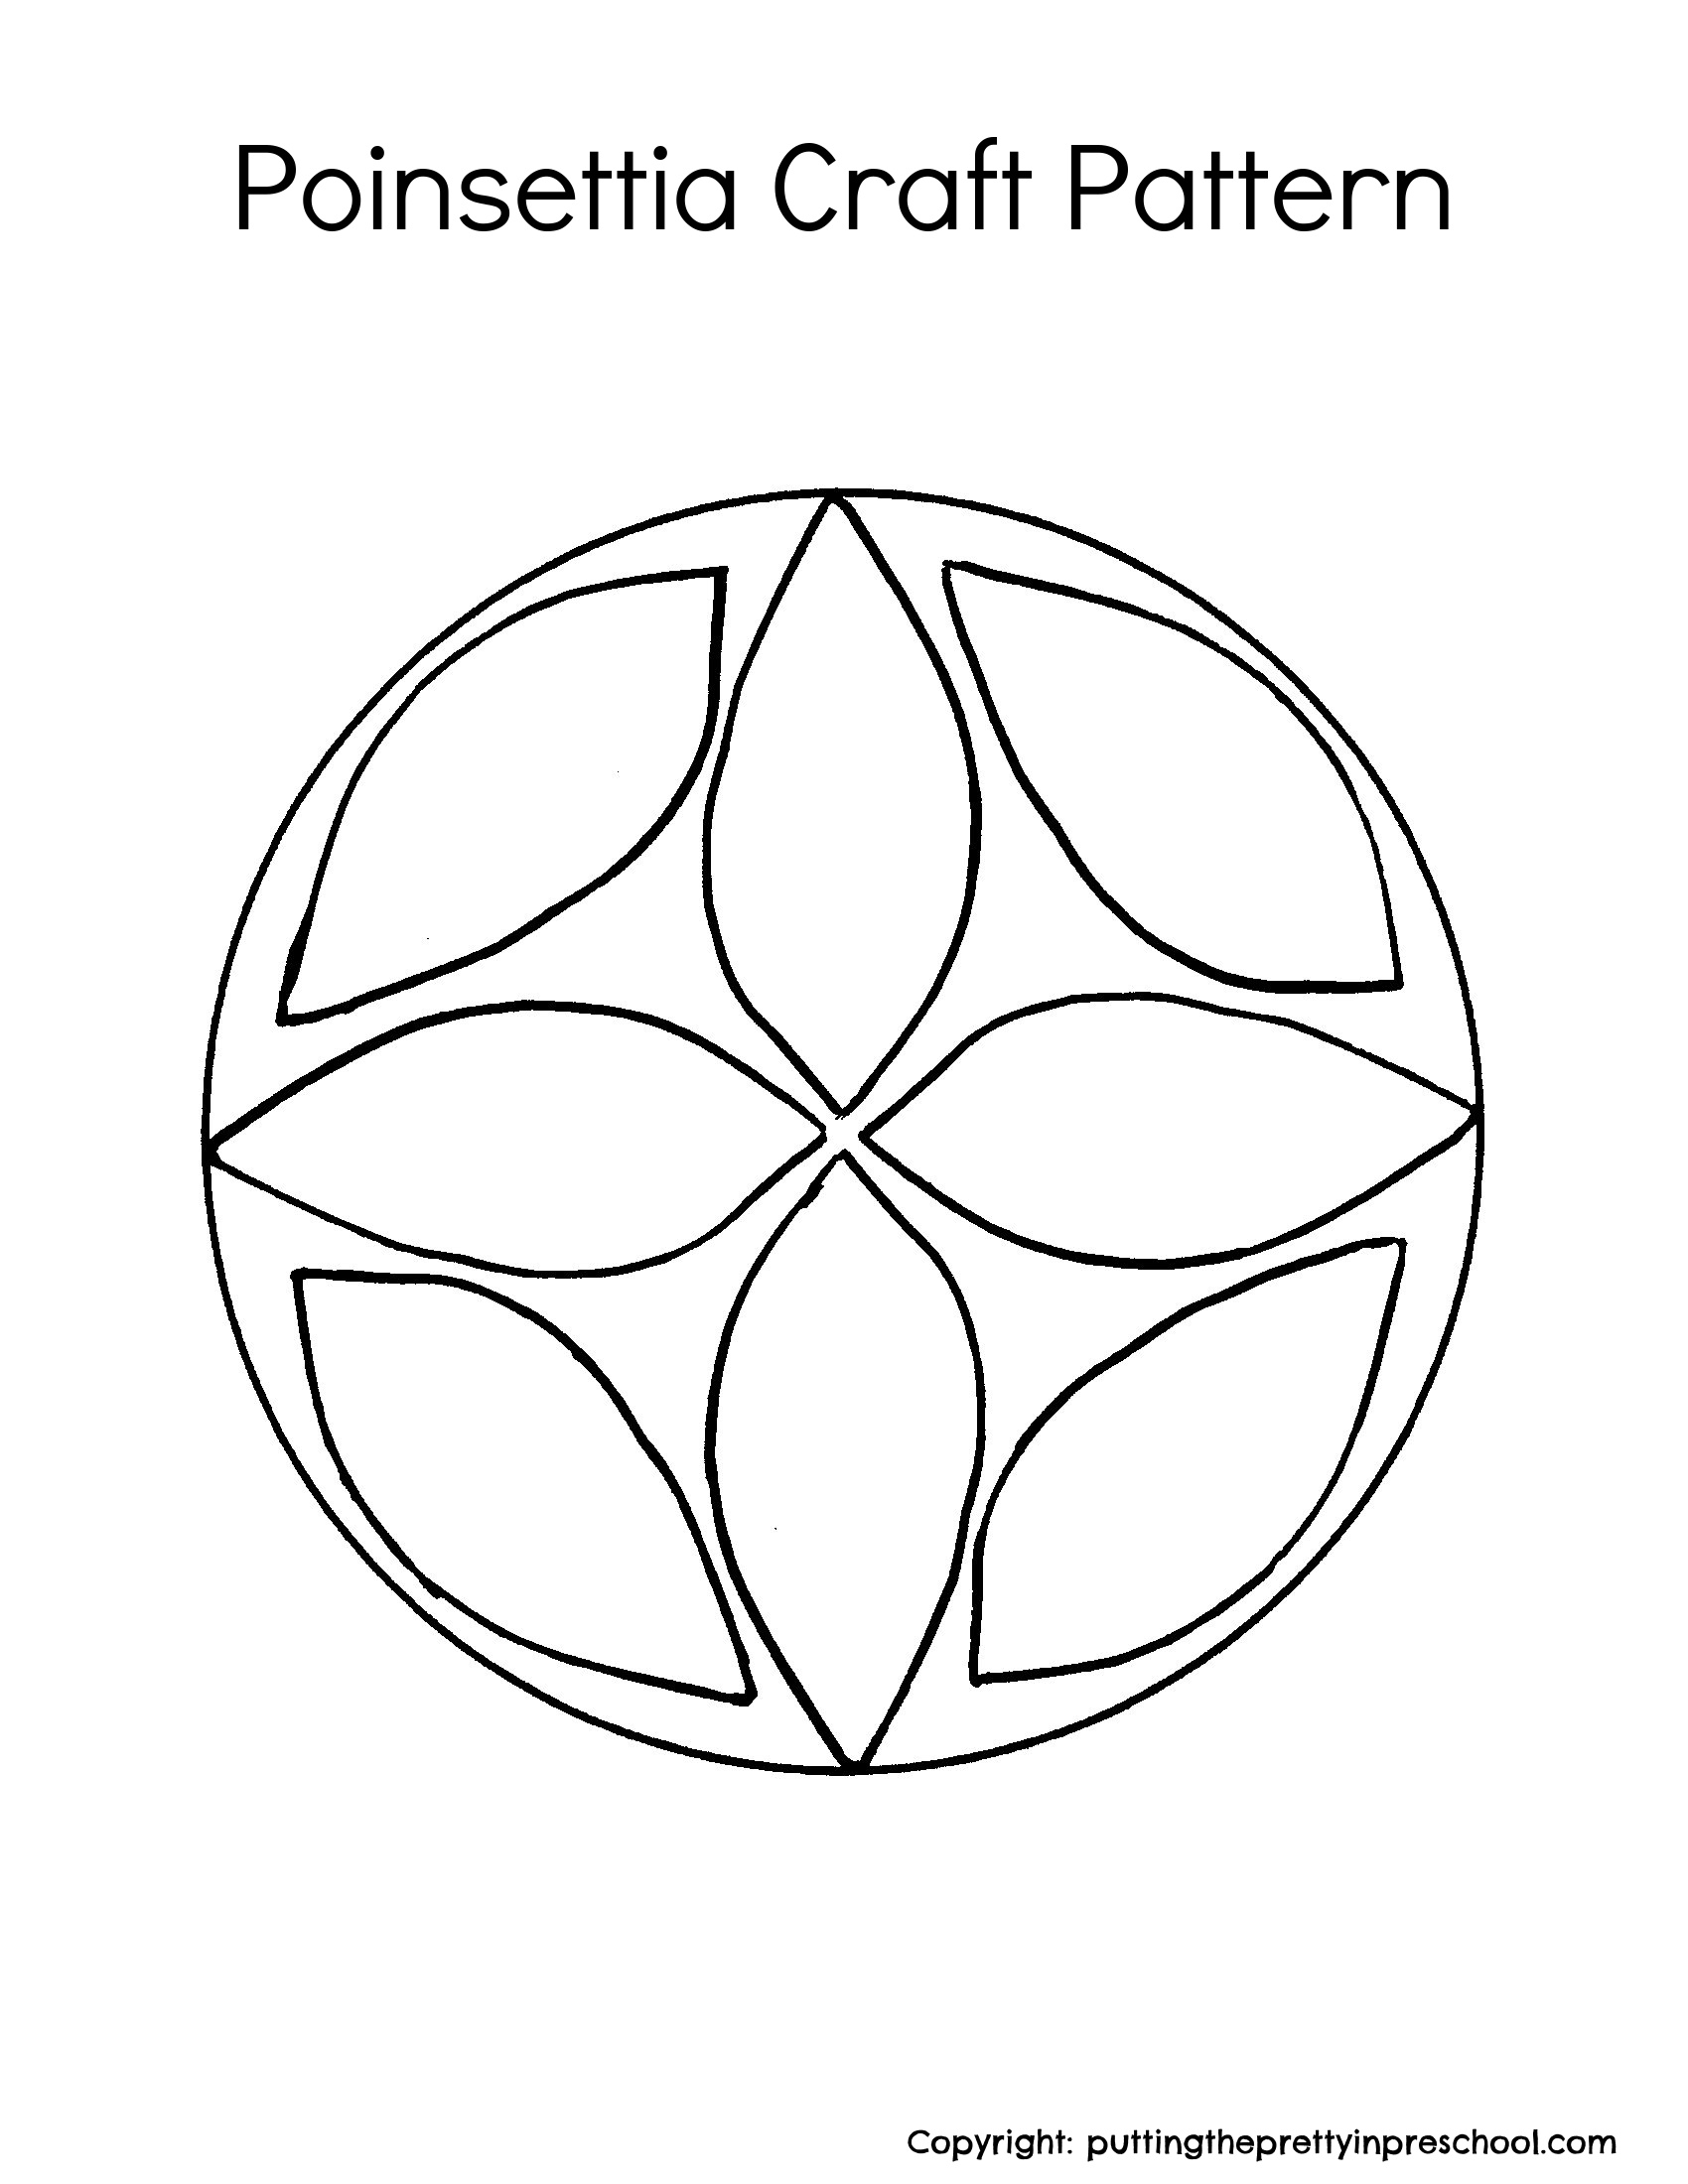
Spin Painting Poinsettia Craft
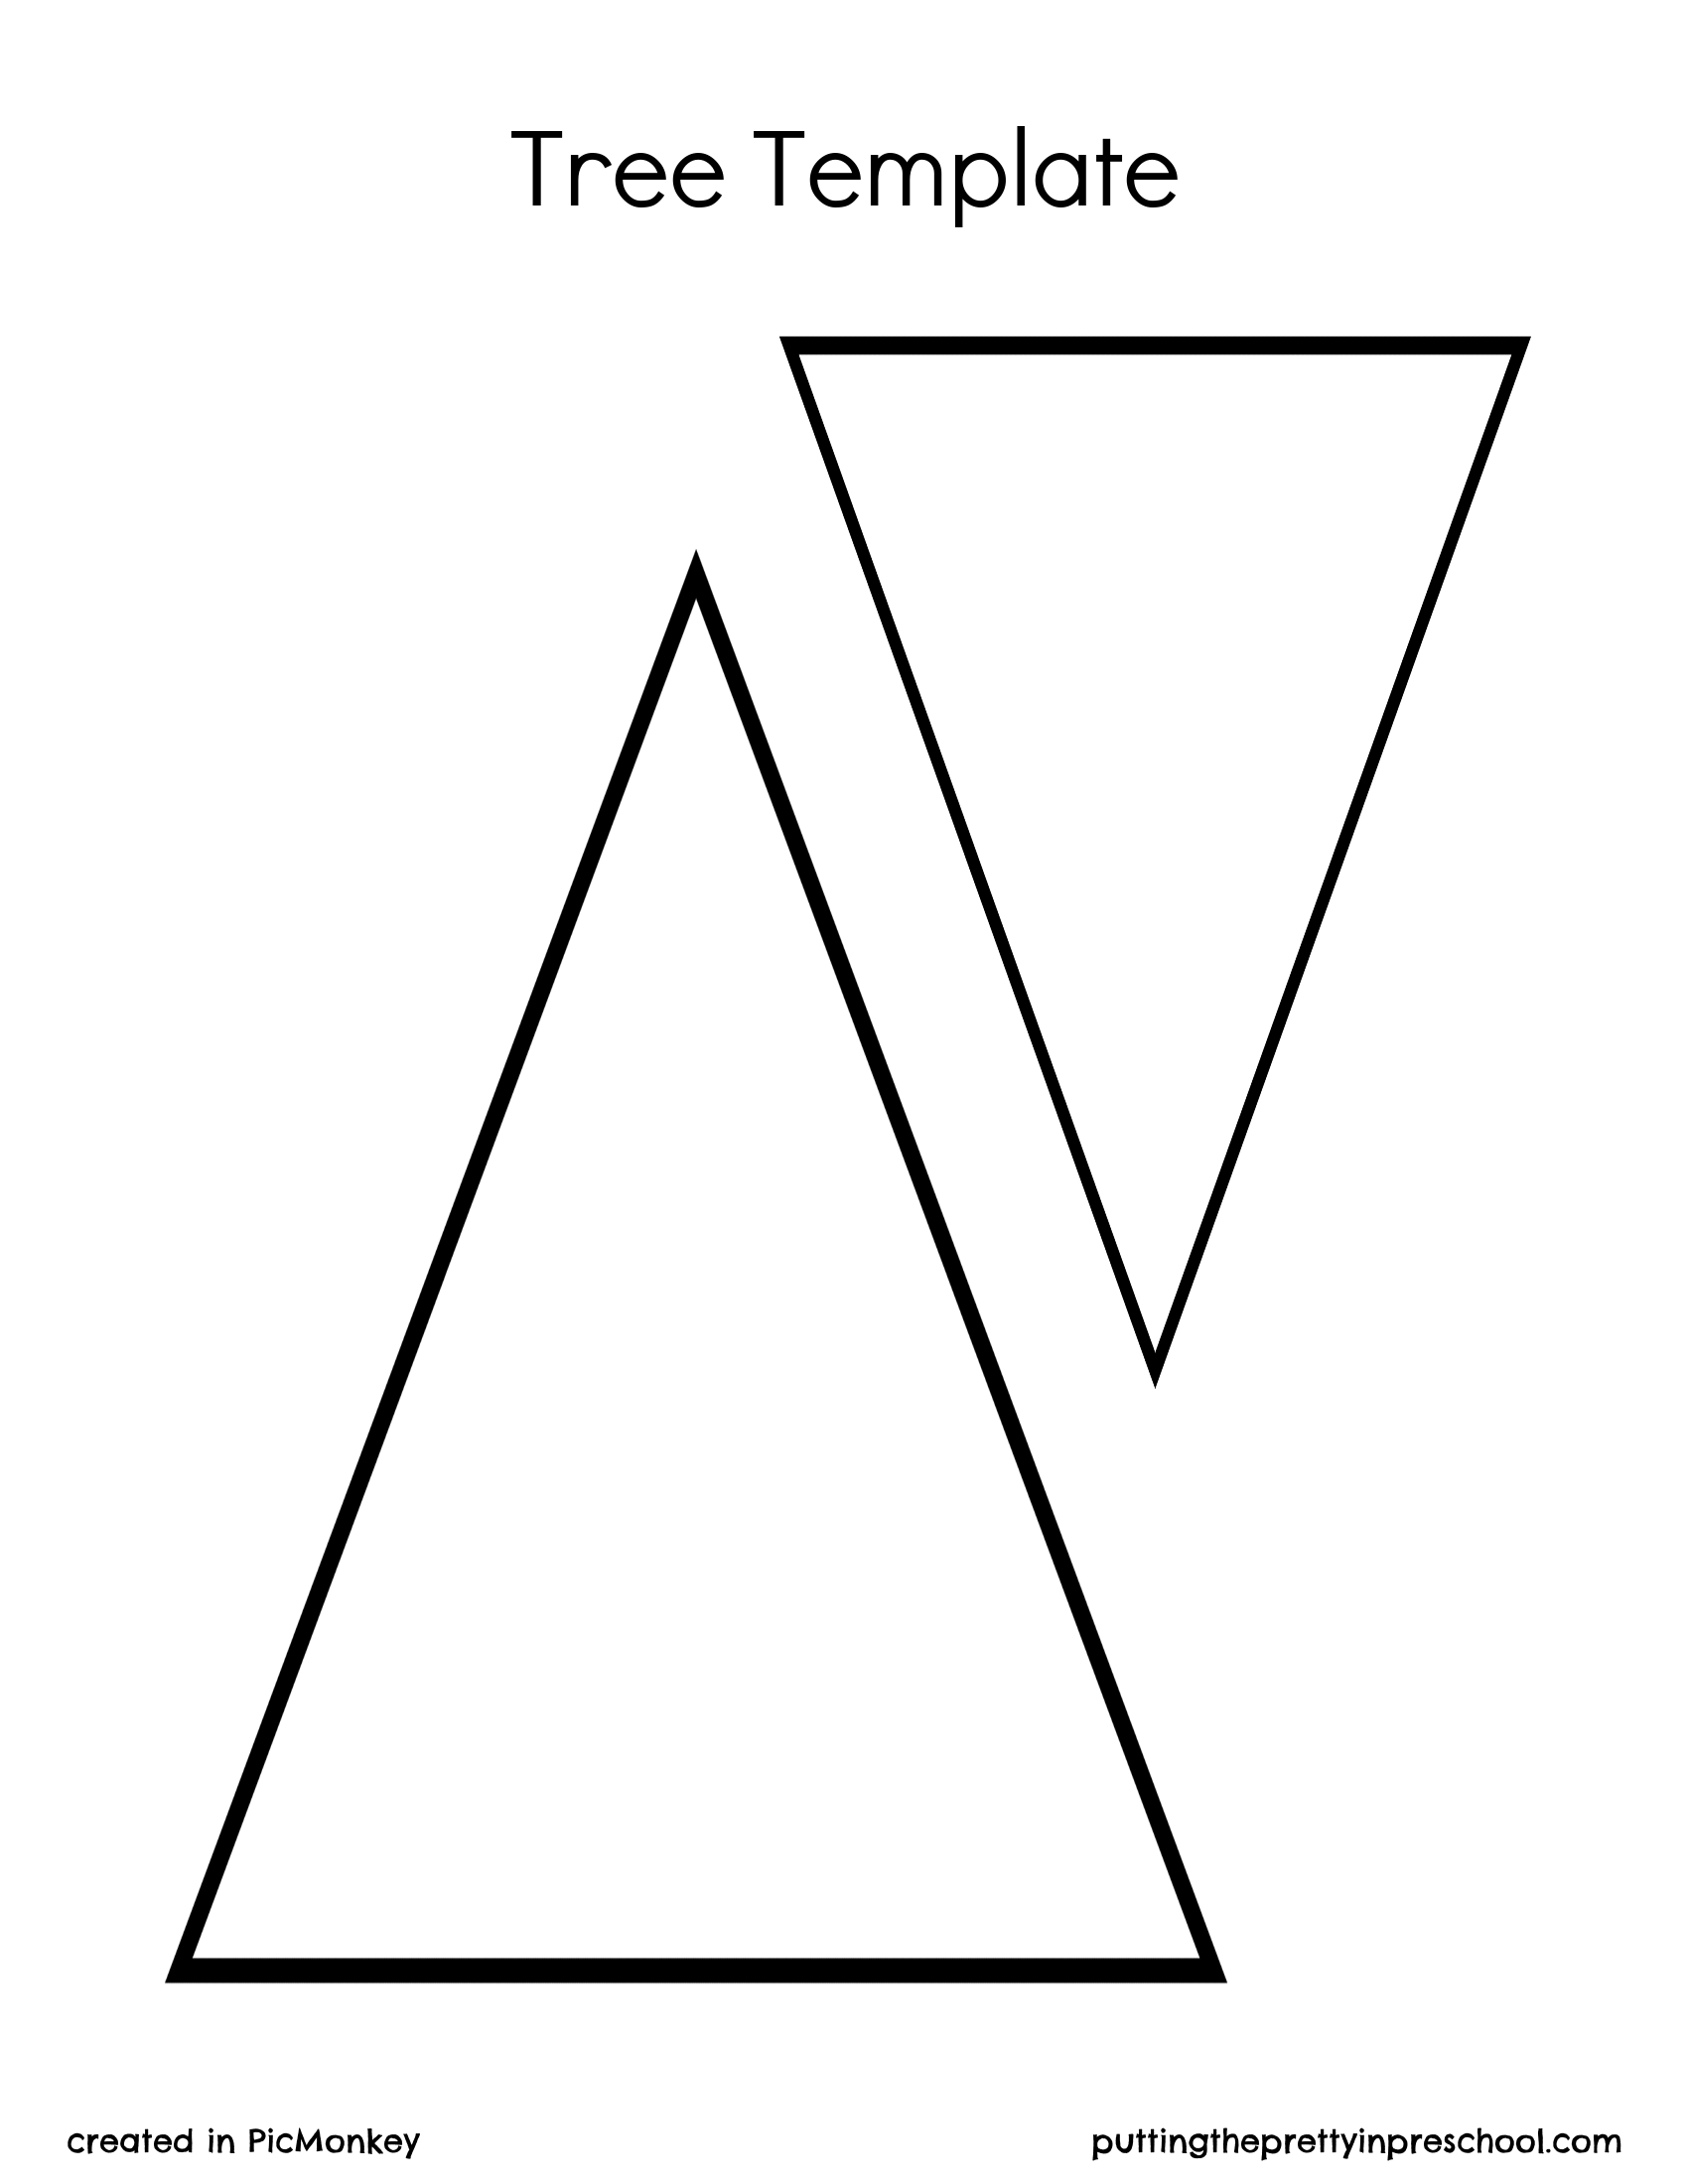
Monochromatic Christmas Tree Art
Handprint Angel Christmas Keepsake
_______
[Read more…] about Paper Airplane Christmas Craft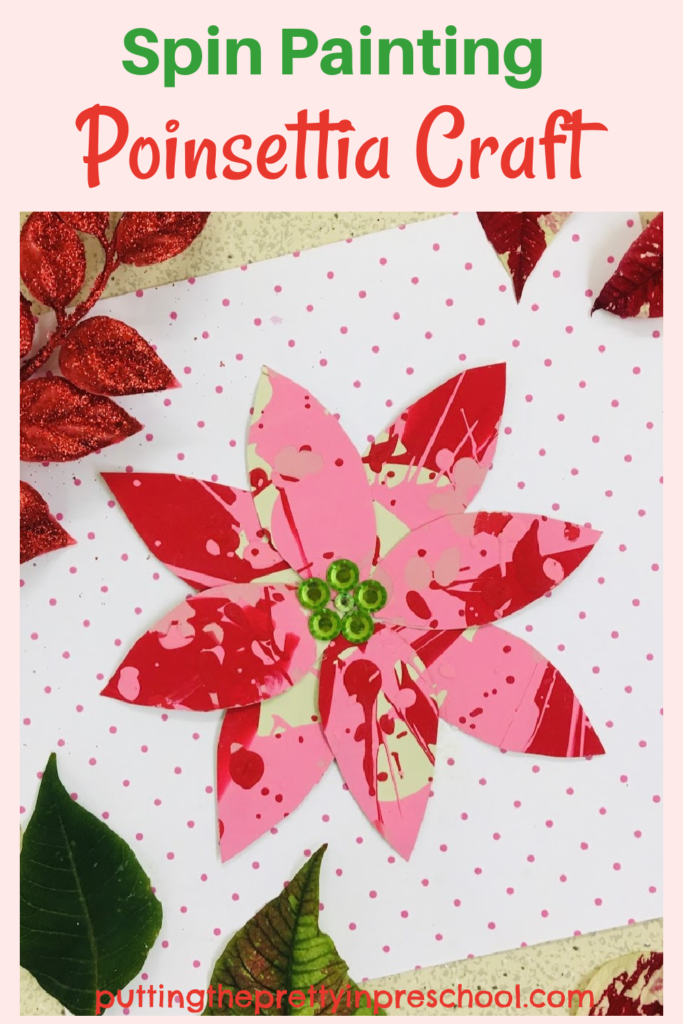


