• Skip to secondary menu
  • Skip to main content
  • Skip to primary sidebar

Putting The Pretty In Preschool

Finding Beauty In Everyday Early Childhood Experiences

  • Home
  • About Me
  • Winter
  • Chinese New Year
  • Blog
  • Contact Me
  • Black History Month
  • SHOP
  • Valentine’s Day

crafts

Gnome Christmas Stocking Craft

December 23, 2024 by Annette Kaminsky Leave a Comment

Tweet
Share
Share
Pin

_______

It’s all about the beard in this cozy gnome Christmas stocking craft. It is so easy to make and super cute to display. Make one (or two or three) to include in your holiday decorating scheme.

Gnomes are lovable, little mythical creatures with large noses and pointed hats. They are super popular in home décor. I love seeing them displayed in stores when I’m out and about around town. Tailored for every holiday season, they come in all sorts of colors and designs. The cheeky, whimsical characters provide endless inspiration for simple crafts to make.

_______

Supplies To Collect

Gather the following supplies for this charming gnome craft:

  • construction or cardstock paper
  • thick yarn
  • thin ribbon
  • large pom pom
  • craft punches
  • double-sided tape
  • scissors and pencil
  • glue stick and glue gun

_______

_______

Follow me on Pinterest for more early learning ideas.

_______

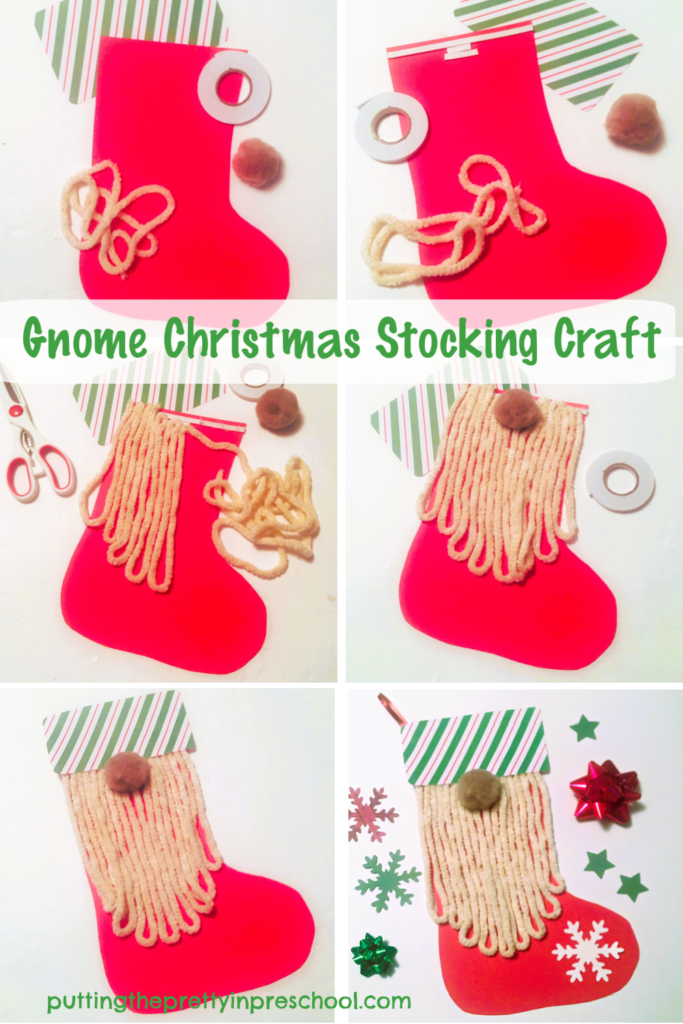
The Gnome Christmas Stocking Craft

To make this gnome Christmas stocking craft, start by picking out two complementary colors of cardstock or construction paper.

Next, draw on and cut out a Christmas stocking from an 8 ½ inch x 11-inch sheet of construction paper.
Then draw and cut out a cuff from paper in a coordinating color.

_______

Afterward, line the top of the paper stocking with double-sided tape, adding more small pieces to the center.

Next, select white or cream-colored yarn and loop it on the stocking, pressing the yarn onto the double-sided tape. Thick, fluffy yarn works well for this craft.

Then stick on a large light brown pom pom nose.

Secure the cuff to the top of the stocking with hot glue, and add a small loop to one of the upper edges for hanging.

Finally, glue on one or more foam or paper-punched holiday shapes to give the stocking extra flair.

_______

Once you’ve crafted one cozy character, you just might want to make more! This gnome Christmas stocking craft would make a fun family or classroom activity with everyone designing their own. The festive yarn and paper gnomes would display beautifully on a garland.

_______

Related:
Heart Doily Gnome Valentines
St. Patrick’s Day Gnome Craft

_______

December Kindness Activities Printable Set

A December Kindness Calendar and Kindness Jar are two activities to teach empathy and kindness at home or in the classroom. Download this gorgeous pastel holiday printable set of kindness activities in my Skills N Smiles Etsy Shop for a low-low price. You’ll have the December kindness activities ready in minutes!

_______

_______

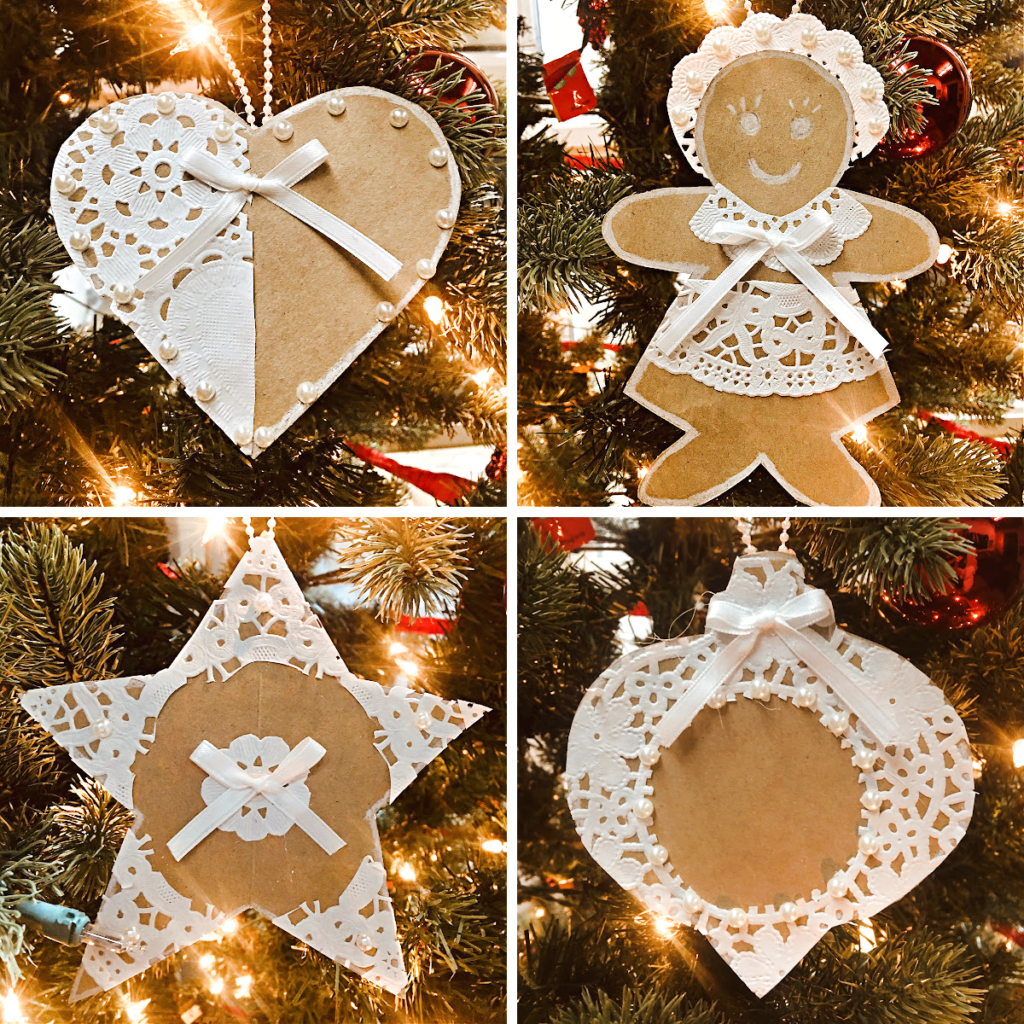
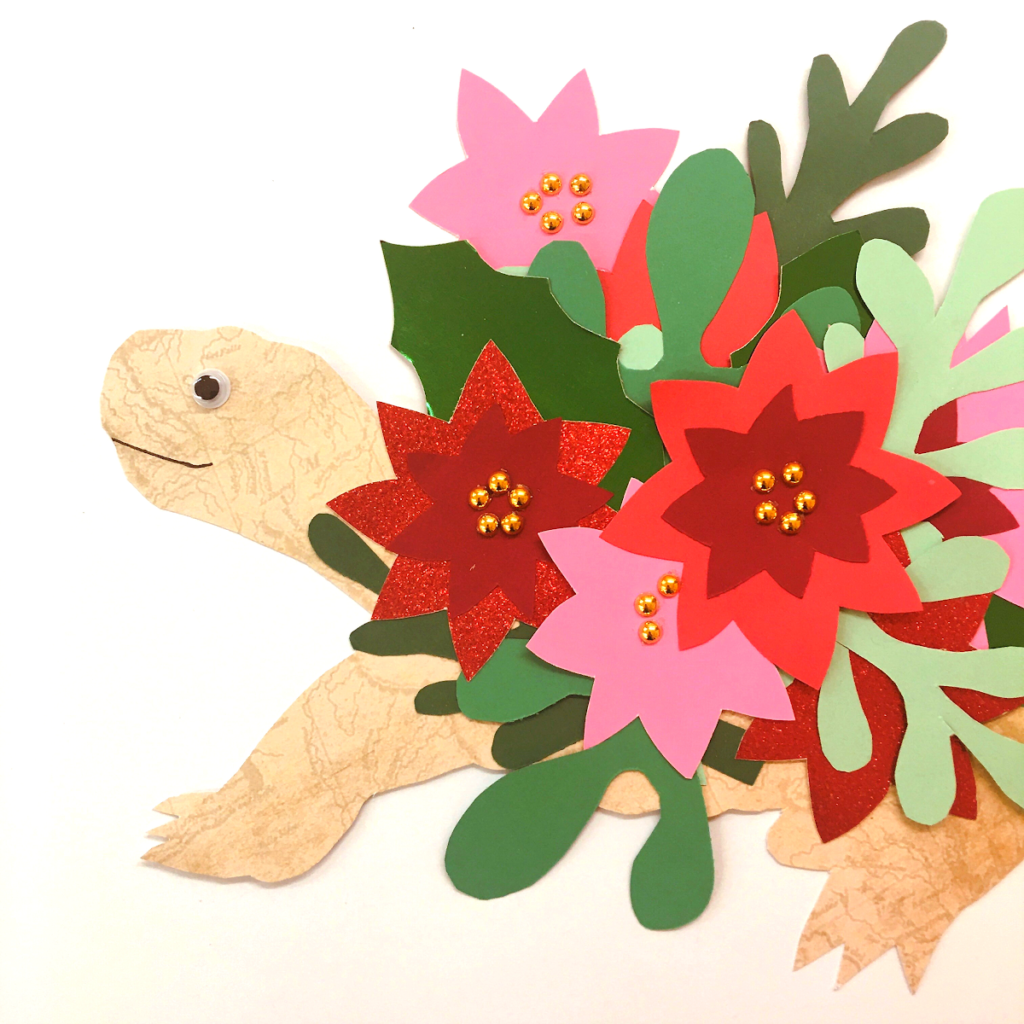
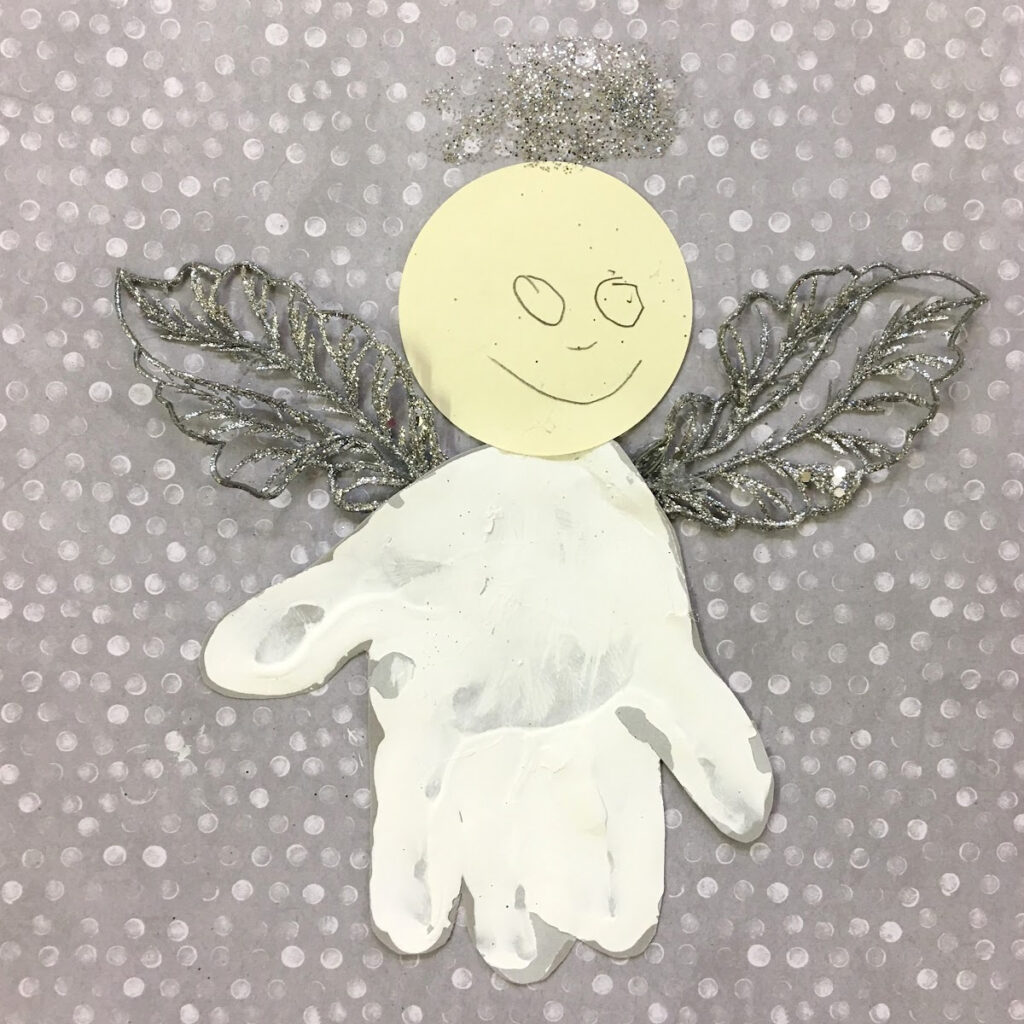
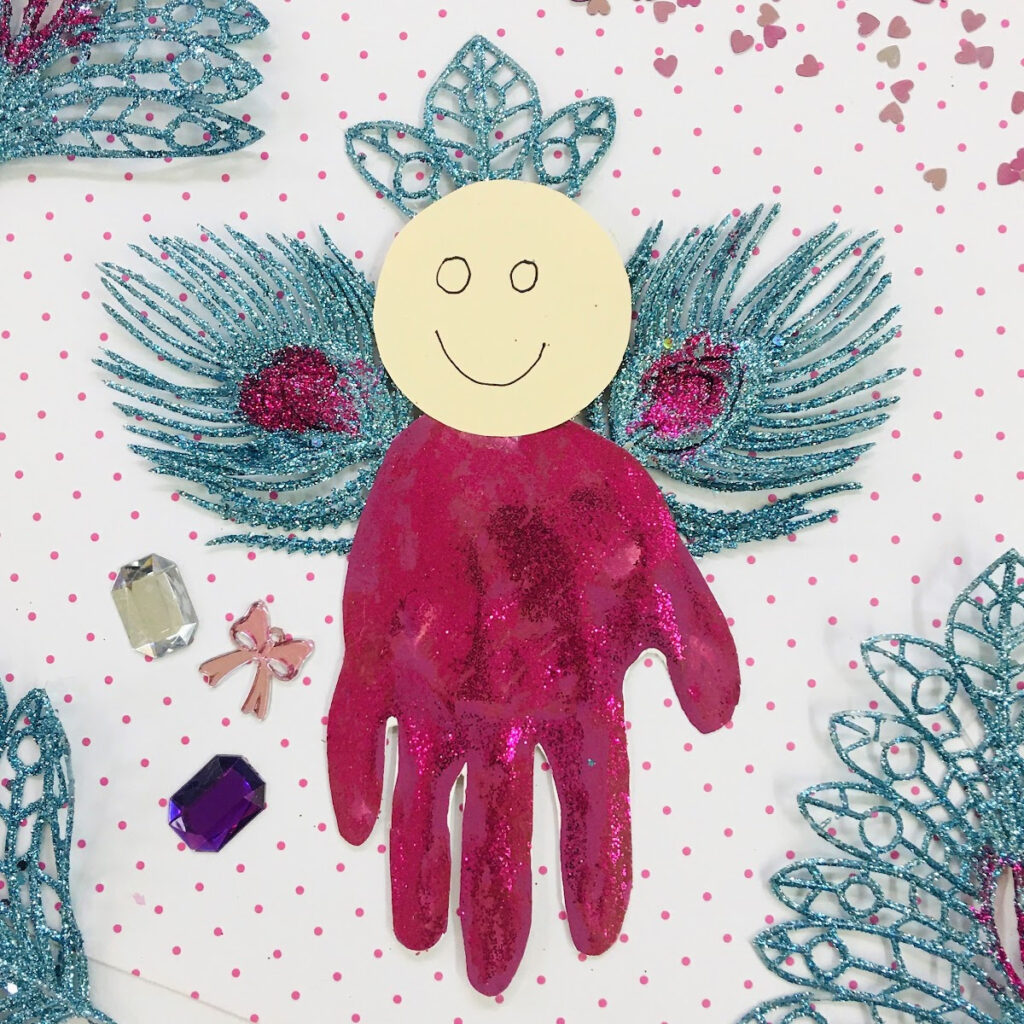
More Christmas Arts and Crafts

Click on the pictures below for more Christmas art and crafts ideas.

Washi Tape Christmas Pots
Sparkly Painted Christmas Trees
Christmas Sweater Sheep Craft
Octopus Bell Christmas Craft
Paper Bag Christmas Ornaments
Paper Airplane Christmas Craft
Christmas Turtle Craft
Elegant Angel Christmas Craft
Squish Painted Christmas Dove
Pretty Angel Christmas Craft
Christmas CD Craft
Monochromatic Christmas Trees

_______

[Read more…] about Gnome Christmas Stocking Craft
Tweet
Share
Share
Pin

Filed Under: art, Christmas, crafts, preschool Tagged With: gnomes, paper crafts

Paper Bag Grinch Craft

December 22, 2024 by Annette Kaminsky Leave a Comment

Tweet
Share
Share
Pin

_______

This cute and colorful paper bag Grinch craft doubles up as an aromatic Christmas present to give to someone special over the holiday season.

It’s tradition for me to visit a nearby greenhouse during the holiday season to view the beautifully decorated Christmas trees. The trees all have gorgeous, coordinated decorations that complement each other in color and theme. The decorations are the inspiration for crafts to make. At the end of my visit, I pick out a lemon cypress plant to take home and often select other items to purchase.
.
Lemon cypress plants look like miniature Christmas trees and are often decorated with tiny ornaments as a space-saving holiday sensory activity. They have light green feathery foliage that grows in a cone shape. When the leaves are rubbed or crushed, they smell like lemon. The tip of the lemon grass plant reminds me of the tuft of hair on Dr. Seuss’s storybook character “The Grinch.” That’s why they are paired in this paper bag craft and gift.

_______

Supplies To Collect

Collect the following supplies for this Grinchy green and yellow craft:

  • lemon cypress plant
  • paper lunch bags
  • green and yellow tempera paint
  • paint pot and brush
  • yellow and black construction paper
  • red and black markers
  • scissors and pencil
  • glue stick and tape
  • yarn and single hole punch
  • waterproof tablecloth

_______

Follow me on Pinterest for more early learning ideas.

_______

The Paper Bag Grinch Craft


To make this paper bag Grinch craft, start by pouring light green or neon green tempera paint into a paint pot.

_______

Next, set out the paint, paintbrush, and a paper bag on a table covered with a waterproof tablecloth.
Paint one side of the bag and let it dry. Paint the other three sides, allowing the paint to dry on each side before continuing. The drying process may take a few hours.

Note: An alternative is to stand the bag on the art table and place a few sheets of crumpled scrap paper inside. Paint a thin layer of tempera all over the bag and let it dry. Then remove the inserted paper.

When the painted lunch bag is dry, fold it into its original shape.

Then cut two large almond-shaped eyes from yellow construction paper and line the outside edges with a black marker.

Cut small circles from black sturdy paper and glue them to the yellow eyes.

Afterward, thoroughly add glue to the back of the crafted eyes with a glue stick, and affix the peepers to the bag in a slanted position.

_______

Next, use the black marker to draw a small nose and a deep curved mouth on the bag.

Then draw eyelashes around the eyes and give the paper bag face slanted eyebrows.

Cut a small rectangle from yellow construction paper and write the words “Merry Grinchmas” on it with a red marker.

Next, punch a hole in the edge of the paper greeting and tie on a section of yarn.

Finally, tape the yarn inside the tip of the bag and carefully set in a small potted lemon cypress plant.

_______

Variation of the Paper Bag Grinch Craft

_______

To simplify this festive craft, use a bright green crayon to color the bag instead of painting it. The green hue will not be as bright as the painted version but the craft will be just as delightful.

_______

This lemon cypress plant-filled paper bag Grinch craft would make a cute gift from a child to a parent or grandparent. Who will you give your Grinch craft to?

Merry Grinchmas!!!

More Christmas Art and Crafts

Click on the pictures below for more Christmas art and craft projects.

Washi Tape Christmas Pots
Sparkly Painted Christmas Trees
Christmas Sweater Sheep Craft
Octopus Bell Christmas Craft
Paper Bag Christmas Ornaments
Paper Airplane Christmas Craft
Christmas Turtle Craft
Elegant Angel Christmas Craft
Squish Painted Christmas Dove
Pretty Angel Christmas Craft
Christmas CD Craft
Monochromatic Christmas Trees

_______

[Read more…] about Paper Bag Grinch Craft
Tweet
Share
Share
Pin

Filed Under: art, book theme, Christmas, crafts, preschool, science, sensory Tagged With: Christmas craft, Christmas tree, Dr. Seuss, gardening, paper bag crafts

Paint Chip Christmas Card

December 20, 2024 by Annette Kaminsky Leave a Comment

Tweet
Share
Share
Pin

_______

Paint chips, available at hardware stores, come in a glorious array of colors and shades with equally splendid names. The rows and rows of paint color samples offer many choices for painting walls and other items. Teachers love to use recycled or donated paint chips for educational purposes such as sorting and matching activities. Creators love them for craft projects. The many-hued paint color samples add beauty to any activity or project and look pretty in this paint chip Christmas card with a tree theme.

Artificial Christmas trees also come in a huge array of colors. In addition to traditional green, you can now purchase a tree in your favorite color. Many come pre-lighted and ready for ornaments to be strung…so easy! This festive homemade card features paint chip swatches in five colors.

_______

Supplies To Collect

Gather the following supplies for this simple handmade Christmas card:

  • 8 ½ x 11-inch white cardstock
  • donated or recycled paint chips
  • adhesive gemstone stickers
  • pencil and scissors
  • marker
  • glue stick

_______

Follow me on Pinterest for more early learning ideas.

_______

_______

Making the Paint Chip Christmas Card

To make this tree-themed Christmas card, fold an 8 ½ x 11-inch piece of cardstock in half. I chose a creamy white color for the cardstock as I like it better than pure white.

_______

Next, draw and cut out a Christmas tree from cardstock to be your tracer. The tree should be slightly smaller than your paint chip samples. A cardstock scrap works fine for this.

Then pick out five donated or recycled paint chips in varied colors for the trees. This is the most fun!

Using the tracer as a guide, trace and cut out small trees from the paint color cards.

Afterward, arrange the tree cutouts on the front of the folded white cardstock sheet, and glue them on using the glue stick. Leave a little space to add a holiday message such as “Merry Christmas” or “Happy Holidays.”

_______

As a finishing touch pick one tree to add adhesive gemstone stickers to. I had silver gemstone stickers handy, so they were my choice for the dose of glam.

Pen a greeting inside the tree-themed paint chip Christmas card and it is ready to give to someone special during the festive holiday season.

_______

More Christmas Tree Activities

Color Explosion Science Experiment

Build A Christmas Tree Steam Activity

Christmas Tree Decorating Center

Candy Cane Tree Experiment

_______

_______

December Kindness Activities Printable Set

A December Kindness Calendar and Kindness Jar are two activities to teach empathy and kindness at home or in the classroom. Download this gorgeous pastel holiday printable set of kindness activities in my Skills N Smiles Etsy Shop for a low-low price. You’ll have the December kindness activities ready in minutes!

_______

_______

More Christmas Art and Crafts Activities

Click on the pictures below to access more Christmas art and crafts activities.

Washi Tape Christmas Pots
Sparkly Painted Christmas Trees
Christmas Sweater Sheep Craft
Octopus Bell Christmas Craft
Paper Bag Christmas Ornaments
Paper Airplane Christmas Craft
Christmas Turtle Craft
Elegant Angel Christmas Craft
Squish Painted Christmas Dove
Pretty Angel Christmas Craft
Christmas CD Craft
Monochromatic Christmas Trees

_______

[Read more…] about Paint Chip Christmas Card
Tweet
Share
Share
Pin

Filed Under: Christmas, crafts, preschool, trees, winter Tagged With: paper crafts, tree art

Remembrance Day Butterfly Art

November 6, 2024 by Annette Kaminsky Leave a Comment

Tweet
Share
Share
Pin

_______

Remembrance Day is celebrated each year on November 11 in many countries. It is a day to remember the end of World War I and the many soldiers who died in battle. In Canada, it is also a day to recognize and appreciate the people who serve in the army today.

_______

The Red Poppy and Remembrance Day

Wearing a red poppy has become a tradition on Remembrance Day, and the days leading up to it. After noticing the abundance of red poppies that sprouted up among the graves of fallen soldiers when World War I ended, a Canadian doctor wrote the now-famous poem “In Flanders Field”. Not long afterward, a United States teacher named Moina Michael wrote a poem called “We Shall Keep the Faith” in response and decided to wear a red poppy to remember the soldiers who served in the war. Noting that returning disabled soldiers had trouble caring for themselves, she started selling red poppies to raise money for their needs. The poppy flower soon became a symbol of the service of past and present soldiers.

_______

Since butterflies are seen as a symbol for inspiring good deeds, they go together well with poppies in a Remembrance Day butterfly art project.

_______

Follow me on Pinterest for more activities.

_______

Remembrance Day Butterfly Art Supplies

_______

Gather the following supplies for this meaningful art activity:

  • 8 ½ x 11-inch cardstock paper
  • dot markers
  • pencil and scissors
  • pipe cleaners
  • pony beads
  • pom poms
  • artificial red poppies
  • white glue or glue gun

_______

Follow me on Pinterest for more early learning ideas.

_______

Remembrance Day Butterfly Art Project

This creative project is a simpler version of squish-painted poppy-enhanced Remembrance Day butterflies featured a few years ago.

For the remembrance art project, start by tracing and cutting out large butterflies from 8 ½  x 11-inch white or cream-colored cardstock paper. Manila tag cardstock works well for this activity and is economical to buy.

_______

Set the paper butterflies on a table with red, orange, and black dot markers and invite participants to decorate their winged creatures. Using a black dot marker for finishing touches is recommended so that the red and orange colors remain dominant in the designs.

Tip: Dot marker designs dry quickly, which is one thing I love about them. If the decorated butterflies curl a little after drying, allow time to flatten them under a stack of books or a heavy object.

Afterward, invite everyone to string black pony beads onto same-colored pipe cleaners. When the pipe cleaners are folded in half, there should be enough strung beads to cover the abdomen and head of the dot-marked butterflies.

_______

After participants finish beading their pipe cleaner, have them fold it in half and twist the unbeaded ends together to create two antennae.

Glue a pom pom to each pipe cleaner antenna with white glue or a glue gun, and then affix the beaded pieces to the middles of the butterflies.

Finally, glue an artificial red poppy with the pin removed onto each dotted insect.

Note: Older participants can independently glue on the beaded pipe cleaners, pom poms, and poppies.

_______

This Remembrance Day butterfly art project is simple but striking and is bound to be appreciated.  Having the opportunity to include beads is a highlight of the activity.

_______

[Read more…] about Remembrance Day Butterfly Art
Tweet
Share
Share
Pin

Filed Under: art, crafts, preschool, Remembrance Day Tagged With: butterflies, poppies, Remembrance Day

Spider Web Doily Art

October 16, 2024 by Annette Kaminsky Leave a Comment

Tweet
Share
Share
Pin

_______

Arty spider webs are everywhere during this time of year, and doilies are an exquisite supply for creating web décor. These spider web doily art projects are color-infused with gorgeous seasonal hues using a crayon-resist painting technique.

_______

Spider Web Doily Art Supplies

_______

Gather the following supplies for this anything-but-creepy spider-themed art project:

  • paper doilies in a variety of sizes and shapes
  • watercolor tempera paint cakes
  • white crayon
  • pencil
  • ruler
  • paint brush
  • paint pot
  • scissors
  • spider figurine
  • glue gun
  • waterproof table cover

_______

Follow me on Pinterest for more early learning ideas.

_______

Creating Spider Web Doily Art

To create beautiful watercolor doily art first cover an art table with a waterproof tablecloth.

Next, select a doily to use as a canvas for painting.

Then, use a pencil and ruler to draw faint straight lines that radiate from a focal point in the center of the doily. Draw over the white lines with a white crayon or any color. Add silky curved connecting lines with the crayon to complete the web.

Note: When offering this activity to early learners, you may wish to draw the webs on the doilies and have them paint over them.

_______

Afterward, set watercolor tempera cakes in the colors of your choice in a paint tray. I love the pink, purple, orange, and gold hues spotted on web décor on recent shopping trips and use these colors.

Fill a paint pot with water, wet the tempera cakes, and paint over the drawn spider web. Spread the color over the whole doily or up to the lacy edging.

Note: Liquid watercolors are a luminous alternative for this painting activity.

When the arty web is dry use a glue gun to add a spider figurine in a matching or contrasting color. Adhere the paper spider web to a contrasting cardstock paper hue if desired.

_______

If using a large round doily, it’s a nice look to cut out a section of the web to become your finished design.

_______

Variations of the Spider Web Doily Art

Round or rectangular craft doilies are easy to find, but heart doilies also work wonderfully as a canvas for a spider web art activity. In addition to being super lacy, they remind us to give spiders some much-needed love.

_______

Crochet doilies make perfect ready-made spider webs. Left unpainted, white or cream-colored ones look like natural webs. It is superbly satisfying to add color to them, as watercolor paints soak in very well. For a stunning look display a color-infused web and spider figurine on a mirror.

_______

More Spectacular Doily Art

In addition to providing the canvas for spider web doily art, use the exquisite paper shapes in a novel way for more painting fun. In the projects below, doilies are placed on paper, and the lacy cutouts are carefully filled with watercolor tempera paints. A beautiful design appears after the doily is lifted off.

_______

In this second project, the area above the doily is painted too. When the doily is removed, the design is so realistic it looks exactly like the paper doily.

_______

_______

More Spider Activities

Spider Theme Activities

Green Huntsman Spider Activities

_______

[Read more…] about Spider Web Doily Art
Tweet
Share
Share
Pin

Filed Under: art, autumn, crafts, preschool, science Tagged With: painting, spiders, watercolors

  • « Go to Previous Page
  • Page 1
  • Page 2
  • Page 3
  • Page 4
  • Page 5
  • Interim pages omitted …
  • Page 13
  • Go to Next Page »

Primary Sidebar

Hi, I'm Annette Kaminsky, a preschool teacher who loves sharing learning through play activities for young children. Thanks for visiting my site. Feel free to stay awhile!

Subscribe Via Email

Recent Posts

  • Earth Day Spin Painting April 21, 2026
  • Easter Bunny Scavenger Hunt April 4, 2026
  • Celebrate Diversity Coloring Pages March 1, 2026
  • Lunar New Year Lantern Craft February 11, 2026
  • Black History Month Positive Affirmations Art January 29, 2026
  • Snowflake Cafe Dramatic Play Set January 19, 2026
  • Pastel Christmas Letterhead and Envelope December 20, 2025
  • December Kindness Activities November 30, 2025
  • Fall Forest Sensory Bin November 30, 2025
  • DIY Turkey Bowling Game November 25, 2025

Categories

Topics

apples bunnies butterflies Chinese New Year Christmas Christmas craft color colors dramatic play Easter fall flowers hearts holiday jewelry leaves leprechauns light table loose parts painting paper crafts playdough pretend play printables printmaking process art pumpkins rice bin scented playdough science experiment scissor skills sensory bin sensory play sensory tray shamrocks skeletons snakes snowflakes spiders spring St. Patrick's Day sunflowers tablescapes Valentine's Day water play

Copyright © 2026 · Lifestyle Pro on Genesis Framework · WordPress · Log in