
_______
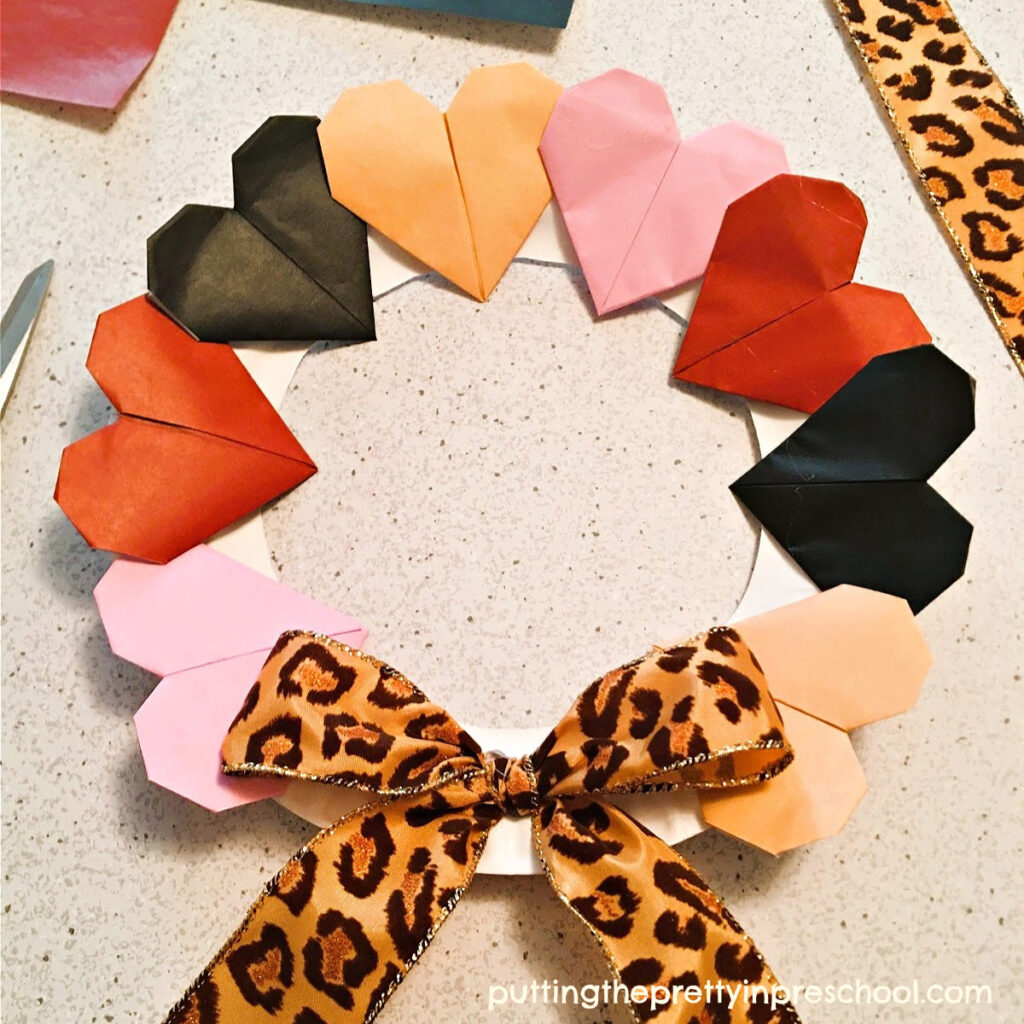
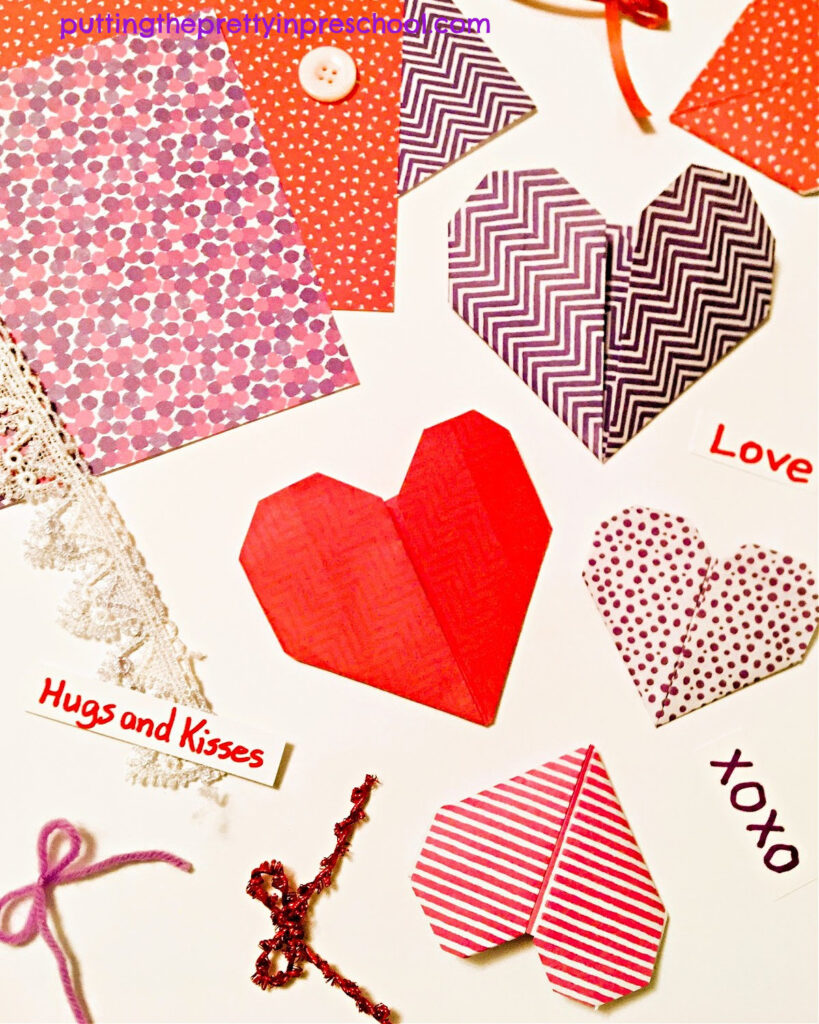
This origami heart wreath features skin-toned paper-folded hearts with a 3D effect. Make this exquisite wreath craft during Black History Month or save it for a Celebrate Diversity theme. Changing the color scheme makes it a standout Valentine’s Day craft.
_______
Origami Heart Wreath Supplies

_______
Gather the following supplies for this meaningful easy-to-make paper craft:
- 6-inch x 6-inch origami paper in skin tones
- 9-inch thin paper plate
- 1 ½ inch wide wired craft ribbon
- scissors
- glue gun
_______
Making the Origami Heart Wreath
To create this heart wreath craft cut the middle out of a thin cardboard paper plate. This leaves a rim of about 1 ¾ inch wide.
_______
Next, gather 8 sheets of 6-inch x 6-inch origami paper in various skin-toned hues and fold the paper into origami hearts. An easy-to-follow YouTube video by EZOrigami shows how to make paper hearts.
Origami Heart (Folding Instructions)

_______
Afterward, adhere the hearts on the paper plate rim with a glue gun, leaving a little room on the bottom for a bow.
Finally, fold the wired craft ribbon into a bow and hot glue it on the wreath. 1 ½ inch wide craft ribbon with an animal print is showy and works nicely with the skin-toned hearts.

_______
Follow me on Pinterest for more early learning activities.
_______
Related: Origami Heart Valentines
_______
_______
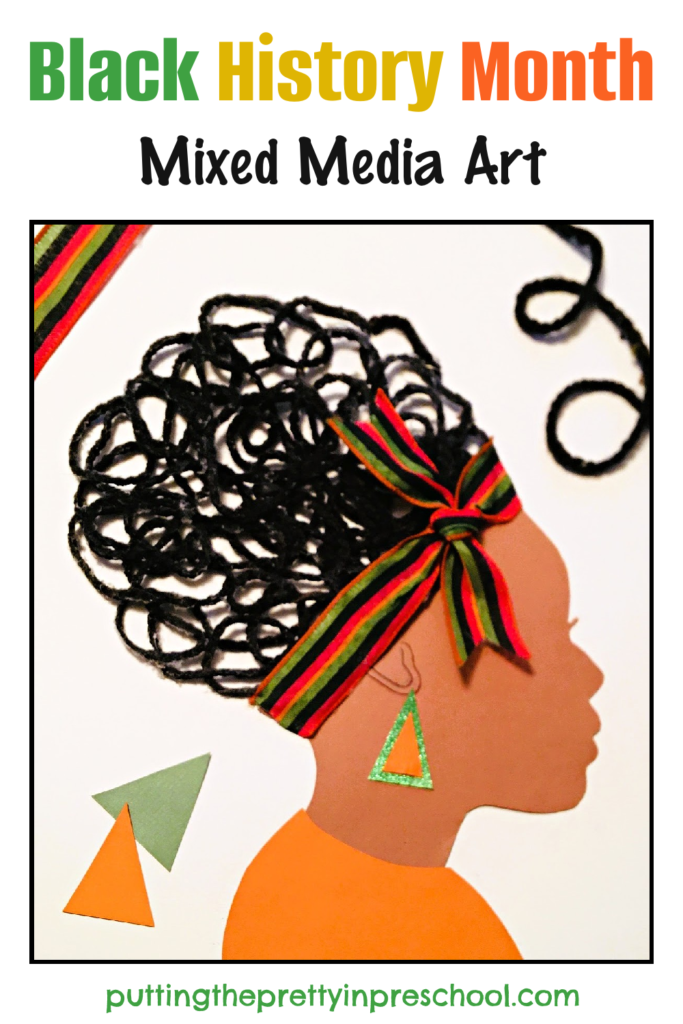
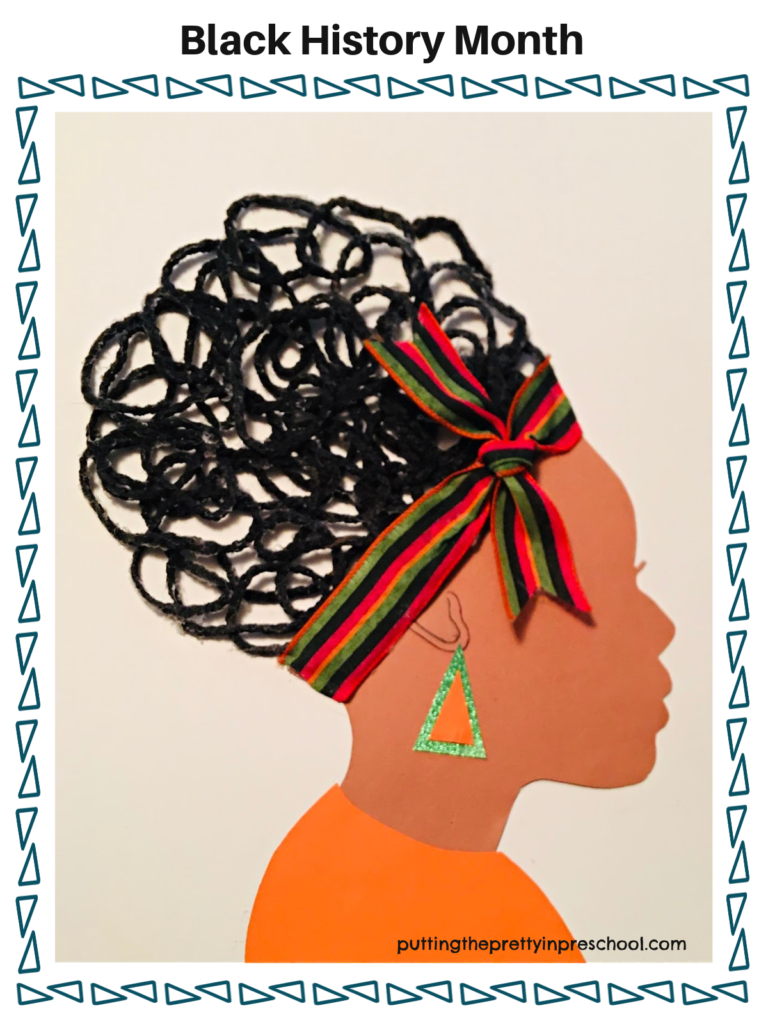
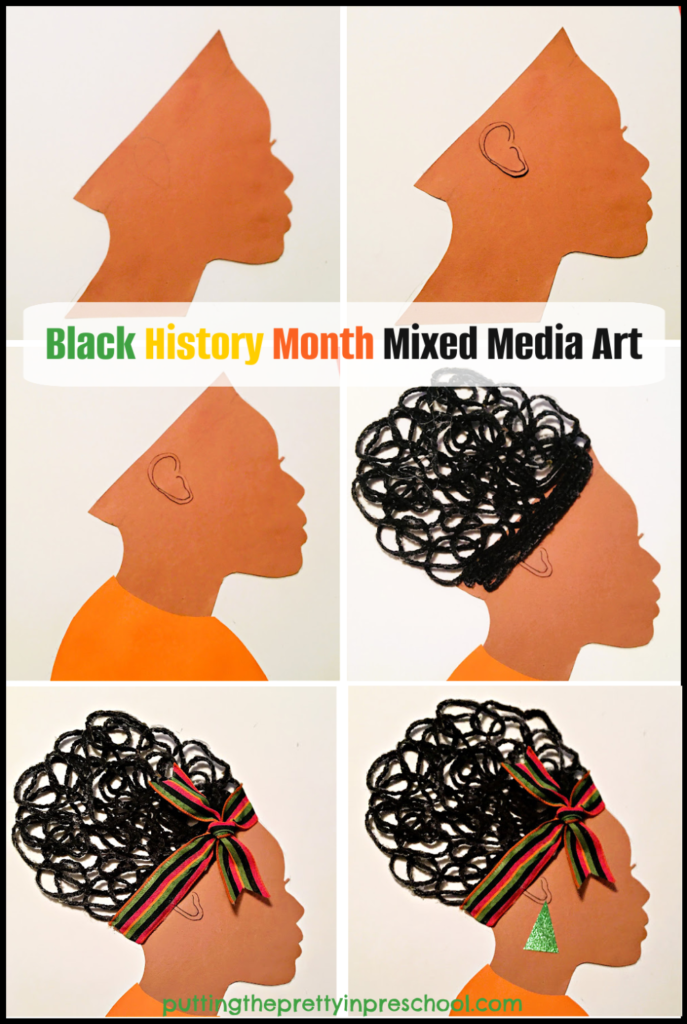
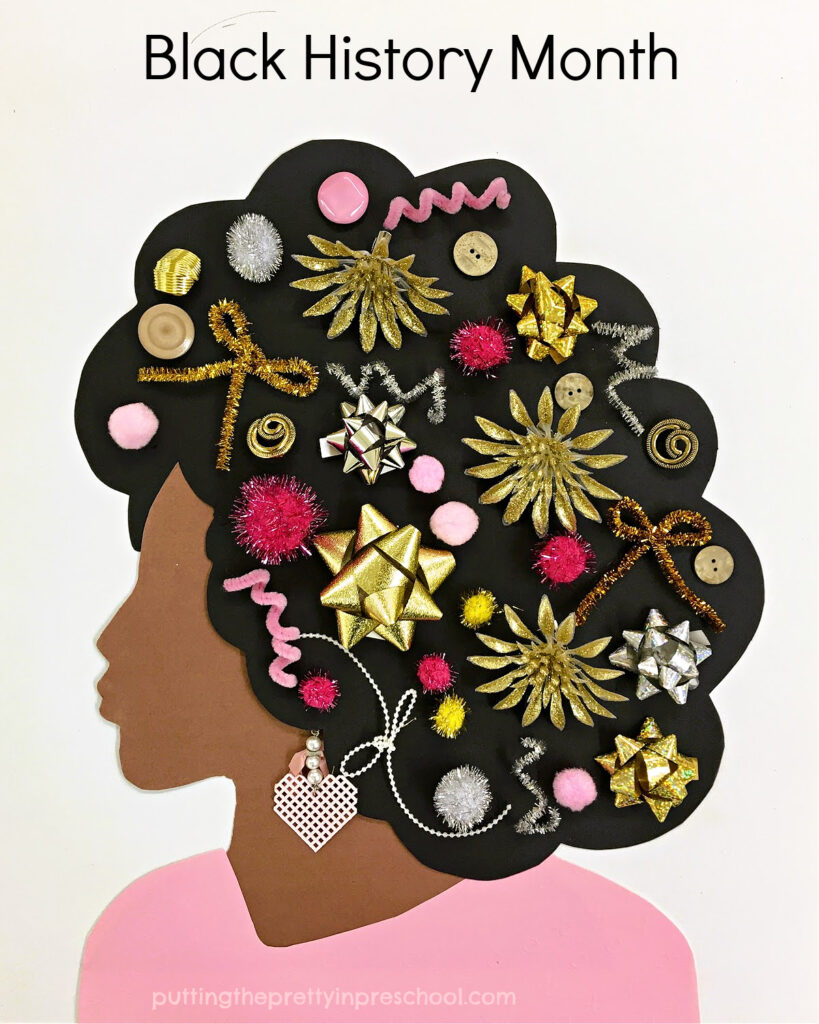
Black History Month Positive Affirmations
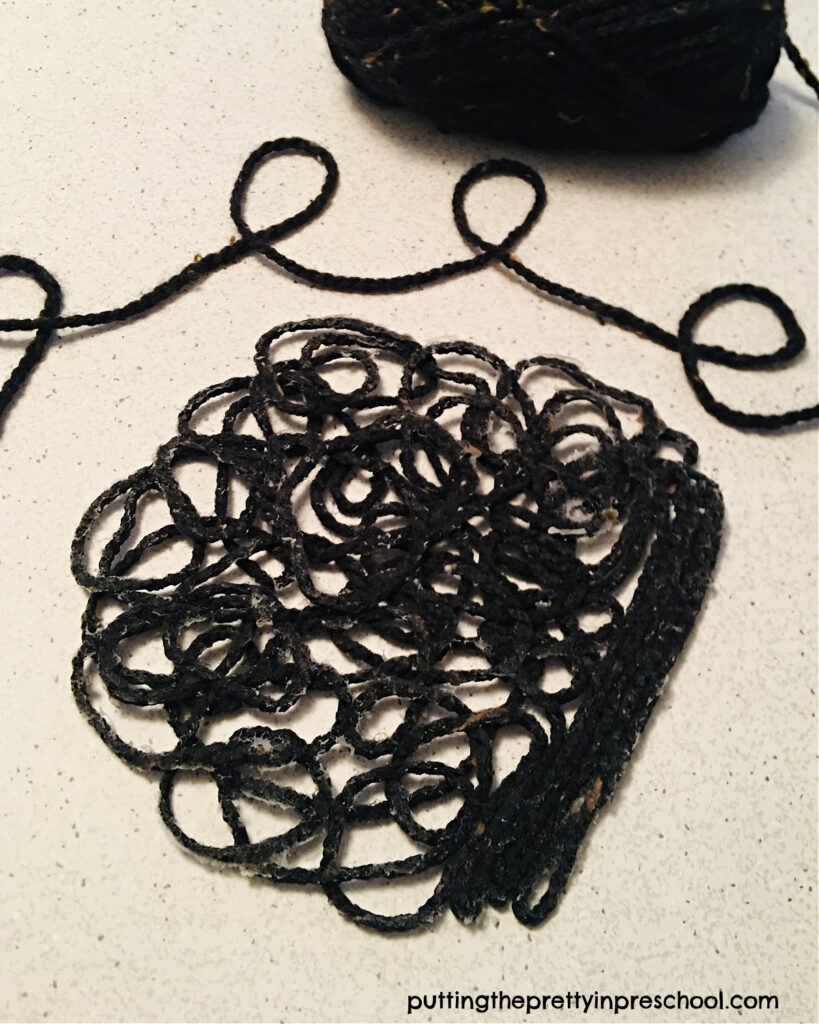
This Black History Month printable set has coloring pages with 18 positive affirmations and 4 editable pages. Many creative patterns inspired by African art are possible, all with basic art supplies. Two bulletin board headers make displaying the stunning finished artwork super easy. Download this easy-to-use printable set at my Etsy Skills N Smiles shop for an everyday low price.

_______
See the blog post Black History Month Positive Affirmations Art for more infomation.


