_______
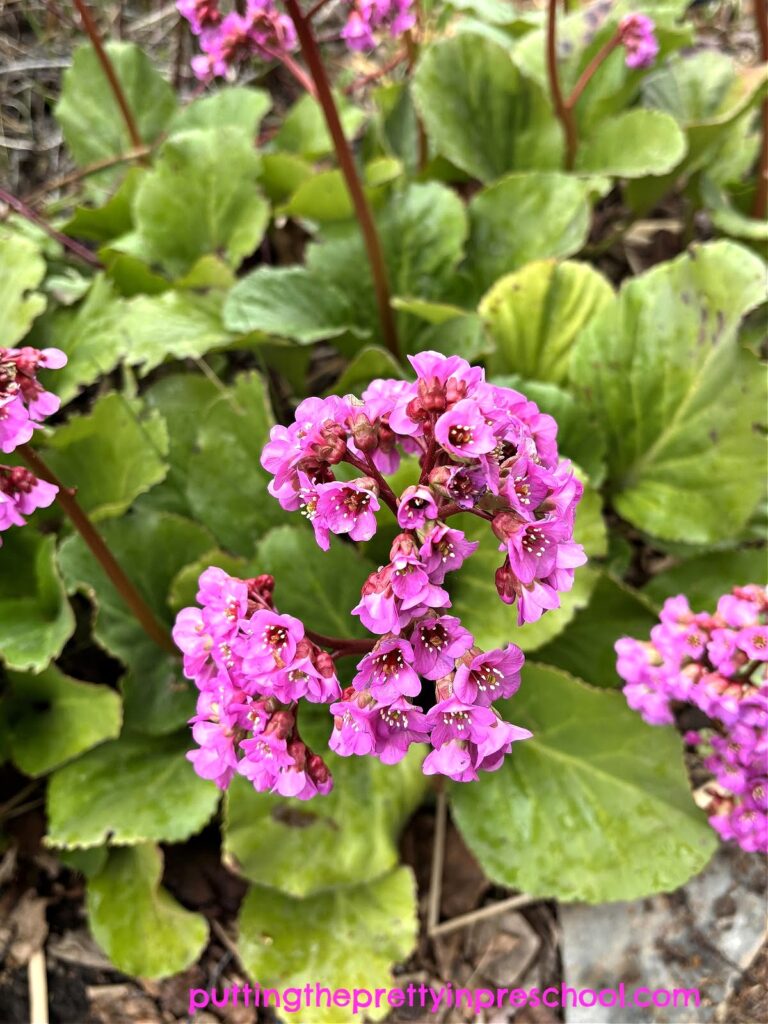
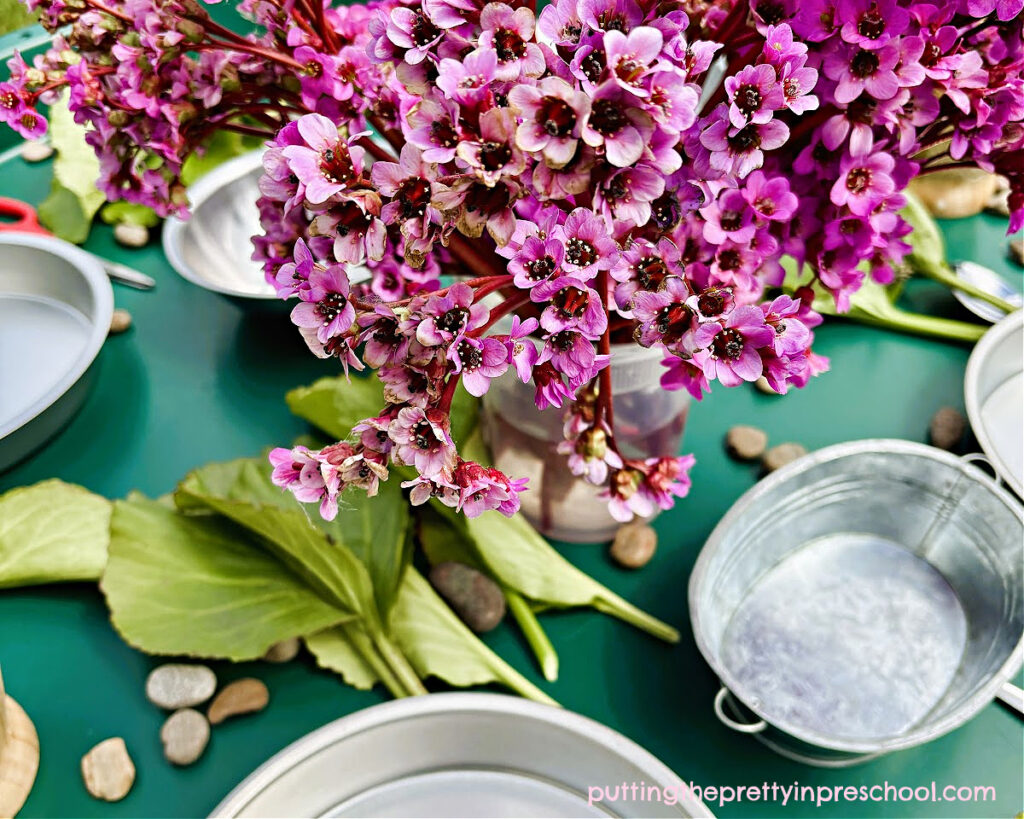
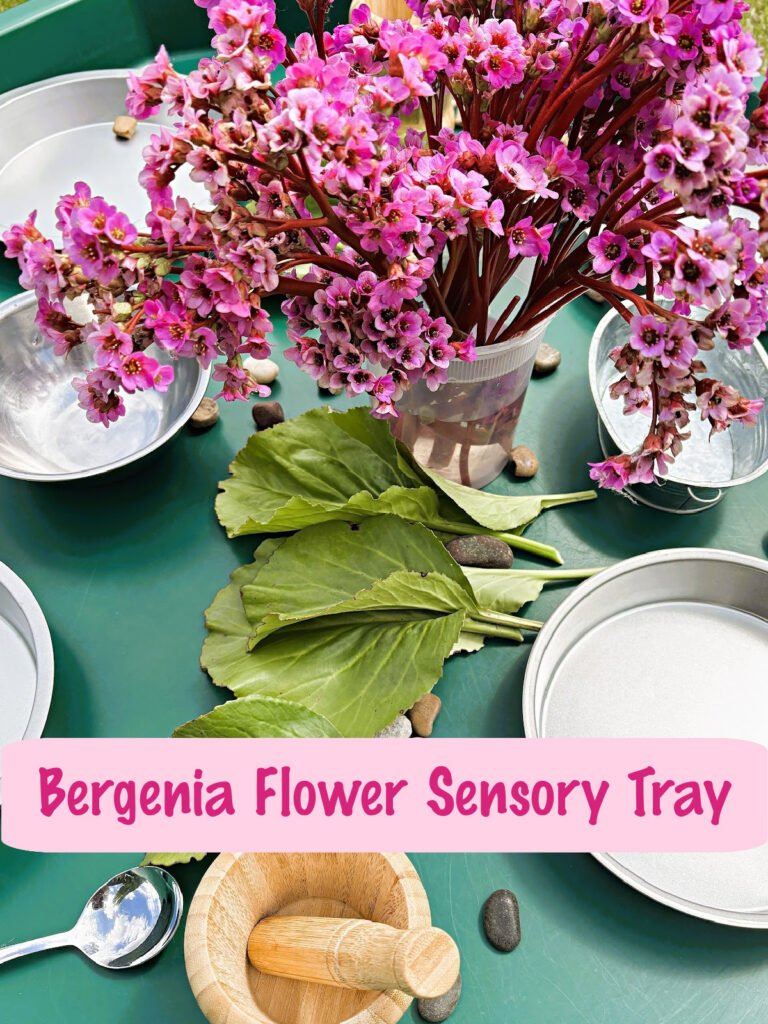
Bergenia plants are easy to grow, and the beautiful bell-shaped flowers pop up in early spring. Before the dainty blooms die, consider using them in a sensory bin. The bell-shaped flowers and glossy evergreen leaves offer a unique sensory experience in this Bergenia flower nature bin.
_______
Before including it in a sensory play activity, it’s always good to check if a plant is toxic. I was happy to learn that NO part of the Bergenia plant is toxic for humans to touch or consume. The plant is also non-toxic to dogs, cats, and horses.
_______
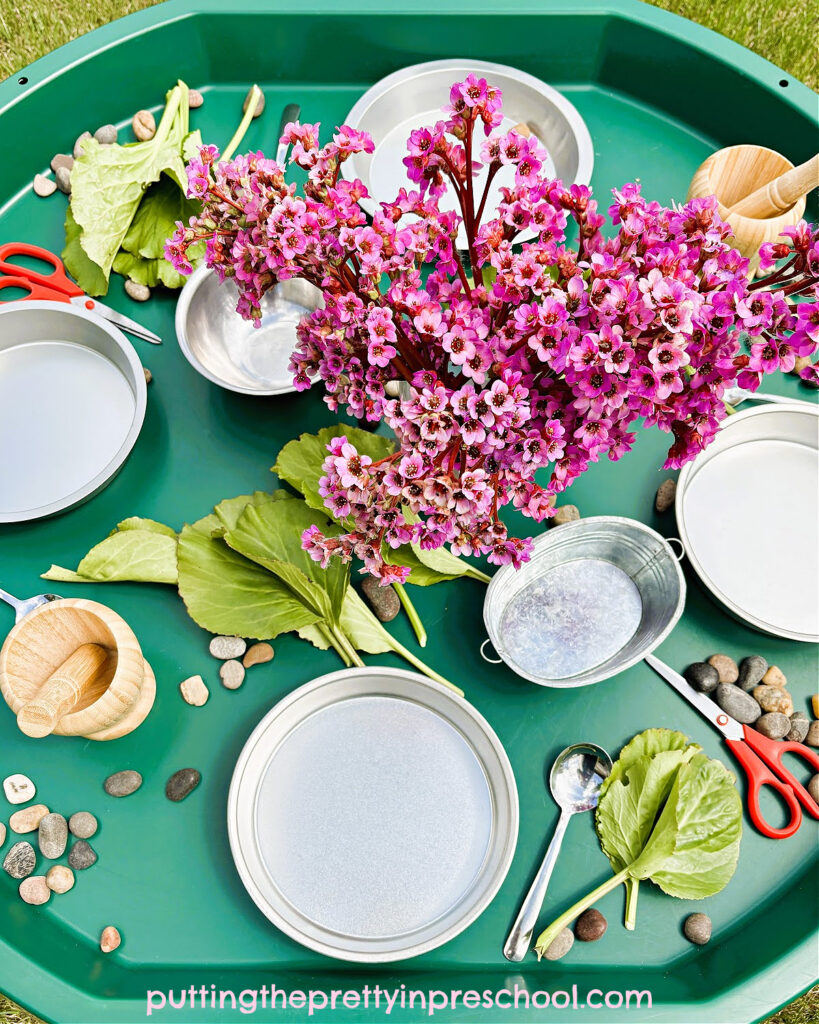
Supplies To Collect
———-
Gather the following supplies for this flower-themed sensory bin:
- Bergenia flowers, stems, and leaves
- small rocks
- twigs
- mortar and pestle
- bowls
- spoons
- scissors
- large sensory tray
_______
Preparing the Bergenia Flower Nature Bin
———-
The setup for this bloom-themed sensory bin is super simple. If offering the bin to a group, add place settings with bowls, spoons, mortar and pestles, and scissors to a large sensory bin. Active world trays are a great choice for the bin.
Next, place a non-breakable pitcher or vase with water and Bergenia flowers in the center and spread the large glossy leaves around it.
Then set in twigs and small rocks. The bin is now ready to investigate.
Exploring the Bergenia Flower Sensory Bin
Invite participants to smell, feel, cut, mix, and grind the supplies in the sensory bin.
Explain that the Bergenia plant is also called “elephant ears” (because of the shape of the big, waxy leaves), or “pigsqueak” (because of the sound two leaves make when rubbed together.)

———-
Encourage children to rub two leathery Bergenia leaves together to make pigsqueak sounds.
Don’t be surprised if your little charges describe the leaves as being lettuce, and call the stems rhubarb, as this plant bears a resemblance to both.

_______

_______
[Read more…] about Bergenia Flower Sensory Bin