_______
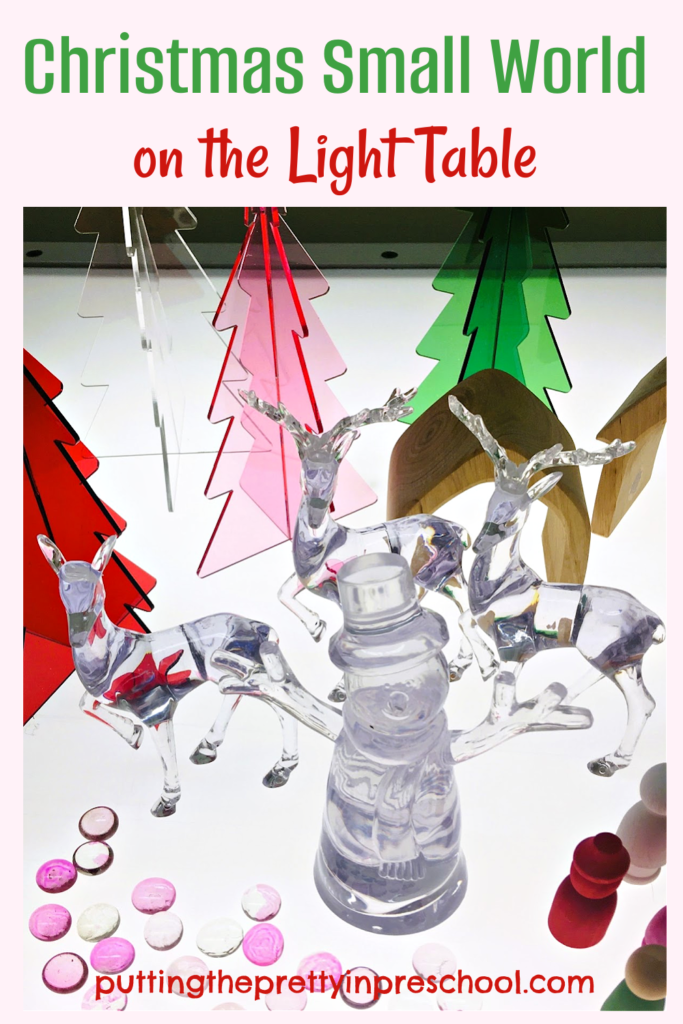
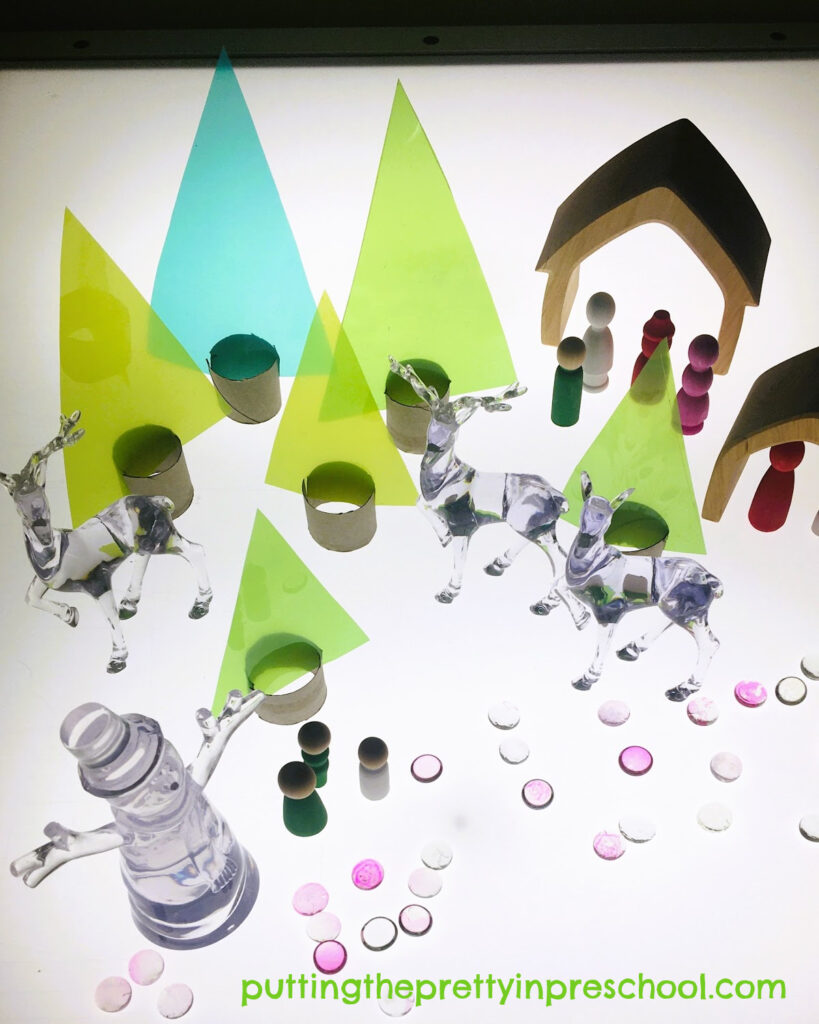
Transparent Christmas trees are the inspiration for this whimsical Christmas small world on the light table. They illuminate beautifully and pair with a variety of loose parts for creative and imaginative seasonal play.
_______
Follow me on Pinterest for more early learning activities.
_______
Light Table Small World Supplies
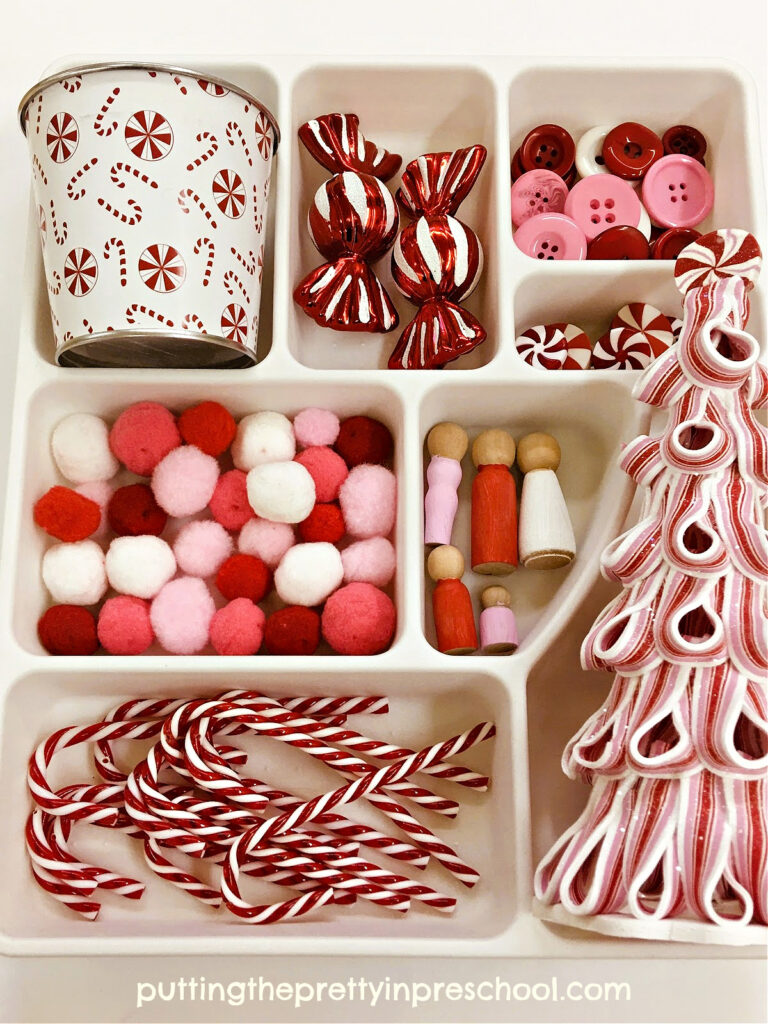
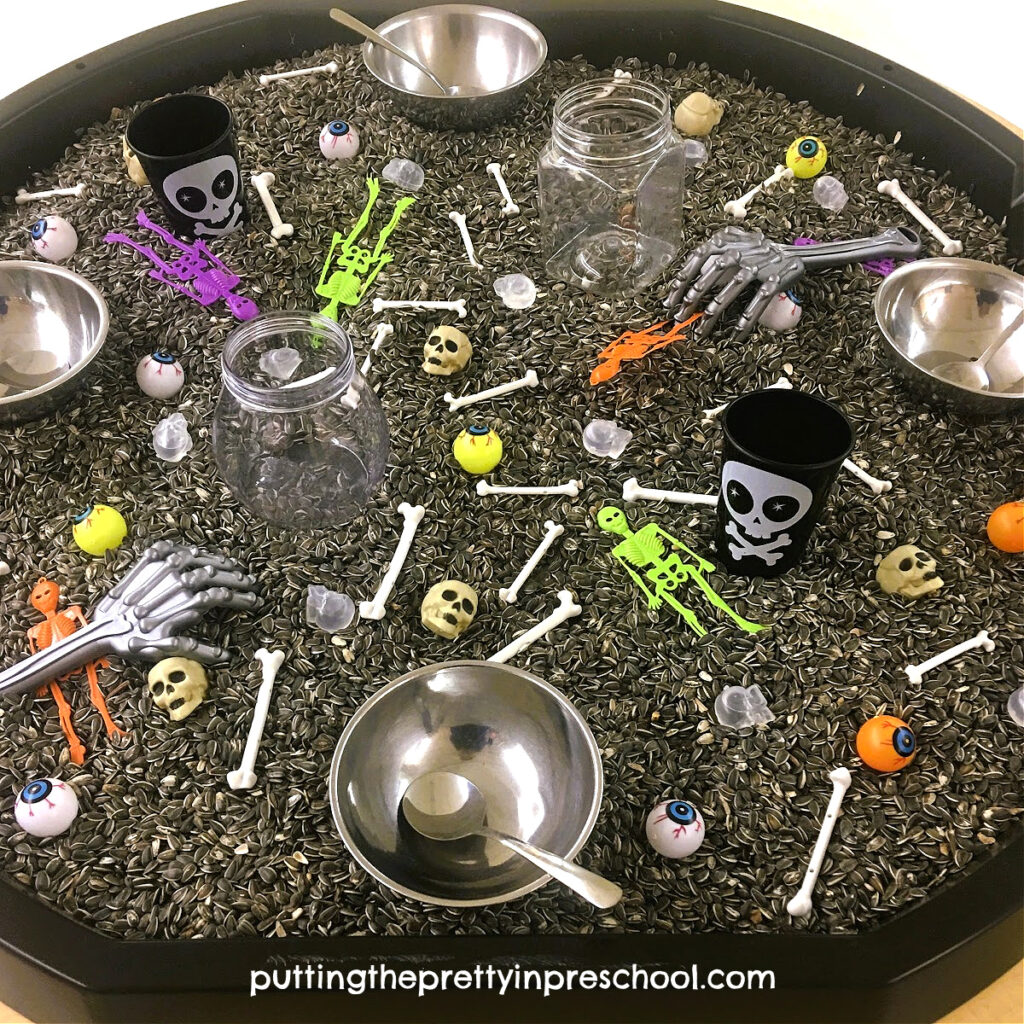
The following supplies are included in the Christmas small world setup:
- transparent Christmas trees in green, red, pink, and clear colors
- clear acrylic deer figurines
- clear acrylic snowman figurine
- acrylic clear nativity decoration
- pink transparent pebbles
- small wooden shelters
- wooden peg dolls painted red, green, pink, and white
_______
The Christmas Small World
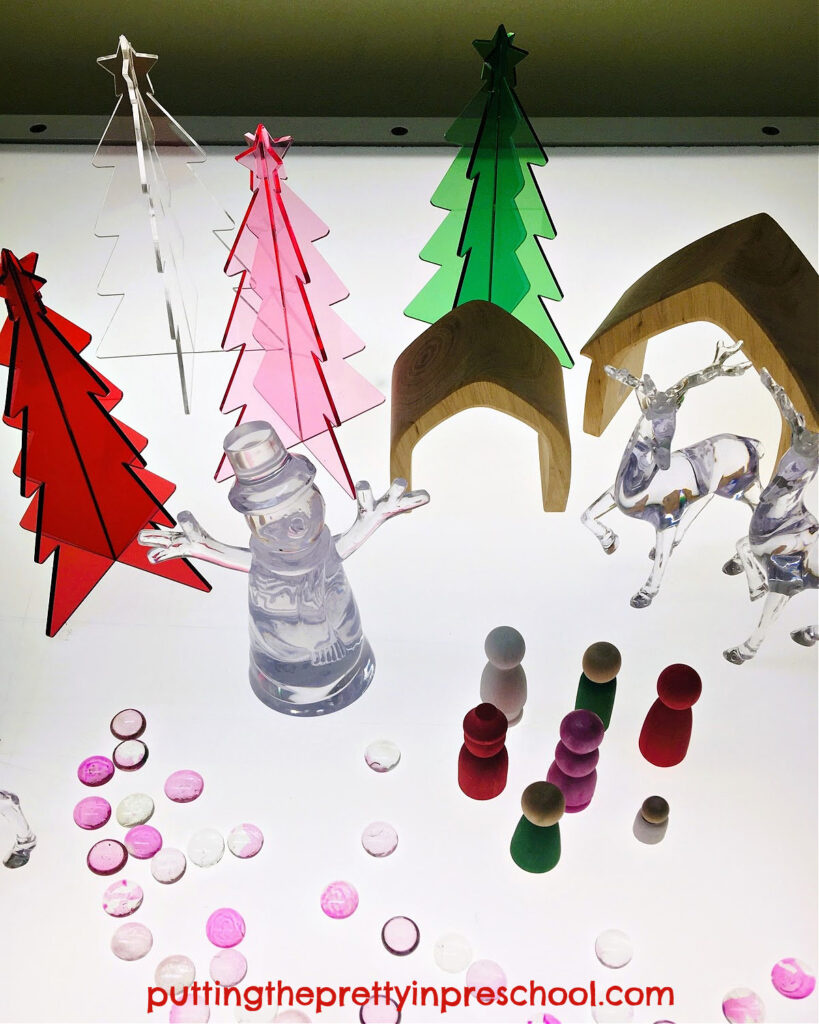
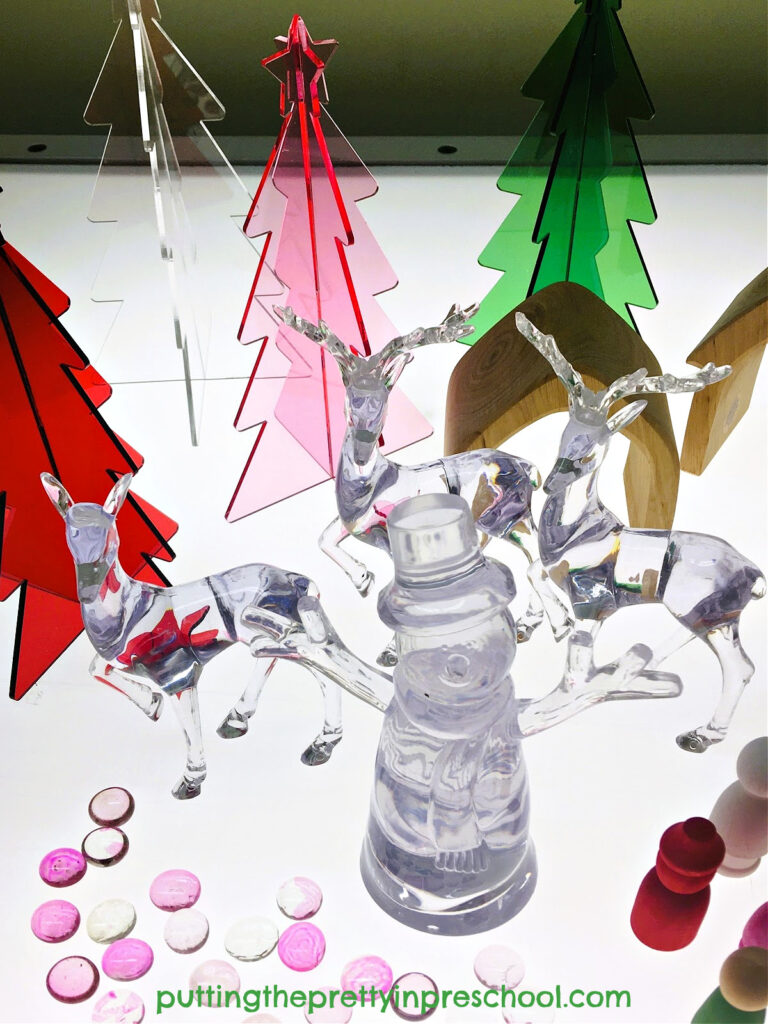
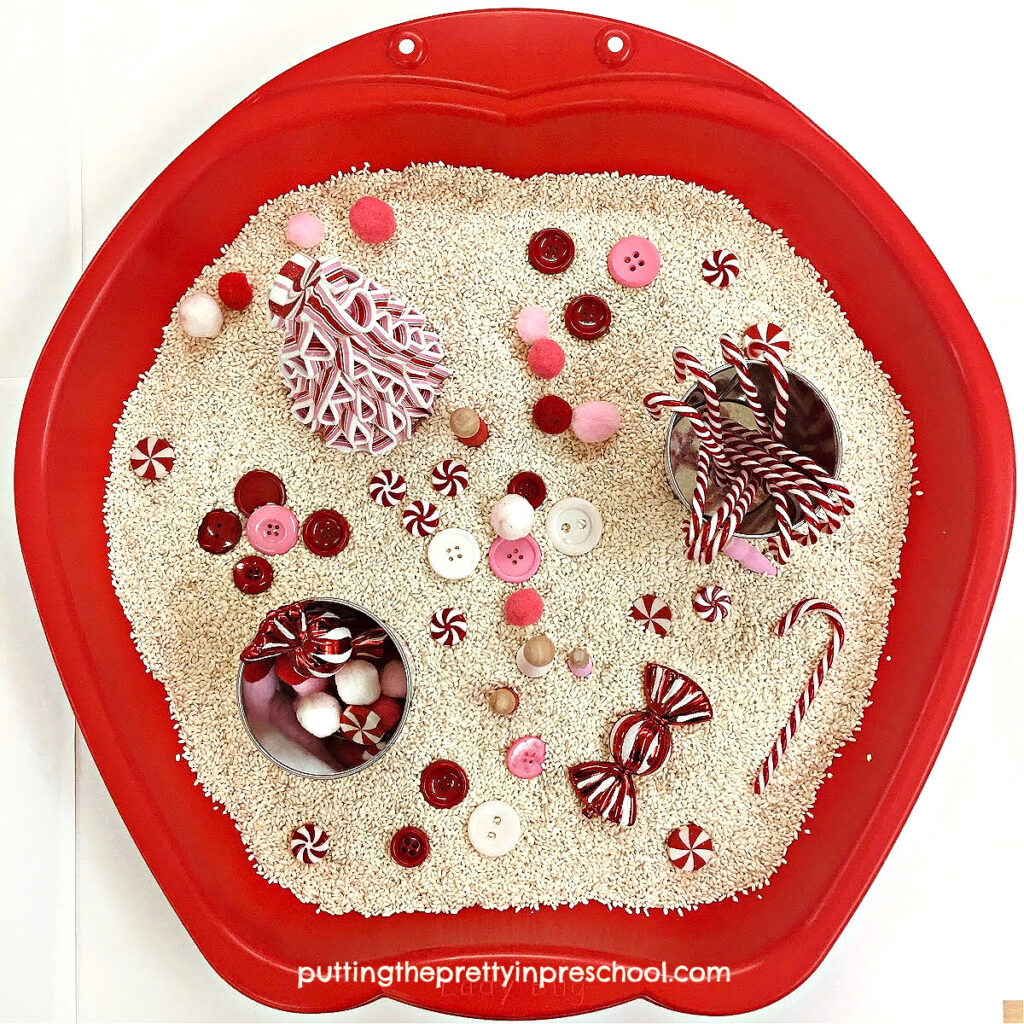
In this Christmas small world, transparent trees in red, green, pink, and clear hues set the color scheme.
_______
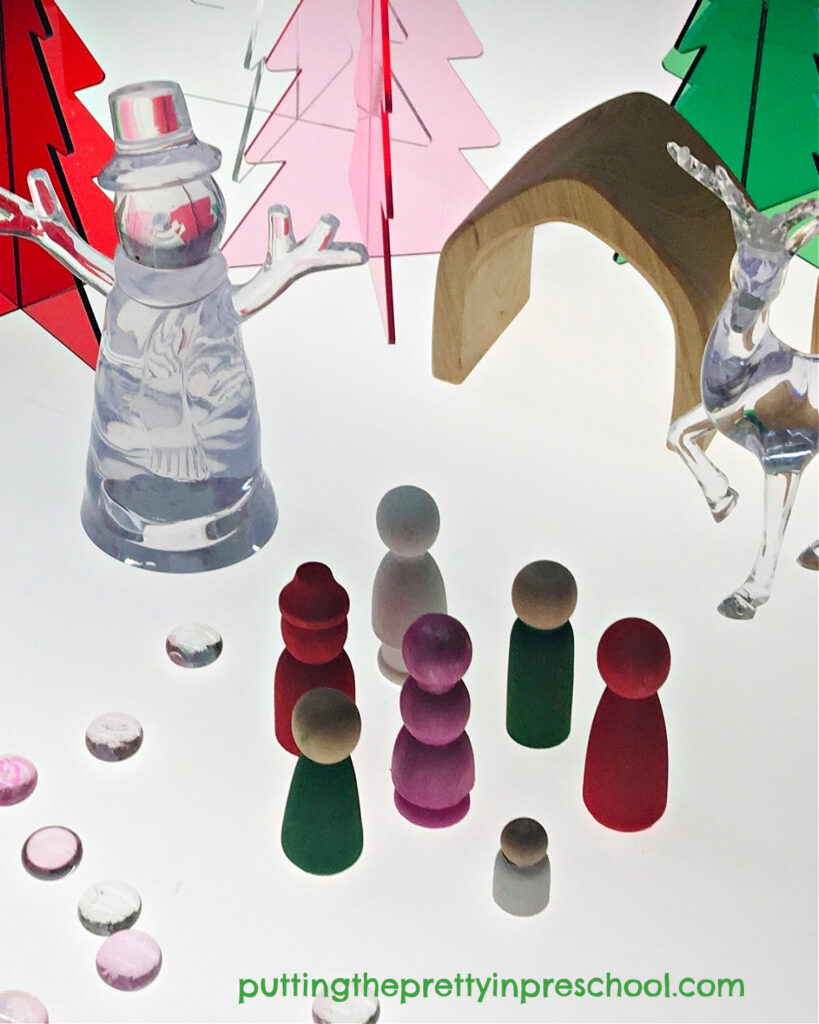
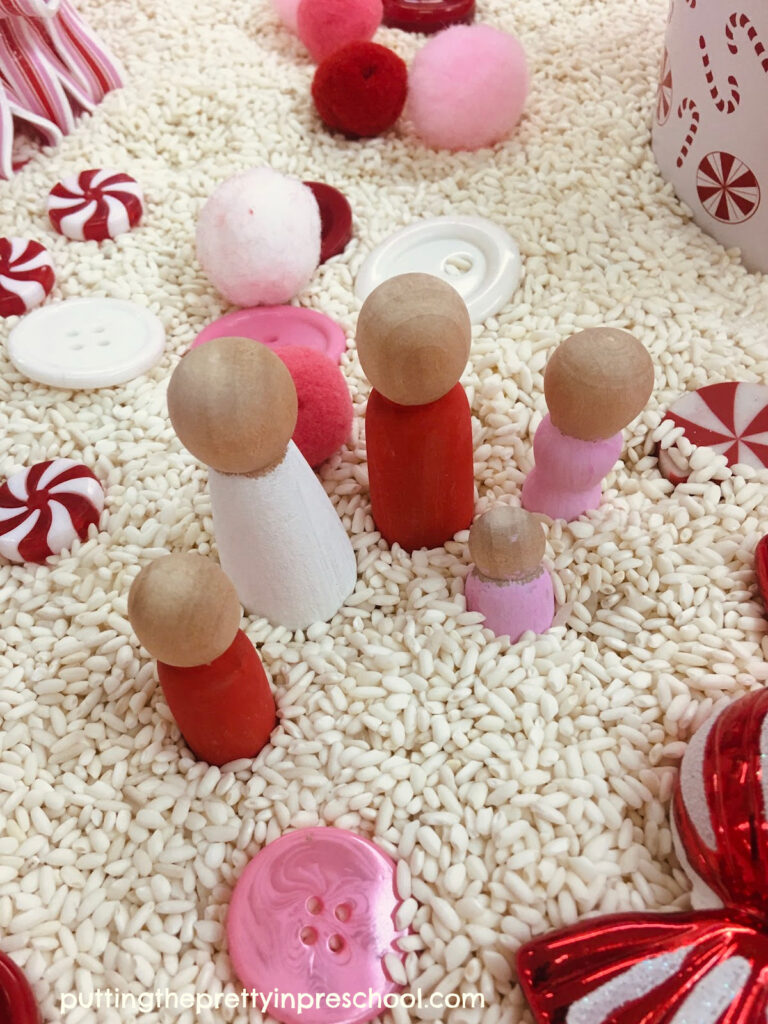
Wooden peg dolls painted with acrylic paints in red, pink, green, and white colors complement the trees.
_______
Clear acrylic deer and a snowman are beautiful ornaments to explore.
_______
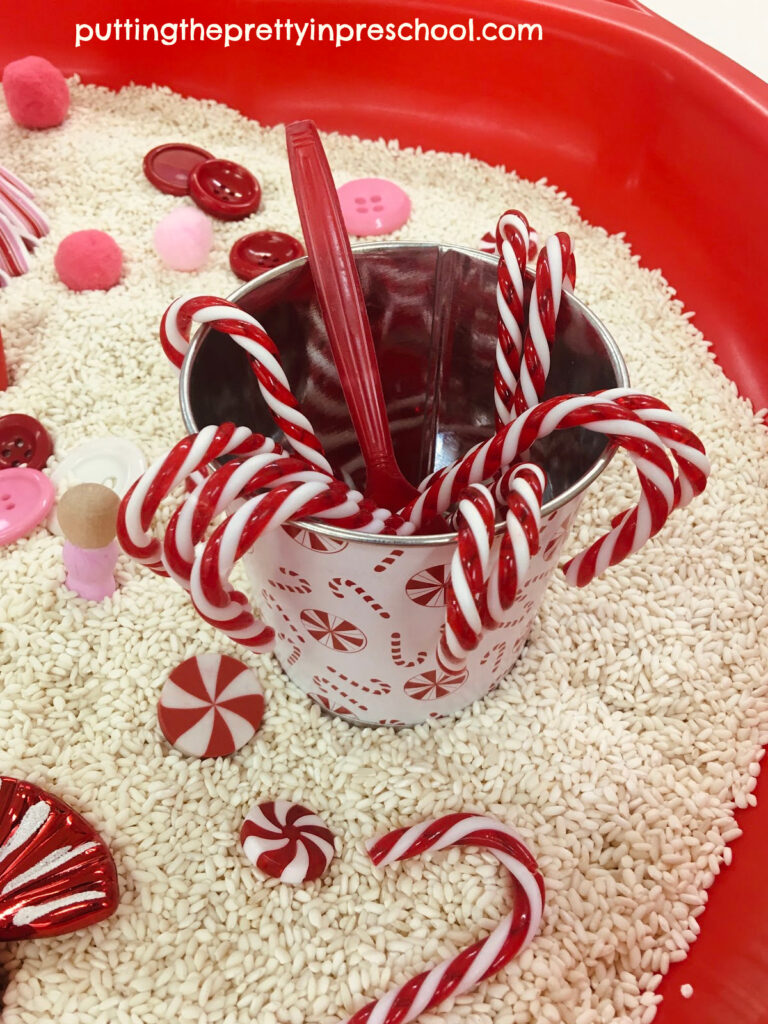
Transparent pink pebbles are a soft touch.
A simple nativity decoration enhances the Christmas small world theme.

_______
Making Your Own Transparent Trees
An alternative to purchasing transparent trees is to create your own.
_______
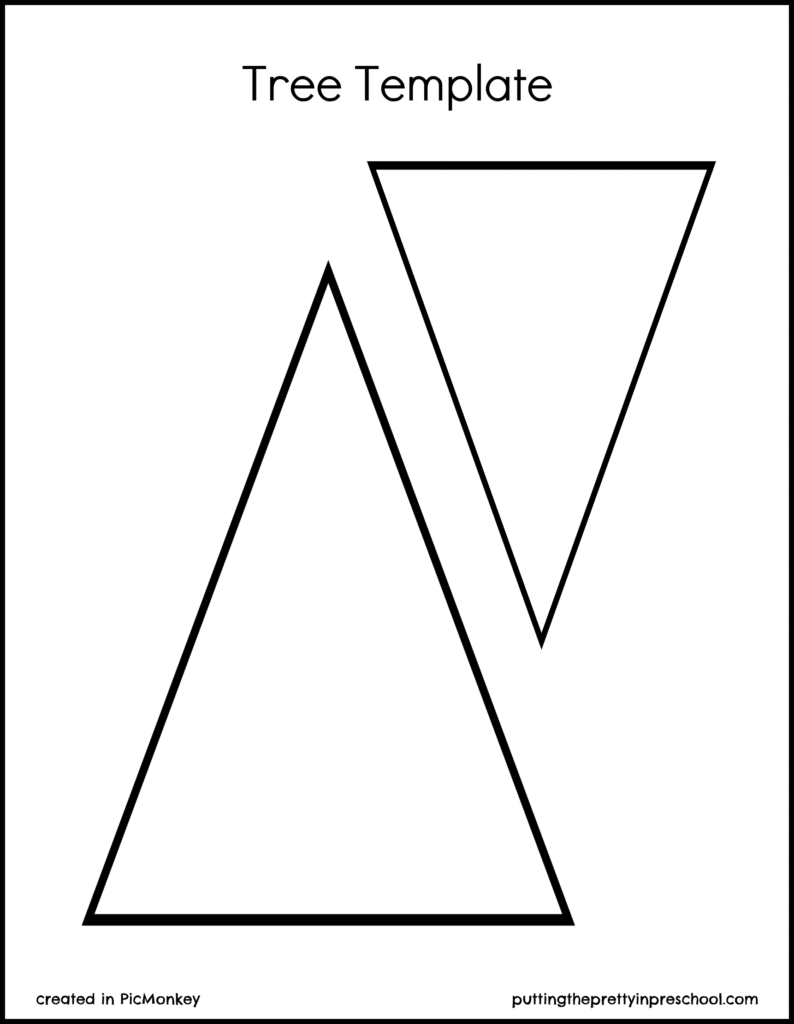
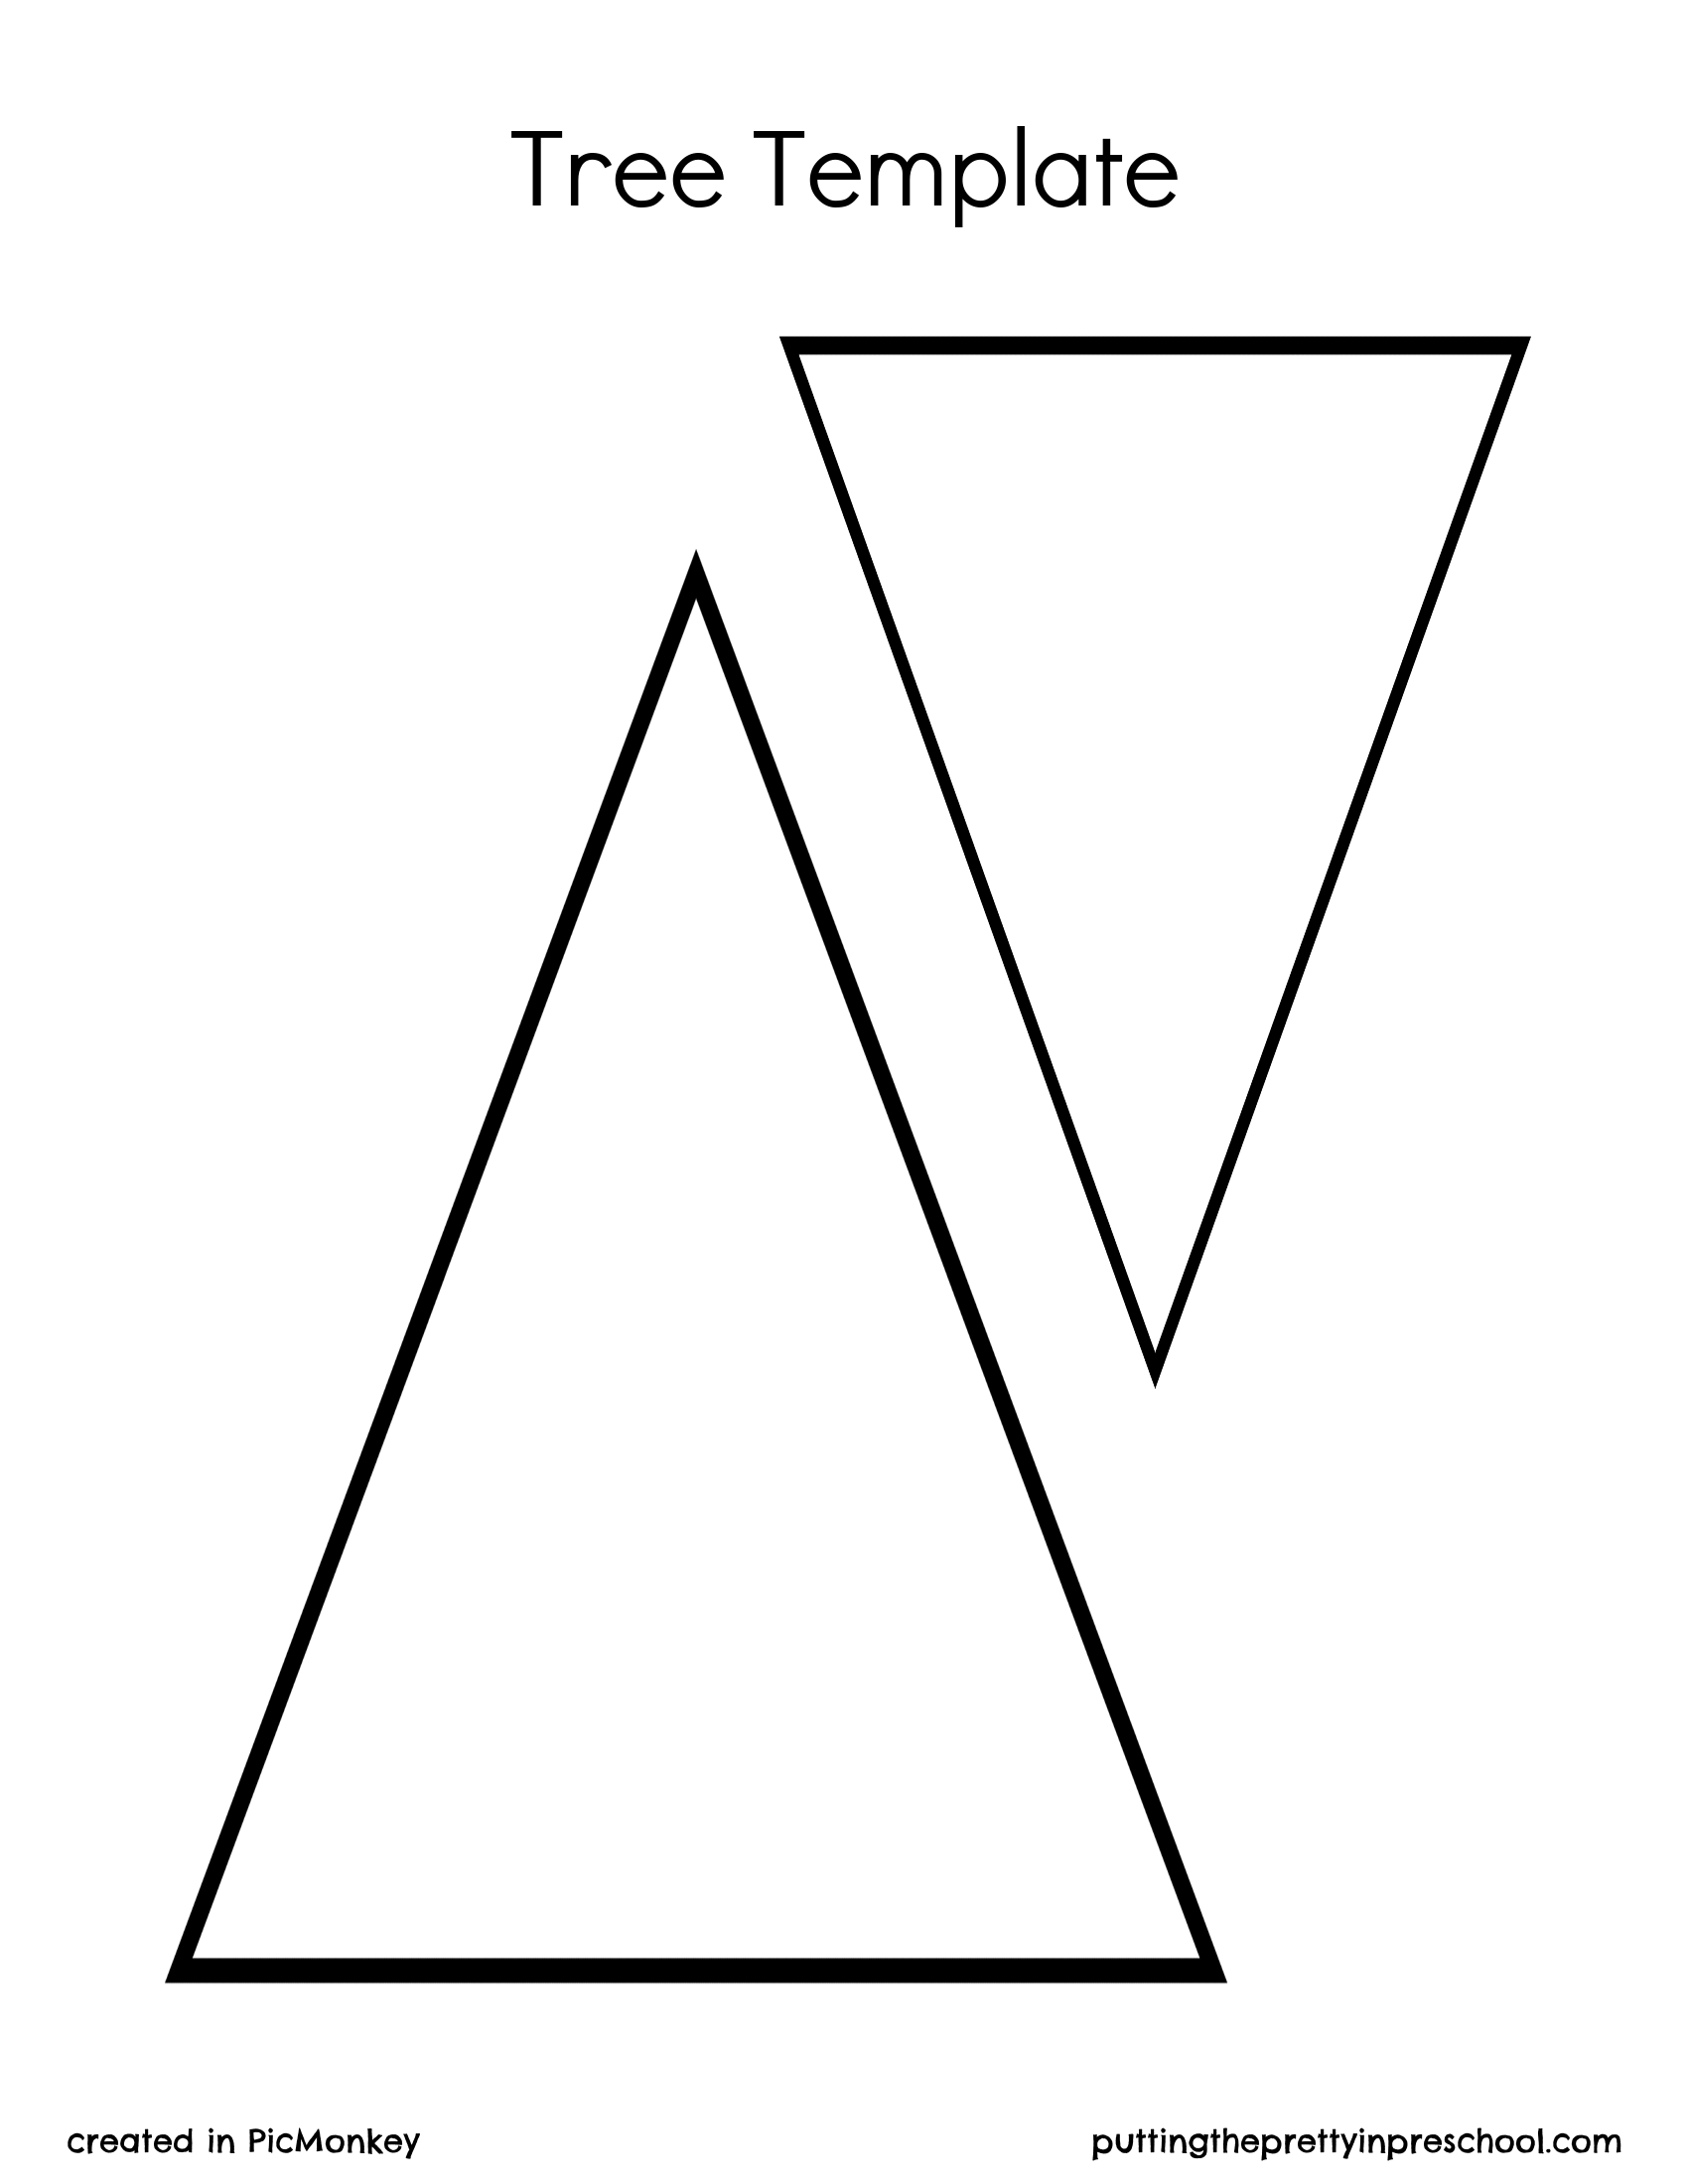
The trees above are made from transparent page dividers and paper rolls. To make them, cut paper rolls into two-inch cylinders. Next, cut a one-inch slit into opposite sides of each paper roll section. Then cut triangular trees from transparent page dividers.
Feel free to download this template to create the trees.
_______
_______
Slide the bottom of the trees into the paper roll trunks and set them on your light table or another tabletop. These DIY trees also illuminate nicely.
_______
_______
December Kindness Activities Printable Set
A December Kindness Calendar and Kindness Jar are two activities to teach empathy and kindness at home or in the classroom. Download this gorgeous pastel holiday printable set of kindness activities in my Skills N Smiles Etsy Shop for a low-low price. You’ll have the December kindness activities ready in minutes!


_______
_______
More Christmas Activities
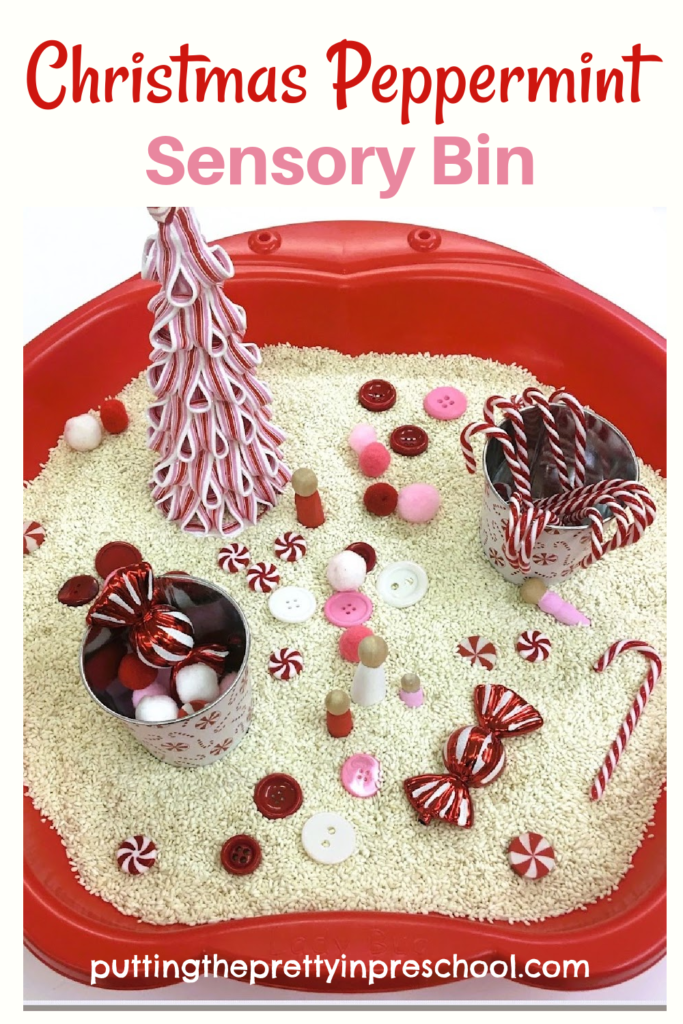
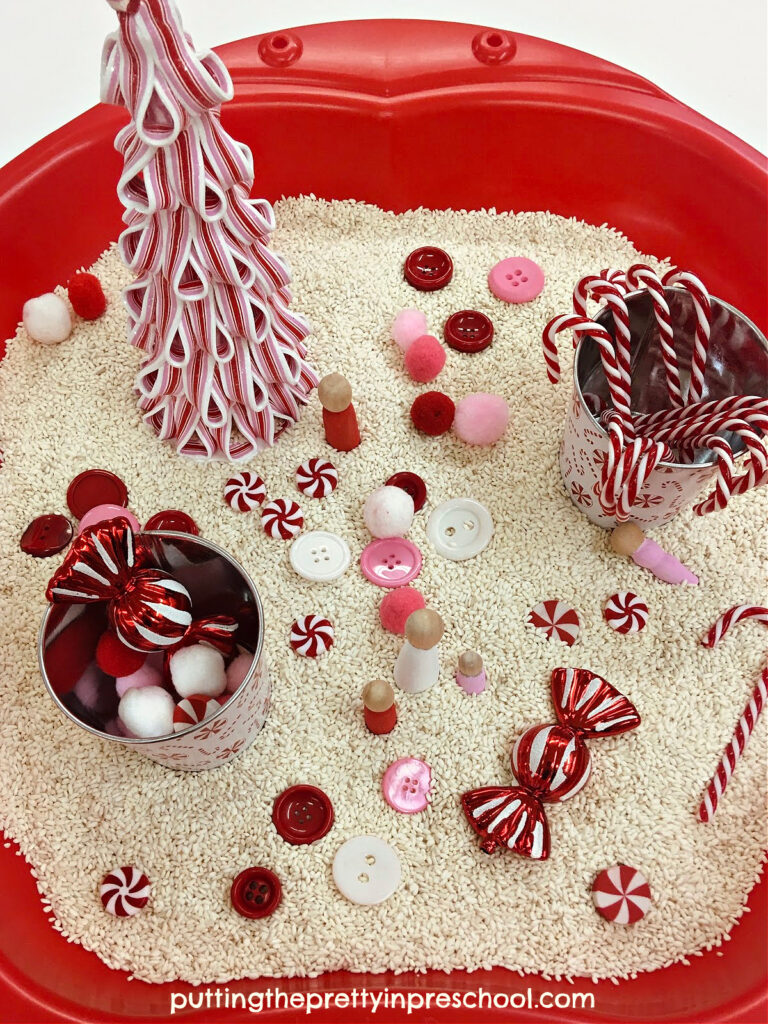
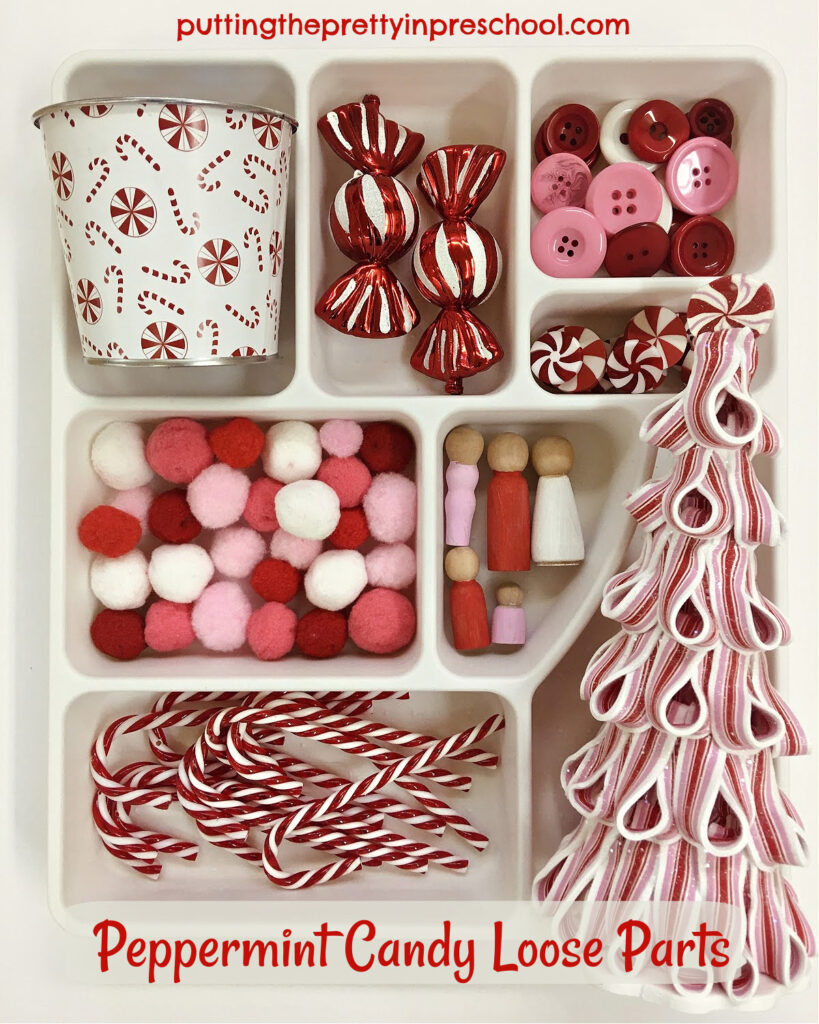
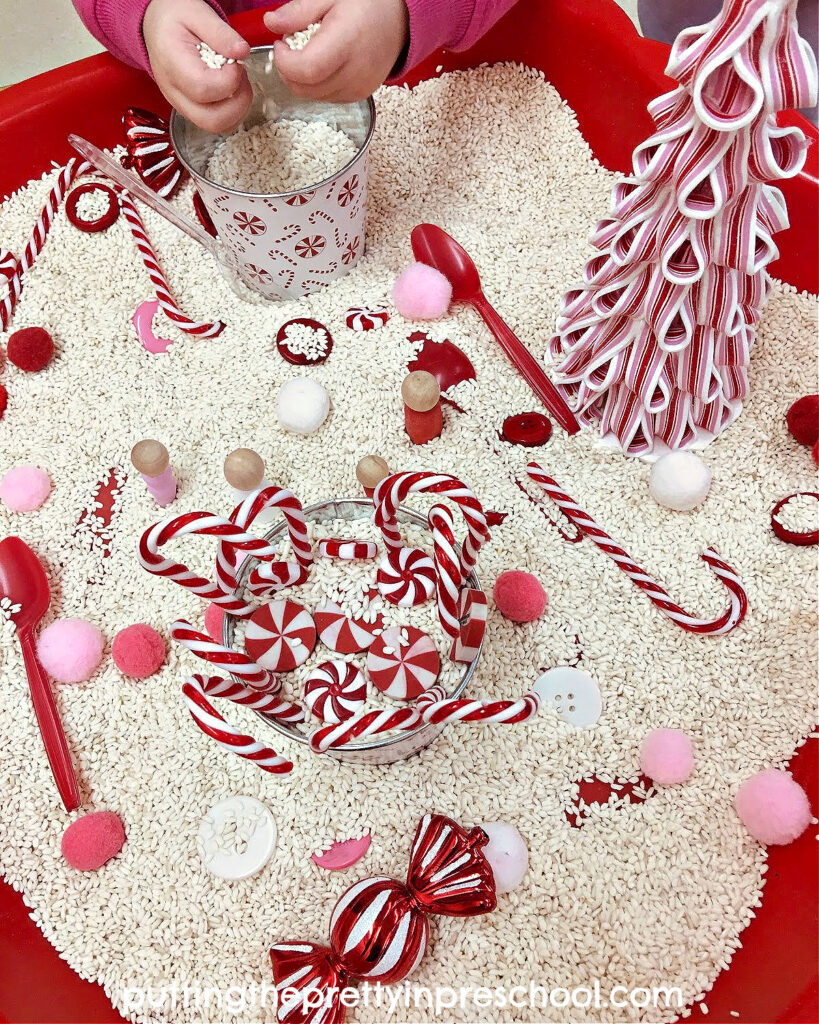
Christmas Peppermint Sensory Bin
Plaid-themed Christmas Rice Bin
_______
[Read more…] about Christmas Small World on the Light Table


