_______
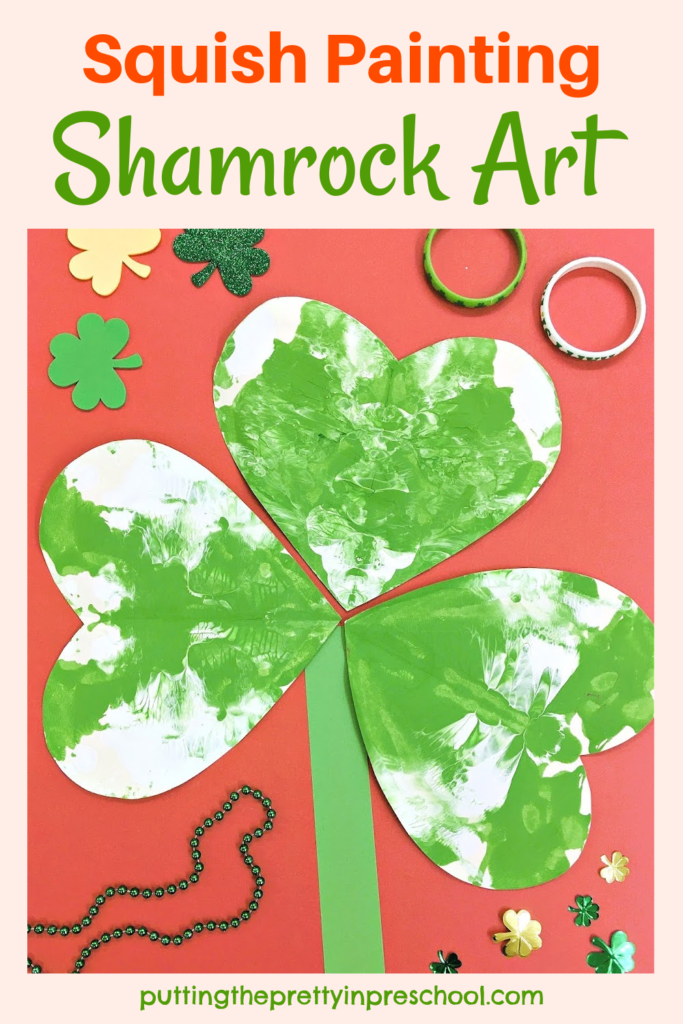
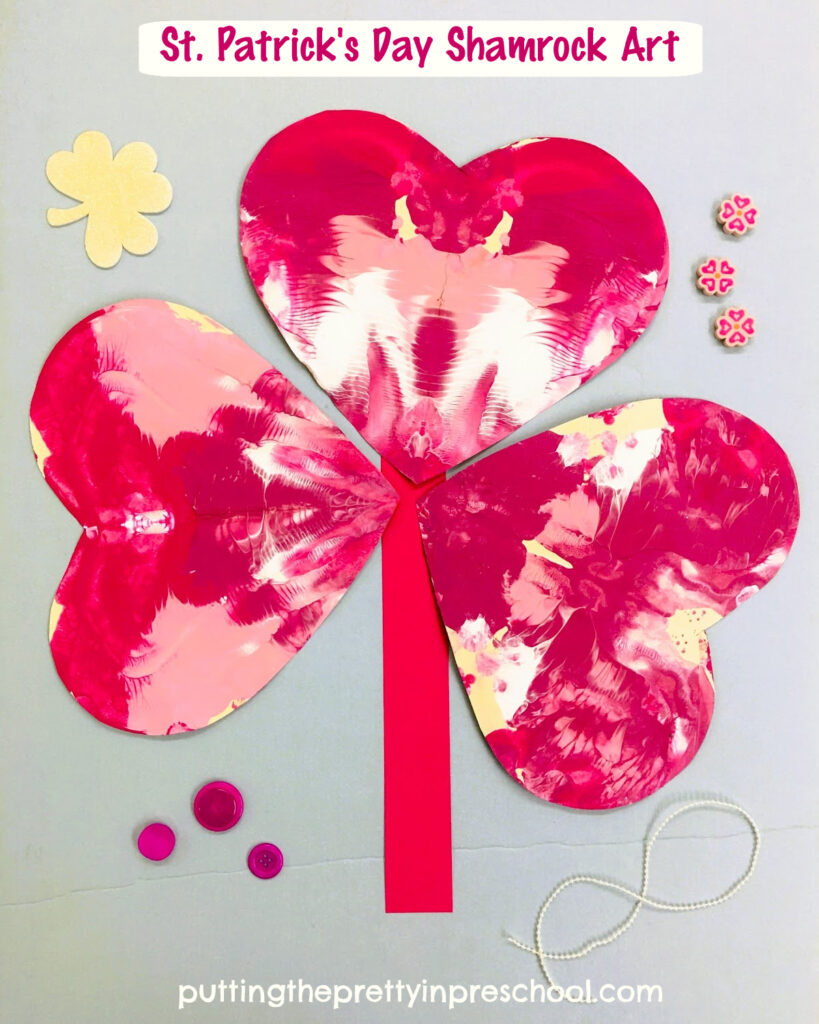
This March I needed to get new art up quickly, and decided to have my little learners participate in a squish painting shamrock art project. Squish painting is a quick and satisfying art activity that little children love to do. Using folded hearts for the art project, the shamrock art is effortless to create.
_______
Follow me on Pinterest for more early learning ideas.
_______
Supplies To Collect
Gather the following supplies for this seasonal squish art activity:
- magenta, green, and white tempera paint
- magenta and green cardstock paper
- manila tag paper
- ruler, pencil, and scissors
- paint pots and spoons
_______
_______
The Squish Painting Art Project
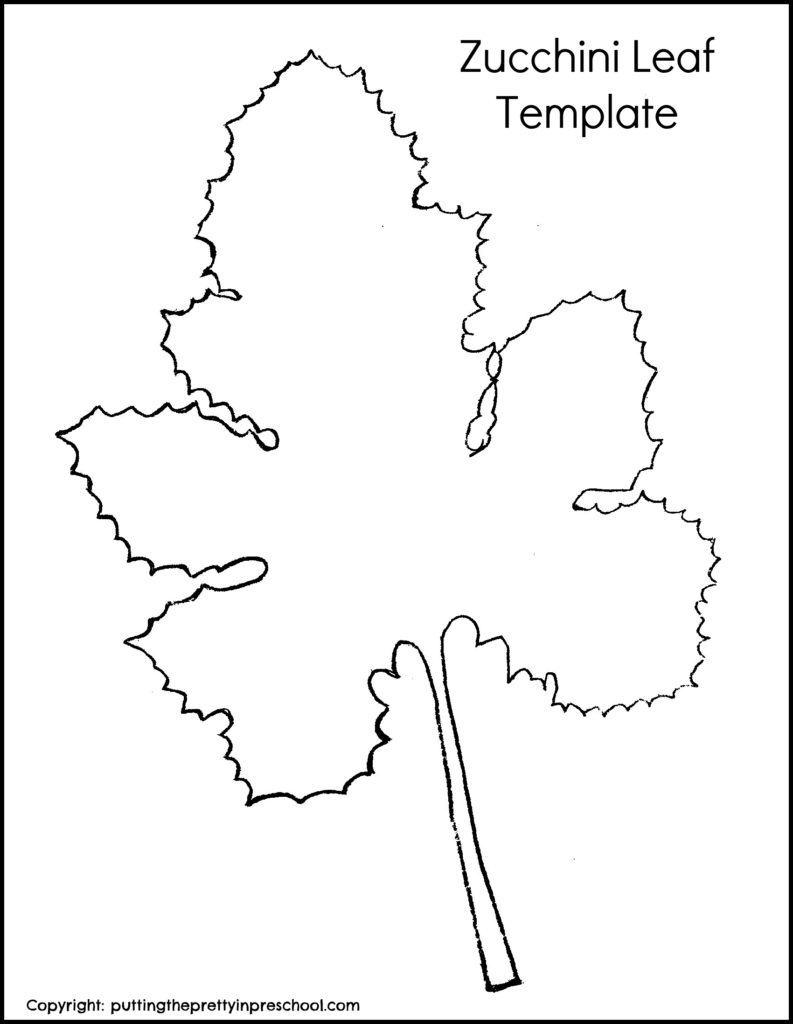
To prepare this activity, start by tracing and cutting out hearts from sturdy paper. Manila tag paper works well for the project. It comes in 9 x 12-inch, 12 x 18-inch, or even 18 x 24-inch paper sizes. The larger-sized paper allows for cutting bigger hearts.
When finished with the cutting part, fold the hearts in half.
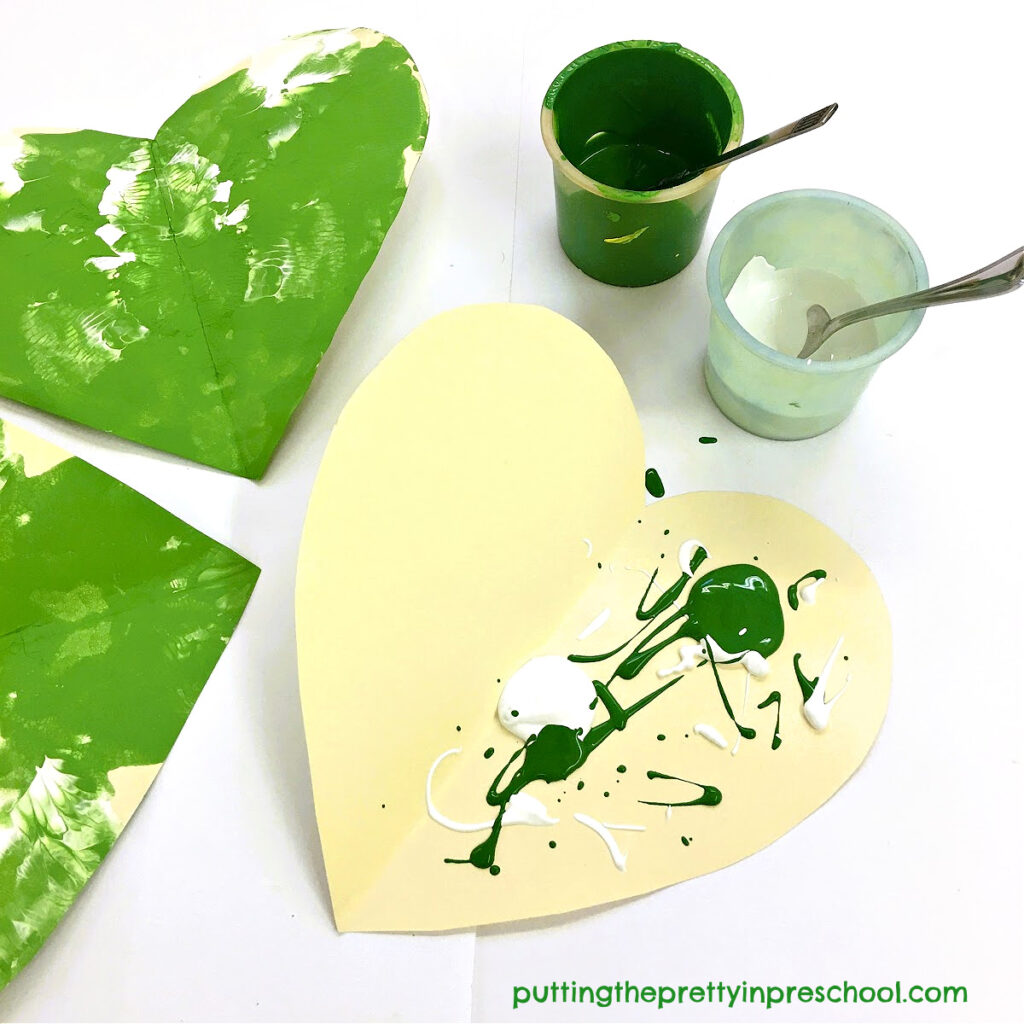
Next, mix a little yellow into the green tempera paint to create a lighter brighter color.
Then set out green and white paint pots, and add a spoon to each one.
_______
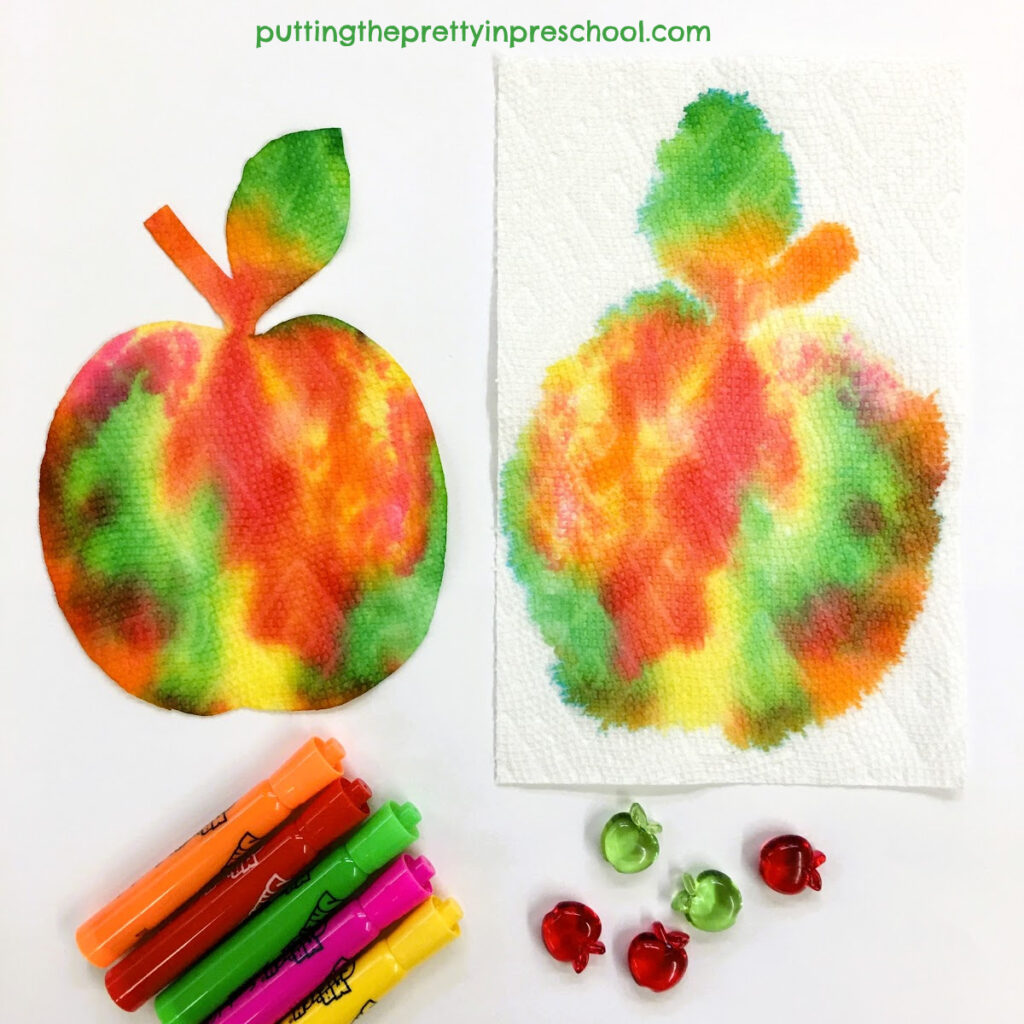
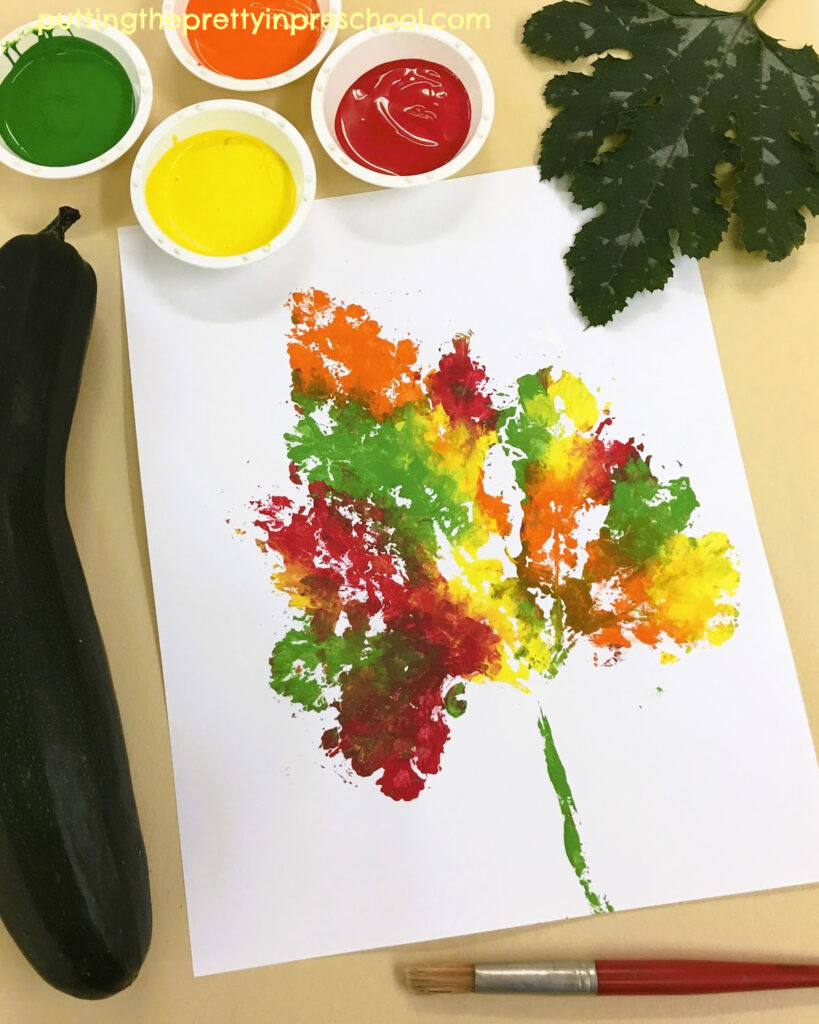
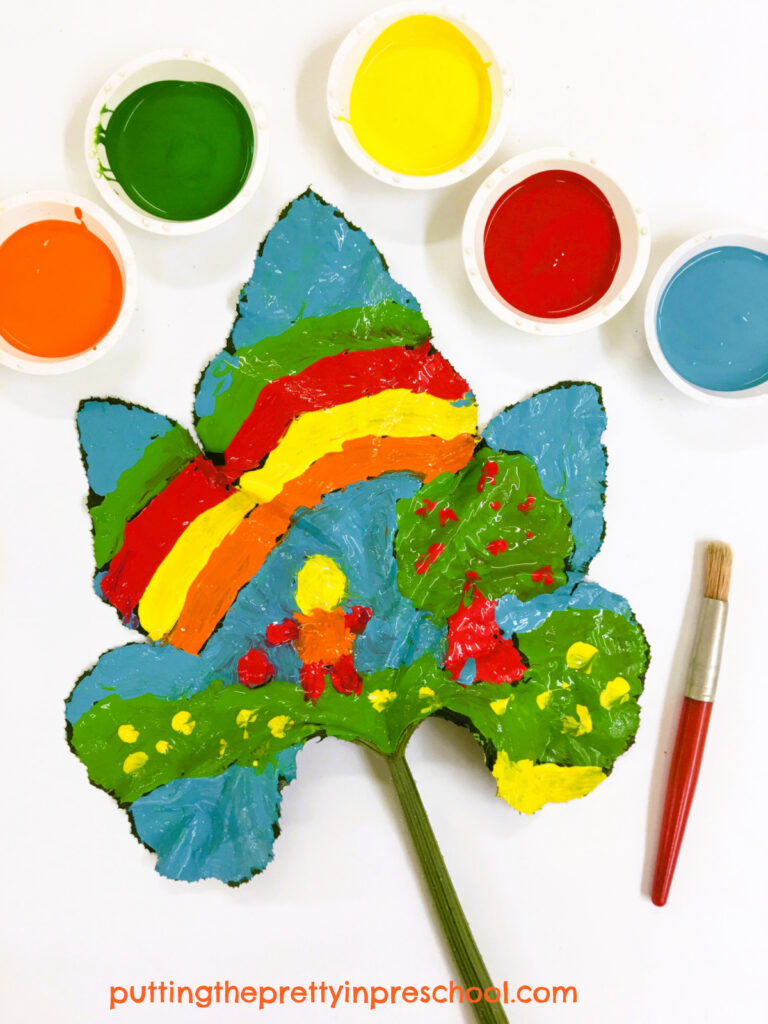
Invite participants to spoon each paint color onto their hearts, then fold one side over the other.
Have children rub their hands over their heart halves to smooth out the paint.
Finally, ask them to open their hearts to see the new design created.
Shamrock Art Display
_______
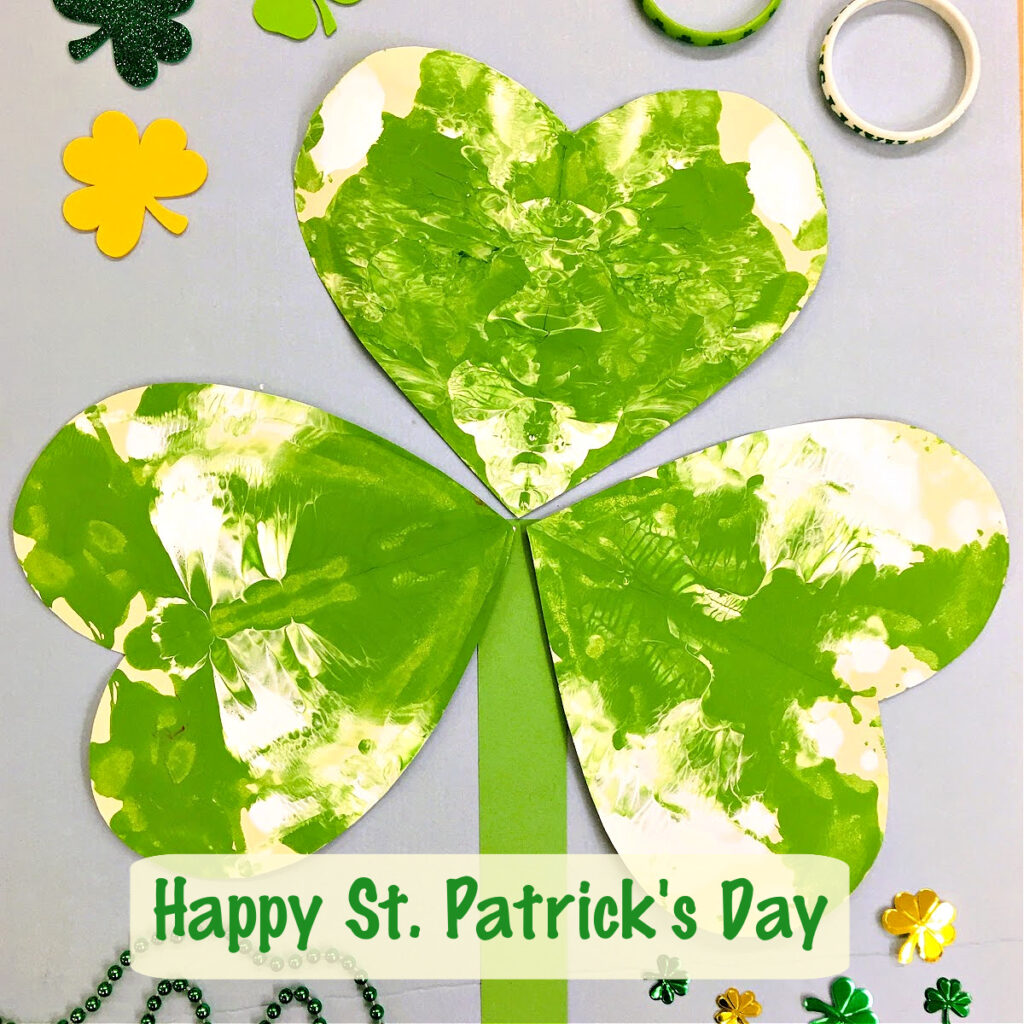
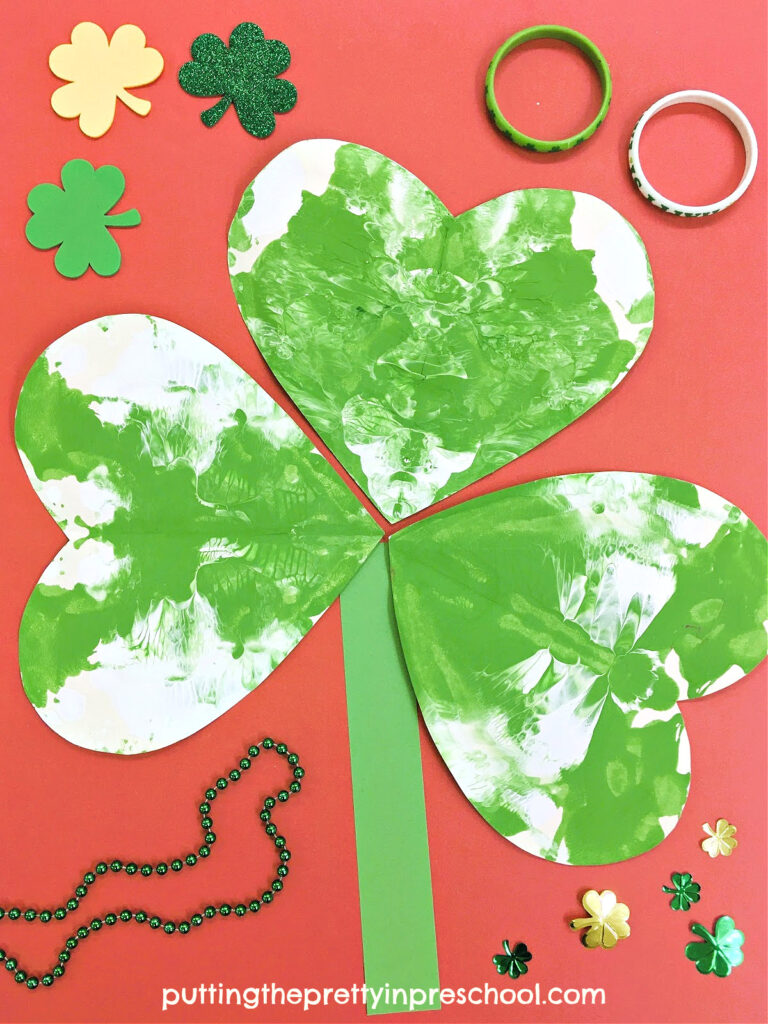
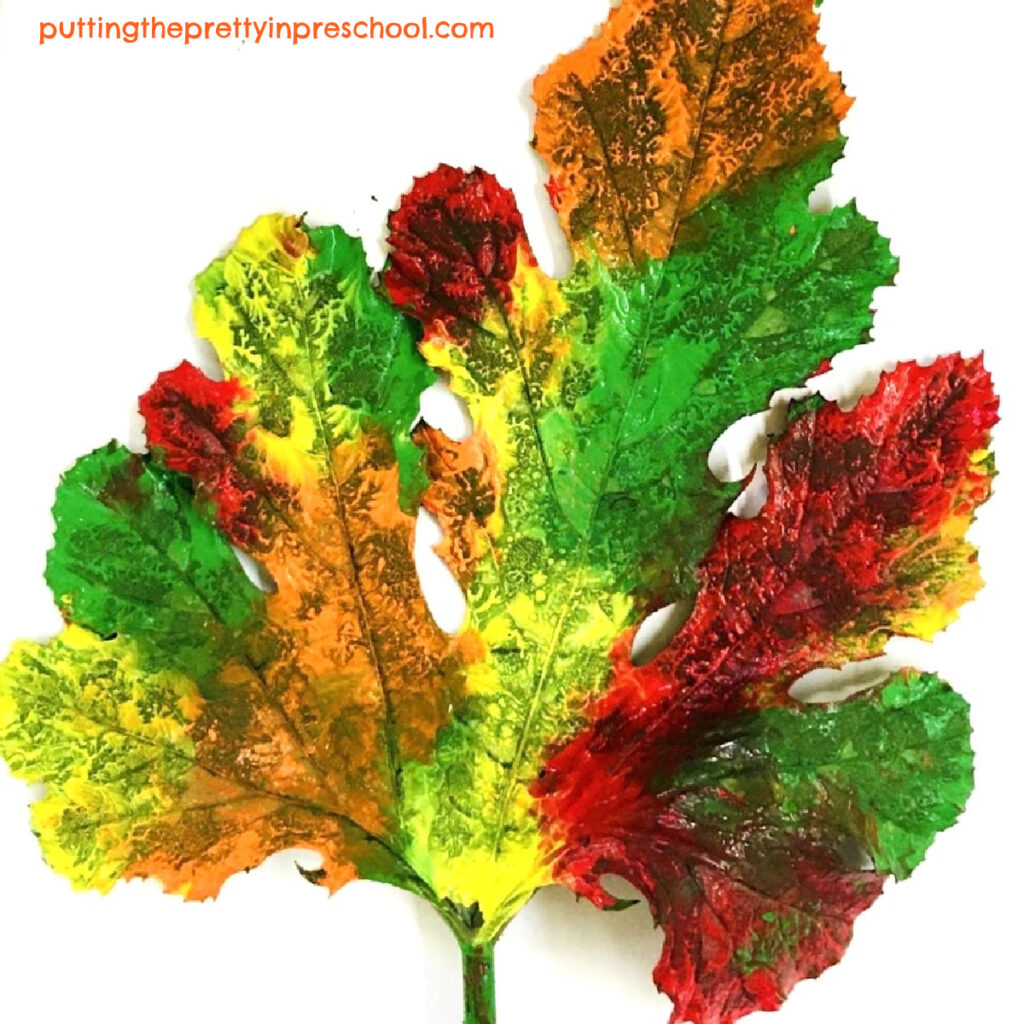
To make a shamrock using the squish-painted hearts, group the hearts into three leaflets. Glue them to a large cardstock background or tape them to a wall. Then cut a long, thin petiole from green cardstock paper. Affix the petiole to the shamrock design.
_______
Variation of the Squish Painting Shamrock Art Project
_______
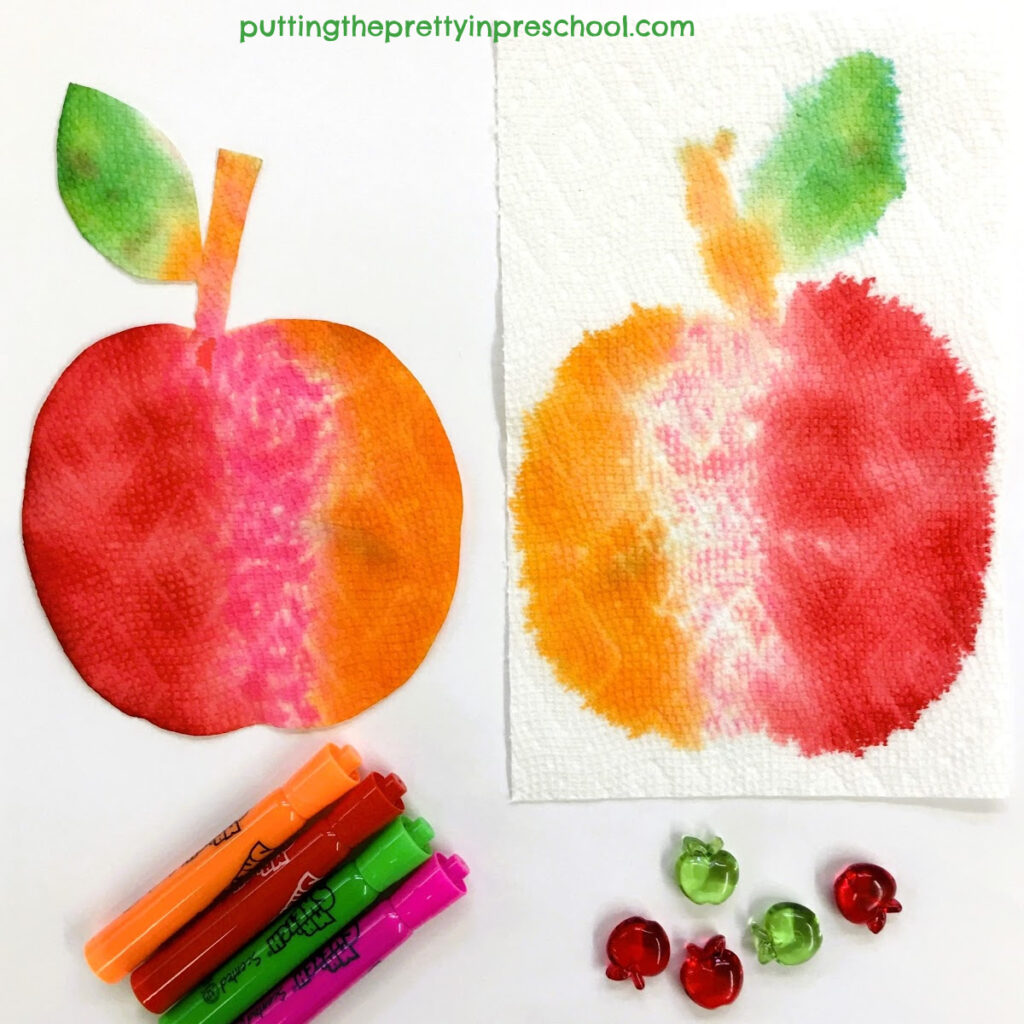
Introduce a new tempera paint color for an interesting way to vary this squish painting shamrock art project. Since shamrock plants also come in a purple variety called purple oxalis, using magenta paint instead of green is a natural fit for changing up the activity.
_______
Related:
_______
[Read more…] about Squish Painting Shamrock Art