_______
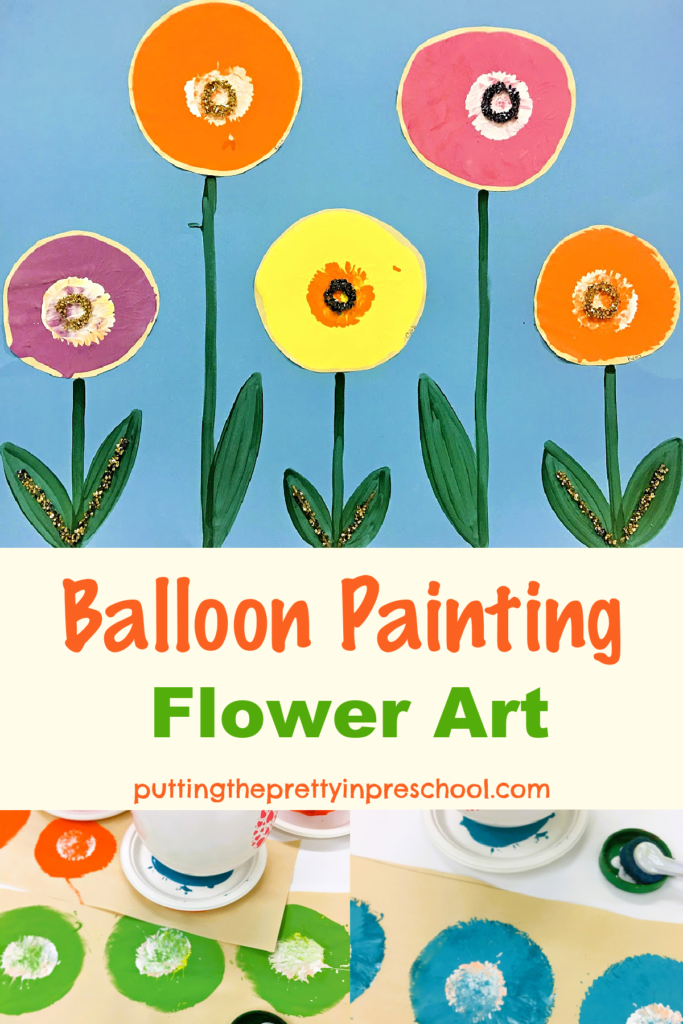
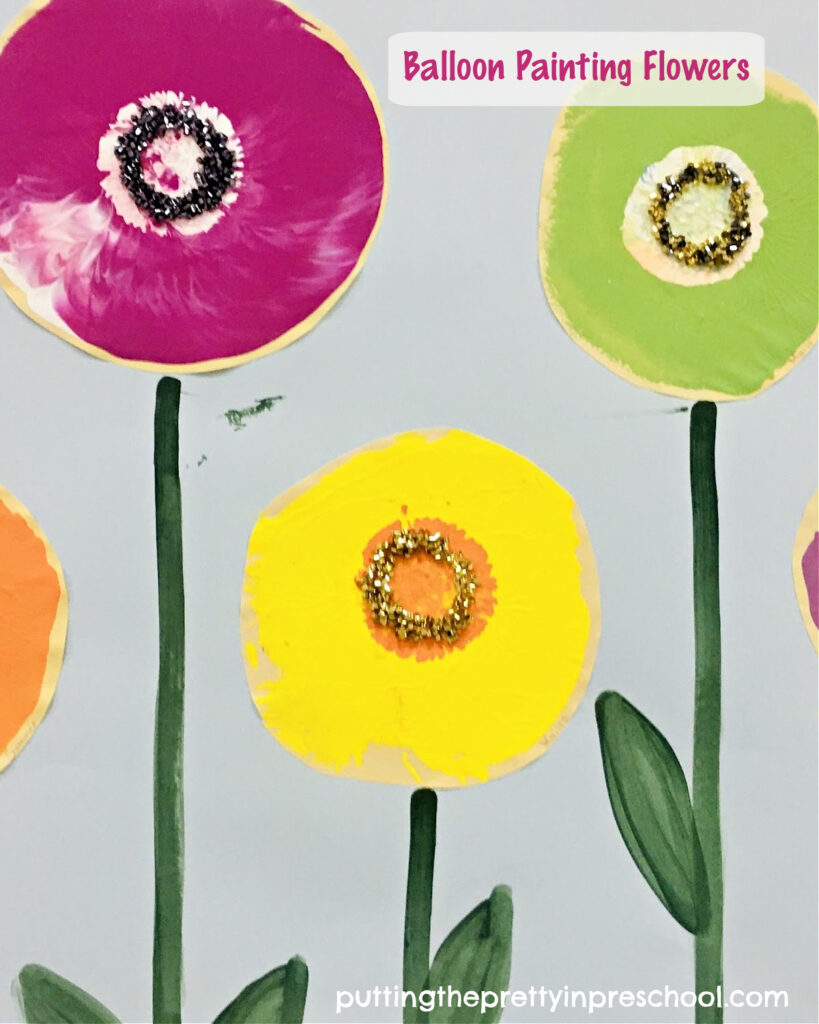
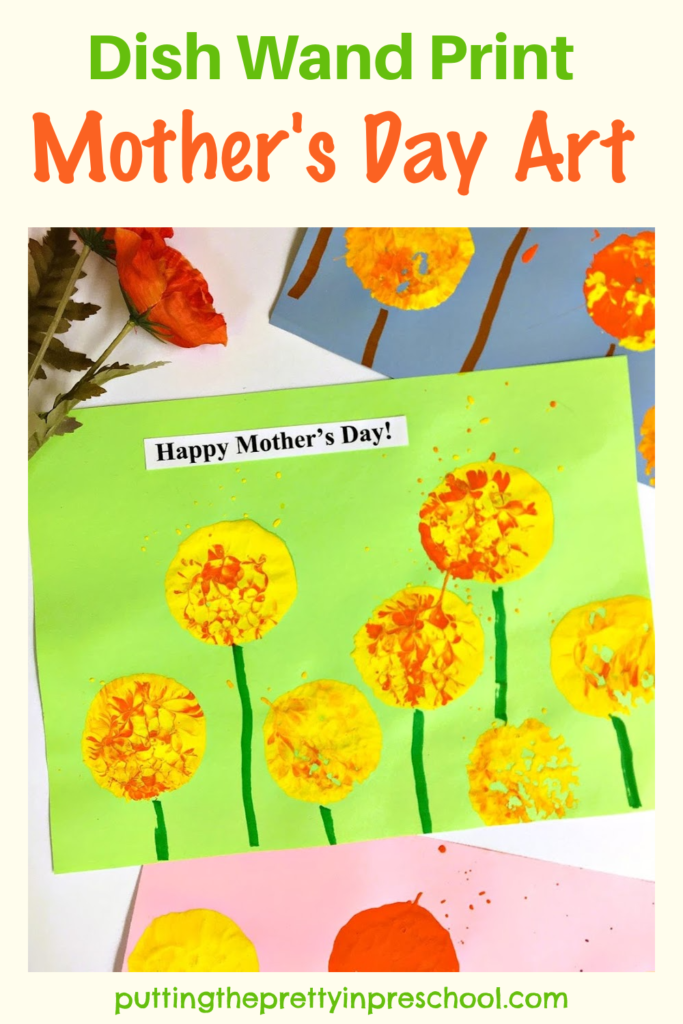
This balloon painting flower art is quick and easy to do and can make a room look cozier in no time. It is an unexpected, novel way to create art. Since children love activities with balloons, they’ll surely enjoy participating in this art invitation.
_______
Supplies To Collect
Gather the following supplies for this large-scale art project:
- round balloons
- tempera paints in a variety of colors
- paper plates
- 18-inch x 24-inch sturdy paper
- paintbrushes and paint pots
- sponge dish wands
- thin metallic garland
- white glue and glue paddle
- scissors
- waterproof table cover
_______
_______
Balloon Painting Flower Art Set Up
To set up this art project, start by covering an art table with a waterproof table cover.
Next, blow up round balloons to about 1/3 their usual size. Small balloons work fine for this project.
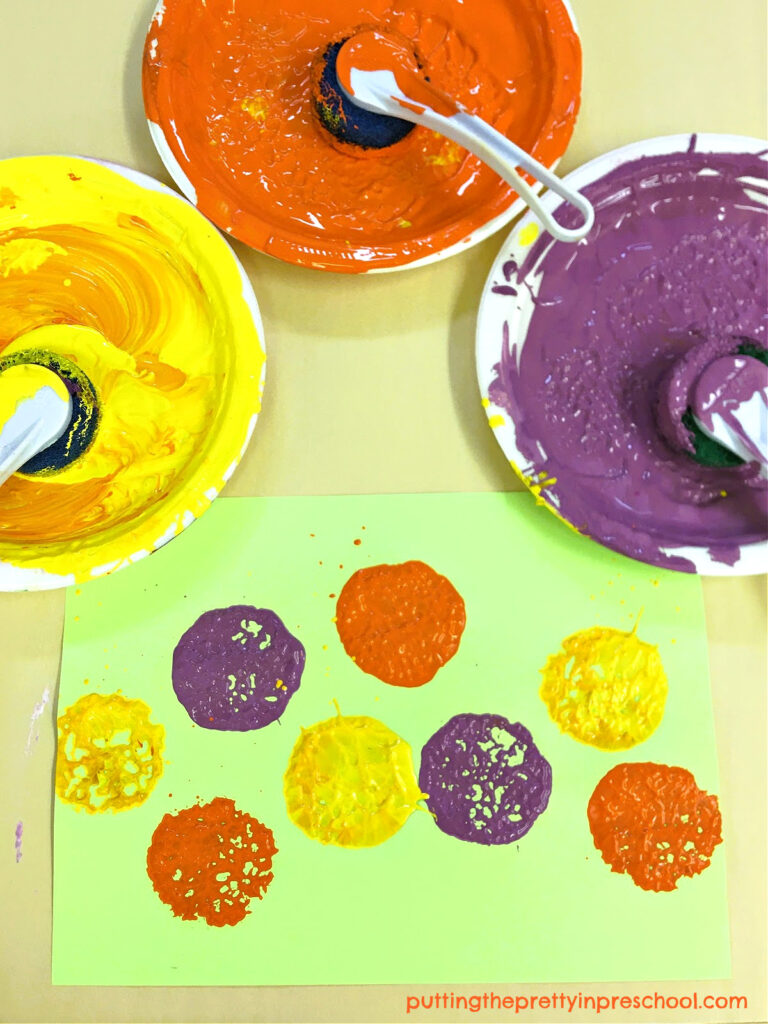
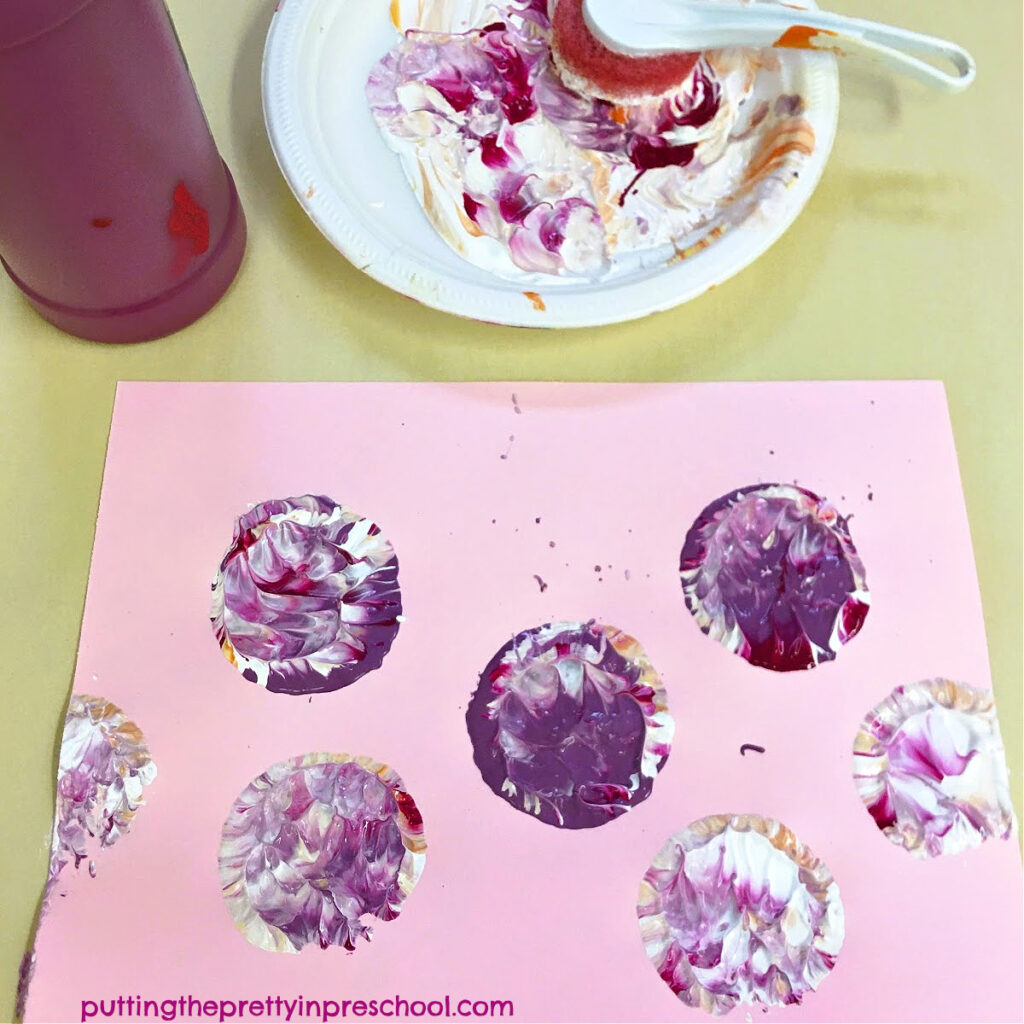
Then pour tempera paint in a variety of colors onto paper plates.
Afterward, drop paint into small plates or paint pot lids and add a sponge dish wand into each one.
Set out the paint trays, balloons, dish wands, and large sheets of sturdy paper on the art table. Your painting invitation is now ready to go.
_______
The Balloon Painting Flower Art Project

_______
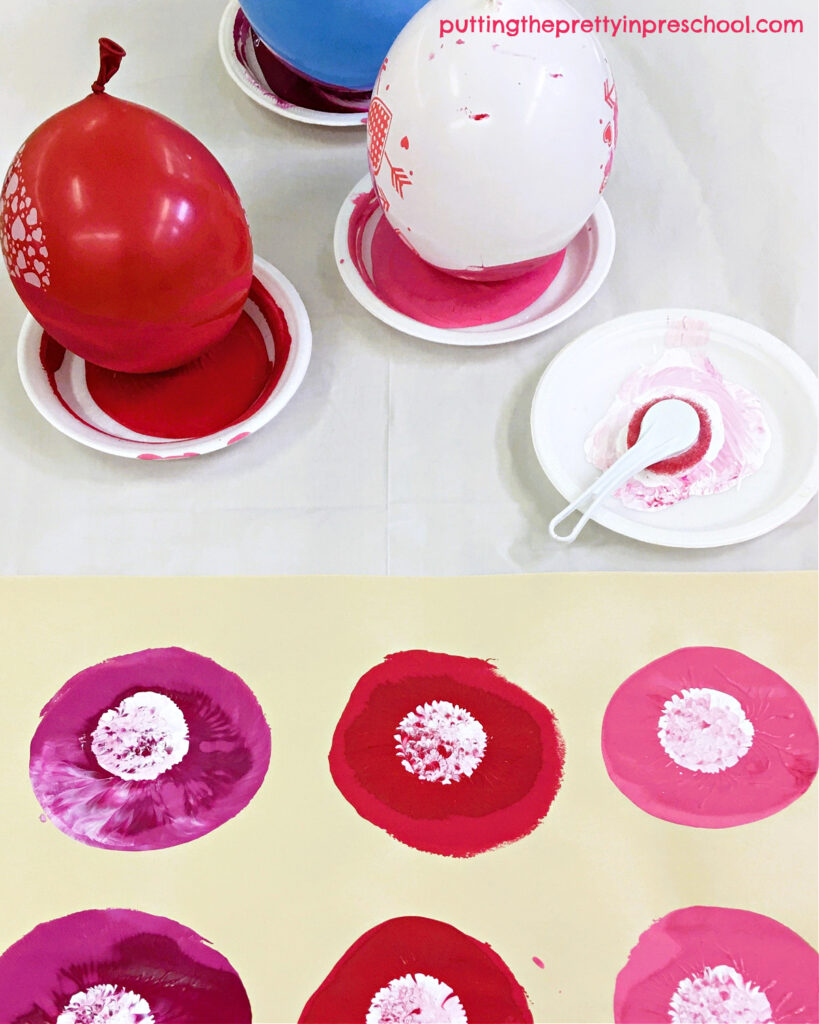
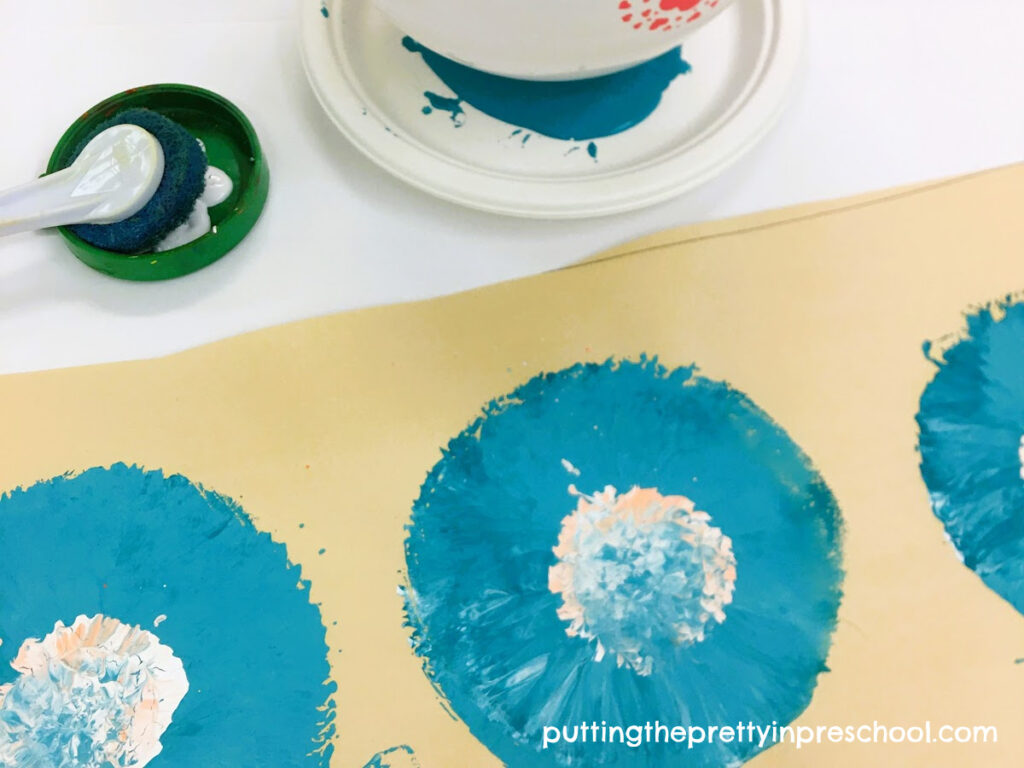
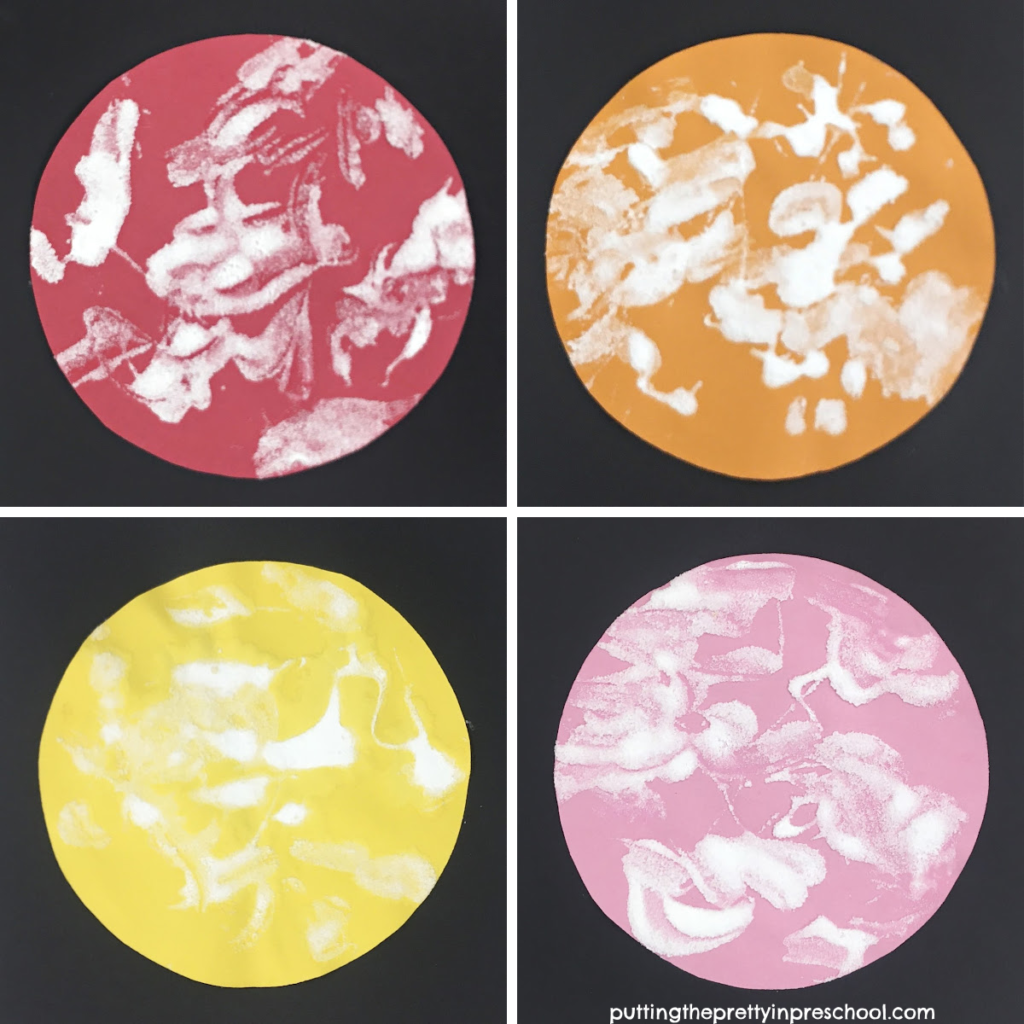
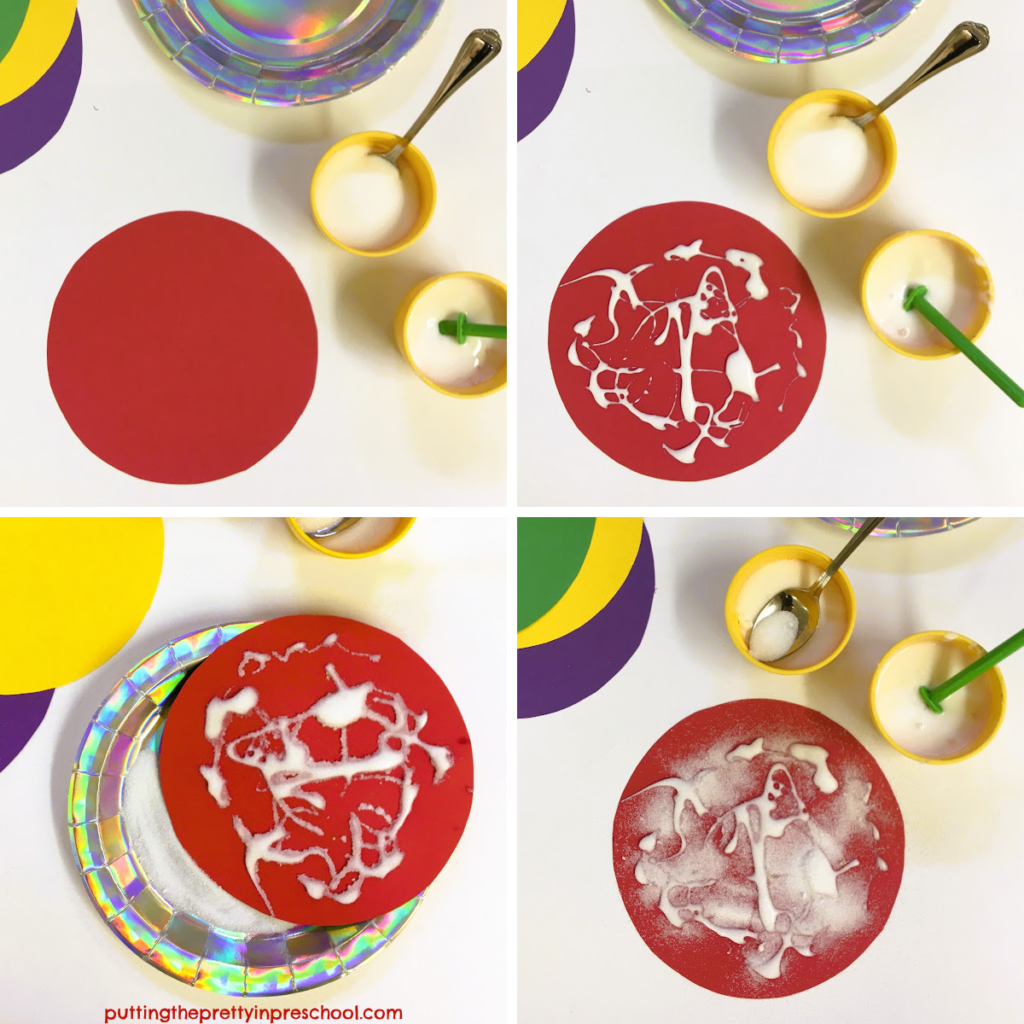
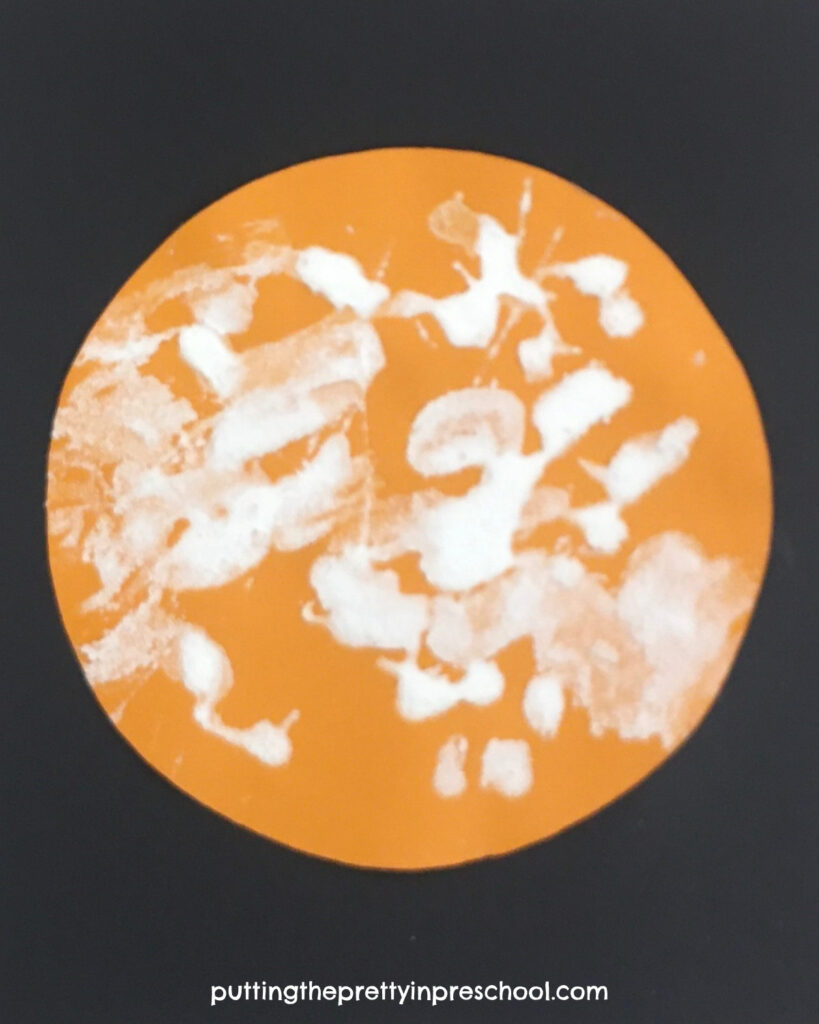
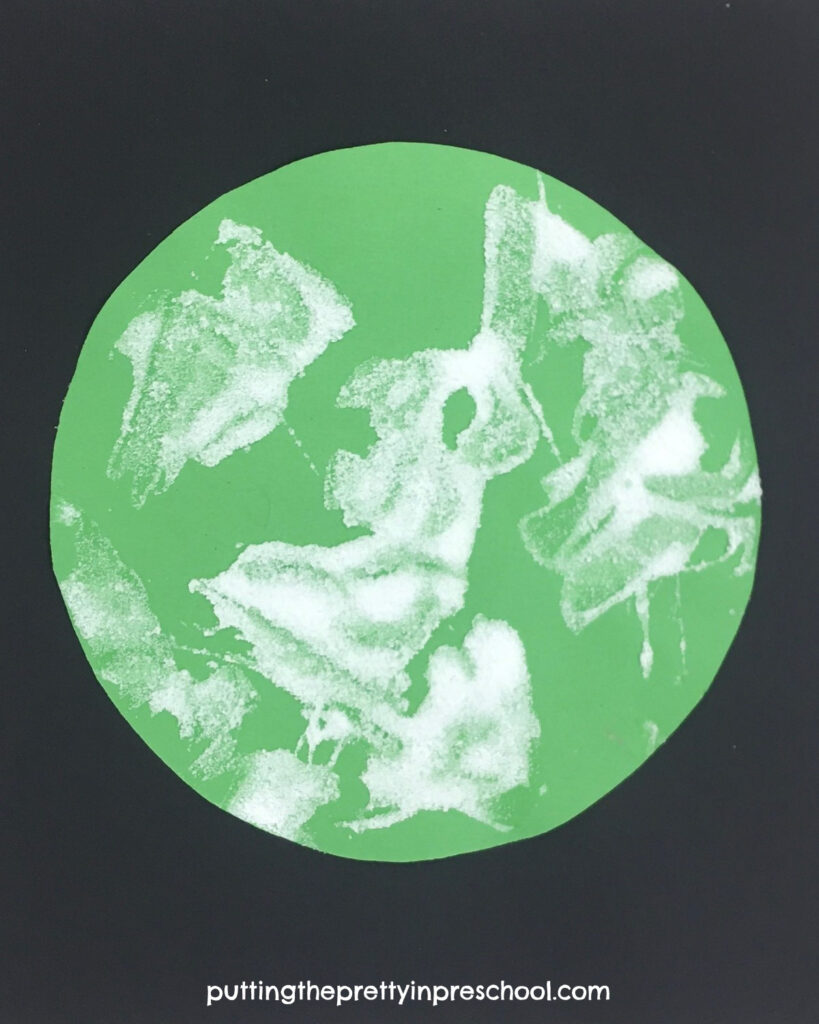
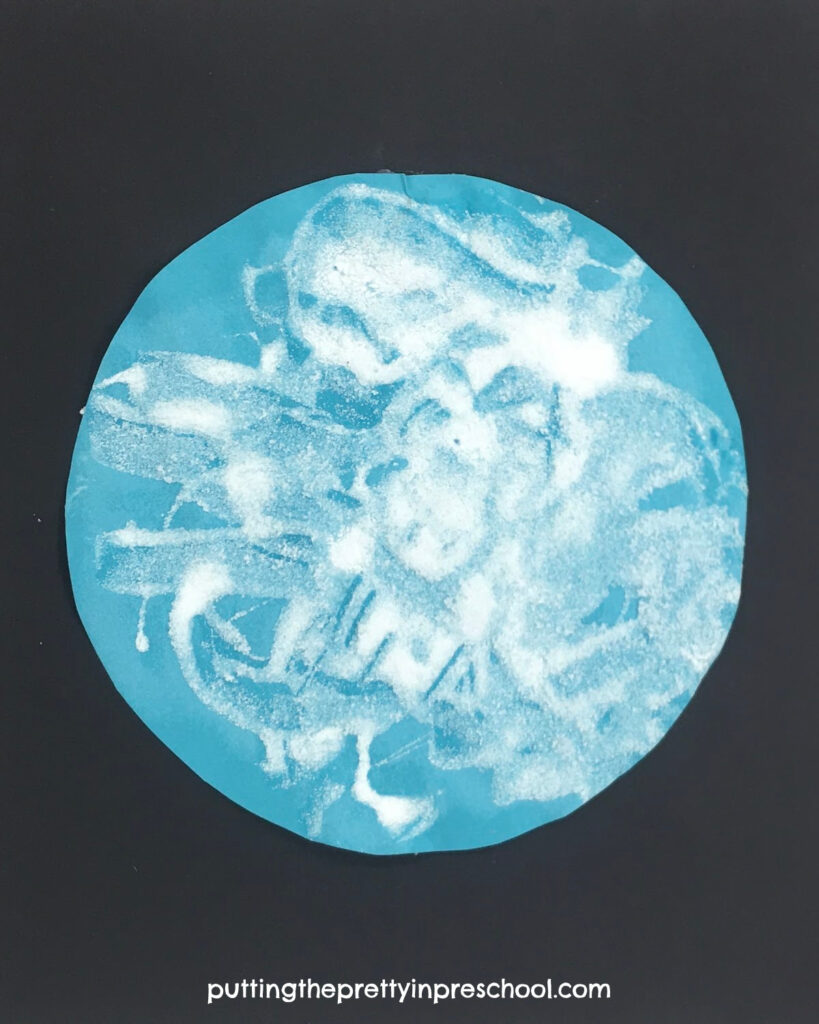
To create eye-catching balloon art flowers, press a balloon into one of the paint colors, lift it off, and carefully press it down onto a piece of sturdy paper.
Tip: The firmer a paint-dipped balloon is pressed on paper, the bigger the print. Pressing the balloon down gently creates a smaller print.
_______
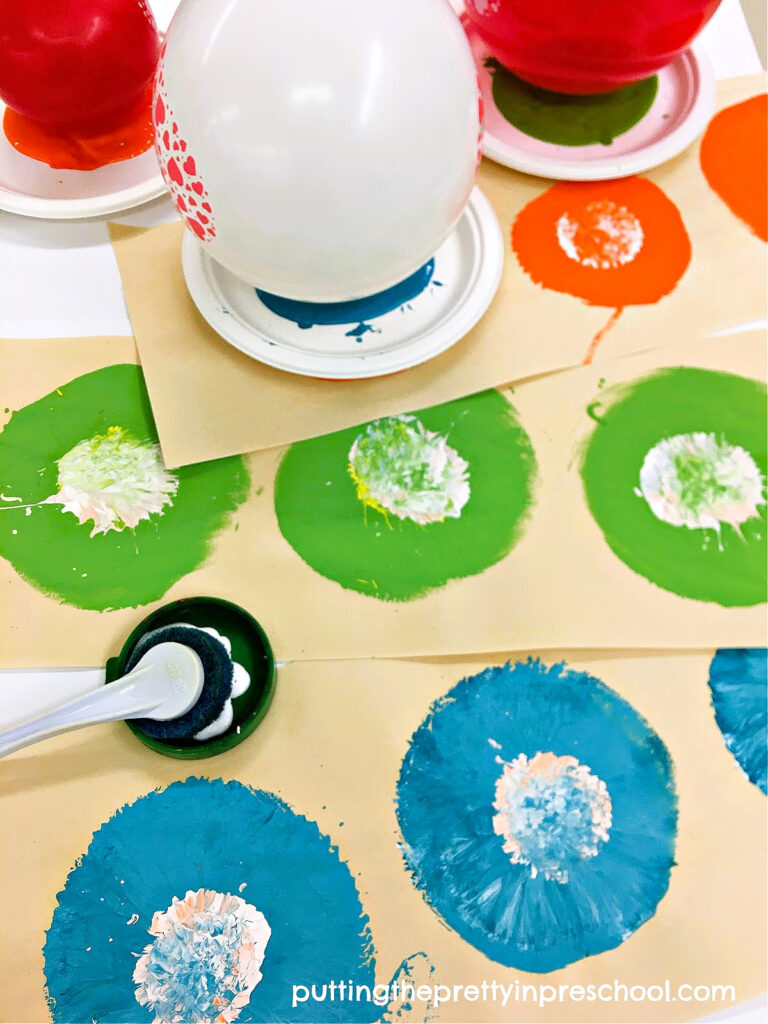
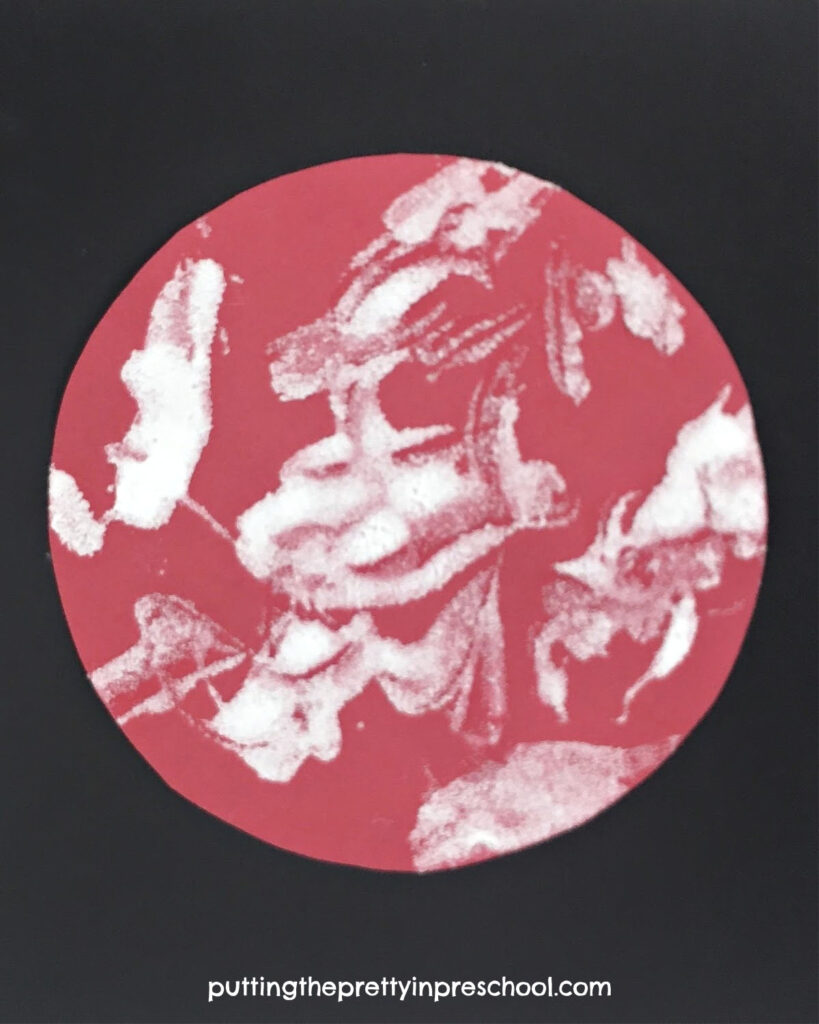
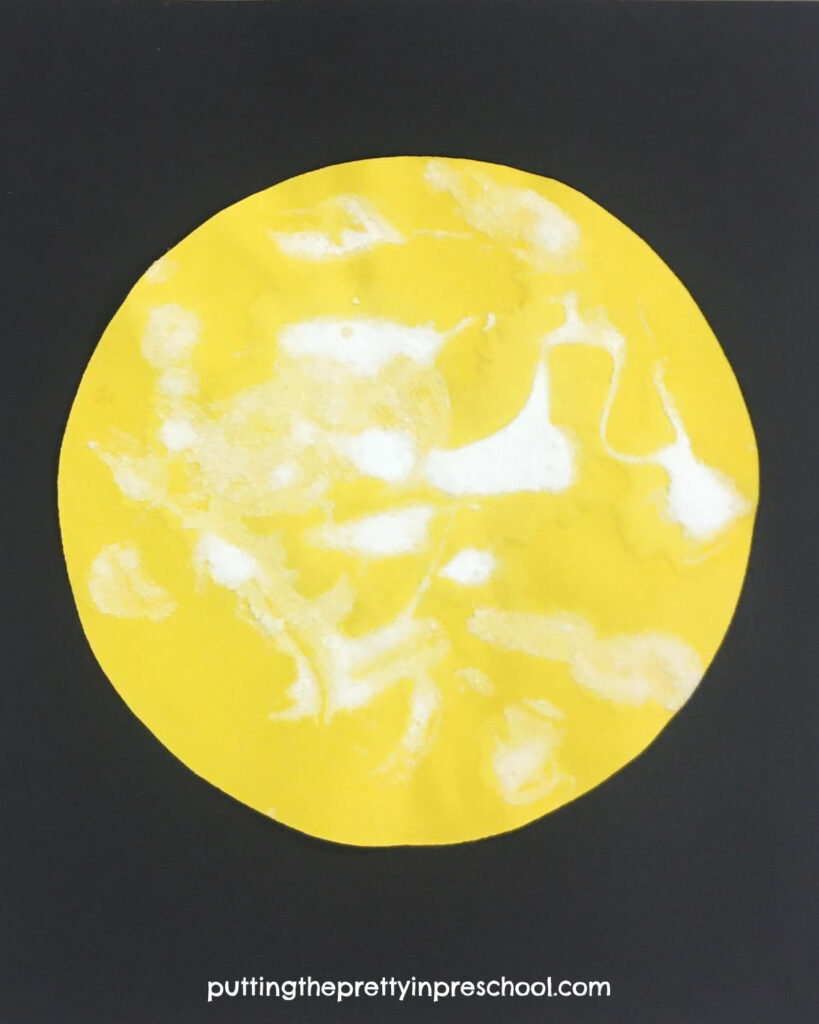
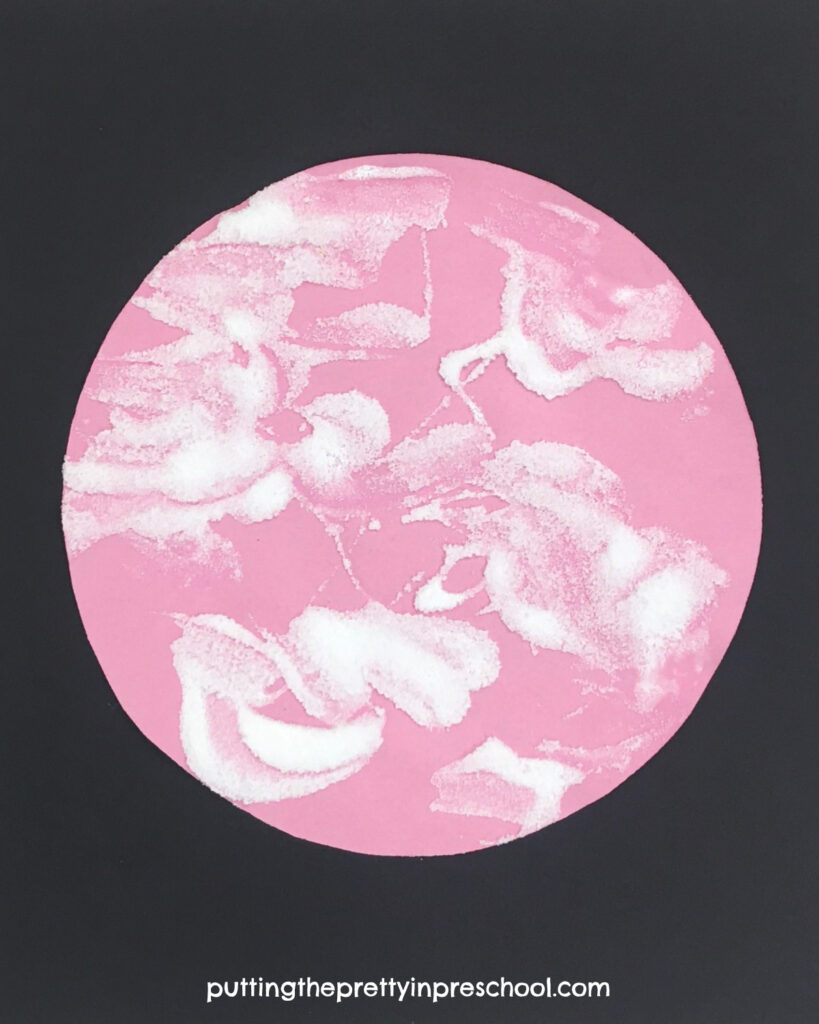
Continue to make balloon prints. It’s fun to create flowers in hues of blue and green in addition to more commonly seen colors.
_______
Afterward, dip a sponge dish wand into a contrasting paint color and stamp a circle in the center of each flower-shaped print.
_______
When the roundish prints are dry, cut them out.
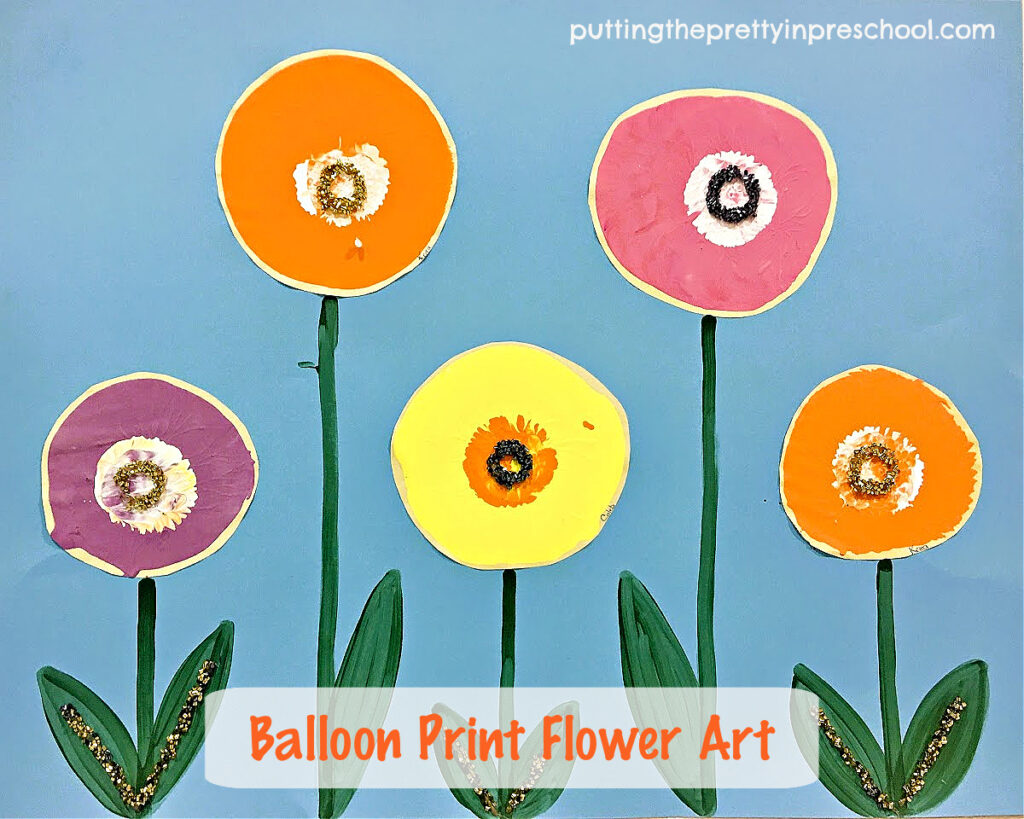
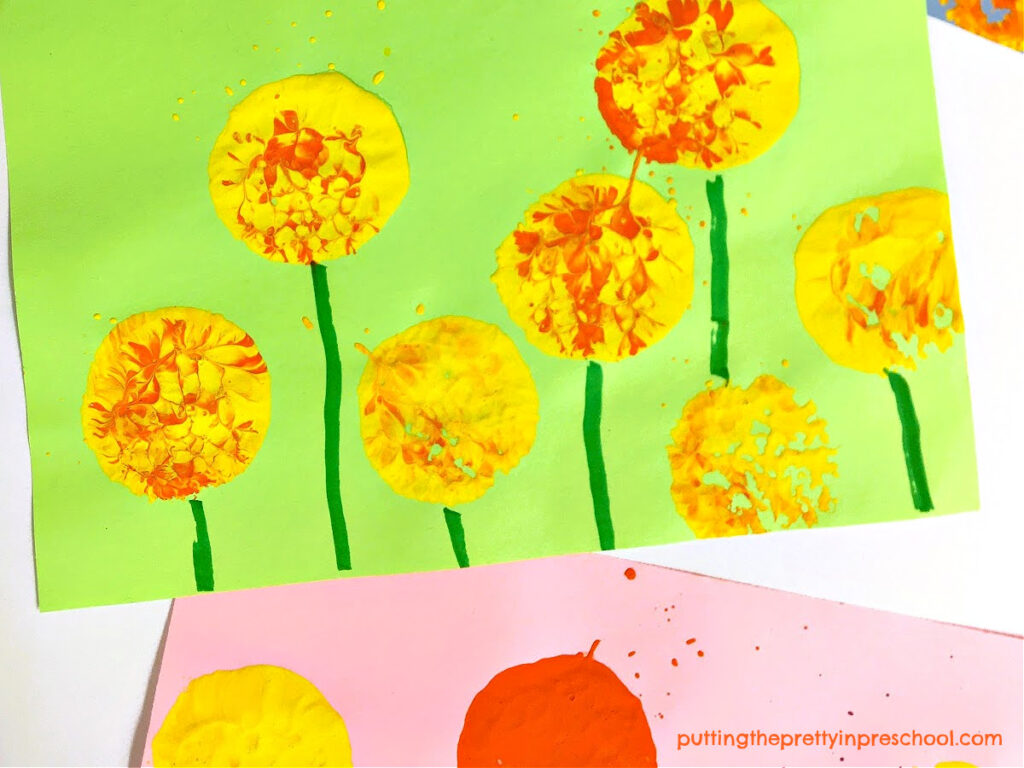
Then dip a paintbrush into a pot of green tempera and paint leaves and stems on a large sheet of cardstock paper.
For a shimmery look, add a line of white glue to each leaf and press on a strip of thin metallic garland.
_______
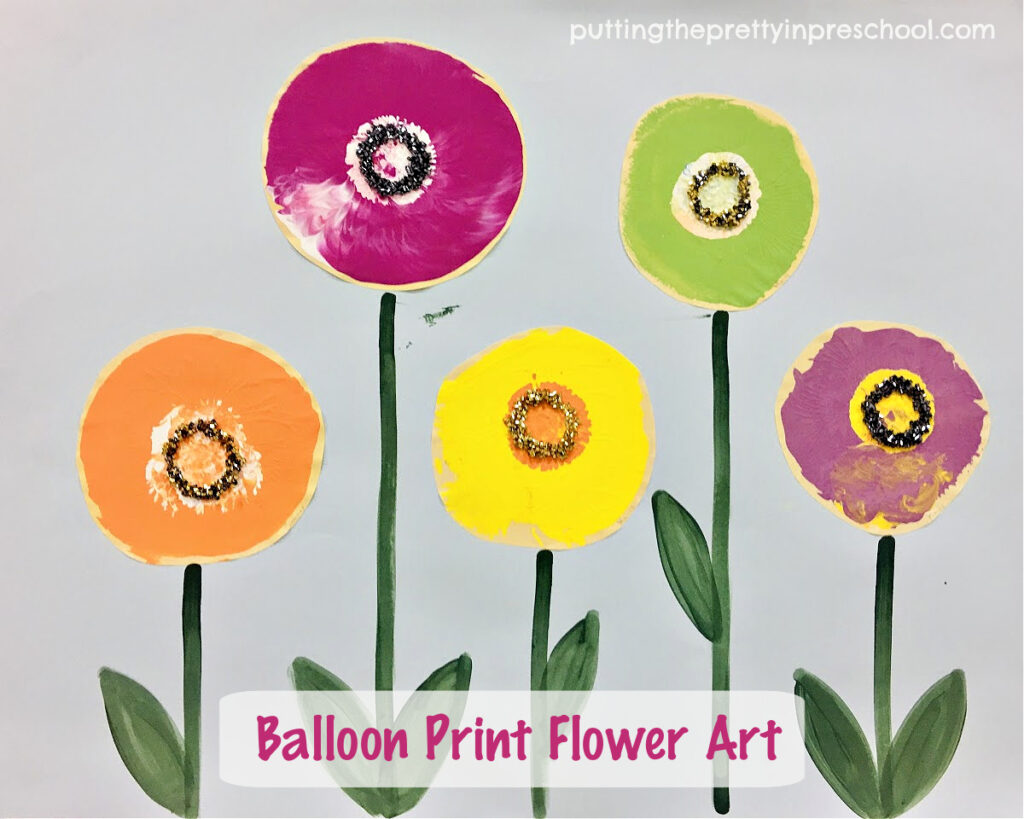
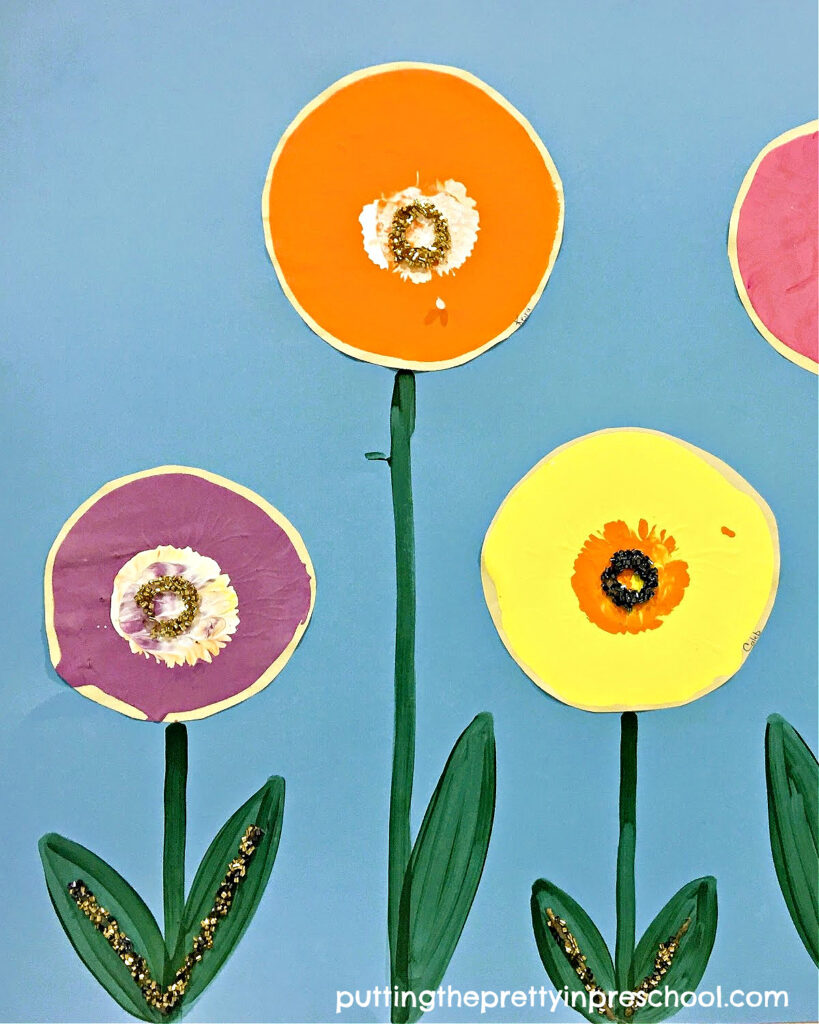
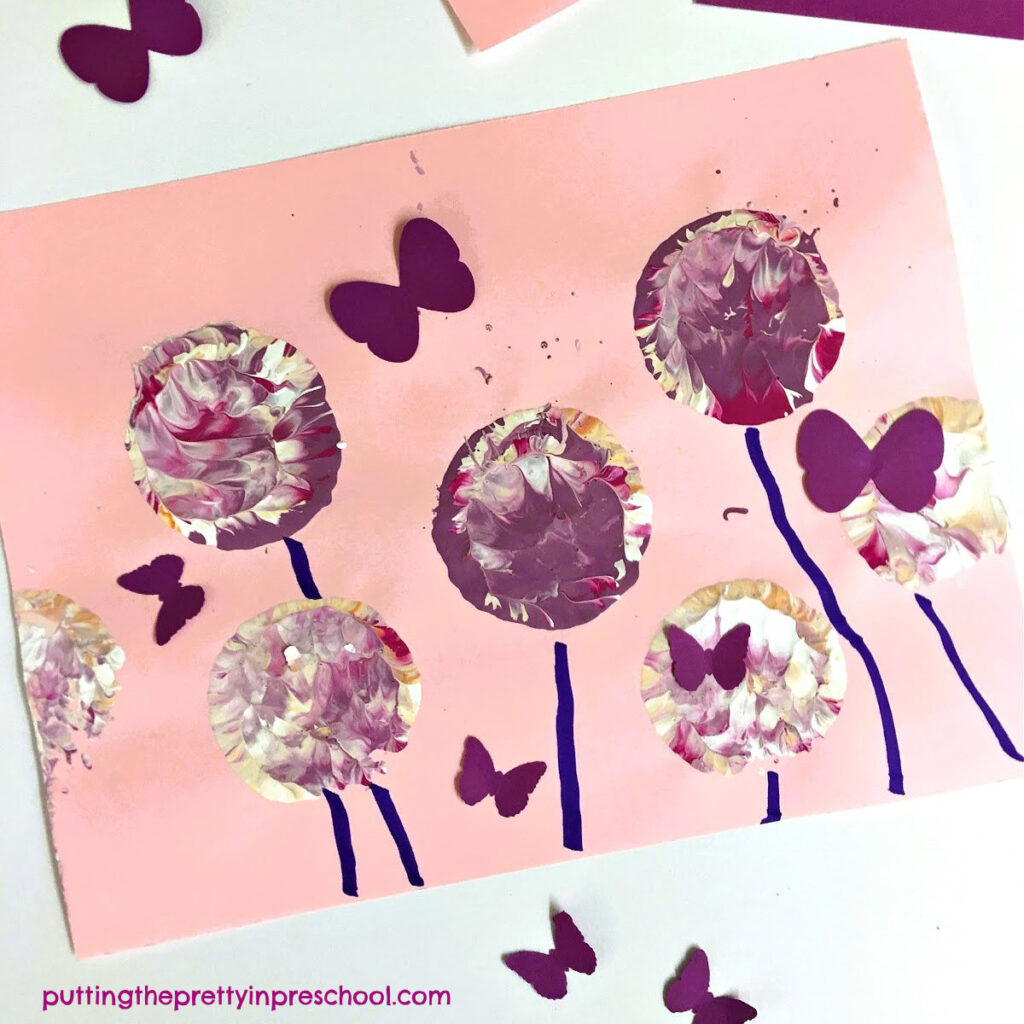
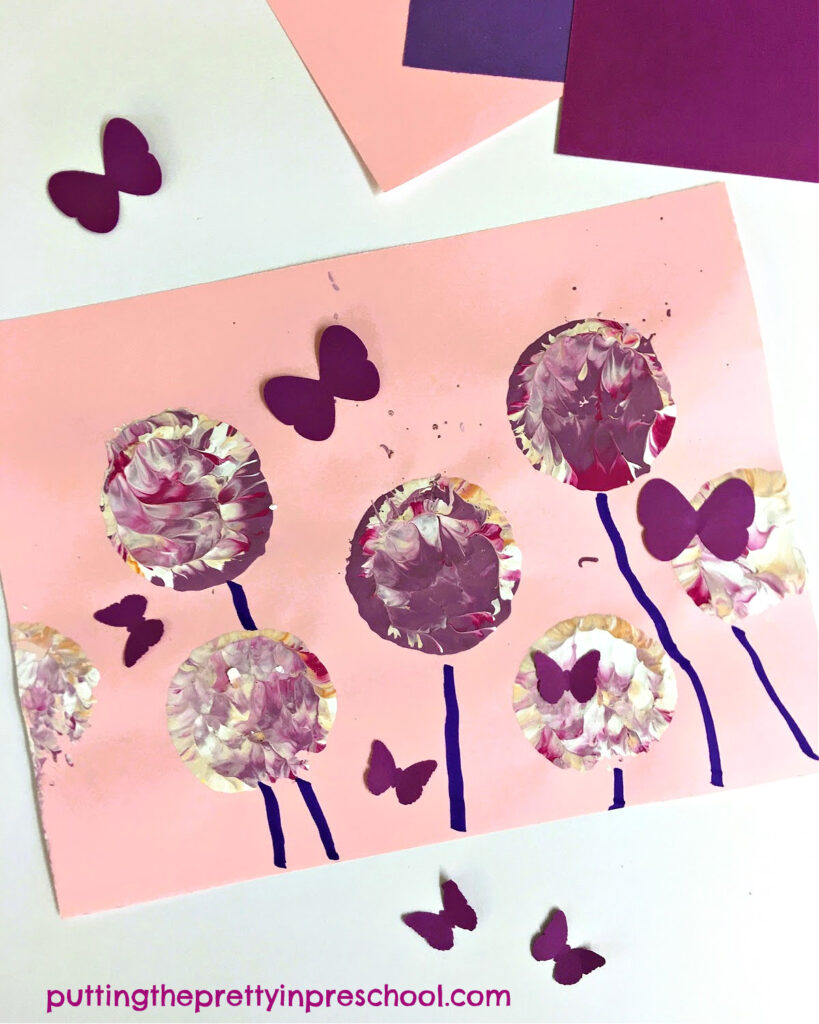
Next, glue the round, bold, balloon-painted flowers on top of the stems using white glue or a glue gun.
To embellish the flower centers, add a circle of glue to each one and affix a strip of thin metallic garland to each of them.
_______
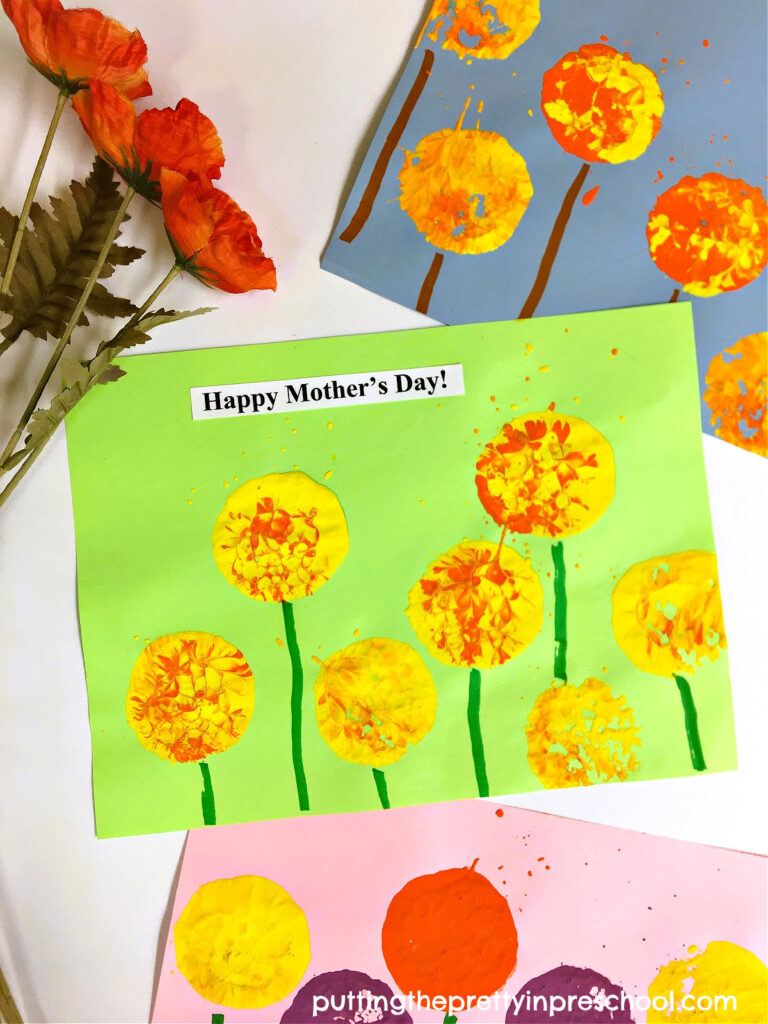
You will have large-scale, stunning flower art ready for display.
_______
_______
Related:
_______
[Read more…] about Balloon Painting Flower Art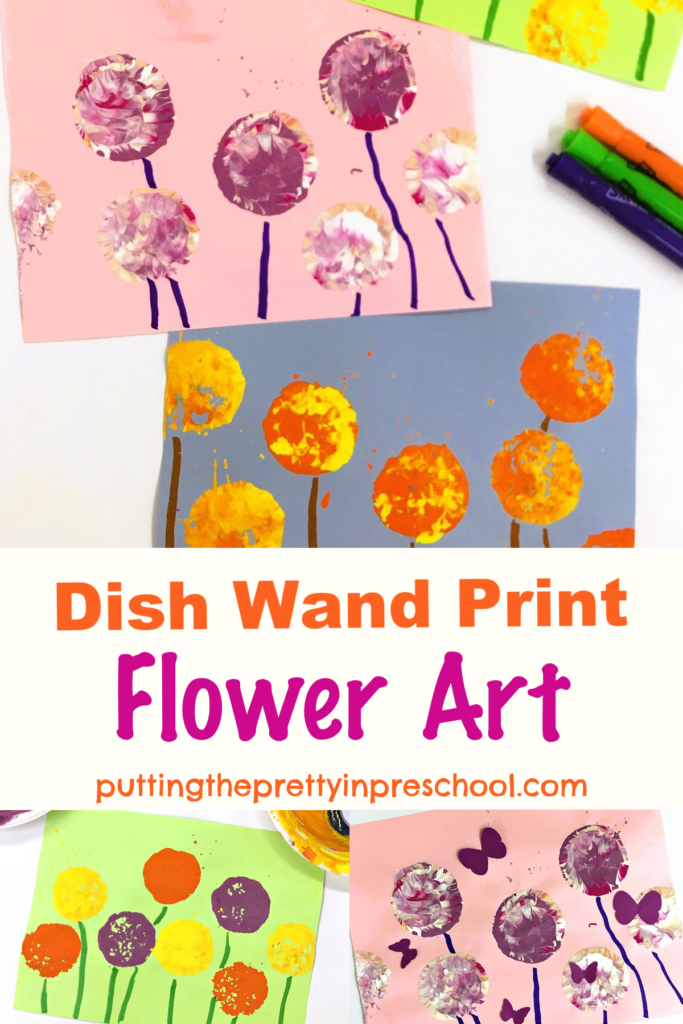


