• Skip to secondary menu
  • Skip to main content
  • Skip to primary sidebar

Putting The Pretty In Preschool

Finding Beauty In Everyday Early Childhood Experiences

  • Home
  • About Me
  • Winter
  • Chinese New Year
  • Blog
  • Valentine’s Day
  • Contact Me
  • Easter Activities

preschool

Easy DIY Black Playdough

January 25, 2025 by Annette Kaminsky Leave a Comment

_______

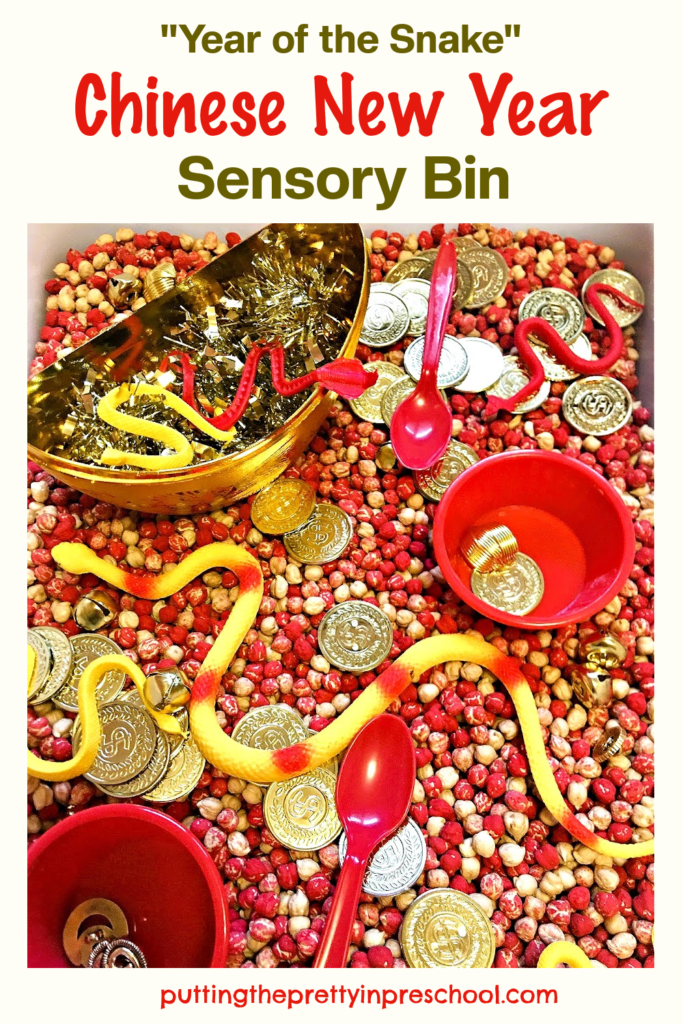
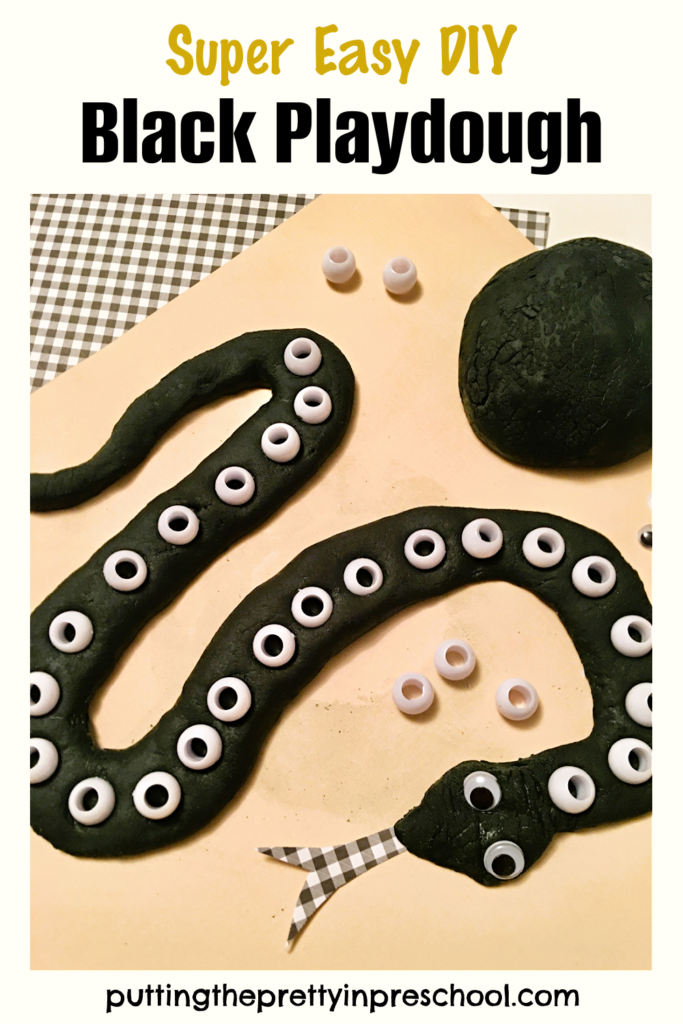
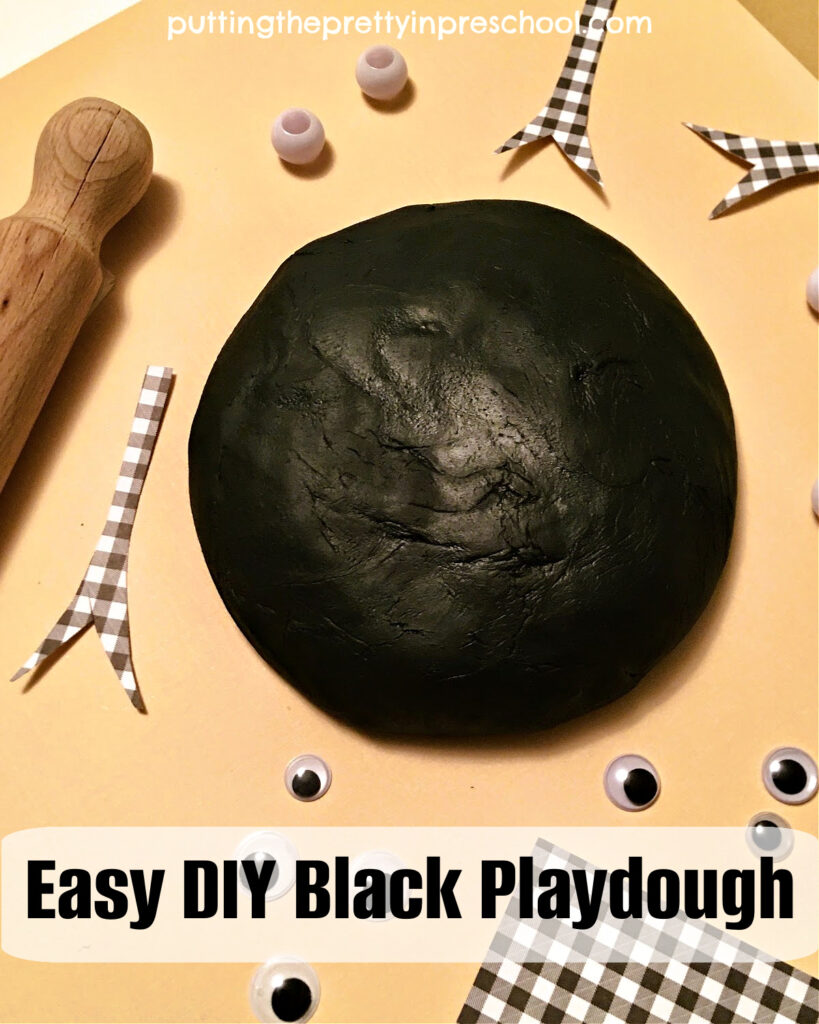
This easy DIY black playdough is sleek, shiny, and oh-so-easy to make. The no-cook recipe pairs perfectly with a snake theme as it is super stretchy. Using it this month also works well with Lunar New Year “Year of the Snake“ activities.

_______

Easy DIY Black Playdough Ingredients

Gather the following supplies for this black playdough recipe:

  • 2 cups flour
  • 1 cup salt
  • 1 cup water
  • 2 tbsp vegetable oil
  • 1 tsp black gel icing color
  • ½ tsp glycerin
  • large bowl
  • measuring cup
  • mixing spoon

_______

Making the No-Cook Black Playdough

This black playdough recipe can be made quickly. Here are the instructions:

  • Add two cups of flour to a serving bowl.
  • Pour in 1 cup of salt.
  • Add 1 cup of water.
  • Measure in 2 tbsp vegetable oil.
  • Drop in 1 tsp black gel icing color.
  • Add ½ tsp glycerin.
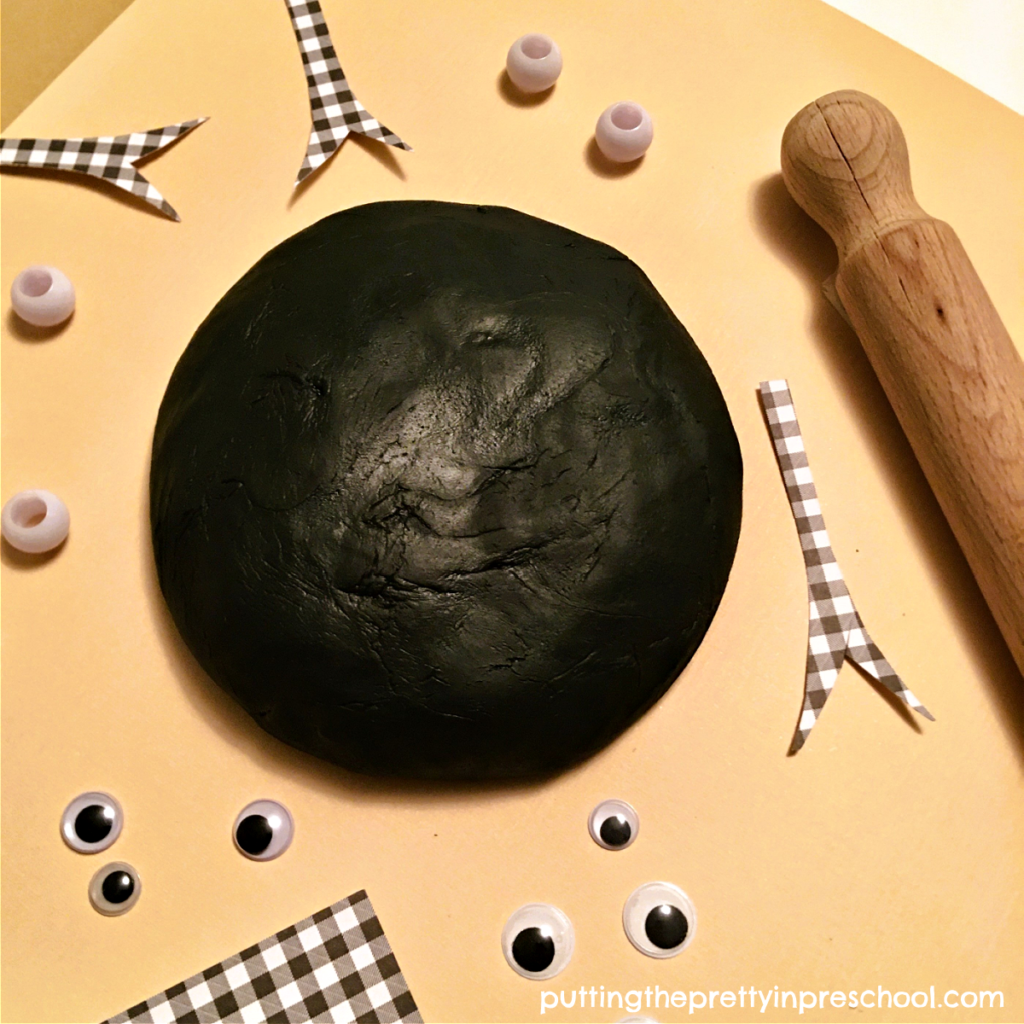
  • Stir all the ingredients together with a mixing spoon until it becomes thick. Then take the playdough out of the bowl and knead it thoroughly.

_______

_______

The nice thing about this playdough is that you can play around with the ingredients and it will turn out just fine. If the dough is a little dry, add in a tiny bit more water, glycerin, or oil. If it is a little moist, add a small amount of flour. Kneading the ingredients thoroughly makes it moldable.

If the playdough looks more grey than black measure in more black gel icing color. Note: The playdough will get a little darker over time so it doesn’t need to look all-black immediately.

For additional shine, add a teaspoon more glycerin.

_______

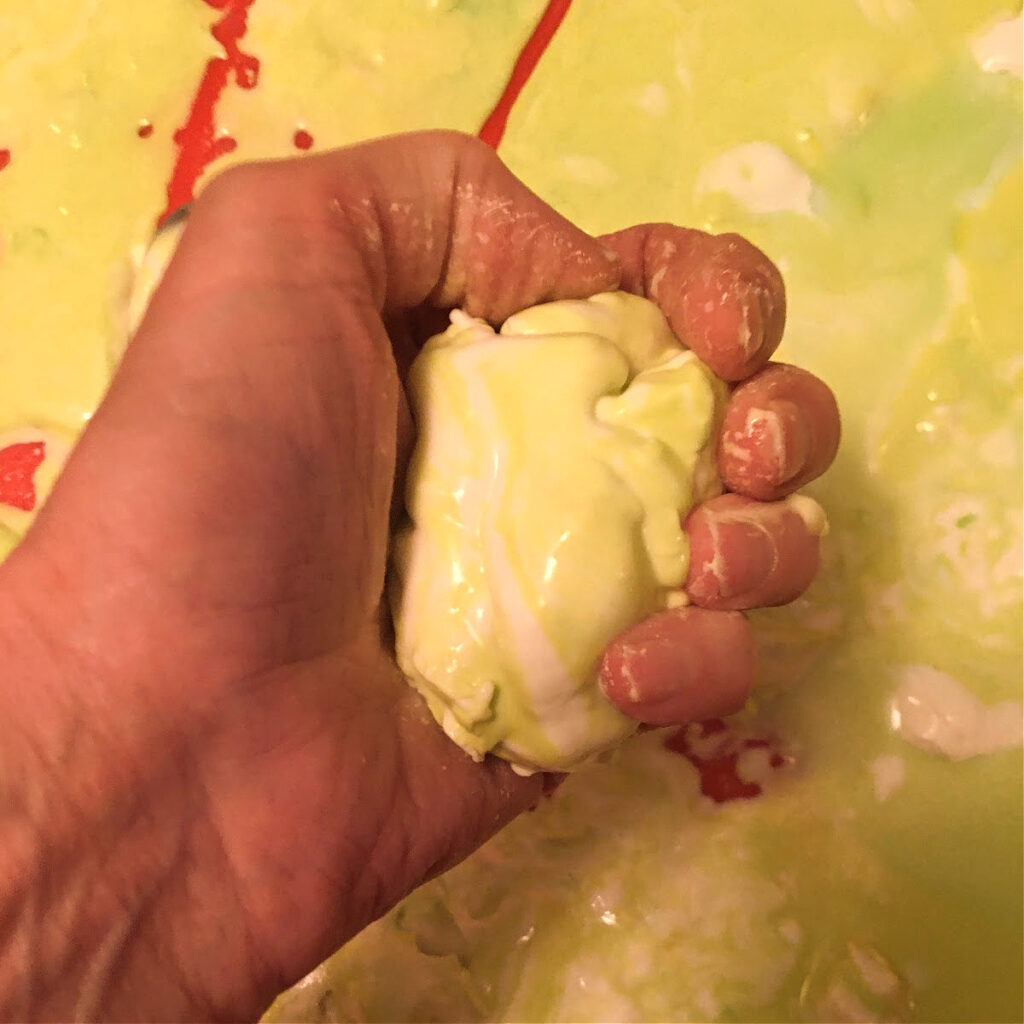
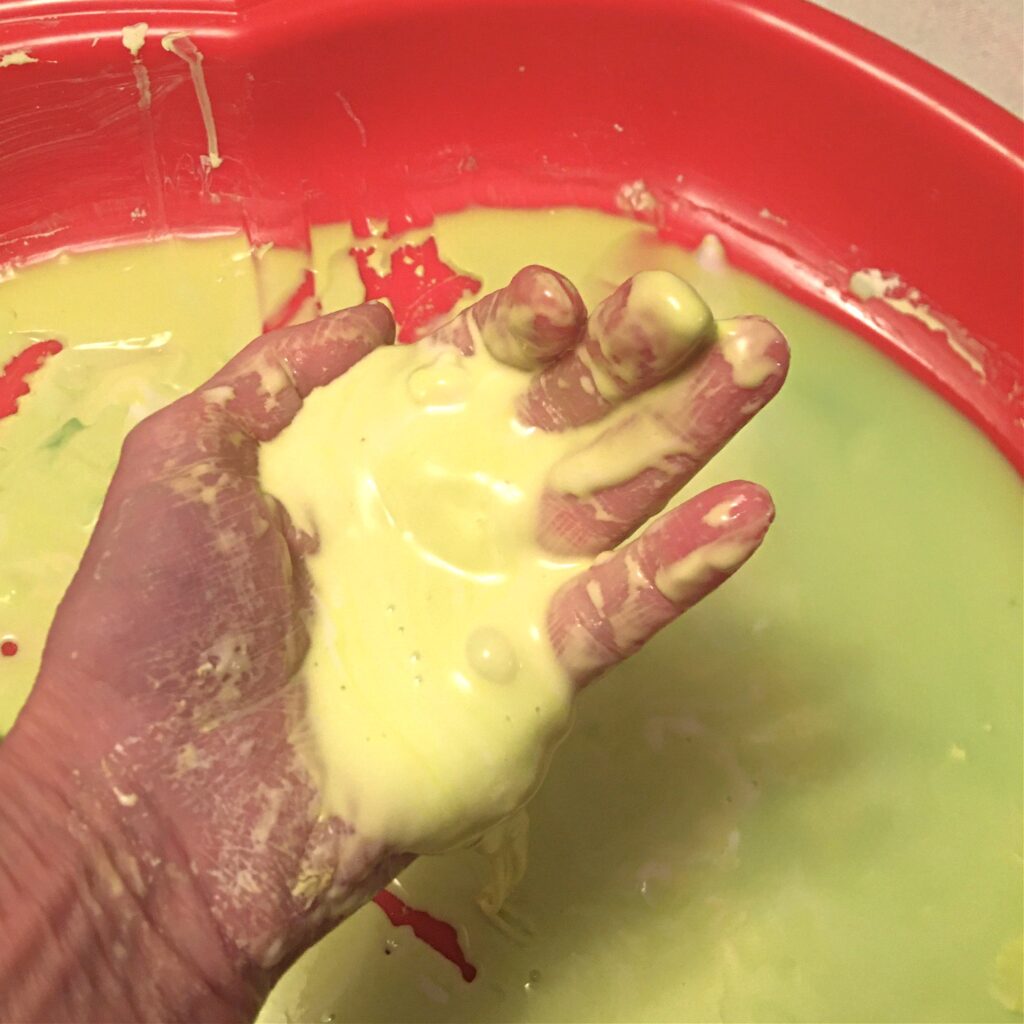
Little hands will look greenish after making and using the playdough because of the intense black gel color. The gel color is edible, and hands should be their normal hue again after a few washes.

This easy DIY black playdough recipe is super shiny and has a lot of stretch. It becomes a little like slime when reused…how fun!

_______

Follow me on Pinterest for more early learning ideas.

_______

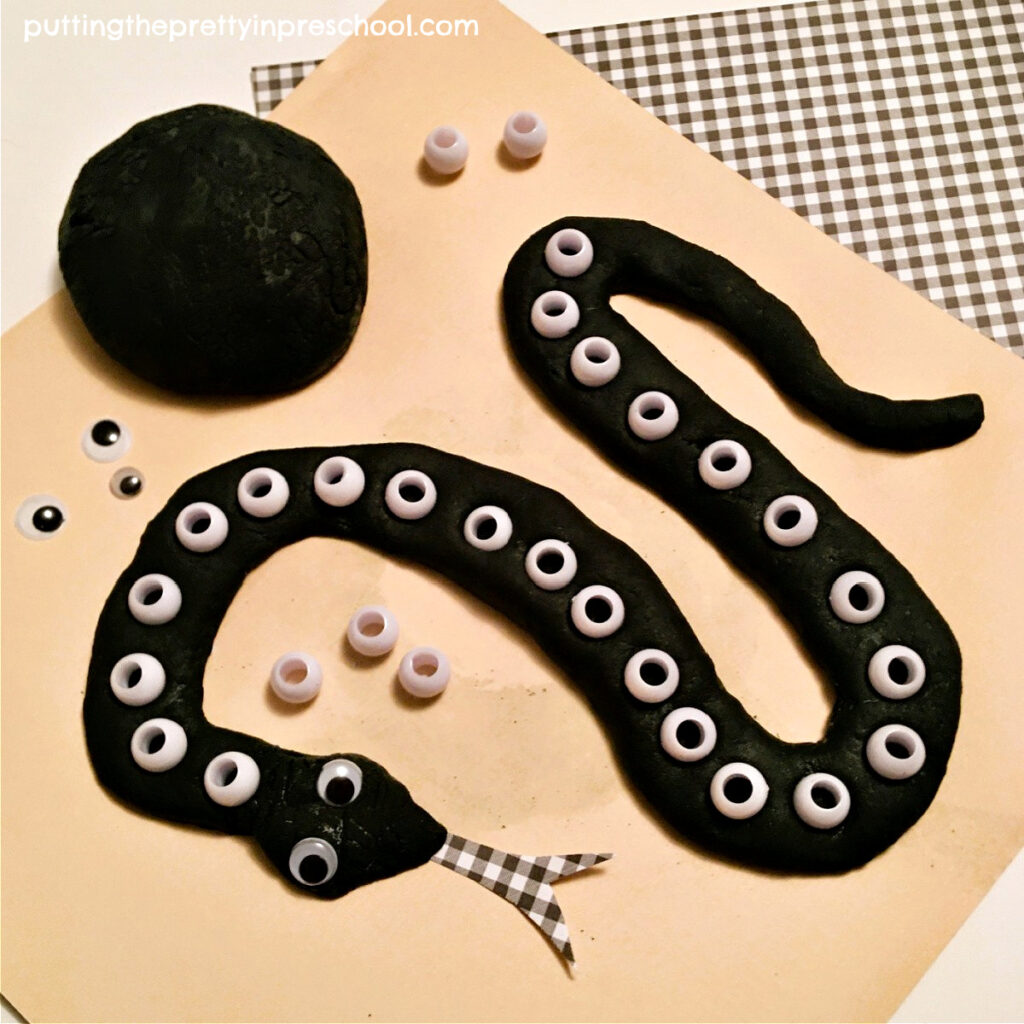
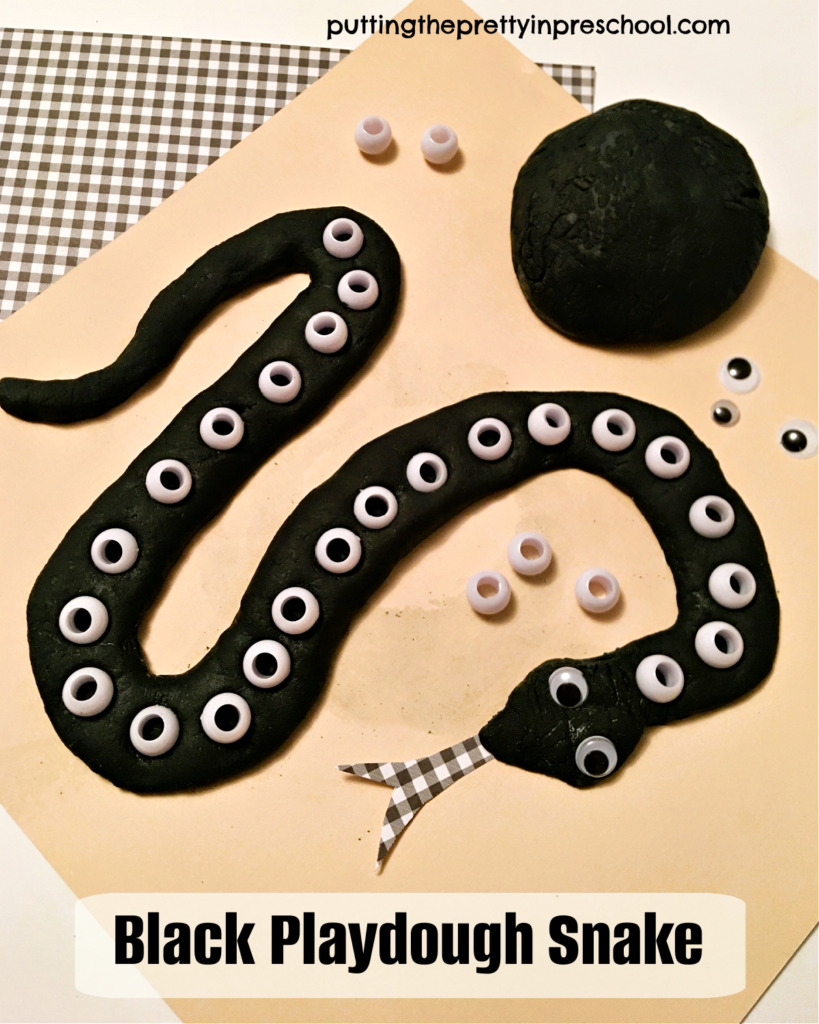
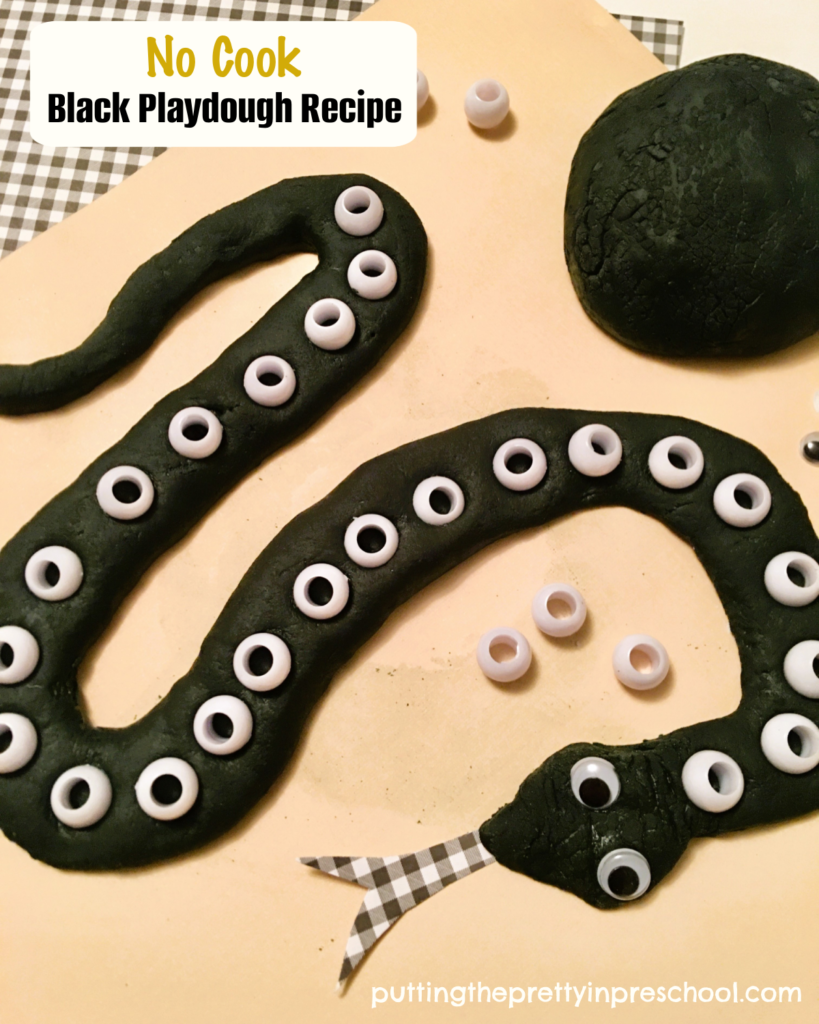
Year of the Snake Playdough Invitation

_______

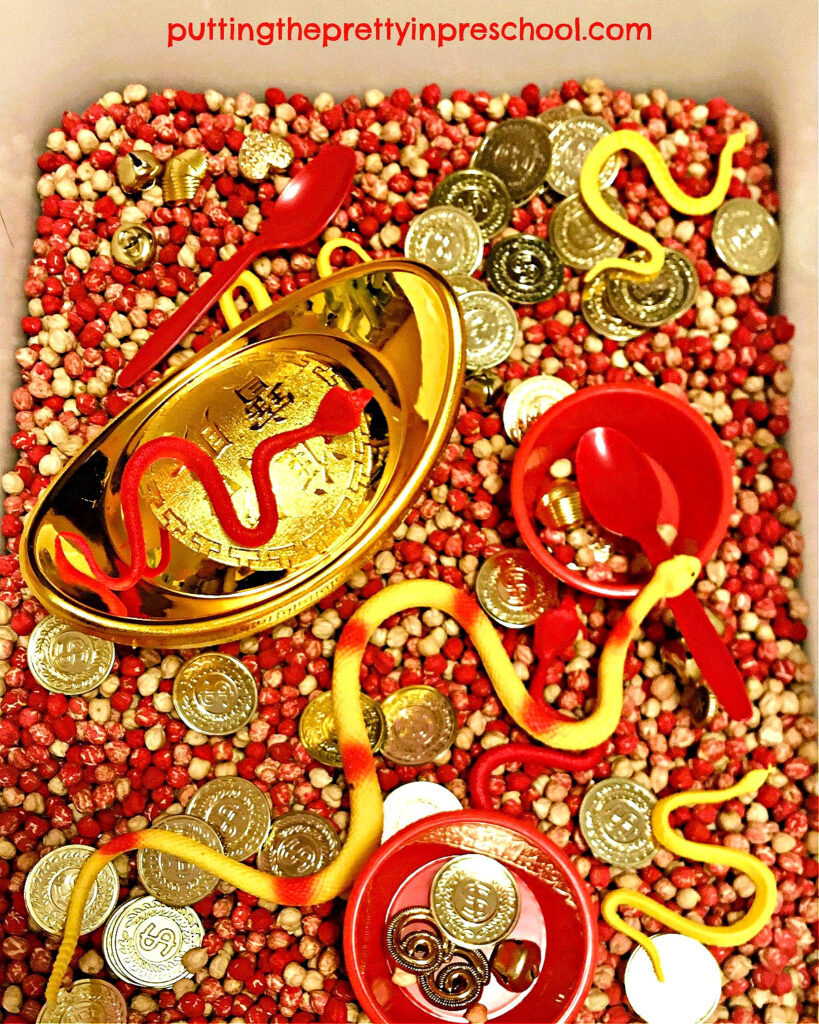
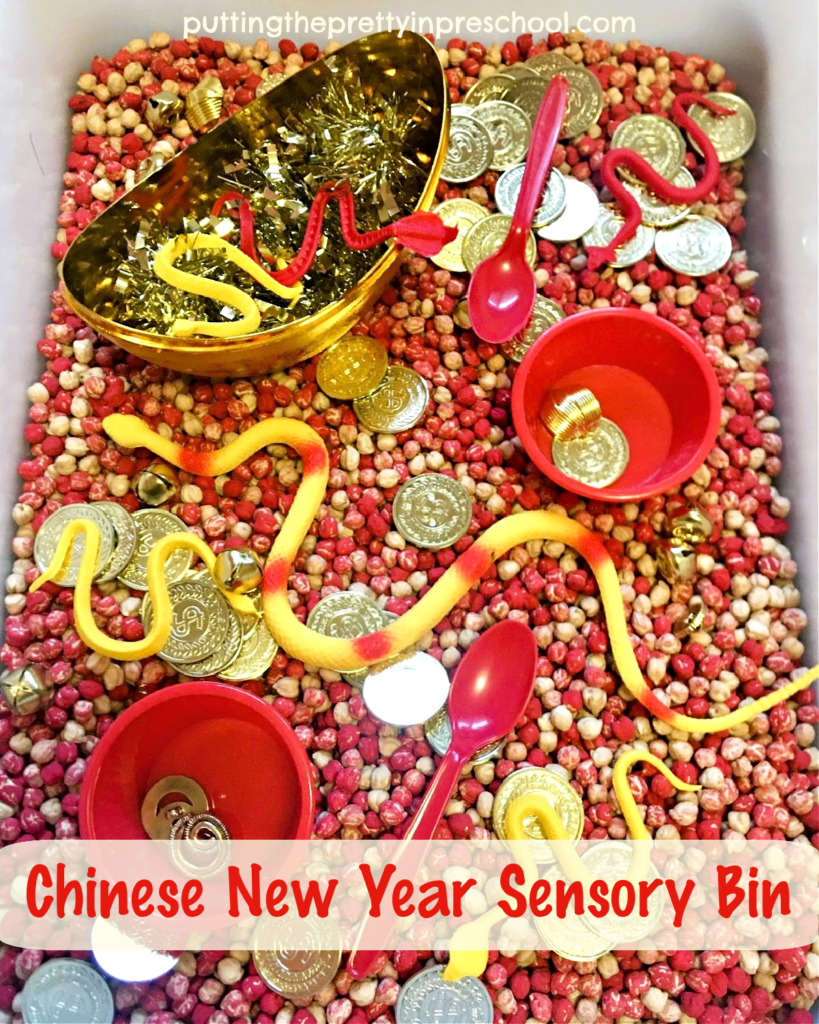
The homemade black playdough recipe makes a great 2025 Lunar New Year (Year of the Snake) or a reptile-themed activity. Add white beads, small wiggly eyes, and cardstock paper forked tongues. Then invite participants to create beautiful black and white snakes.

_______

Reusing the Black Playdough

This show-stopping black playdough can be used a few times. When finished playing with it, store it in saran wrap and put it in a sealed container. Place the dough in the fridge if you wish. Keep a little oil and flour on hand to mix in when you pull the shiny black playdough out a second and third time. The dough may be a little moist but will soon be pliable when the two ingredients are kneaded in.

_______

No Cook Versus Cooked Playdough Recipes

Cooked playdough is long-lasting if stored properly. It is delightful to use, and I love its properties.

When making cooked playdough, take note of the following:

  • You need a stove to heat up the recipe, or a kettle to heat water.
  • Most cooked recipes use cream of tartar, a rather expensive ingredient.
  • The recipe must be made carefully according to the instructions, or it will be too sticky or dry.
  • It is hard to fix the dough when it is too sticky…I haven’t had much luck with that!

But I love cooked playdough and have made it many times. It is a great choice if you are making a batch ahead of time.

_______

In the last while I’ve tried more no-cook playdough recipes, selecting ones that do not use boiling water. This is because:

  • It is easy to include children in making the playdough as there is no need to worry about burns from a hot mixture or stove. And children love helping!
  • If the ingredients in a recipe are tweaked the playdough will still usually turn out fine. Thorough kneading is key for this.
  • The recipes do not usually need cream of tartar, which is an additional cost and may not be an ingredient you have on hand.

_______

[Read more…] about Easy DIY Black Playdough

Filed Under: Chinese New Year, playdough, preschool, reptiles, sensory Tagged With: Lunar New Year, playdough, snakes

Chinese New Year Chickpea-based Bin

January 19, 2025 by Annette Kaminsky Leave a Comment

_______

Every January since I started this blog, making a sensory bin with the zodiac animal of the year’s Chinese New Year celebration has been a tradition. The 2025 zodiac animal is a snake, and it was super fun including snakes in a Chinese New Year chickpea-based bin.

This year’s Chinese New Year celebration starts on January 29, and the date marks the beginning of a Year of the Snake. The slithering reptile is the sixth of 12 animals in the Chinese Zodiac, coming after the dragon and before the horse. People born in a Year of the Snake are thought to be intelligent, passionate, intuitive, diligent, creative, competent, and wise.

_______

Chinese New Year 2025 Sensory Bin Supplies

Early learners absolutely love sensory activities and get a sampling of the 2025 Chinese New Year celebration by exploring this red and gold chickpea bin with a few color-coordinating snakes set in.

The following supplies are in the festive bin:

  • dried chickpeas
  • gold play coins
  • ingot bowl
  • gold garland bits
  • red dessert cups and spoons
  • gold bells
  • gold buttons
  • snake figurines

_______

Follow me on Pinterest for more early learning activities.

_______

The Chinese New Year Chickpea-based Bin

Dried chickpeas dyed in various amounts of red acrylic paint are the base for this simple Lunar New Year bin. For easy instructions detailing how to dye chickpeas, view my blogpost “Chinese New Year Sensory Play. “

A food service bus tub holds the chickpeas and other supplies nicely and allows two or three children to investigate the bin together.

A pair of nesting ingot bowls with oval lids was a new find, and I chose the smaller one for the bin. Its unique boat shape and shiny gold finish add interest.

Fun facts: In ancient Chinese culture, ingot bowls were made of gold or silver, and were used as currency. Today they symbolize wealth and hope for prosperity. The glamourous bowls are displayed in festival décor and are sometimes filled with candy, chocolate, or fruit.

_______

Gold play coins, buttons, bells, and garland bits are loose parts that complement the New Year’s theme.

Red snack cups and spoons give opportunities to scoop and pour, always a favorite activity of young children.

Various-sized red and yellow snake figurines are highlights of the Chinese New Year chickpea-based bin. Children love to use them in hands-on investigative activities.

_______

More Chinese Zodiac Sensory Bins

Year Of The Rat Sensory Bin

Year Of The Ox Sensory Bin

Year Of The Tiger Sensory Bin

Year Of The Rabbit Sensory Bin

Year Of The Dragon Sensory Bins

Year Of The Pig Sensory Bin

_______

[Read more…] about Chinese New Year Chickpea-based Bin

Filed Under: Chinese New Year, New Year's, preschool, sensory Tagged With: chickpea bin, Chinese New Year, sensory bin, snakes

Gnome Christmas Stocking Craft

December 23, 2024 by Annette Kaminsky Leave a Comment

_______

It’s all about the beard in this cozy gnome Christmas stocking craft. It is so easy to make and super cute to display. Make one (or two or three) to include in your holiday decorating scheme.

Gnomes are lovable, little mythical creatures with large noses and pointed hats. They are super popular in home décor. I love seeing them displayed in stores when I’m out and about around town. Tailored for every holiday season, they come in all sorts of colors and designs. The cheeky, whimsical characters provide endless inspiration for simple crafts to make.

_______

Supplies To Collect

Gather the following supplies for this charming gnome craft:

  • construction or cardstock paper
  • thick yarn
  • thin ribbon
  • large pom pom
  • craft punches
  • double-sided tape
  • scissors and pencil
  • glue stick and glue gun

_______

_______

Follow me on Pinterest for more early learning ideas.

_______

The Gnome Christmas Stocking Craft

To make this gnome Christmas stocking craft, start by picking out two complementary colors of cardstock or construction paper.

Next, draw on and cut out a Christmas stocking from an 8 ½ inch x 11-inch sheet of construction paper.
Then draw and cut out a cuff from paper in a coordinating color.

_______

Afterward, line the top of the paper stocking with double-sided tape, adding more small pieces to the center.

Next, select white or cream-colored yarn and loop it on the stocking, pressing the yarn onto the double-sided tape. Thick, fluffy yarn works well for this craft.

Then stick on a large light brown pom pom nose.

Secure the cuff to the top of the stocking with hot glue, and add a small loop to one of the upper edges for hanging.

Finally, glue on one or more foam or paper-punched holiday shapes to give the stocking extra flair.

_______

Once you’ve crafted one cozy character, you just might want to make more! This gnome Christmas stocking craft would make a fun family or classroom activity with everyone designing their own. The festive yarn and paper gnomes would display beautifully on a garland.

_______

Related:
Heart Doily Gnome Valentines
St. Patrick’s Day Gnome Craft

_______

More Christmas Arts and Crafts

Click on the pictures below for more Christmas art and crafts ideas.

Washi Tape Christmas Pots
Sparkly Painted Christmas Trees
Christmas Sweater Sheep Craft
Octopus Bell Christmas Craft
Paper Bag Christmas Ornaments
Paper Airplane Christmas Craft
Christmas Turtle Craft
Elegant Angel Christmas Craft
Squish Painted Christmas Dove
Pretty Angel Christmas Craft
Christmas CD Craft
Monochromatic Christmas Trees

_______

[Read more…] about Gnome Christmas Stocking Craft

Filed Under: art, Christmas, crafts, preschool Tagged With: gnomes, paper crafts

Paper Bag Grinch Craft

December 22, 2024 by Annette Kaminsky Leave a Comment

_______

This cute and colorful paper bag Grinch craft doubles up as an aromatic Christmas present to give to someone special over the holiday season.

It’s tradition for me to visit a nearby greenhouse during the holiday season to view the beautifully decorated Christmas trees. The trees all have gorgeous, coordinated decorations that complement each other in color and theme. The decorations are the inspiration for crafts to make. At the end of my visit, I pick out a lemon cypress plant to take home and often select other items to purchase.
.
Lemon cypress plants look like miniature Christmas trees and are often decorated with tiny ornaments as a space-saving holiday sensory activity. They have light green feathery foliage that grows in a cone shape. When the leaves are rubbed or crushed, they smell like lemon. The tip of the lemon grass plant reminds me of the tuft of hair on Dr. Seuss’s storybook character “The Grinch.” That’s why they are paired in this paper bag craft and gift.

_______

Supplies To Collect

Collect the following supplies for this Grinchy green and yellow craft:

  • lemon cypress plant
  • paper lunch bags
  • green and yellow tempera paint
  • paint pot and brush
  • yellow and black construction paper
  • red and black markers
  • scissors and pencil
  • glue stick and tape
  • yarn and single hole punch
  • waterproof tablecloth

_______

Follow me on Pinterest for more early learning ideas.

_______

The Paper Bag Grinch Craft


To make this paper bag Grinch craft, start by pouring light green or neon green tempera paint into a paint pot.

_______

Next, set out the paint, paintbrush, and a paper bag on a table covered with a waterproof tablecloth.
Paint one side of the bag and let it dry. Paint the other three sides, allowing the paint to dry on each side before continuing. The drying process may take a few hours.

Note: An alternative is to stand the bag on the art table and place a few sheets of crumpled scrap paper inside. Paint a thin layer of tempera all over the bag and let it dry. Then remove the inserted paper.

When the painted lunch bag is dry, fold it into its original shape.

Then cut two large almond-shaped eyes from yellow construction paper and line the outside edges with a black marker.

Cut small circles from black sturdy paper and glue them to the yellow eyes.

Afterward, thoroughly add glue to the back of the crafted eyes with a glue stick, and affix the peepers to the bag in a slanted position.

_______

Next, use the black marker to draw a small nose and a deep curved mouth on the bag.

Then draw eyelashes around the eyes and give the paper bag face slanted eyebrows.

Cut a small rectangle from yellow construction paper and write the words “Merry Grinchmas” on it with a red marker.

Next, punch a hole in the edge of the paper greeting and tie on a section of yarn.

Finally, tape the yarn inside the tip of the bag and carefully set in a small potted lemon cypress plant.

_______

Variation of the Paper Bag Grinch Craft

_______

To simplify this festive craft, use a bright green crayon to color the bag instead of painting it. The green hue will not be as bright as the painted version but the craft will be just as delightful.

_______

This lemon cypress plant-filled paper bag Grinch craft would make a cute gift from a child to a parent or grandparent. Who will you give your Grinch craft to?

Merry Grinchmas!!!

More Christmas Art and Crafts

Click on the pictures below for more Christmas art and craft projects.

Washi Tape Christmas Pots
Sparkly Painted Christmas Trees
Christmas Sweater Sheep Craft
Octopus Bell Christmas Craft
Paper Bag Christmas Ornaments
Paper Airplane Christmas Craft
Christmas Turtle Craft
Elegant Angel Christmas Craft
Squish Painted Christmas Dove
Pretty Angel Christmas Craft
Christmas CD Craft
Monochromatic Christmas Trees

_______

[Read more…] about Paper Bag Grinch Craft

Filed Under: art, book theme, Christmas, crafts, preschool, science, sensory Tagged With: Christmas craft, Christmas tree, Dr. Seuss, gardening, paper bag crafts

Grinch Christmas Oobleck Bin

December 21, 2024 by Annette Kaminsky Leave a Comment

_______

In this Grinch Christmas Oobleck bin, a well-known Christmas storybook theme and a favorite sensory activity are paired together.

The goopy sensory bin is inspired by the storybook “How the Grinch Stole Christmas” written and illustrated by Dr. Seuss. The popular picture book features a tall, long-fingered grumpy beast called “The Grinch’ who lives by himself up on a hill above the town of Whoville. Old Grinch absolutely hates Christmas. On Christmas Eve he disguises himself as “Santy Claus” by wearing a makeshift red and white costume. He ties one “reindeer” antler to his faithful dog Max’s head and has him pull a sled down to Whoville. The grouchy Grinch steals all the Whos Christmas decorations, presents, and festive food. He even scoops up the log for the fireplace from each home.

While ready to push the sled full of festive items over the tip of Mt. Crumpit early Christmas morning, the Grinch is surprised by the sound he hates the most…the singing of the Whos standing together holding hands. He realizes he hasn’t stopped Christmas at all. After thinking for a few hours, his heart softens and he decides to return all the Christmas items he took. He joins in the Christmas festivities in Whoville and even carves the “the roast beast”, a food he dislikes a lot.

_______

To get familiar with or revisit this story, view Book In Bed’s delightful, colorful animated read aloud version: How The Grinch Stole Christmas!

_______

Supplies Collected

_______

For the super fun, educational holiday sensory bin, the following supplies were gathered:

  • cornstarch
  • water
  • neon green food coloring
  • measuring cup
  • tablespoons
  • Grinch disposable snack cups
  • Christmas tree shape container
  • present shape container
  • ornament-shaped bells
  • candy cane ornaments
  • large tweezers
  • sensory bin

_______

Making The Grinch Christmas Oobleck

For this tactile sensory activity, first choose a bin. I use a saucer sled. It’s bright color matches the season, and it is large enough to easily hold the Oobleck and the supplies.

_______

Next, make the grinchy green Oobleck. Use a tablespoon or your hands to mix two cups of cornstarch with one cup of water. Add a little more water if needed. Then blend in a few drops of neon green food coloring. The goopy mixture is the right consistency if it becomes a ball when you close your hand around it but transforms to a liquid that slowly drops off when you open up your hand.

_______

The Grinch Christmas Oobleck Bin

This festive sensory bin is well-loved by children and adults.

Start of by inviting particpants to help mix the Oobleck and investigate its properties. They will eagerly accept your invitation!

_______

Once everyone has had a chance to explore the green goop, add picture book-themed items inspired by the book “How the Grinch Stole Christmas!” to the bin. I include:

  • a Christmas tree shape container, a clear present shape container, and Grinch disposable snack cups to drop Oobleck into.
  • festive accessories such as candy cane and ornament-shaped bells.
  • tablespoons and children’s play tweezers to help explore the Oobleck and pick up supplies in the bin.

_______

How Oobleck Got Its Name

Way back when I was training to be an early childhood worker, this sensory recipe was introduced as goop. More recently, I’ve discovered that it has been given the name Oobleck. Interestingly, the name is inspired by another Dr. Seuss children’s book titled “Bartholomew and the Oobleck.” The Oobleck in the story is green too!

_______

The Science Behind Oobleck

Oobleck is a non-Newtonian fluid, so it does not follow Newton’s law of viscosity. This is because depending on the force applied, it changes from a liquid to a solid, or from a solid to a liquid.

In the mixture, cornstarch is suspended in water and does not dissolve. When you apply force such as closing your hand and squeezing a blob of it, it acts like a solid. The cornstarch bits align and interlock under pressure. But when you stop the force by opening your hand, the goop becomes a liquid. The cornstarch bits flow freely off your hand along with the water.

Oobleck is a fascinating sensory material. Making and exploring its properties is a popular science activity, and it’s one of my favorites. Have you tried making Oobleck?

_______

_______

More Science Activities

Blue Candy Cane Science Experiment

Color Explosion Science Experiment

Reptile Egg Science

Felt Marker Chromatography Experiment

_______

[Read more…] about Grinch Christmas Oobleck Bin

Filed Under: Christmas, literacy, preschool, science, sensory Tagged With: picture books, sensory bin, sensory play

  • « Go to Previous Page
  • Page 1
  • Page 2
  • Page 3
  • Page 4
  • Page 5
  • Page 6
  • Interim pages omitted …
  • Page 65
  • Go to Next Page »

Primary Sidebar

Subscribe Via Email

Recent Posts

  • Dandelion Sensory Tray June 3, 2025
  • Bergenia Flower Sensory Bin May 31, 2025
  • Salt and Ice Science Experiment May 20, 2025
  • Airplane Rice Sensory Bin May 16, 2025
  • Salt Painting Planet Art May 3, 2025
  • Spring Bunny Sensory Bin April 19, 2025
  • Tin Foil Egg Printing April 17, 2025
  • Lentil Easter Bunny Sensory Bin April 15, 2025
  • Unicorn Store Dramatic Play Center March 25, 2025
  • Easter Store Dramatic Play Center March 23, 2025

Categories

Topics

block play bunnies butterflies Chinese New Year Christmas Christmas craft color colors dramatic play Easter flowers hearts holiday jewelry leaves leprechauns light table loose parts painting paper crafts playdough pretend play printables printmaking process art pumpkins rice bin scented playdough science experiment scissor skills sensory bin sensory play sensory tray shamrocks skeletons snakes snowflakes spiders spring St. Patrick's Day sunflowers tablescapes trees Valentine's Day water play

Copyright © 2025 · Lifestyle Pro on Genesis Framework · WordPress · Log in