_______
For quite some time now, it has been on my list to make homemade sidewalk chalk paint. I’ve seen people rave about it online, so I was eager to give it a try. My version is slightly different from recipes I’ve seen, but it has equally stunning results.
_______
Homemade Sidewalk Chalk Paint Supplies
For this bright sidewalk chalk paint, gather the following supplies:
- tempera paint in a variety of colors
- cornstarch
- water
- paint pots
- tempera cake trays (optional)
- paintbrushes
- paper towel sheets
_______

_______
Follow me on Pinterest for more early learning ideas.
_______
Making the Sidewalk Chalk
There are only two ingredients, in addition to water, needed for this simple sidewalk chalk paint. So easy!
To start, pour a layer of tempera paint in different colors into paint pots. My paints are black, white, orange, yellow, red, and brown. I chose the bold hues so I could also use them in a cave art activity.
Note: Food coloring or liquid watercolors are typically used in chalk paint recipes. Tempera paint is a fine substitute and was perfect for my color choices.

_______
Next, add water to fill the pots about half full and mix well.
Then spoon a few tablespoons of cornstarch into the colored liquid and stir well again. Aim for a thickened liquid that doesn’t turn into oobleck. Add a little more cornstarch or water if needed to make the proper consistency.
Invite children to help make the paints…they’ll love the opportunity to participate.

_______
The Sidewalk Chalk Paint Art Process
When the paints are mixed, add paintbrushes to the paint pots. Or pour the paints into tempera cake trays for an attractive presentation.
When the homemade sidewalk chalk paint colors are mixed, add paintbrushes to the paint pots. Or pour the paints into tempera cake trays for an attractive presentation.

_______
Invite participants to paint a section of a sidewalk. If using tempera cake trays, have them wipe their brush on a section of paper towel between colors to keep the hues bright.
The paint goes on thick and bright, offering a satisfying result. The paint colors look chalky when they dry.
When the painting activity is complete, simply spray down the decorated sidewalk areas with a garden hose. Or leave the artwork as is to fade away over time.
_______

_______
_______
More Process Art Activities
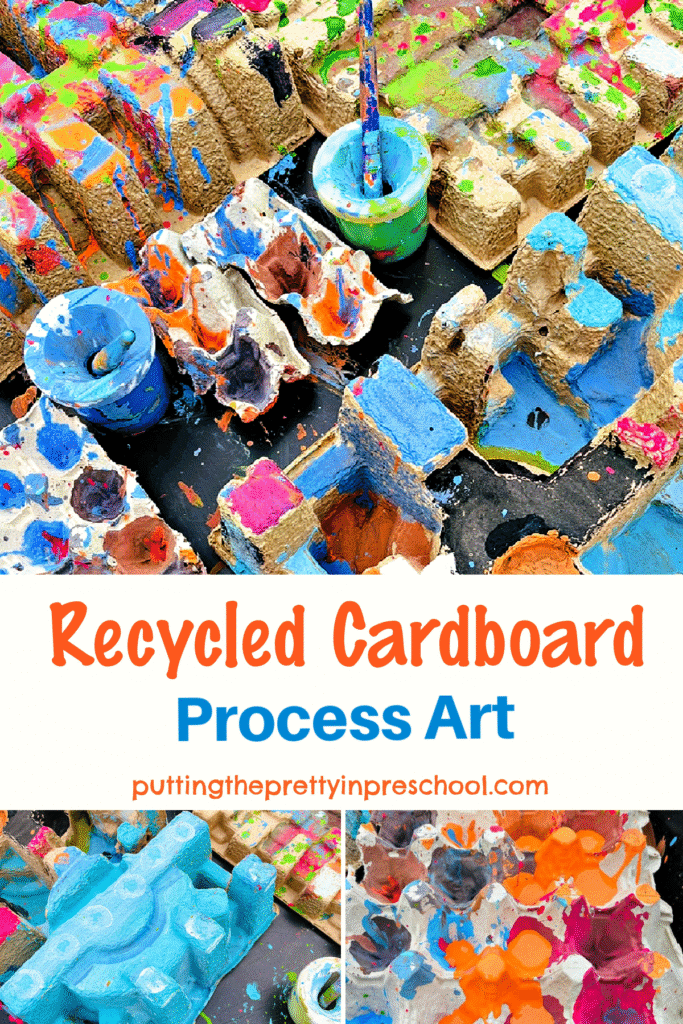
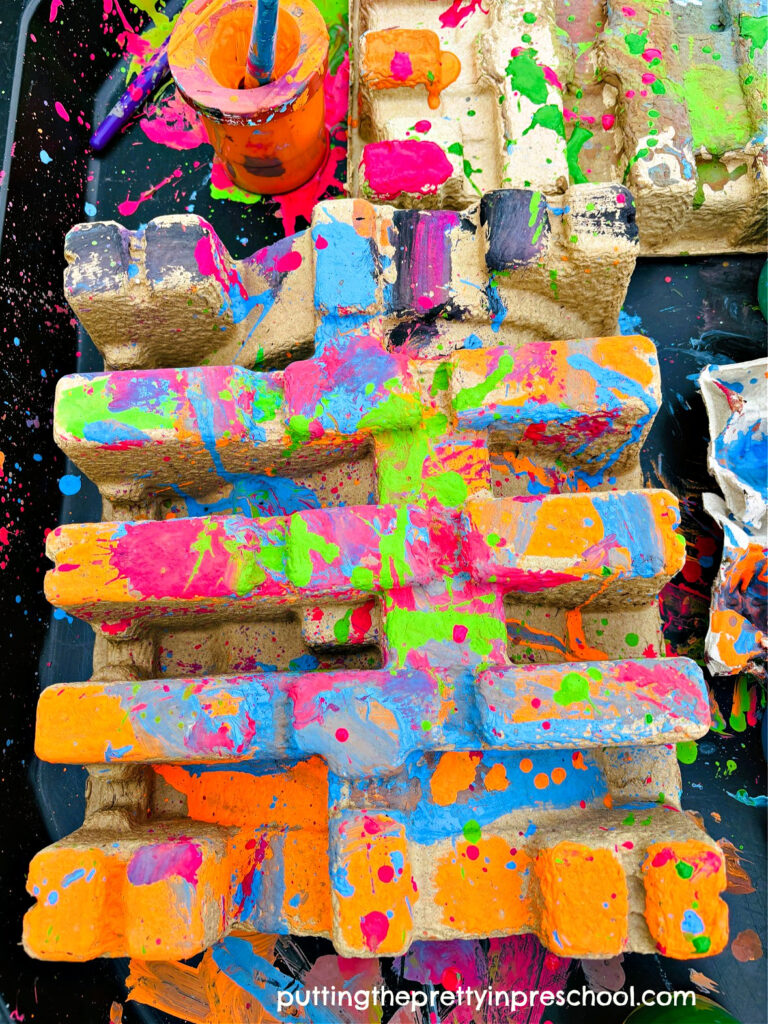
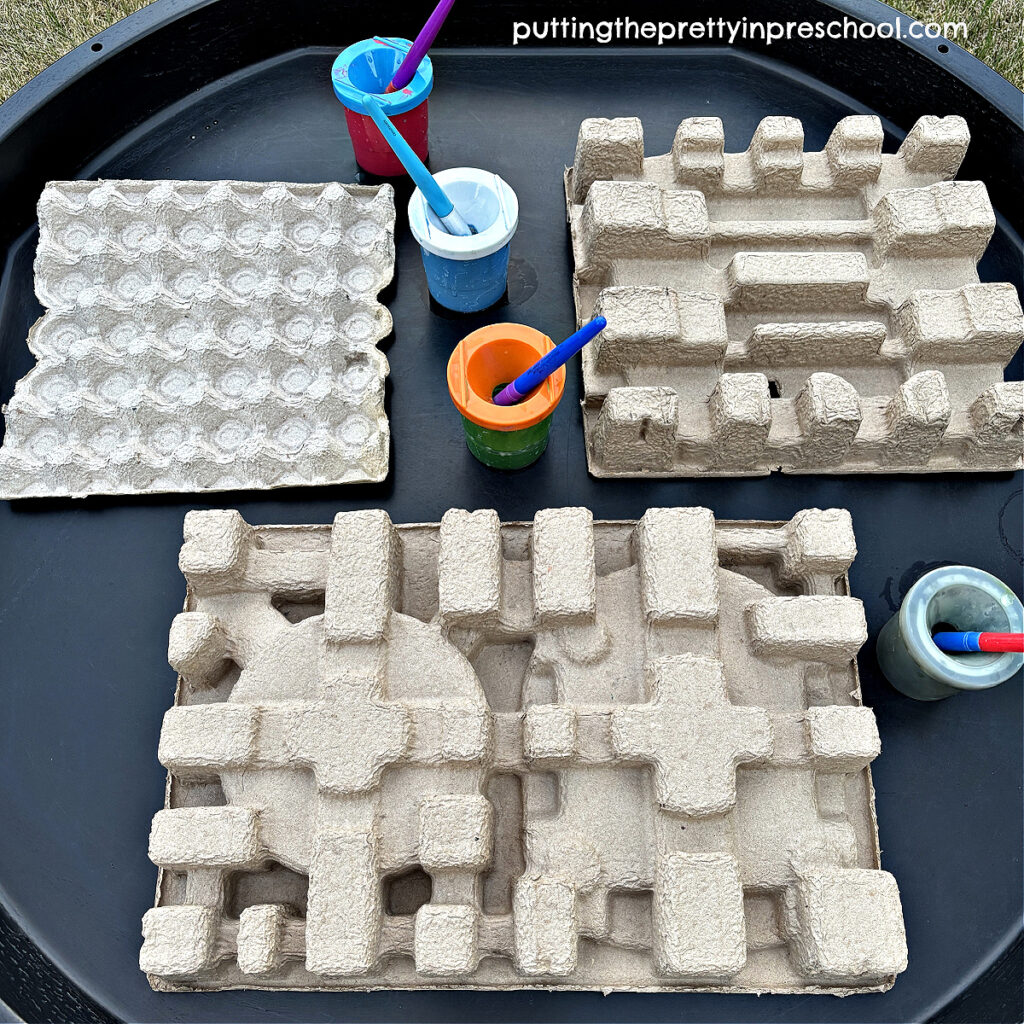
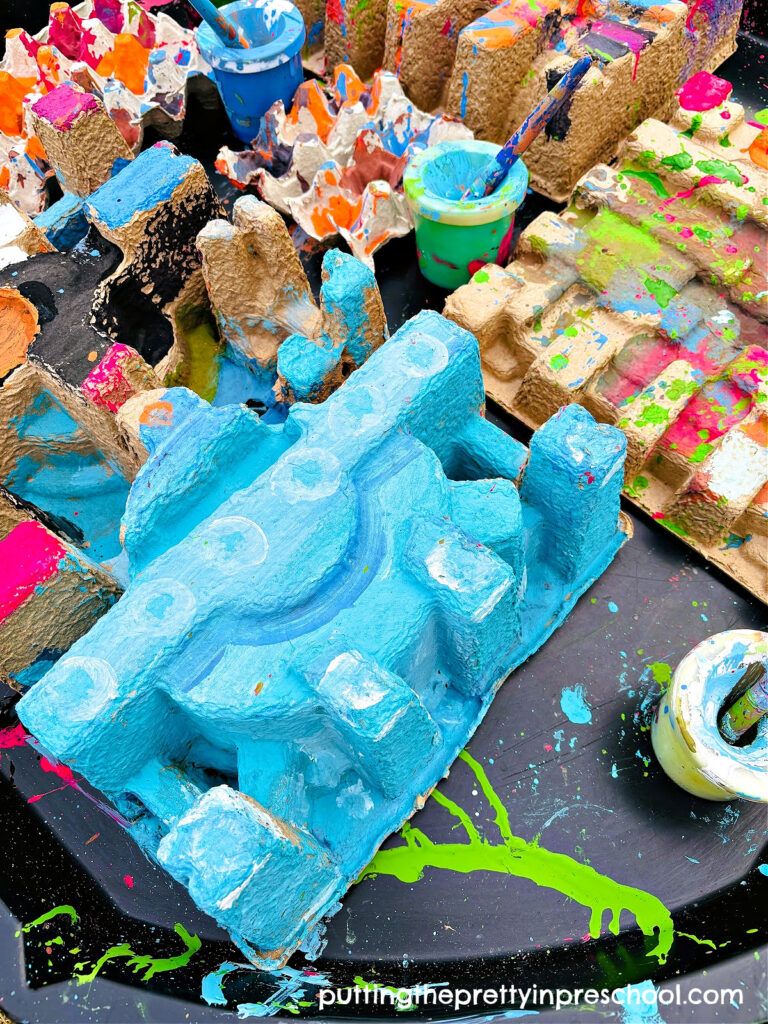
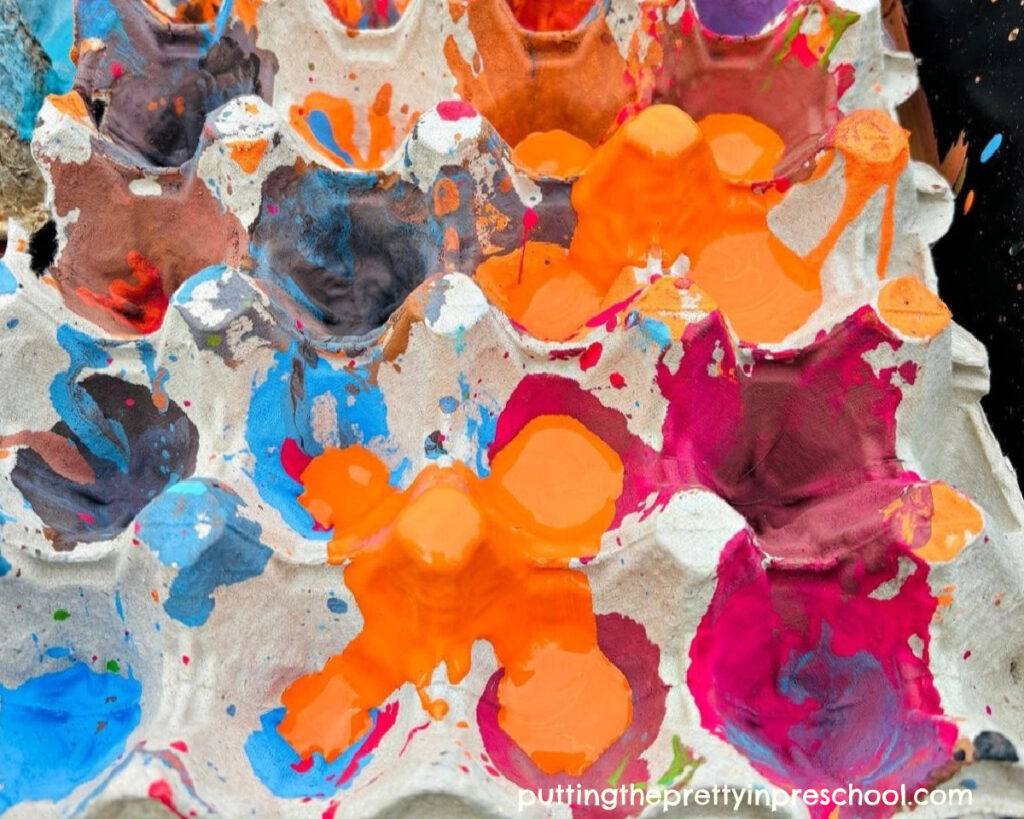
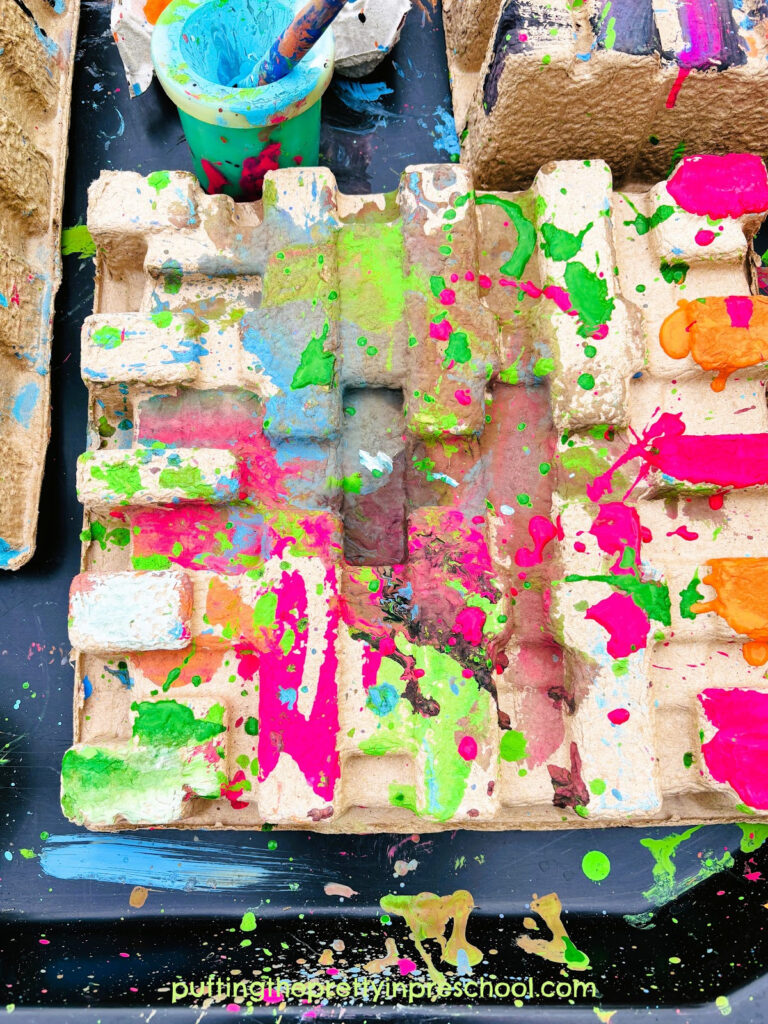
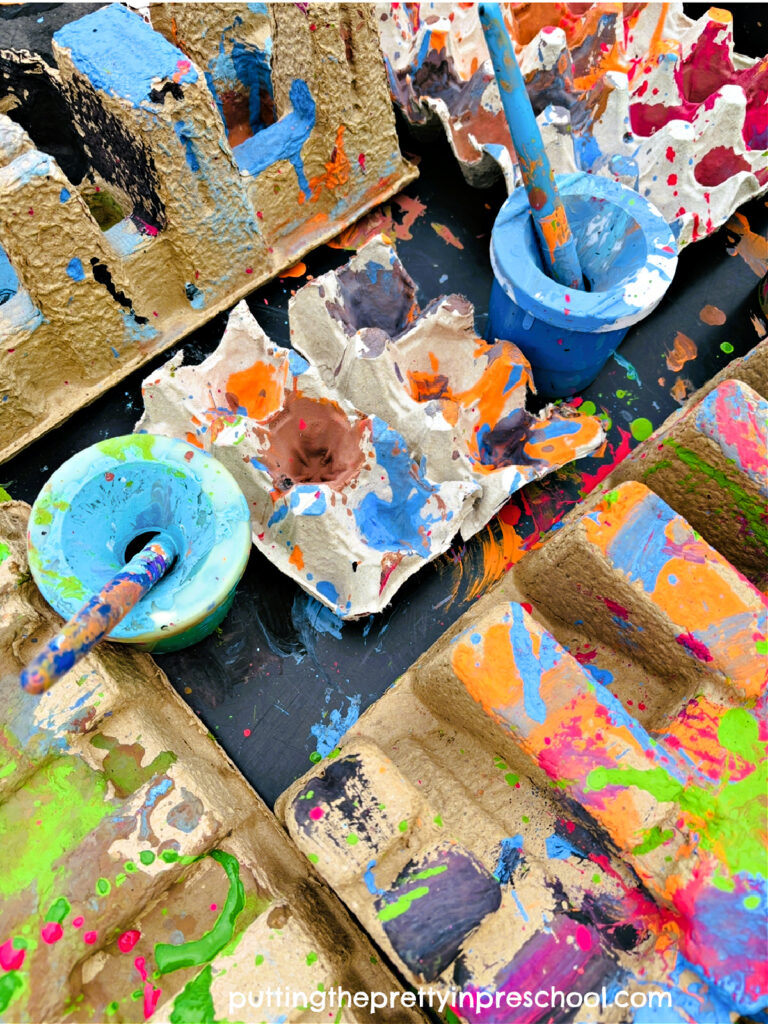
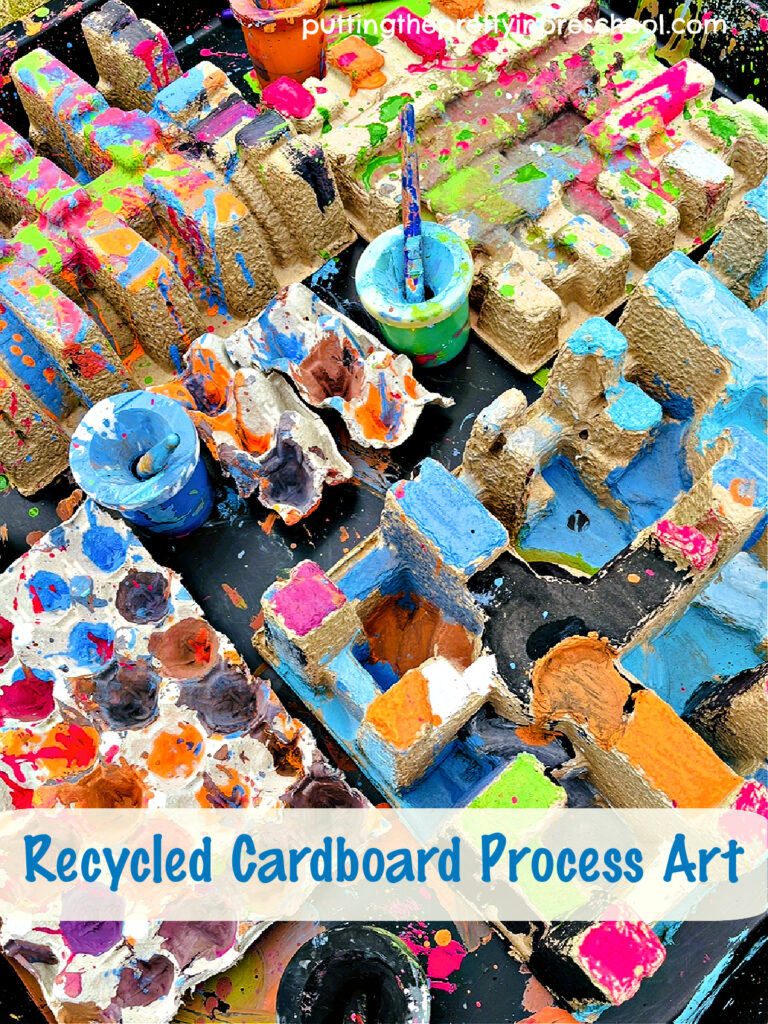
Recycled Cardboard Process Art
_______
[Read more…] about Homemade Sidewalk Chalk Paint