_______
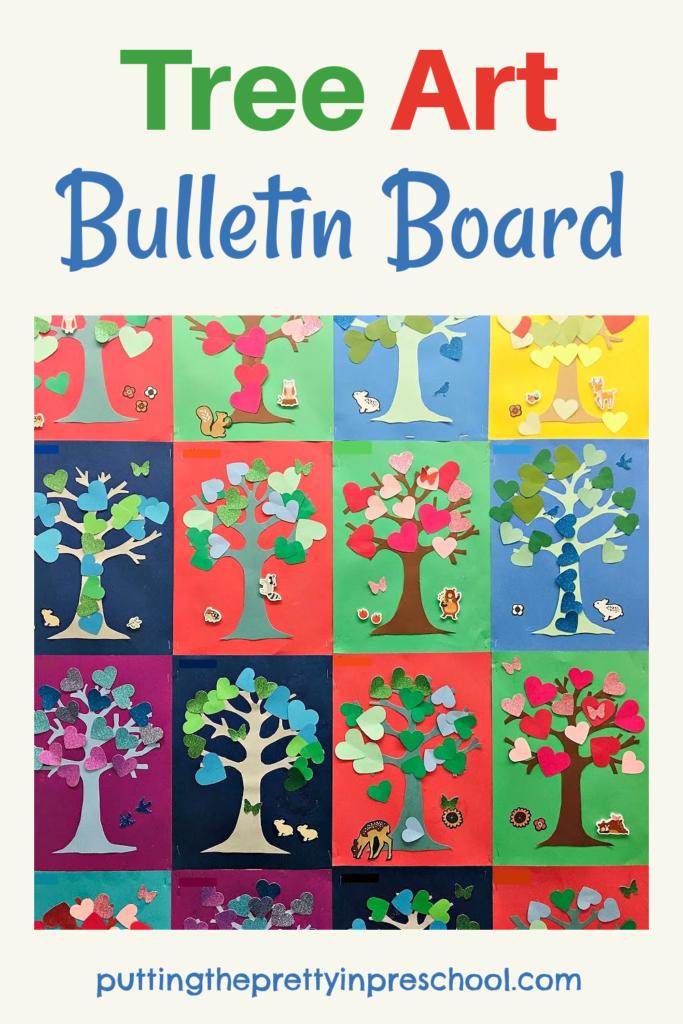
This bright tree art bulletin board is inspired by the stunning storybook called “The Wind and the Trees” by Todd Stewart. I discovered the book at a local library and instantly fell in love with the tender story and vibrant illustrations. The picture book provided just the inspiration I was looking for to redo a bulletin board begging for a change.
In the storybook, an old pine tree teaches a young sapling about the benefits and dangers of wind. Over the course of the story, the old pine weakens and deteriorates and the young sapling slowly grows bigger. By the end of the story, a storm wind has knocked the old tree down, and a seedling soon takes its place.
The vivid silkscreen illustrations in this heartwarming children’s book show the same scene on each page in different weather, seasons, and times of the day. Tree trunks, needles, and skies are designed in beautiful, varying color schemes. Woodland animals are included subtly in silhouette form on many of the pages.
_______
As I am accustomed to doing an art-themed bulletin board using the same tree in different seasons or times of day, I soon realized that drawing inspiration from the color combinations in the book would work nicely for a new tree art bulletin board. The tree art design is easy to replicate in a space you have available.
_______
Follow me on Pinterest for more early learning ideas.
________
Supplies To Collect
_______
A selection of quality sturdy paper and a few other supplies are needed for this woodland papercraft project. Gather the following:
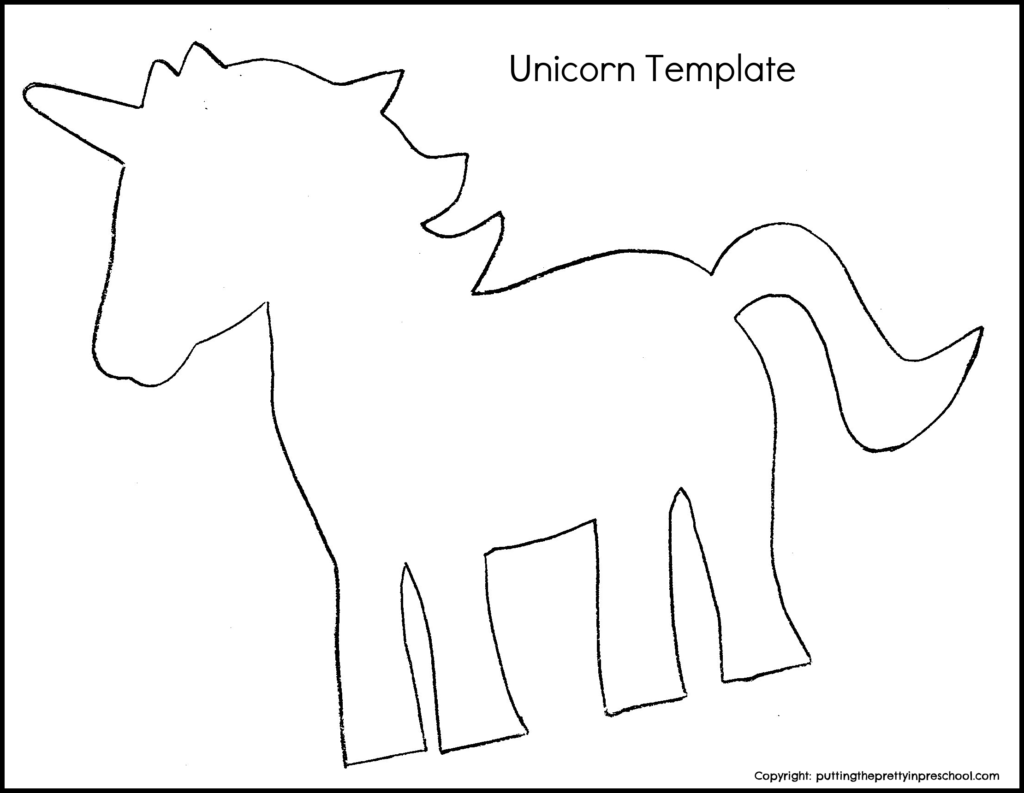
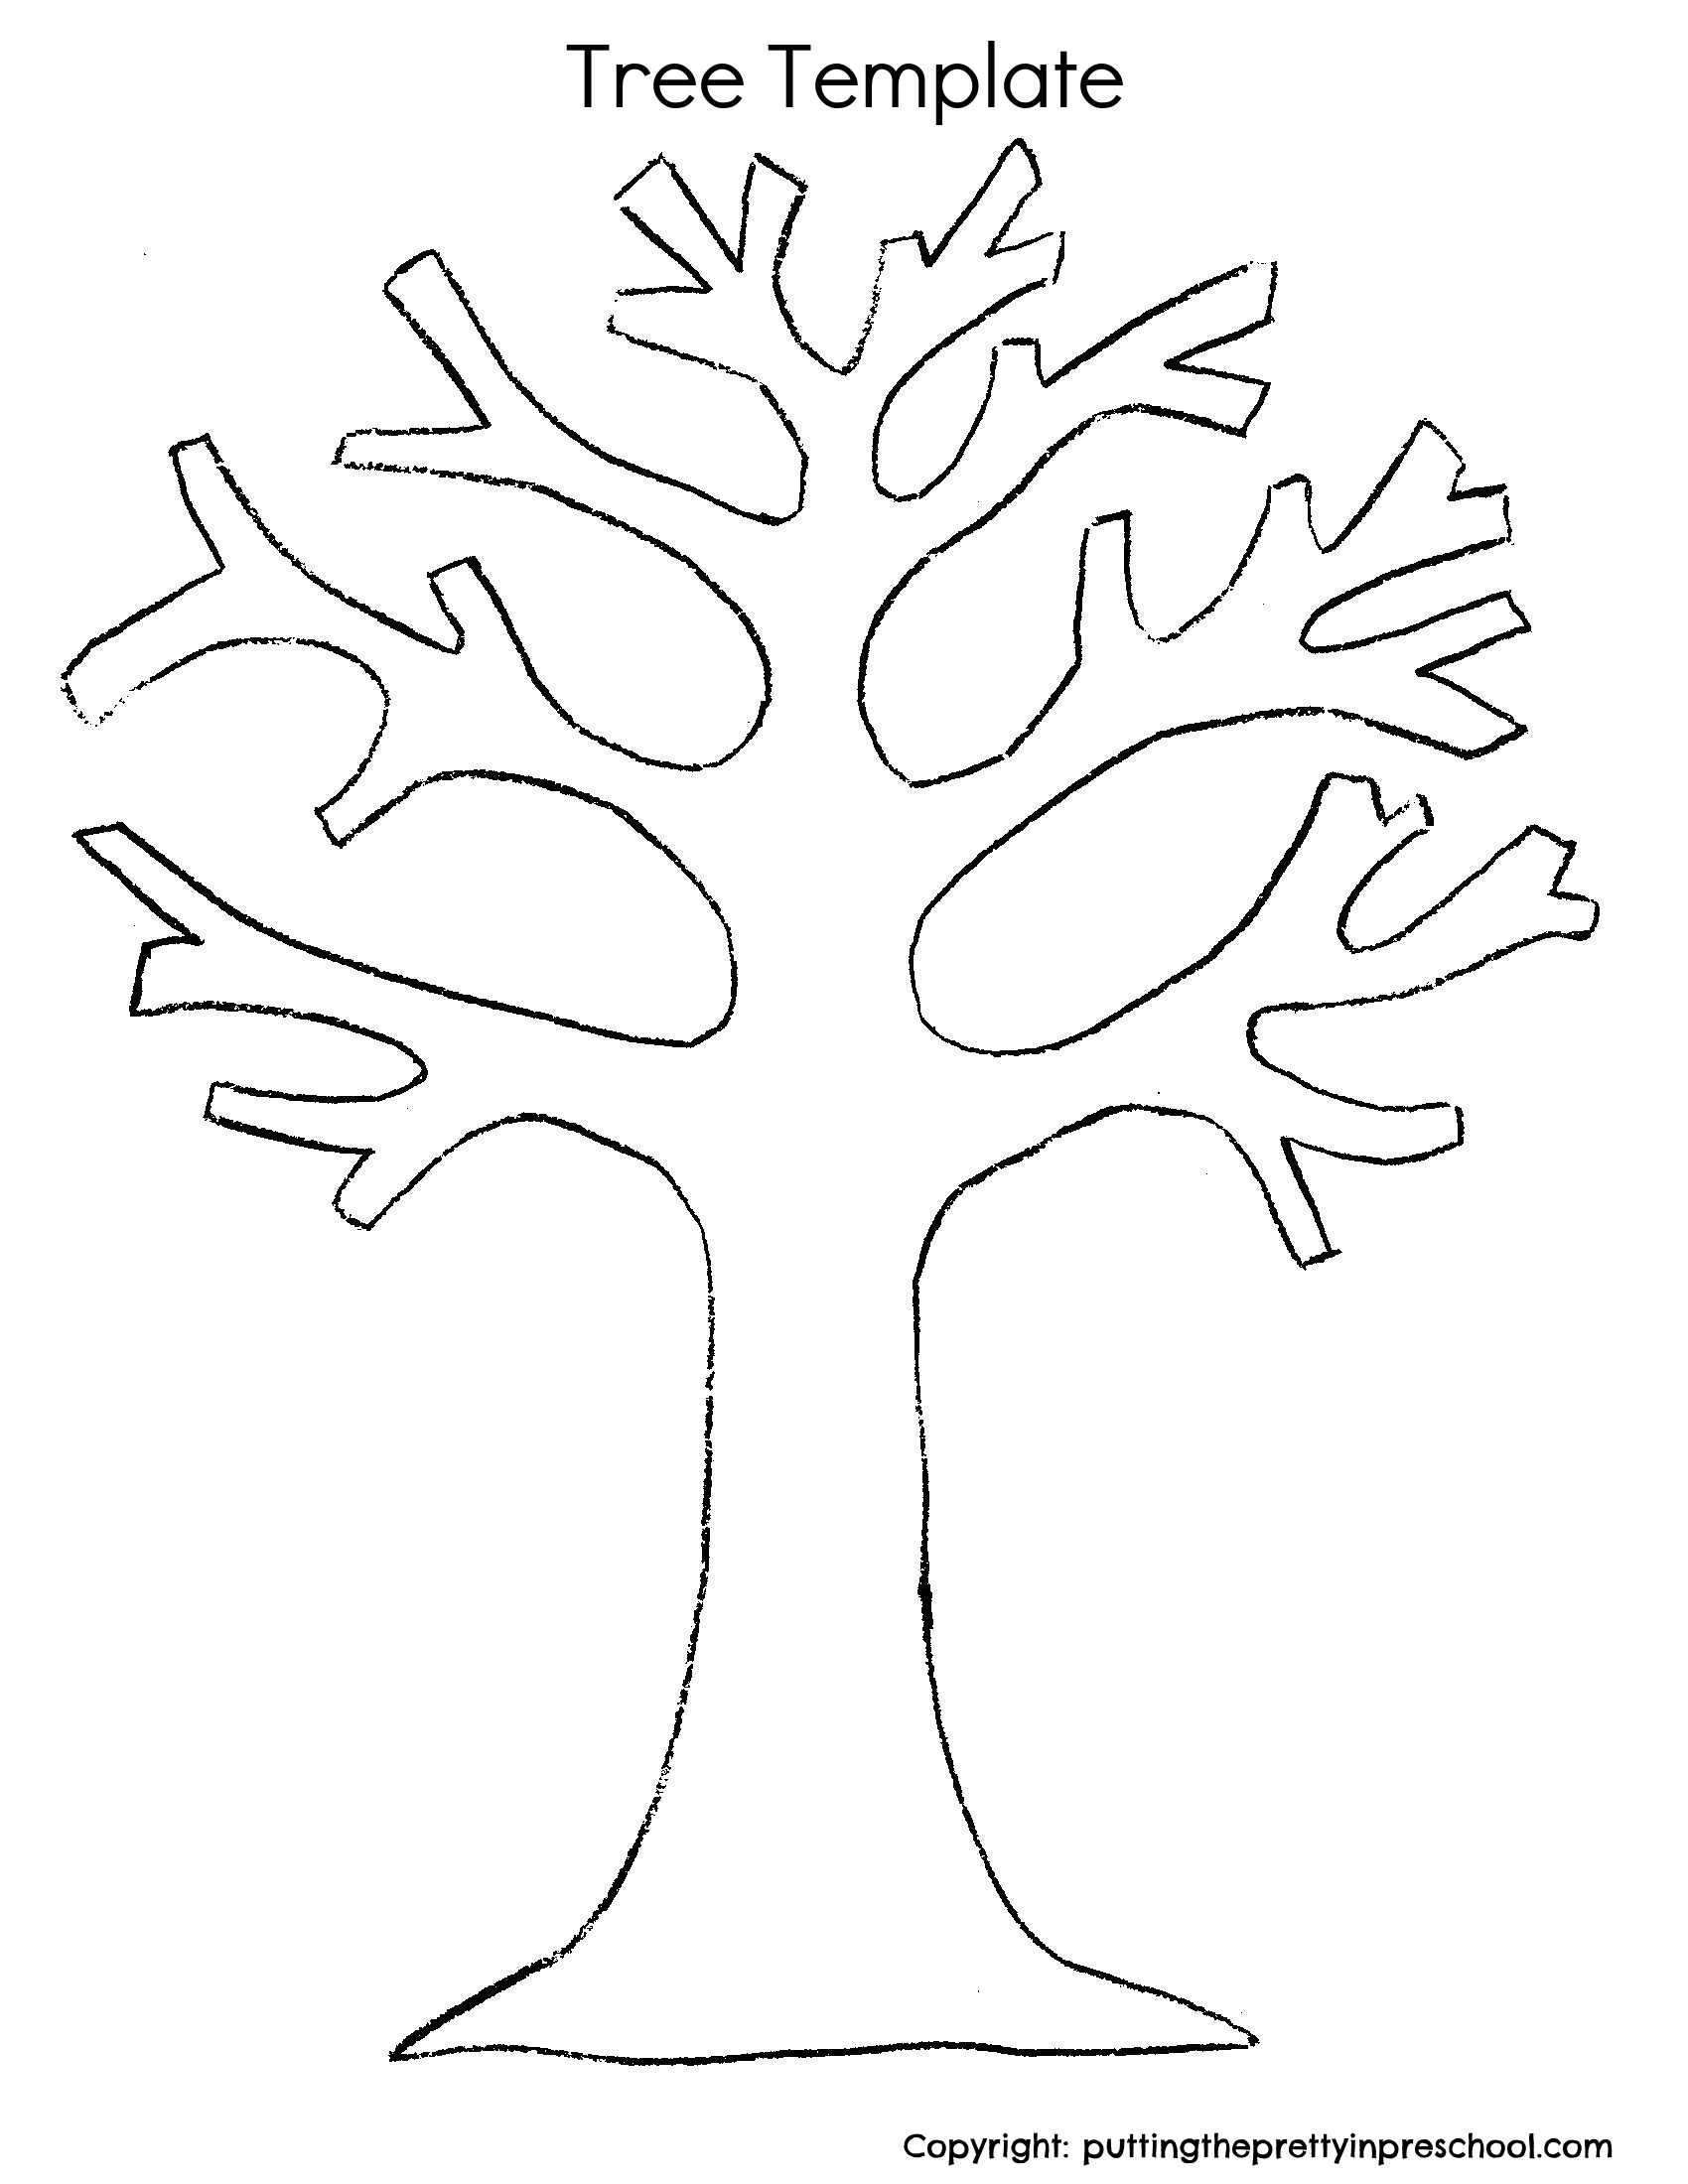
- tree template
- 9-inch x 12-inch fade-resistant construction paper in a variety of colors
- cardstock in an array of colors
- glitter cardstock
- glue stick
- paper punches
- woodland animal stickers
- pencil and scissors
_______
Preparing The Tree Art Craft
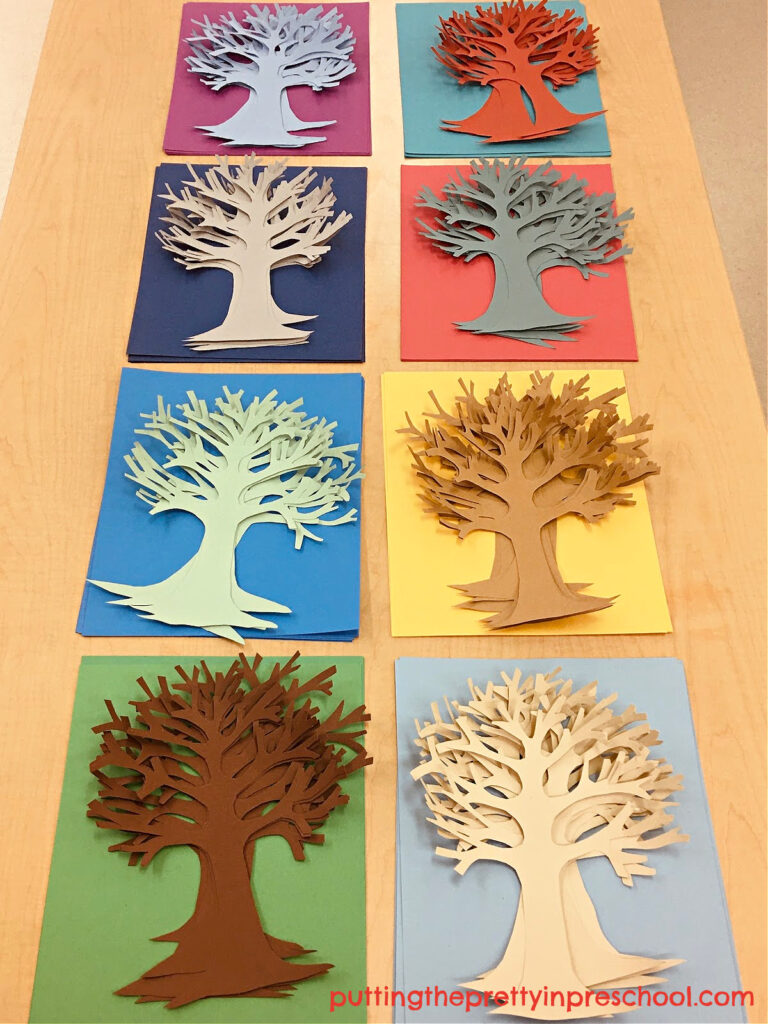
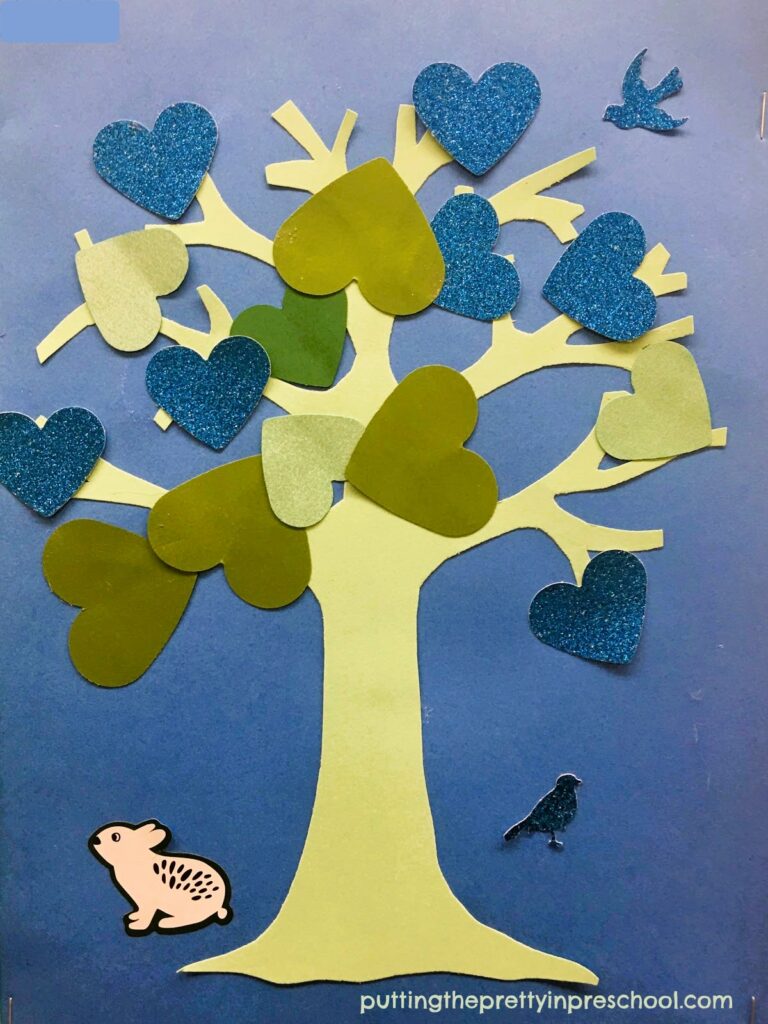
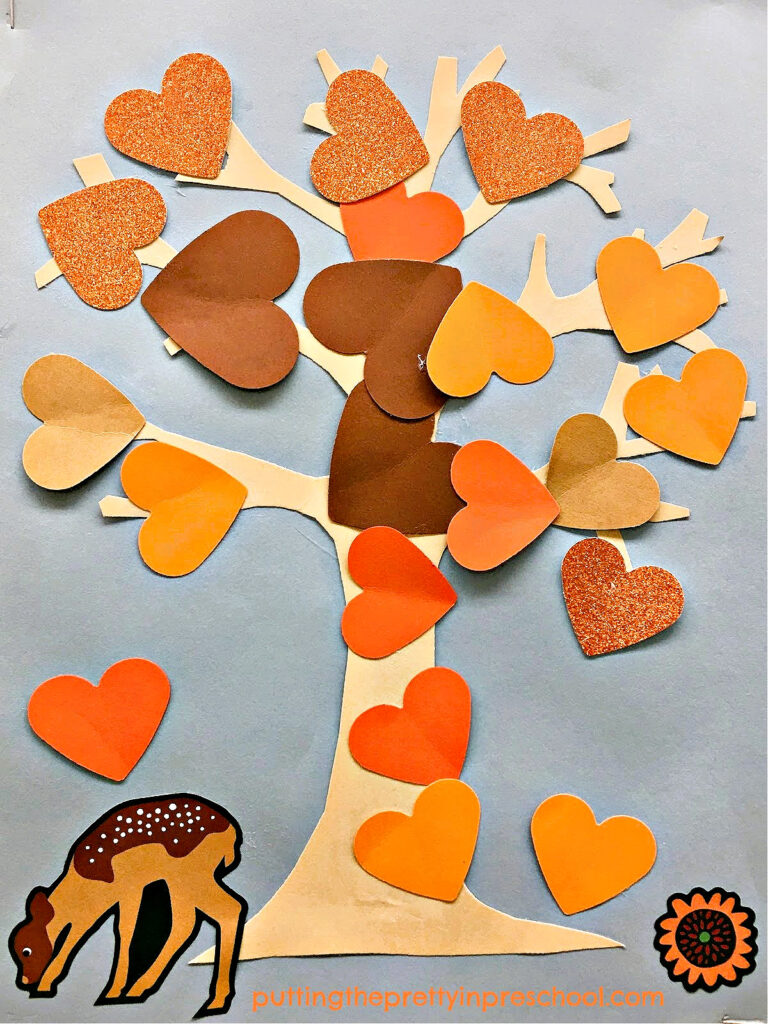
To plan out this tree art bulletin board, decide on a few different color schemes. I chose eight, but you can easily go with four. View the picture book “The Wind and the Trees” by Todd Stewart for color palette ideas.
Select a background color, tree trunk hue, and leaf colors for each tree art design. Use the paper choices you have available to pick color combinations.
Tip: Acid-free or fade-resistant paper is worth investing in for papercraft projects. The colors stay bright much longer.
_______
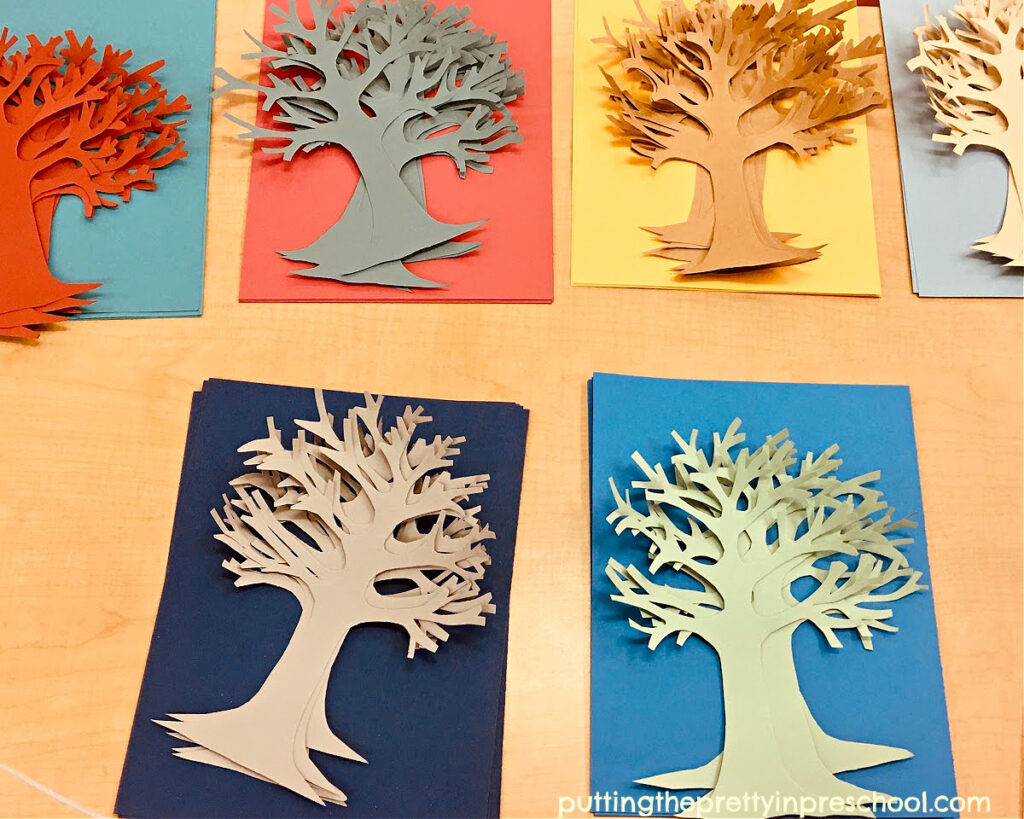
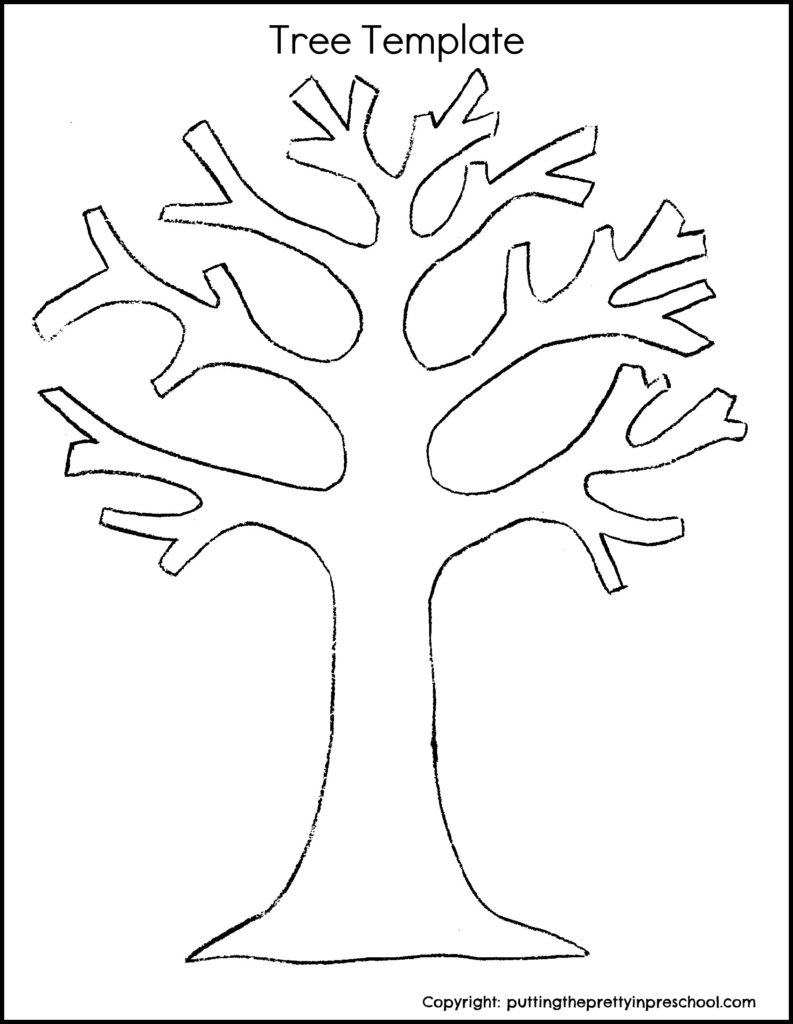
Then use a template to cut out paper tree trunks. Feel free to download the template below to make your craft preparation easier.
_______
This printable is for individual or one classroom use only.
_______
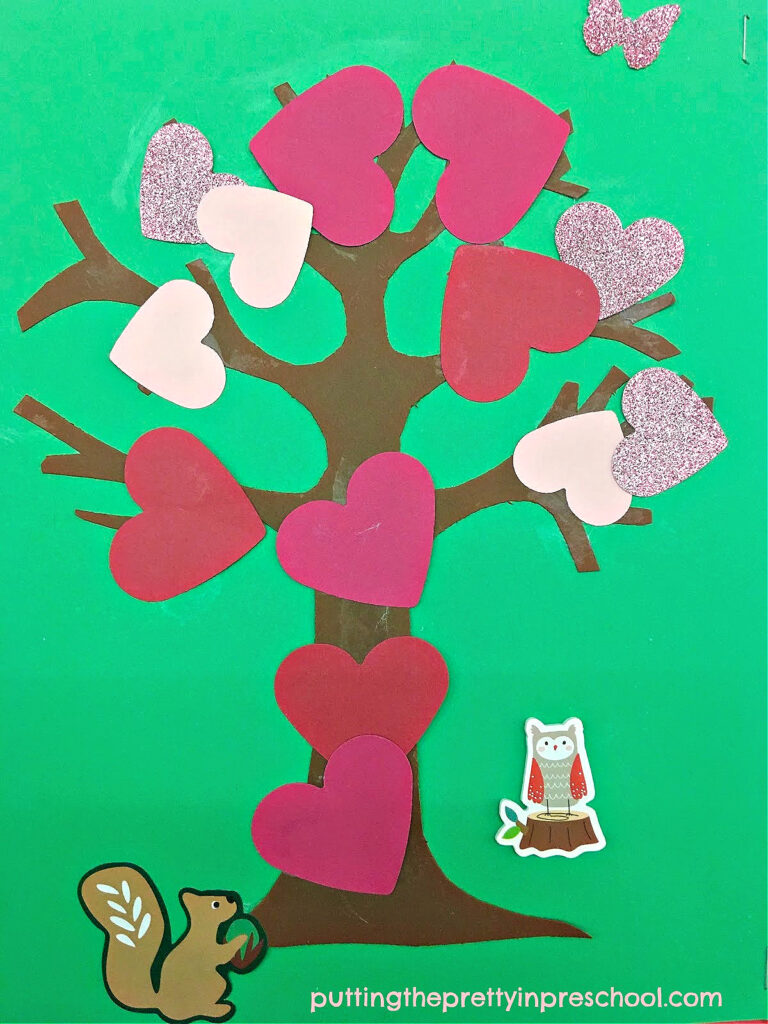
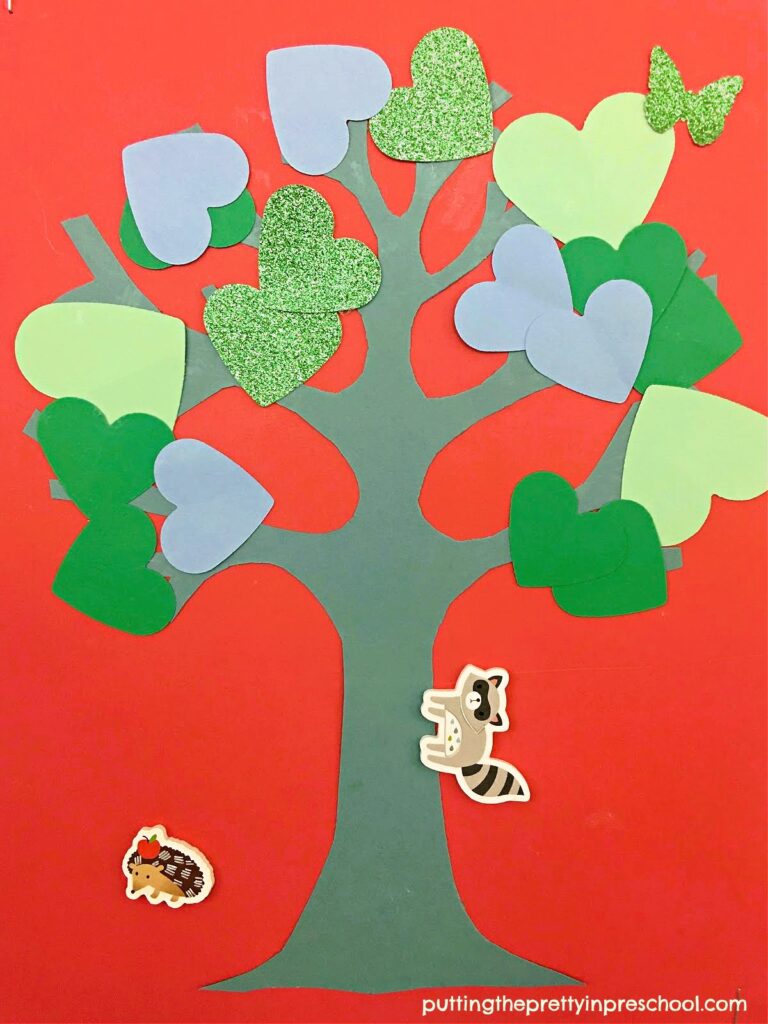
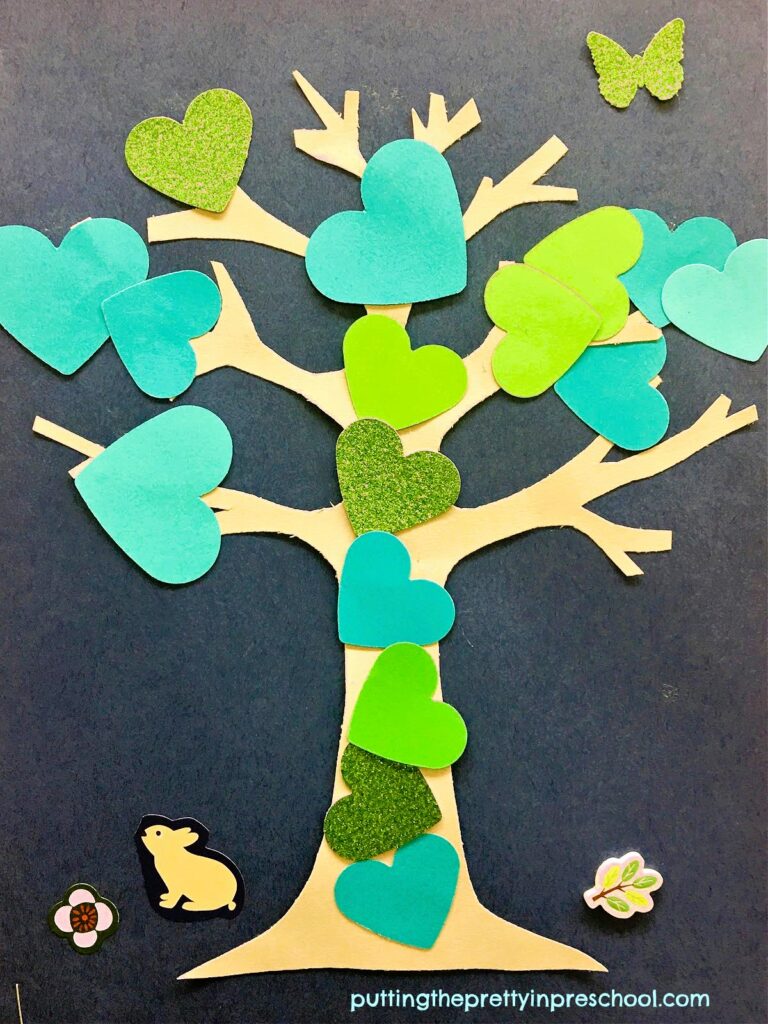
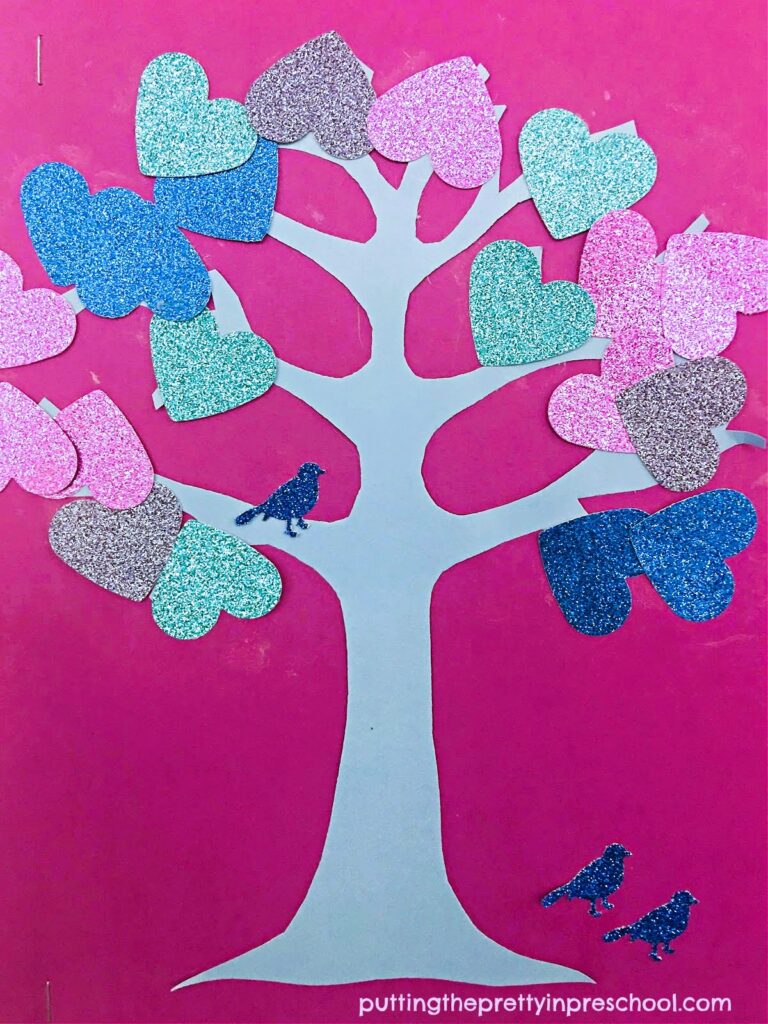
Use two different-sized heart paper punches to create leaves. A few metallic paper leaves add a little glitz and are often children’s favorite collage pieces to use.
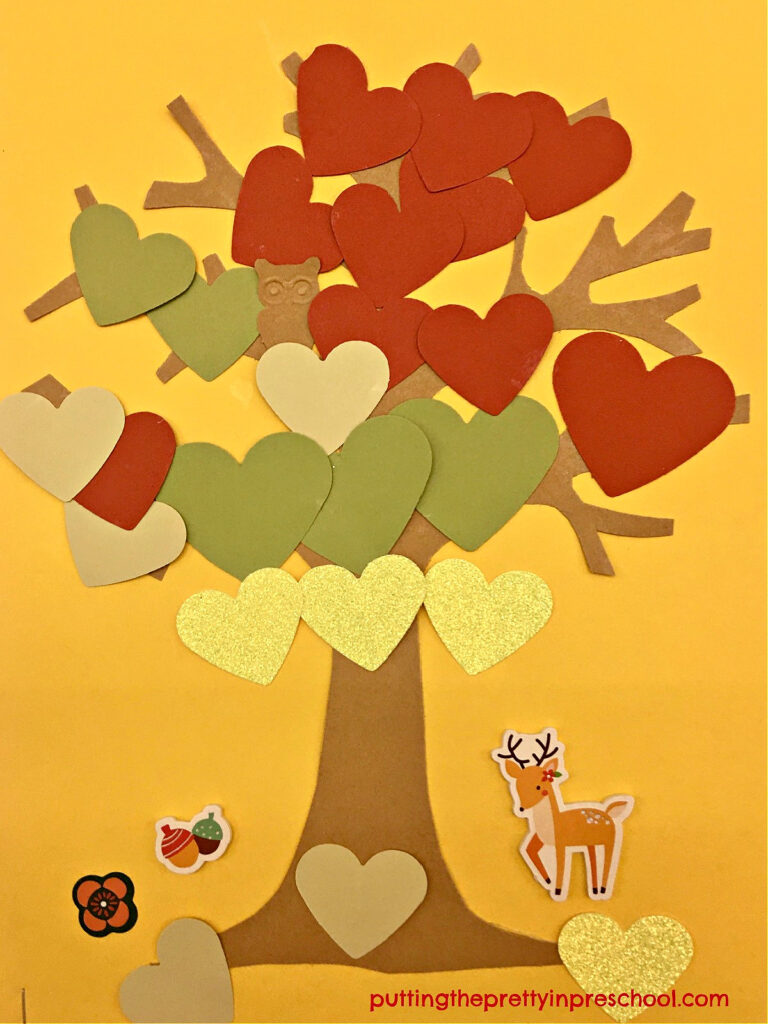
Note: The tree in the picture book is a pine. I chose a deciduous tree for my designs because its leaves work well for collage projects.
Next, glue a tree trunk to each background piece of paper.
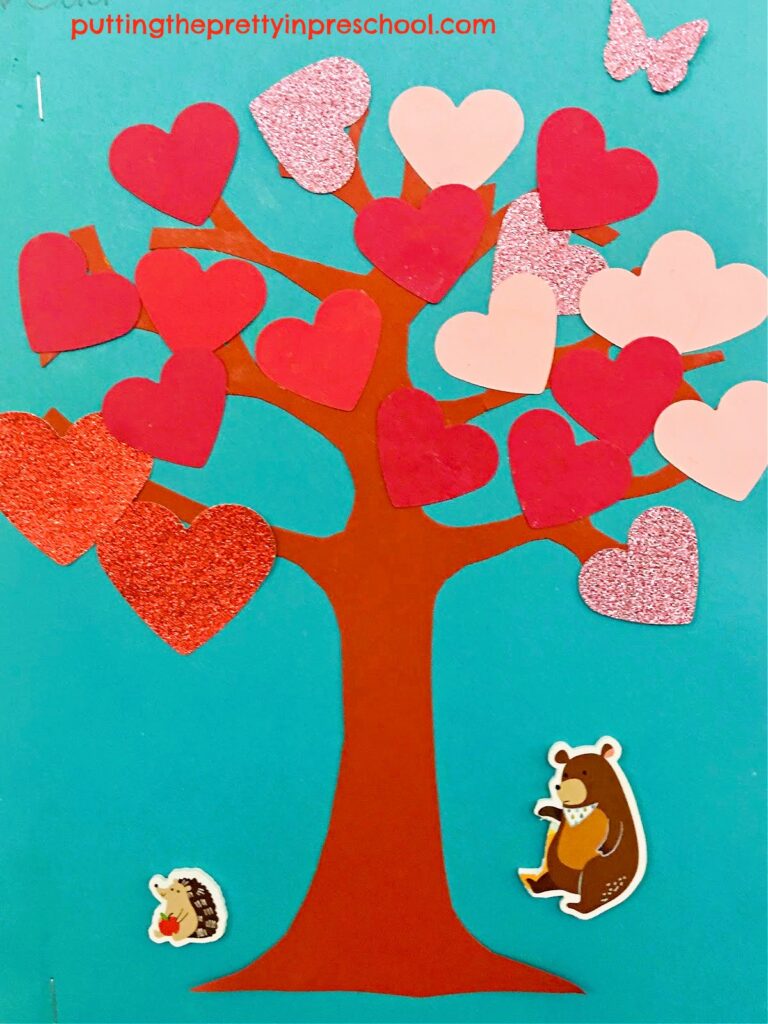
Afterward, invite children to affix heart leaves to their trees using a glue stick.
_______
Finally, participants can add paper punched and/or sticker woodland animals to their tree scenes. I used paper-punched birds and butterflies, and sticker deer, foxes, rabbits, raccoons, bears, squirrels, and porcupines.
_______
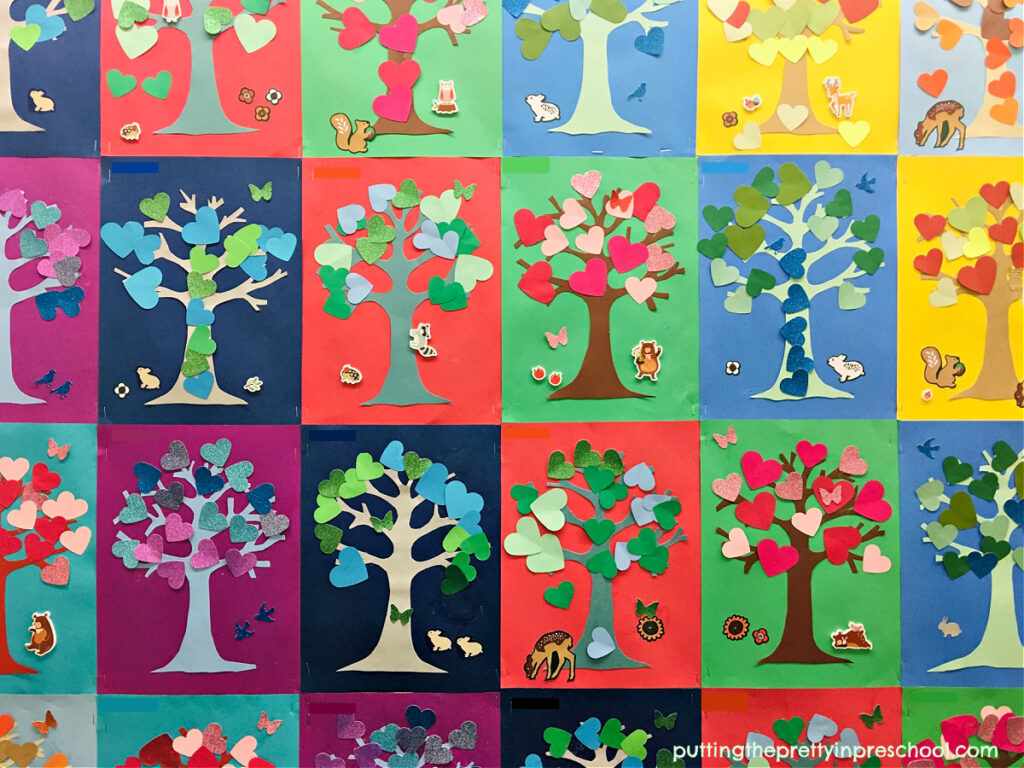
The Tree Art Bulleting Board Display
_______
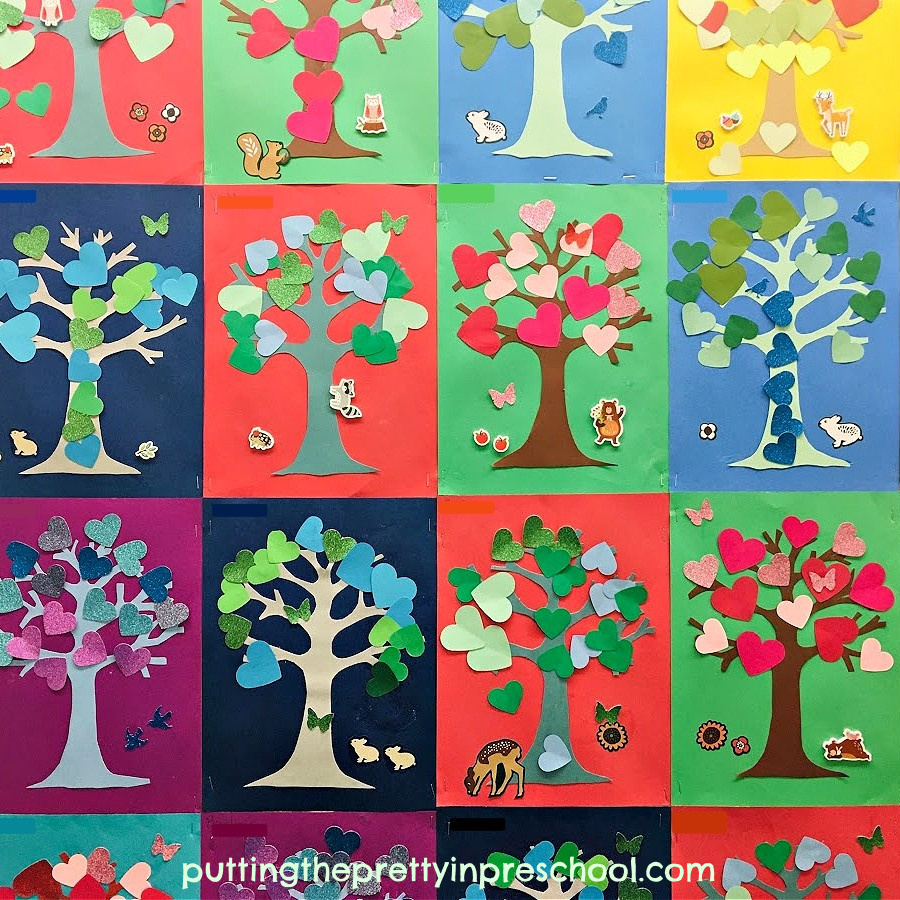
Displaying the tree art is easy when using a rectangular bulletin board. Arrange the art in a sequence of color designs, and repeat the pattern for the whole display. An alternative is to display the art randomly or in another pattern of your choice.
_______
_______
_______
More About “The Wind and the Trees” Picture Book
In addition to being an inspiration for art projects, this gorgeous picture book by Todd Stewart is perfect for a tree or nature theme. Through colorful pictures and wisdom-filled print, it communicates the life cycle of trees. It also shares the following details about how wind benefits and hurts trees:
How The Wind Benefits Trees
- tree roots grow deeper
- tree bark becomes stronger
- messages and signals are carried from one tree to another
- seeds are scattered so new trees can grow
The Dangers Of Wind To Trees
- roots are stretched
- tree trunks and branches dry
- older trees get knocked down
Lastly, the pictures also depict a variety of woodland animals for children to spot and name, such as bats, owls, squirrels, bees, eagles, a raccoon, and a porcupine.
_______
_______
_______
Related:
Horse Chestnut Leaf Art Activities
Christmas Tree Decorating Center
Monochromatic Christmas Tree Art
_______
[Read more…] about Tree Art Bulletin Board