_______
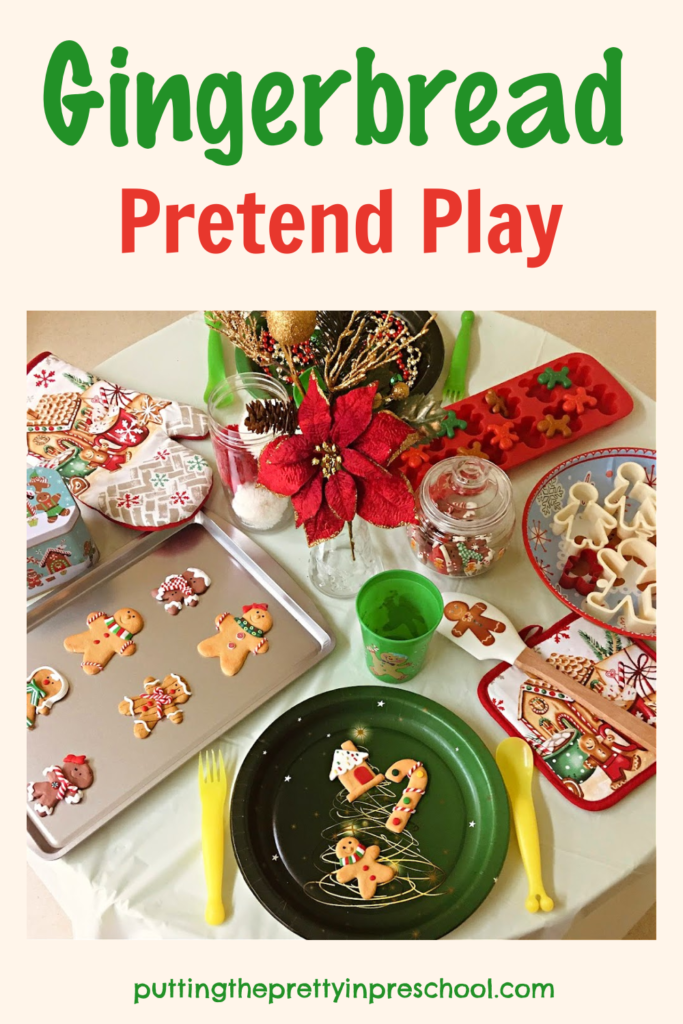
Including a gingerbread theme in holiday festivities is super popular this time of year, and a large array of gingerbread-themed tableware and party supplies are available. That makes a gingerbread theme pretend play tablescape a perfect activity to introduce to early learners to help celebrate the season.
_______
Gingerbread Pretend Play Supplies
_______
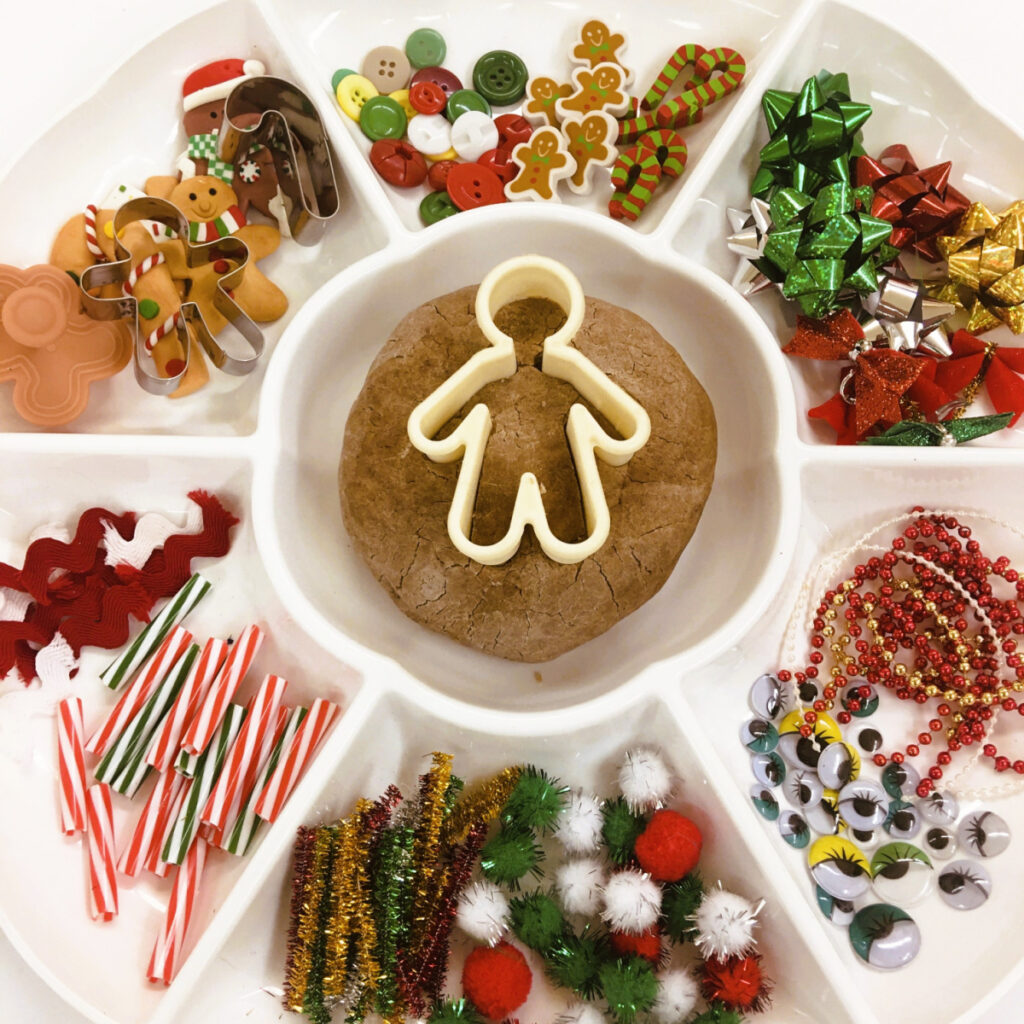
Collecting supplies for gingerbread theme pretend play is easy and so much fun. Dollar stores are one of the best places to find them. The following items, many of which are gingerbread-themed were gathered for the festive baking-themed dramatic play setup.
- ice cube tray
- counters and erasers
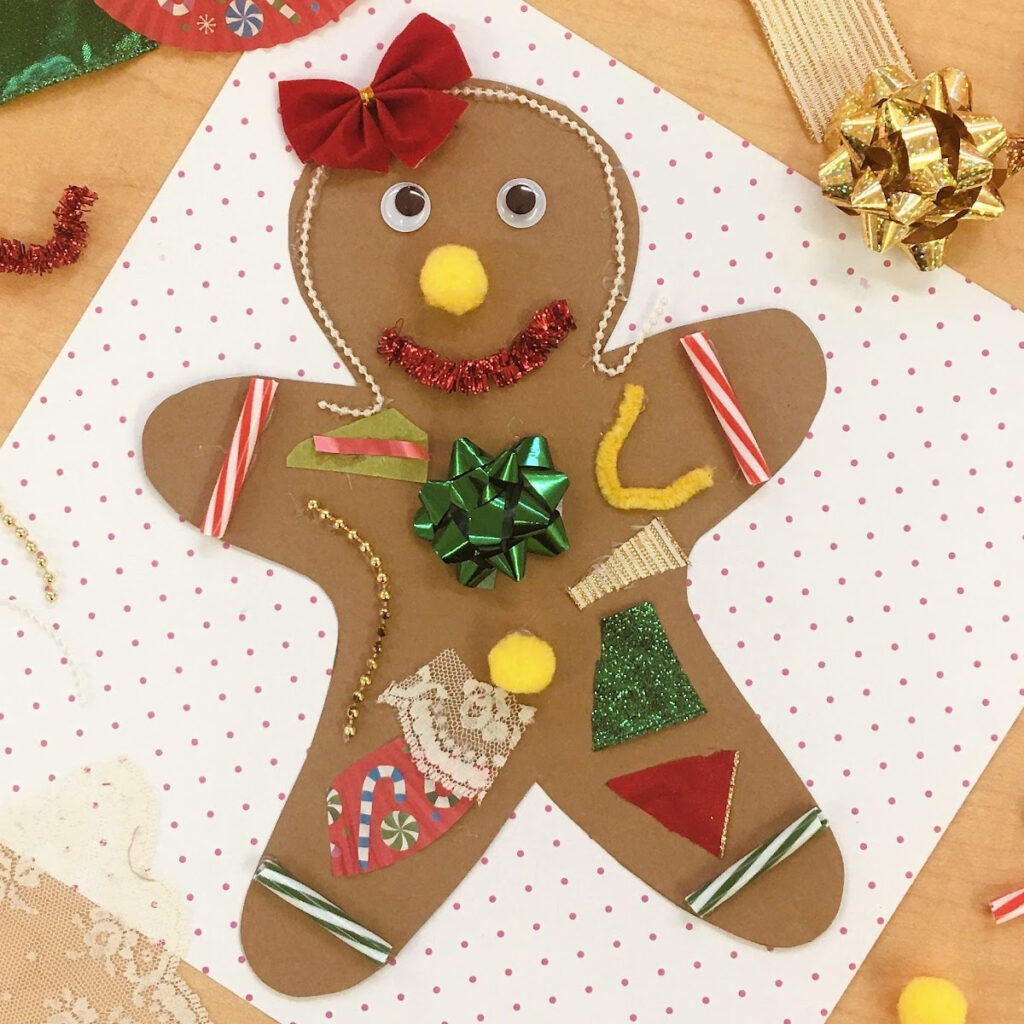
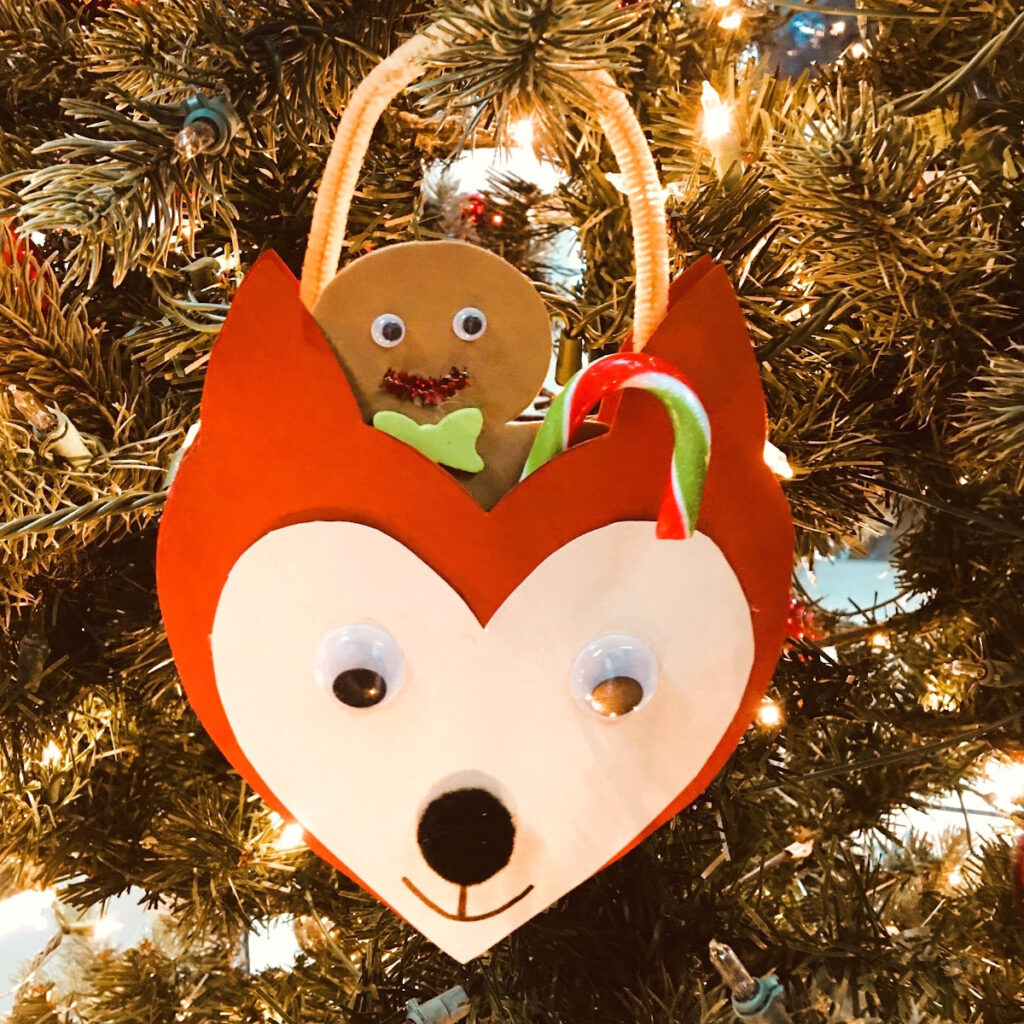
- flat ornaments
- tins and spatula
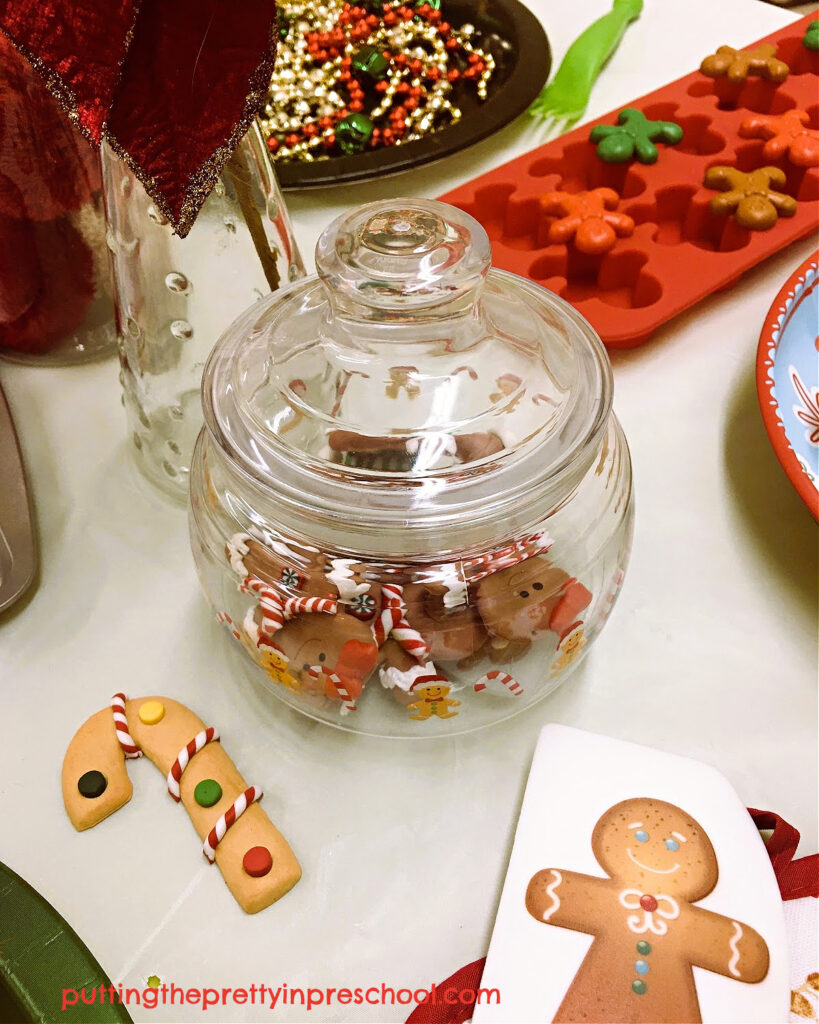
- cookie jar
- cookie cutters
- serving plate and cups
- oven mitt and pot holder
- disposable plates
- artificial poinsettia sprig
- metallic bead necklaces
- jingle bells
- large red and white pom poms
- cookie pan
- white tablecloth
_______
The Gingerbread Theme Pretend Play Tablescape
_______
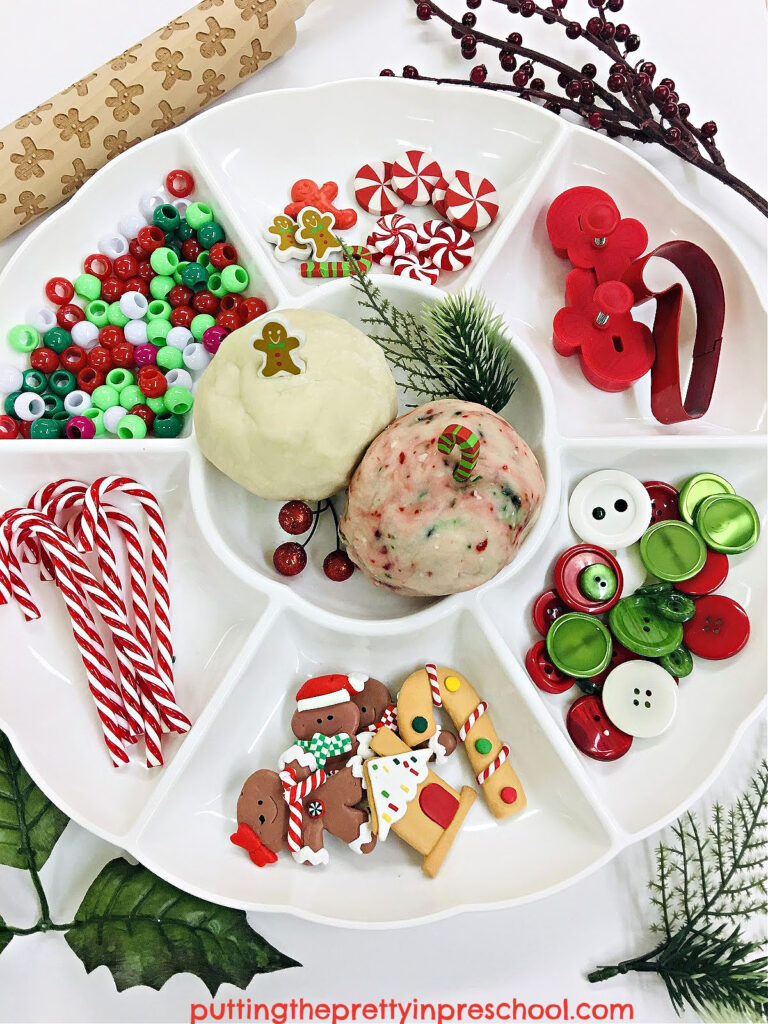
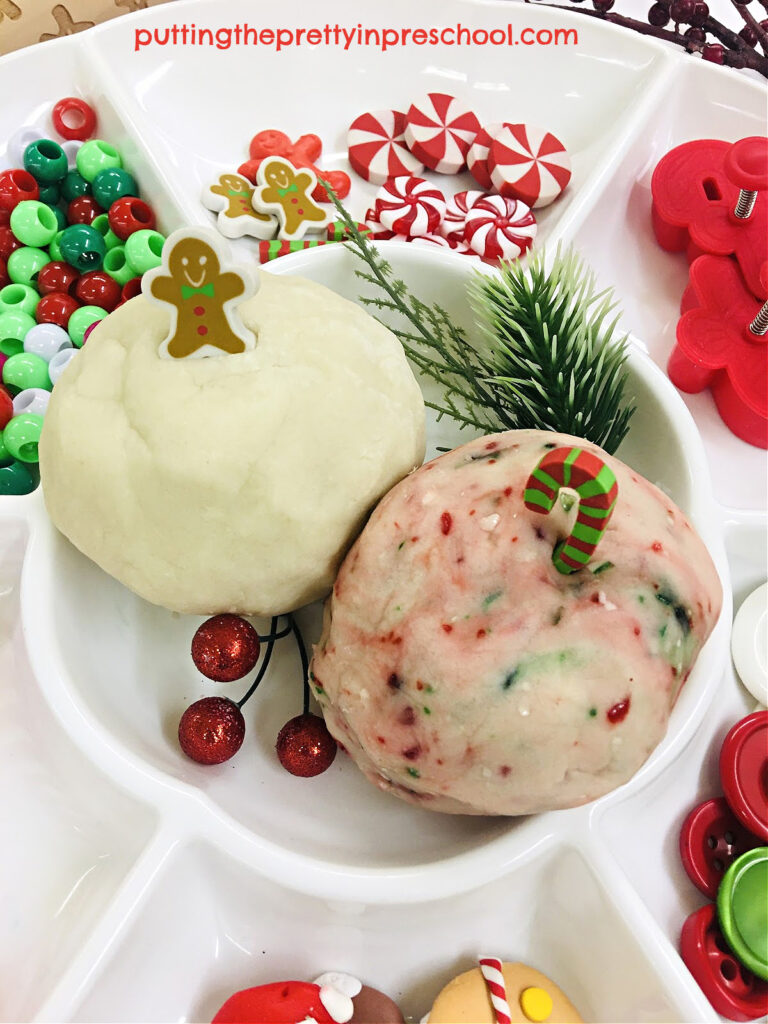
This whimsical gingerbread theme pretend play setup inspires meaningful social interaction and loads of hands-on fun.
Non-breakable, themed ornaments such as gingerbread people, a gingerbread house, and candy canes make tasty play cookies.
Safety Tip: It is important to remove any hooks to hang the ornaments before using them as play cookies. Only ornaments with smooth surfaces and edges should be included as play food.
_______
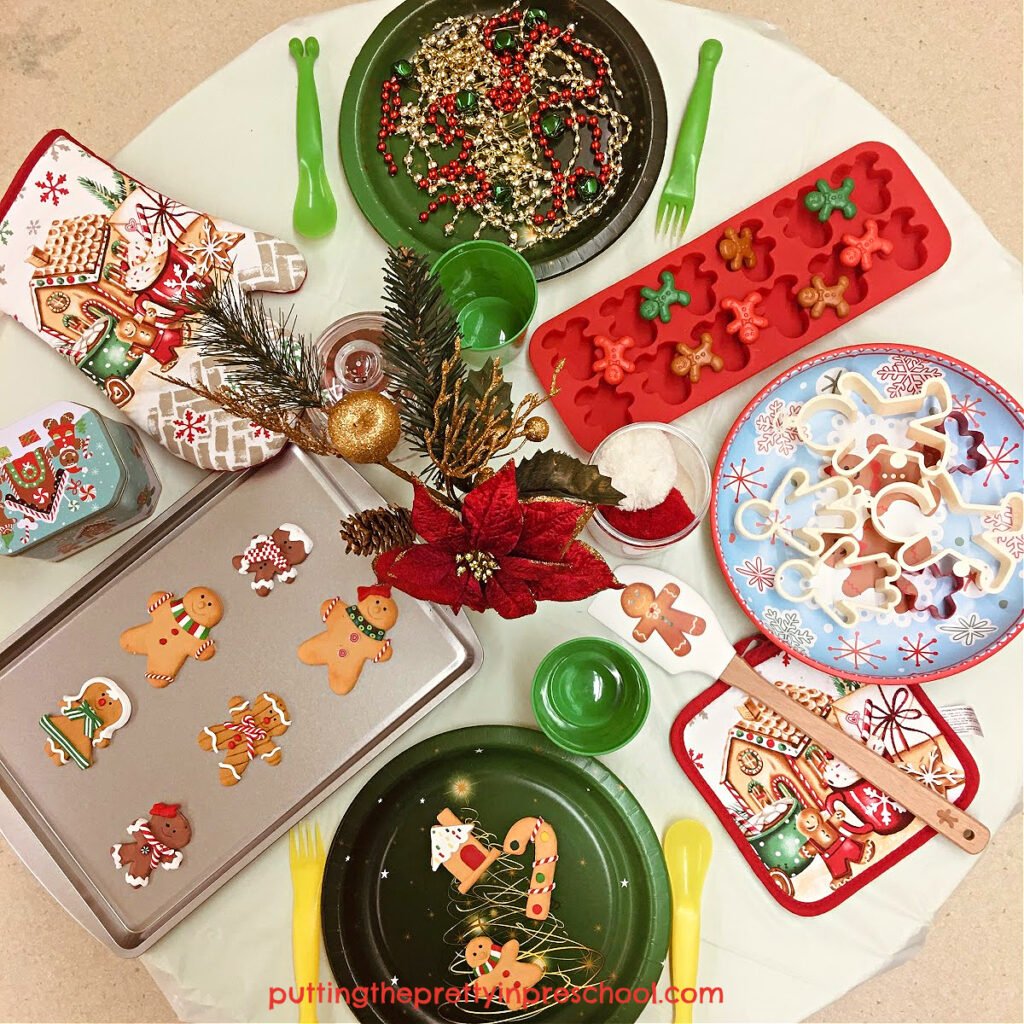
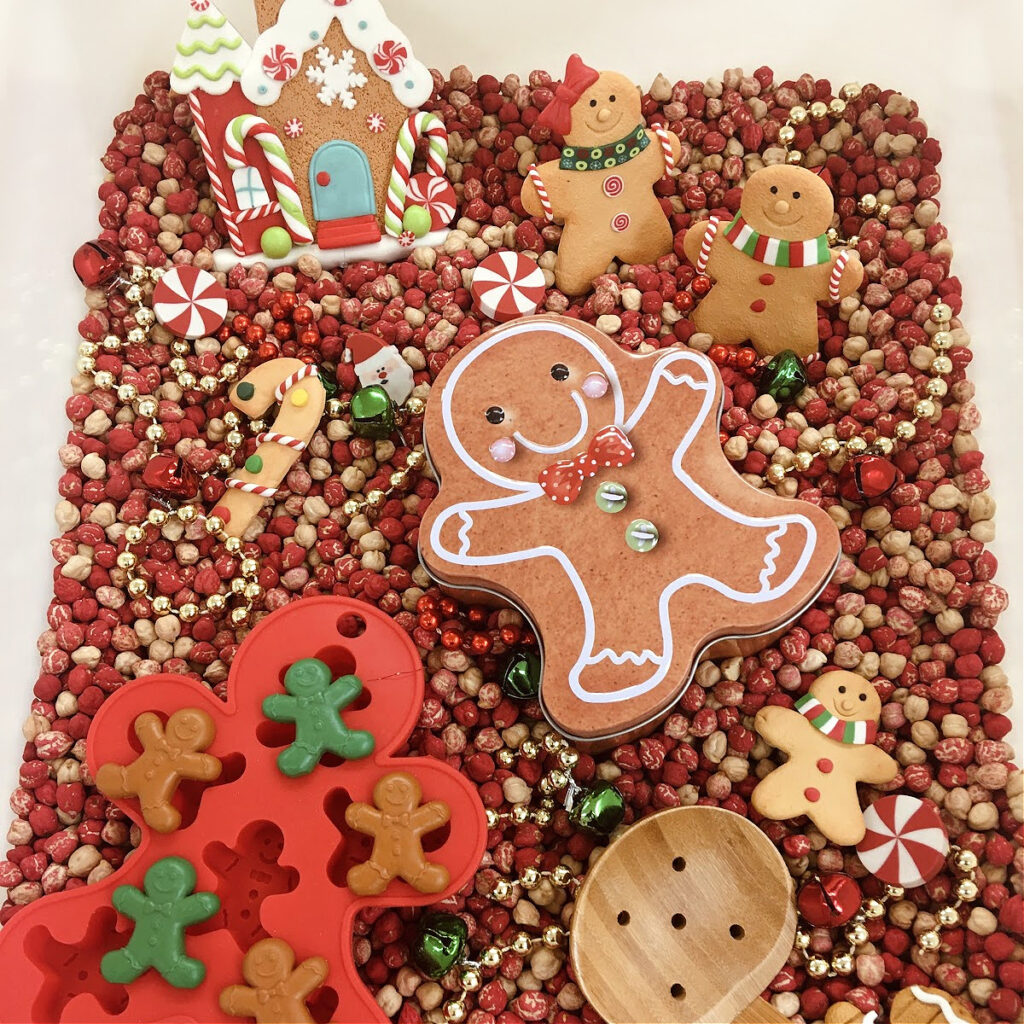
Gingerbread counters and erasers make spicy candies or tiny cookies.
Cut metallic bead necklaces in gold, silver, and red are festive spaghetti noodles.
Green jingle bells are the juicy meatballs, offering a fun musical component to the dramatic play invitation.
Large red and white pom poms in colors that match the decor are additional creative loose parts to imagine with.
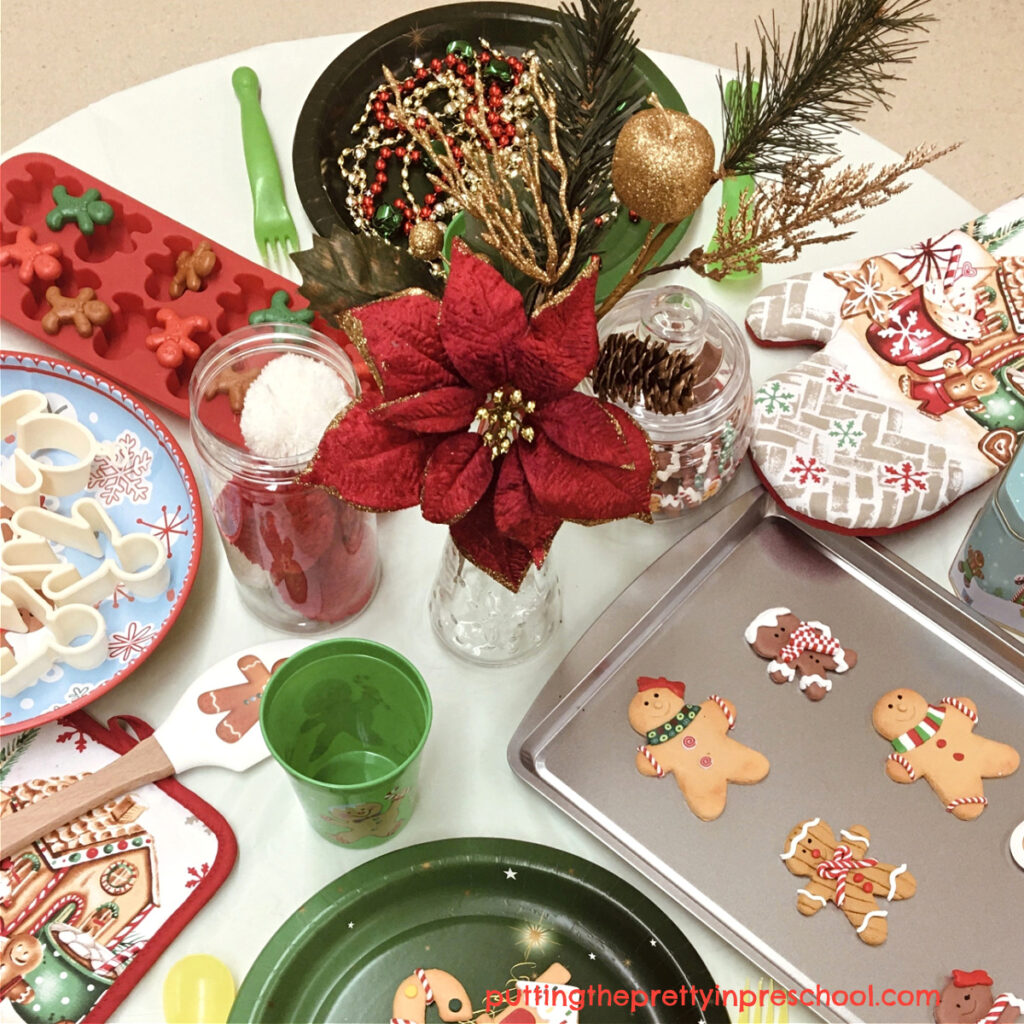
Gingerbread cookie cutters suggest more spicy snacks.
Festive cups and disposable plates complement the accessories.
_______
A gingerbread-themed ice cube tray, spatula, cookie jar, oven mitt, pot holder, serving plate, and dessert tin round out the center.
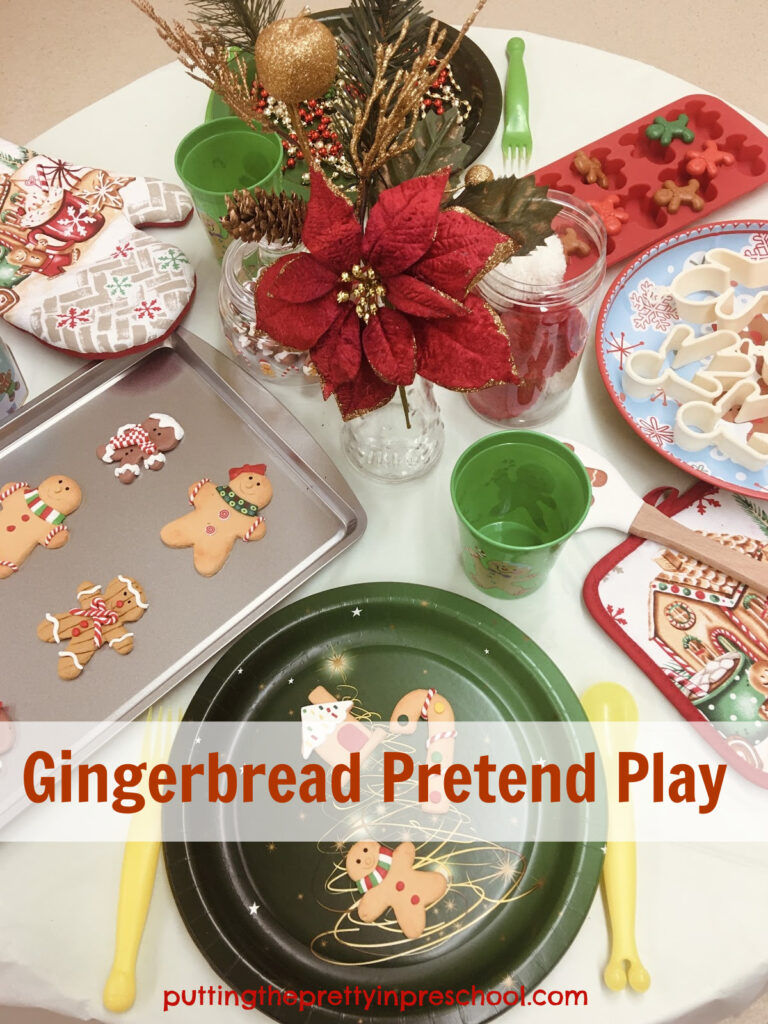
Exuding holiday charm, the gingerbread-themed supplies spice up dramatic play activities.
Would you include more supplies in the gingerbread pretend play tablescape? Share in a comment below.
_______
Follow me on Pinterest for more early learning ideas.
_______
More Gingerbread Theme Activities
Click on the photos below to access the blog posts featuring more gingerbread theme activities.

_______
[Read more…] about Gingerbread Theme Pretend Play


