_______
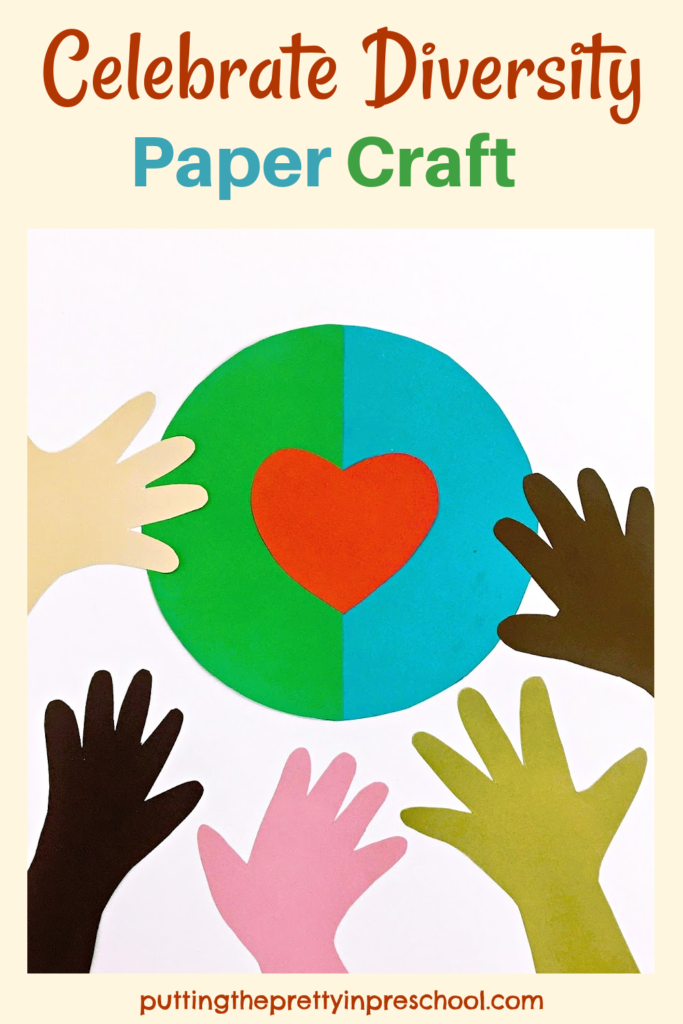
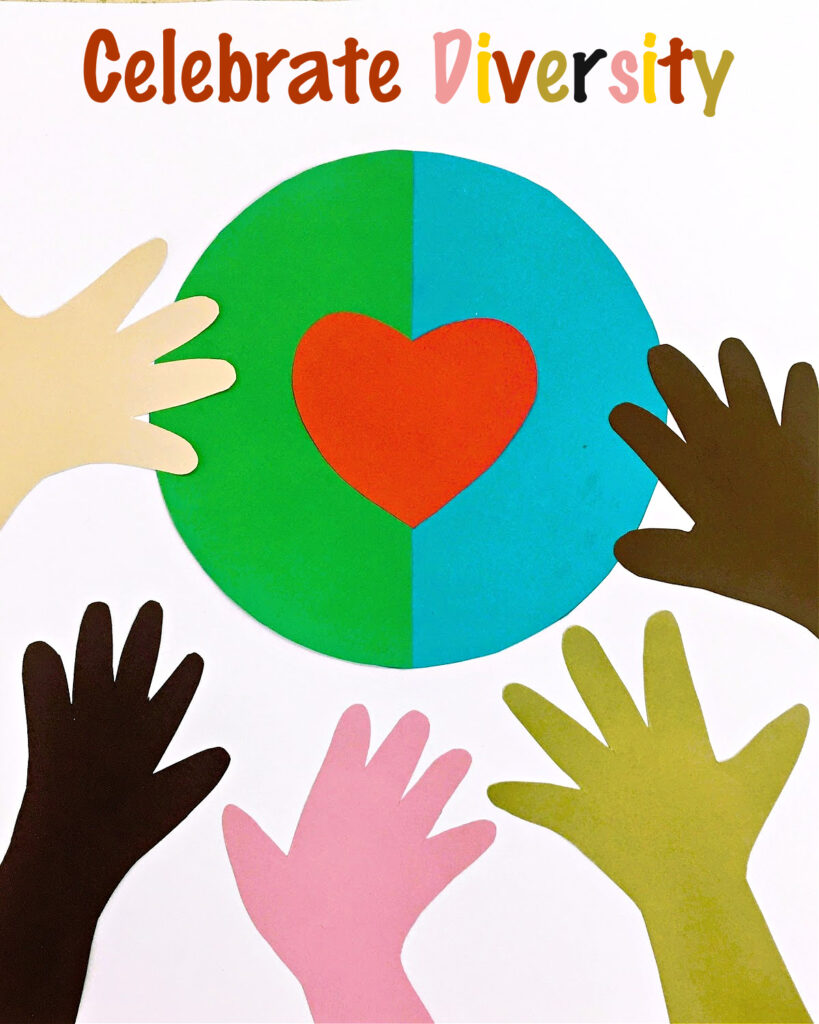
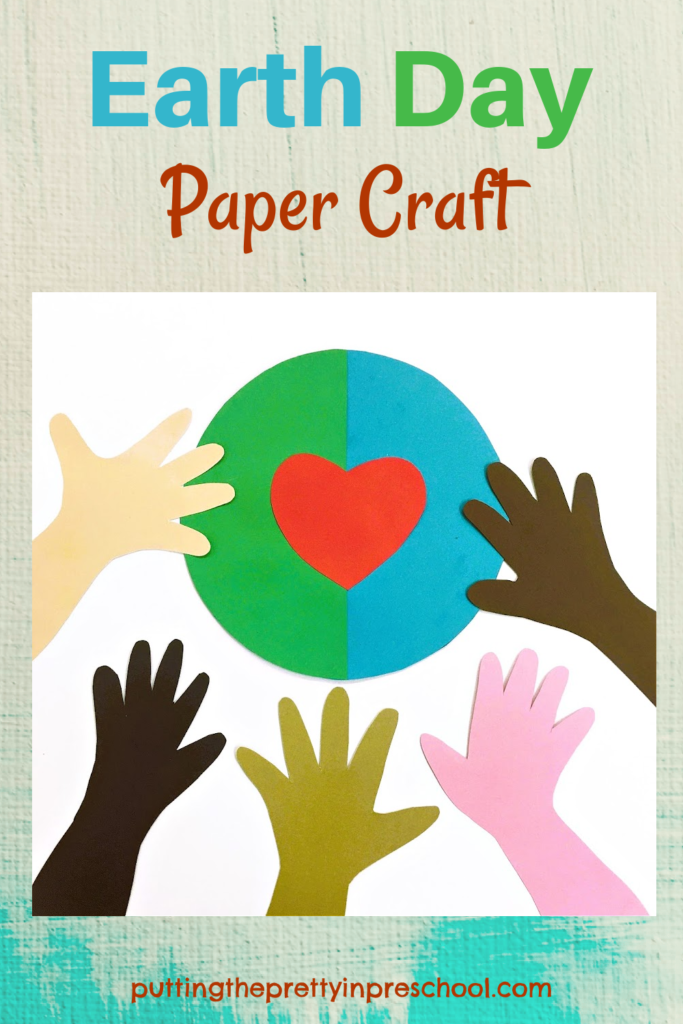
April is Celebrate Diversity Month, and people are encouraged to participate in activities that celebrate people from different ethnic backgrounds. This easy Celebrate Diversity paper craft draws attention to the diversity in people by representing different skin colors.
_____
Supplies to Collect
_______
To create this eye-catching diversity craft, gather the following:
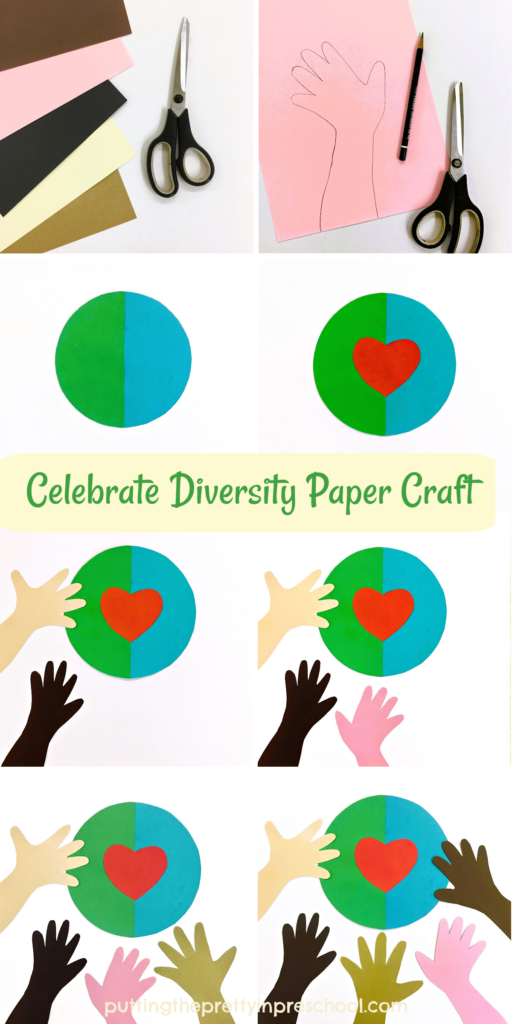
- skin-colored construction paper
- green, blue, and red construction paper
- 18-inch x 18-inch sheet of white art paper
- glue stick
- scissors and pencil
_______
Follow me on Pinterest for more early learning ideas.
_______
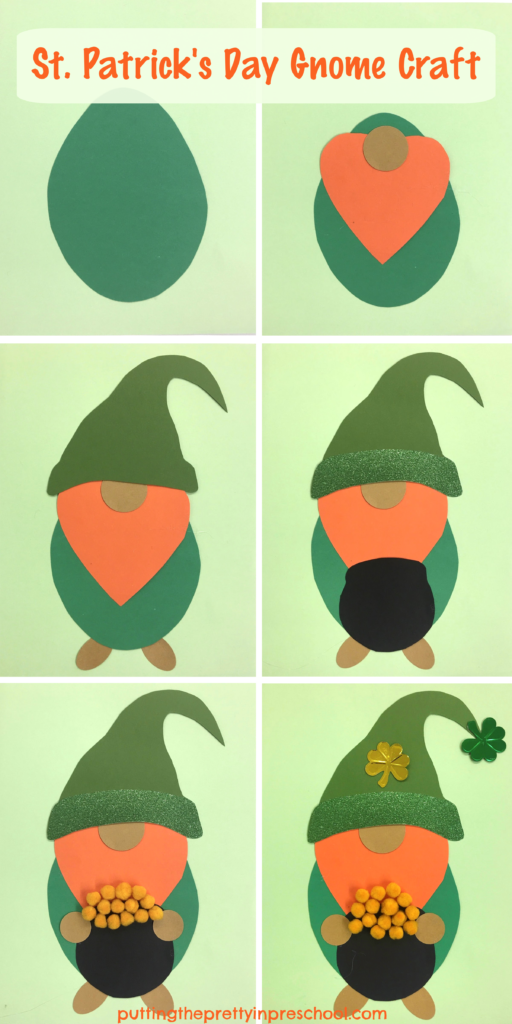
The Celebrate Diversity Paper Craft
To make this celebrate diversity paper craft, start by tracing each child’s hand and arm on a skin-toned piece of construction paper.
Next, cut out the traced arms and hands.
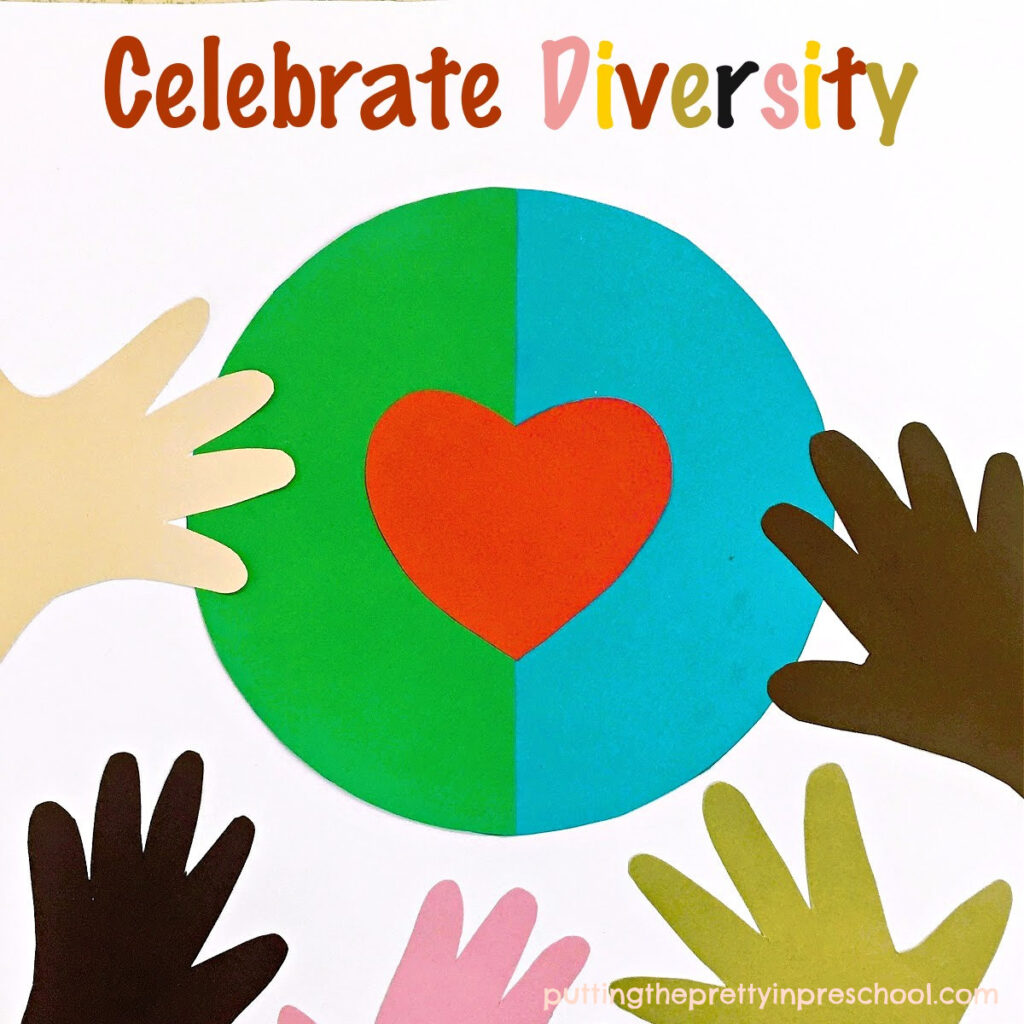
Then cut a circle from blue construction paper, a half circle from green construction paper, and a heart from red construction paper.
_______
Use a glue stick to affix the blue circle onto a large sheet of art paper that is a minimum of 18 inches x 18 inches in size. Glue the green half circle on top of the blue circle, and add on the red heart.
Afterward, arrange the skin-toned arms and hands around the paper earth and glue them on.
Finally, trim off pieces of paper arms that extend beyond the sides of the white art paper background. If desired, write the words “Celebrate Diversity” on the top section of the craft.
_______
Your diversity craft project is ready for display.
_______
Earth Day Paper Craft

_______
Earth Day was first celebrated in 1970 and is now scheduled every year on April 22. Including an earth with a heart on it depicts the importance of caring for our earth, and allows this Celebrate Diversity paper craft to double up as an Earth Day activity.
_______
More Celebrate Diversity Arts and Crafts
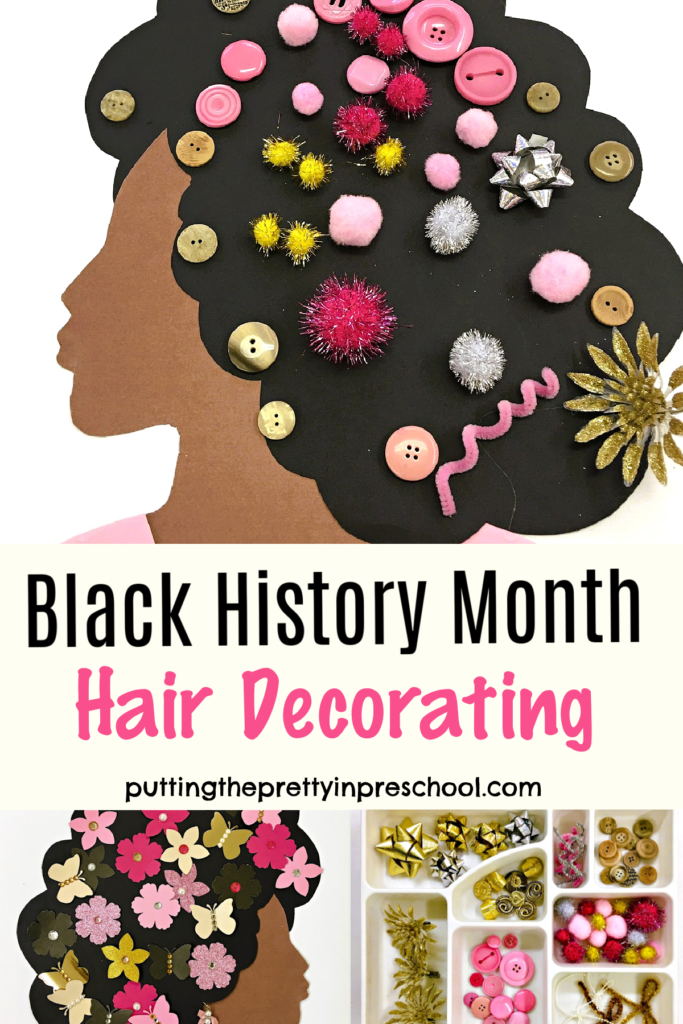
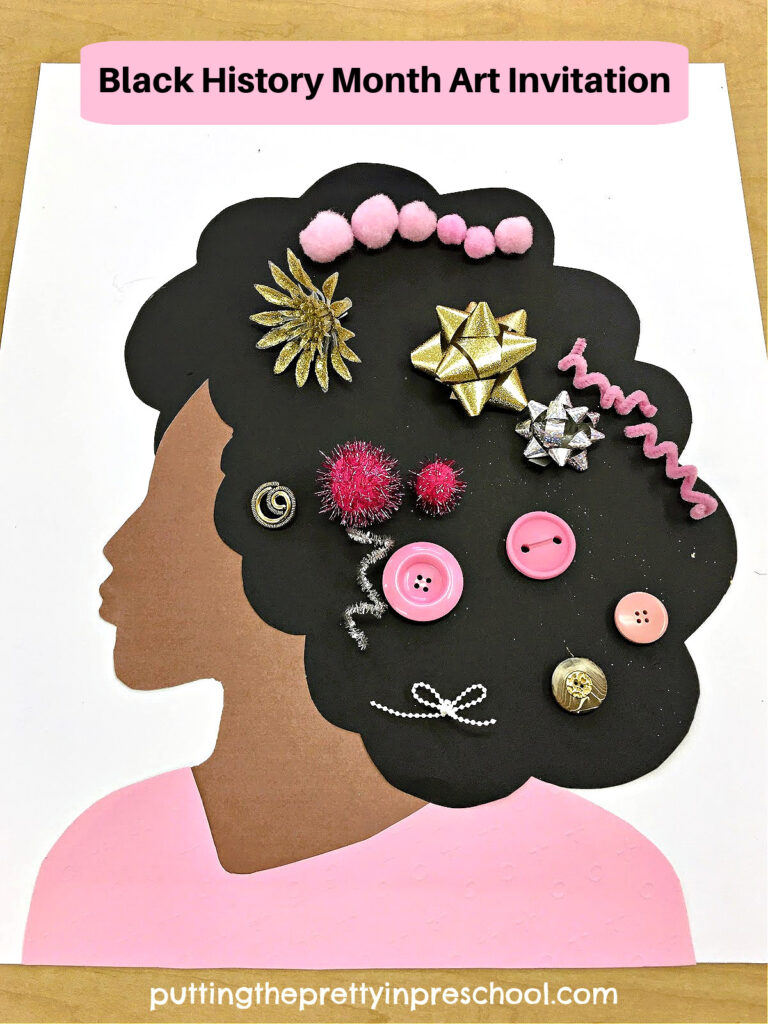
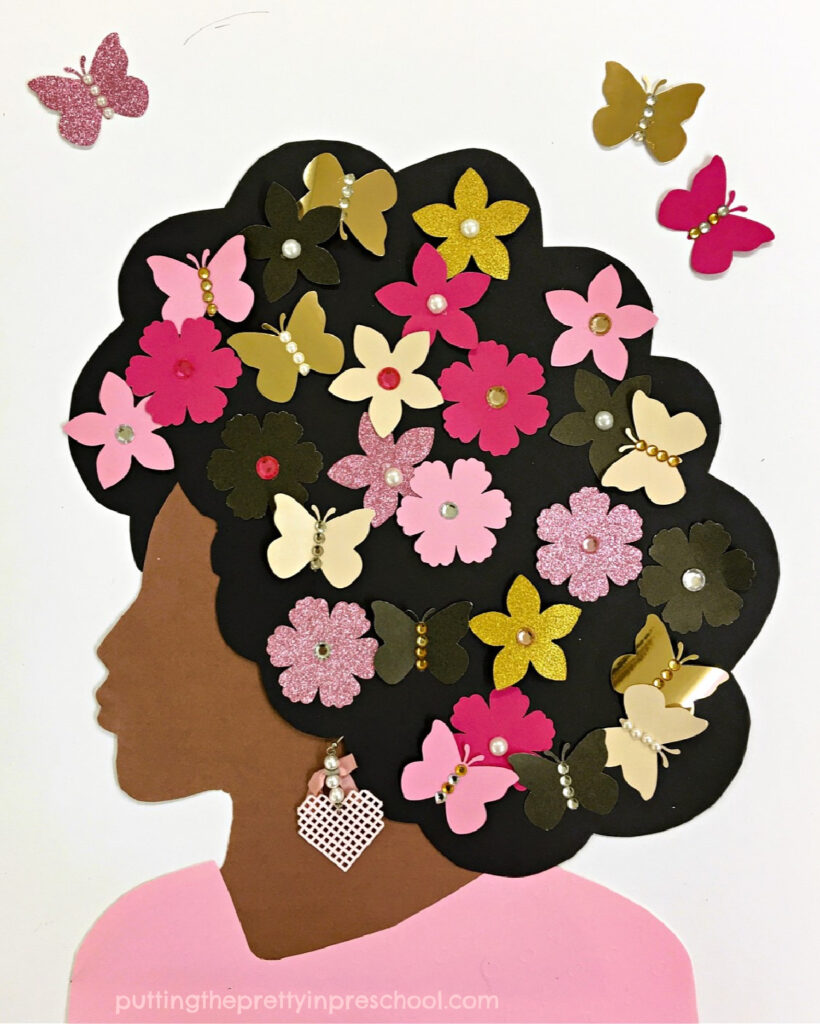
Three Black History Month Crafts
Five Black History Month Crafts
_______
More Earth Day Arts and Crafts
_______
[Read more…] about Celebrate Diversity Paper Craft


