• Skip to secondary menu
  • Skip to main content
  • Skip to primary sidebar

Putting The Pretty In Preschool

Finding Beauty In Everyday Early Childhood Experiences

  • Home
  • About Me
  • Winter
  • Chinese New Year
  • Blog
  • Contact Me
  • Black History Month
  • SHOP
  • Valentine’s Day

crafts

Octopus Christmas Craft

December 22, 2023 by Annette Kaminsky Leave a Comment

Tweet
Share
Share
Pin

_______

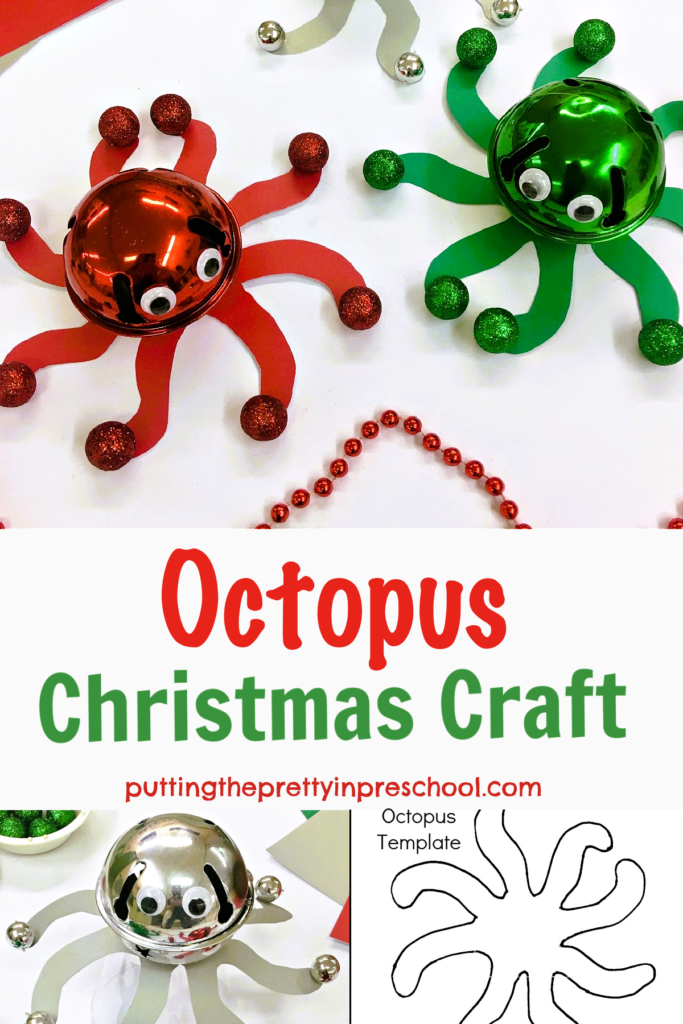
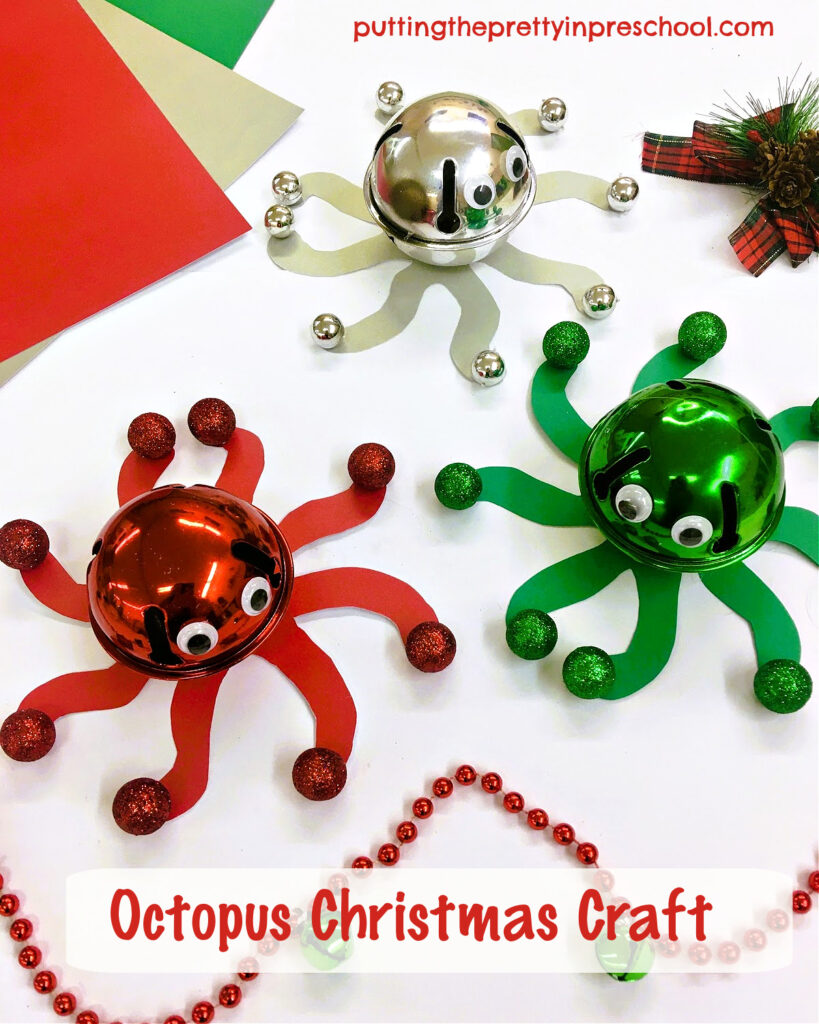
Bells and Christmas go hand in hand, and this jingly octopus Christmas craft fits right in. It is easy to make and is guaranteed to be treasured by your little learners.

_______

Follow me on Pinterest for more early learning ideas.

_______

Supplies To Collect

Gather the following supplies to make all three colors of this Christmas musical instrument craft:

  • red, green, and silver cardstock paper
  • large red, green, and silver jingle bells
  • small Christmas foam balls
  • wiggly eyes
  • white glue
  • scissors and pencil

_______

Making the Octopus Christmas Craft
_______

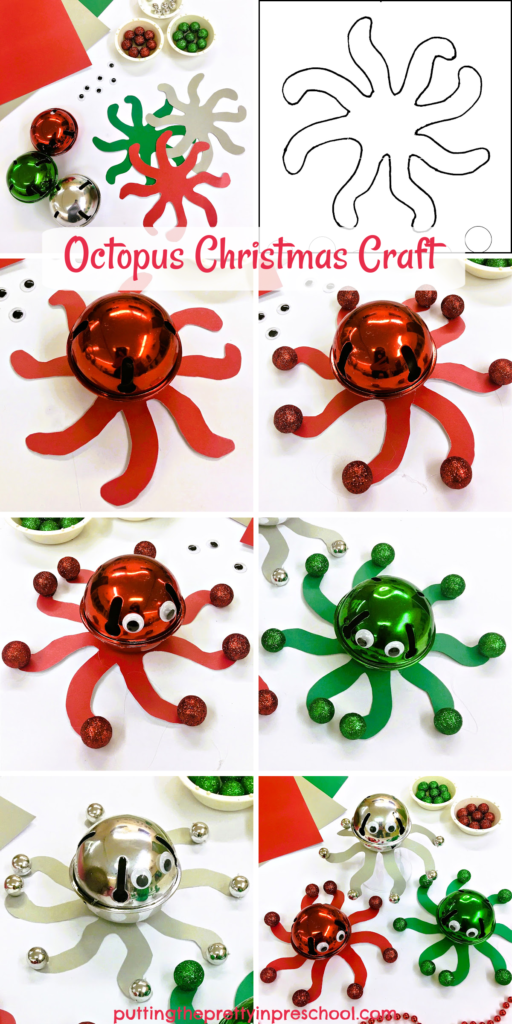
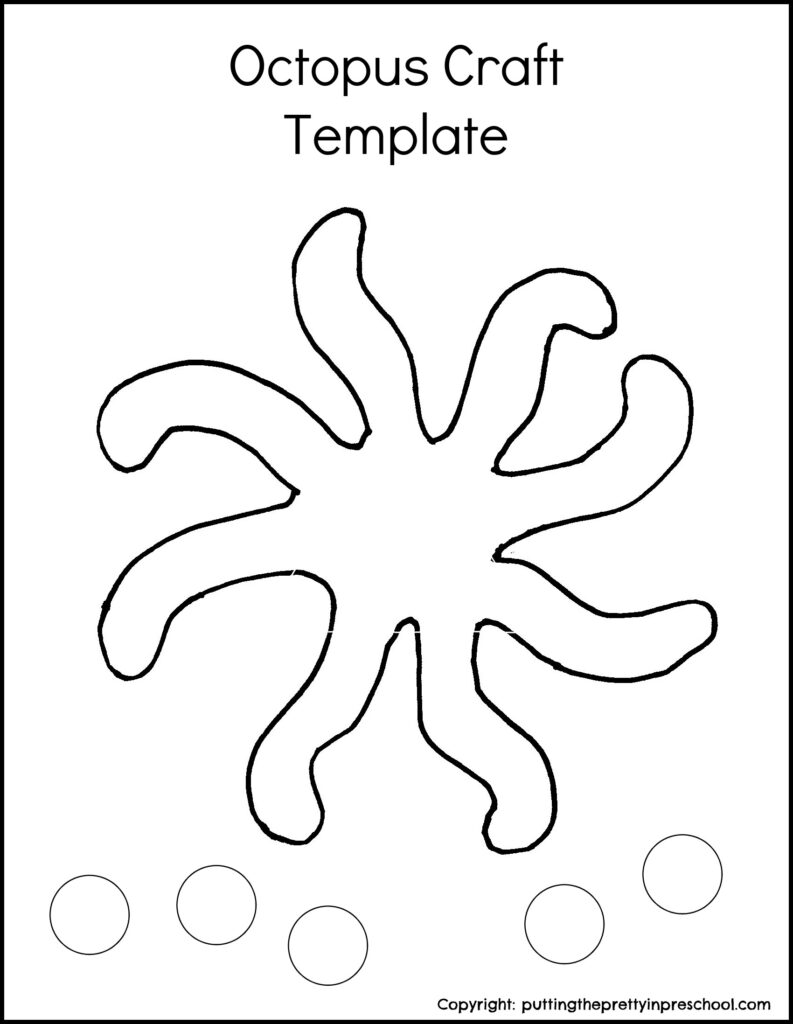
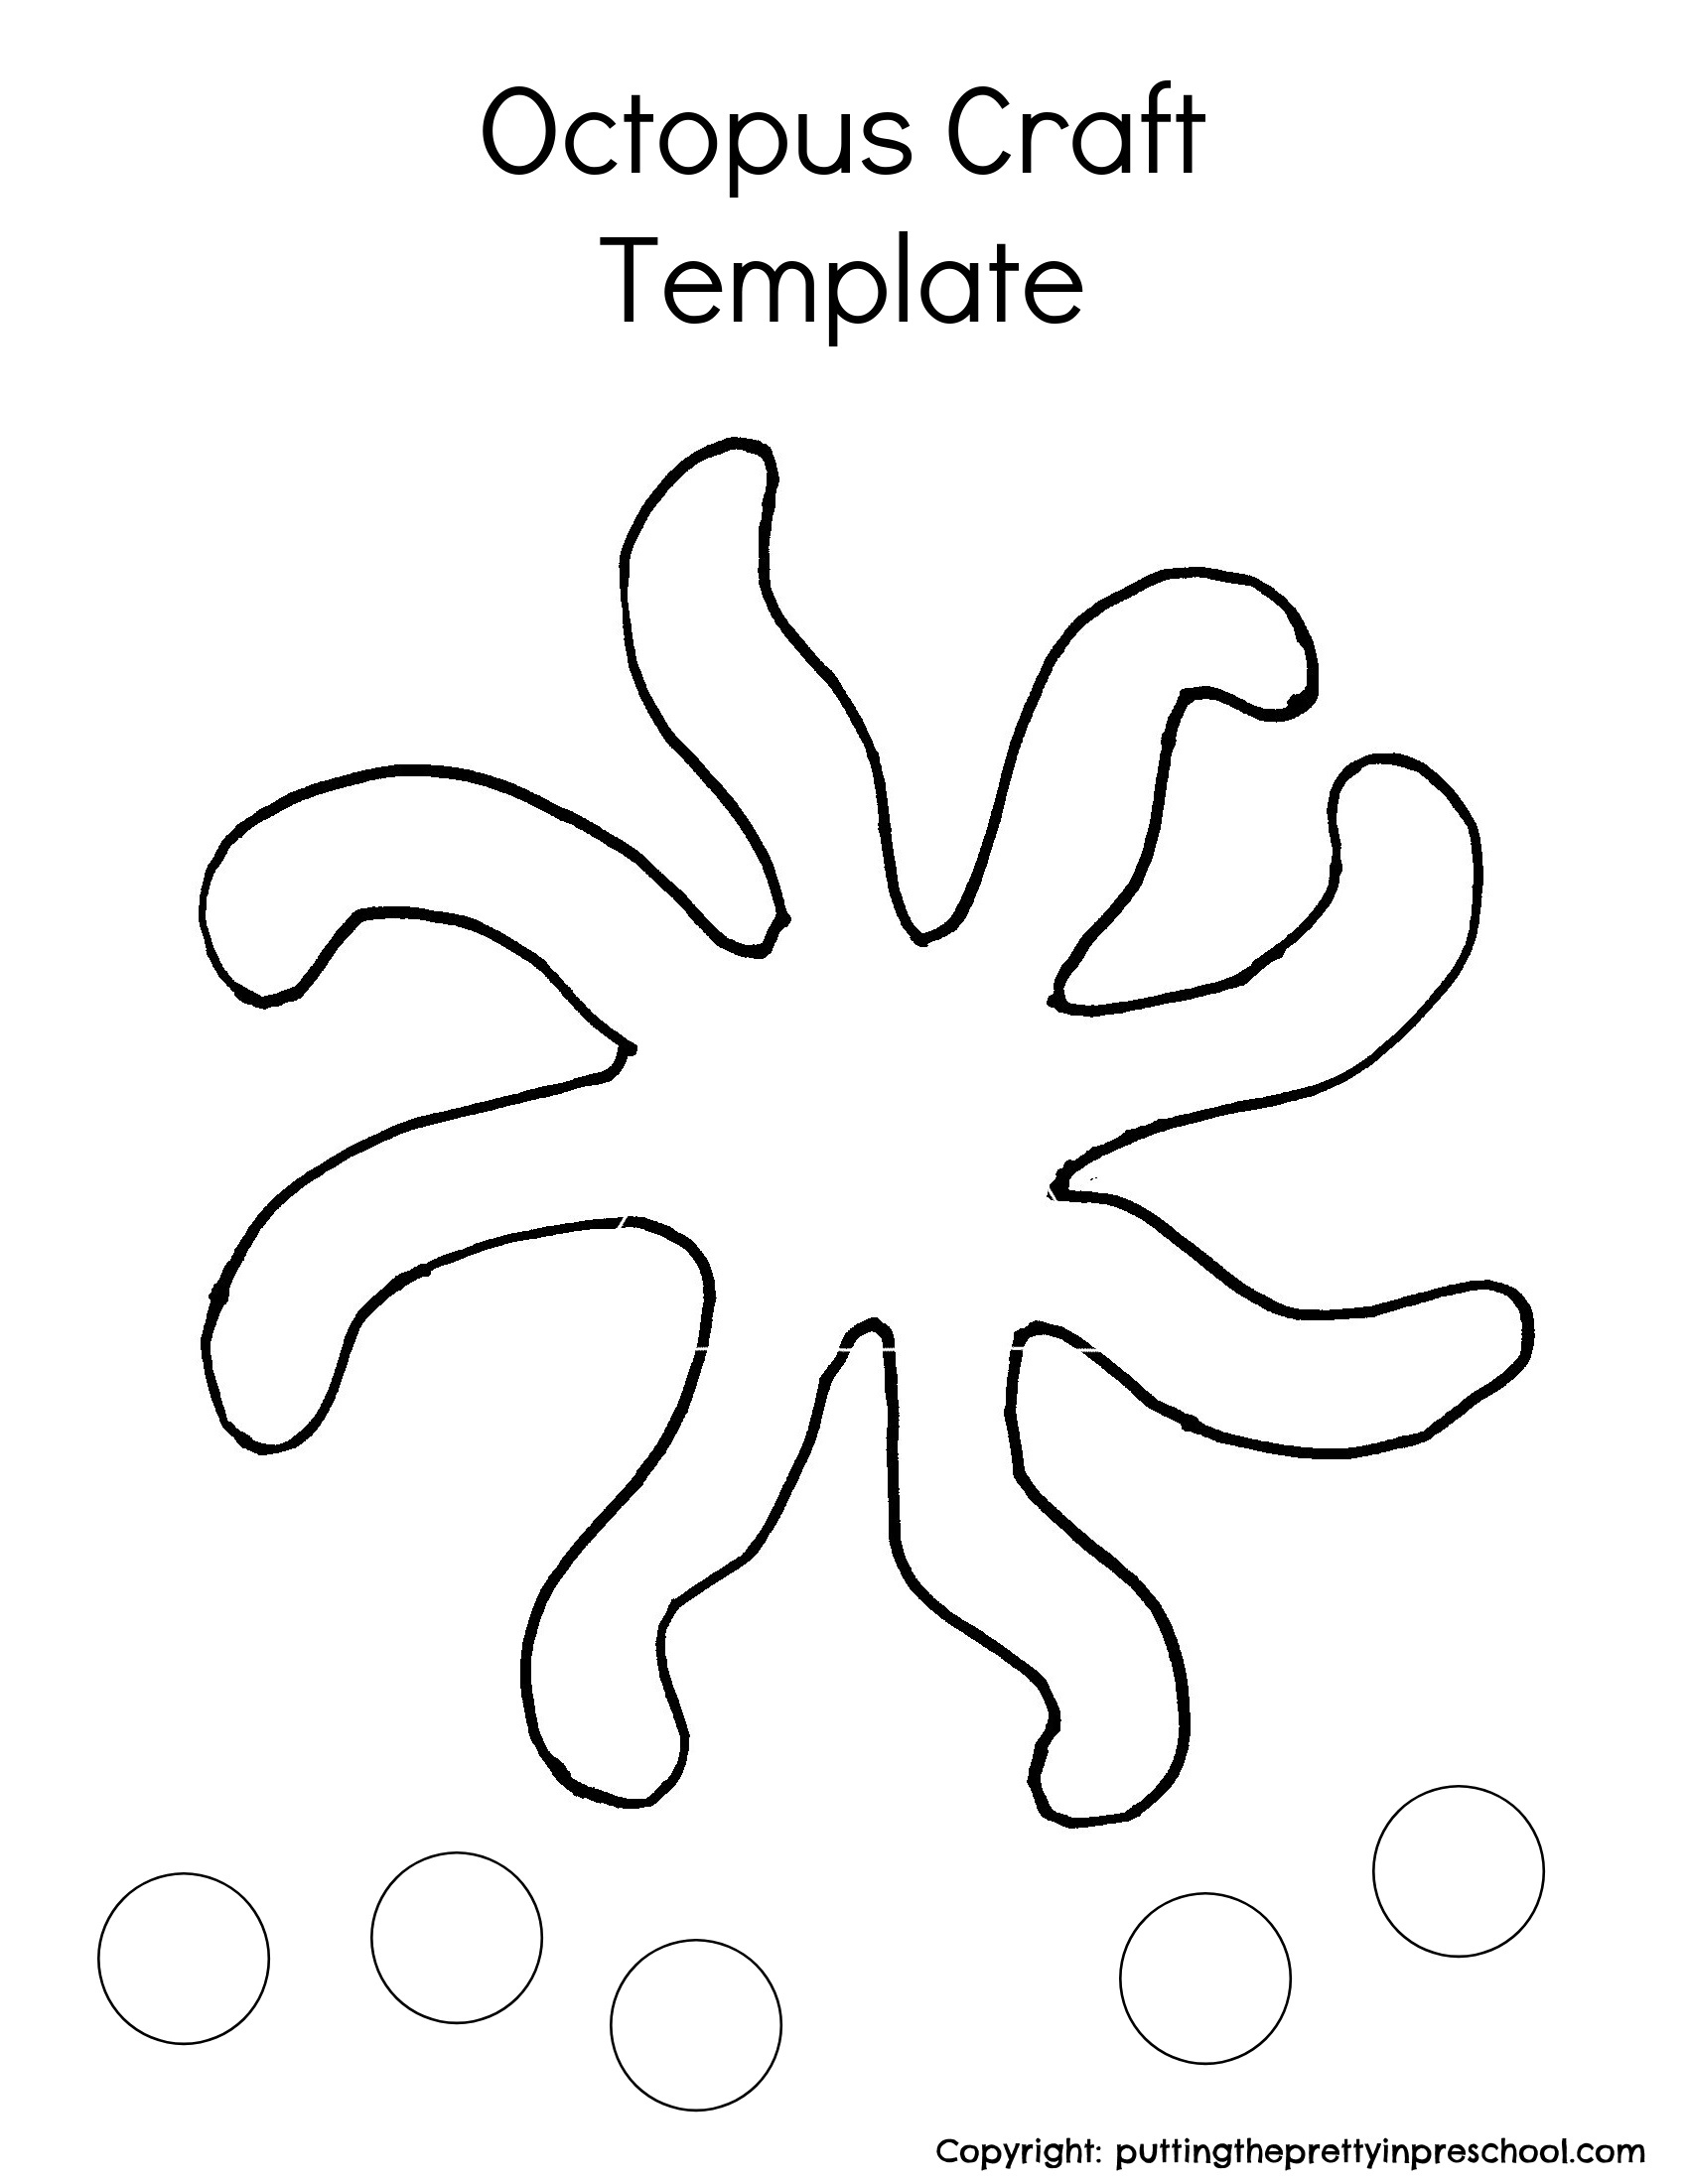
To make this festive musical craft, start by cutting out a circular design with eight curved legs from red, green, and silver cardstock paper. Feel free to download this octopus template to use for the craft.
_______

Octopus Craft PrintableDownload

This printable is for individual or one classroom use only.

_______

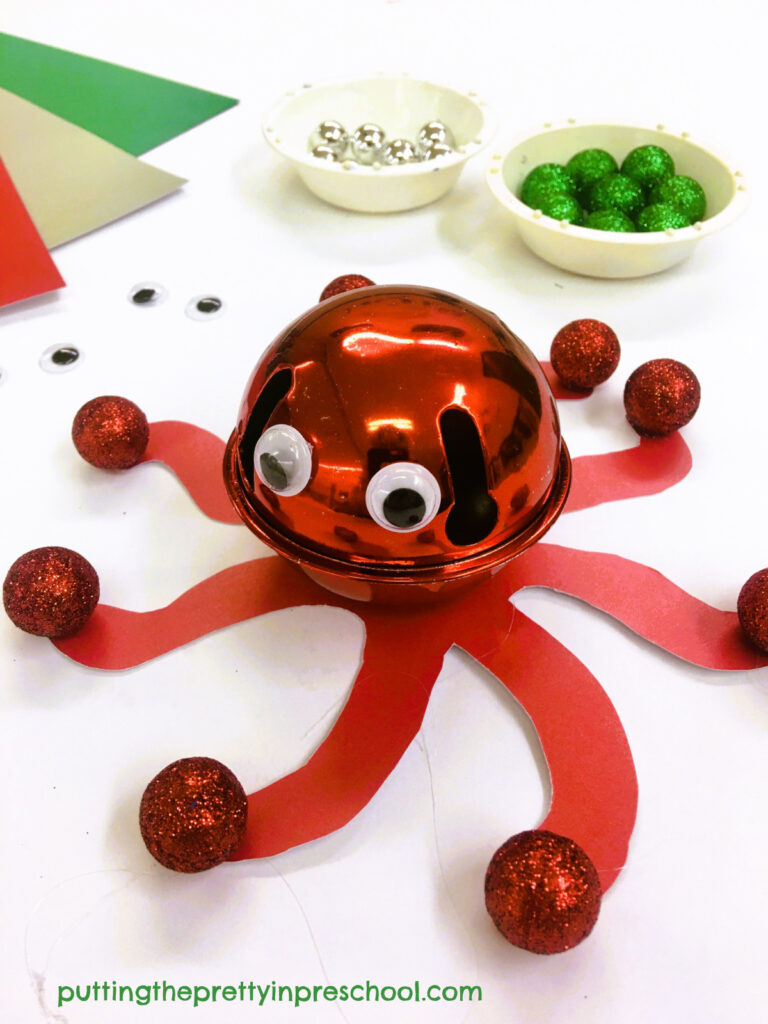
Next, use white glue or a glue gun to adhere a large jingle bell in the same color to the middle of the eight-legged base.

Afterward, glue a similarly colored small glitter foam ball to the tip of each paper leg.
_______

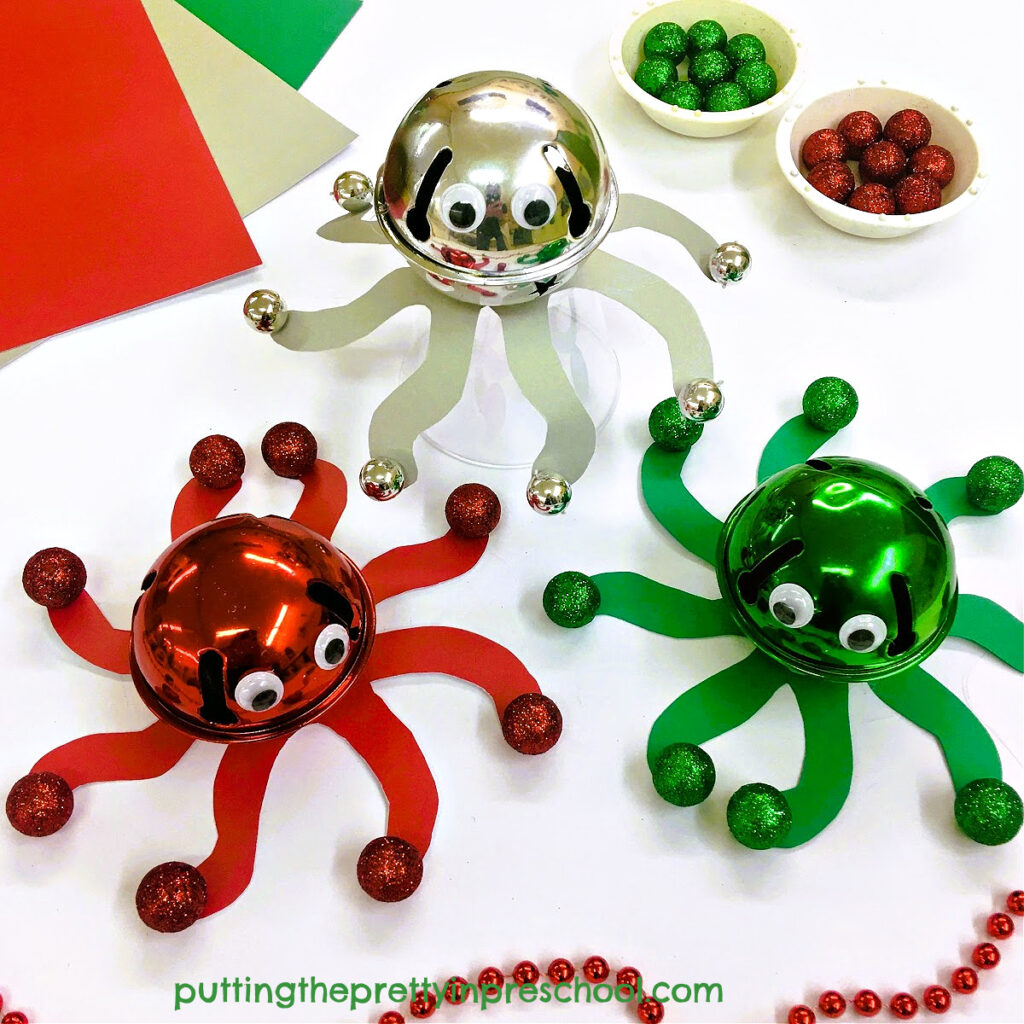
Finally, add two wiggly eyes to the jingle bell-themed octopus.
_______

Variations Of This Octopus Christmas Craft

Here are a few ways to vary the octopus craft to make it your own:

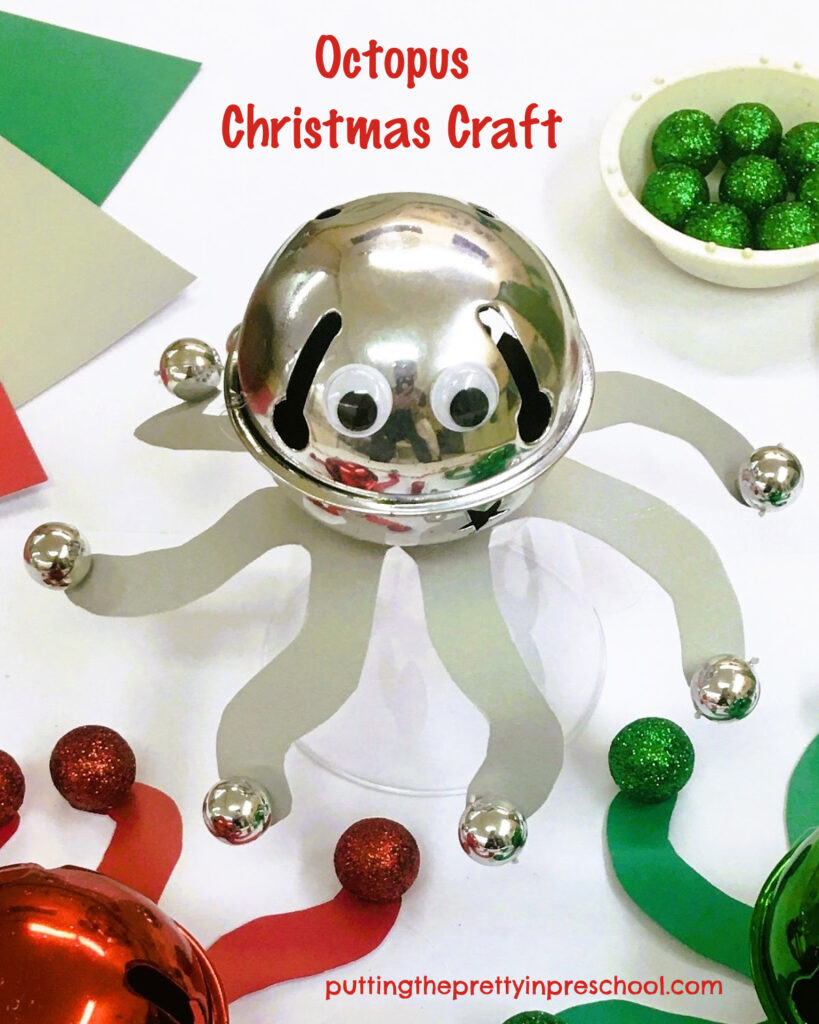
Instead of using a large jingle bell for the leggy craft, use a similarly-sized foam ball that has been spray-painted with red, green, or silver paint.

Rather than adhering small foam balls to the tips of the legs, glue on small jingle bells or large round beads cut from garland. Either of these will add a little weight to the octopus legs, allowing the metallic decoration to hang nicely when held.
_______

Each octopus Christmas craft can be made in two or three complementary colors instead of a monochrome palette.

_______

Christmas Octopus Craft Play

This jingle jangle Christmas craft is not just meant to look pretty sitting on a decorated mantle. Set the shiny octopuses out in a space your little learners can access. Tell them that this craft is a musical instrument, so should be handled gently. The wiggly-eyed octopuses will be moved around to different spots and your little charges will enjoy listening to their soft and gentle musical sounds.  
_______

The octopus Christmas craft also makes unique jingle bells for your little learners to use to accompany popular holiday songs such as Jingle Bells and Jingle Bells Rock.

_______

_______

December Kindness Activities Printable Set

A December Kindness Calendar and Kindness Jar are two activities to teach empathy and kindness at home or in the classroom. Download this gorgeous pastel holiday printable set of kindness activities in my Skills N Smiles Etsy Shop for a low-low price. You’ll have the December kindness activities ready in minutes!

_______

_______

More Christmas Crafts

Paper Airplane Christmas Craft

Spin Painting Poinsettia Craft

Paper Bag Christmas Ornaments

Monochromatic Christmas Tree Art

CD Case Christmas Craft

Christmas Sheep Craft

Washi Tape Christmas Pots

Handprint Angel Craft

Turtle Christmas Craft

Christmas Tree Art

Christmas Dove Art

Handprint Angel Christmas Keepsake

Woodland Fox Treat Holder

_______

[Read more…] about Octopus Christmas Craft
Tweet
Share
Share
Pin

Filed Under: Christmas, crafts, music, ocean, preschool, sensory Tagged With: Christmas crafts, musical instruments, octopus

Snowflake Reindeer Craft

December 21, 2023 by Annette Kaminsky Leave a Comment

Tweet
Share
Share
Pin

_______

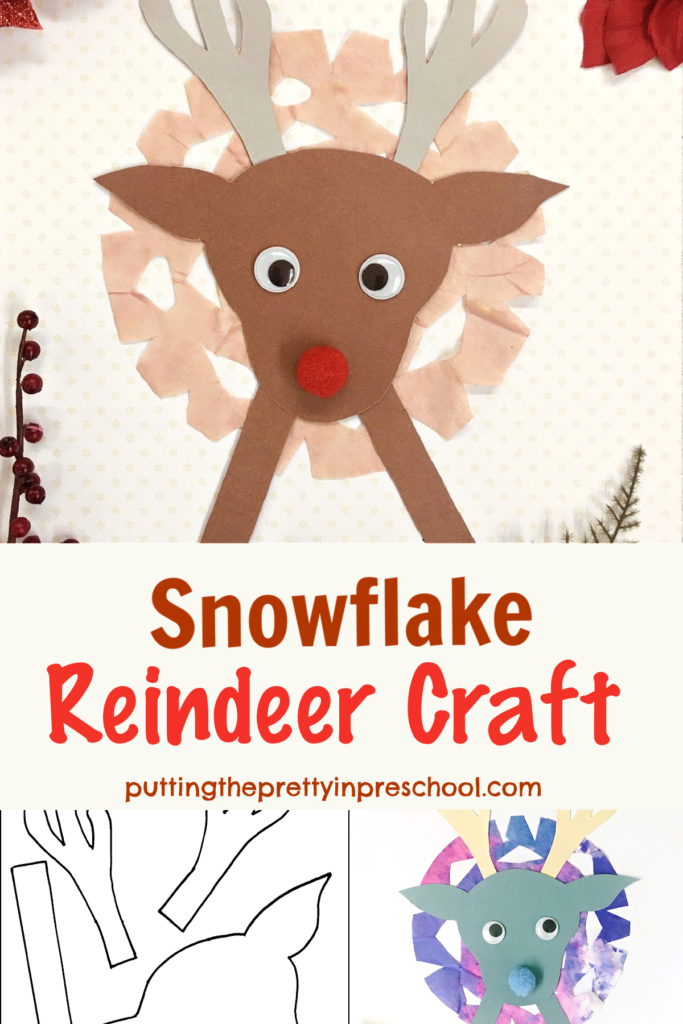
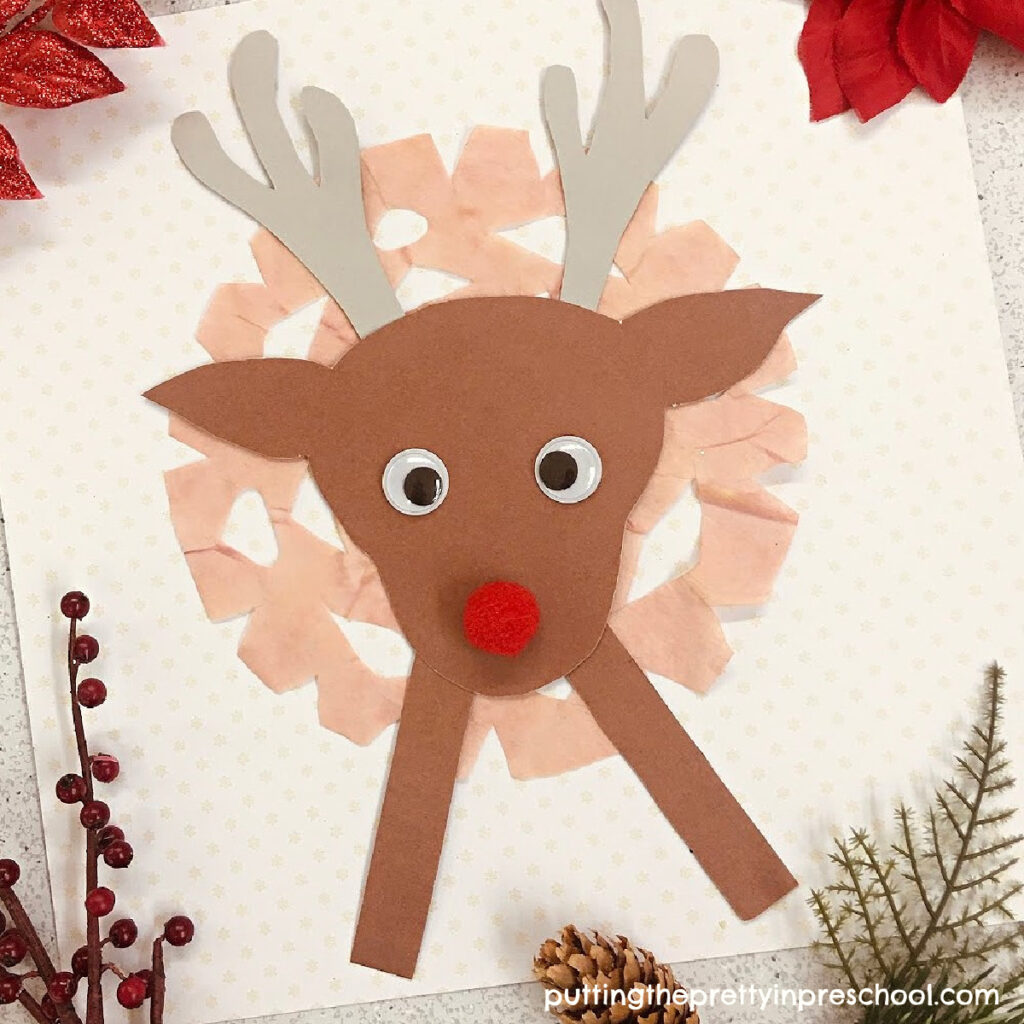
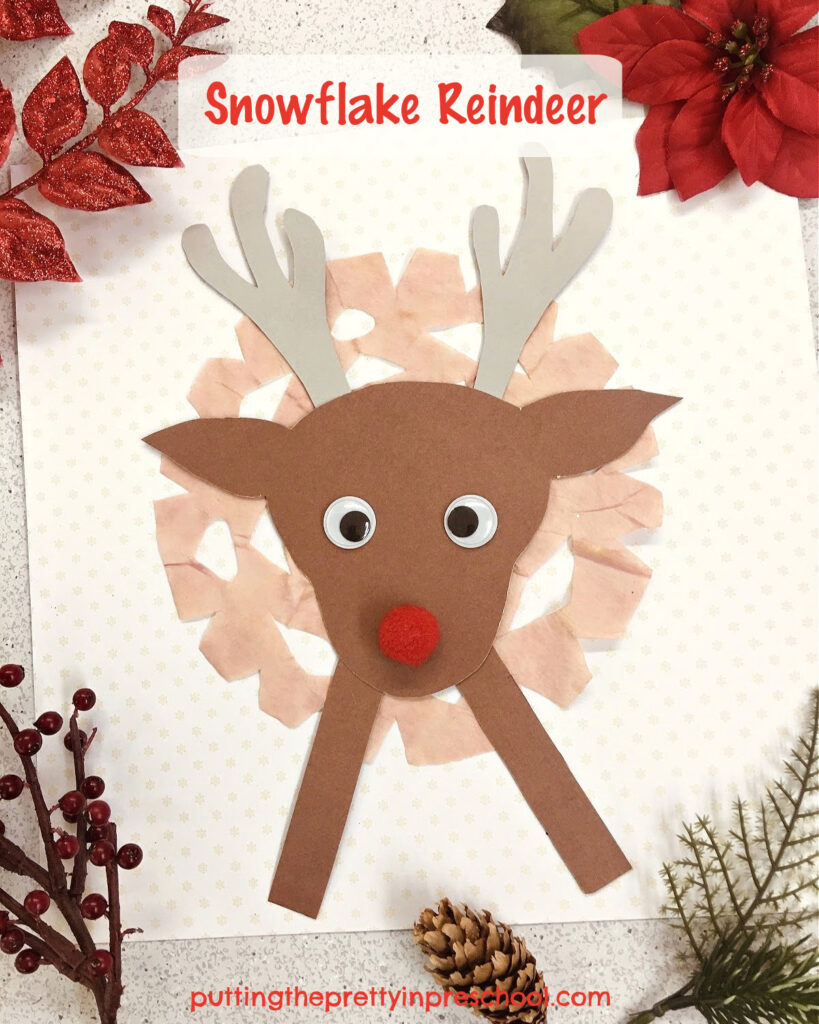
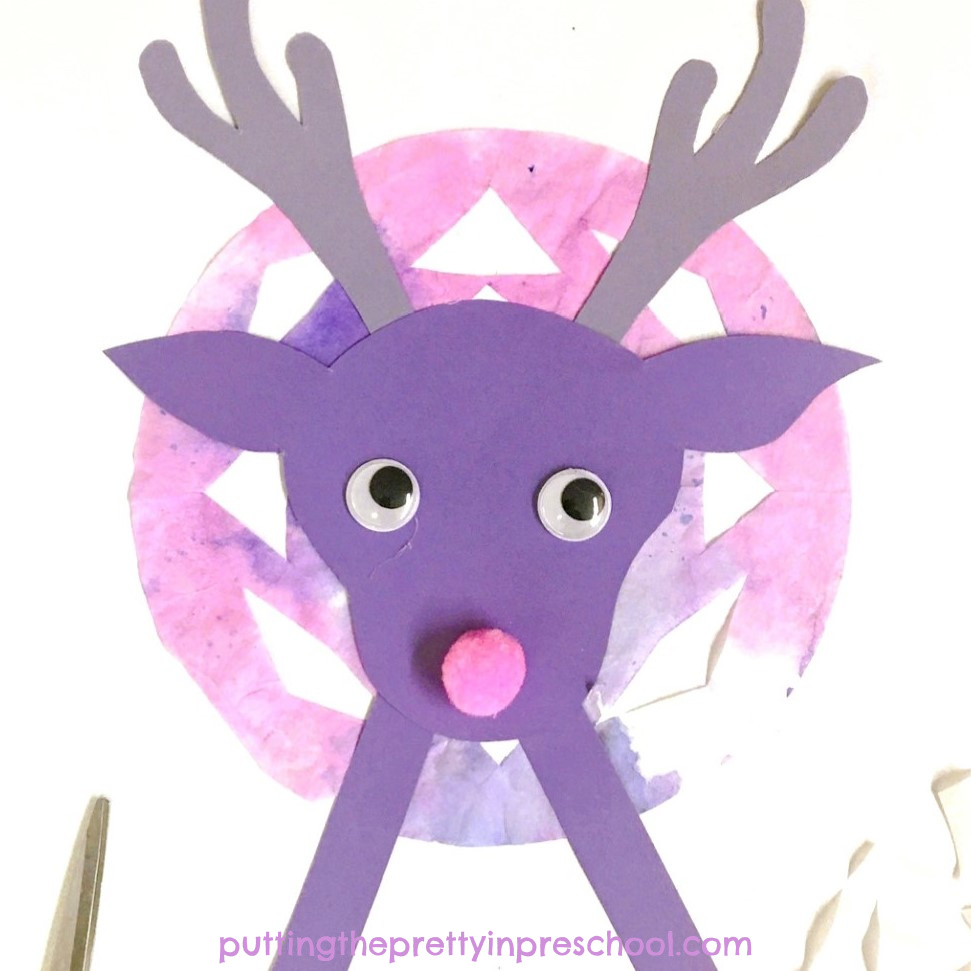
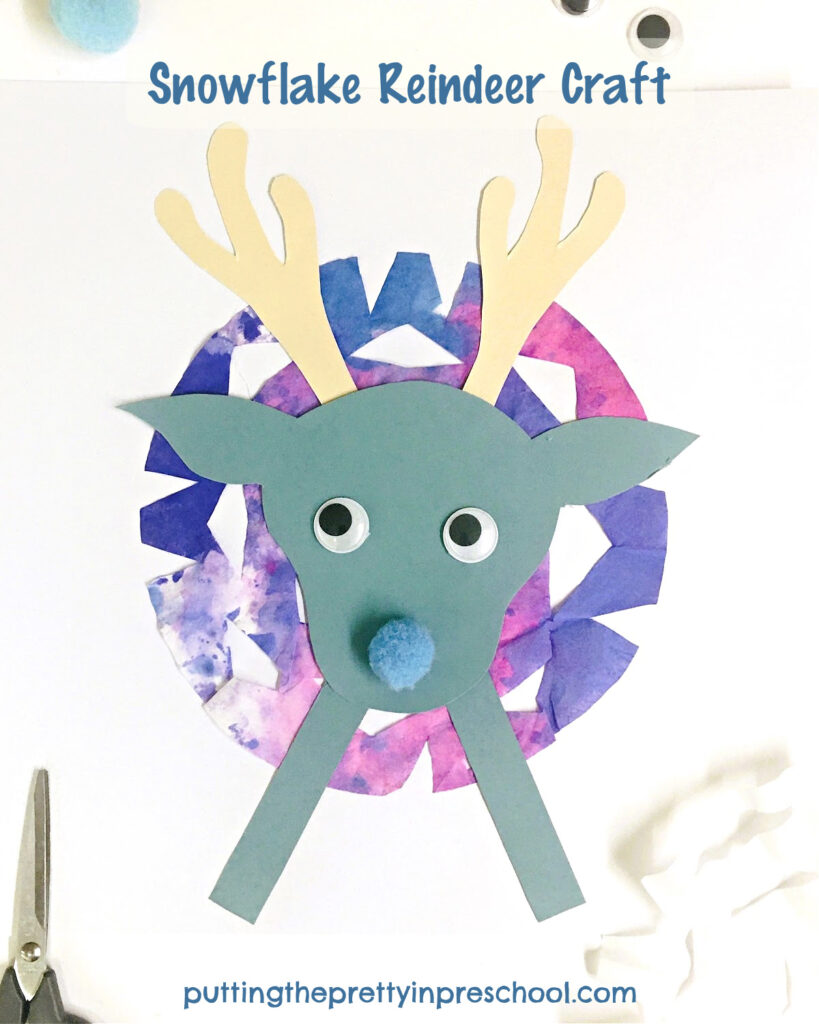
This snowflake reindeer craft is a fun Christmas one to include in your rotation of festive activities. It gives little learners a chance to use scissors and paint and help create an animal craft. Download the free printable to make this craft super easy to put together.

The original plan for this activity was to create a neutral snowflake reindeer paper craft. The neutral paper proved to be a little hard to cut into snowflakes, so my little charges moved on to cutting shapes from coffee filters instead. This led to painting them in pink, purple, and turquoise hues, not anywhere near actual reindeer colors. So we ended up making brown red-nosed reindeer, and others in turquoise, pink, and purple hues.

_______

Snowflake Reindeer Craft Supplies

_______

Gather the following supplies to make this cute snowflake reindeer craft:

  • round coffee filters
  • brown, pink, purple, and turquoise liquid watercolors or tempera paint blocks
  • paint pots
  • paintbrushes
  • brown, turquoise, purple, white, cream, and grey cardstock paper
  • red, pink, and teal pompoms
  • wiggly eyes
  • glue stick
  • white glue
  • scissors

_______

The Snowflake Reindeer Craft

To make the reindeer craft, start by having participants fold and cut coffee filters into snowflake designs. A lovely blog post by supermakeit.com shows how to create them.

Next, invite participants to paint a snowflake light brown, using liquid watercolor paint or tempera blocks made wet with water.

_______

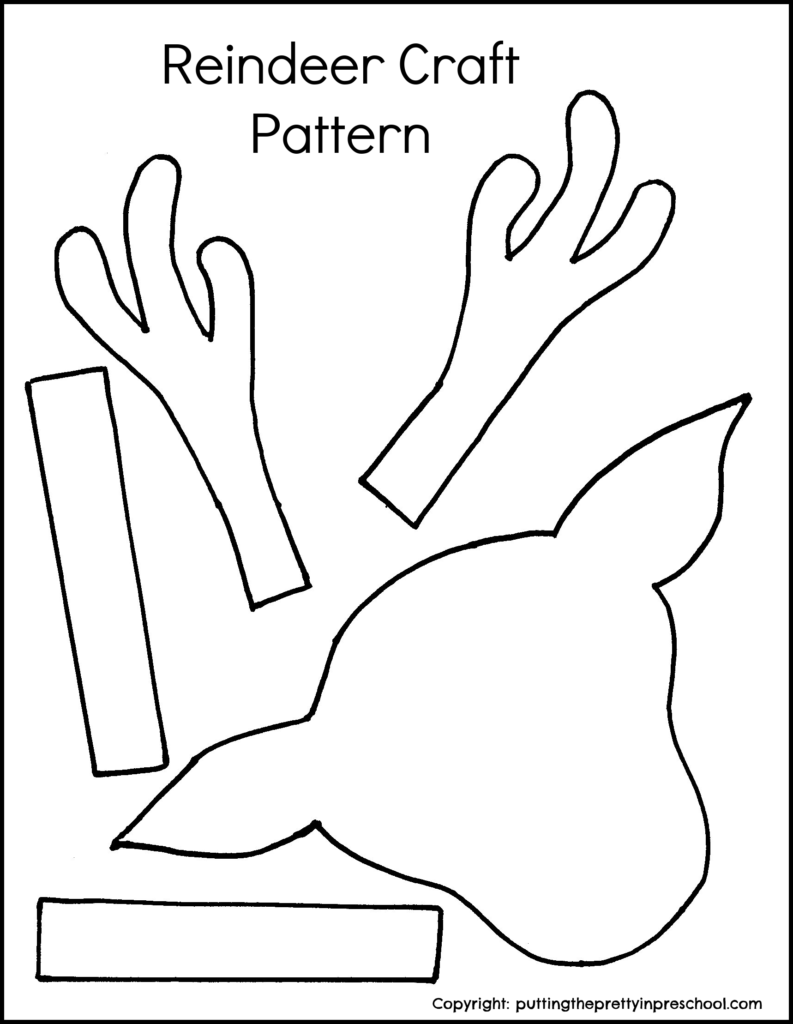
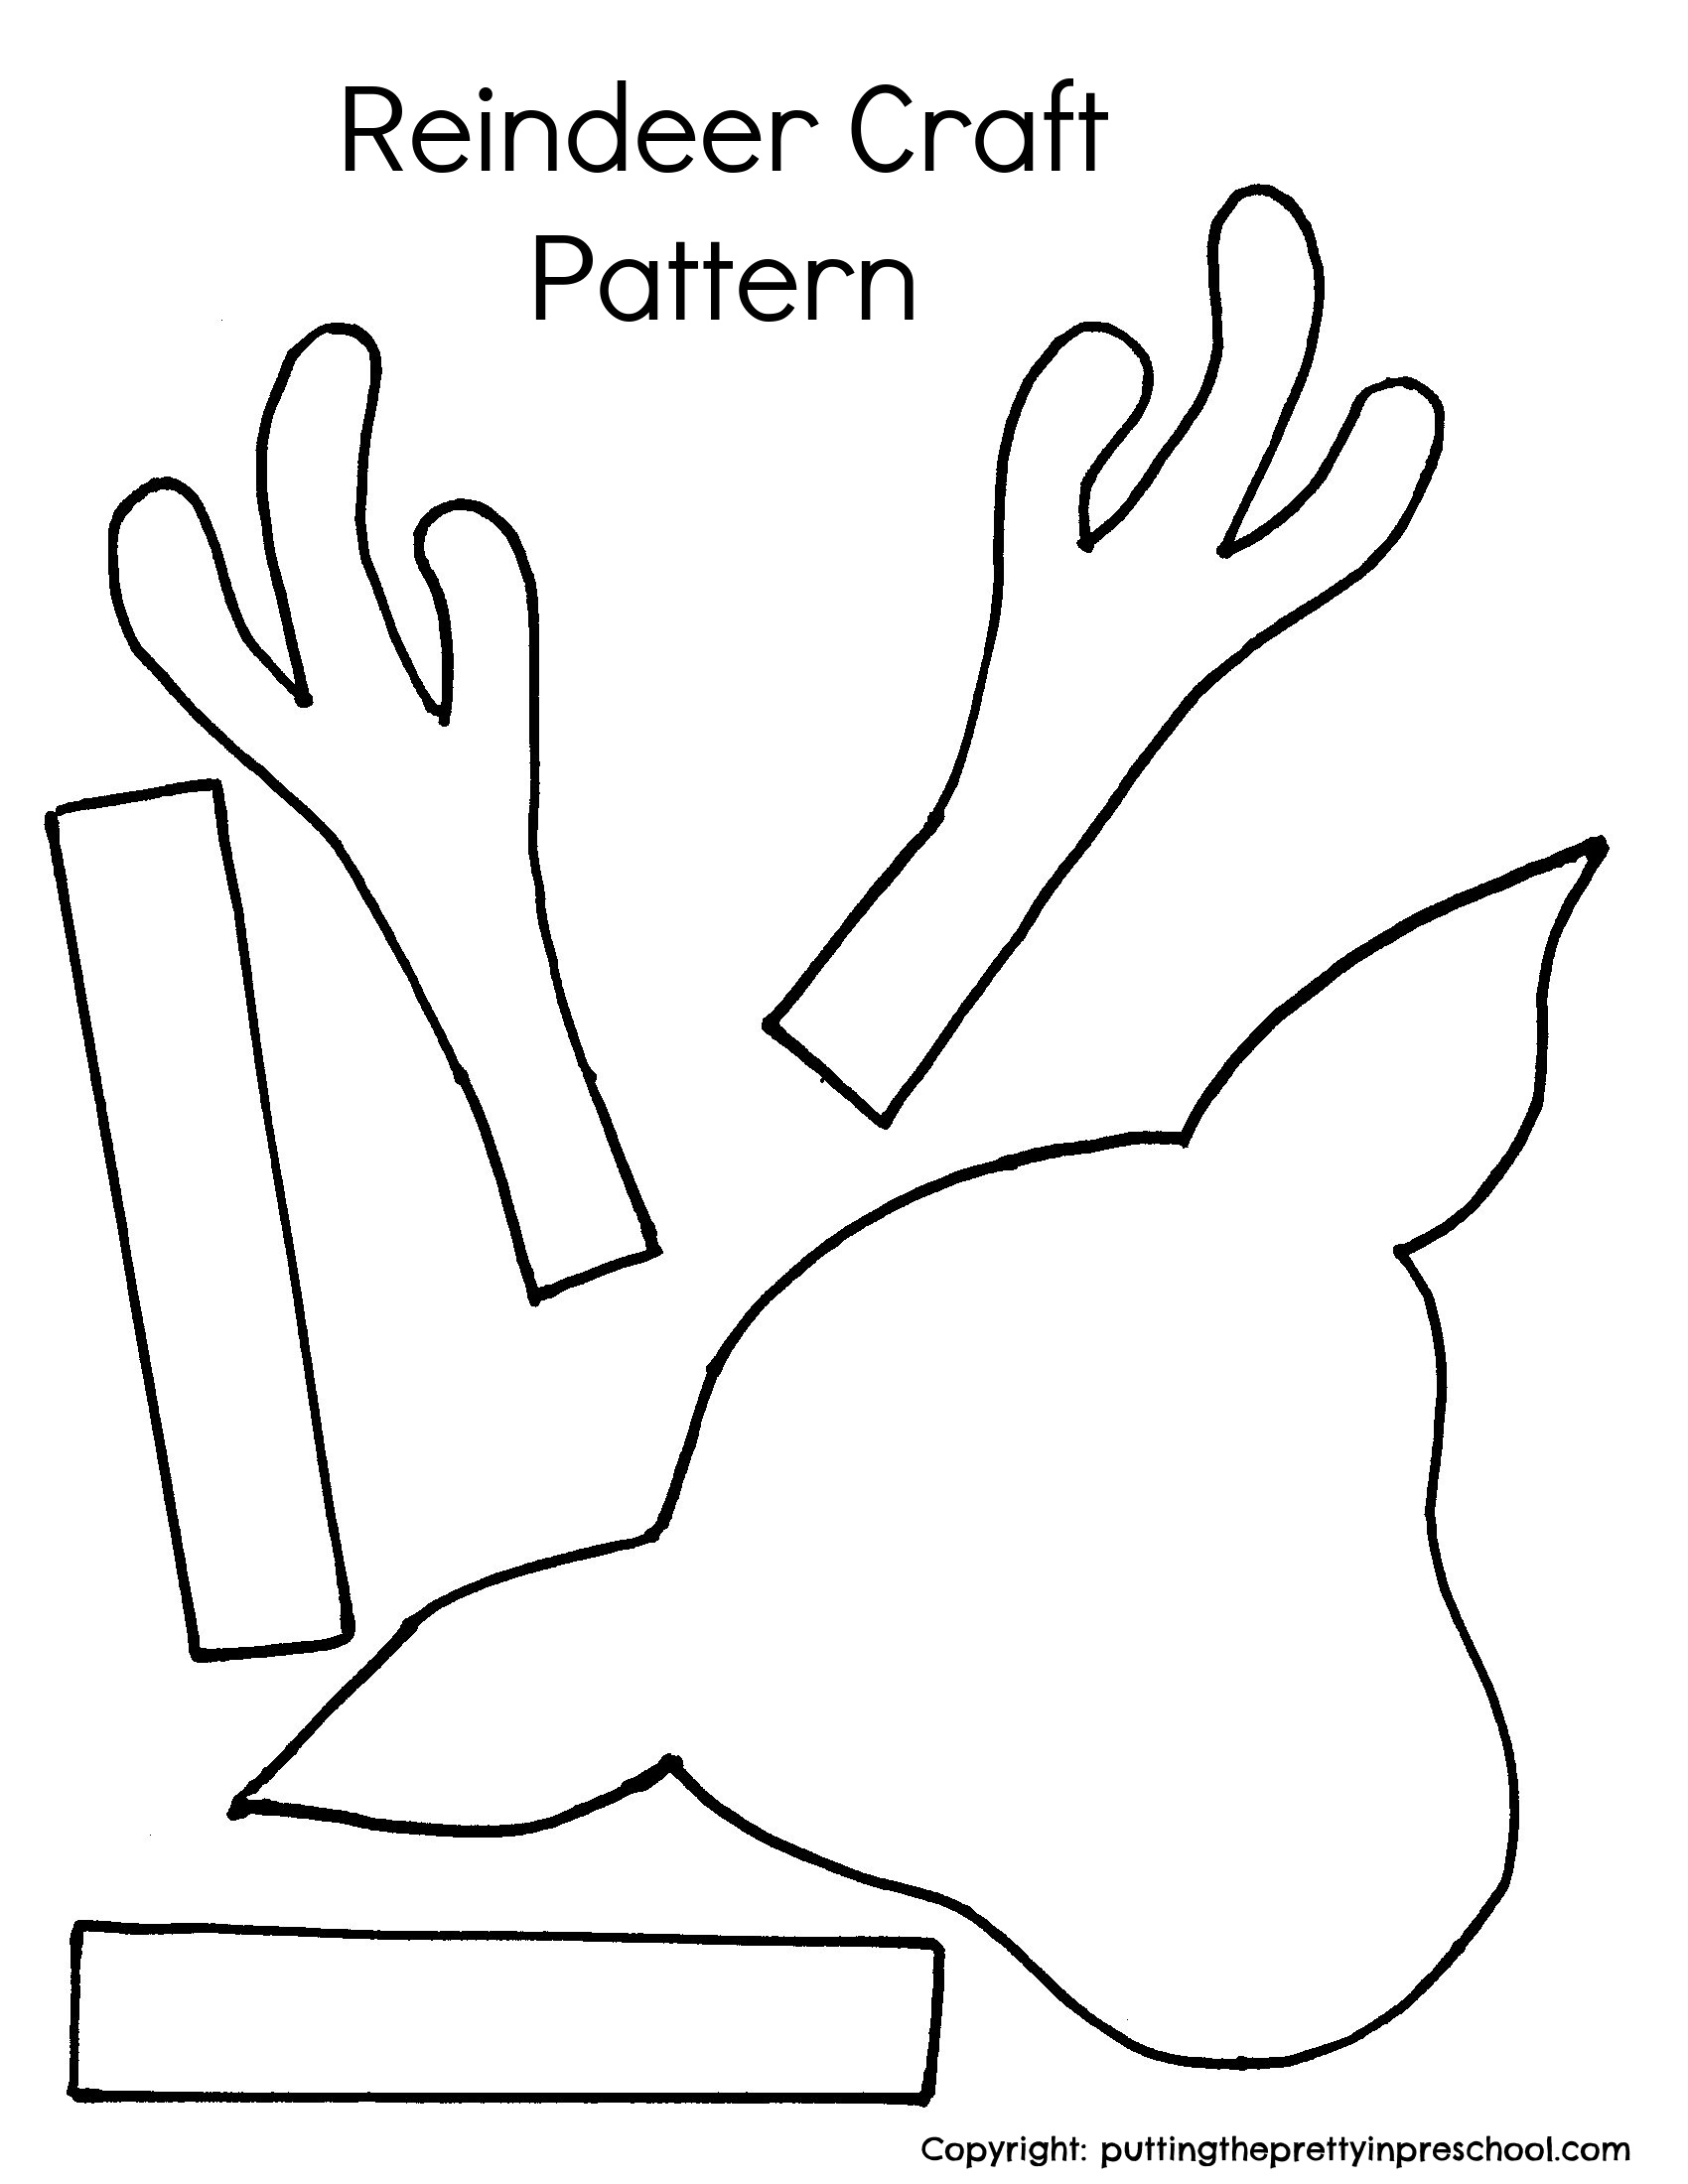
While the painted coffee filter snowflakes are drying, cut reindeer heads and legs from brown cardstock, and antlers from cream-colored cardstock. Older children can do this themselves. Feel free to download this pattern to make craft preparation easier.

_______

Reindeer Craft PatternDownload

This printable is for individual or one classroom use only.

_______

Afterward, have participants use a glue stick to adhere their decorated snowflake to the center of 8 ½ x 11-inch or 12-inch x 12-inch cardstock paper.

Then guide them in using their glue stick to tack on the reindeer’s head, antlers, and legs.

Finally, have them use white glue to adhere two wiggly eyes and a red pompom nose to their reindeer.

_______

In addition to having children paint snowflakes in a neutral hue, set out a few other paint colors. Purple, pink, and turquoise are good color choices for painting them. Offer complementary-colored cardstock for the reindeer heads, antlers, noses, and legs.

_______

More Christmas Crafts

Paper Airplane Christmas Craft

Spin Painting Poinsettia Craft

Paper Bag Christmas Ornaments

Monochromatic Christmas Tree Art

CD Case Christmas Craft

Christmas Sheep Craft

Washi Tape Christmas Pots

Handprint Angel Craft

Turtle Christmas Craft

Christmas Tree Art

Christmas Dove Art

Handprint Angel Christmas Keepsake

Woodland Fox Treat Holder

_______

[Read more…] about Snowflake Reindeer Craft
Tweet
Share
Share
Pin

Filed Under: art, Christmas, crafts, preschool, winter Tagged With: coffee filters, painting, paper crafts, reindeer, scissor skills, snowflakes

Paper Airplane Christmas Craft

December 18, 2023 by Annette Kaminsky Leave a Comment

Tweet
Share
Share
Pin

_______

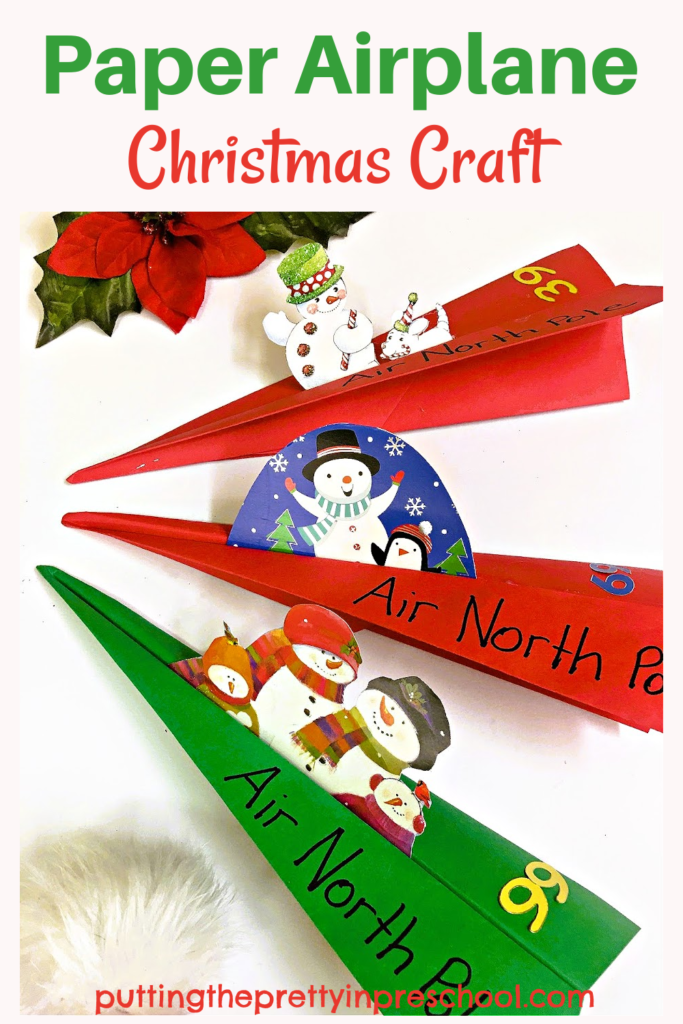
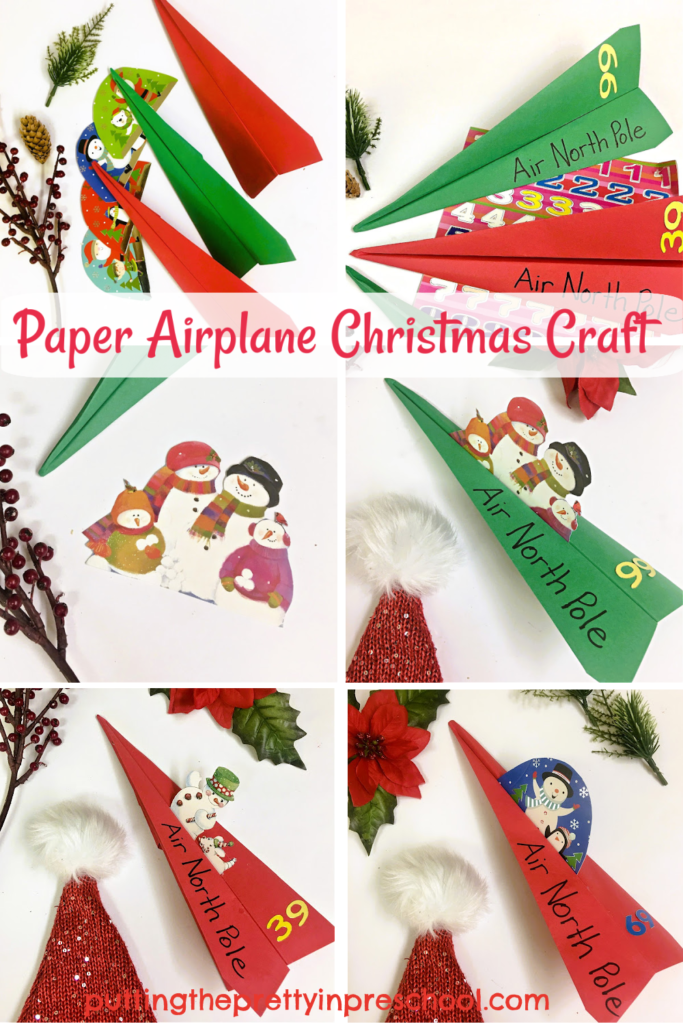
Children tend to get more and more energetic during the countdown to Christmas, and this paper airplane Christmas craft is bound to put some of that boundless energy to productive use. With the holiday airplane, children can transport paper passengers to the North Pole and back…so fun!

_______

Follow me on Pinterest for more early learning ideas.

_______

Supplies To Collect

Gather the following supplies for this Christmas air transportation craft:

  • red and green copy paper
  • recycled Christmas or gift cards
  • number stickers
  • scissors
  • glue stick or glue gun
  • black marker

_______

The Paper Airplane Christmas Craft

_______

To make the craft, fold 8 ½ x 11- inch pieces of red and green copy paper into airplanes. I picked a basic model for the craft. HGTV has a great blog post titled “How To Make A Paper Airplane” detailing how to design it and craft a few other unique airplane styles.

_______

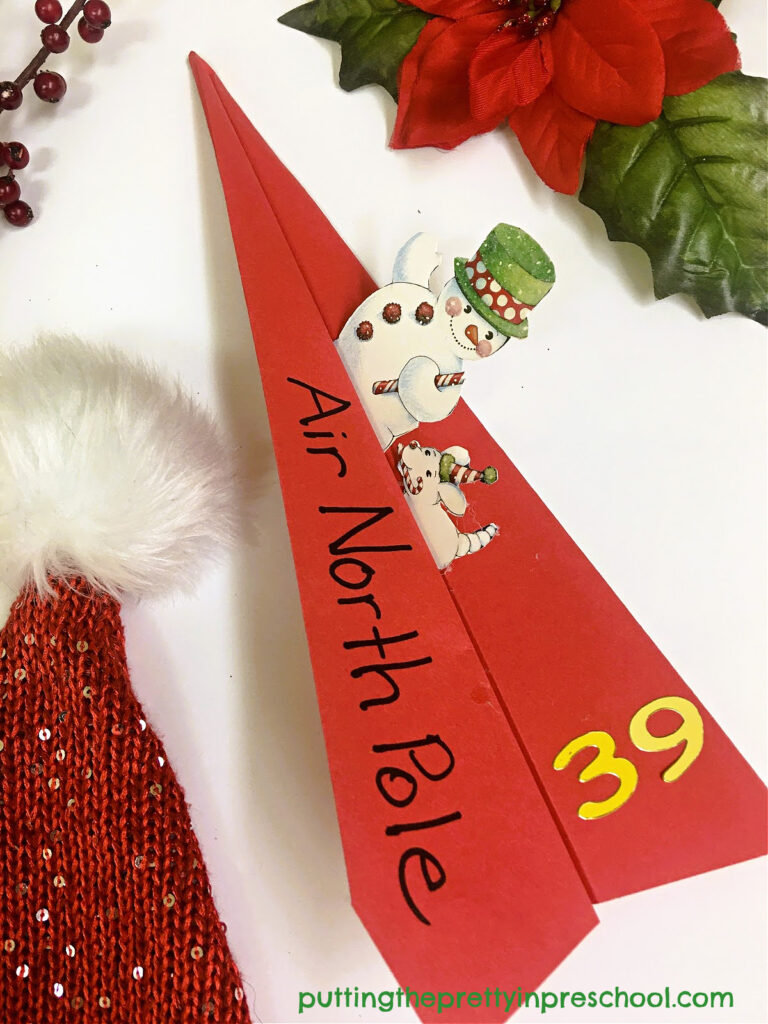
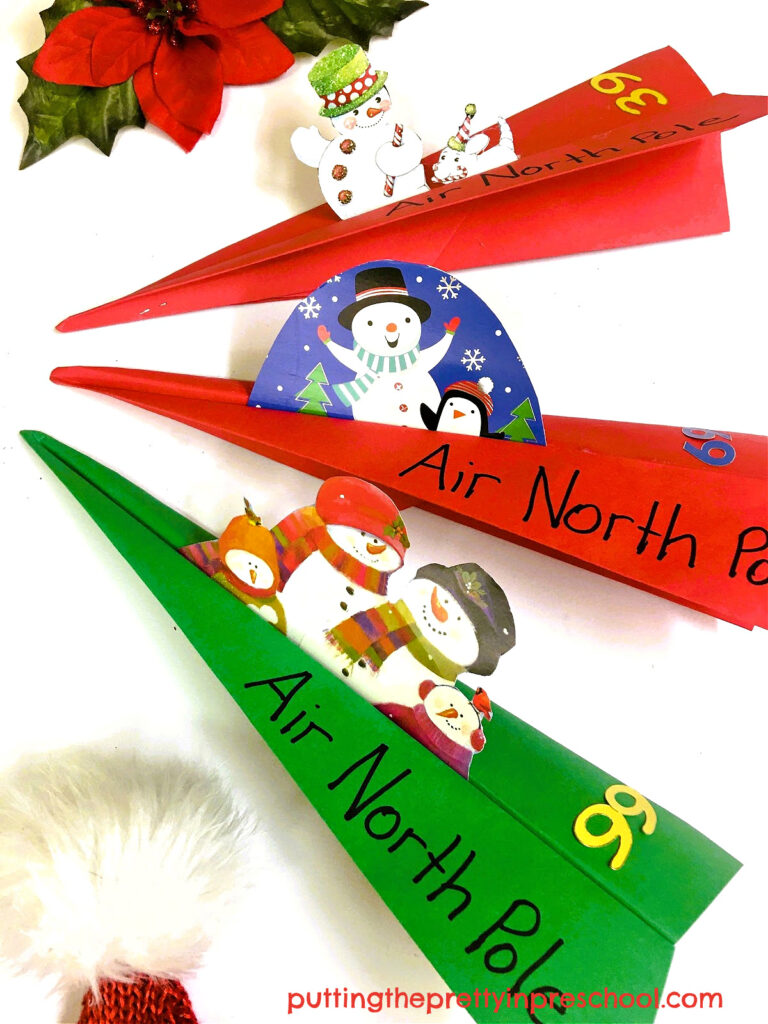
Then, select recycled Christmas or gift cards with animal or snowman characters and cut around them. A cardstock Santa would be fun to include too.

Next, use a glue stick or glue gun to affix the cutouts in the middle of Christmas planes. Then add more glue in spots that keep the airplanes folded together. As an alternative, use tape to secure the folded paper into airplane shapes.

Afterward, using a black marker, write the name of a North Pole airline on one side of the airplanes, and add number stickers to the other side. Or use the marker for the numbers too.

_______

Now the Christmas airplanes are ready to be tested in a flight. Little aviators can see how high, far, and fast their airplane can fly.

_______

Variations of the Paper Airplane Christmas Craft

Here are two variations of this festive airliner craft:

  • Use thin Christmas-themed double-sided scrapbook paper for the airplanes. This is an easy way to add color and pattern to the craft.
  • Use photo cutouts of your child and his friends to insert into the plane instead of animals, snowmen, and Santas.               

_______

_______

December Kindness Activities Printable Set

A December Kindness Calendar and Kindness Jar are two activities to teach empathy and kindness at home or in the classroom. Download this gorgeous pastel holiday printable set of kindness activities in my Skills N Smiles Etsy Shop for a low-low price. You’ll have the December kindness activities ready in minutes!

_______

_______

More Christmas Crafts:

Spin Painting Poinsettia Craft

Paper Bag Christmas Ornaments

Monochromatic Christmas Tree Art

CD Case Christmas Craft
Christmas Sheep Craft

Washi Tape Christmas Pots

Handprint Angel Craft

Turtle Christmas Craft
Christmas Tree Art

Christmas Dove Art

Handprint Angel Christmas Keepsake

Woodland Fox Treat Holder

_______

[Read more…] about Paper Airplane Christmas Craft
Tweet
Share
Share
Pin

Filed Under: Christmas, crafts, preschool, pretend play Tagged With: airplanes, paper crafts, recycled cards

Spin Painting Poinsettia Craft

December 17, 2023 by Annette Kaminsky Leave a Comment

Tweet
Share
Share
Pin

_______

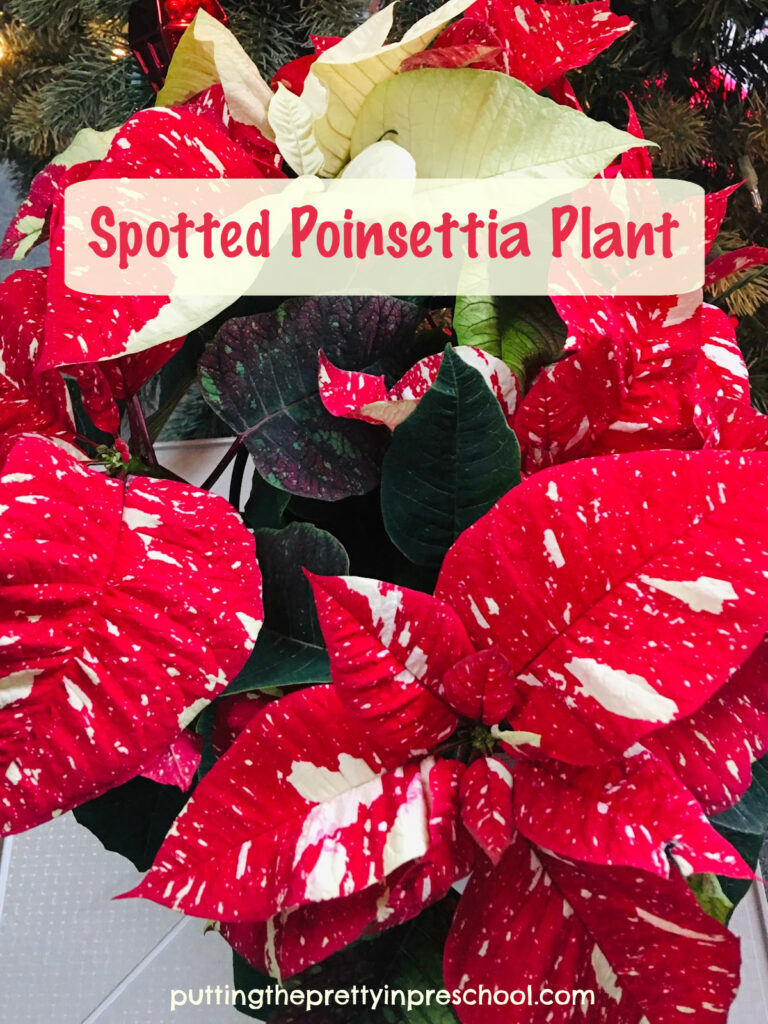
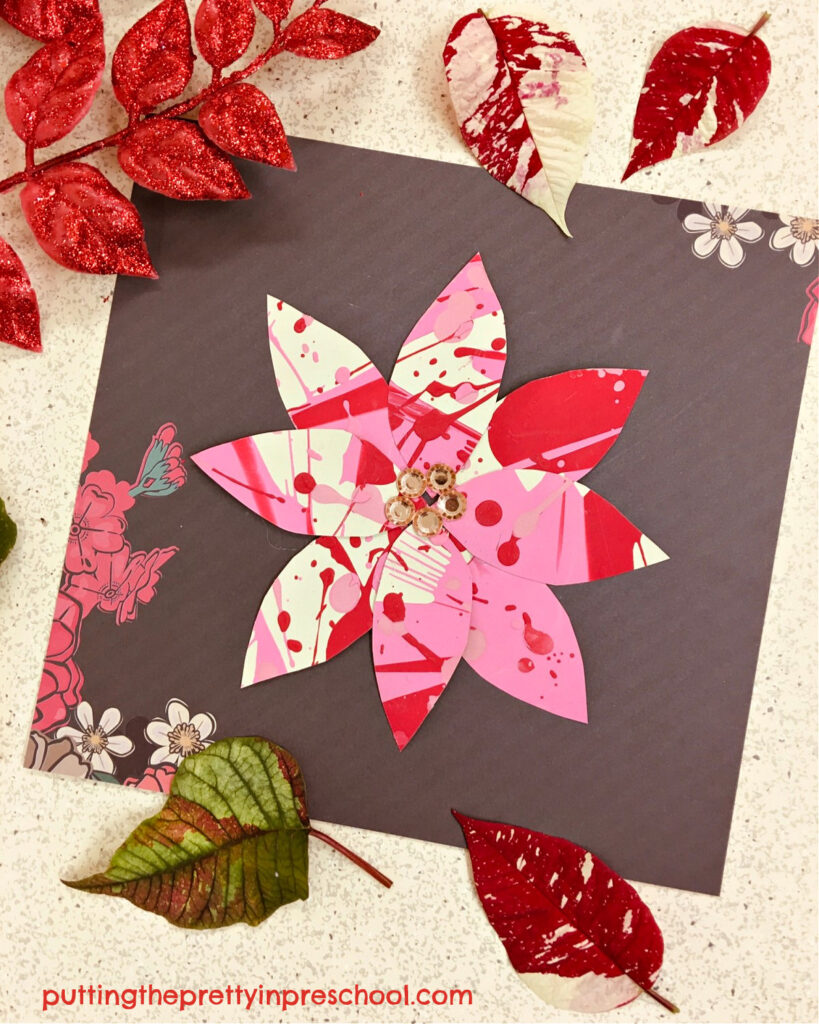
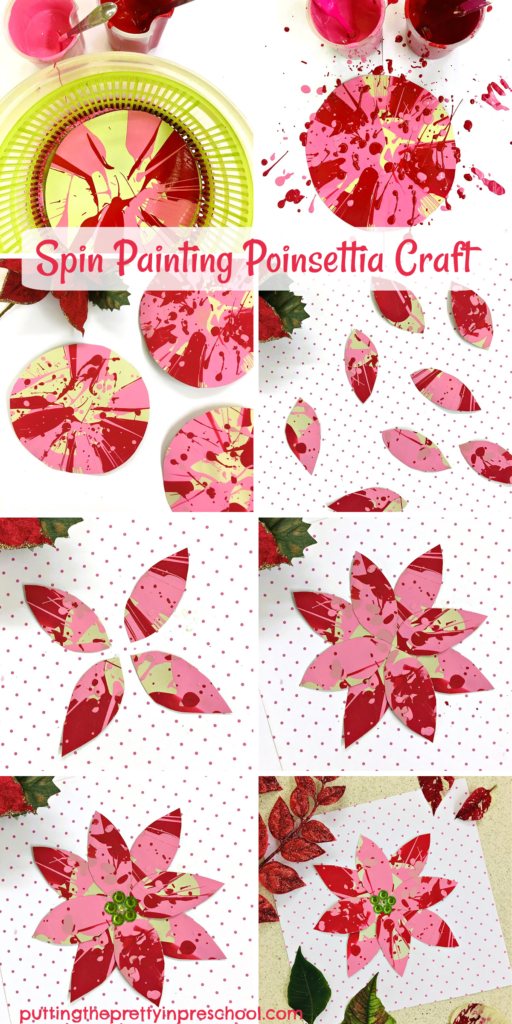
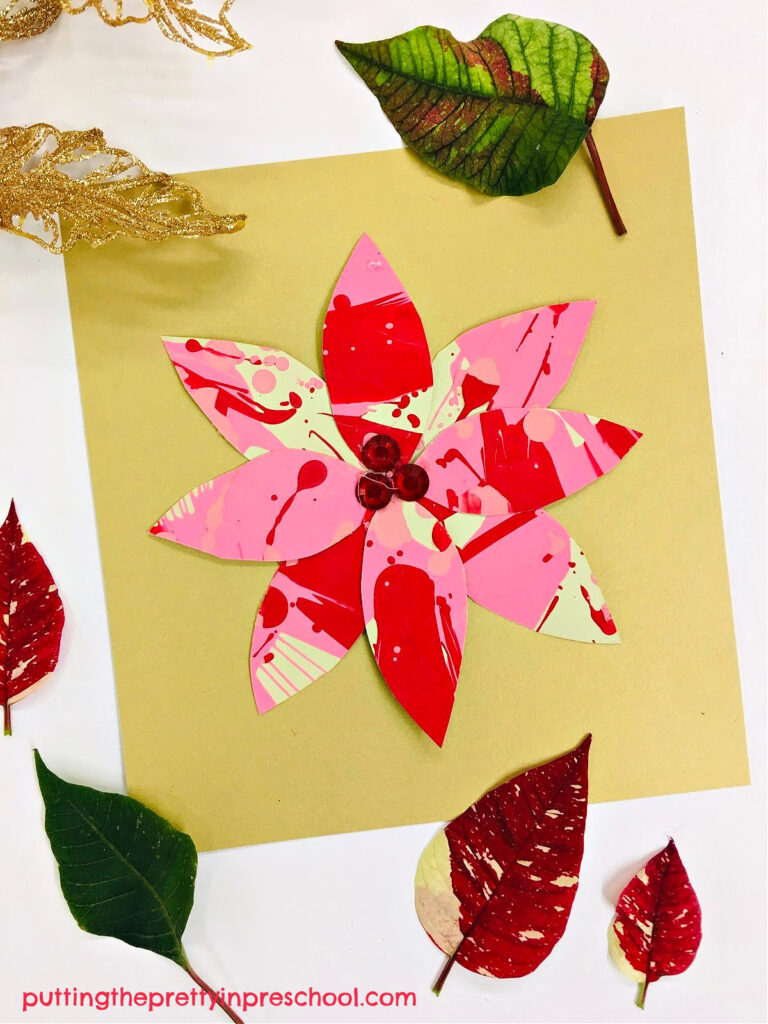
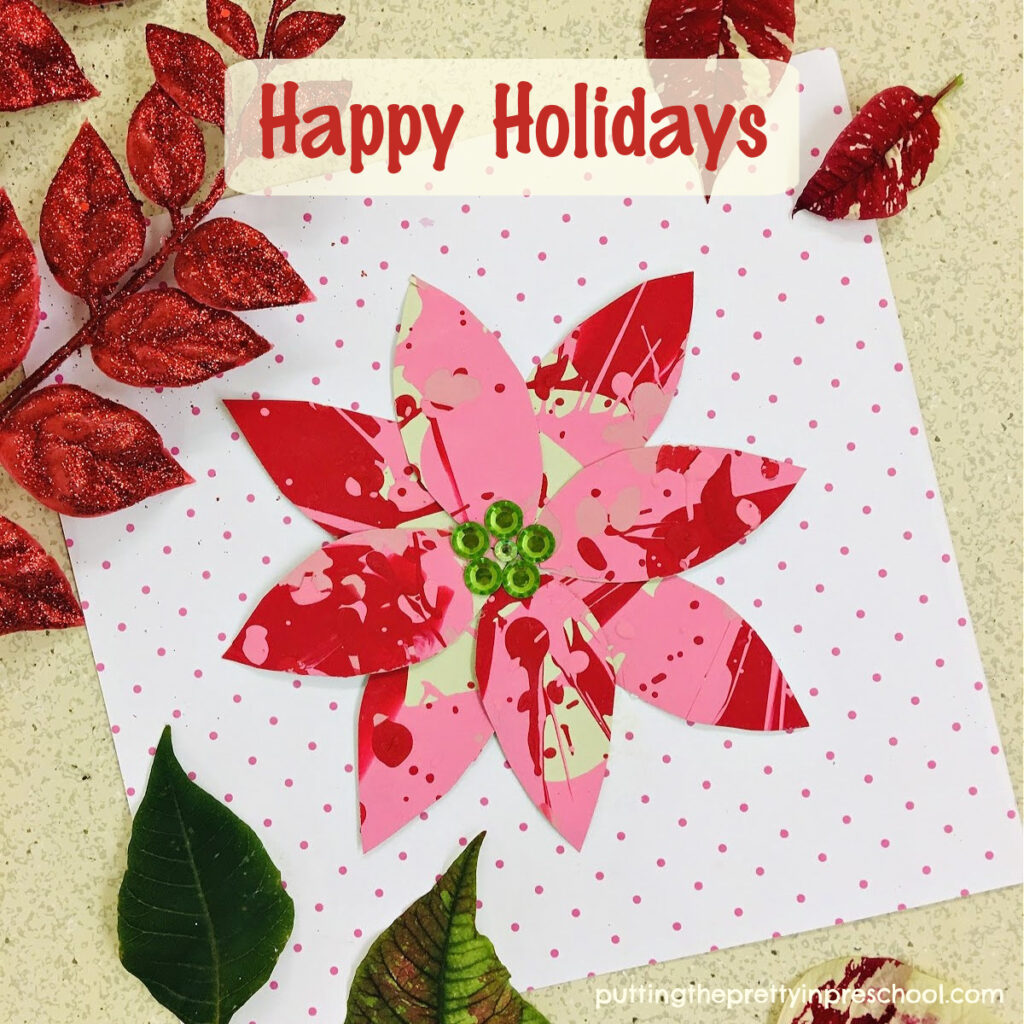
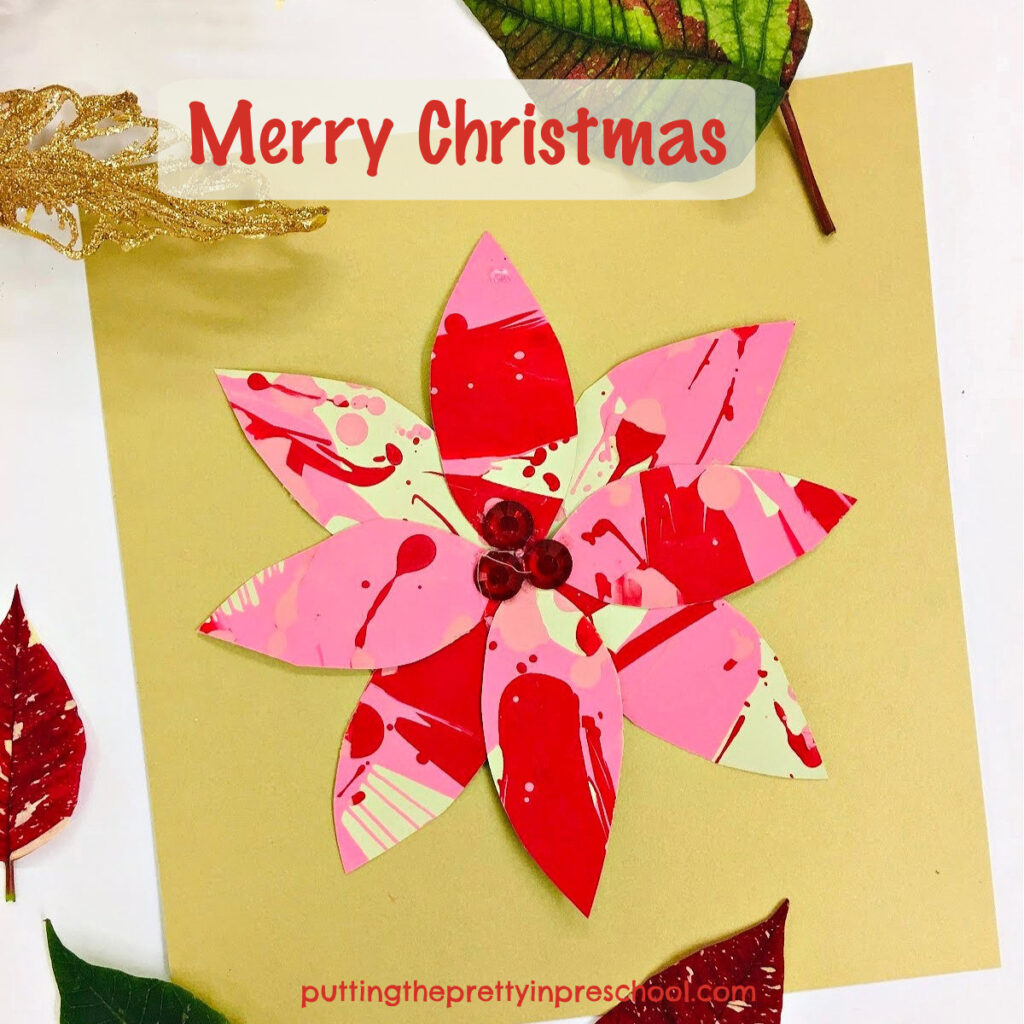
Gorgeous new poinsettia varieties have been developed in recent years, and this spin painting poinsettia craft is based on a spotted poinsettia newcomer. Native to Mexico, poinsettias are prevalent during the Christmas season, and this craft is a beautiful way to include them. The craft gives children an opportunity to participate in two well-loved process art activities: spin painting and spatter painting.

_______

Follow me on Pinterest for more early learning ideas.

_______

Supplies To Collect

Just a few supplies are needed for this simple speckled poinsettia craft:

  • pale green or creamy white cardstock paper
  • decorative cardstock paper
  • red and pink tempera paint
  • paint pots and spoons
  • old toothbrushes
  • salad spinner
  • scissors and pencil
  • glue stick or glue gun
  • adhesive gem stickers
  • art tablecloth

_______

_______

Starting The Spin Painting Poinsettia Craft

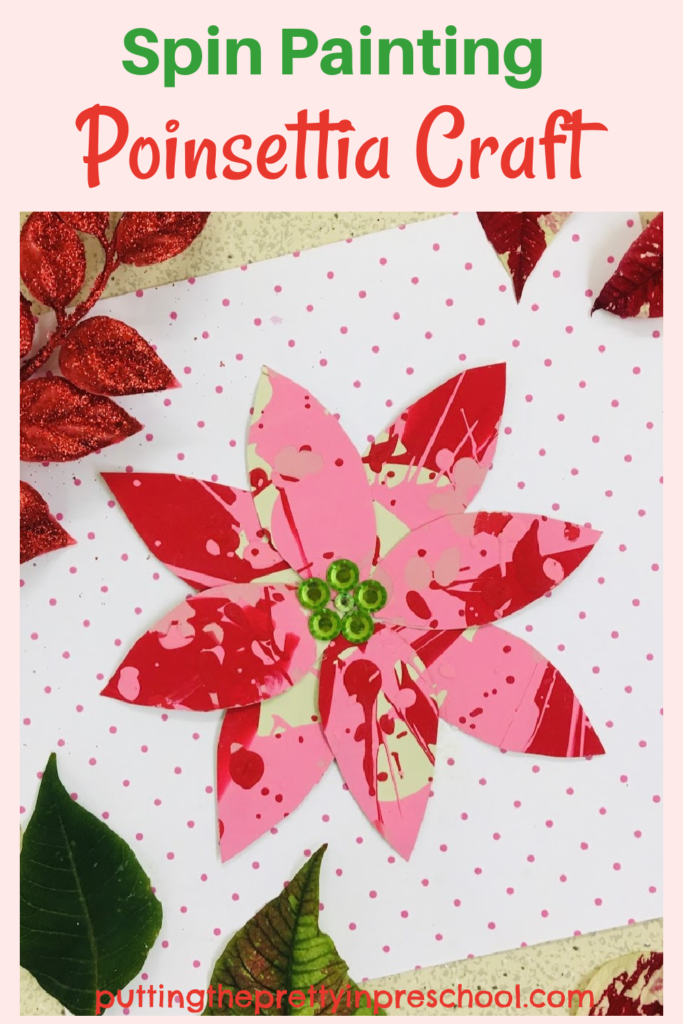
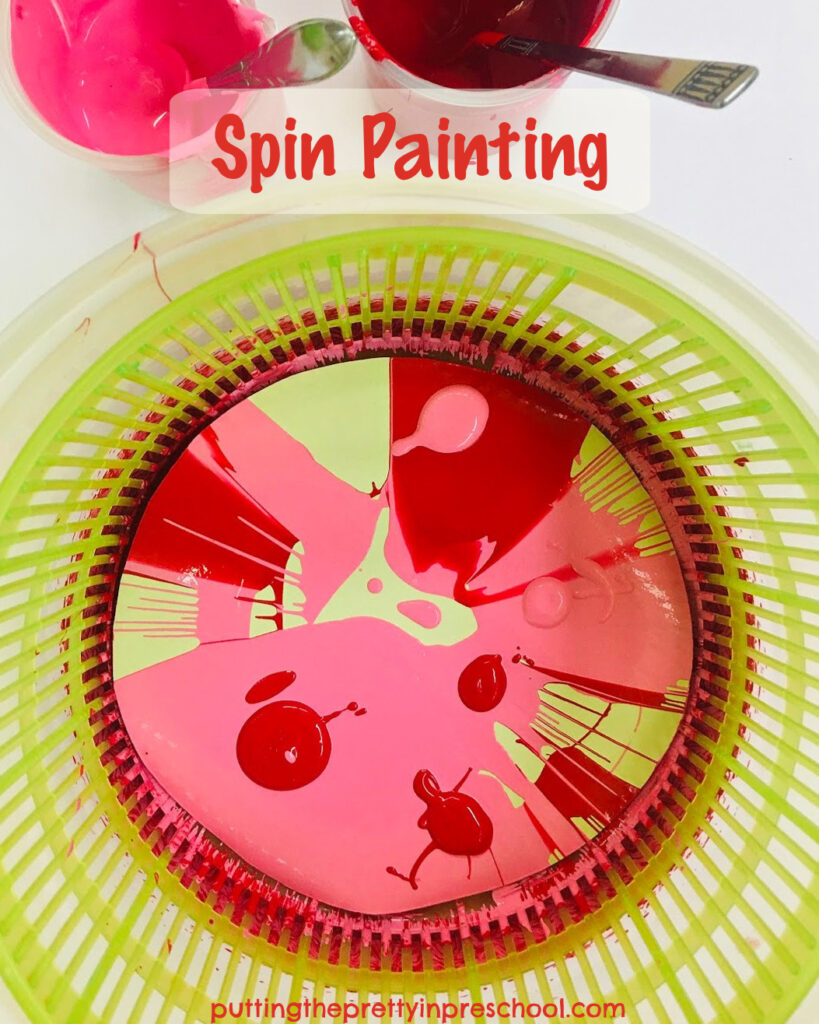
To make this beautiful spin painting poinsettia craft, start by cutting a circle from pale green or creamy white cardstock. It should fit just inside the bottom of your salad spinner basket.

Next, place the circle at the bottom of the salad spinner. On a table covered with an art tablecloth, use spoons to drop in red and pink tempera paint.

Tip: If you do not have pink tempera paint, mix a little white tempera into a pot of red and you’ll have a nice pink color to use.

Give the salad spinner a good spin and take a peek. You can choose to add more spoonfuls of paint if you wish and give it another spin.

_______

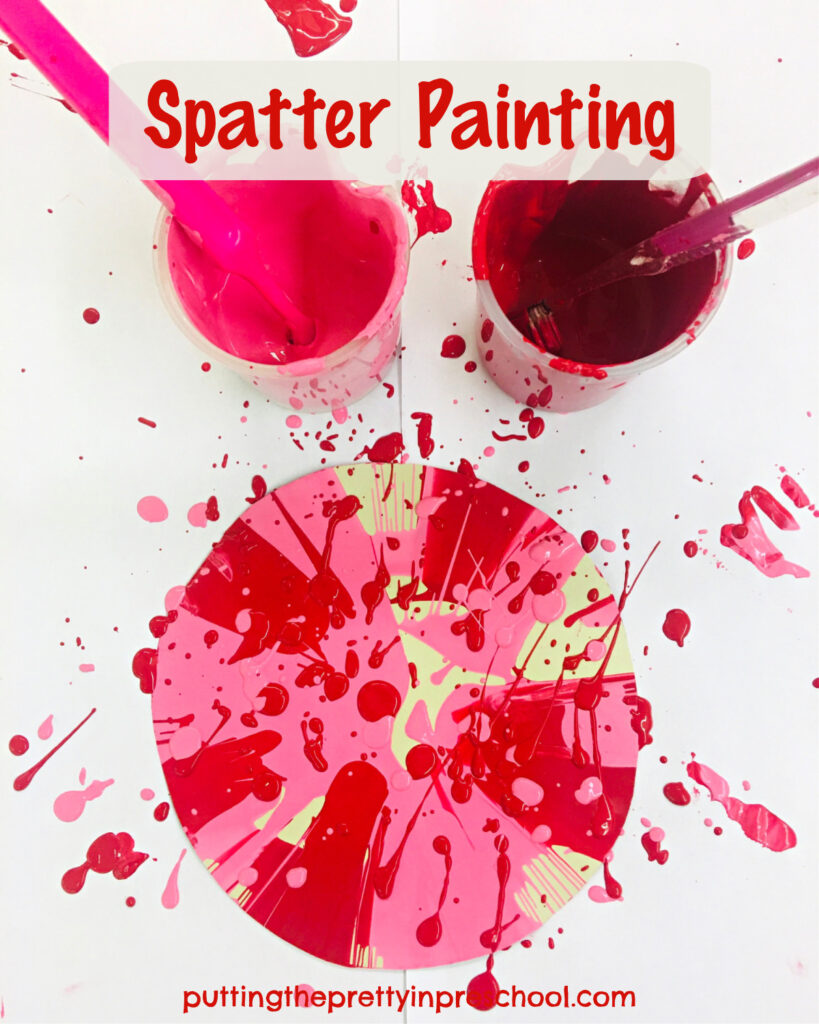
Afterward, take the paint-filled circle out of the spinner and spatter pink and red paint on it using toothbrushes. Then let the process art project thoroughly dry.

_______

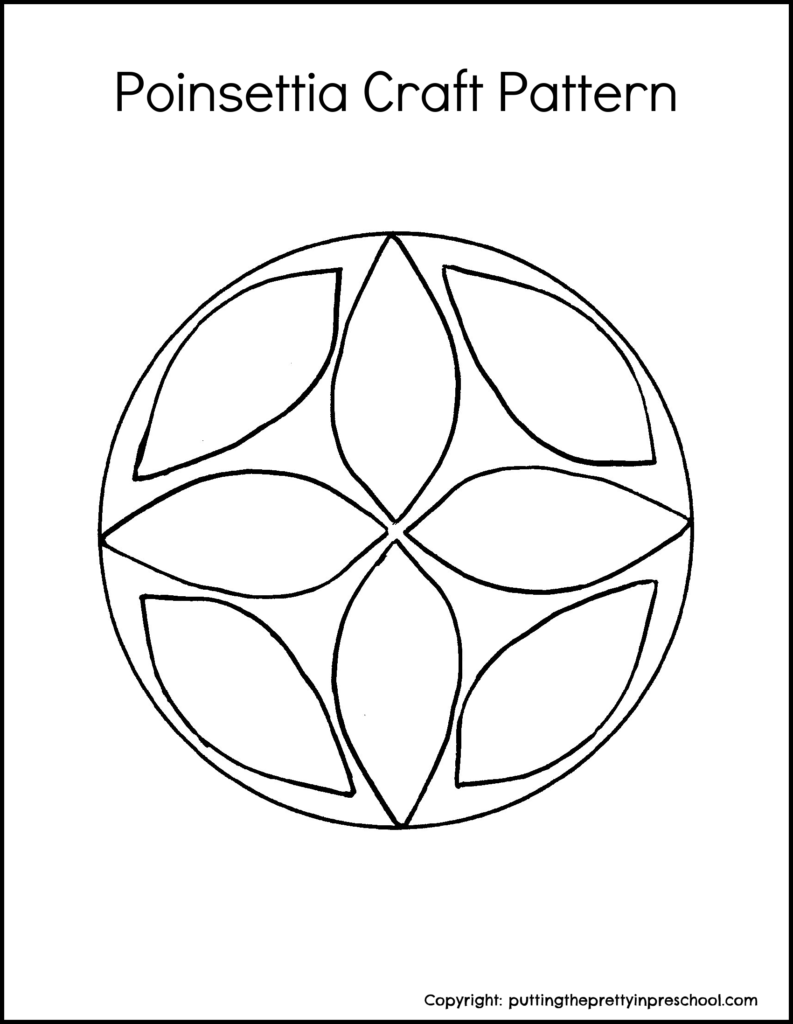
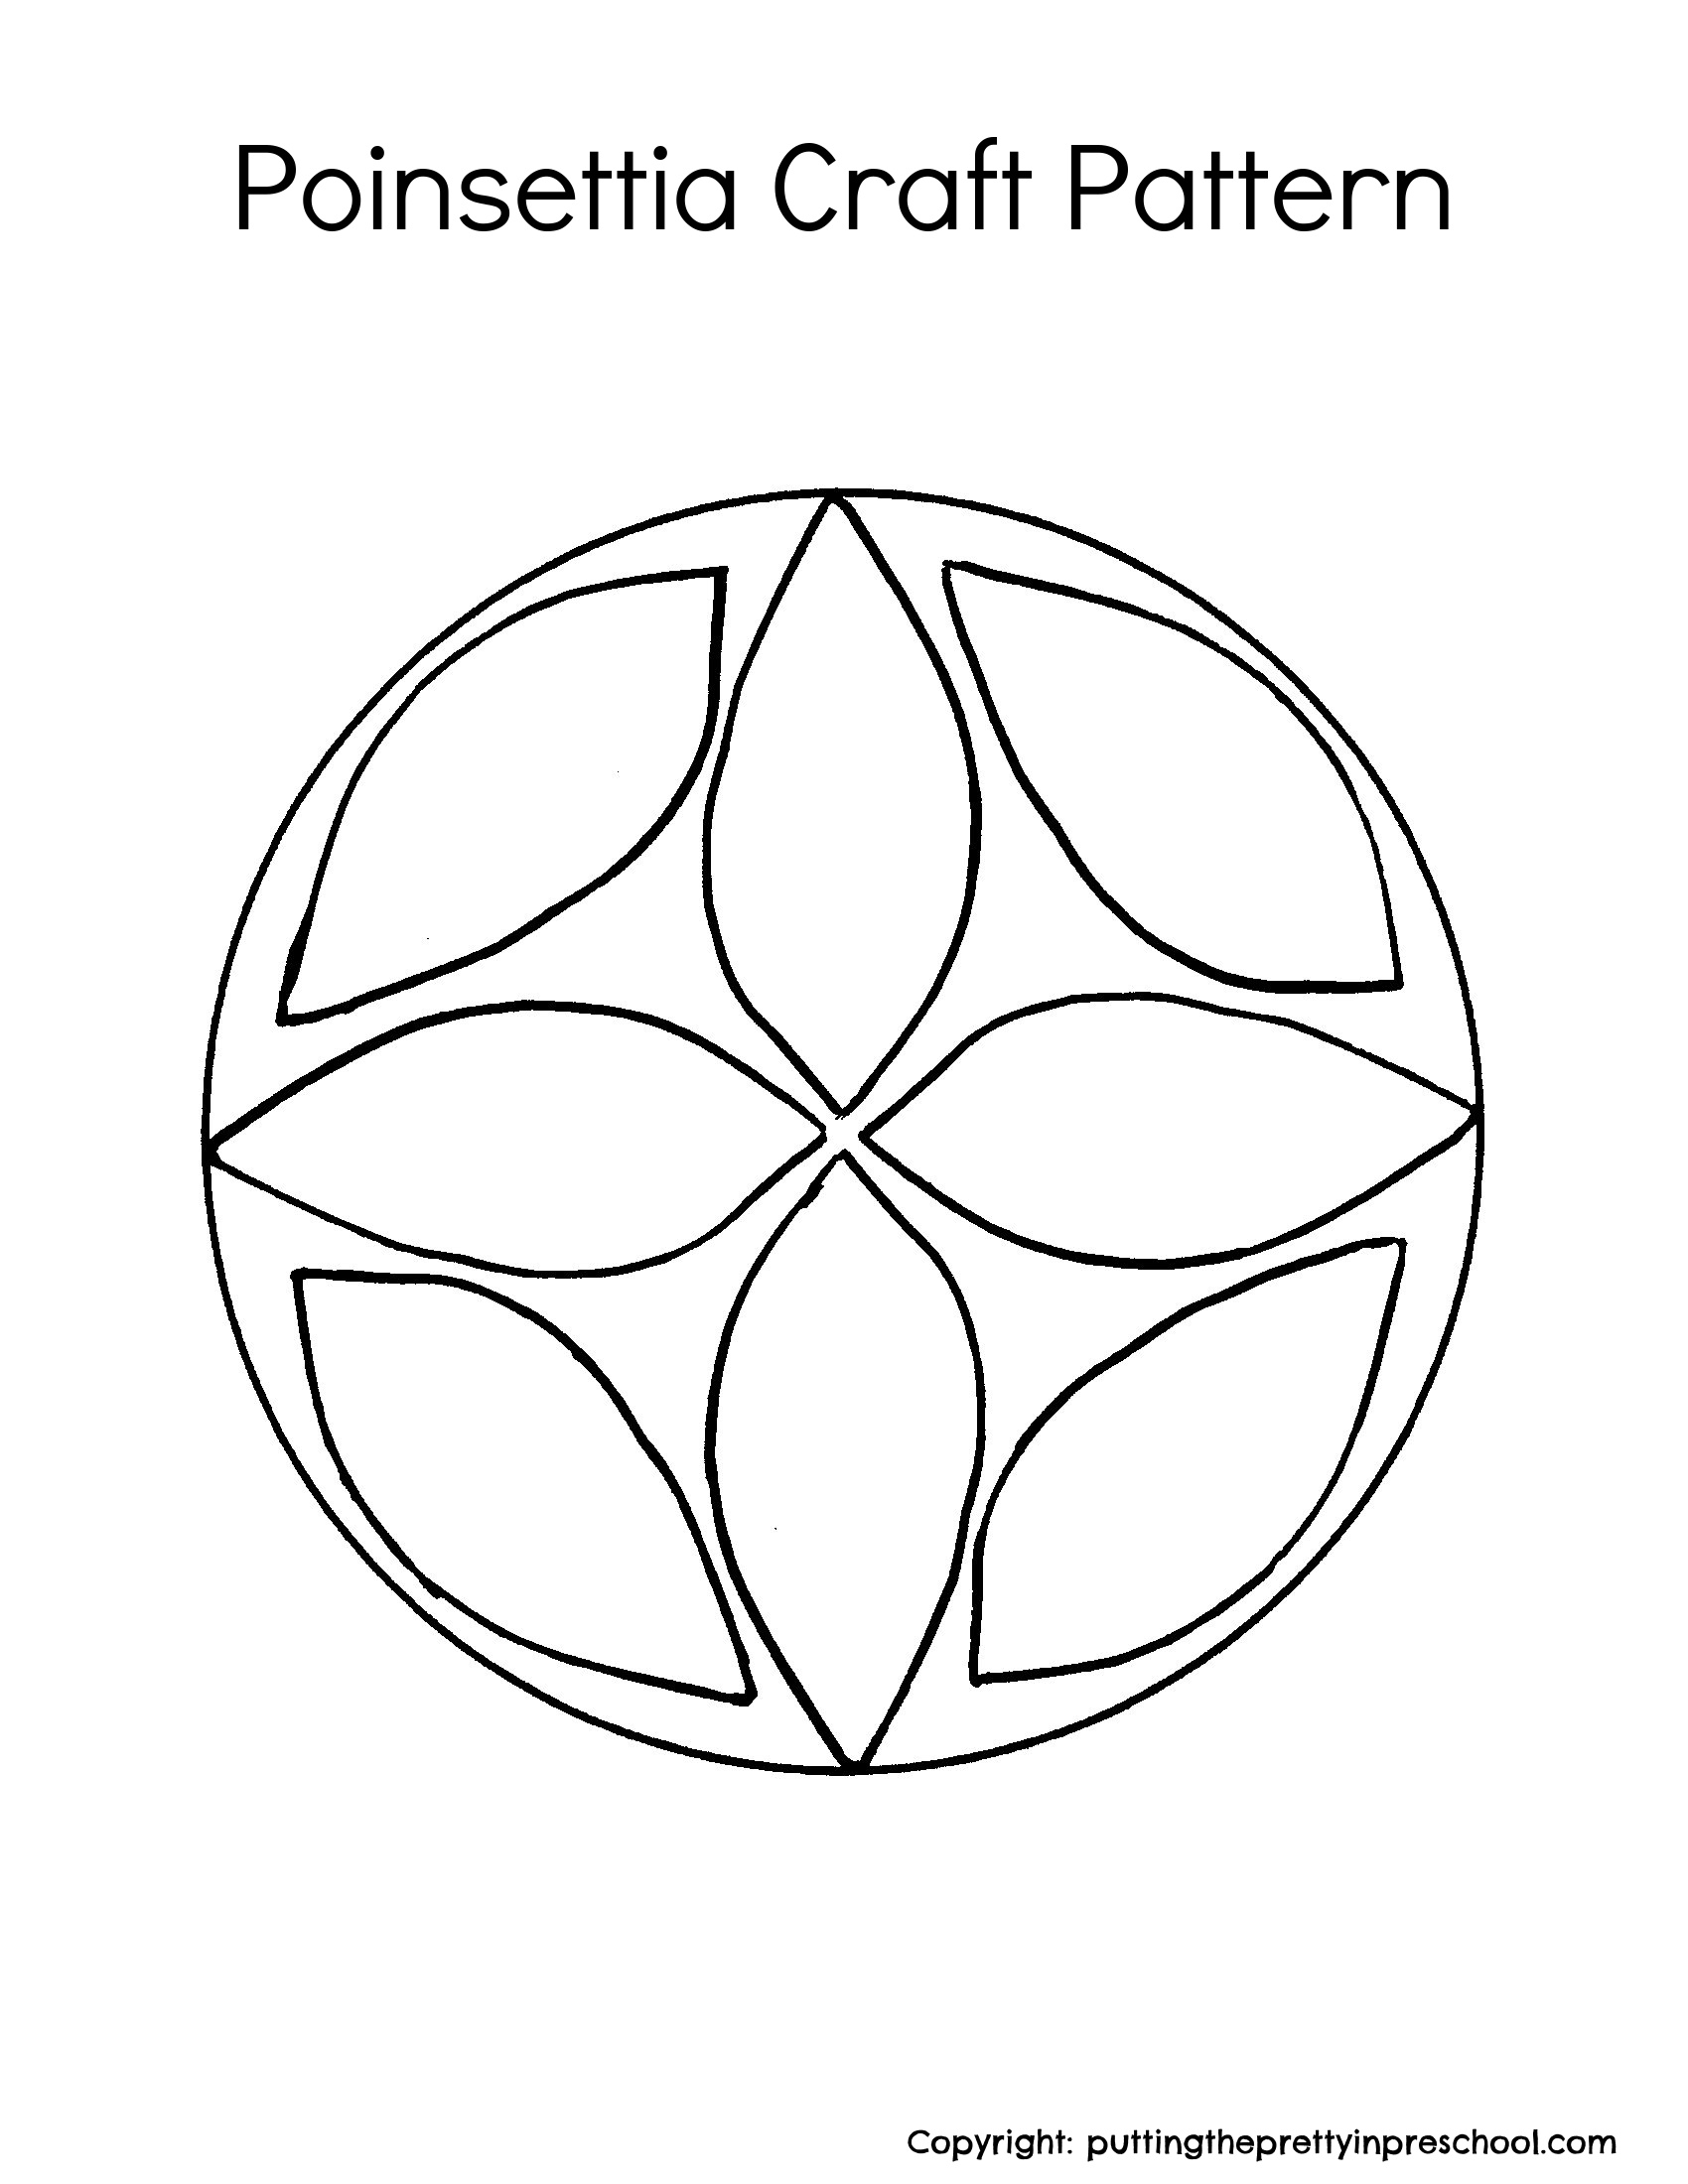
Carefully cut poinsettia leaves from the decorated circle. Feel free to download this poinsettia pattern to make your crafting easier.

_______

Poinsettia Craft Pattern PrintableDownload

This printable is for individual or one classroom use only.

_______

Note: A little paint may chip off during the cutting. But you’ll have plenty left to give your poinsettia leaves a spotted look.

_______

Assembling The Poinsettia

To assemble the poinsettia, choose a decorative piece of cardstock paper to use as a background.

Then choose four painted and cut leaves and glue them on. Affix them in the shape of an X, leaving a little space in the center.

Afterward, glue the other four leaves in between.

Finally, add three to five medium-sized adhesive gems to the center.

_______

Variations of the Spin Painting Poinsettia Craft

In addition to making a great wall art project, this poinsettia craft would look superb on a holiday greeting card.

_______

_______

Novelty poinsettias come in a wide range of colors, and the carstock leaves could be brush-painted in hues such as vibrant red or orange, salmon pink, or peach. The color possibilities for this poinsettia holiday craft project are endless.

_______

More Christmas Crafts

Paper Bag Christmas Ornaments

Monochromatic Christmas Tree Art

CD Case Christmas Craft
Christmas Sheep Craft

Washi Tape Christmas Pots

Handprint Angel Craft

Turtle Christmas Craft
Christmas Tree Art

Christmas Dove Art

Handprint Angel Christmas Keepsake

Woodland Fox Treat Holder

_______

[Read more…] about Spin Painting Poinsettia Craft
Tweet
Share
Share
Pin

Filed Under: art, Christmas, crafts, flowers, preschool Tagged With: painting, poinsettias, spin art

Woodland Fox Treat Holder

December 16, 2023 by Annette Kaminsky Leave a Comment

Tweet
Share
Share
Pin

_______

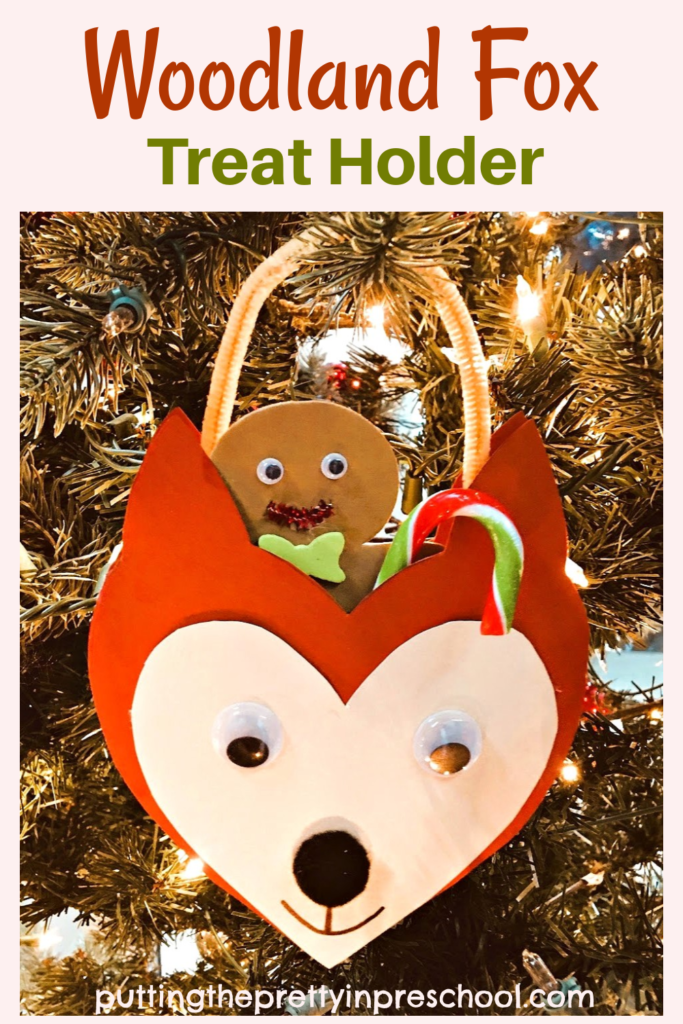
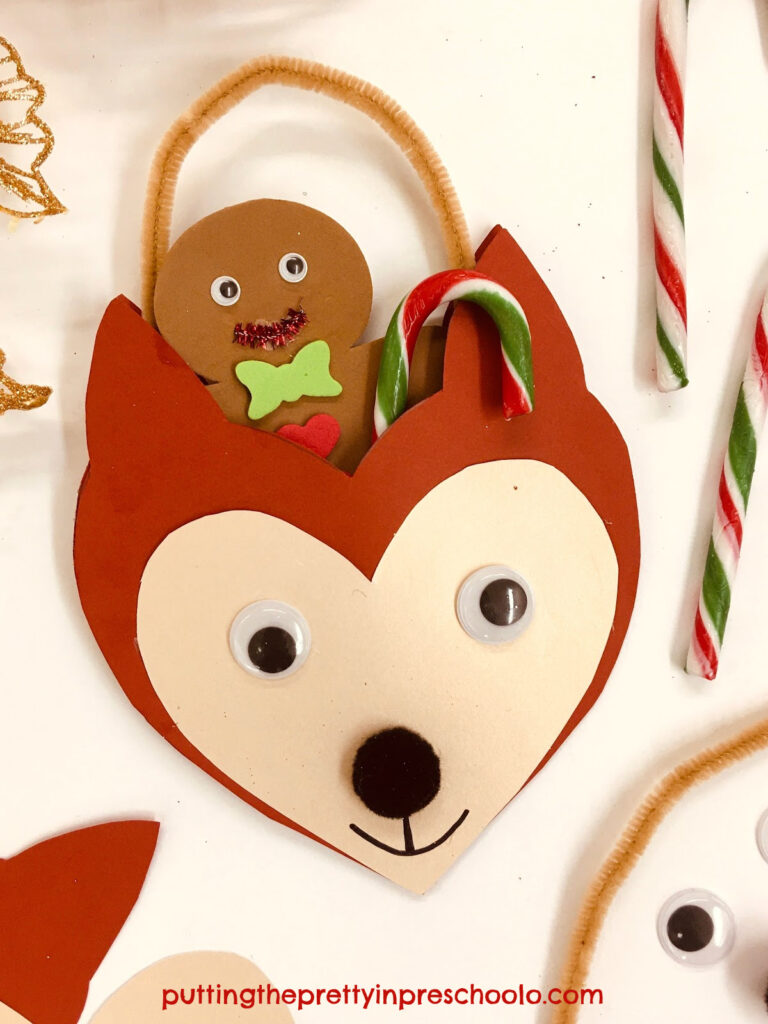
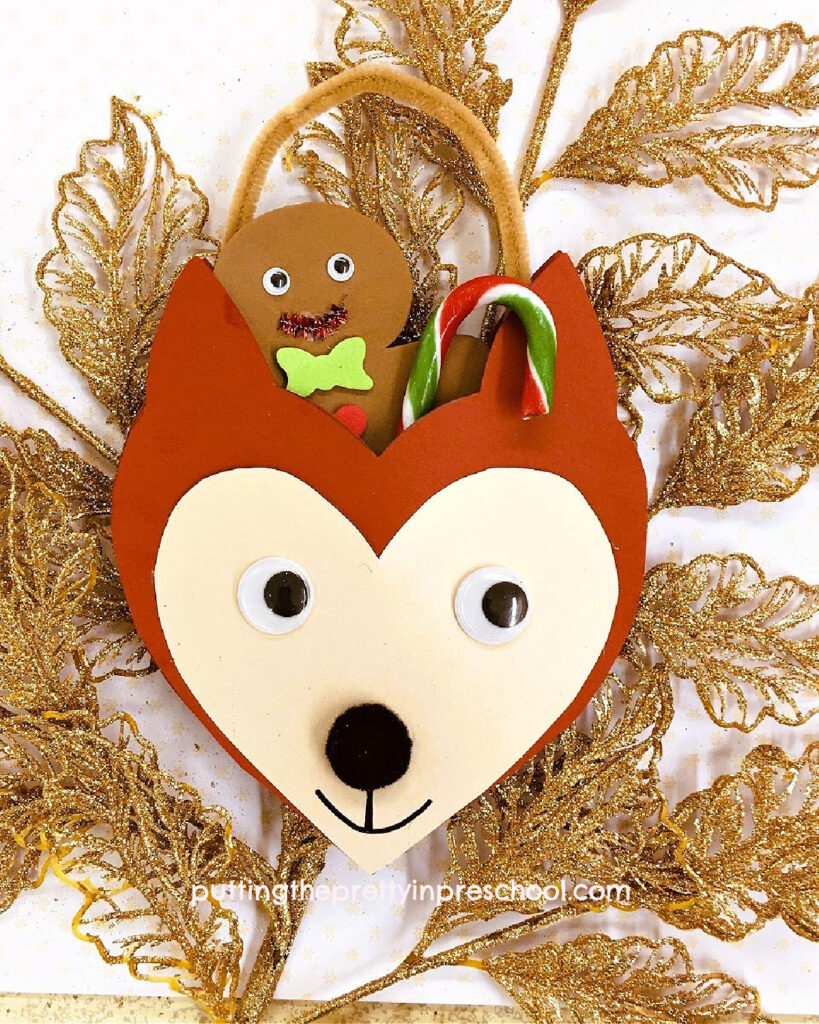
This woodland fox treat holder is inspired by gingerbread man stories, which I often read to my preschoolers in December.

The interaction between the fox and the gingerbread cookie is always a highlight of each story. One of the first years we read a series of gingerbread stories, we happened to start by reading tales wherein the gingerbread cookie outsmarted the fox. When we finally read a version in which the spicy cookie did get eaten by a sly fox, one little preschooler couldn’t believe it. After a round of gingerbread man stories this year, a little learner asked “Do you think the gingerbread cookie will ever really get away?”

_______

At the end of our current gingerbread storybook theme, I thought it would be fun to craft a fox treat holder for each preschooler. And to have a little gingerbread cookie in it. Below are instructions to make the treat holder, and a template to download for the craft.

_______

Follow me on Pinterest for more early learning ideas.

_______

Woodland Fox Treat Holder Supplies

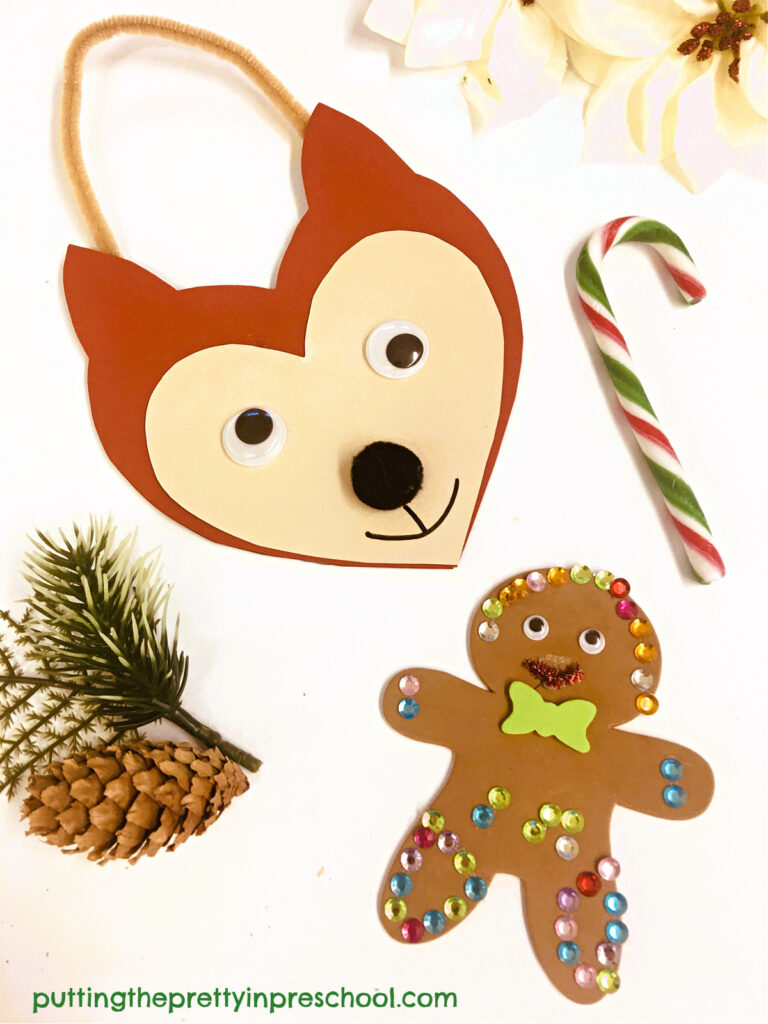
Gather the following supplies to make the whimsical fox treat holder:

  • rust-colored cardstock paper
  • cream-colored cardstock paper
  • light brown pipe cleaner
  • black pom pom
  • wiggly eyes
  • black felt pen
  • glue stick
  • glue gun
  • crafted gingerbread person or a gingerbread cookie
  • candy cane

_______

Making The Woodland Fox Treat Holder

_______

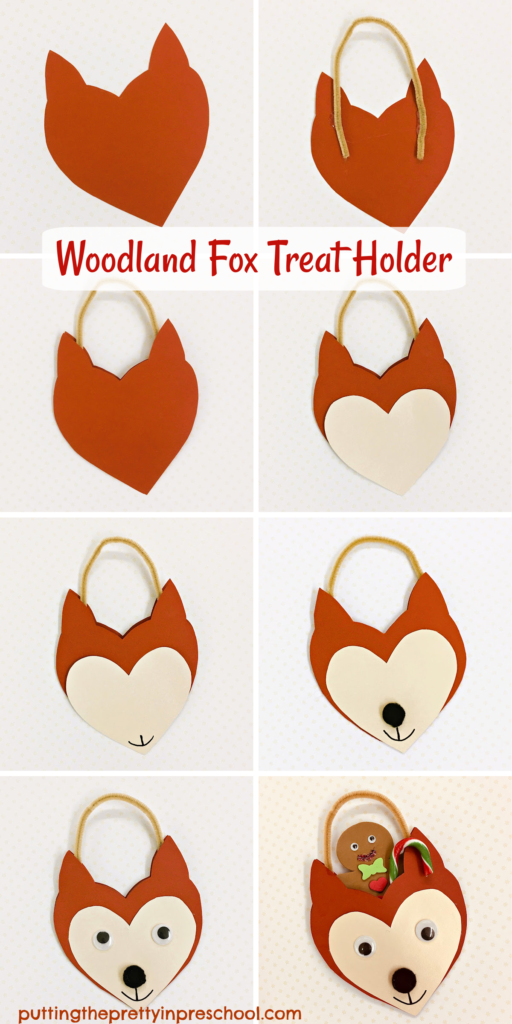
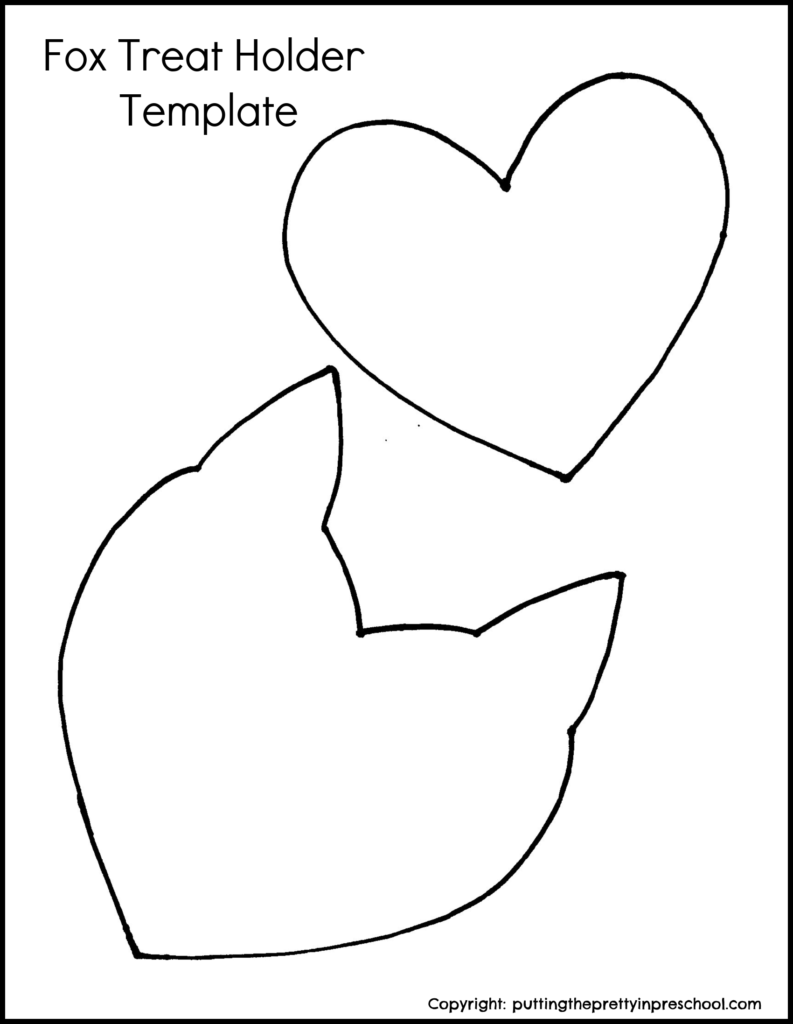
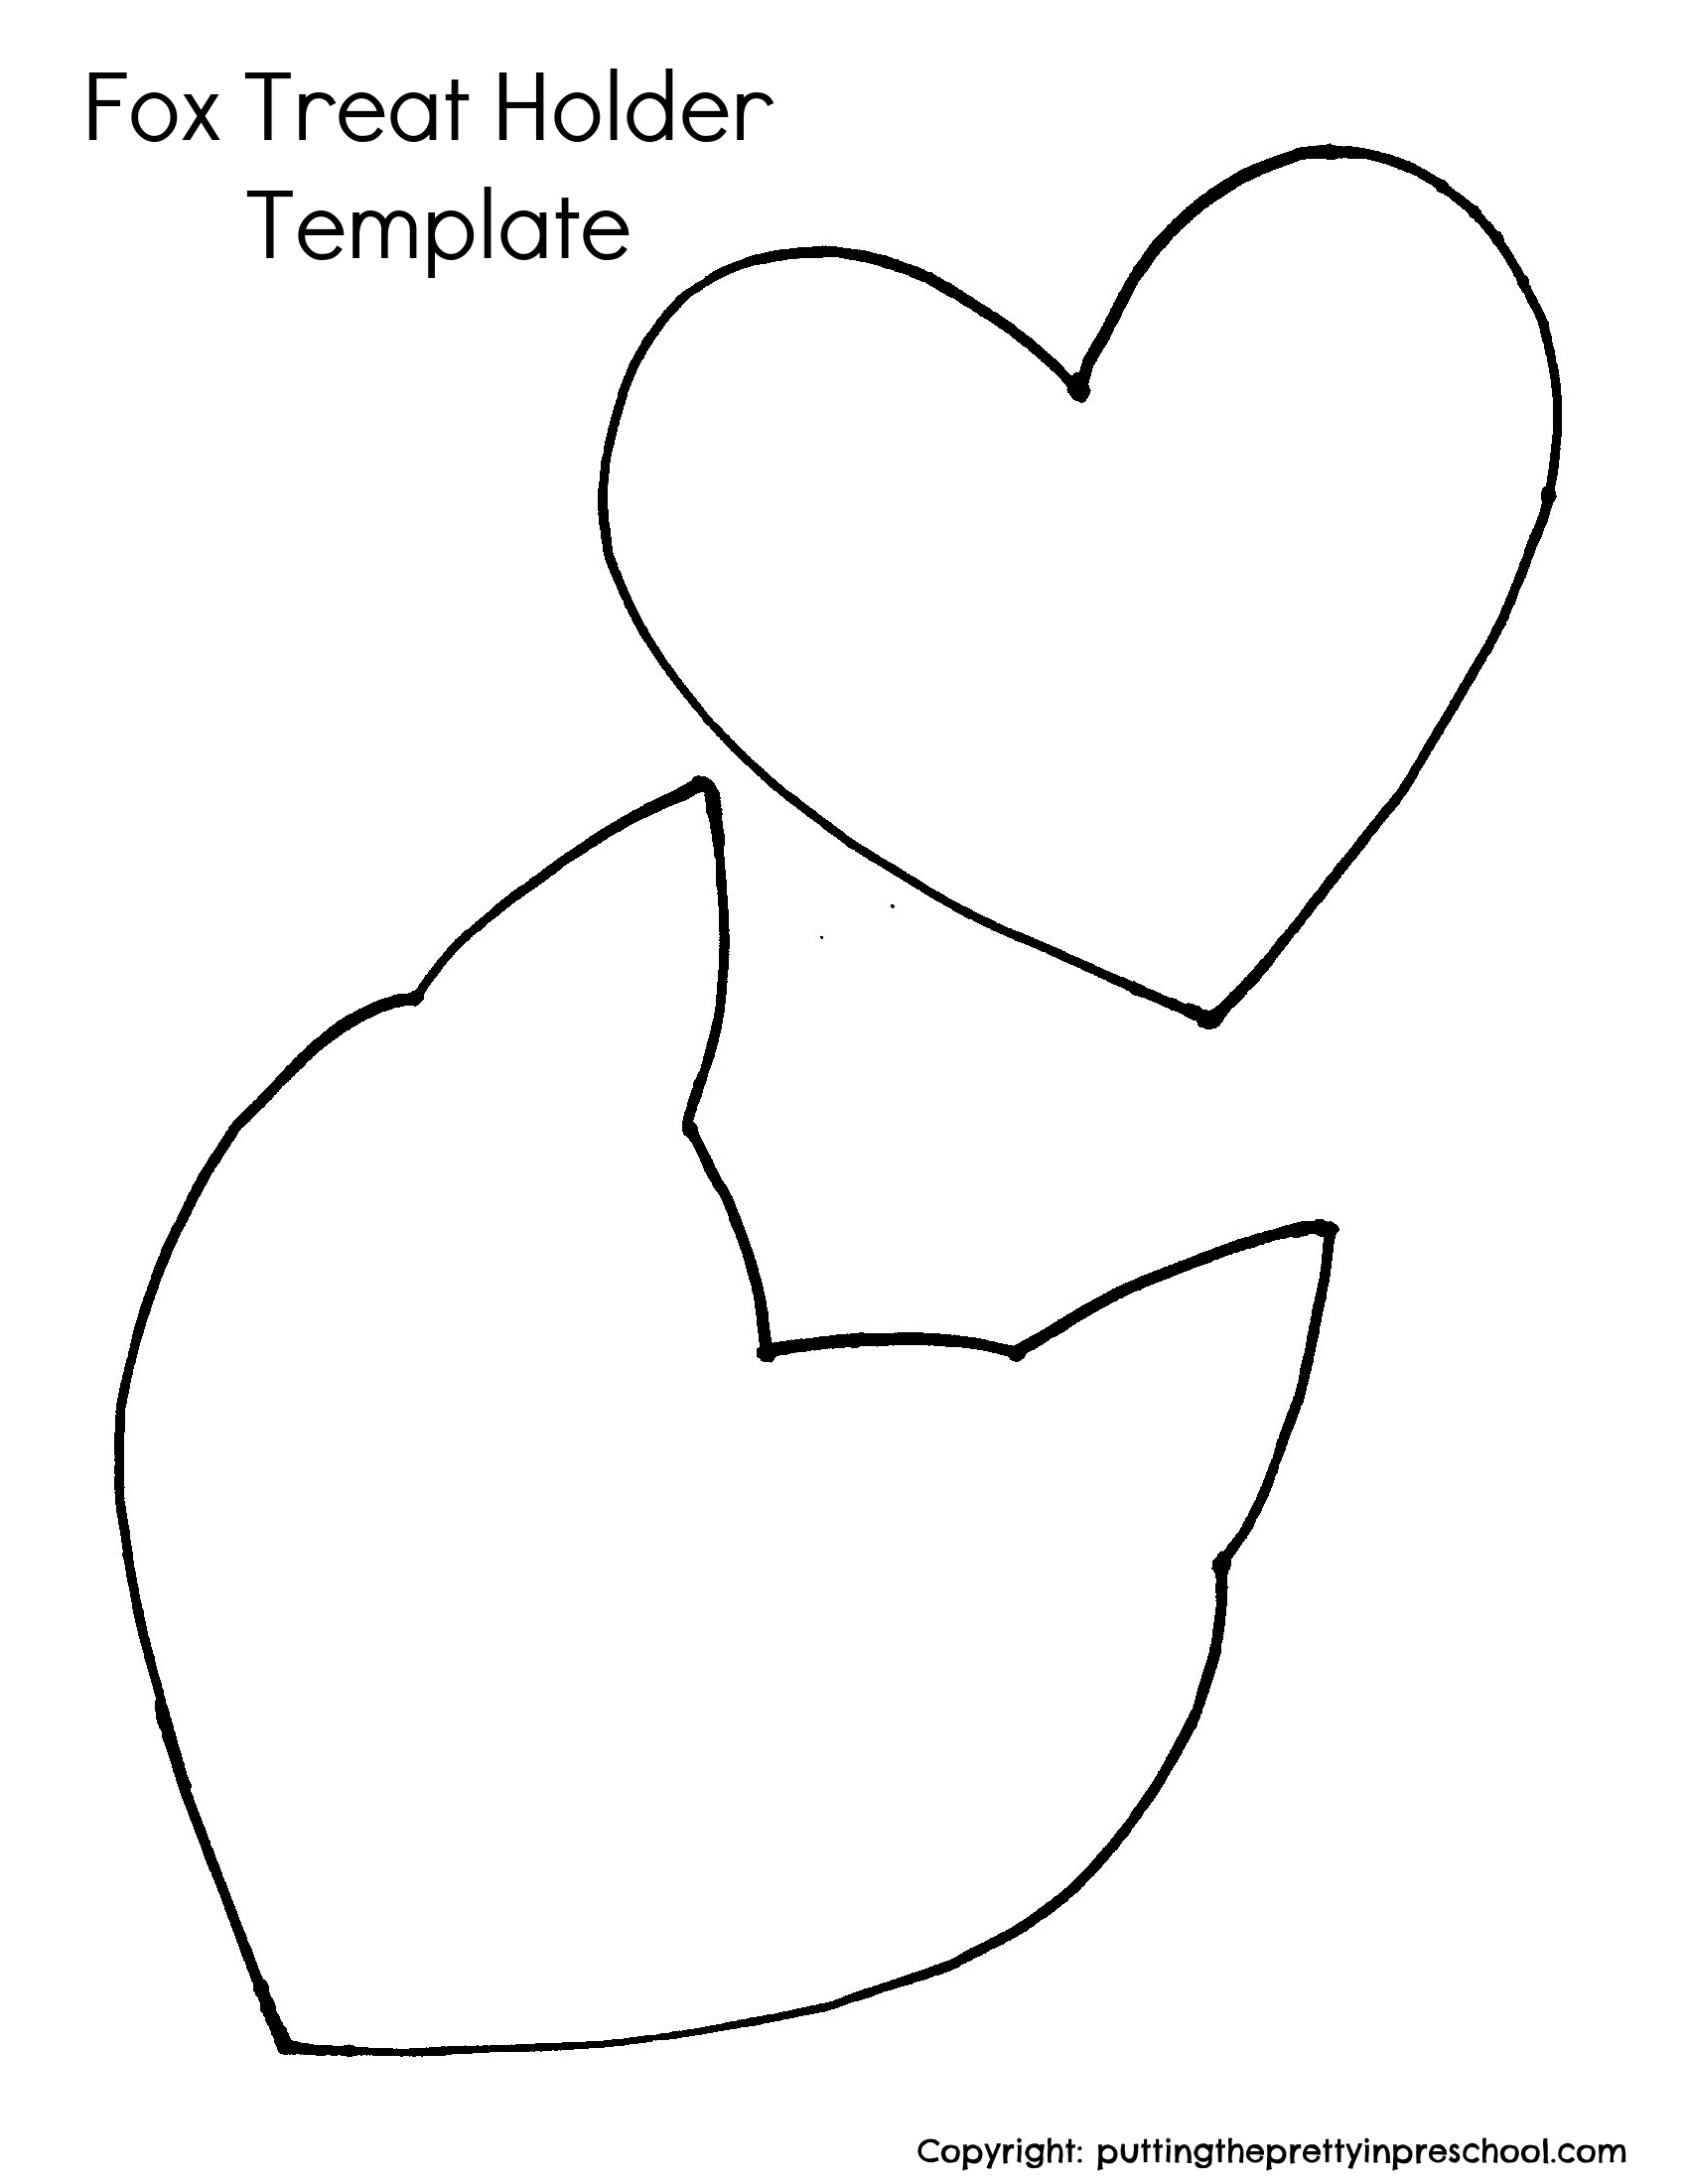
To make the woodland animal treat holder, start by cutting two fox faces from rust-colored cardstock paper. Feel free to download this fox template for the craft.

_______

Fox Treat Holder PrintableDownload

This printable is for individual or one classroom use only.

_______

Then bend the cream-colored pipe cleaner into a half circle and use a glue gun to affix it to the ears of one fox head to create a handle.

Next, glue the edges of the fox together starting just below the ears.

Afterward, cut a heart shape from the cream-colored cardstock and glue it to the second rust-colored fox head. Then draw a mouth with a black marker.

Finally, glue on a black pom pom nose just above the mouth, and add two wiggly eyes.

_______

Gingerbread Person and Candy Cane Favors

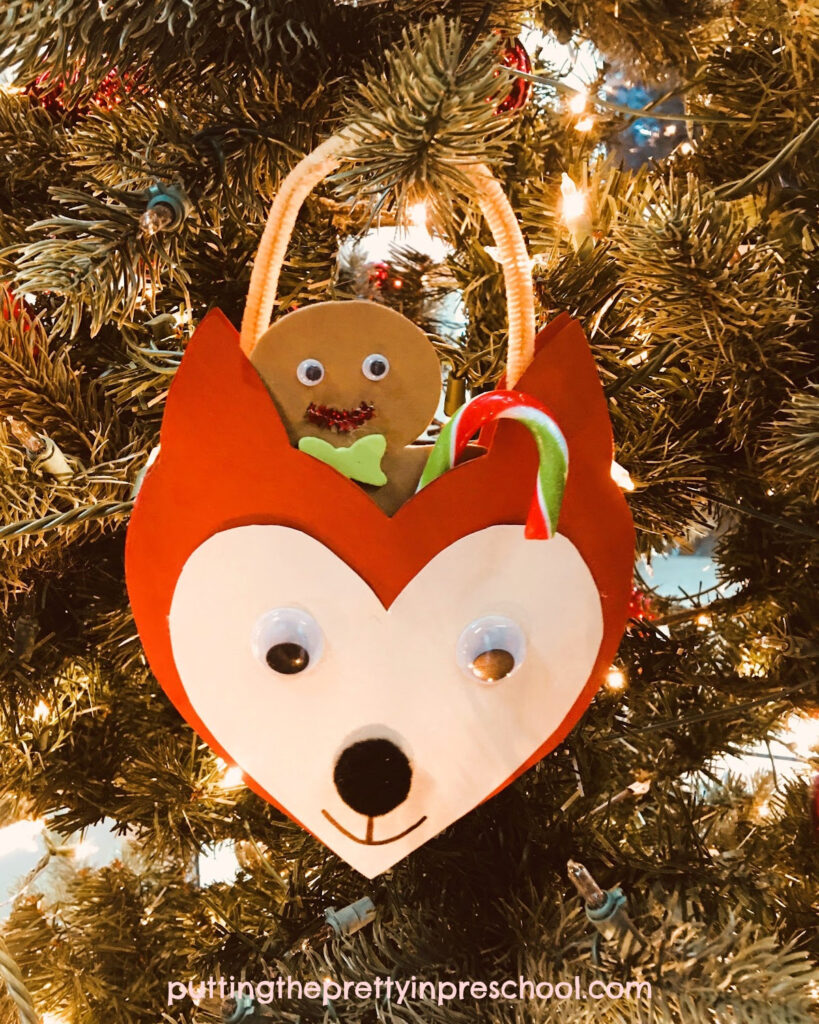
When the woodland fox treat holder is finished, have your little learner craft a gingerbread person to put inside. Then add a candy cane. The treat holder holds a small crafted gingerbread person and a large candy cane nicely.

_______

Or you could add an edible gingerbread cookie and candy cane to the treat holder.

This crafted duo also makes a cute decoration to add to a Christmas tree.

_______

More Gingerbread Man Activities

Melted Candy Gingerbread Ornaments

Gingerbread Sensory Bin

Gingerbread Playdough

Scissor Skill Gingerbread Man

_______

[Read more…] about Woodland Fox Treat Holder
Tweet
Share
Share
Pin

Filed Under: art, book theme, Christmas, crafts, preschool Tagged With: forest, gingerbread cookies, gingerbread man, paper crafts

  • « Go to Previous Page
  • Page 1
  • Interim pages omitted …
  • Page 4
  • Page 5
  • Page 6
  • Page 7
  • Page 8
  • Interim pages omitted …
  • Page 13
  • Go to Next Page »

Primary Sidebar

Hi, I'm Annette Kaminsky, a preschool teacher who loves sharing learning through play activities for young children. Thanks for visiting my site. Feel free to stay awhile!

Subscribe Via Email

Recent Posts

  • Teacher Appreciation A to Z Alphabet June 21, 2026
  • Expanding Balloon Science Experiment May 18, 2026
  • Earth Day Spin Painting April 21, 2026
  • Easter Bunny Scavenger Hunt April 4, 2026
  • Celebrate Diversity Coloring Pages March 1, 2026
  • Lunar New Year Lantern Craft February 11, 2026
  • Black History Month Positive Affirmations Art January 29, 2026
  • Snowflake Cafe Dramatic Play Set January 19, 2026
  • Pastel Christmas Letterhead and Envelope December 20, 2025
  • December Kindness Activities November 30, 2025

Categories

Topics

apples bunnies butterflies Chinese New Year Christmas Christmas craft color colors dramatic play Easter fall flowers hearts holiday jewelry leaves leprechauns light table loose parts painting paper crafts playdough pretend play printables printmaking process art pumpkins rice bin scented playdough science experiment scissor skills sensory bin sensory play sensory tray shamrocks skeletons snakes snowflakes spiders spring St. Patrick's Day sunflowers tablescapes Valentine's Day water play

Copyright © 2026 · Lifestyle Pro on Genesis Framework · WordPress · Log in