• Skip to secondary menu
  • Skip to main content
  • Skip to primary sidebar

Putting The Pretty In Preschool

Finding Beauty In Everyday Early Childhood Experiences

  • Home
  • About Me
  • Winter
  • Chinese New Year
  • Blog
  • Contact Me
  • Black History Month
  • SHOP
  • Valentine’s Day

crafts

Gorgeous Eye Dropper Art

August 27, 2023 by Annette Kaminsky Leave a Comment

Tweet
Share
Share
Pin
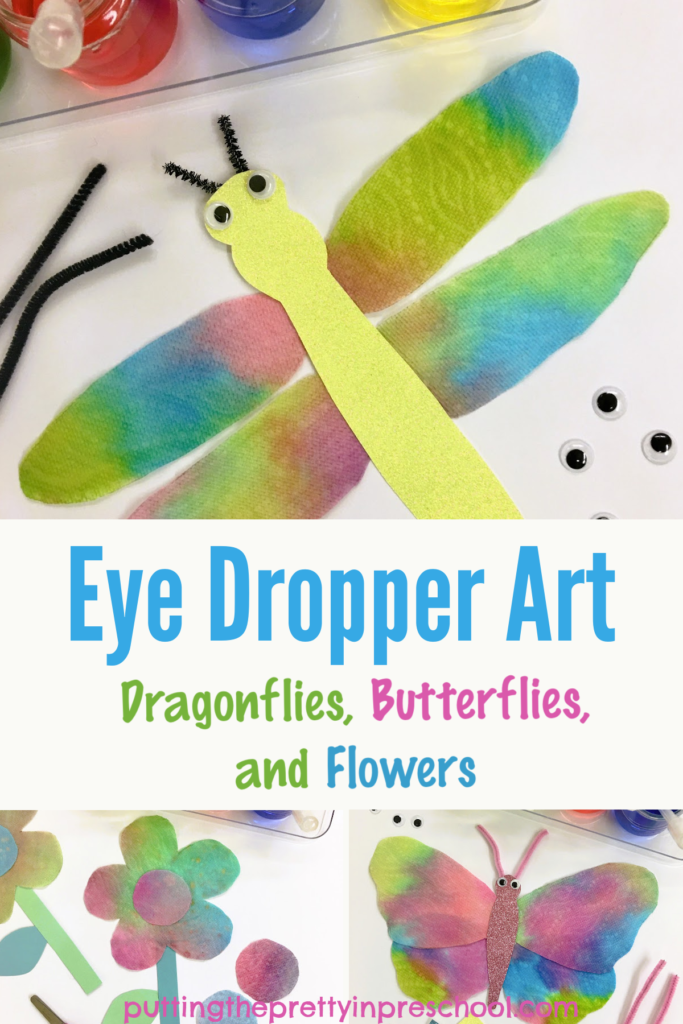
Baeutiful paper towel eye dropper art . Do the process art activity on its own or turn the art into dragonfly, butterfly, and flower designs.

_______

What do dragonflies, butterflies, and flowers have in common? Aside from appearing during the summer season, they all look spectacular in eye dropper art. This easy-to-do, oh-so-satisfying process art technique is one of children’s favorite ways to paint.

_______

Follow me on Pinterest for more early learning ideas.

_______

Supplies To Collect

For this stunning art activity, gather the following:

  • liquid watercolors or food coloring
  • roll of absorbent paper towels
  • pipette eye droppers
  • paint containers
  • waterproof tablecloth

_______

The Eye Dropper Art Process
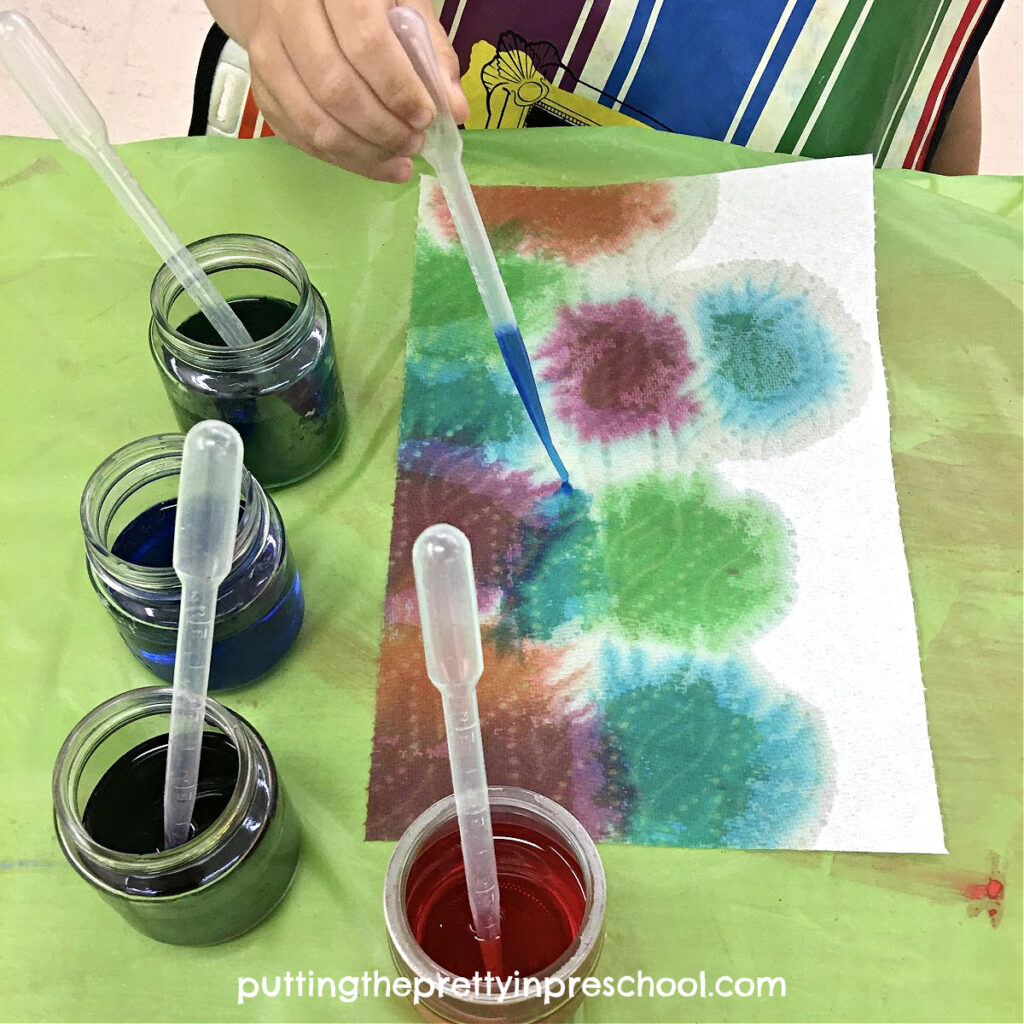
Create gorgeous eye dropper art with liquid watercolors on paper towle sheets. An all-ages process art activity.

_______

Things might get very wet with this art technique, so the first thing to do is cover the working surface with a waterproof tablecloth.

Next, tear off sheets from a paper towel roll. If you have a choice, pick a thicker brand, as it will be more absorbent. But any kind of paper towel will work fine.

Then pour water into paint pots, and mix a few drops of liquid watercolors or food coloring in each one.

Set up an art station with a paper towel sheet and paint pots with eyedropper pipettes for each participant.

Invite children to squeeze paint on their paper towel canvas with the droppers.
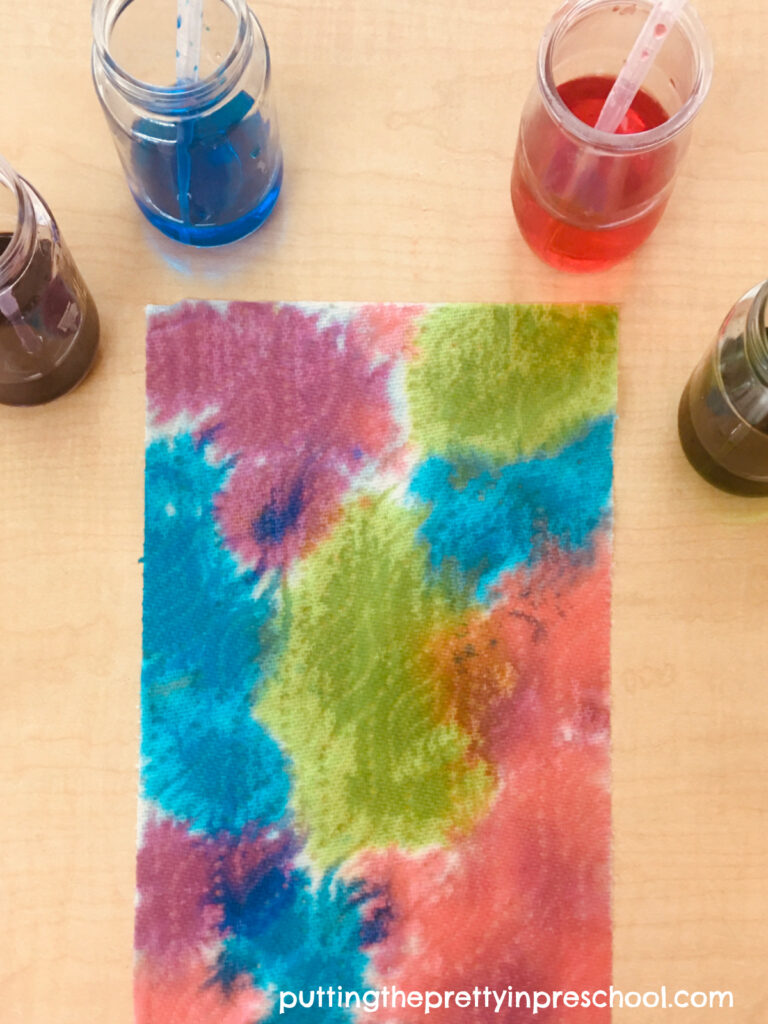
Create gorgeous eye dropper art with liquid watercolors on paper towle sheets. An all-ages process art activity.

_______

When the arty paper towel sheets are thoroughly covered in paint, set them aside to dry.

_______

Eye Dropper Paint Crafts

Eye dropper painting is a well-loved process art activity, and participating artists will likely want to decorate a few paper towels. In this case, send some of the paper towel art home, and save a few sheets for crafts or other activities. The paper towel art looks beautiful in the following three crafts.

Paper Towel Dragonflies
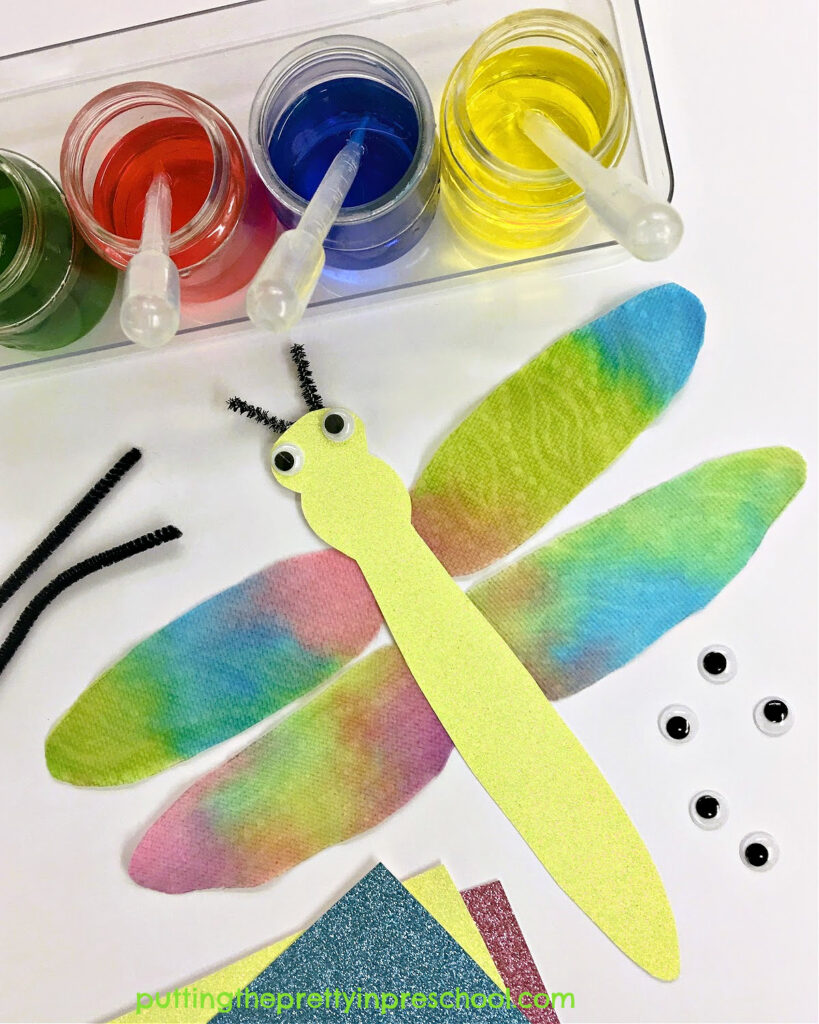
Create a gorgeous dragonfly with a super fun eye dropper painting technique. A paper craft that looks stunning displayed.

_______

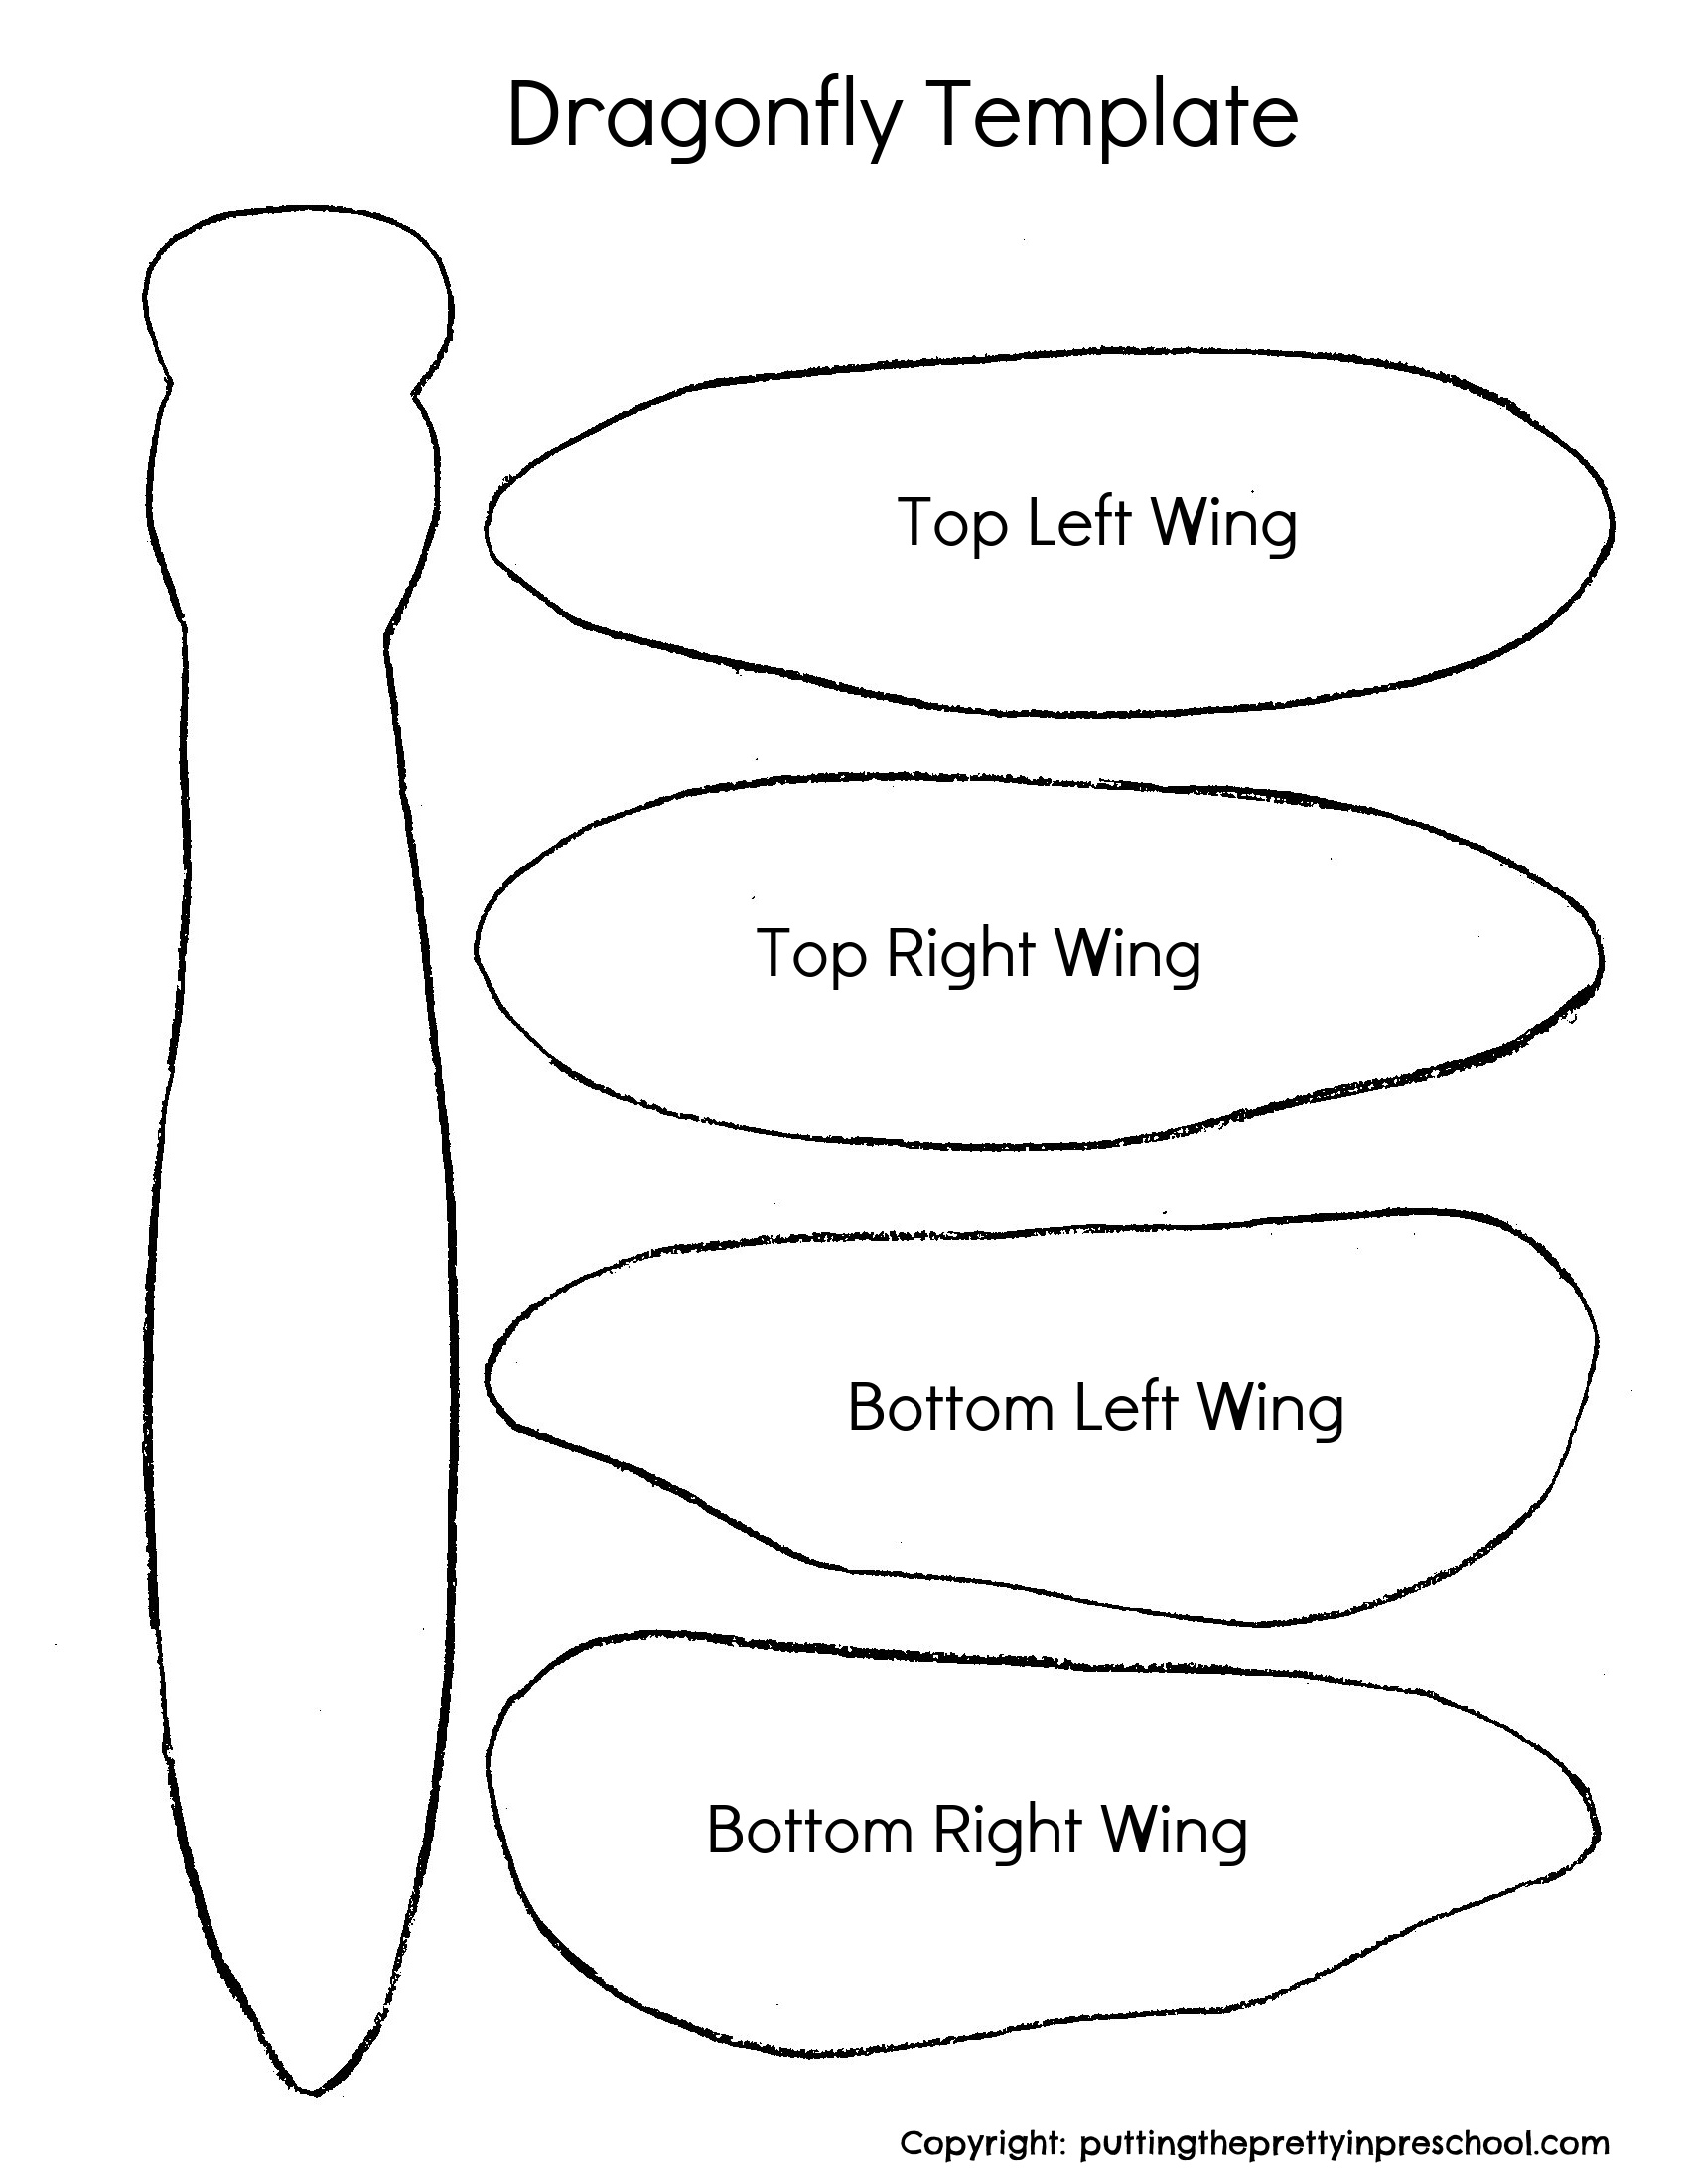
The large wings of mosquito-munching dragonflies have a moment with the eye dropper art technique. To craft the dragonflies, cut two pairs of long wings out of painted paper towel sheets, and a one-piece head, thorax, and abdomen from complementary-toned regular or glitter cardstock. Use a glue stick to affix the dragonfly wings to the back of the cardstock shapes. Finally, use a glue gun to add folded pipe cleaner antennae and wiggly eyes to the heads.

Tip: Paper towel rolls are often two-ply. If the layers in your cutouts separate while you are working, dab a little glue in a few spots between them so they stay in place.
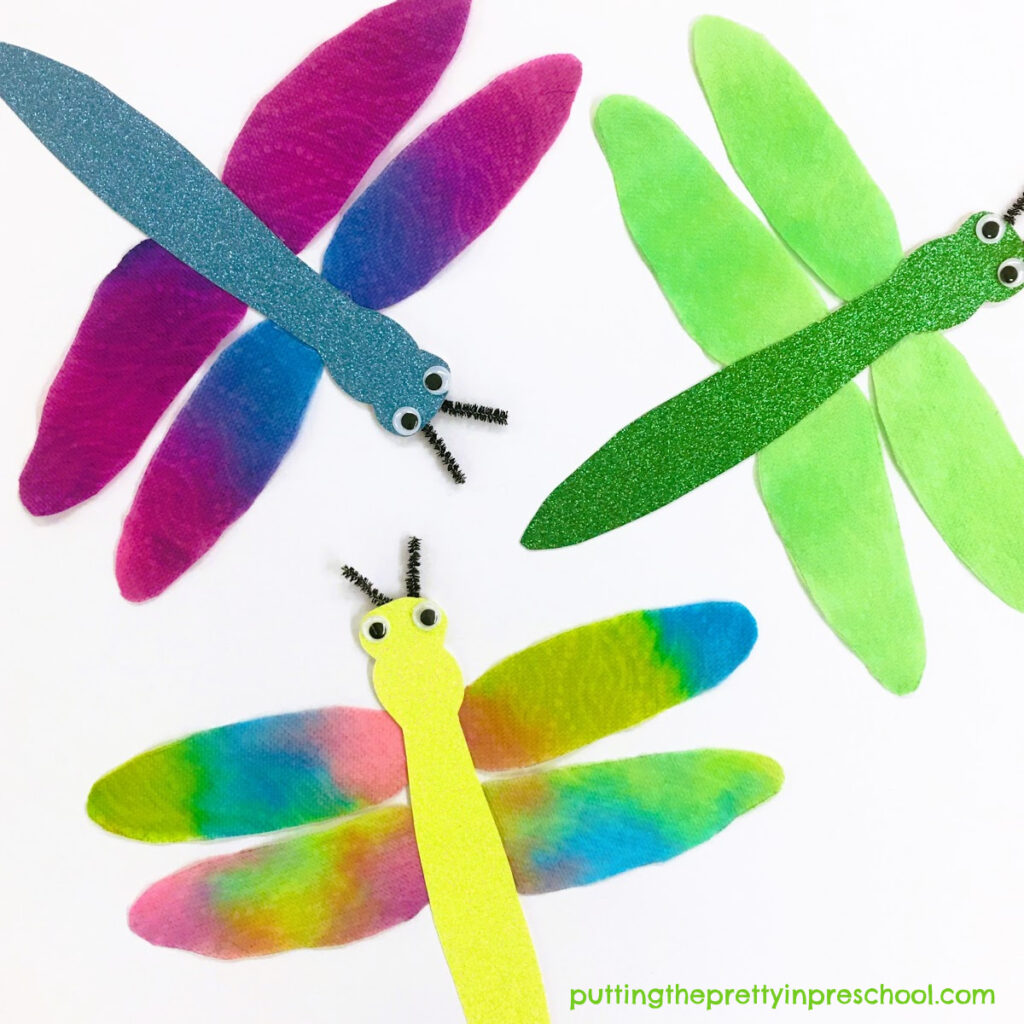
Create gorgeous dragonflies with a super fun eye dropper painting technique. A paper craft that looks stunning displayed.

_______

Download this free dragonfly template to make the craft.
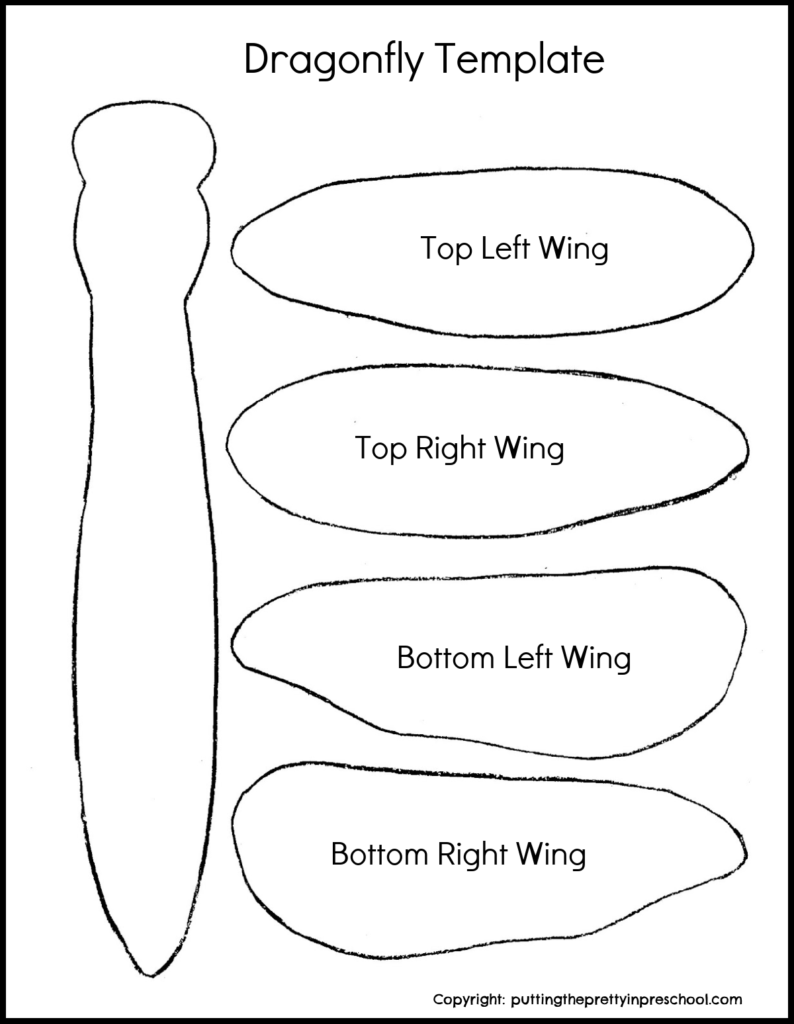
Download this free dragonfly template for art or craft activities.

_______

Dragonfly PrintableDownload

_______

This printable is for individual or one classroom use only.

_______

Paper Towel Butterflies
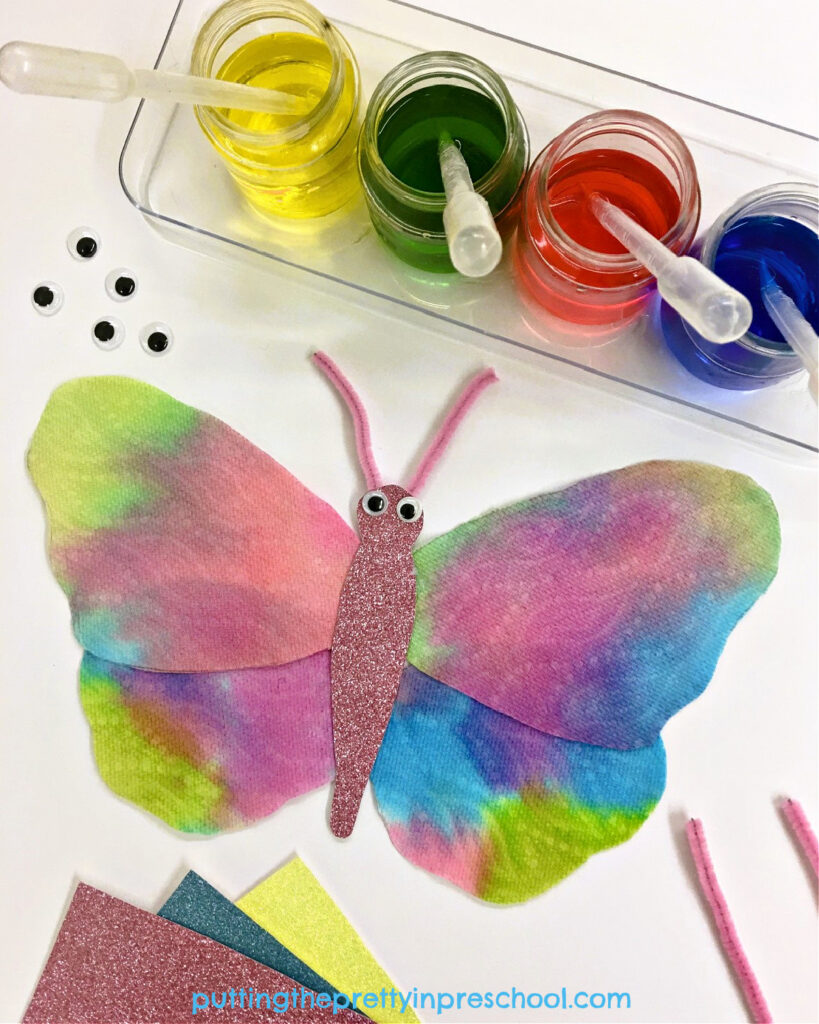
Create a gorgeous, dainty butterfly with a super fun eye dropper painting technique. A paper craft that looks stunning displayed.

_______

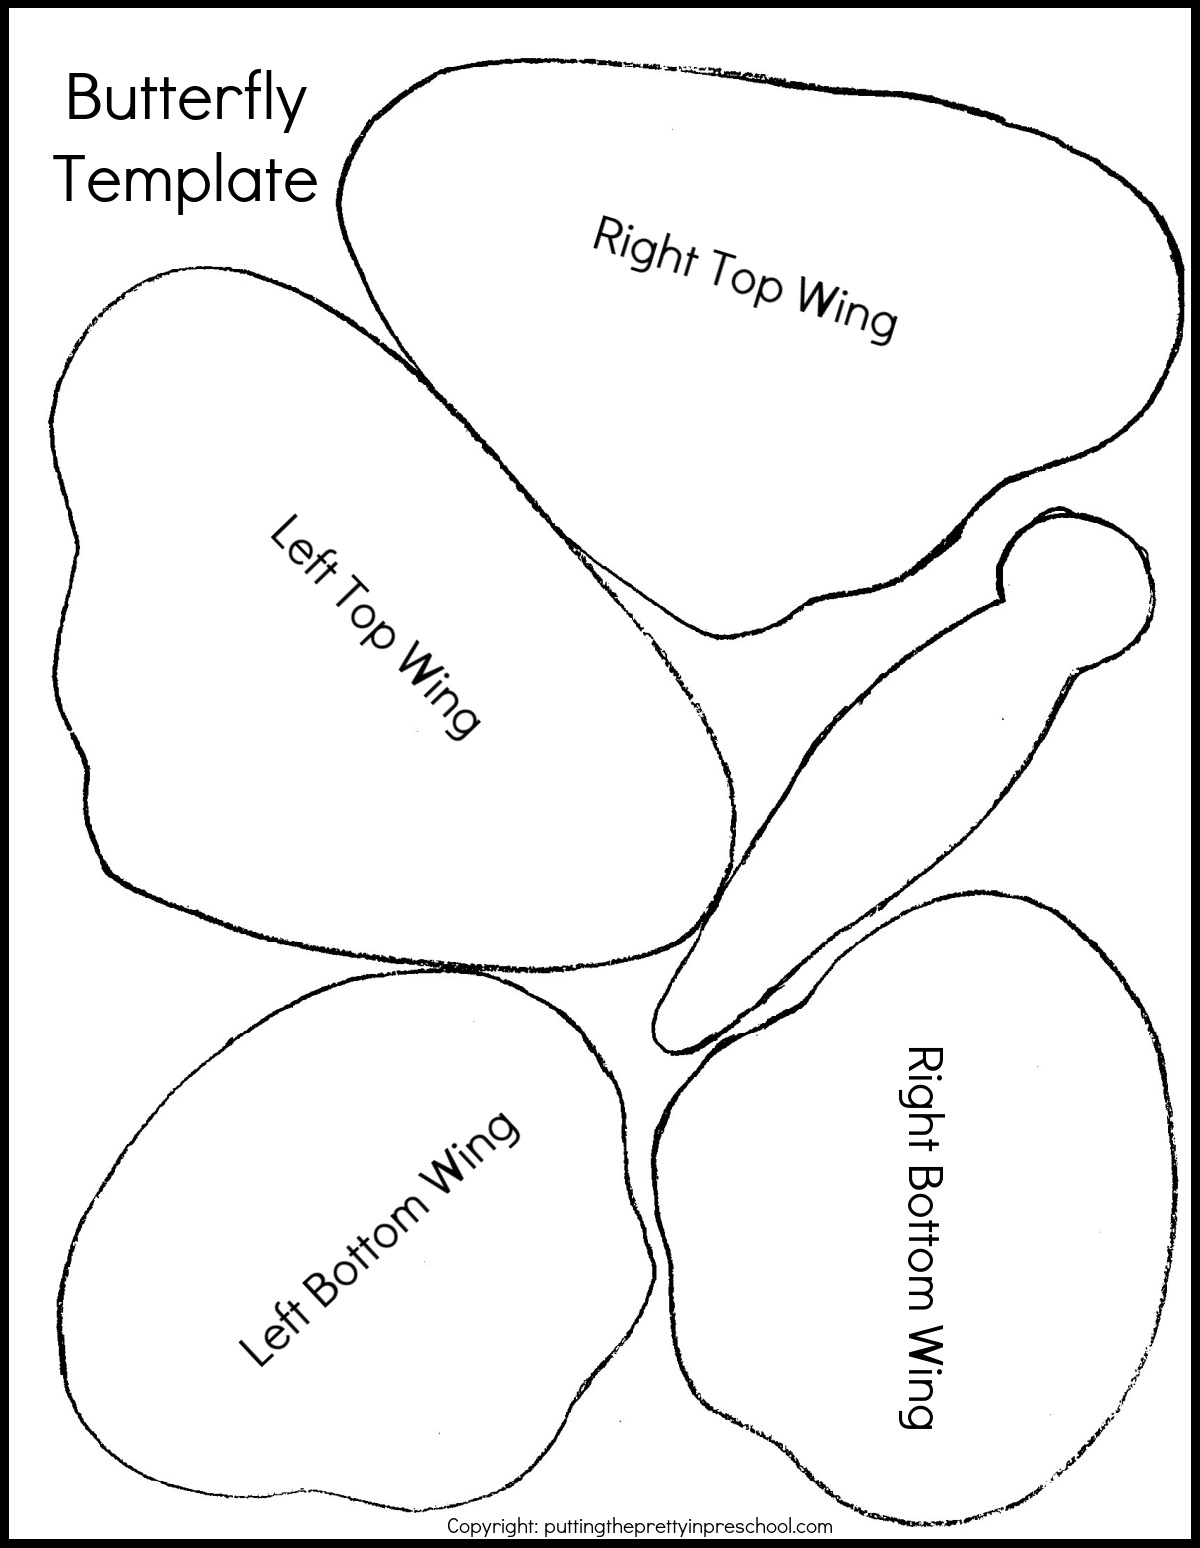
Butterflies look fantastical in any kind of art technique, and the wings look especially dainty when crafted from painted paper towels. To create the butterflies, snip two pairs of butterfly wings from a colored paper towel. Then cut a one-piece head, thorax, and abdomen from cardstock. As with the dragonflies, affix the wings to the back of the cardstock bodies. With a glue gun, attach a folded pipe cleaner antennae and two small wiggly eyes to the heads.
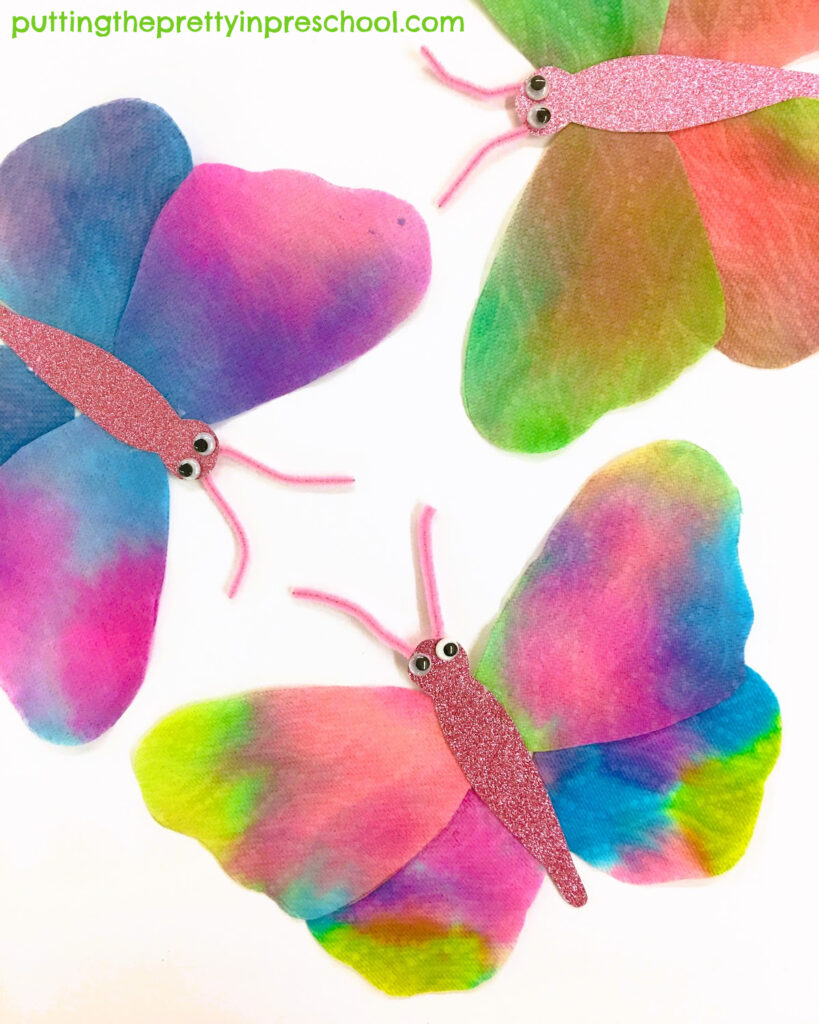
Create gorgeous, dainty butterflies with a super fun eye dropper painting technique. A paper craft that looks stunning displayed.

_______

Download this free butterfly template to make the craft.
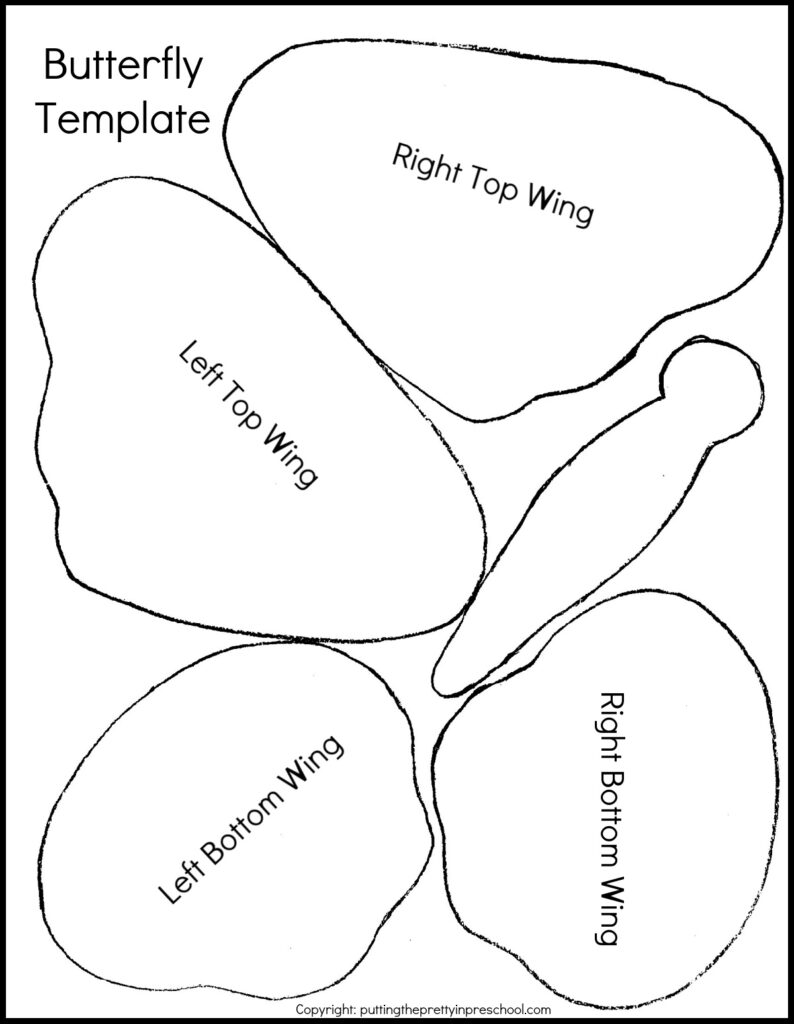
Download this free butterfly template for art or craft activities.

_______

Butterfly TemplateDownload

_______

This printable is for individual or one-classroom use only.

_______

Paper Towel Flowers
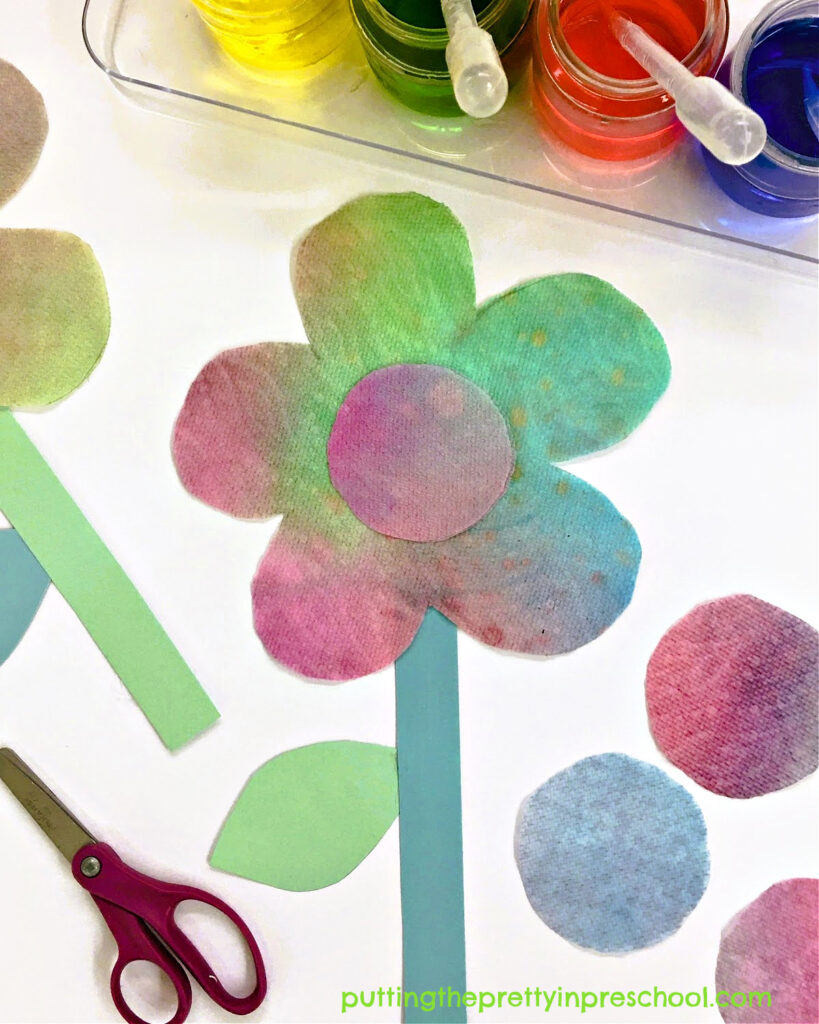
Create a beautiful flower with a super fun eye dropper painting technique. A paper craft that looks stunning displayed.

_______

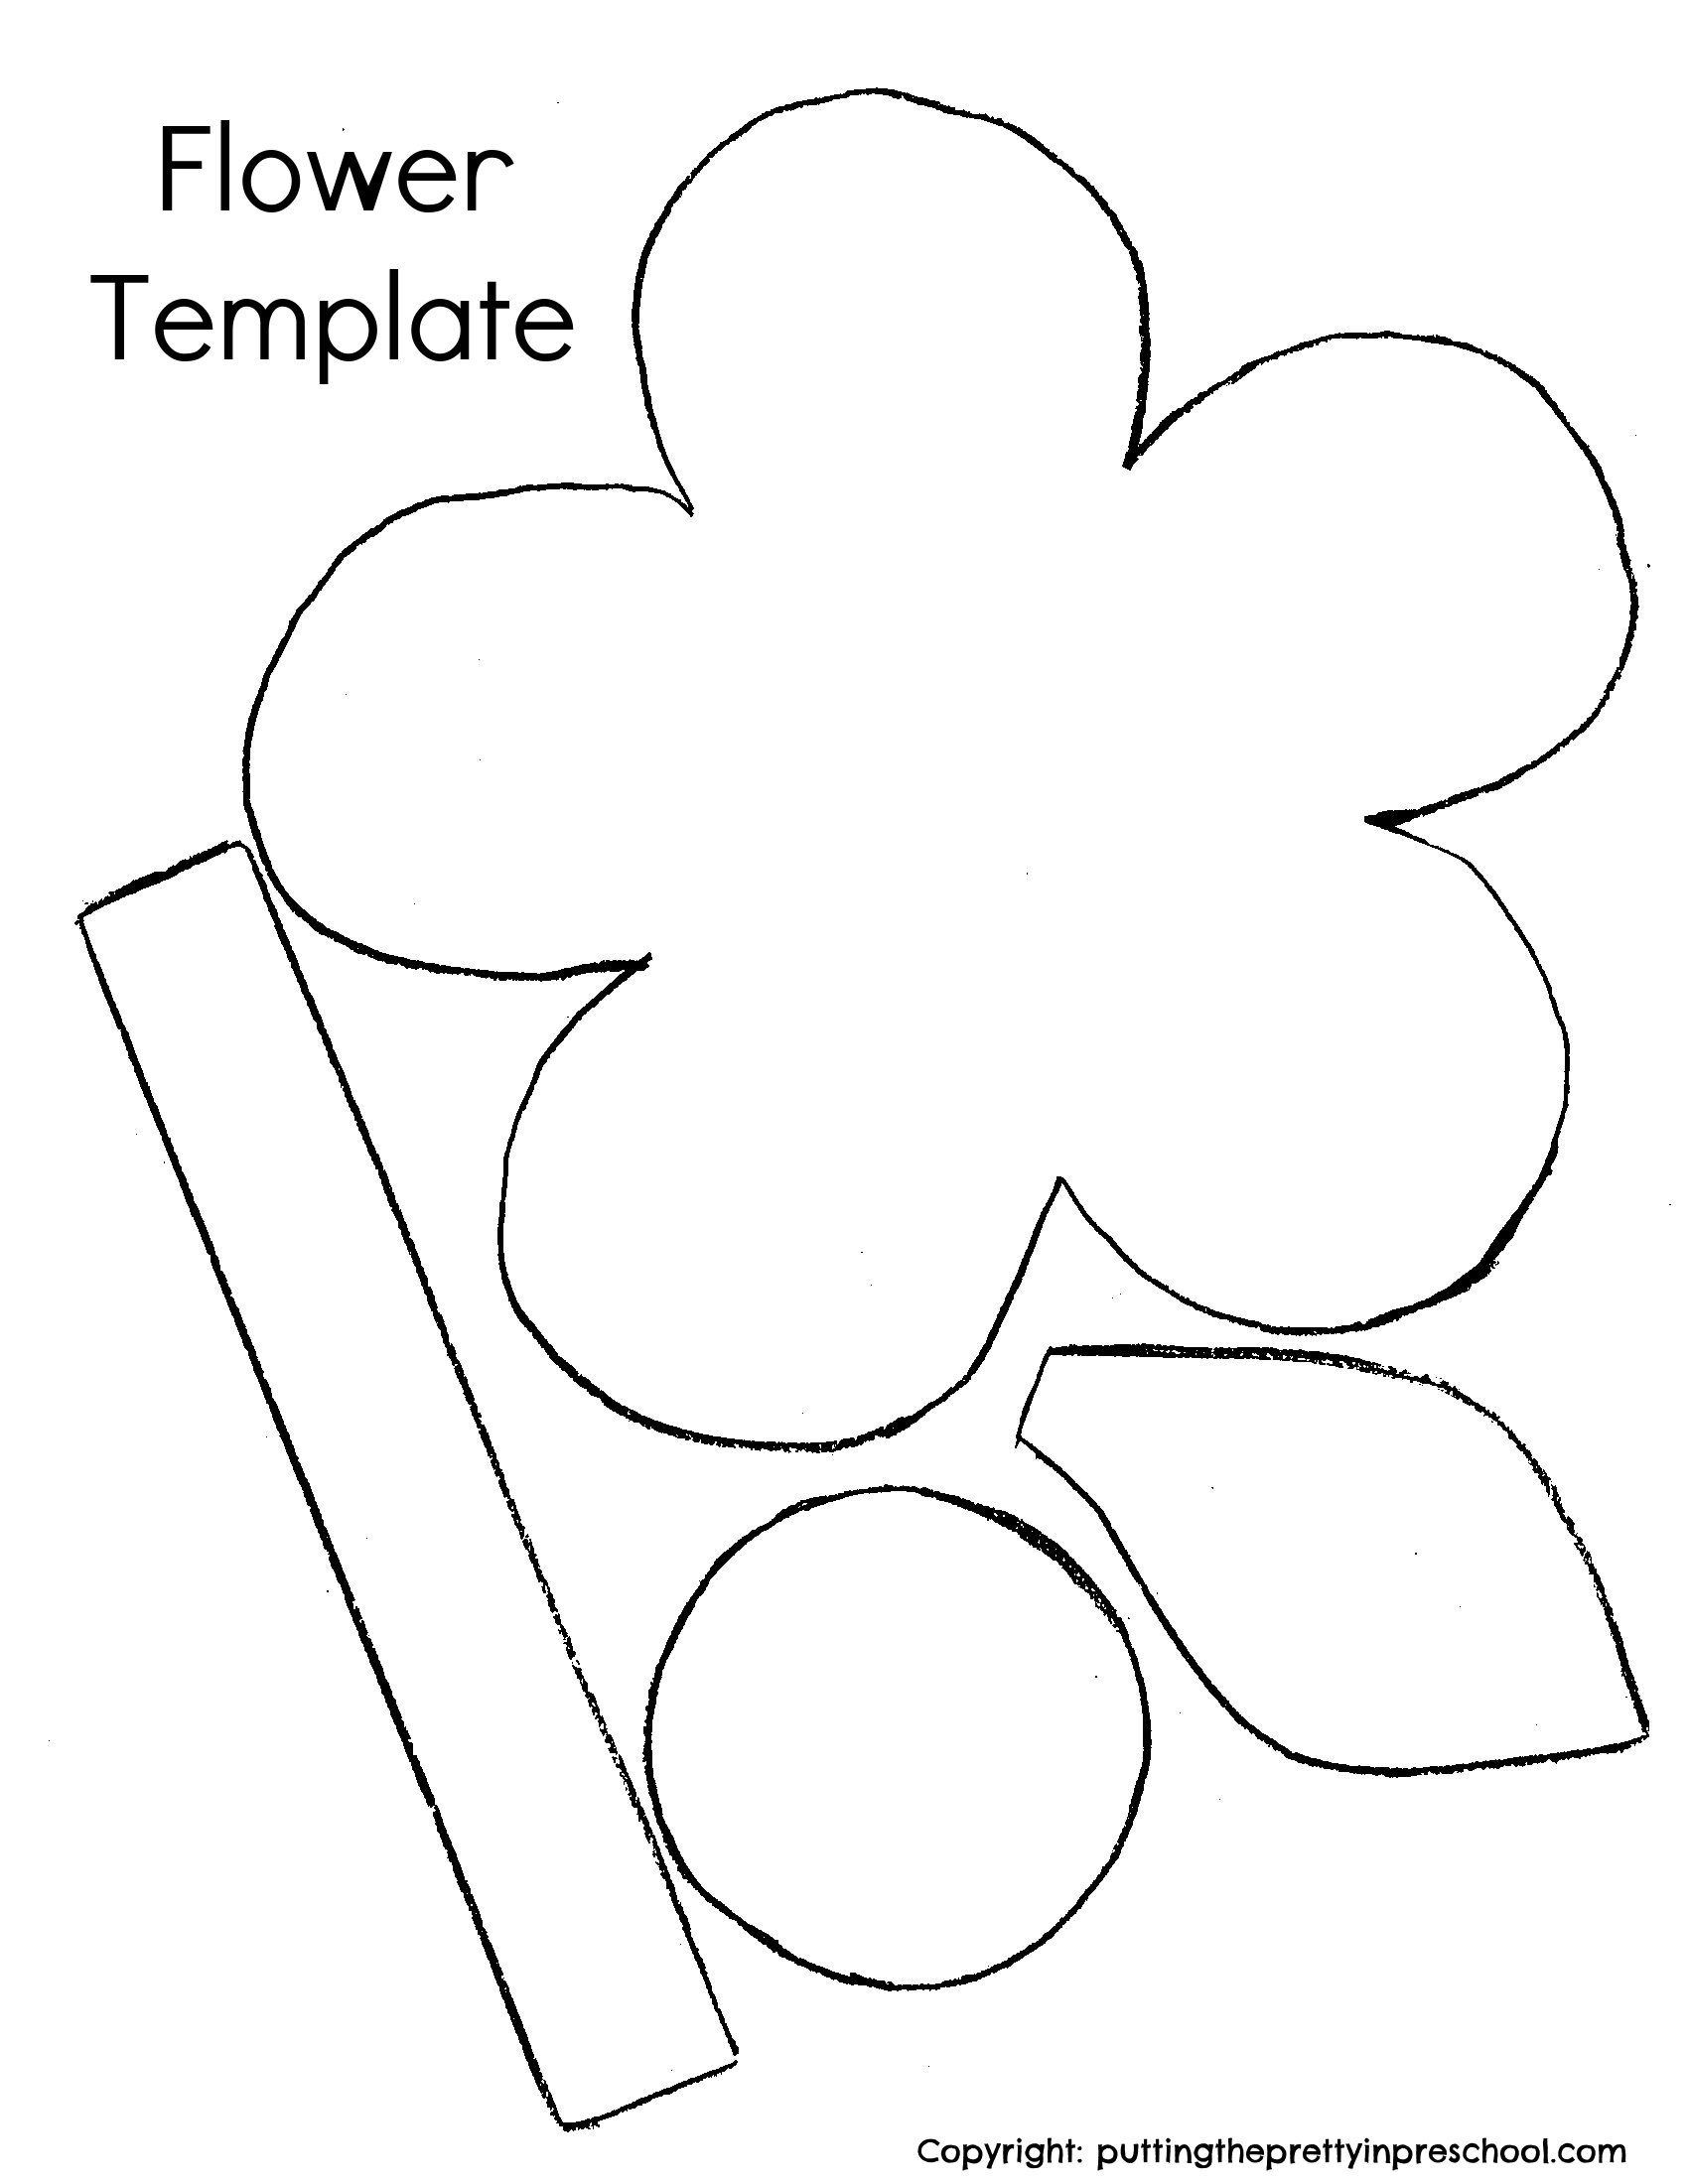
A third art project is to create paper towel flowers. Cut the flowers and circular centers from painted paper towel sheets, and add cardstock or construction paper stems and leaves.
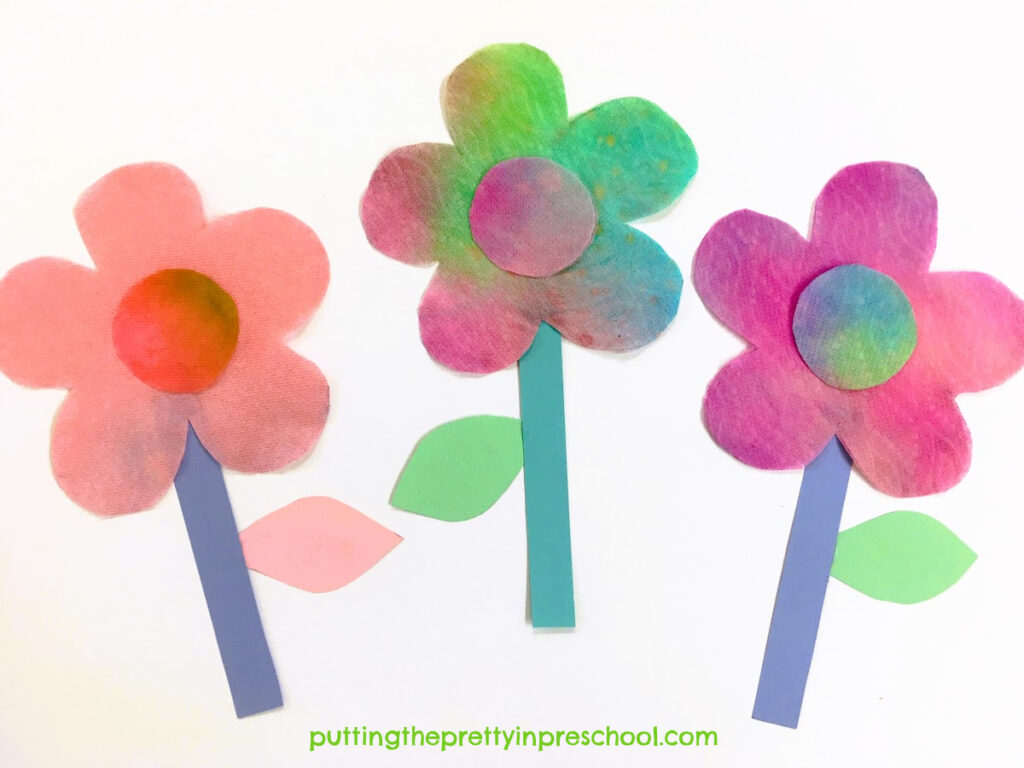
Create beautiful flowers with a super fun eye dropper painting technique. A paper craft that looks stunning displayed.

_______

Download this free flower template to make the craft.
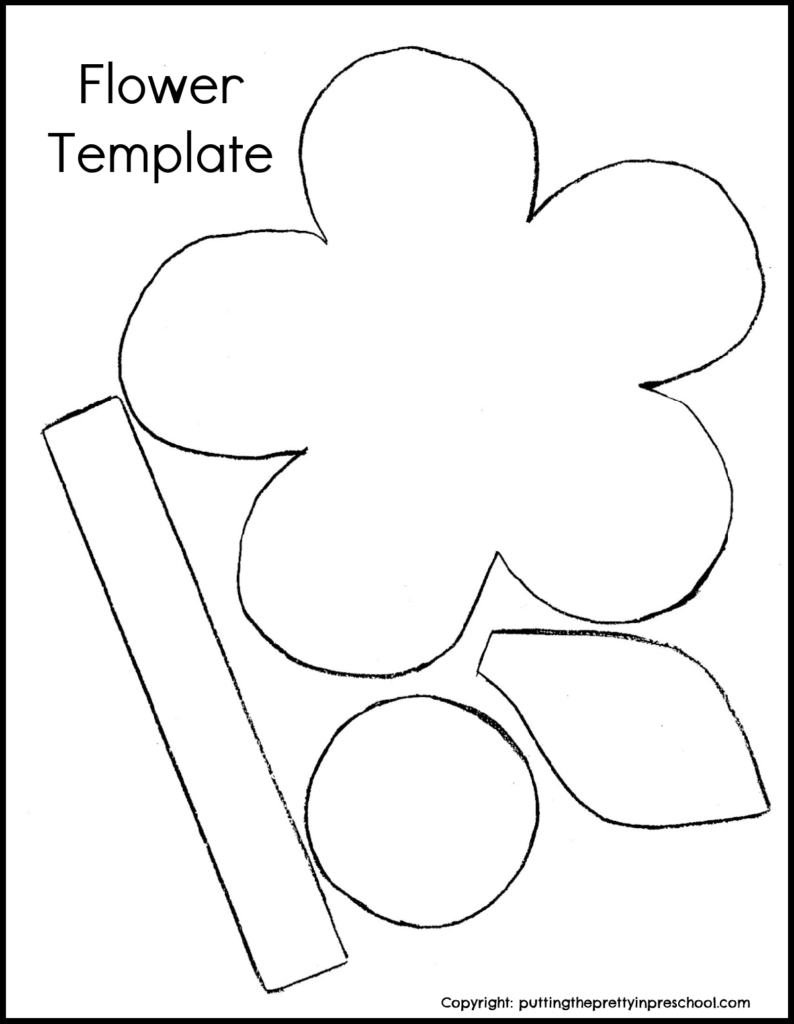
Download this free flower template for art or craft activities.

_______

Flower PrintableDownload

This printable is for individual or one-classroom use only.

_______

Light Table Play

The eye dropper paper towel dragonflies, butterflies, and flowers look especially beautiful displayed on a light table.
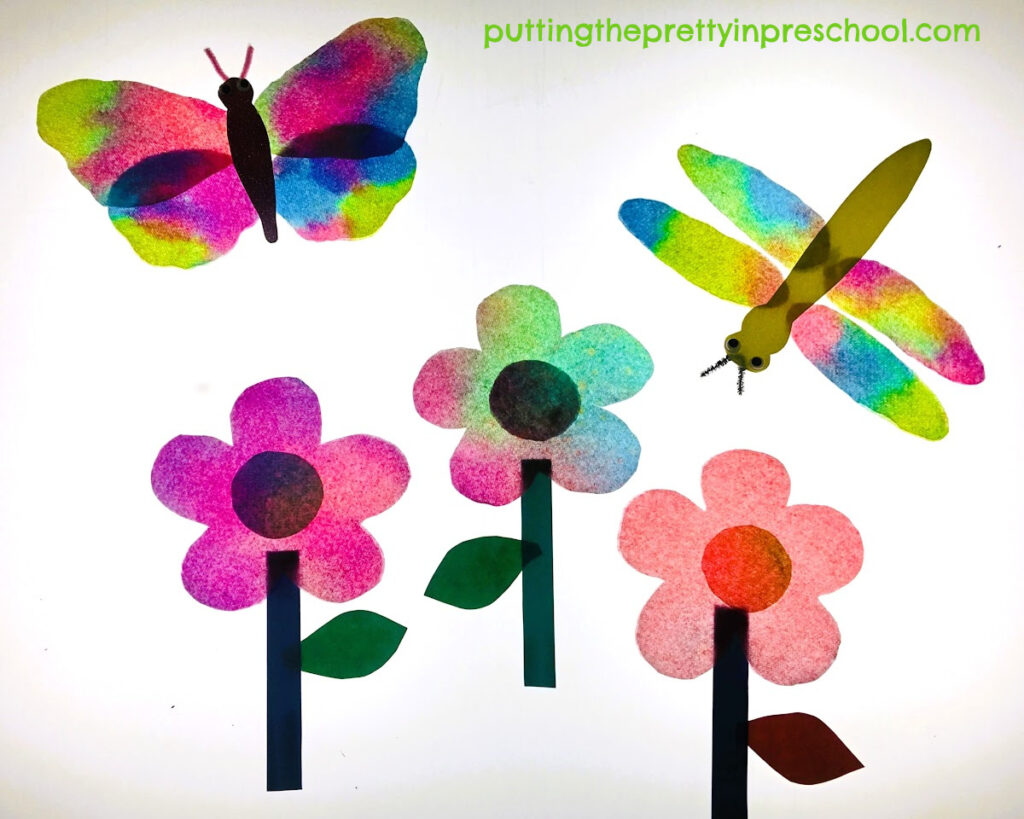
Eyedropper art dragonfly, butterfly, and flowers display beautifully on a light table.

_______

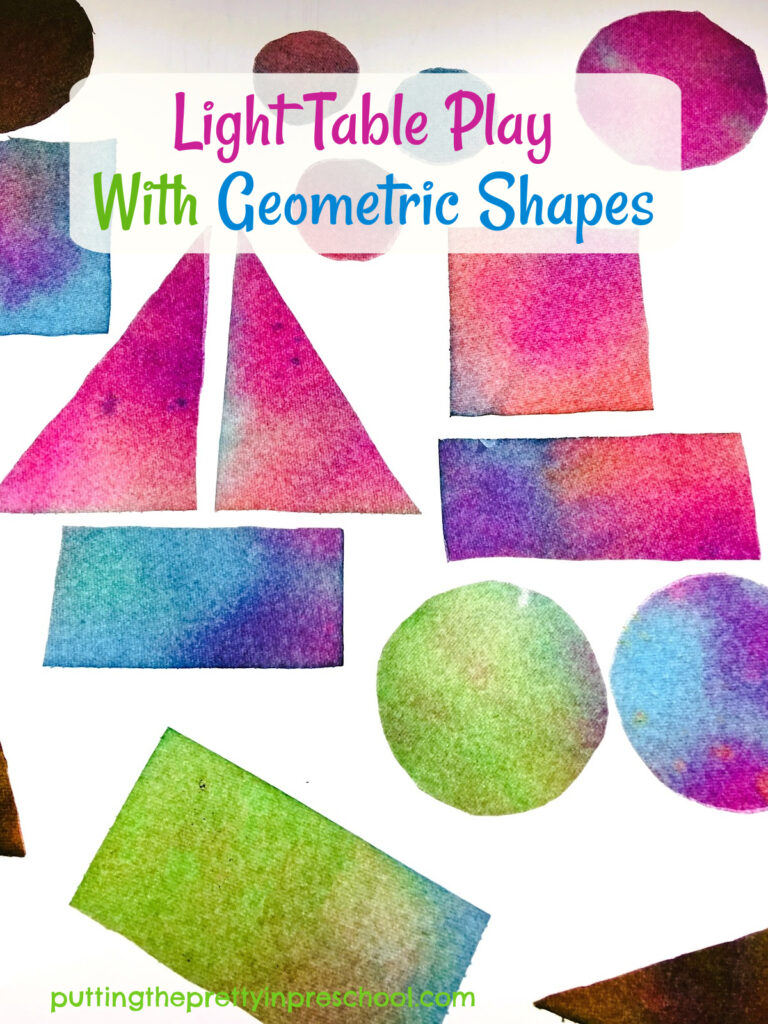
As an alternative, eye dropper-painted geometric shapes cut from paper towel sheets also illuminate wonderfully and offer opportunities to create original designs.
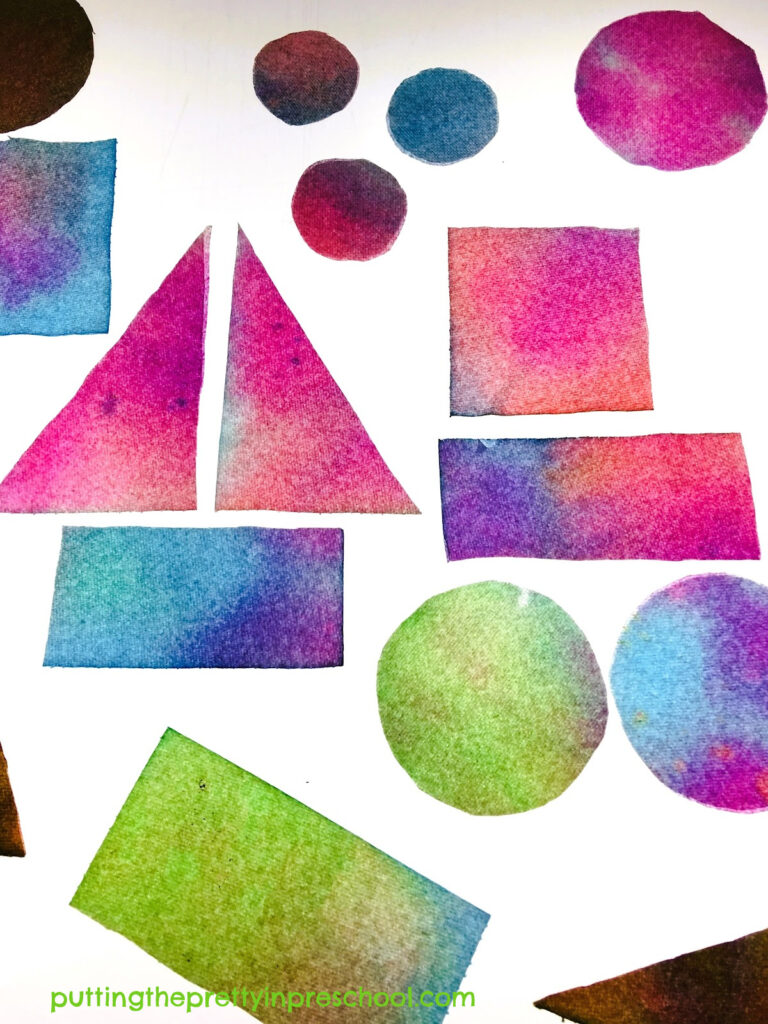
Eye dropper art on geomtric shapes look beautiful on a light table and provide an invitation to create interesting new designs.

_______

Related:

Earth Day Heart Art

Eye Dropper Leaf Art

Spider Theme Activities

Ladybug Wand Craft

_______

Eye dropper art on geomtric shapes look beautiful on a light table and provide an invitation to create interesting new designs.

_______

[Read more…] about Gorgeous Eye Dropper Art
Tweet
Share
Share
Pin

Filed Under: art, crafts, gardening, insects, light table, preschool, summer Tagged With: butterflies, dragonflies, flowers, light table, painting, paper crafts, process art

Paint Chip Watermelon Art

August 17, 2023 by Annette Kaminsky Leave a Comment

Tweet
Share
Share
Pin
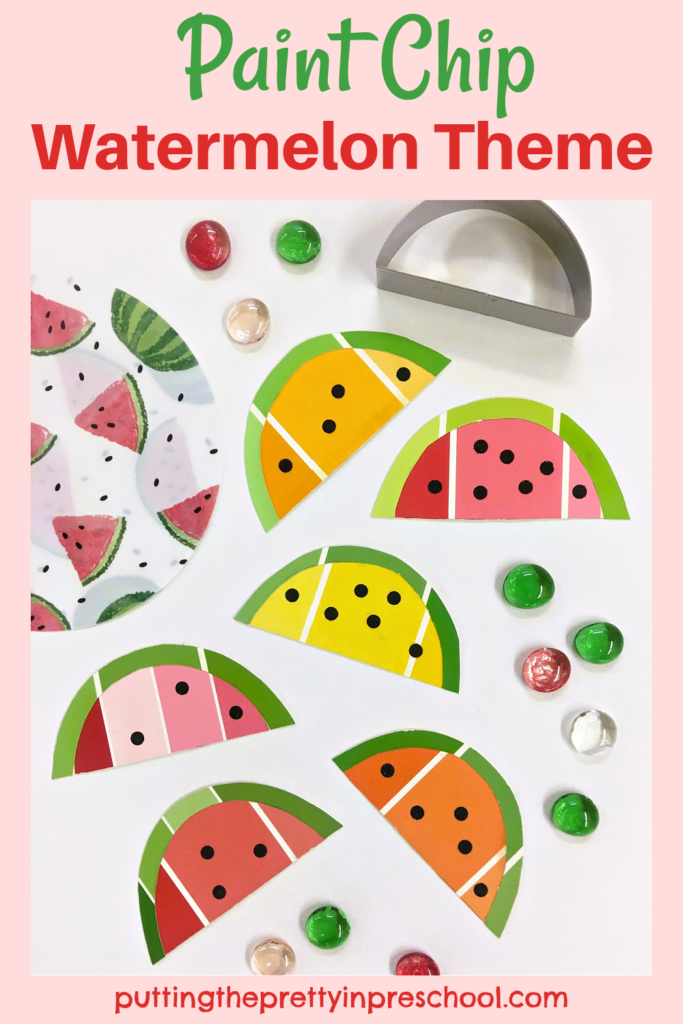
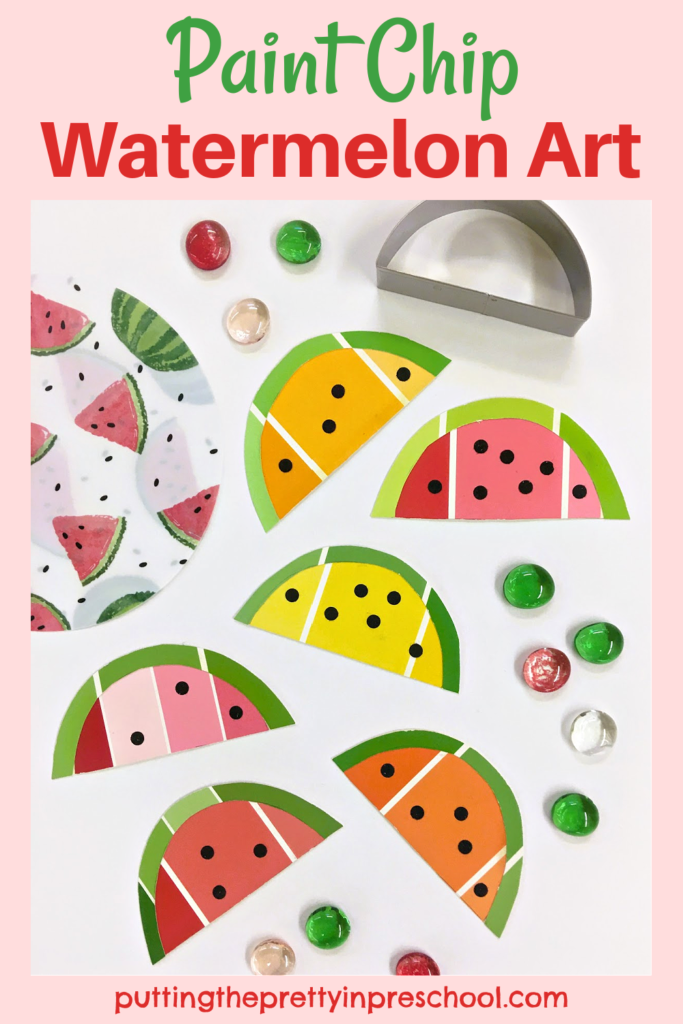
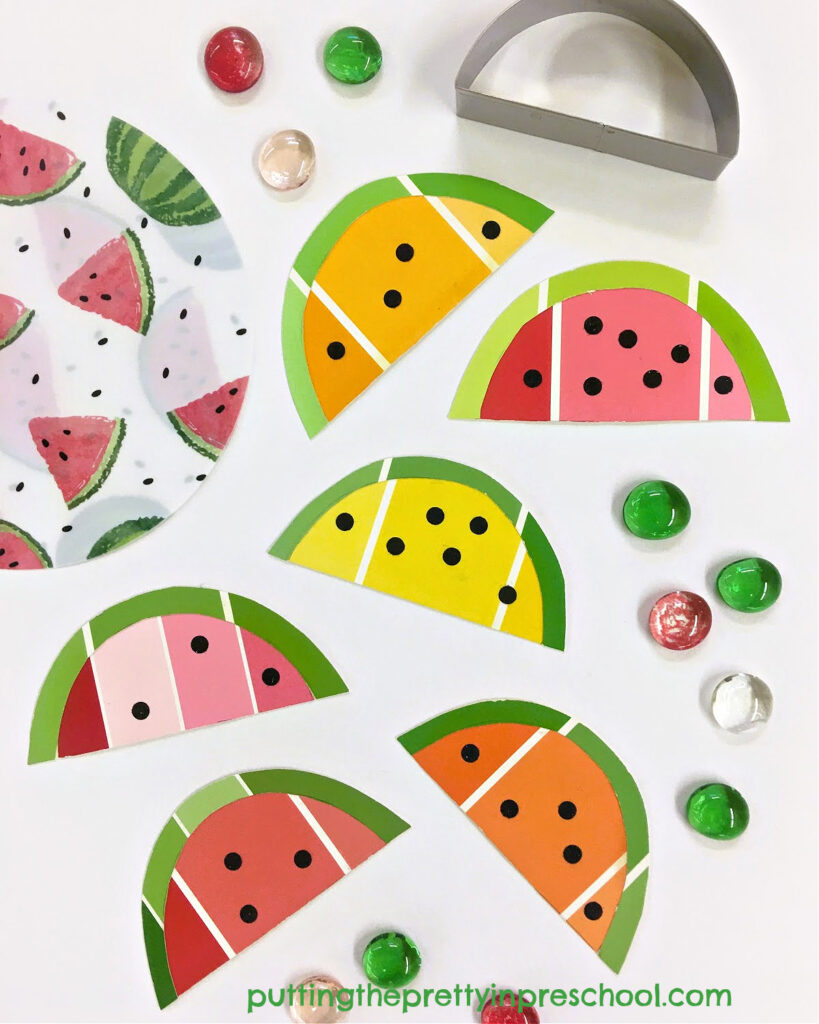
Create beautiful watermelon art with paint chip samples. The colorful watermelon slices can be used in many different activities.

_______

Paint chip color samples with their gorgeous lined-up hues are truly something special. They come in every glorious color scheme you can imagine and make any kind of art activity extra beautiful. In this post, they shine in paint chip watermelon art that lends itself to a variety of fun activities for children.

_______

Not Just Red

The only color of watermelon I experienced as a child is red, but did you know that there are also yellow, orange, pink, and white watermelon varieties? All these hues are featured in this fruity art activity.

_______

Follow me on Pinterest for more early learning ideas.

_______

Supplies To Collect

Gather the following supplies to make paint chip watermelon art:

  • paint chip samples in hues of red, pink, orange, yellow, and green
  • black cardstock
  • hole punch
  • glue stick
  • scissors and pencil

_______

Paint Chip Watermelon Art Process

Create beautiful watermelon art with paint chip samples. The colorful watermelon slices can be used in many different activities.

_______

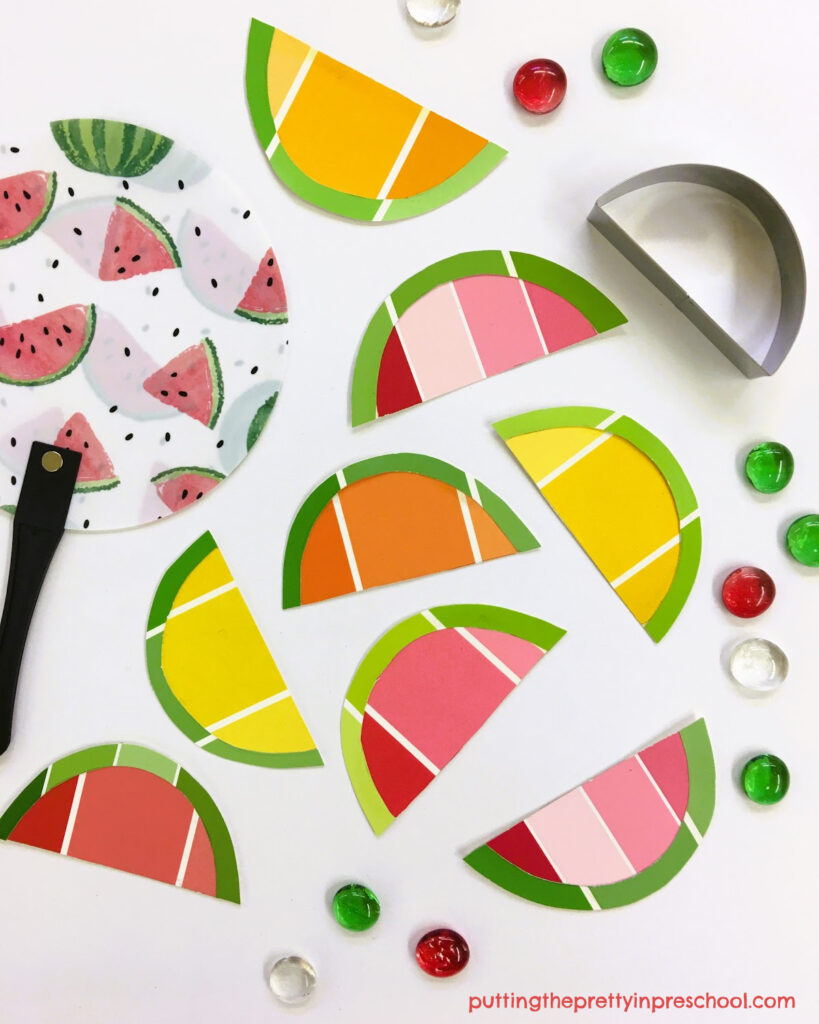
To create this juicy art activity, trace and cut out half-circle shapes from paint chip swatches donated from hardware stores.

Note: Watermelon comes in at least five different hues, so multi-shade paint chip strips in yellow, orange, pink, red, and white all apply.

Next, trace and cut out thin half-circle watermelon rinds from green paint color samples.

Afterward, use a glue stick to affix the green rinds to the curved edge of the half circles to create watermelon slices.

Just add seeds to these fruity slices to create watermelon art. The juicy slices can be used in many differnt activities for litlle learners.

_______

Then punch dots from black construction paper for watermelon seeds, and glue a few onto each watermelon slice.

_______

Paint Chip Watermelon Activities

The created paint chip watermelon slices can be used in several ways with little learners:

Watermelon Slice Collage

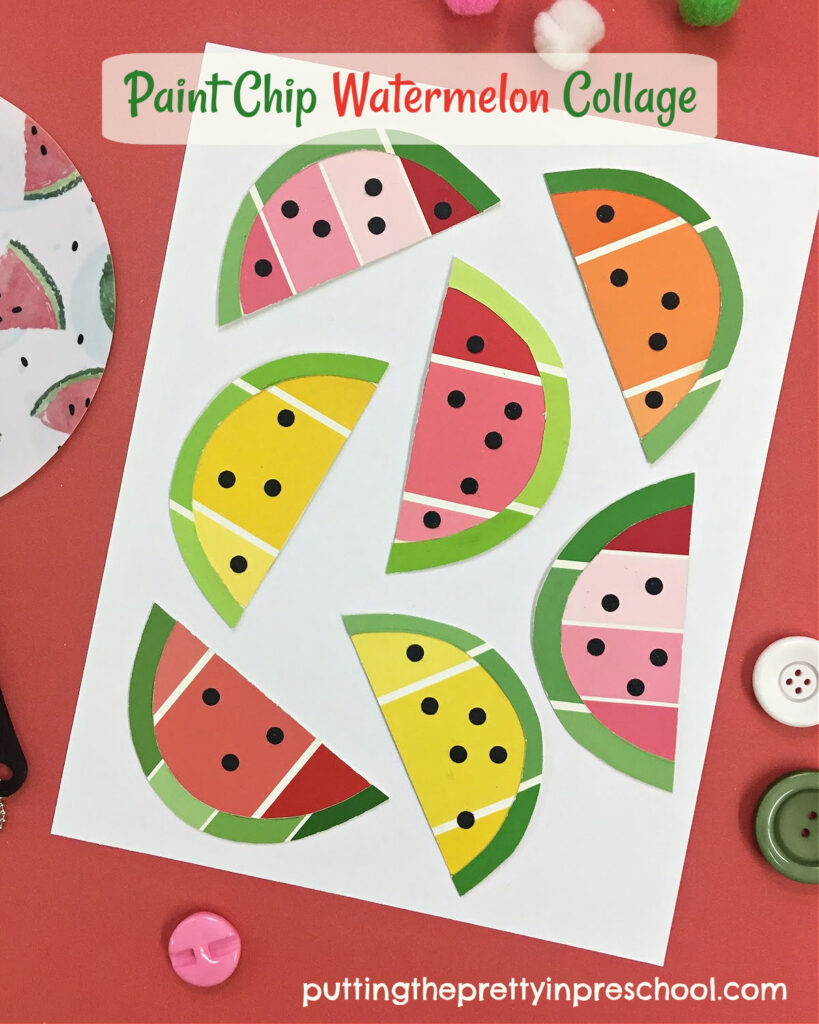
Invite little learners to glue watermelon slices to a large sheet of paper for a pretty watermelon collage.

Craft watermelon slices with paint chip samples and use them in a pretty watermelon collage. A beautiful. all-ages art activity.

_______

Counting and Color Recognition Activities

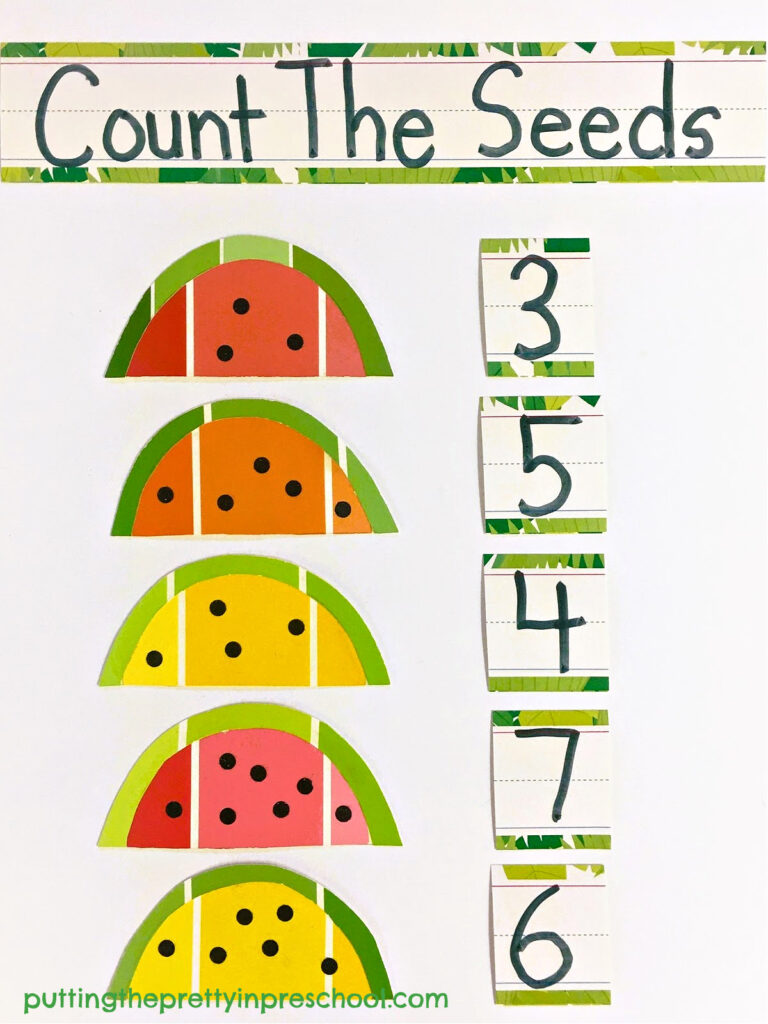
Use the juicy slices as props for counting and color-recognition rhymes, songs, and charting activities.

Paint chip watermelon slices shine in this fruity math chart where little learners can count the seeds and add the corresponding number.

_______

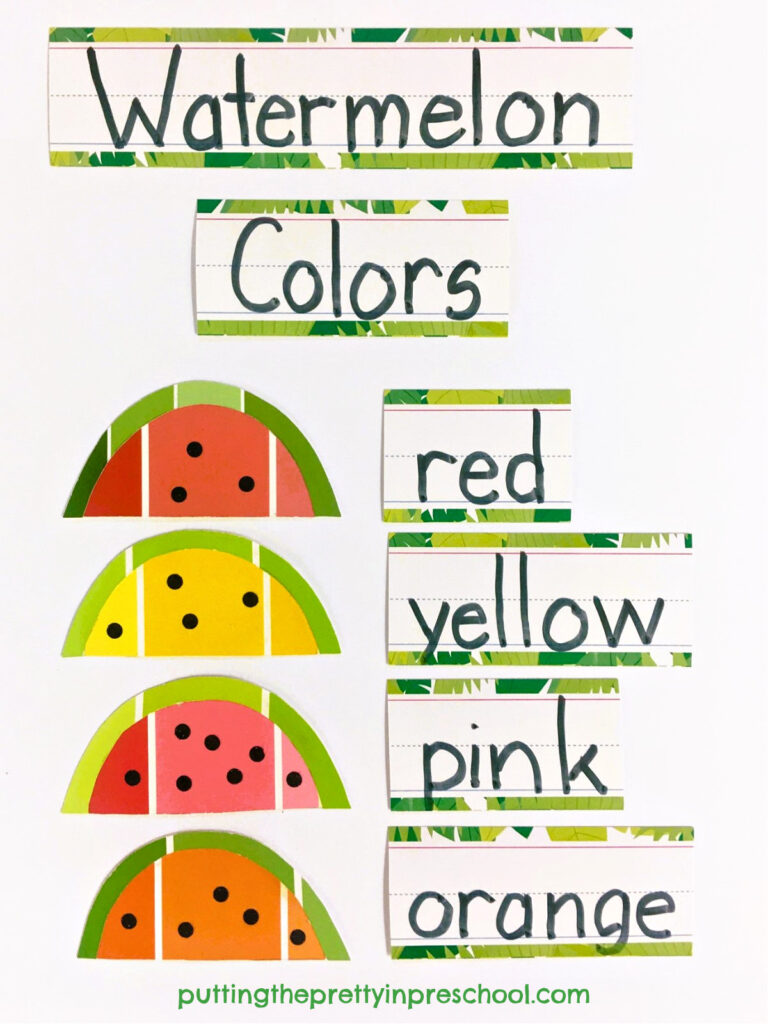
Paint chip watermelon art used in a fruity color chart where little learners can practice matching color words to watermelon slices.

_______

Pretend Play Food

The crafted fruit slices make attractive pretend food for a play kitchen.

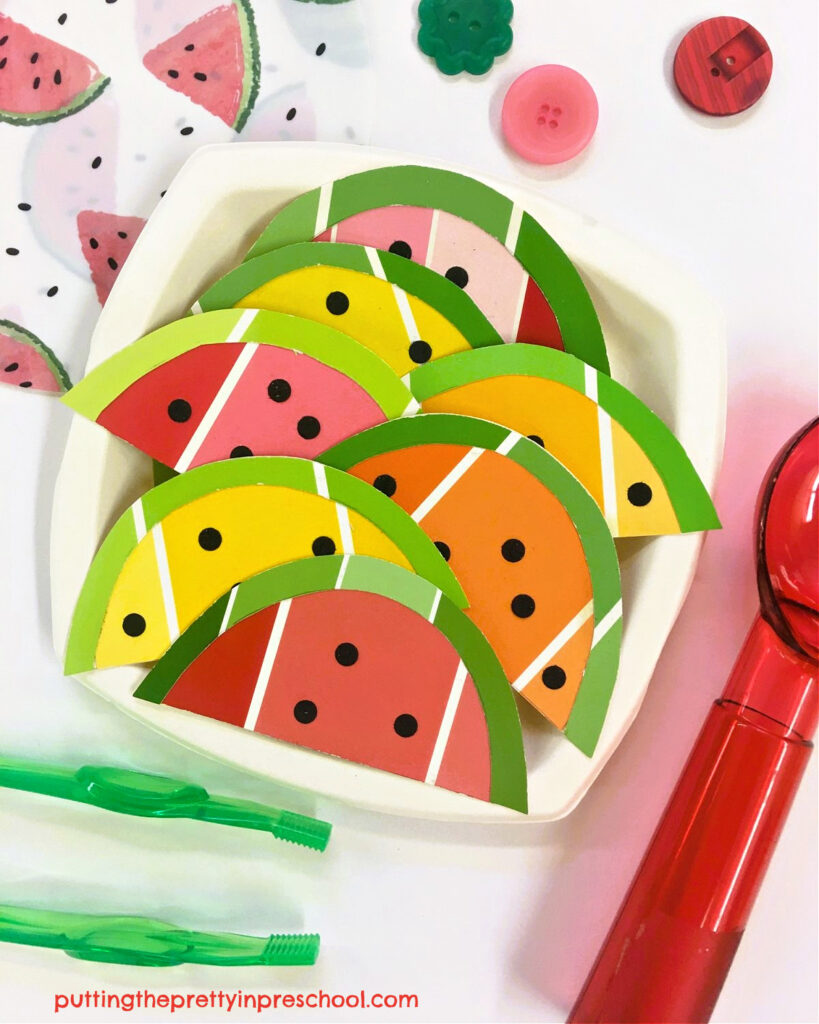
Paint chip watermelon slices make attractive play food for a pretend play kitchen.

_______

Watermelon Necklace

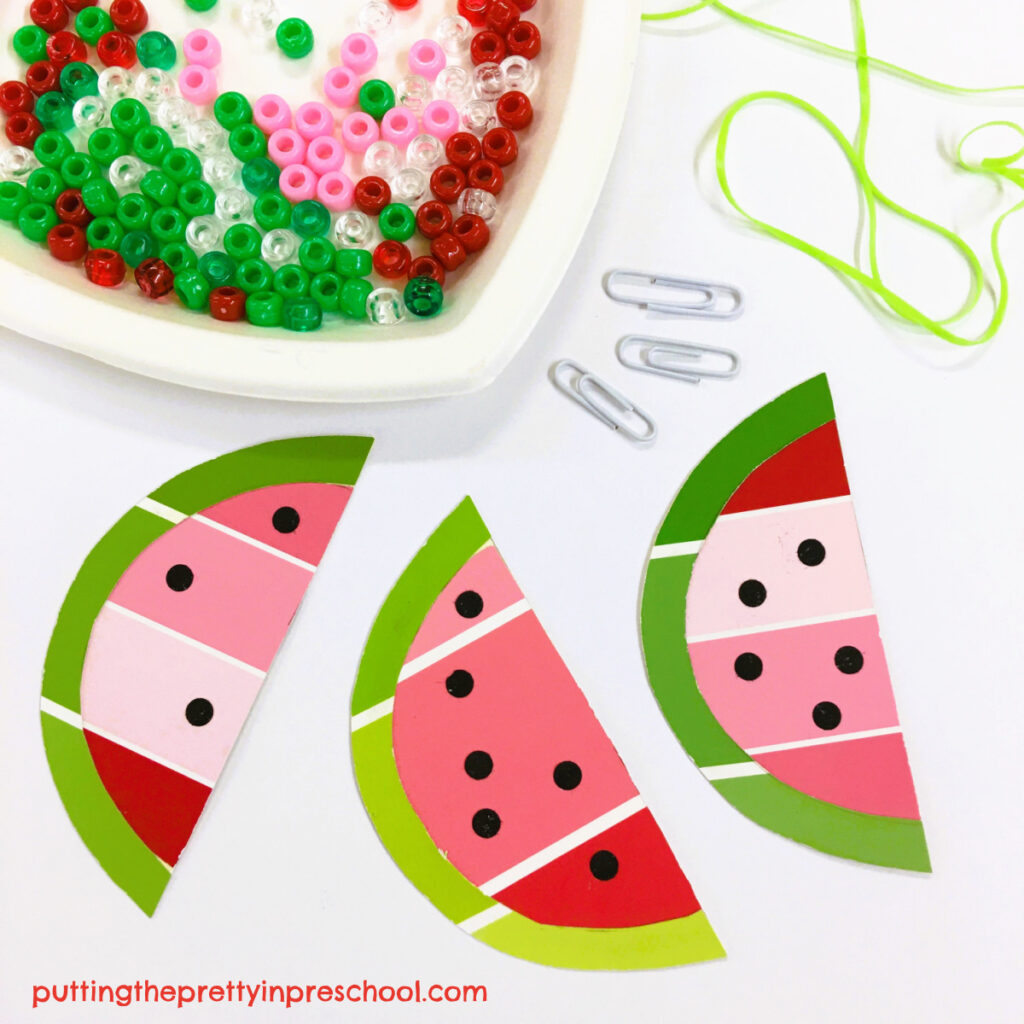
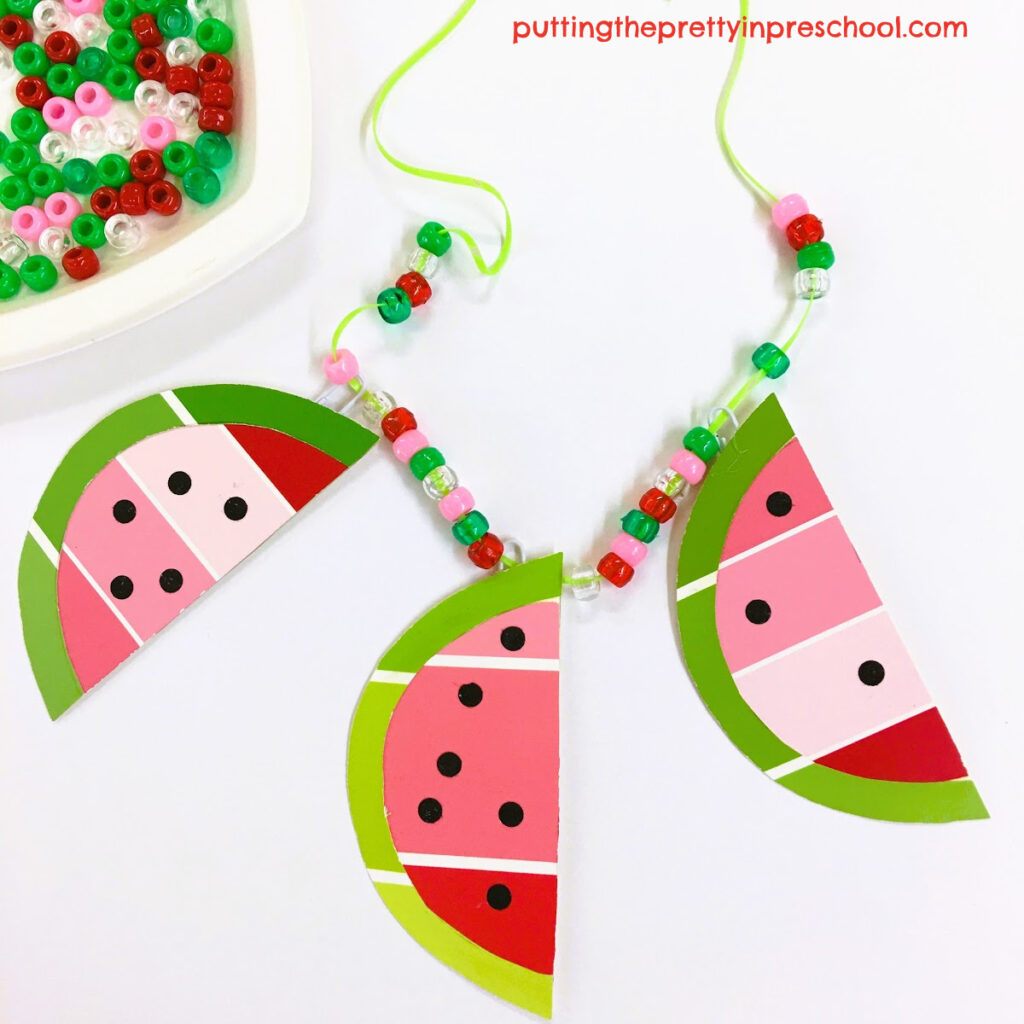
With a hot glue gun, affix small paper clips to the back top of three watermelon slices. String pony beads and paper watermelon slices onto a 24-inch piece of thin lacing cord and tie it off.

Supplies to make a beaded necklace with paint chip watermelon slices and green, red, pink, and clear pony beads.

_______

How to make a beaded necklace with paint chip watermelon slices and green, red, pink, and clear pony beads.

_______

Color Discussions

After little learners can recognize the basic colors, use the paint chip watermelon slices to discuss lighter and darker shades of color.

_______

Paint Chip Fruit Drink Art

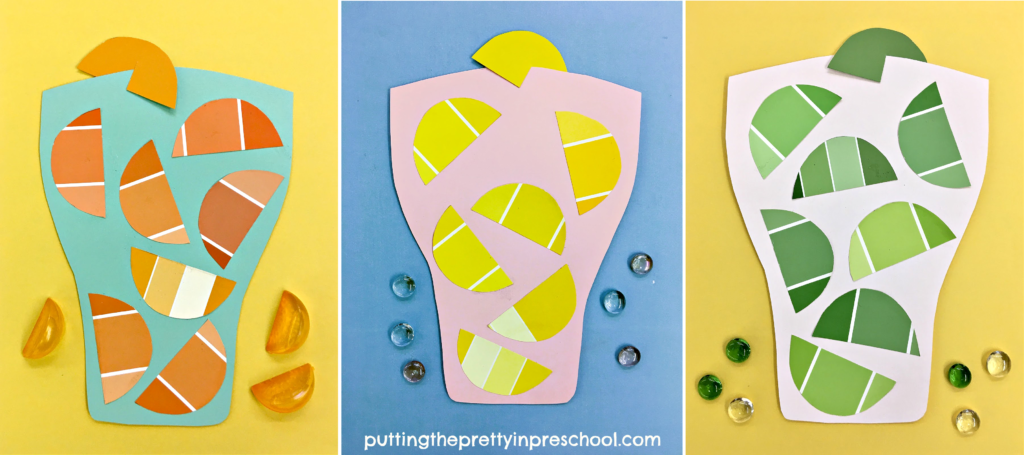
It is easy to transition this paint chip watermelon art activity into a fruit drink craft. To do this, cut paper glasses from construction paper colors of choice. Then cut half circles from paint chip swatches in fruity hues. Offer each participant a paper glass, glue stick, and six or seven half-circle fruit wedges to create a lemon, lime, or orange paper drink. Add an additional fruit slice to the top of each glass.

Create a cute paper drink craft with orange, yellow, and green paint chip fruit slices glued onto drinking glass shapes.

_______

Watermelon Facts

Interested in finding out more about different kinds and colors of watermelon? Check out the post “Here’s the Difference Between Pink, Orange, and Yellow Watermelon” by myrecipes.com.

_______

Ideas to include paint chip watermelon slices in math, color recognition, art, dramatic play, and manipulative activities for early learners.

_______

Related:

Paint Chip Apple Craft

Watermelon Dramatic Play Center

Fun Ways To Serve Watermelon

Watermelon-Inspired Banner Craft

Watermelon Playdough Tray

_______

[Read more…] about Paint Chip Watermelon Art
Tweet
Share
Share
Pin

Filed Under: art, crafts, dramatic play, literacy, Math, preschool, pretend play, summer, themes Tagged With: dramatic play, jewelry, paint chips, paper crafts, watermelon

Contact Paper Flower Art
August 4, 2023 by Annette Kaminsky Leave a Comment

Tweet
Share
Share
Pin
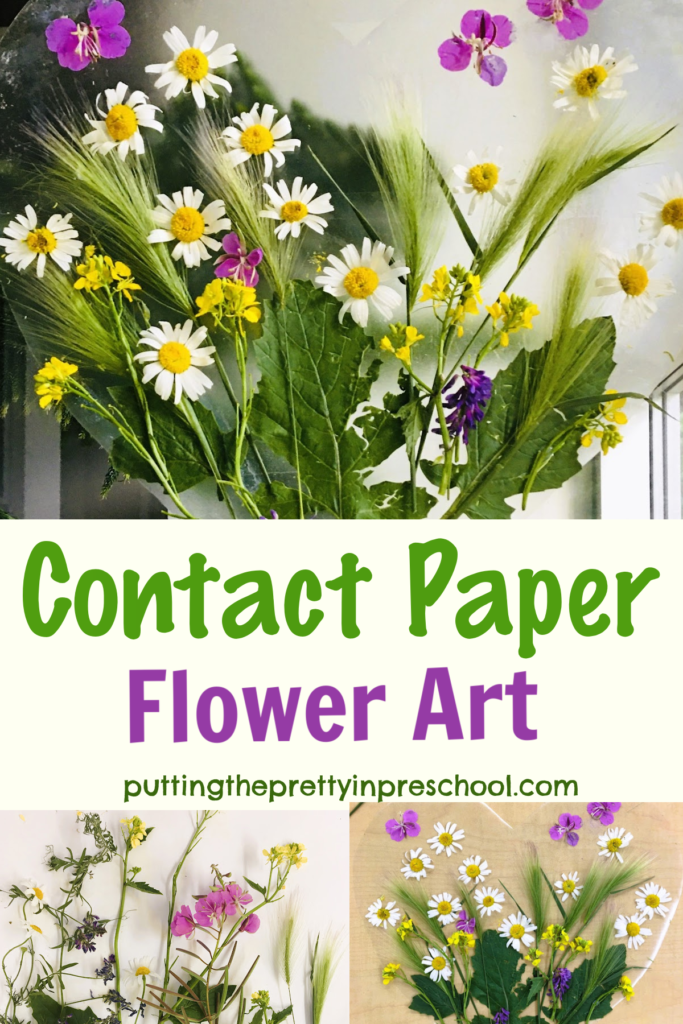
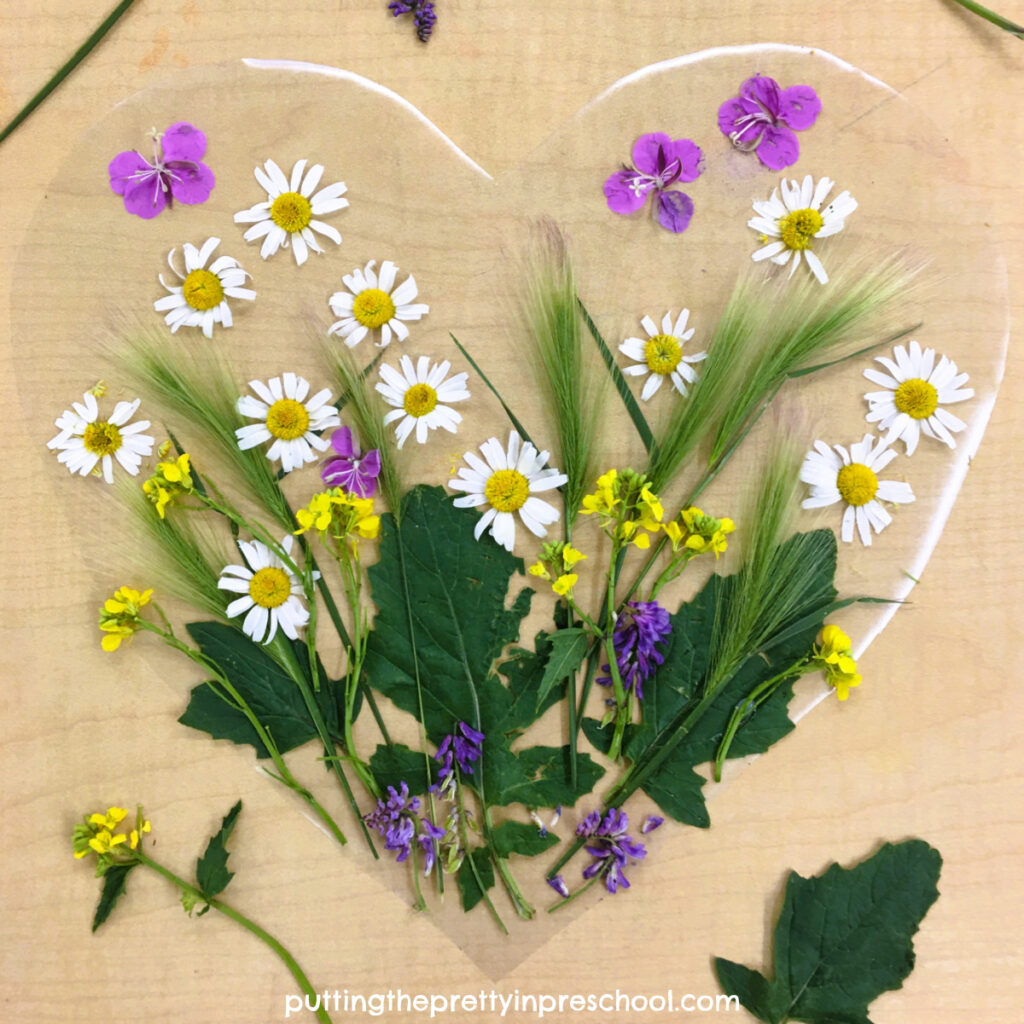
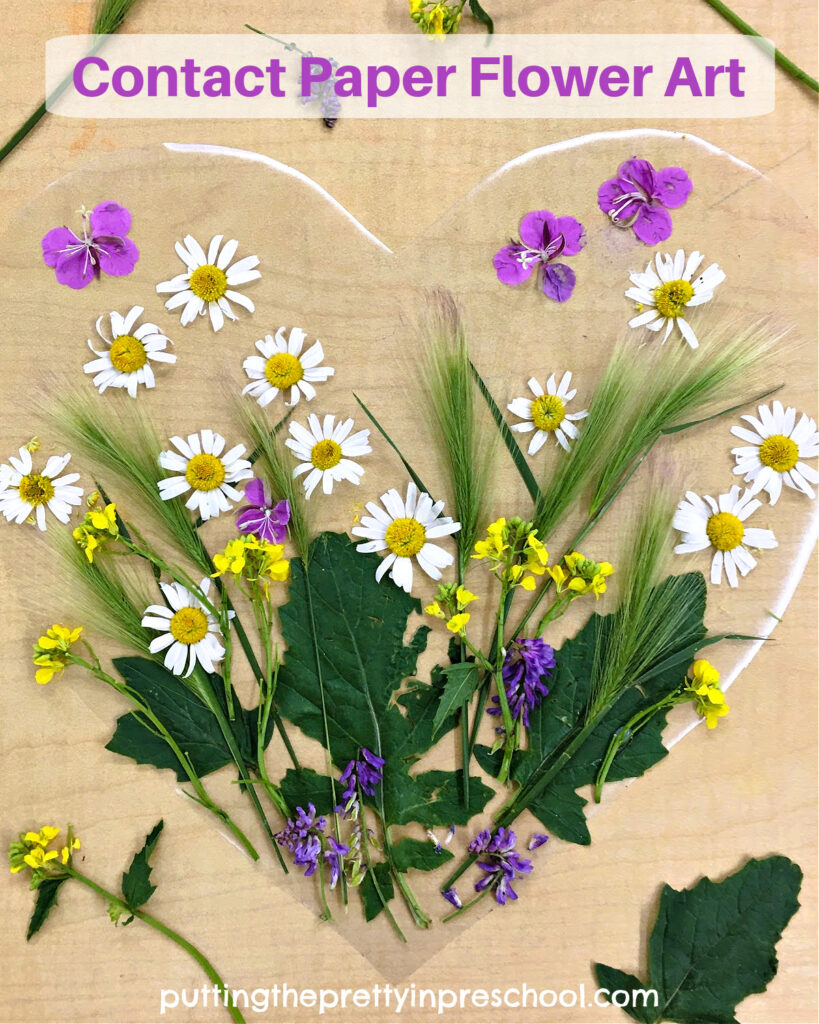
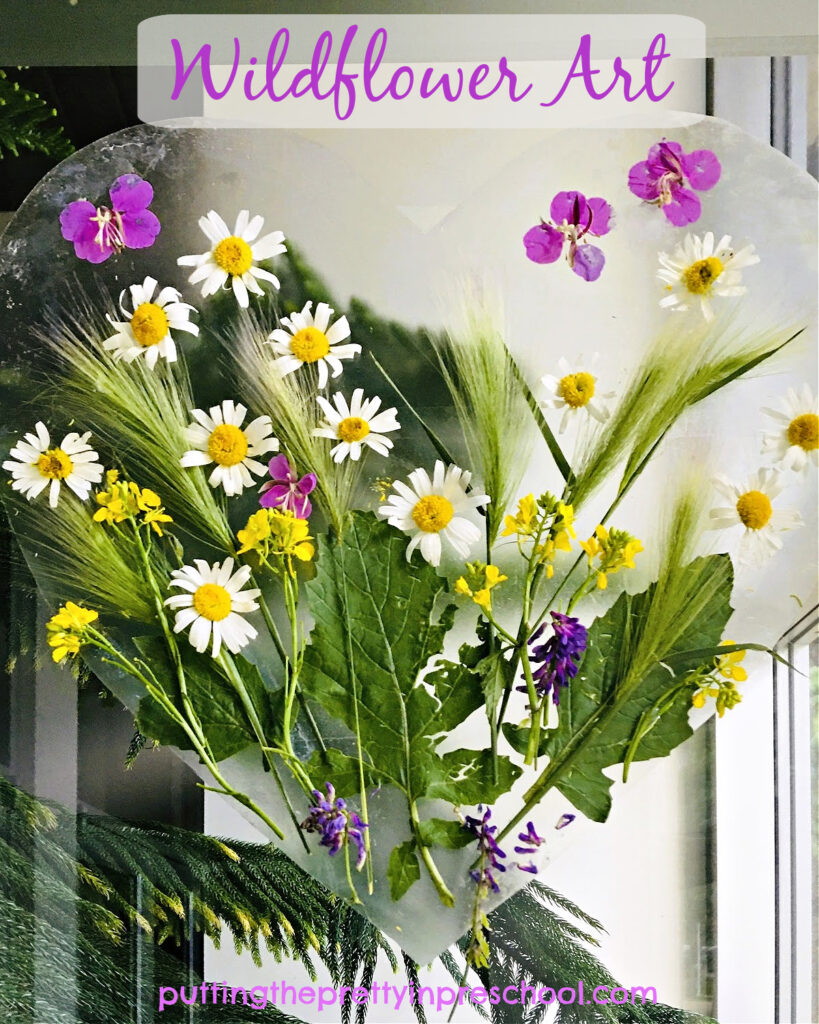
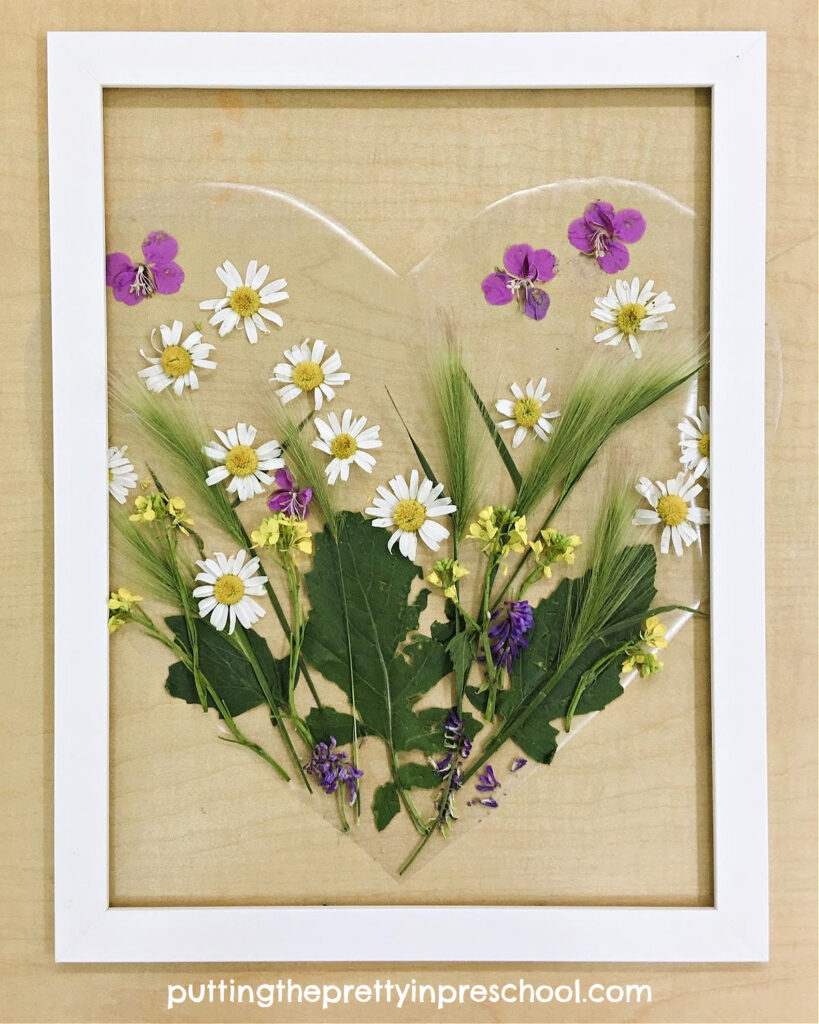
How to create oh-so-pretty contact paper flower art using flowers and foliage found in the wild. A beautiful, transient nature art project.

_______

For at least two years I have been wanting to try a floral window art project with contact paper. And I was hoping to use flowers and foliage growing in the wild in my first attempt, just to give them a moment. Although this summer I purchased more flowering annuals than usual and the blooms are taking over my yard, this contact paper flower art project is made with wildflowers and greenery found in our city. It is surprisingly effortless to do, and little learners can easily join in.

Use flowers and foliage found in the wild to create beautiful transient window art on contact paper. An all-ages nature art activity.

_______

Follow me on Pinterest for more early learning ideas.

_______

Creating Contact Paper Flower Art
To create this transient nature art project, start by gathering flowers and greenery to use. A natural wildflower patch at a local dog park provided all I needed for this design.

Create oh-so-pretty contact paper flower art using flowers and foliage found in the wild. A beautiful, transient nature art project.

_______

Note: It is a good idea to check if the plants you find are toxic to humans before you decide to include them. If so, do not offer them to little learners to use in the project.

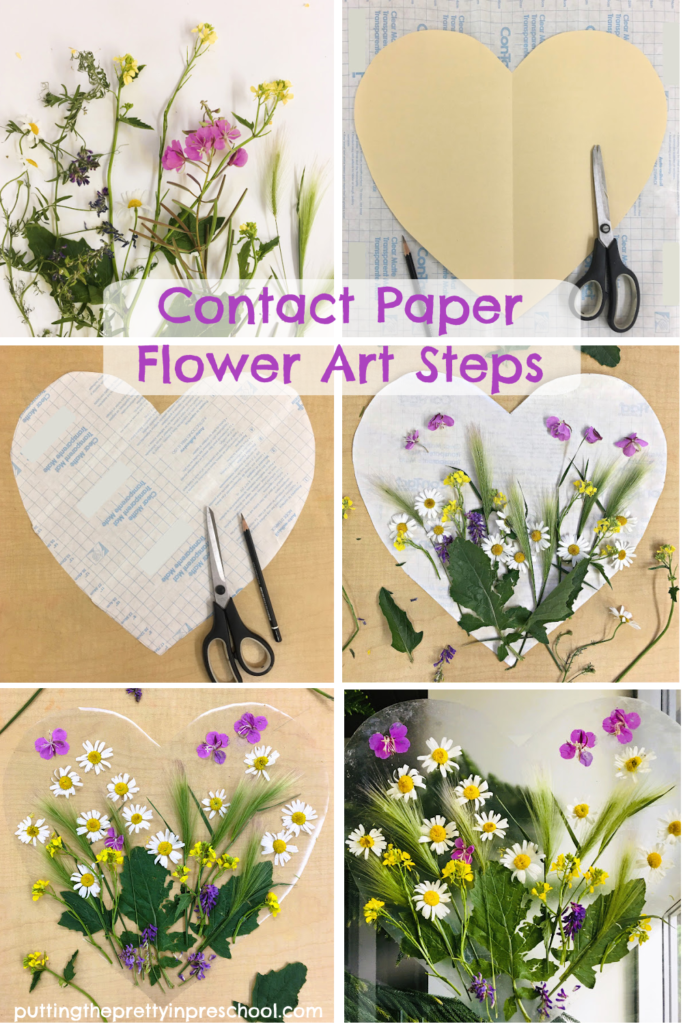
Next, cut a shape from contact paper. You can simply snip off a rectangular strip, or create a special shape such as a heart or star.

Then slowly and carefully peel off the backing so it comes off smoothly without wrinkling the sticky contact paper.

Steps to create oh-so-pretty contact paper flower art using flowers and foliage found in the wild. A beautiful, transient nature art project.

_______

If you have a specific design in mind, use the peeled-off paper as a dummy to plan the arrangement of the flowers.

Afterward, transfer the flowers and foliage to the contact paper, and gently press them down. It works well to start with greenery and then add flowers.

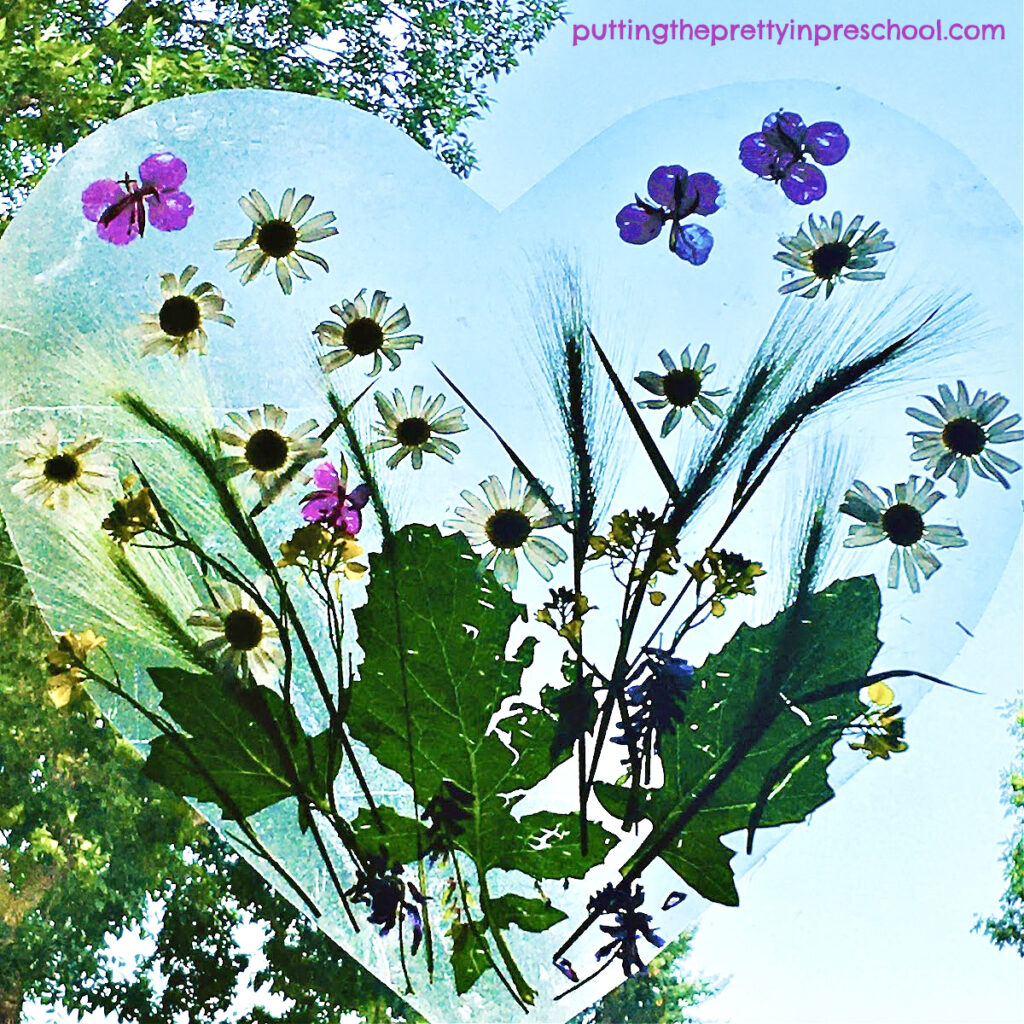
In my design, the daisies are plump in the middle but tolerate a good finger press and adhere well. And the four-petalled purple flowers work perfectly as butterflies.

Create oh-so-pretty contact paper flower art using flowers and foliage found in the wild. A beautiful, transient nature art project.

_______

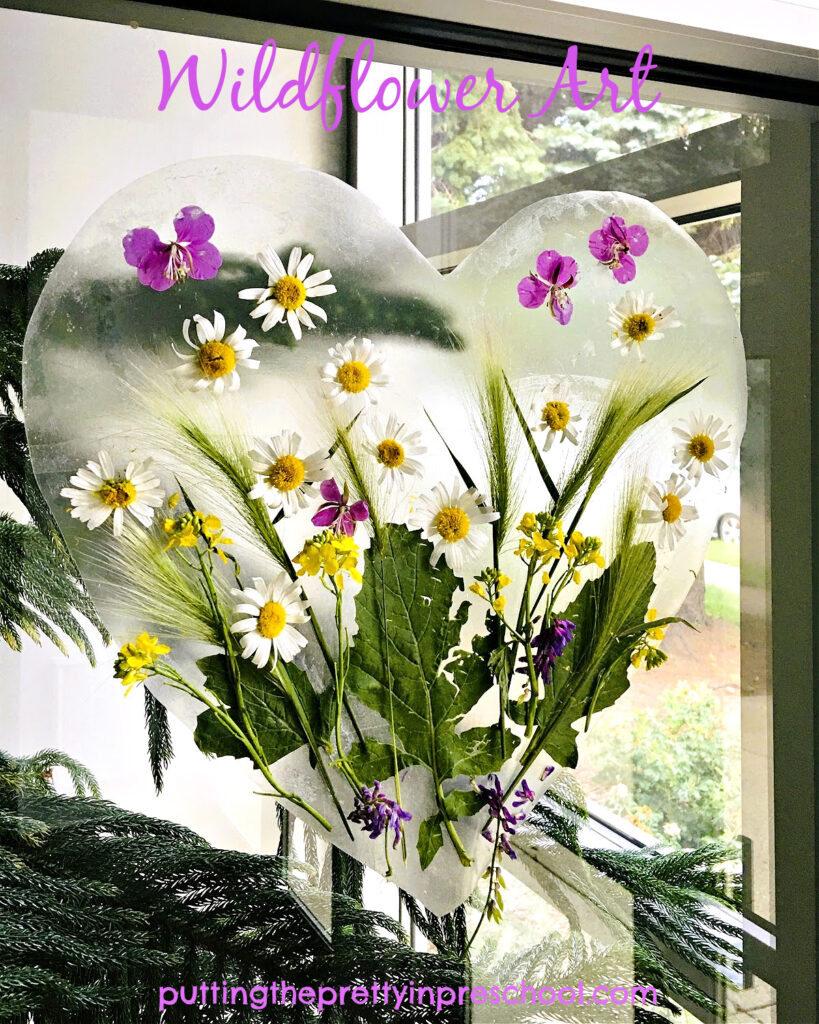
This contact paper art project with wildflowers looks beautiful displayed in a window. Just use a glue stick to add adhesive to the window of choice, and gently press the flower art over it. The glue washes off easily without leaving any marks after the project is taken down.

How to create oh-so-pretty contact paper flower art using flowers and foliage found in the wild. A beautiful, transient nature art project.

_______

More Contact Paper Flower Art Ideas
Here are more ways to create or display contact paper flower art:

Instead of setting this art project on a table, tack the contact paper to a window first and offer the art activity there. Besides providing a novel way to create art, it improves little learners’ core body strength and eye-hand coordination.

How to create oh-so-pretty contact paper flower art using flowers and foliage found in the wild. A beautiful, transient nature art project.

_______

To provide a unique invitation to create, set the contact paper on a table and place a frame around it. Add a tray of flowers and foliage for little learners to use to decorate the sticky surface.

An Invitation to create oh-so-pretty contact paper flower art using flowers and foliage found in the wild. A beautiful, transient nature art project.

_______

To make this tacky art project more durable, add a cardboard frame.

Another way to display the art is to use a glue gun to adhere a strip of yarn to the top of the completed project and hang it on a tree.

_______

[Read more…] about Contact Paper Flower Art
Tweet
Share
Share
Pin

Filed Under: art, crafts, display, gardening, preschool, summer Tagged With: flowers, nature art, transient art
Shiny Paint Cactus Art
August 3, 2023 by Annette Kaminsky Leave a Comment

Tweet
Share
Share
Pin
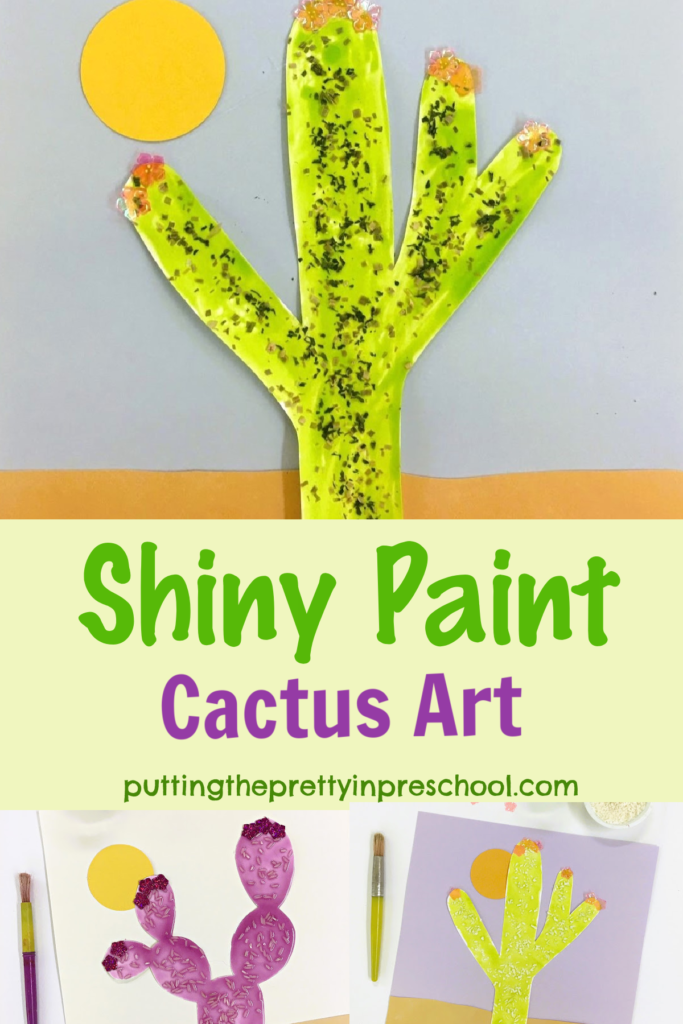
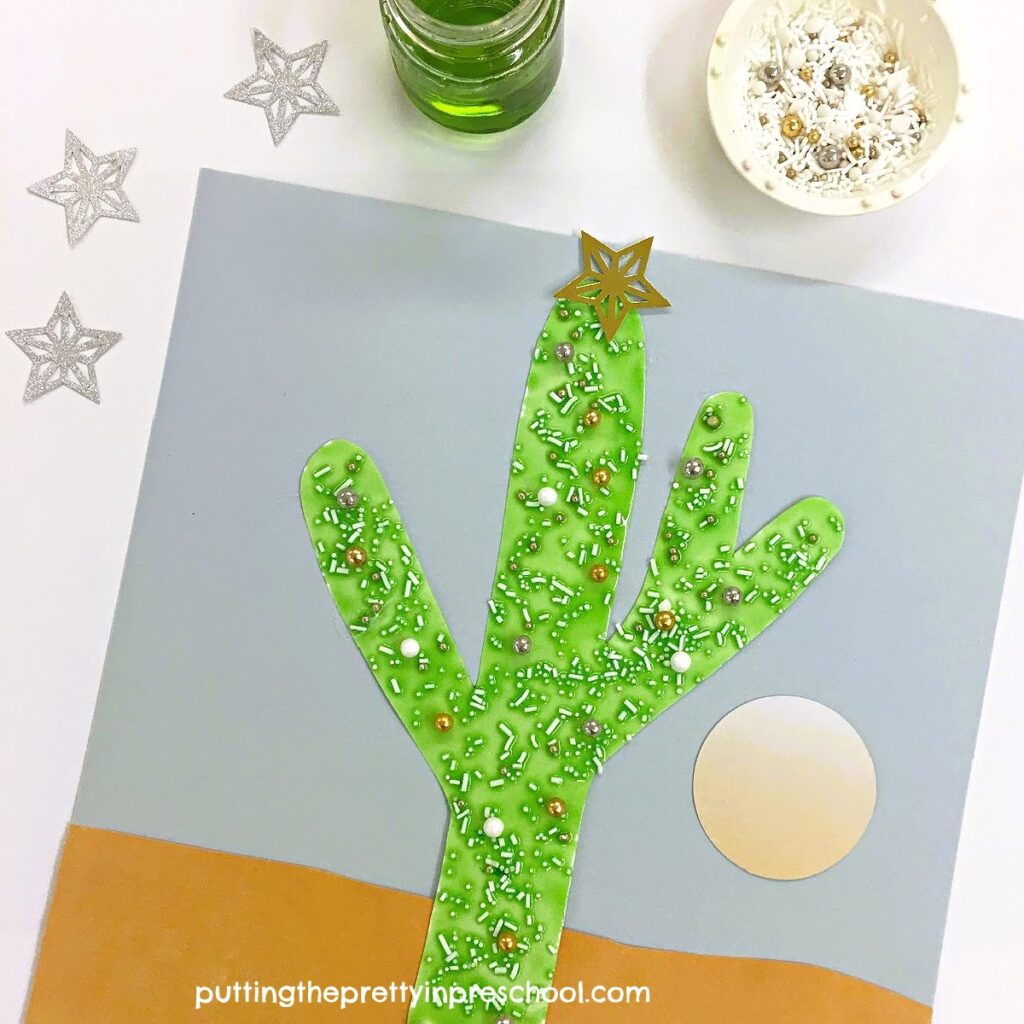
Four easy to make shiny cactus art projects that look beautifully displayed. Kitchen supplies gleam in this all-ages art activity.

_______

This all-ages shiny paint cactus art can be made in a few different ways. Try one of the versions or try them all, and share a few cactus facts along the way. Saguaro and prickly pear cactus trees are featured in the activities, and two free cactus templates are available to download to make your art activity preparation easier.

_______

Follow me on Pinterest for more early learning ideas.

_______

Supplies To Collect

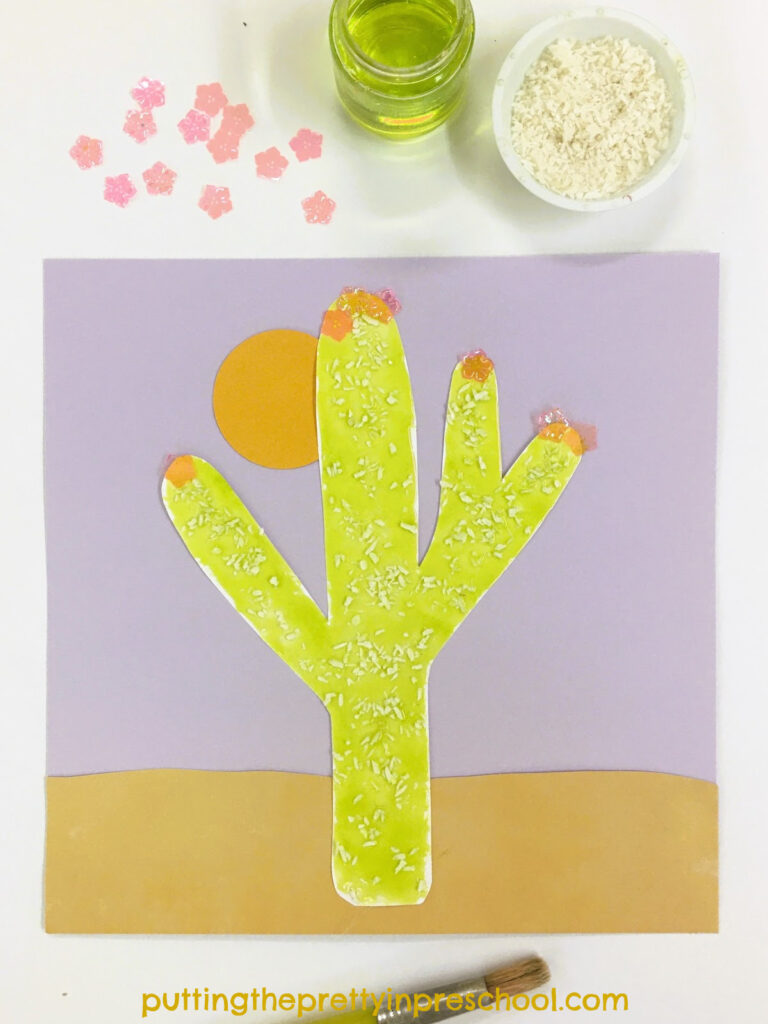
Make this shiny saguaro cactus tree art project using only a few supplies. An all-ages easy-to-do desert art activity.

_______

Gather the following basic supplies for the cactus art projects in this post:

  • white corn syrup
  • neon purple and green food coloring
  • green food coloring
  • paint pots
  • paintbrushes
  • glue paddle
  • small bowls
  • spoons
  • white glue
  • scissors
  • large circle punch
  • 8 ½ inch x 11-inch white cardstock paper
  • 12 x 12-inch colored cardstock
  • flower confetti
  • cactus templates
  • newsprint or tablecloth

_______

Cactus Art Paint

Three of the four projects featured employ a shiny paint made by adding a food coloring hue to white corn syrup. Little learners find this paint soooo satisfying to use. It is super sticky and can work as an adhesive. It dries with a glossy, smooth finish.

_______

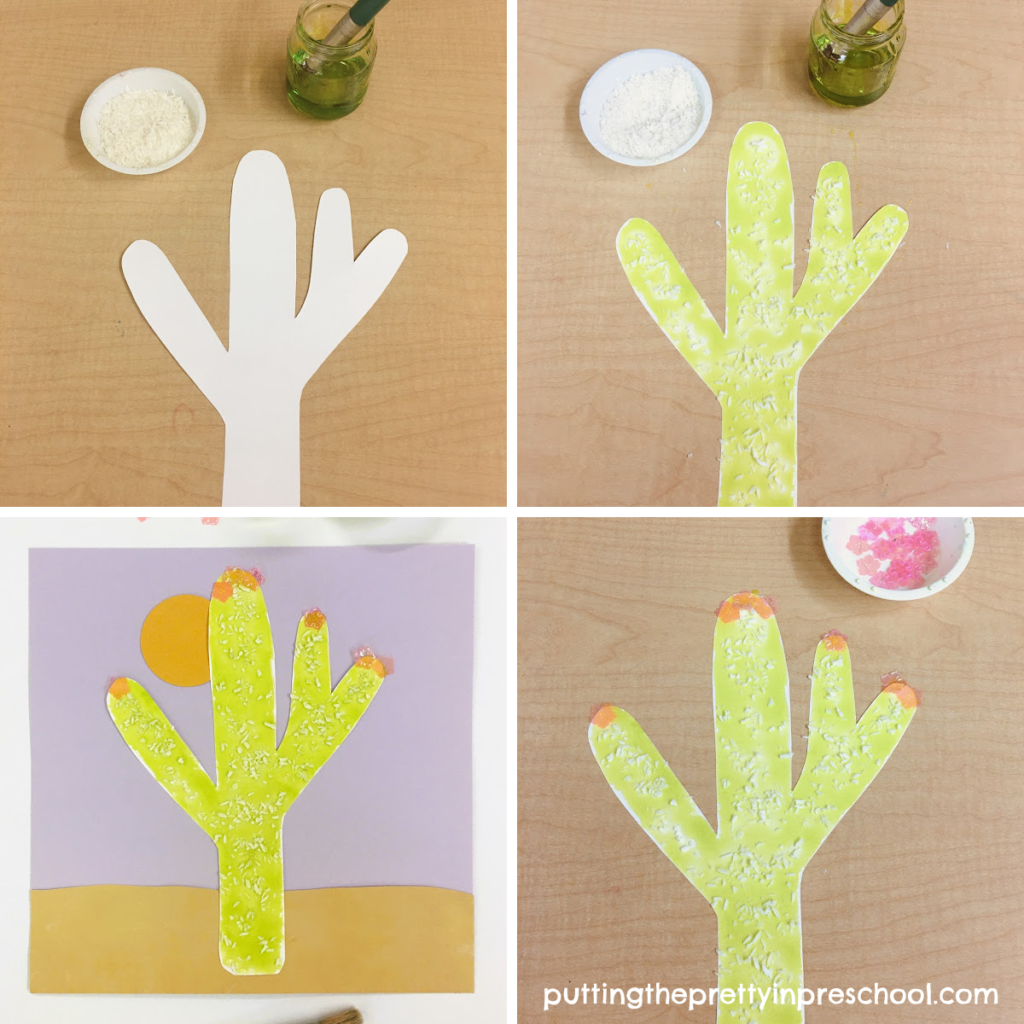
Coconut Embellished Saguaro Cactus

Saguaro cactus trees grow naturally in southern Arizona and in the Mexican state of Sonora. The desert dwellers are covered in prickly spines.

Saguaros often bloom in late May to late June, but the blooms can be spotted earlier or later in the year. The stunning white flowers with yellow centers mature into edible ruby red fruits.

Steps to make a shiny saguaro cactus art project using only a few supplies. An all-ages easy-to-do art project.

_______

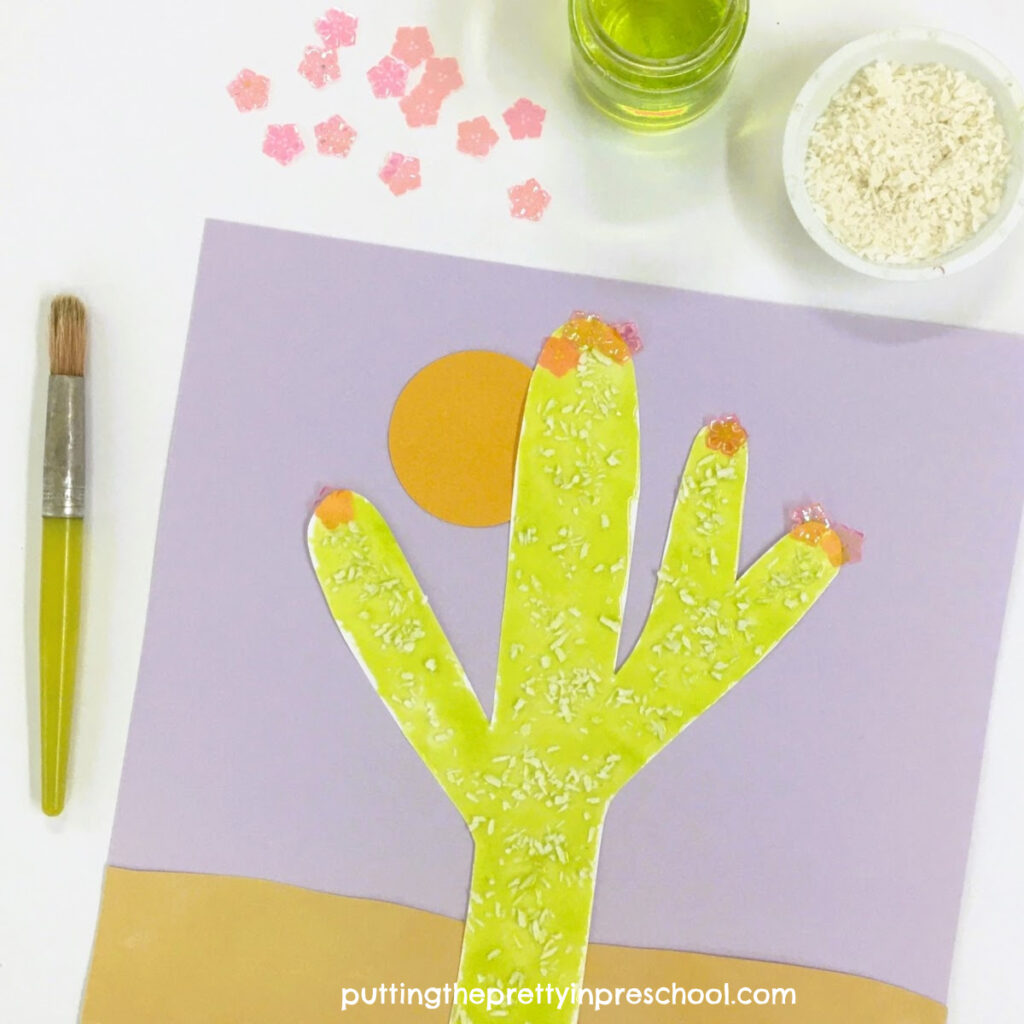
For this first saguaro cactus art project, start by squeezing a little white corn syrup into a paint pot. A baby food jar works well as a paint holder.

Next, add a few drops of neon green food coloring into the corn syrup and stir it in.

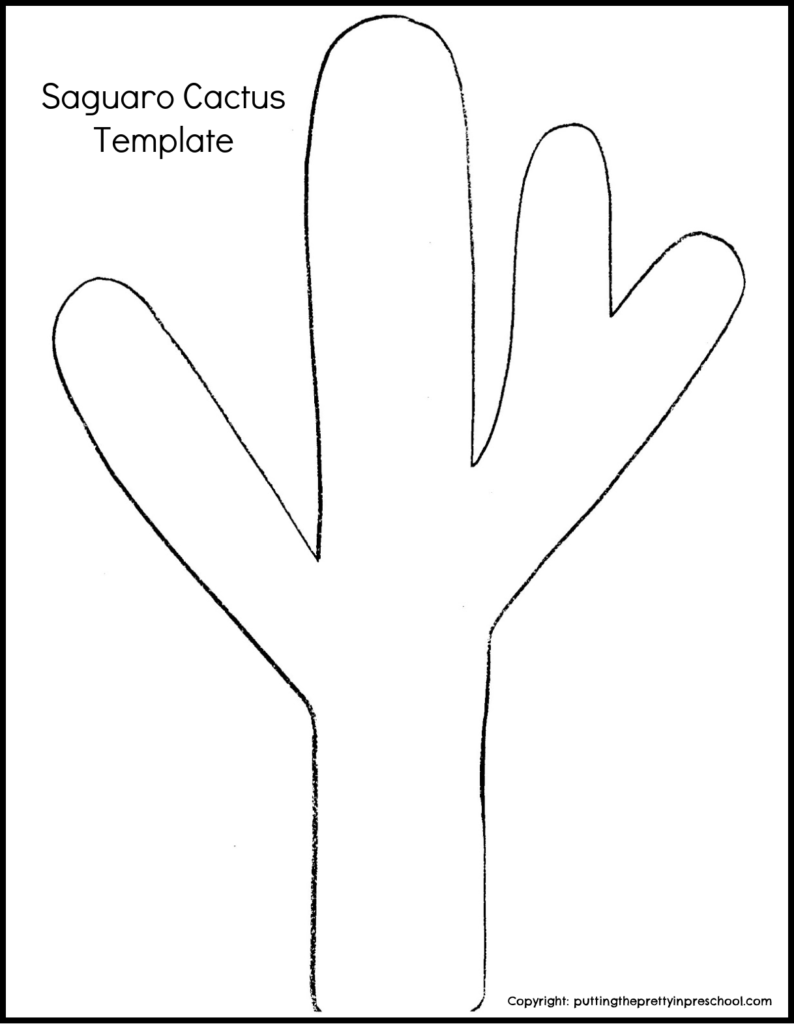
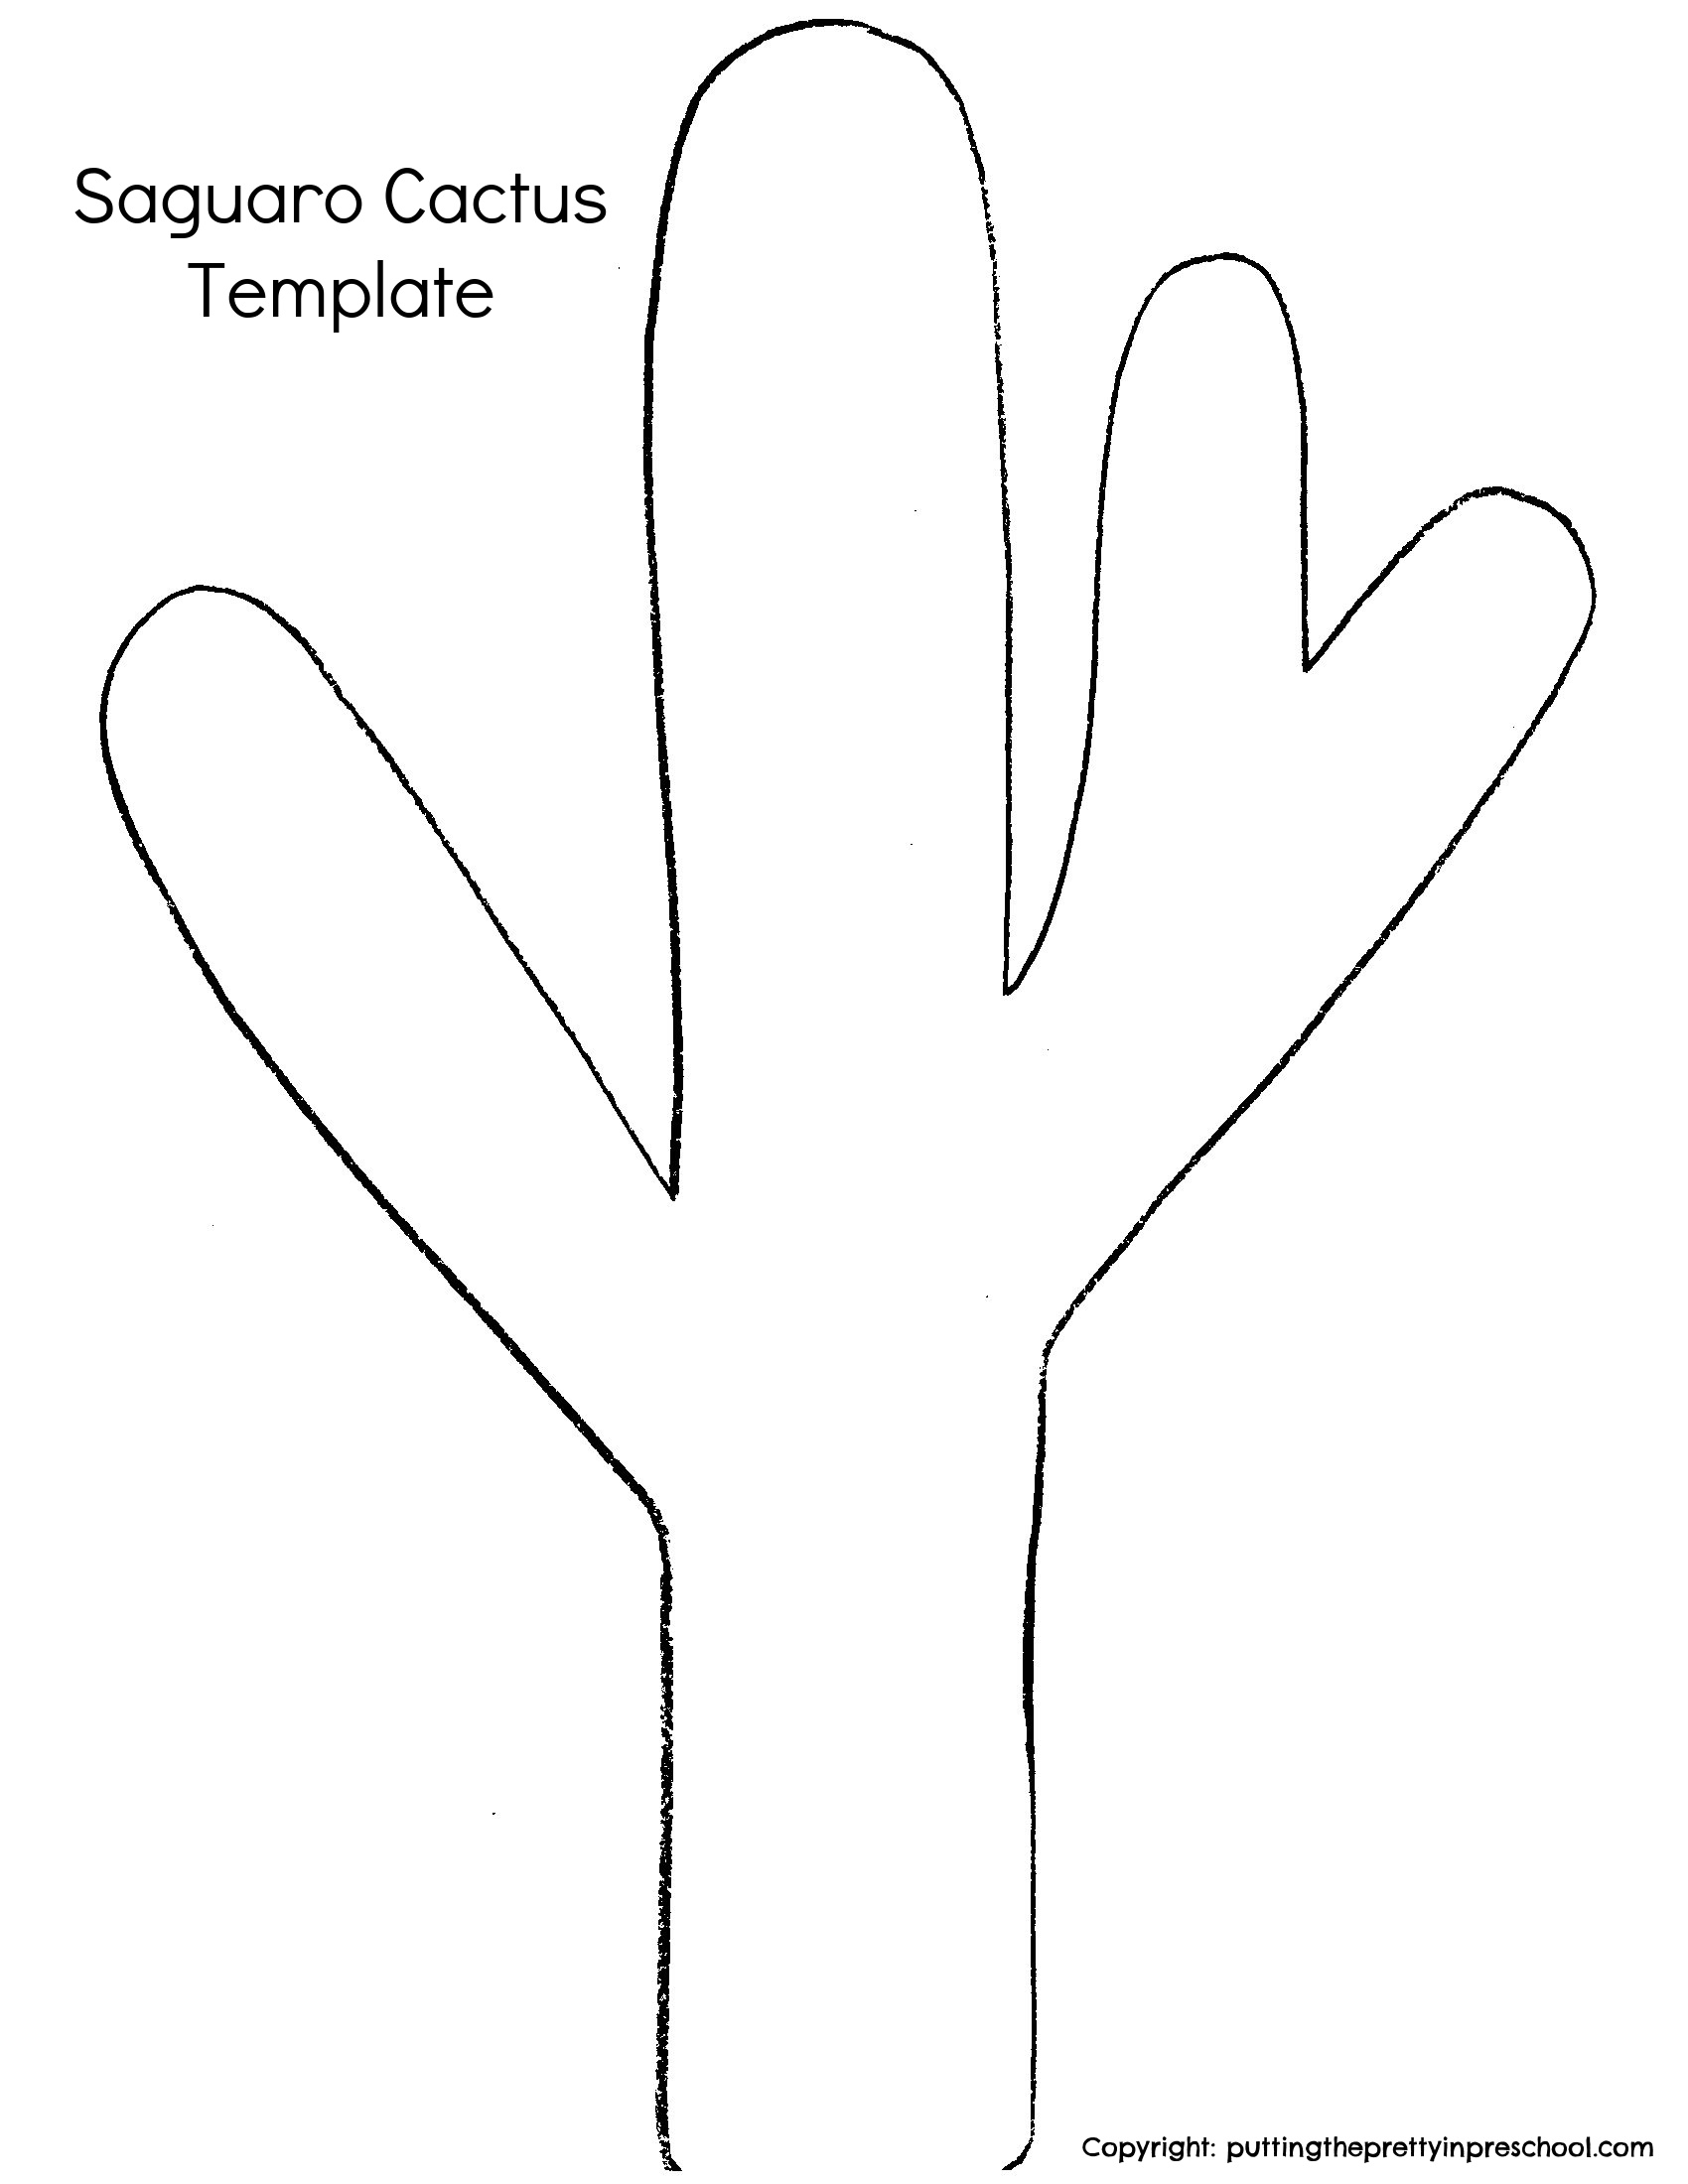
Then cut a saguaro cactus tree from white cardstock paper. Feel free to download this template for the project.

A free saguaro cactus template to use for art and craft projects. Paint, glue, and create with using unique cactus design.

_______

Saguaro Cactus PrintableDownload

_______

Afterward, set the cactus cutout on an art table along with the sticky green paint, a paintbrush, a small bowl with shredded coconut, and a spoon.

Cover the cactus with shiny paint, and then sprinkle on coconut bits to represent pokey spines. Press in confetti flowers to depict a cactus in the blooming season.

To complete the cactus art project, add a strip of golden or yellow ochre sturdy paper to the bottom of a 12-inch x 12-inch piece of cardstock that is a pastel shade. Using white glue or a glue gun, carefully adhere the painted cactus to the cardstock background. Punch or cut out a large cardstock circle and glue it on to represent a sun in the picture.

Make this shiny saguaro cactus tree art project using only a few supplies. An all-ages easy-to-do desert art activity.

_______

Note: This paint takes a generous amount of time to dry. After at least a few days of drying time, the art is ready to be displayed.

_______

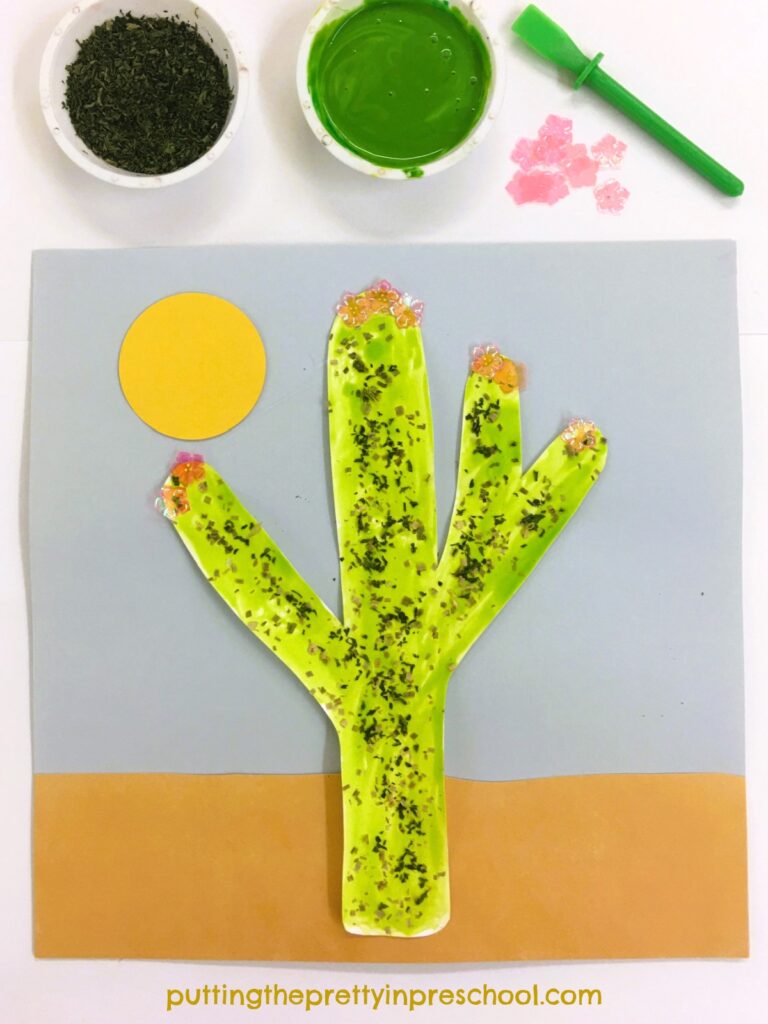
Chive Embellished Saguaro Cactus

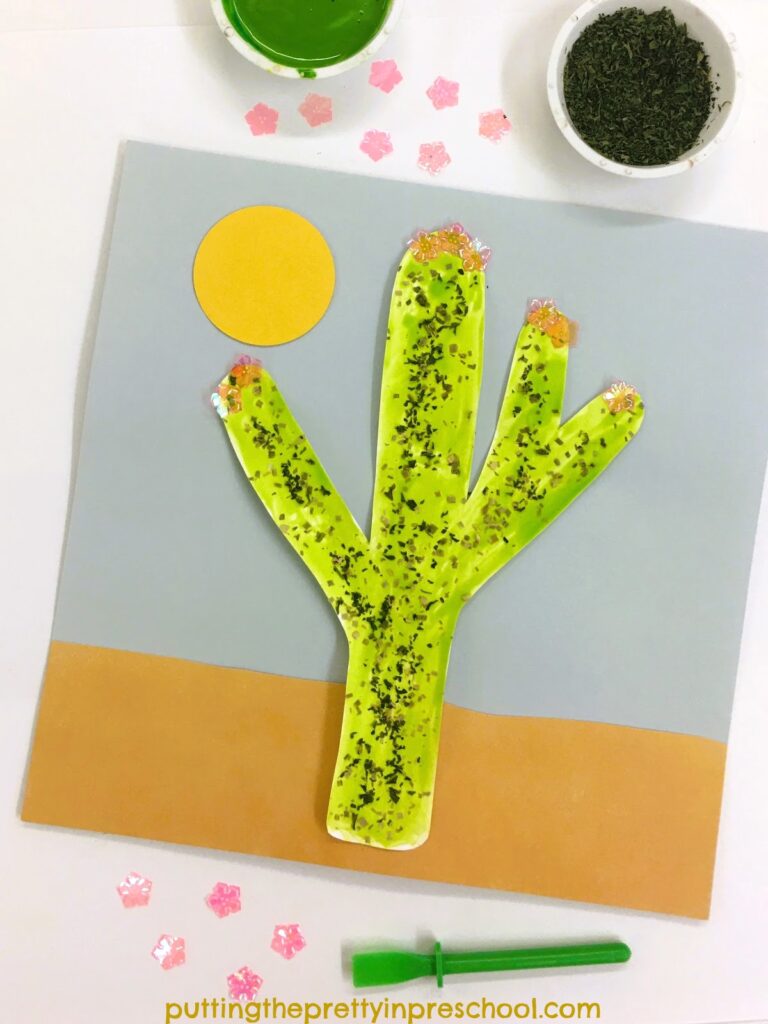
This easy to create saguarro cactus tree art uses chives as one of the supplies. An all-ages art project that is rewarding to do.

_______

This second cactus tree art project uses green glue instead of corn syrup paint. For this art activity:

  • Mix a little neon green food coloring into white glue to make a light green hue. Use a glue paddle to apply the glue all over a cactus template. A light coat of glue works best, as it helps prevent the paper cactus from curling as it dries.
  • Sprinkle on freeze-dried chives to look like cactus spines, and add pink confetti blooms.
  • Finish the project the same way the first one was done.

Note: Corn syrup paint works beautifully for this cactus art design just as well.

This easy to create saguarro cactus tree art uses chives as one of the supplies. An all-ages art project that is rewarding to do.

_______

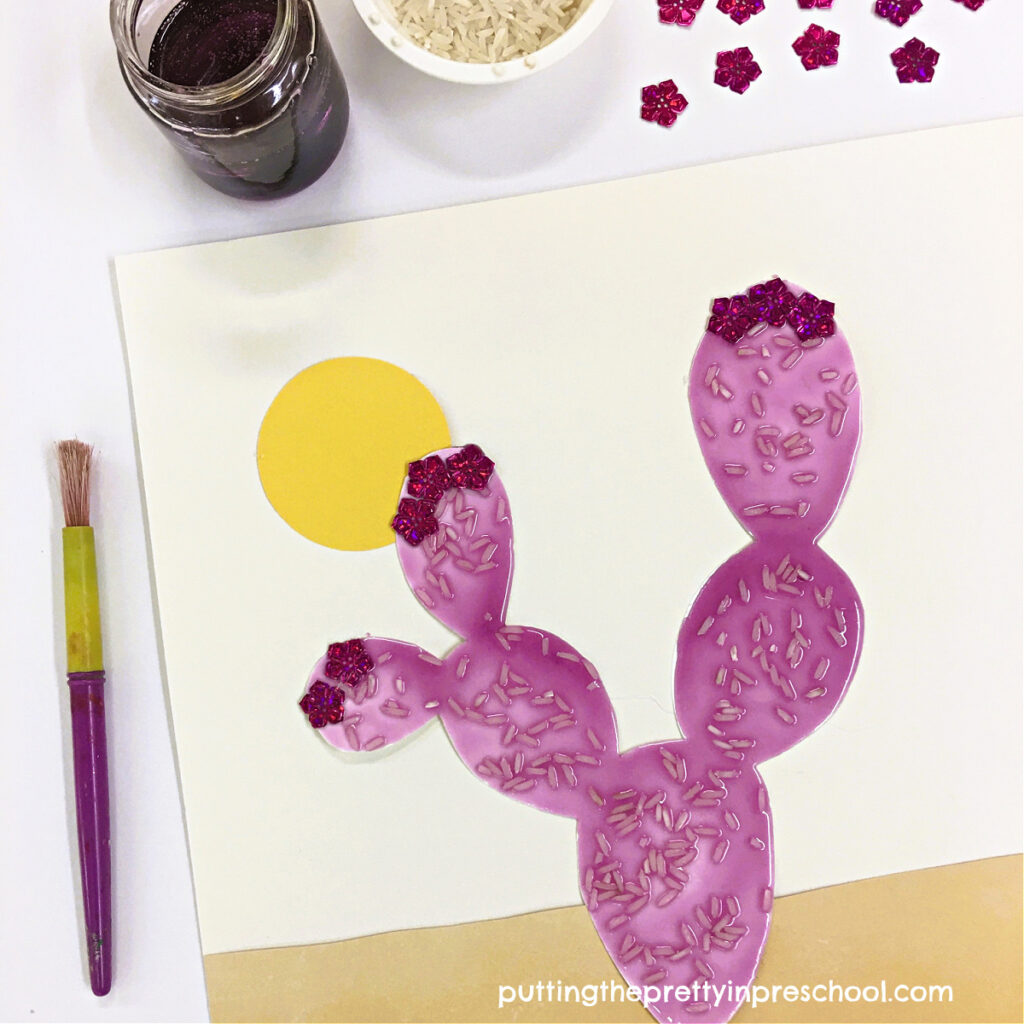
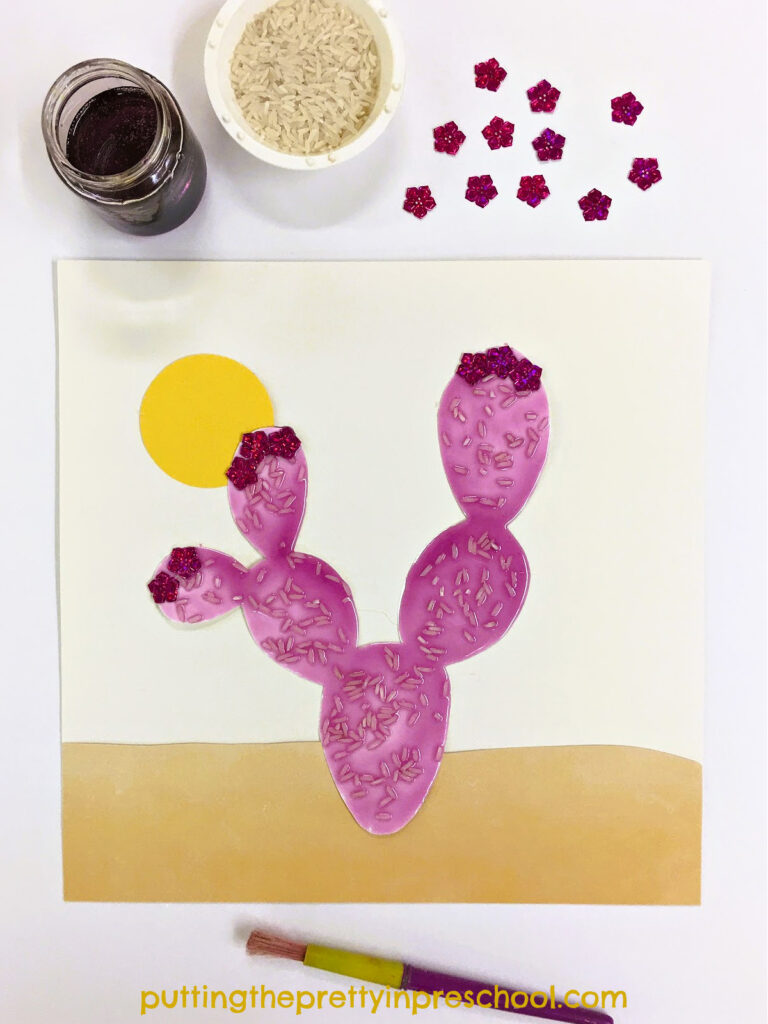
Purple Prickly Pear Cactus Art

Make this shiny purple prickly pear cactus art project using only a few supplies. An all-ages easy-to-do desert art activity.

_______

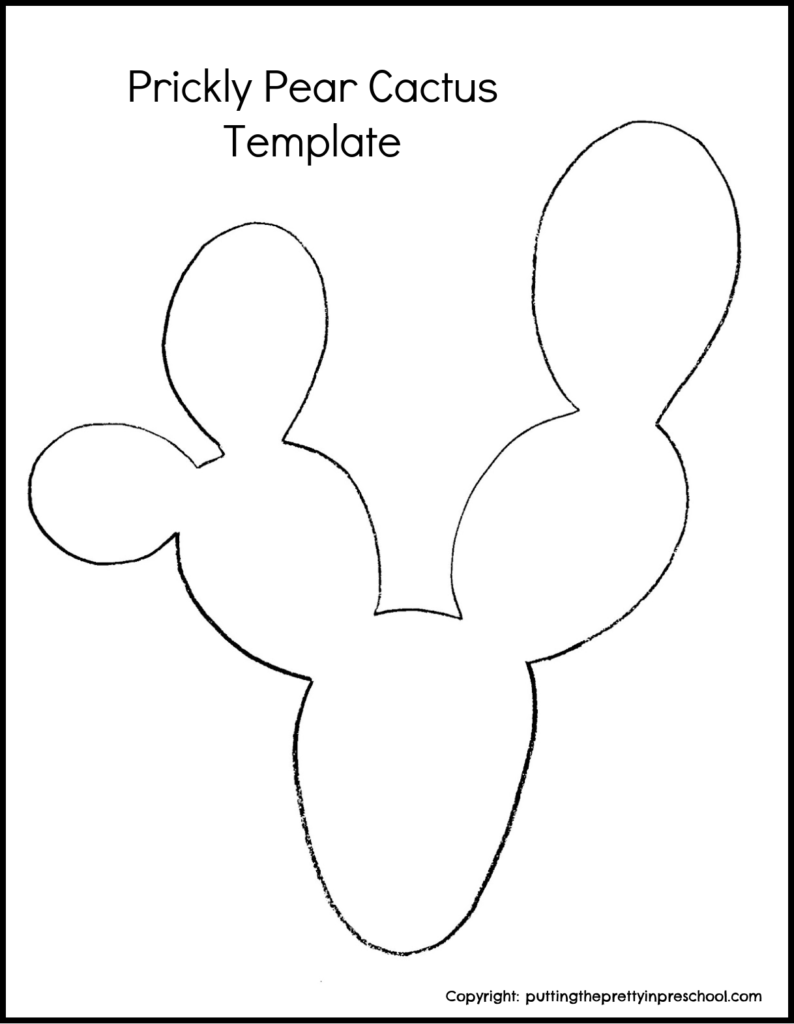
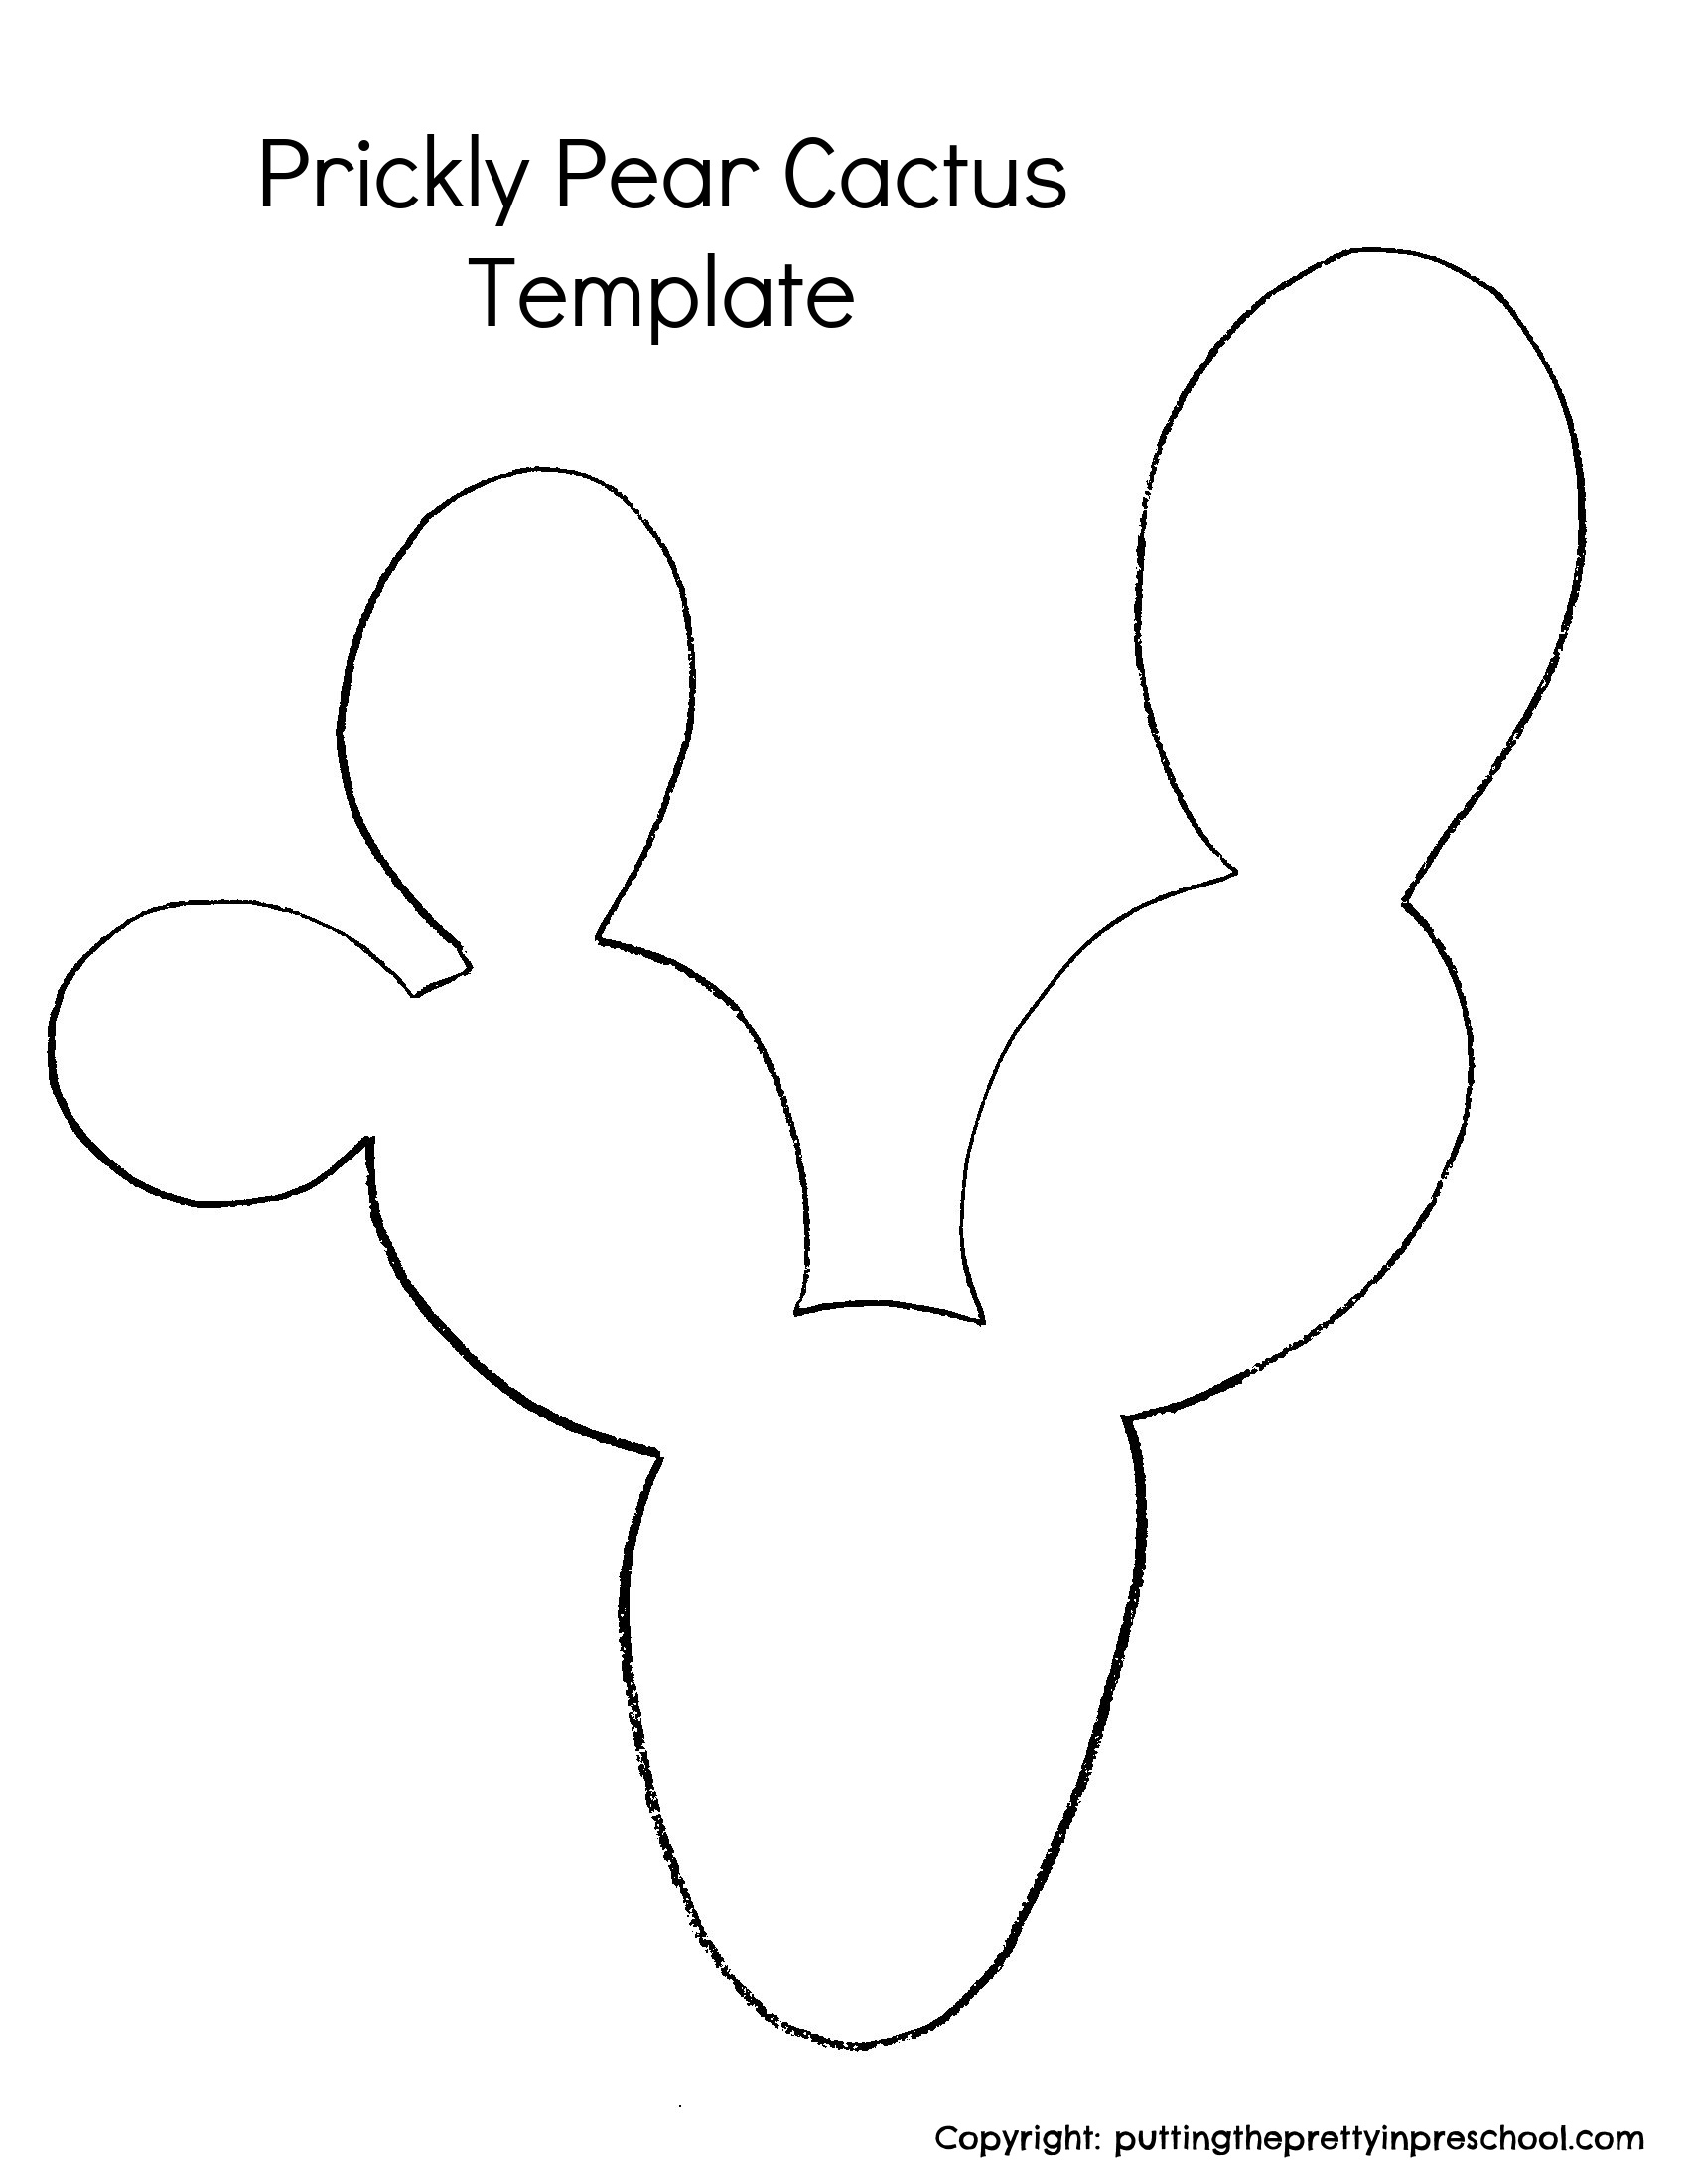
As I am always drawn to unique colors in nature, I was excited to find out that there is such a thing as purple cacti. Some prickly pear cacti are purple, so this next project celebrates this pretty, vibrant hue and highlights the unique prickly pear cactus shape. Feel free to download the template below for the art activity.

A free prickly pear cactus template to use for art and craft projects. Paint, glue, and create using this unique cactus design.

_______

Prickly Pear Cactus PrintableDownload

_______

To complete this art project:

  • Mix a little neon purple food coloring in a pot of white corn syrup.
  • Paint the prickly pear cactus with the purple sticky paint.  
  • Sprinkle on uncooked rice grains to represent spines.
  • Press in purple confetti flowers. Or use yellow confetti flowers…the natural color of purple prickly pear blooms.
  • Finish the project the same way the first two cactus versions were done.
This prickly pear cactus art project requires simple supplies you can find in your kitchen. It's an easy-to-do all-ages art activity.

_______

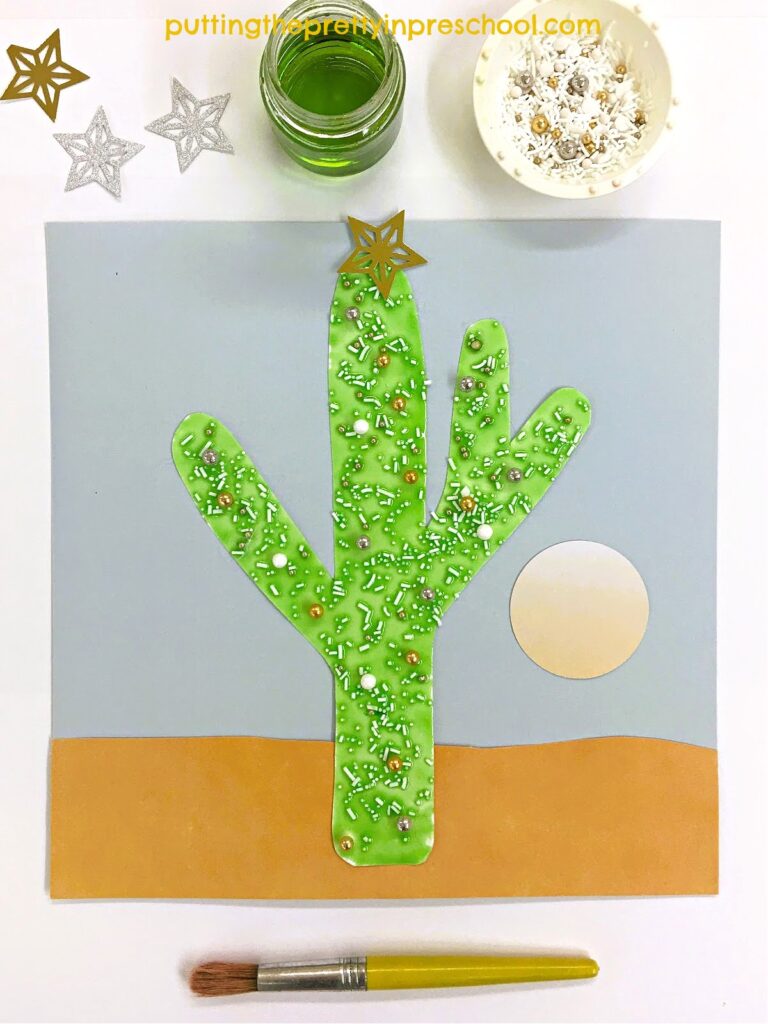
Cactus Christmas Tree Art

This last cactus project is elevated by using cake sprinkles for the spines. The balls in the sprinkle mix inspired me to turn the cactus into a decorated Christmas tree.

Use supplies you have in your kitchen to decorate a saguaro cactus as a Christmas tree. An all-ages art activity everyone will love.

_______

To make this art project:

  • Mix a hue of green corn syrup paint and brush it onto a saguaro cactus.
  • Drop on cake sprinkles with your fingers or a spoon, and press them in gently. Space out the sprinkle balls to look like ornaments on the tree.
  • Glue a cut or punched metallic paper star at the top for a tree topper.
  • Complete the art project the same way as all the others.

Note: The corn syrup paint and glue paint have adhesive qualities. If any of the embellishments do not adhere, use white glue or a glue gun to affix the shapes.

Use supplies you have in your kitchen to decorate a saguaro cactus as a Christmas tree. An all-ages art activity everyone will love.

_______

These shiny paint cactus art activities are suitable for people of every age. Each project can be a cooperative one for little learners, with an older child or adult helping a little one with the cactus art.

_______

Related:

Octopus Art

Sea Turtle Art

Sea Star Art

Lizard And Turtle Art

Corn Syrup Paint Sunflowers

_______

[Read more…] about Shiny Paint Cactus Art
Tweet
Share
Share
Pin

Filed Under: art, Christmas, crafts, preschool, sensory, trees Tagged With: corn syrup painting, desert, painting

Tree Art Bulletin Board

July 13, 2023 by Annette Kaminsky Leave a Comment

Tweet
Share
Share
Pin
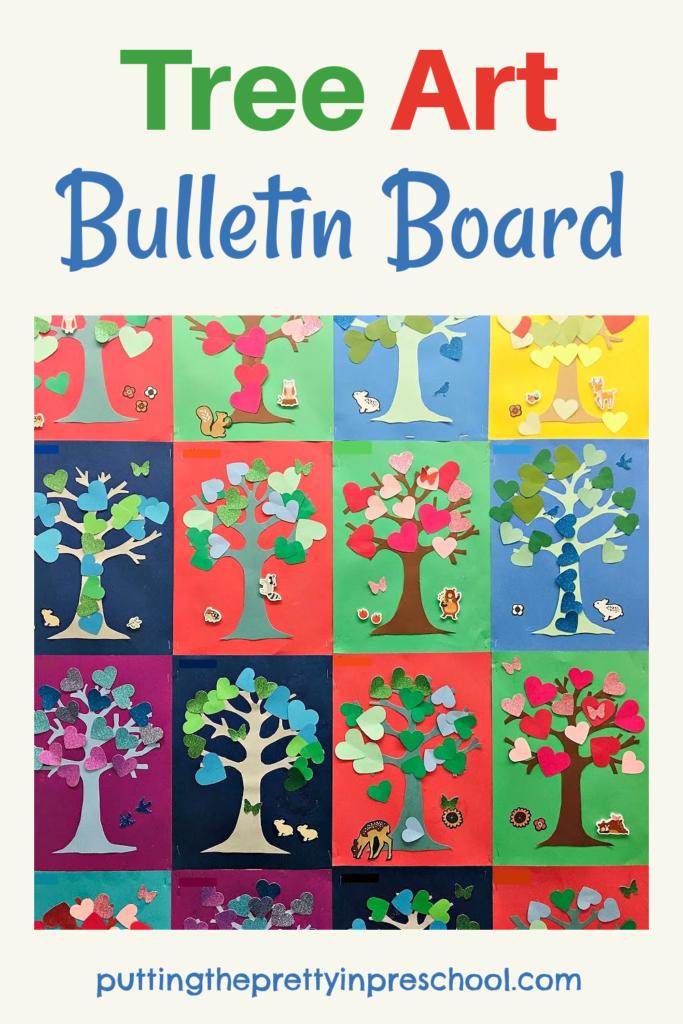
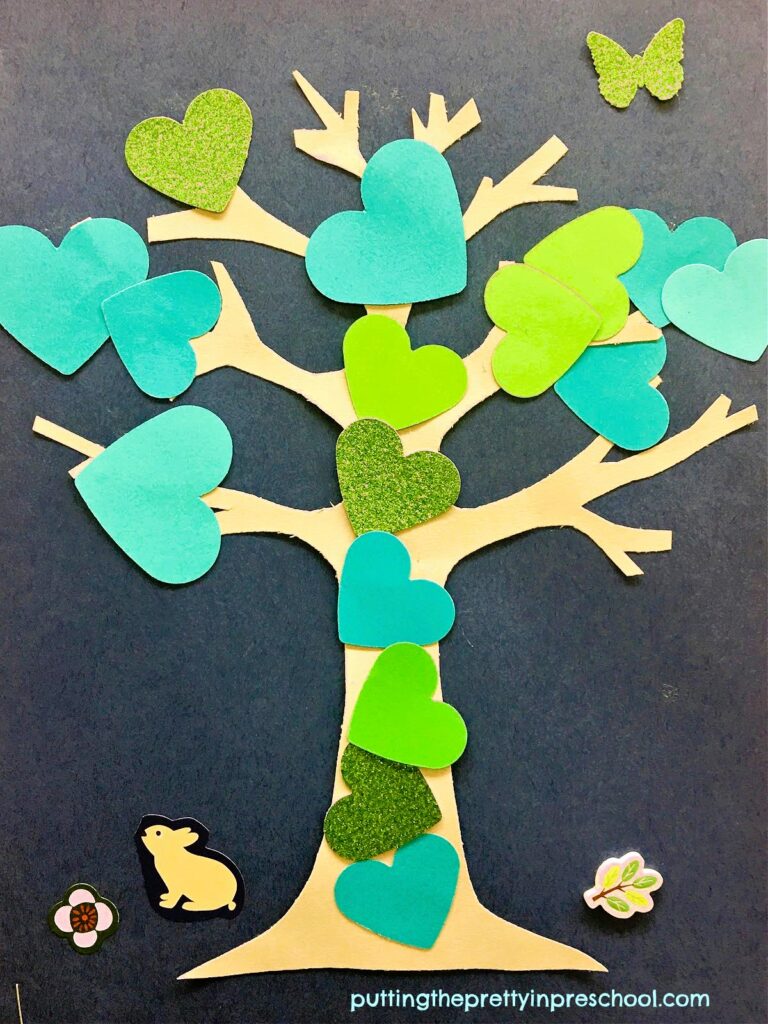
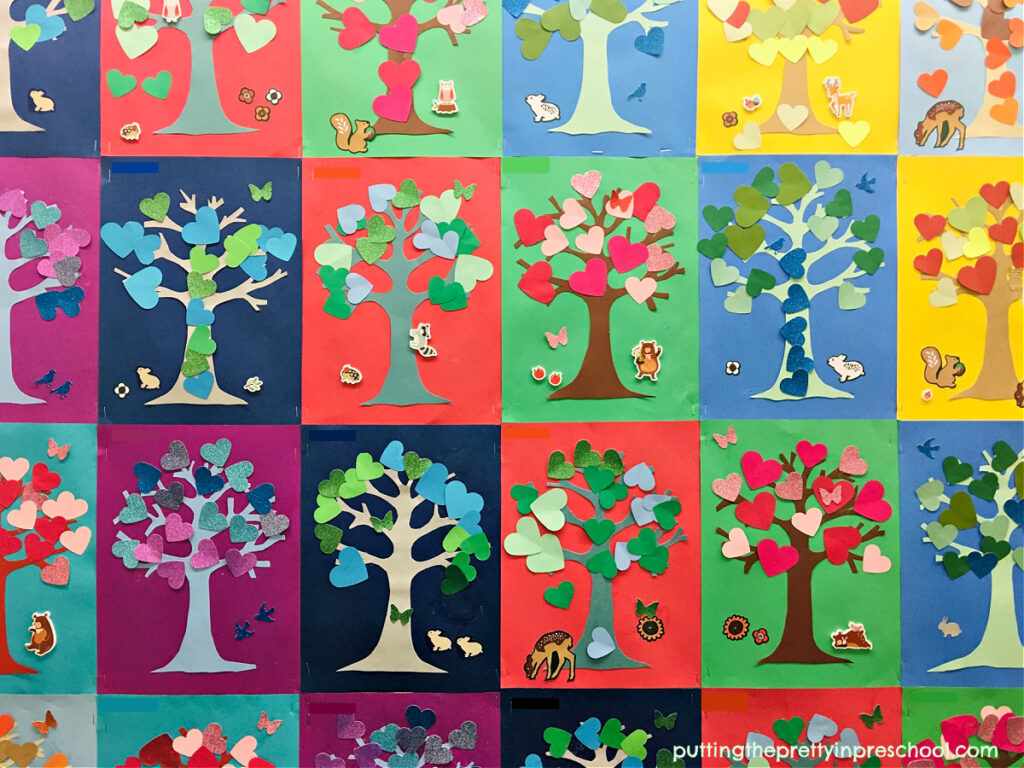
Easy-to-do, picture book-inspired papercraft tree art bulletin board project. Woodland creratures are included in the art activity.

_______

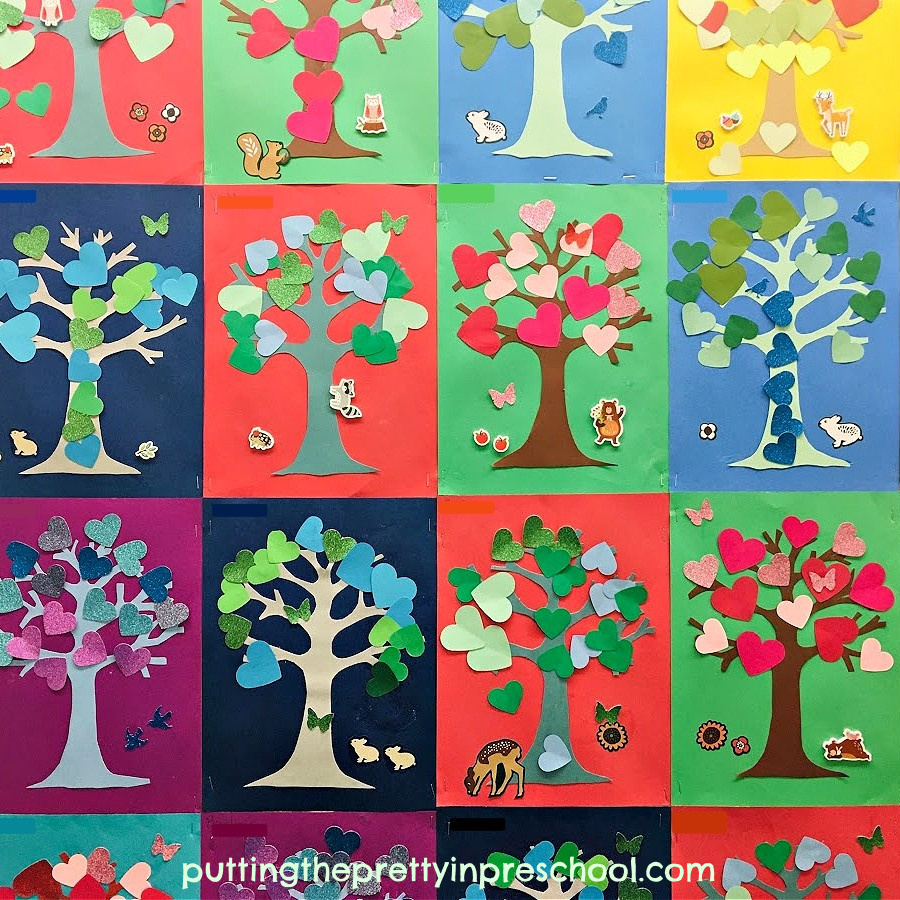
This bright tree art bulletin board is inspired by the stunning storybook called “The Wind and the Trees” by Todd Stewart. I discovered the book at a local library and instantly fell in love with the tender story and vibrant illustrations. The picture book provided just the inspiration I was looking for to redo a bulletin board begging for a change.

In the storybook, an old pine tree teaches a young sapling about the benefits and dangers of wind. Over the course of the story, the old pine weakens and deteriorates and the young sapling slowly grows bigger. By the end of the story, a storm wind has knocked the old tree down, and a seedling soon takes its place.

The vivid silkscreen illustrations in this heartwarming children’s book show the same scene on each page in different weather, seasons, and times of the day. Tree trunks, needles, and skies are designed in beautiful, varying color schemes. Woodland animals are included subtly in silhouette form on many of the pages.

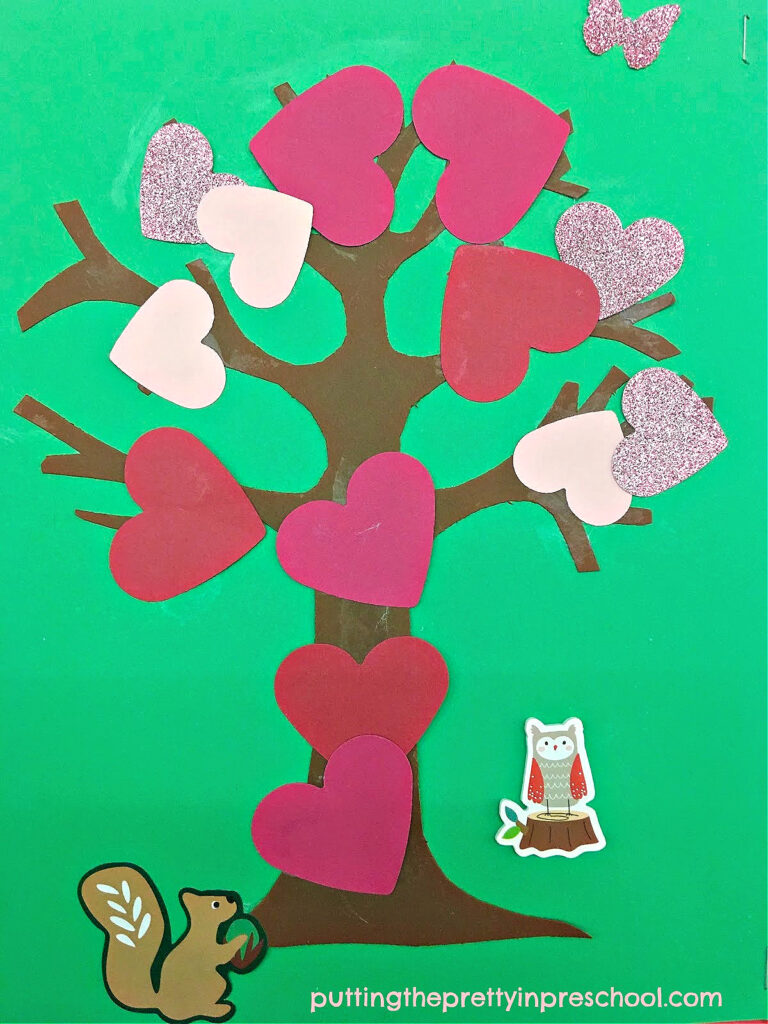
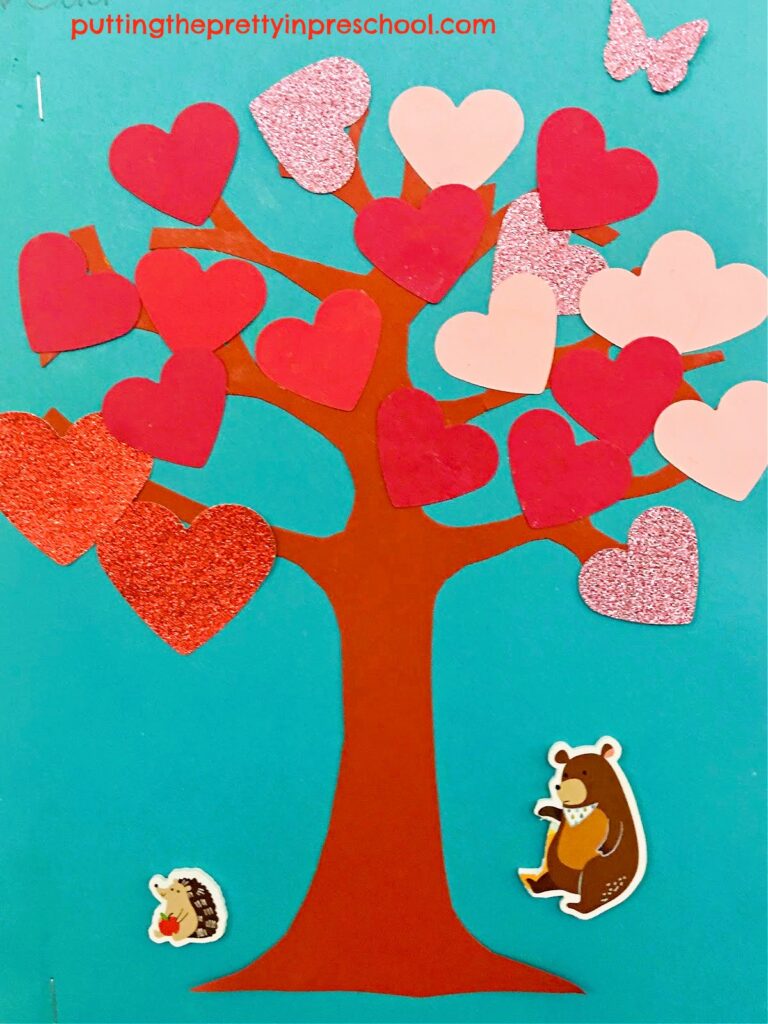
A pink and red-leafed woodland tree design that fits in with a spring blossom theme.

_______

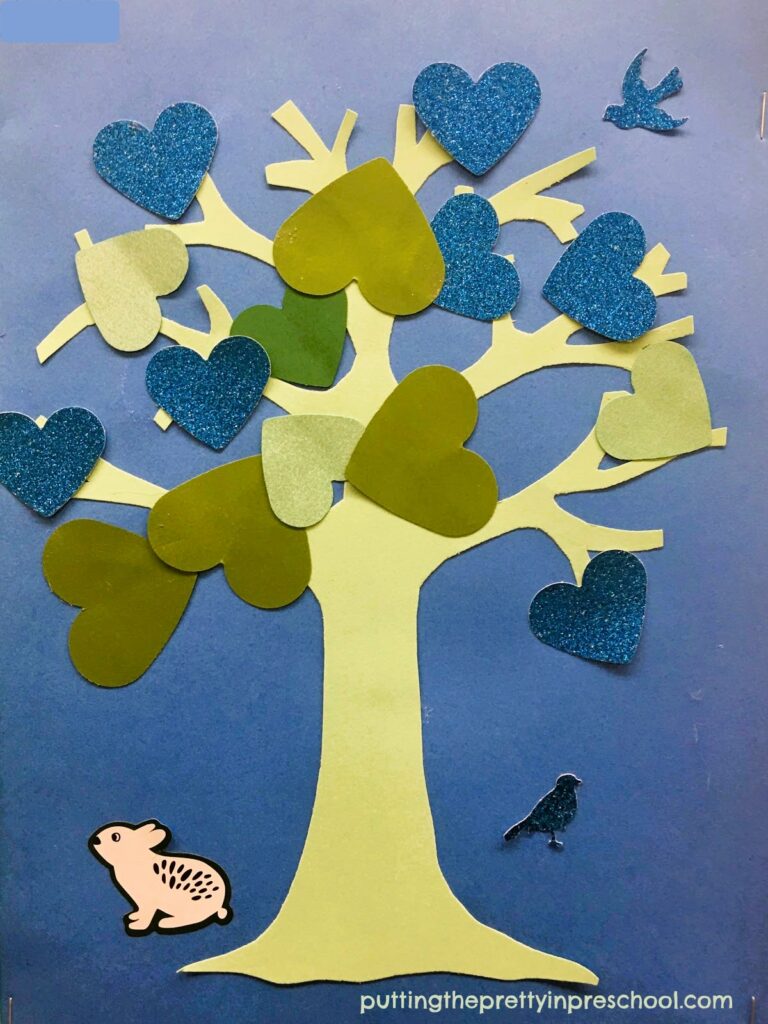
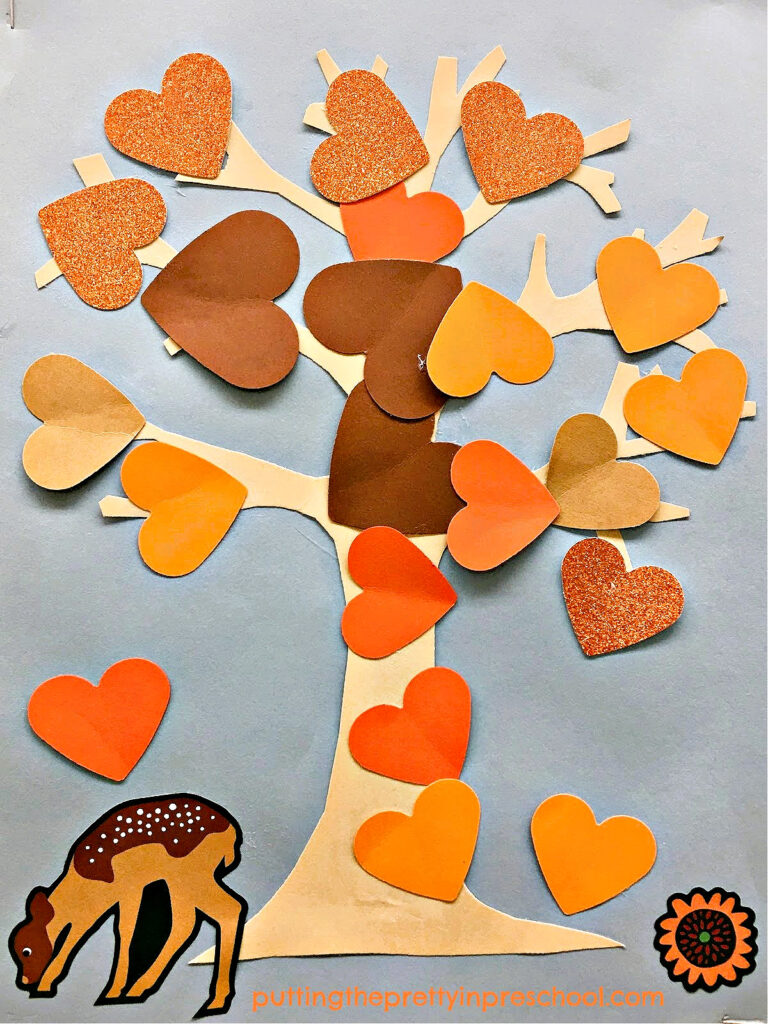
As I am accustomed to doing an art-themed bulletin board using the same tree in different seasons or times of day, I soon realized that drawing inspiration from the color combinations in the book would work nicely for a new tree art bulletin board. The tree art design is easy to replicate in a space you have available.

Easy-to-do, picture book-inspired papercraft tree art bulletin board project. Woodland creratures are included in the art activity.

_______

Follow me on Pinterest for more early learning ideas.

________

Supplies To Collect

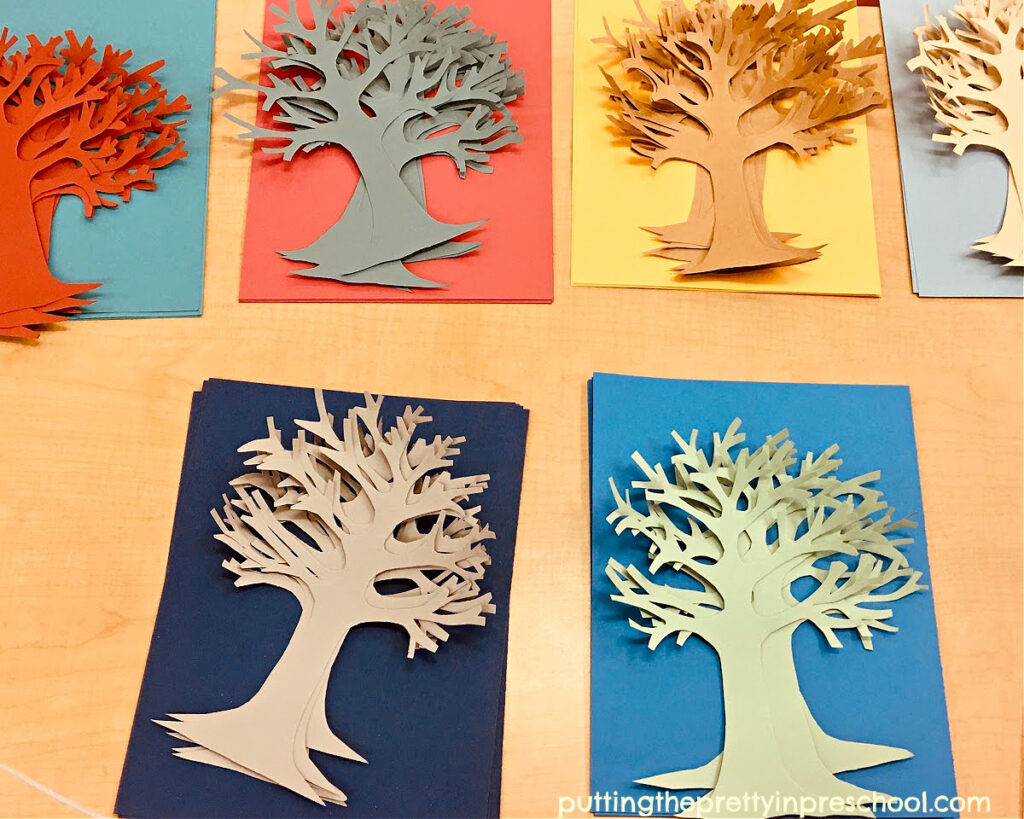
Colored tree trunks prepared for a picture book-inspired tree art bulletin board project. An easy-to do, all ages art activity.

_______

A selection of quality sturdy paper and a few other supplies are needed for this woodland papercraft project. Gather the following:

  • tree template
  • 9-inch x 12-inch fade-resistant construction paper in a variety of colors
  • cardstock in an array of colors
  • glitter cardstock
  • glue stick
  • paper punches
  • woodland animal stickers
  • pencil and scissors

_______

Preparing The Tree Art Craft

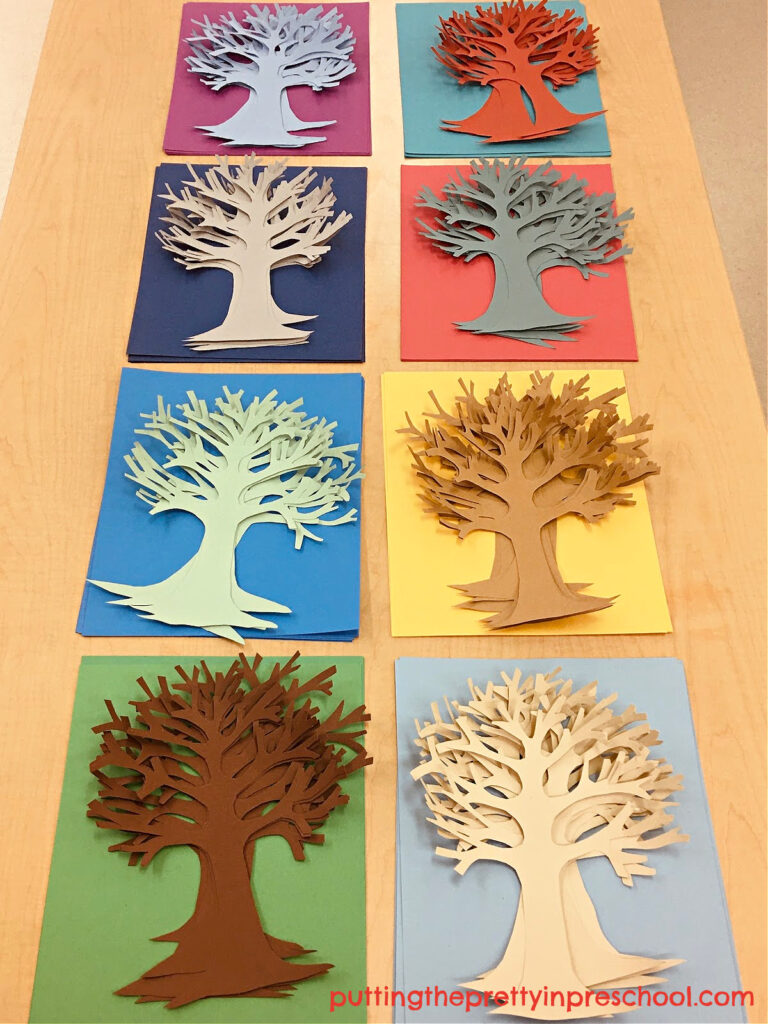
To plan out this tree art bulletin board, decide on a few different color schemes. I chose eight, but you can easily go with four. View the picture book “The Wind and the Trees” by Todd Stewart for color palette ideas.

Select a background color, tree trunk hue, and leaf colors for each tree art design. Use the paper choices you have available to pick color combinations.

Tip: Acid-free or fade-resistant paper is worth investing in for papercraft projects. The colors stay bright much longer.

Colored tree trunks prepared for a picture book-inspired tree art bulletin board project. An easy-to do, all ages art activity.

_______

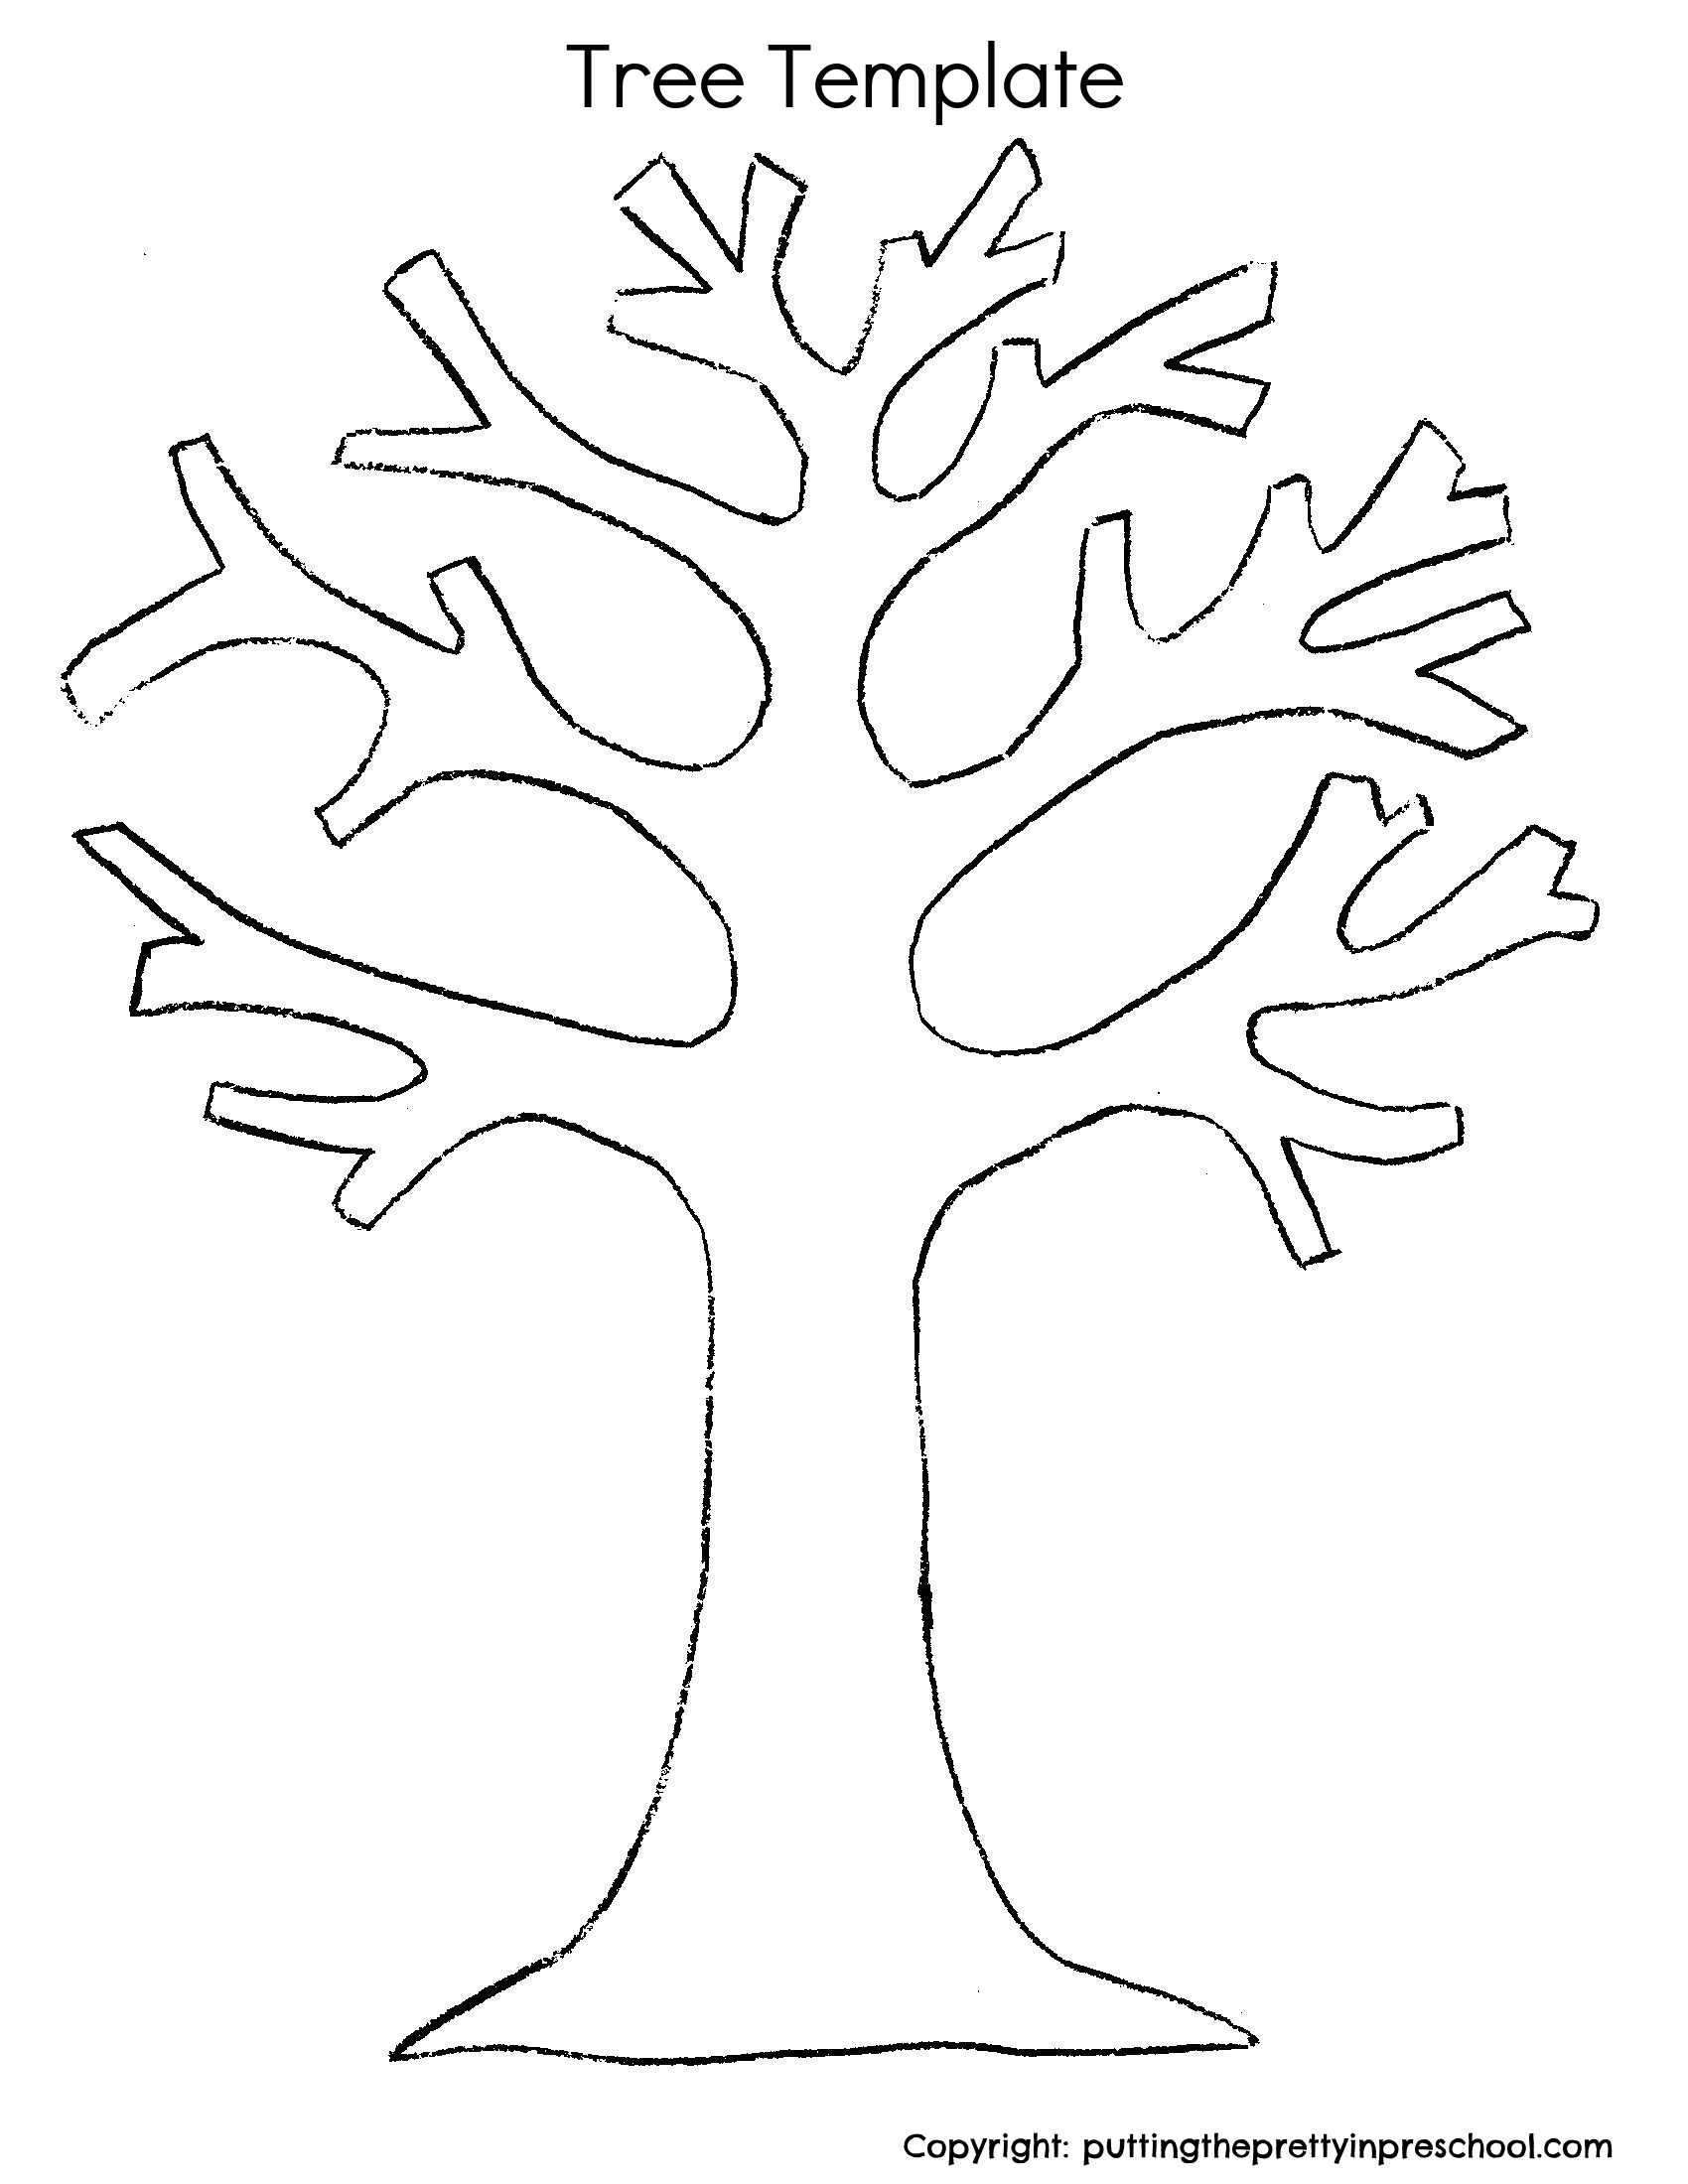
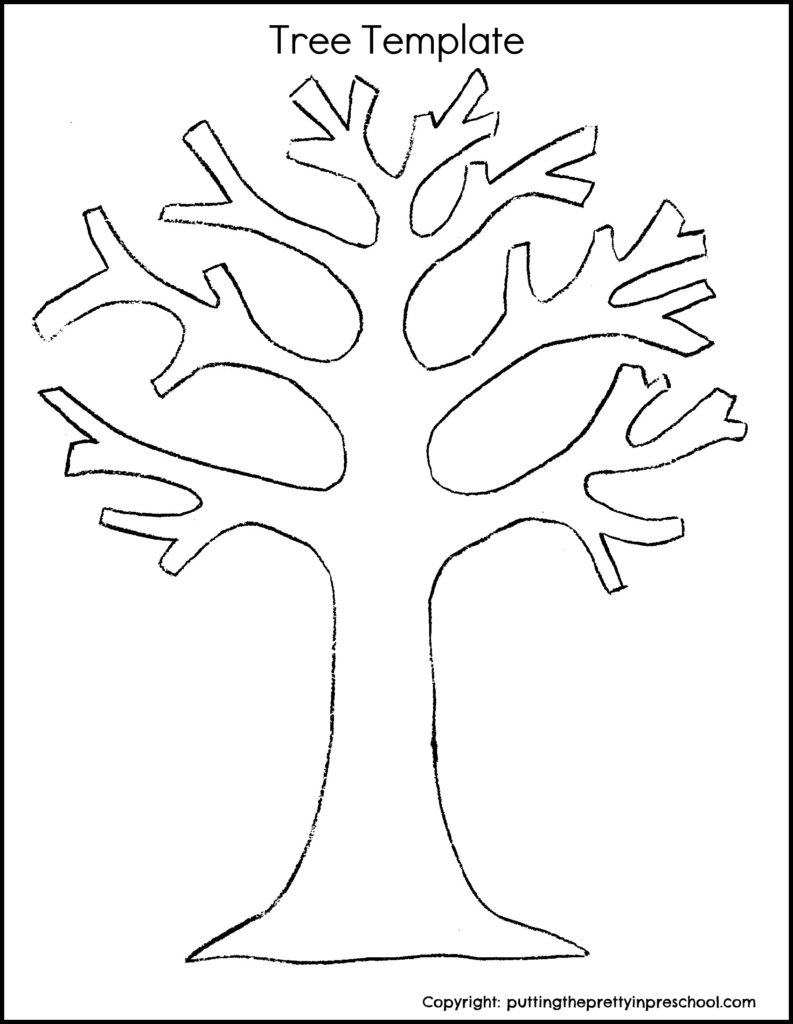
Then use a template to cut out paper tree trunks. Feel free to download the template below to make your craft preparation easier.

Download this free, user-friendly tree template for art and craft activities. The template is perfect for bulletin board art.

_______

Tree Craft PrintableDownload

This printable is for individual or one classroom use only.

_______

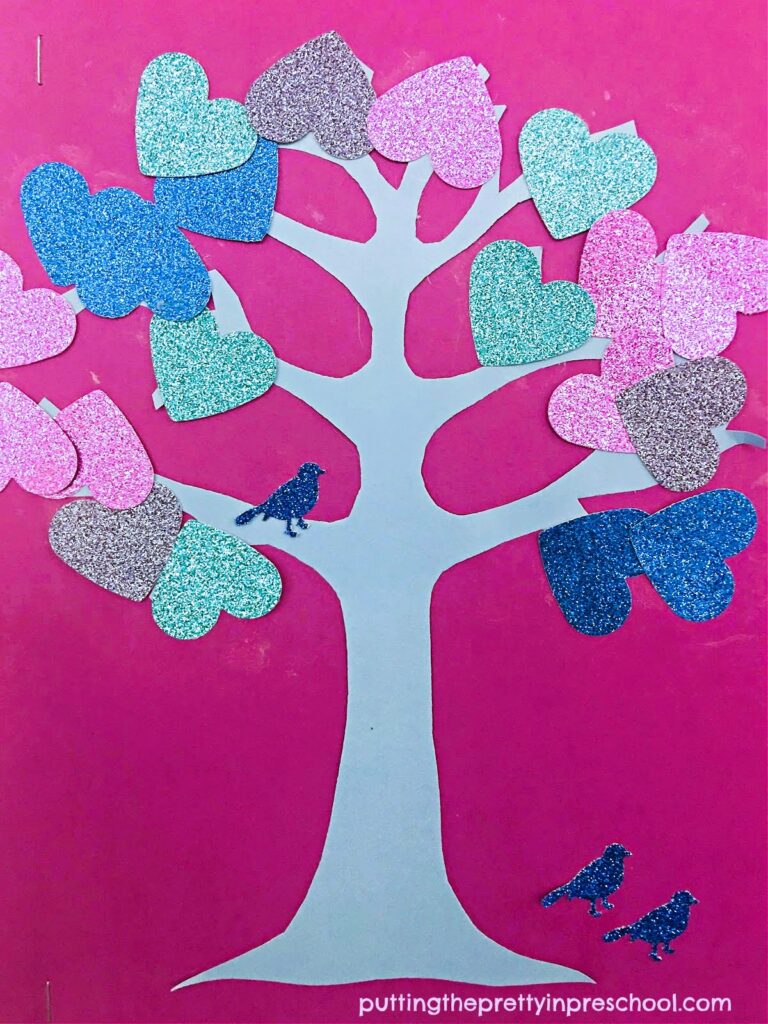
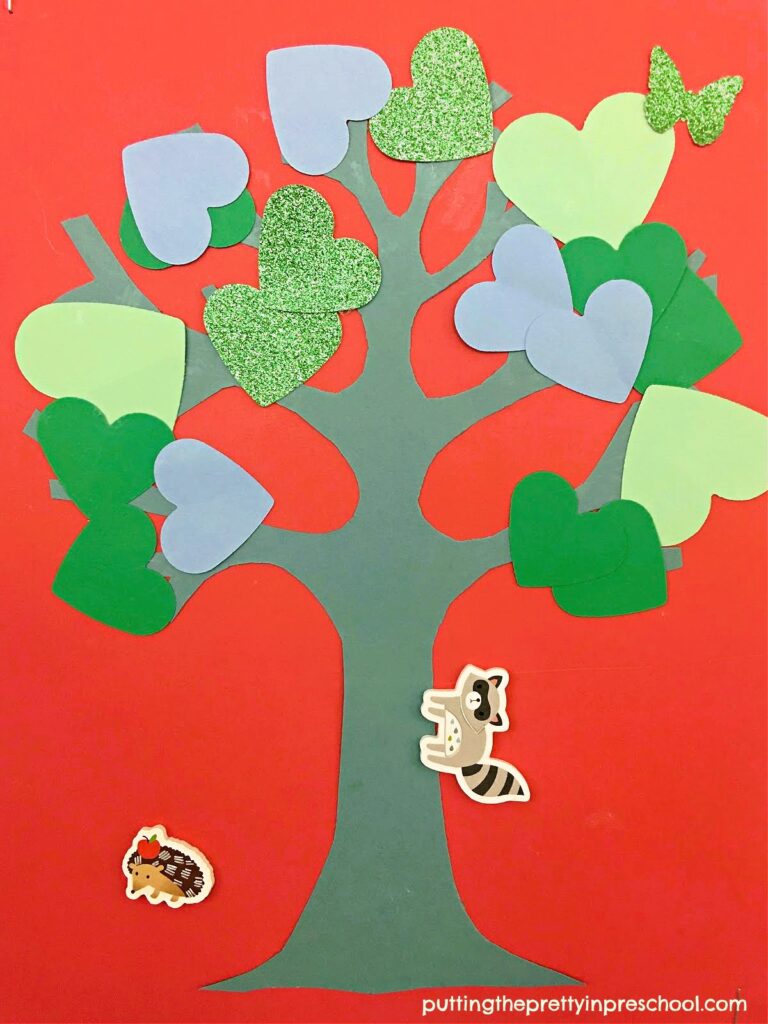
Use two different-sized heart paper punches to create leaves. A few metallic paper leaves add a little glitz and are often children’s favorite collage pieces to use.

Note: The tree in the picture book is a pine. I chose a deciduous tree for my designs because its leaves work well for collage projects.

Next, glue a tree trunk to each background piece of paper.

Afterward, invite children to affix heart leaves to their trees using a glue stick.

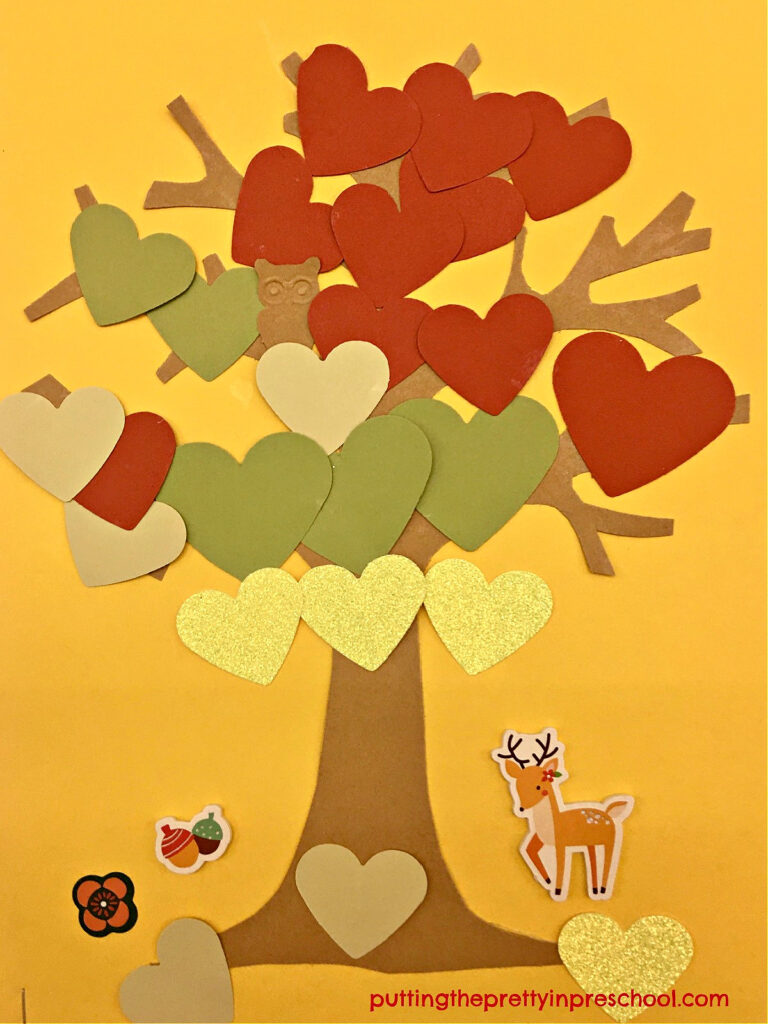
Sunset-themed woodland tree art inspired by a picture book.

_______

Finally, participants can add paper punched and/or sticker woodland animals to their tree scenes. I used paper-punched birds and butterflies, and sticker deer, foxes, rabbits, raccoons, bears, squirrels, and porcupines.

Night-time woodland tree art inspired by a picture book.

_______

The Tree Art Bulleting Board Display

Easy-to-do, picture book-inspired papercraft tree art bulletin board project. Woodland creratures are included in the art activity.

_______

Displaying the tree art is easy when using a rectangular bulletin board. Arrange the art in a sequence of color designs, and repeat the pattern for the whole display. An alternative is to display the art randomly or in another pattern of your choice.

_______

_______

A pink and red-leafed woodland tree design that fits in with a spring blossom theme.

_______

More About “The Wind and the Trees” Picture Book

In addition to being an inspiration for art projects, this gorgeous picture book by Todd Stewart is perfect for a tree or nature theme. Through colorful pictures and wisdom-filled print, it communicates the life cycle of trees. It also shares the following details about how wind benefits and hurts trees:

How The Wind Benefits Trees

  • tree roots grow deeper
  • tree bark becomes stronger
  • messages and signals are carried from one tree to another
  • seeds are scattered so new trees can grow

The Dangers Of Wind To Trees

  • roots are stretched
  • tree trunks and branches dry
  • older trees get knocked down

Lastly, the pictures also depict a variety of woodland animals for children to spot and name, such as bats, owls, squirrels, bees, eagles, a raccoon, and a porcupine.

_______

A blue and green-leafed woodland tree art design with the colors of a cloudy everning.

_______

_______

Related:

Spin Painting Maple Leaf Art

Book-Inspired Tree Art

Horse Chestnut Leaf Art Activities

Neon Fingerpaint Tree Art

Maple Leaf Activities

Fall Leaf Salad Spinner Art

Eye Dropper Leaf Art

Christmas Tree Art

Christmas Tree Decorating Center

Monochromatic Christmas Tree Art

Candy Cane Tree Experiment

Chinese Money Tree Activities

_______

[Read more…] about Tree Art Bulletin Board
Tweet
Share
Share
Pin

Filed Under: art, autumn, crafts, display, fall, literacy, preschool, spring, summer, trees Tagged With: papercrafts, tree art, trees

  • « Go to Previous Page
  • Page 1
  • Interim pages omitted …
  • Page 6
  • Page 7
  • Page 8
  • Page 9
  • Page 10
  • Interim pages omitted …
  • Page 13
  • Go to Next Page »

Primary Sidebar

Hi, I'm Annette Kaminsky, a preschool teacher who loves sharing learning through play activities for young children. Thanks for visiting my site. Feel free to stay awhile!

Subscribe Via Email

Recent Posts

  • Teacher Appreciation A to Z Alphabet June 21, 2026
  • Expanding Balloon Science Experiment May 18, 2026
  • Earth Day Spin Painting April 21, 2026
  • Easter Bunny Scavenger Hunt April 4, 2026
  • Celebrate Diversity Coloring Pages March 1, 2026
  • Lunar New Year Lantern Craft February 11, 2026
  • Black History Month Positive Affirmations Art January 29, 2026
  • Snowflake Cafe Dramatic Play Set January 19, 2026
  • Pastel Christmas Letterhead and Envelope December 20, 2025
  • December Kindness Activities November 30, 2025

Categories

Topics

apples bunnies butterflies Chinese New Year Christmas Christmas craft color colors dramatic play Easter fall flowers hearts holiday jewelry leaves leprechauns light table loose parts painting paper crafts playdough pretend play printables printmaking process art pumpkins rice bin scented playdough science experiment scissor skills sensory bin sensory play sensory tray shamrocks skeletons snakes snowflakes spiders spring St. Patrick's Day sunflowers tablescapes Valentine's Day water play

Copyright © 2026 · Lifestyle Pro on Genesis Framework · WordPress · Log in