_______
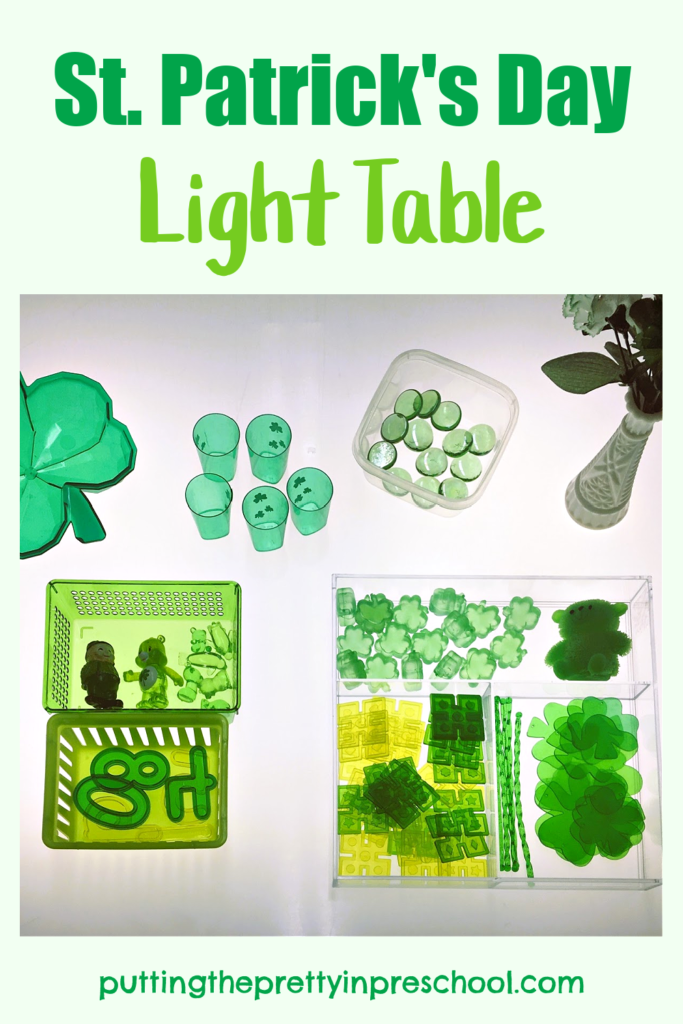
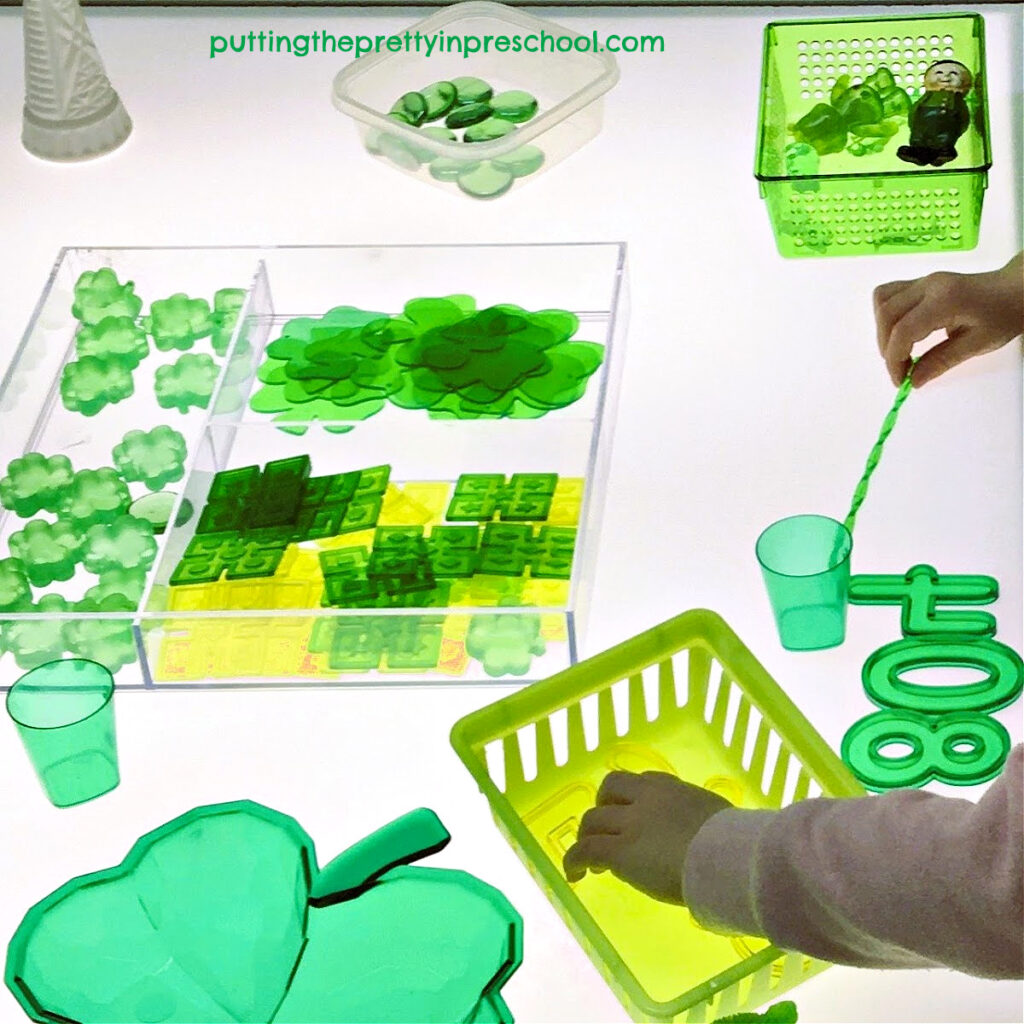
Setting up activities for the light table is one of my favorite things to do, and the light table is a well-loved center in our classroom. A perfect center for March, this St. Patrick’s Day light table setup is full of captivating loose parts for early learners to explore.
_______
Follow me on Pinterest for more early learning ideas.
_______
Supplies Collected
_______
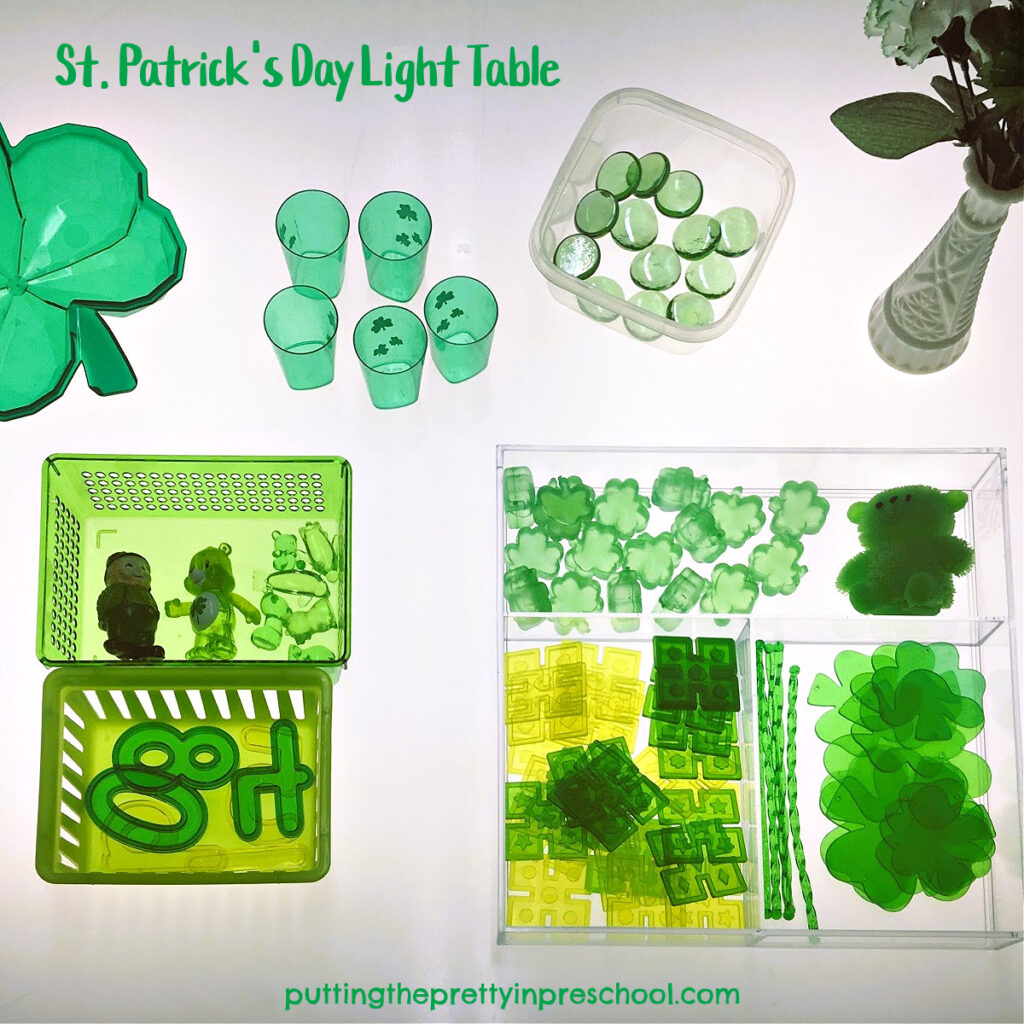
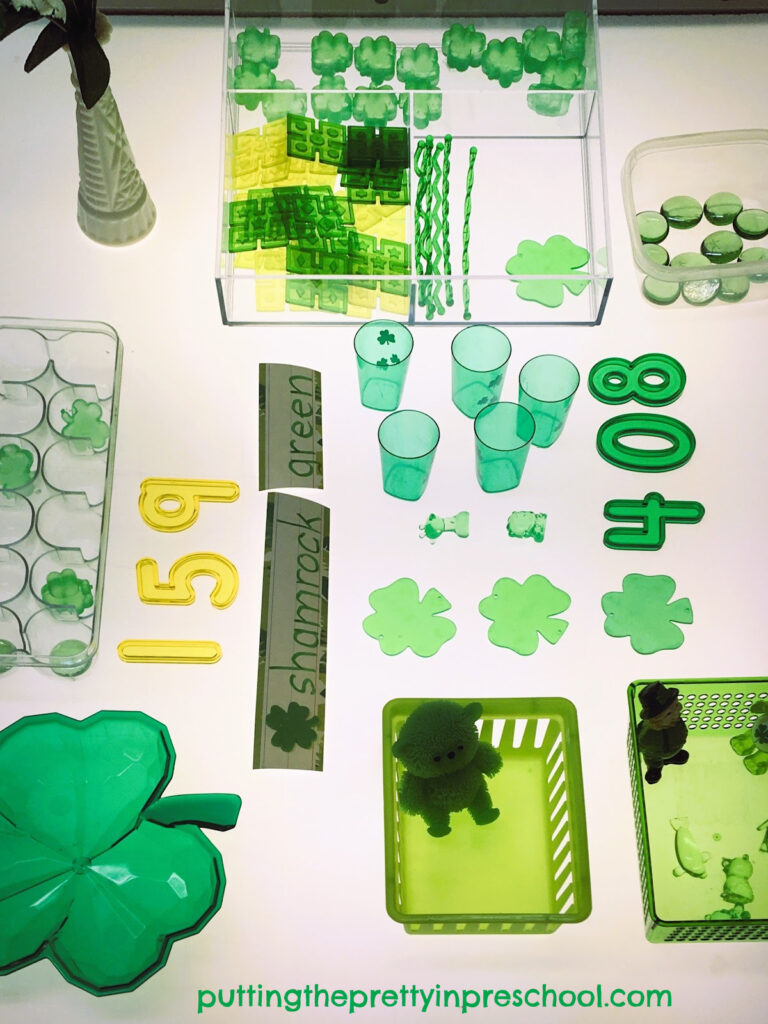
The following transparent loose parts are gathered for this very green light table center:
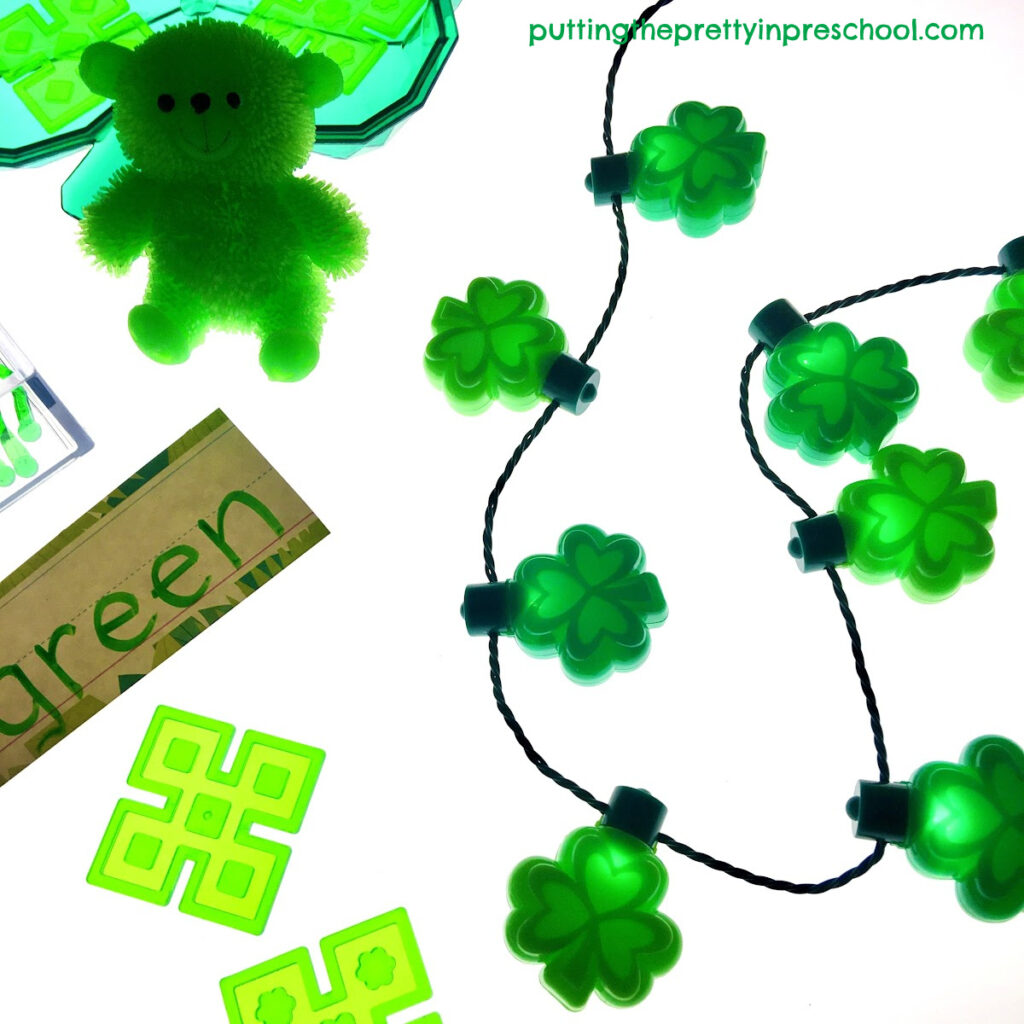
- light-up rubber bear
- bear figurine
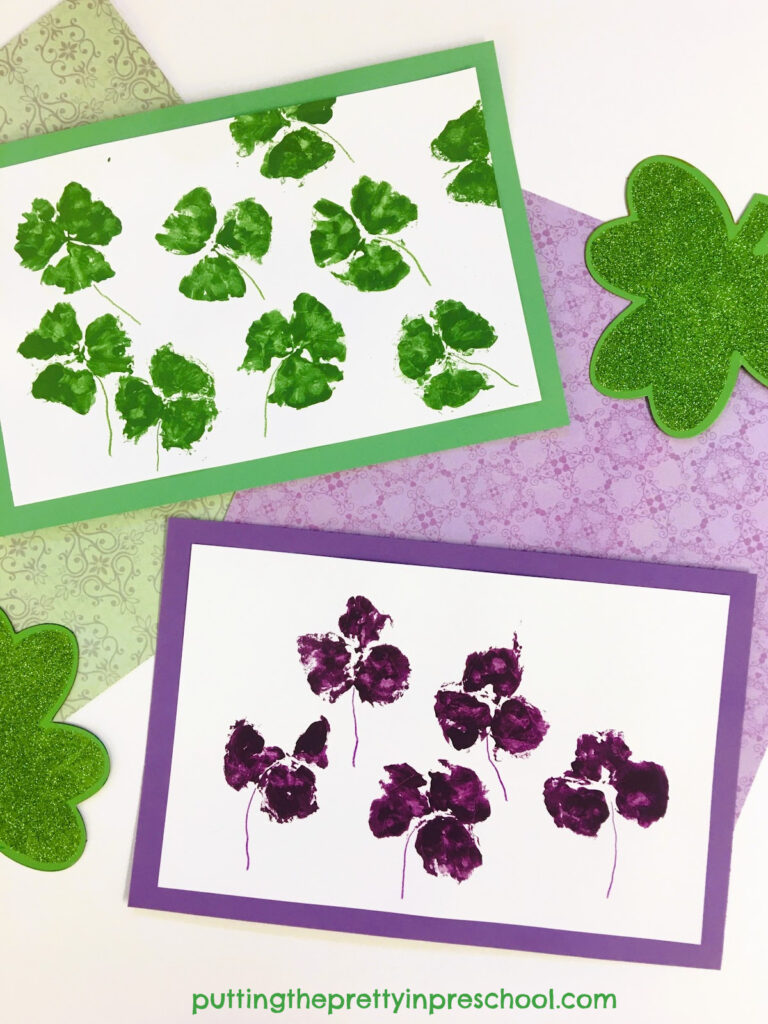
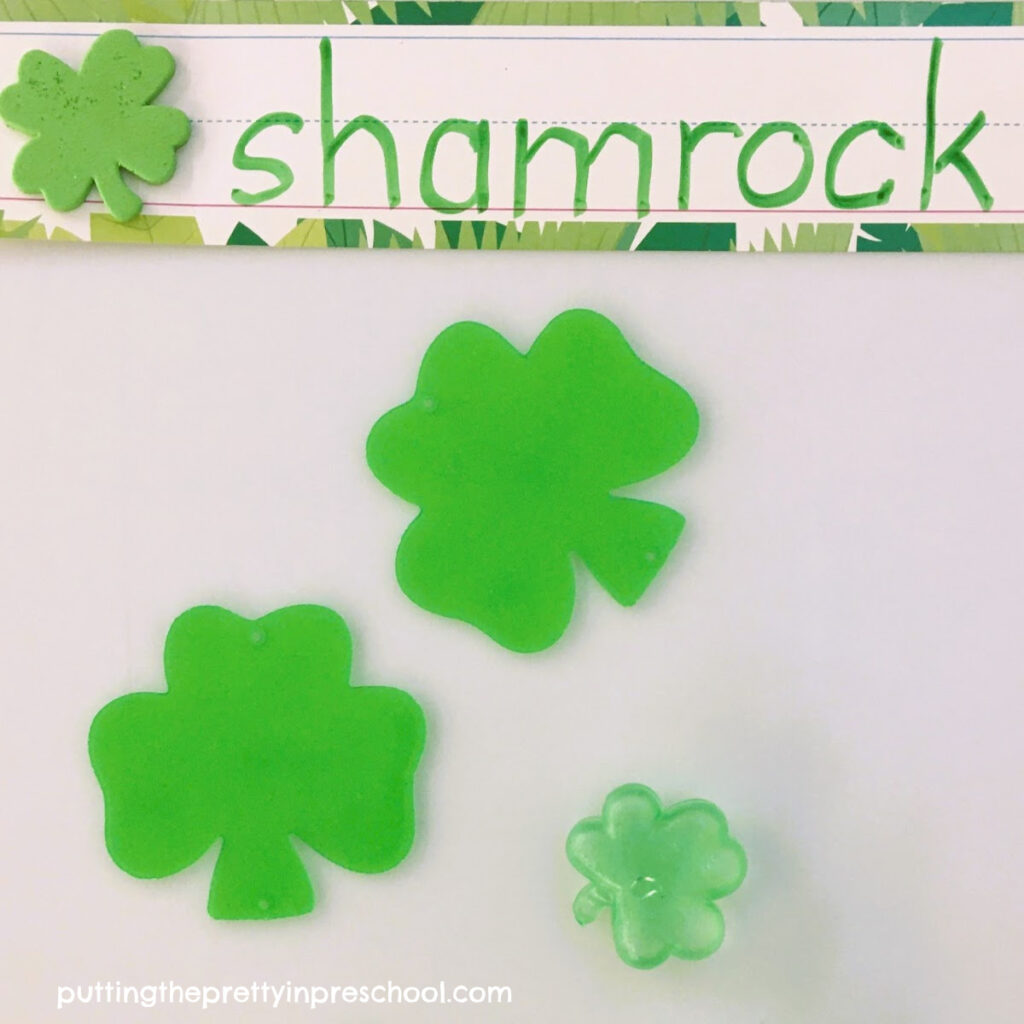
- shamrocks
- numbers
- stir sticks
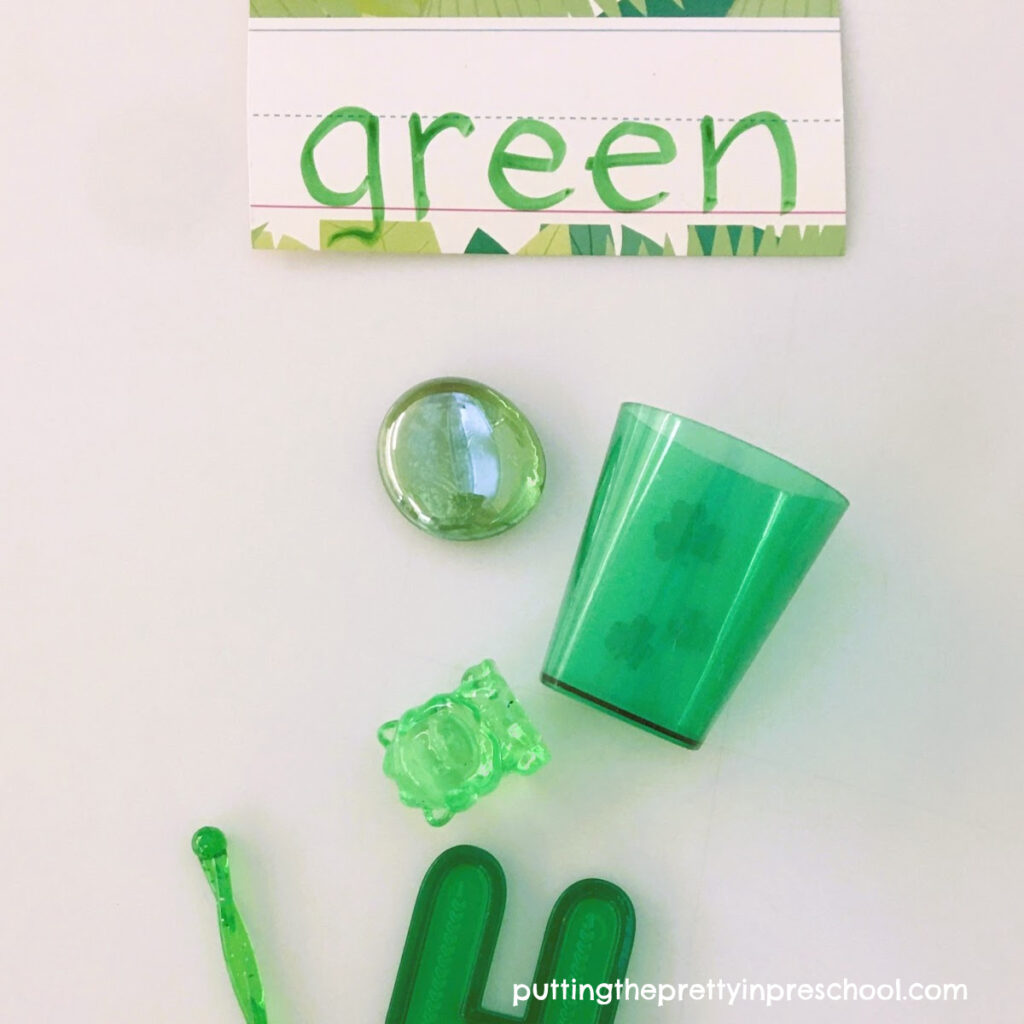
- tiny cups
- gem animal figurines
- reusable shamrock ice cubes
- shamrock serving tray
- pebble-shaped gems
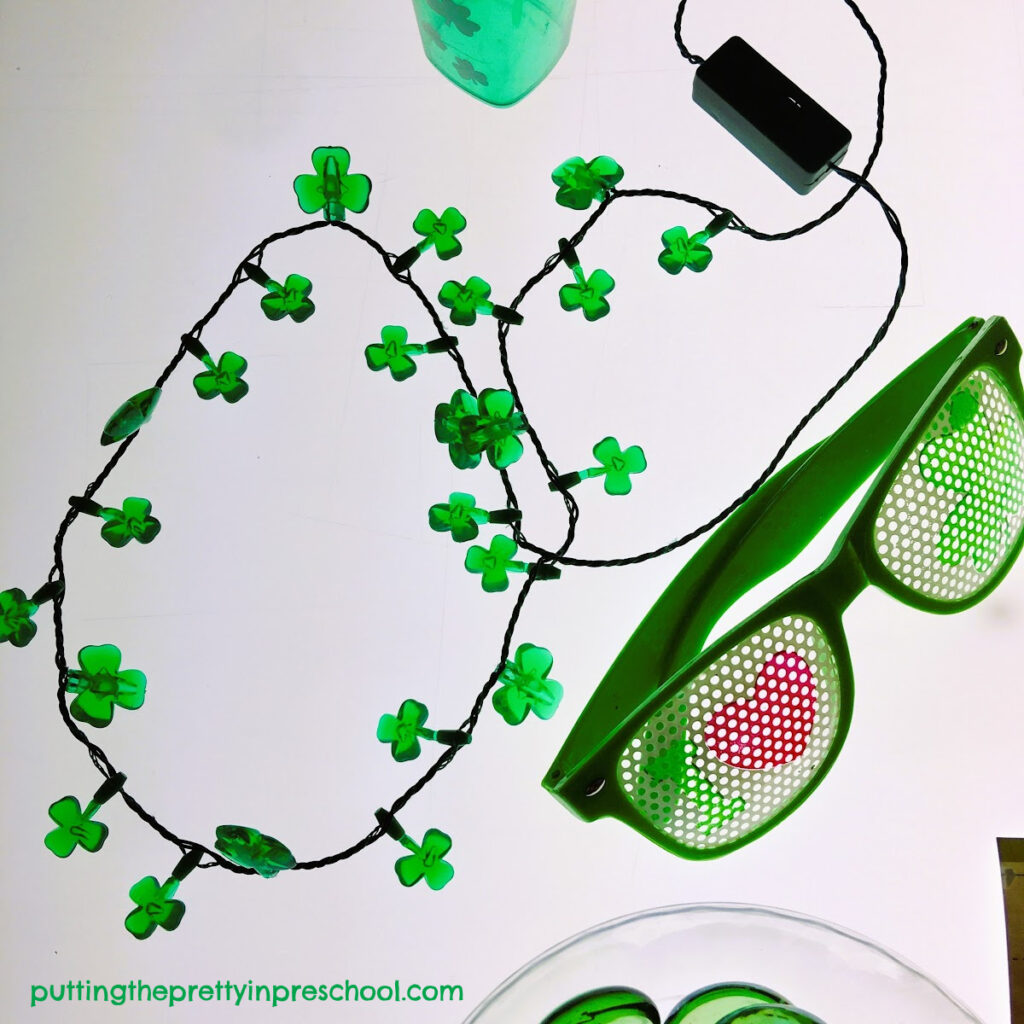
- light-up shamrock necklaces
- pair of party eyeglasses
- construction toy
_______
A vase with artificial flowers, a leprechaun figurine, and a pair of St. Patrick’s Day glasses round out the supplies on the table.
________
The St. Patrick’s Day Light Table Center
_______
For this light-illuminated center, I started off by checking my St. Patrick’s Day supplies for green transparent objects. These have been collected over the years from Dollar stores and party supply stores.
Next, I scrounged through my tub of green loose parts for interesting things to add, selecting the light-up bear, transparent pebbles and stir sticks.
Then I looked through my light table supplies and gathered mostly green and a few yellow transparent objects, such as a bear figurine, transparent construction toys, numbers, and tiny animal figurines.
_______
_______
Finally, on a recent trip to a dollar store I purchased two light-up necklaces. I included them after little learners had a week to explore the center, offering my little charges new items that continued their interest in this St. Patrick’s Day activity.
_______
_______
View this center as a St. Patrick’s Day Light Table Video.
_______
More Light Table Activities
St. Patrick’s Day Light Table Tray
_______
[Read more…] about St. Patrick’s Day Light Table