• Skip to secondary menu
  • Skip to main content
  • Skip to primary sidebar

Putting The Pretty In Preschool

Finding Beauty In Everyday Early Childhood Experiences

  • Home
  • About Me
  • Winter
  • Chinese New Year
  • Blog
  • Contact Me
  • Black History Month
  • SHOP
  • Valentine’s Day

science

Strawberry Hot Chocolate Bin

February 19, 2022 by Annette Kaminsky Leave a Comment

Tweet
Share
Share
Pin
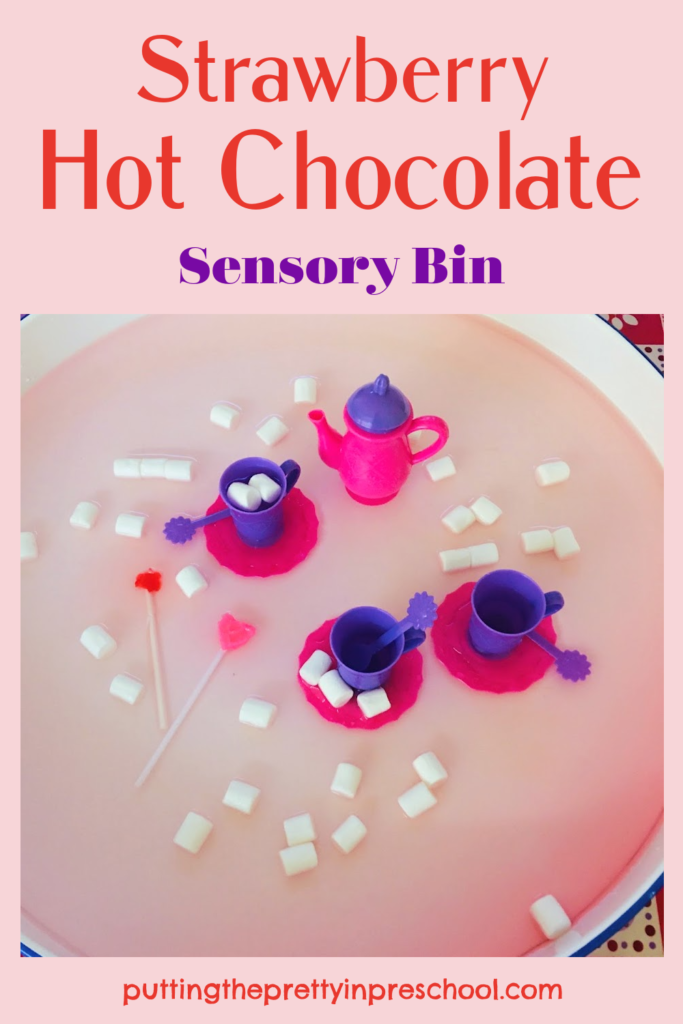
A dreamy, taste-safe strawberry hot chocolate sensory bin to let your little learners explore. This activity is perfect for a party day or any day!

_______

This taste safe strawberry hot chocolate bin is sure to excite your little learner. It incorporates marshmallows, lollipops, and pouring with a miniature tea set, all mega-hits with young children.

For this activity I originally planned to try a classic hot chocolate sensory bin, using chocolate-flavored candies or lollipops. But I didn’t have any luck finding hard chocolate candy. So, a dreamy strawberry hot chocolate-themed bin it is.

_______

Follow me on Pinterest for more early learning activities.

_______

Supplies To Collect

Gather the following supplies for this taste safe sensory bin:

  • red and pink heart-shaped lollipops
  • mini marshmallows
  • miniature toy tea set
  • small white tub
  • cool water

_______

Introducing The Strawberry Hot Chocolate Bin

First, thoroughly sanitize the tub and toy tea set.

Note: If more than one child is participating in this activity, give them their own bin.

Then set the tea set in the bin, and add an inch of cool water. Invite your little learner to play with the cups and saucers and pot in the bin.
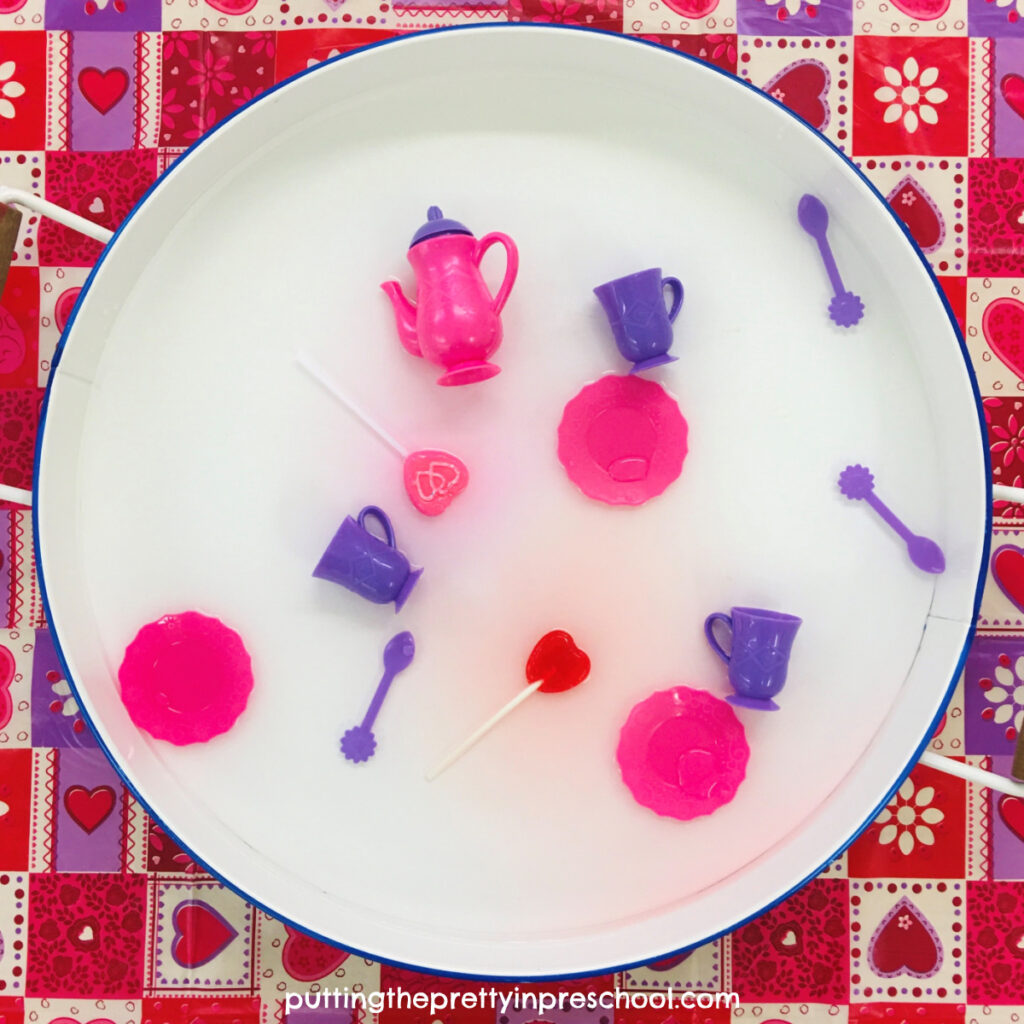
A dreamy, taste-safe strawberry hot chocolate sensory tub to let your little learners explore.

_______

Next, drop in two lollipops. Suggest that a little tasting is allowed, but that the lollipops should go back in the bin afterward. Draw attention to the gradual color change in the water: the liquid slowly changes to light pink. And observe that the lollipops shrink over time.
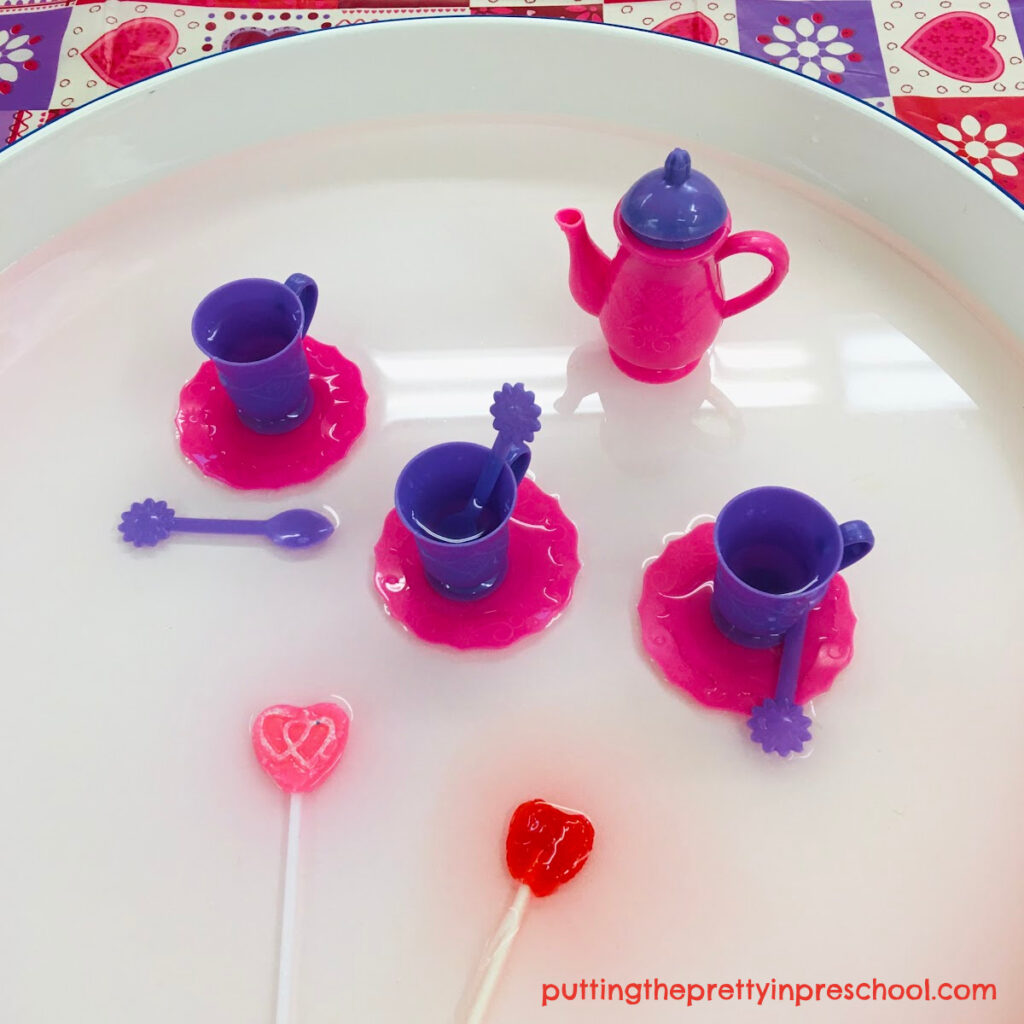
A lollipop and tea set sensory bin your little learner will love to explore. This sensory bin is toatally taste-safe.

_______

Then sprinkle a few mini marshmallows into the bin. Encourage your little learner to include the marshmallows in pouring activities.

Tip: Staggering the addition of marshmallows and lollipops extends the time the children will spend in the sensory activity.

This sensory bin is totally taste safe, and part of the experience is to be able to taste the lollipops, marshmallows, and flavored water. The colored water will likely have a light, fruity taste.

Make sure hands are washed very carefully after playing in the bin, as they will be a little sticky.
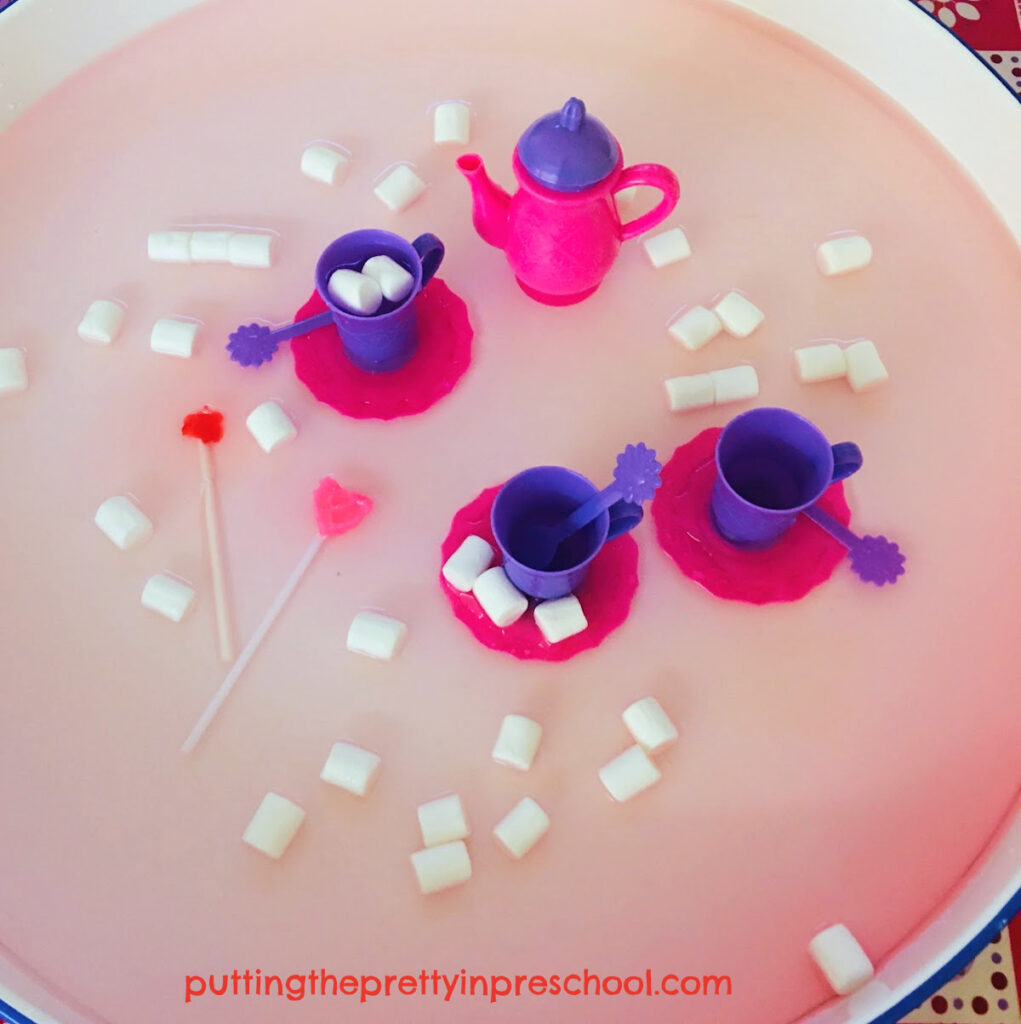
A dreamy, taste-safe strawberry hot chocolate sensory bin to let your little learners explore. This activity is perfect for a party day or any day!

________

Benefits Of This Sensory Bin

There are many benefits of this tasty sensory bin:

  • exercising eye-hand coordination in pouring “hot chocolate” and sipping from tiny cups.
  • experiencing a color change science experiment when lollipops are added to the bin.
  • encouraging language development by describing the look and feel of the bin and the taste of the lollipops, marshmallows and water.
  • discussing that sweet treats should be eaten in moderation.
  • experiencing joy by participating in an unexpected, new, super fun sensory activity.

This strawberry hot chocolate bin is perfect for a party day such as Valentine’s Day. It would also work wonderfully for a Mother’s Day celebration.

_______

Strawberry Hot Chocolate Recipes

If you would like to try or serve authentic strawberry hot chocolate, here’s a couple of blogs with delicious recipe posts:

Sprinkle Bakes features an instant strawberry hot cocoa mix.

My Heavenly Recipes showcases a strawberry hot chocolate recipe.

_______

Related: Candy Cane Science Experiment

_______

[Read more…] about Strawberry Hot Chocolate Bin
Tweet
Share
Share
Pin

Filed Under: party, preschool, pretend play, science, sensory, Valentine's Day Tagged With: hot chocolate, science experiment, sensory bin, sensory play, sensory tray, taste safe, tea set

Blue Candy Cane Science Experiment

January 23, 2022 by Annette Kaminsky 1 Comment

Tweet
Share
Share
Pin
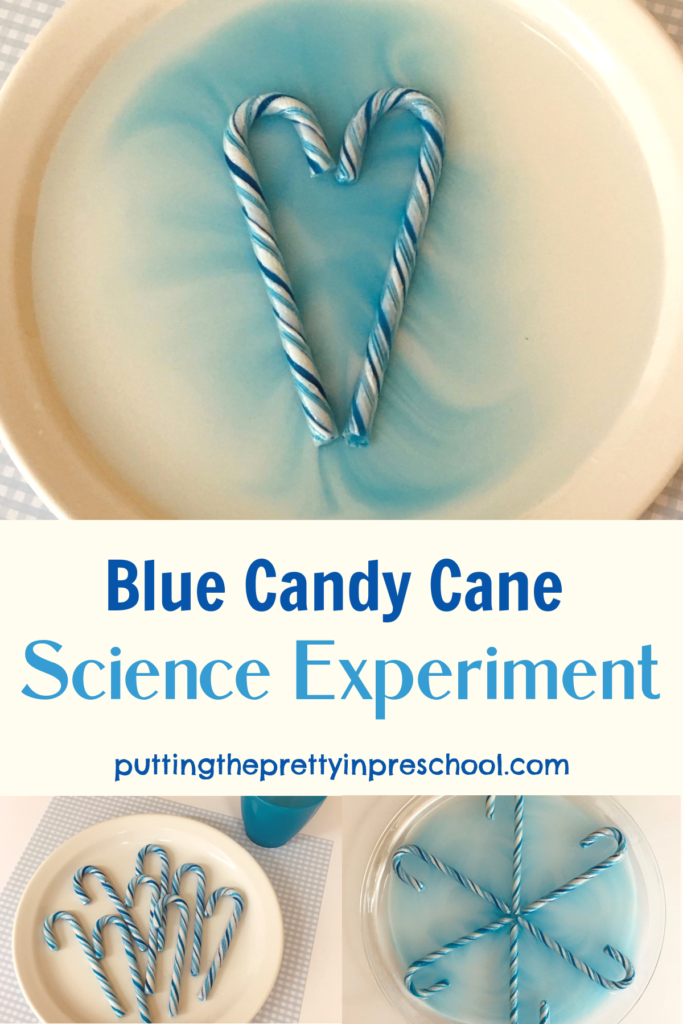
This easy-to-do blue candy cane science experiment is perfect for winter and transitions nicely into Valentine's Day.

_______

This blue candy cane science experiment is an offshoot of an earlier candy cane science post. I purposely saved blue striped candy canes to use in a few winter-themed variations of the easy-to-perform experiment. And yes…I am permanently hooked on candy cane science!

_______

Supplies To Collect

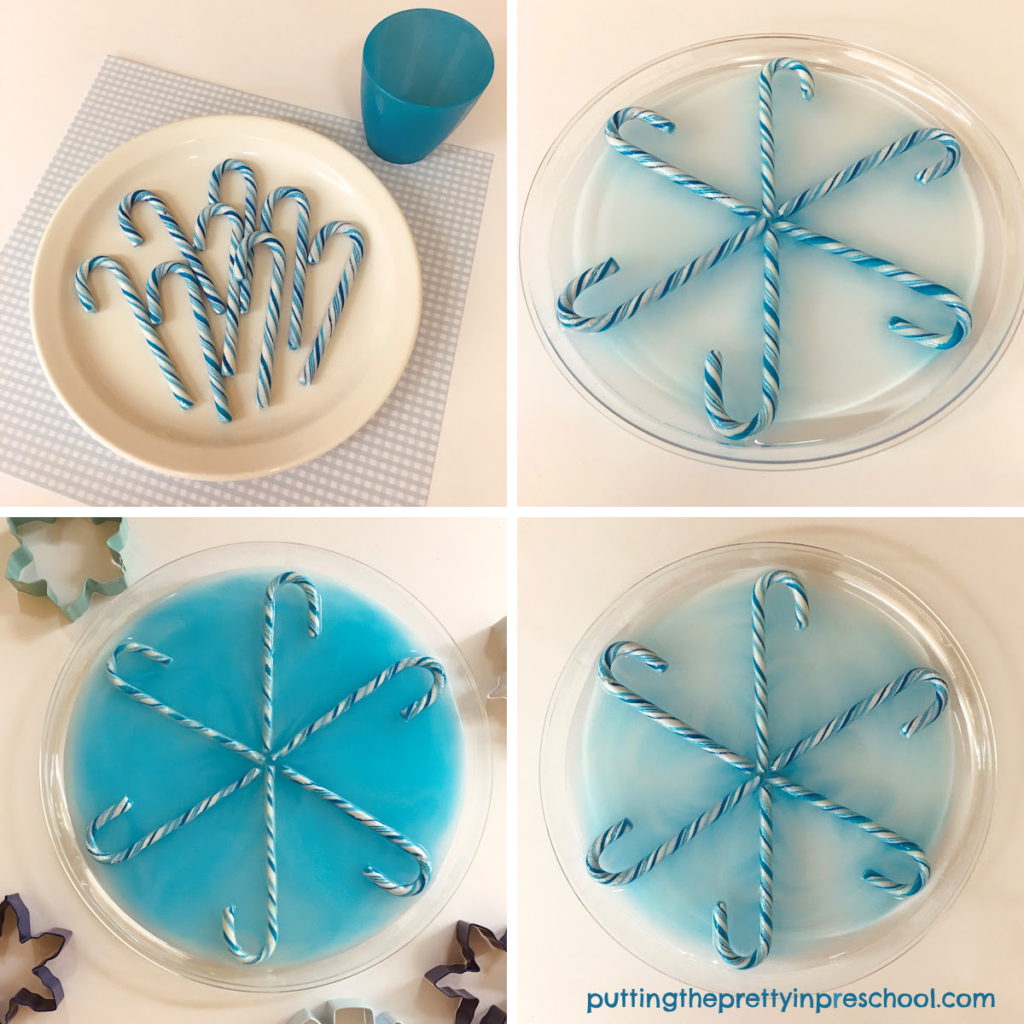
This blue candy cane snowflake experiment will wow little learners. It is easy to set up and shows immediate results.

_______

First up is a blue candy cane snowflake version of the experiment. To perform it gather the following three supplies:

  • six blue and white striped candy canes
  • large clear, white, or cream-colored plate with a rim
  • measuring cup (or cup) of warm water

_______

The Candy Cane Snowflake Experiment

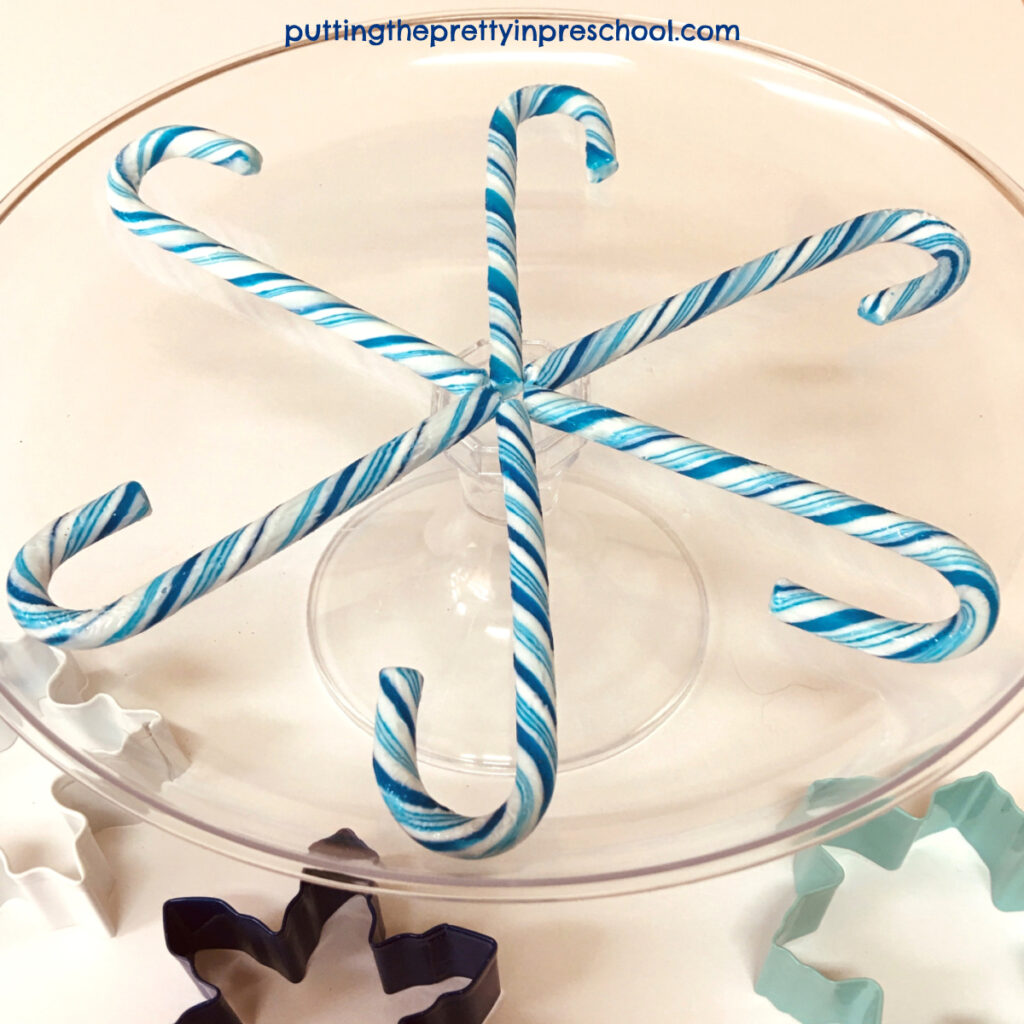
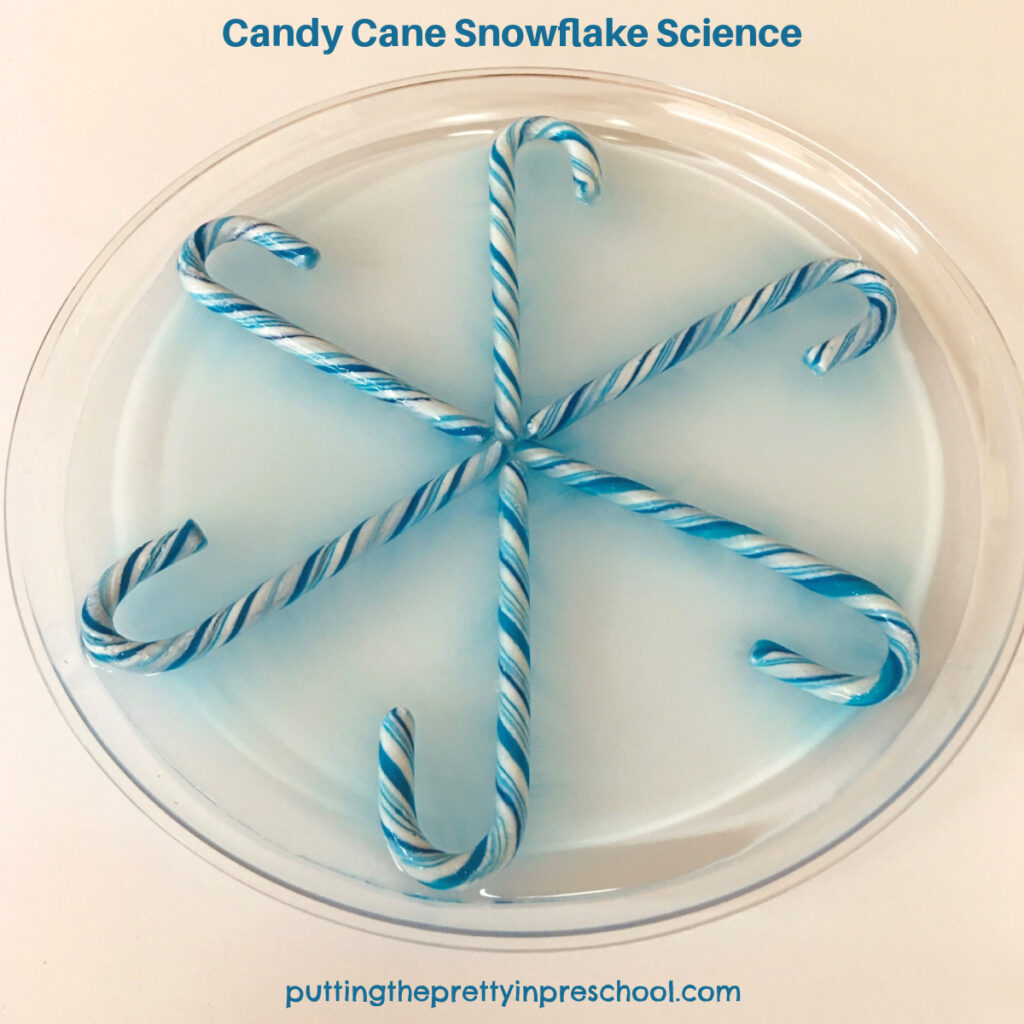
Set the candy canes on a large plate in a six-sided snowflake design.

Let the science experiment begin with this blue candy cane snowflake!

_______

Slowly pour in warm water to partially cover the candy canes.

Invite participants to watch what happens.

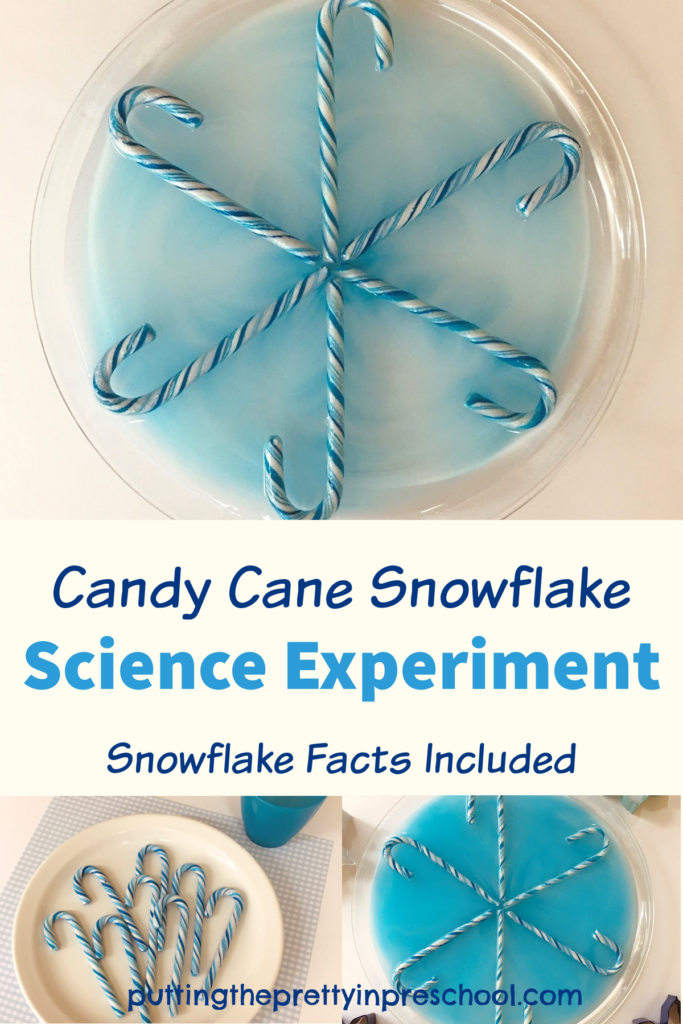
An easy-to-do candy cane snowflake science experiment. All you need is water, candy canes, and a plate.

_______

While little learners watch the colors in the water spread during the experiment, slip in a few snowflake facts from the list below.

_______

Ten Fast Facts About Snowflakes

  • Snowflakes are made of many snow crystals that are stuck together.
  • The six-sided flakes come in symmetrical, hexagonal shapes.
  • About 200 ice crystals make up one snowflake.
  • There are six basic types of snowflakes.
  • Combinations of these types make 35 recognizable snowflake designs.
  • A snowflake’s shape is determined by the temperature and amount of moisture in the air when it was formed.
  • Snowflakes range in size, from teeny tiny to penny-sized.
  • Because they reflect light, snowflakes appear white. But they are actually translucent.
  • Every second, billions of snowflakes float down to earth.
  • Snowflakes fall at 3- 4 miles per hour or about 5 – 6.5 km per hour.

_______

Try this easy-to-do candy cane snowflake experiment today. It uses simple supplies and has immediate results. Snowflake facts are included.

___________

Early learners may wish to have a little taste of the resulting blue liquid. Unlike the strong mint taste of the Christmas candies, the blue water has a pleasant berry flavor.

Tip: If you have other candy cane colors available rather than blue striped ones, use them in the experiment instead. Snowflakes look beautiful in all colors!

_______

Blue Candy Cane Heart Experiment

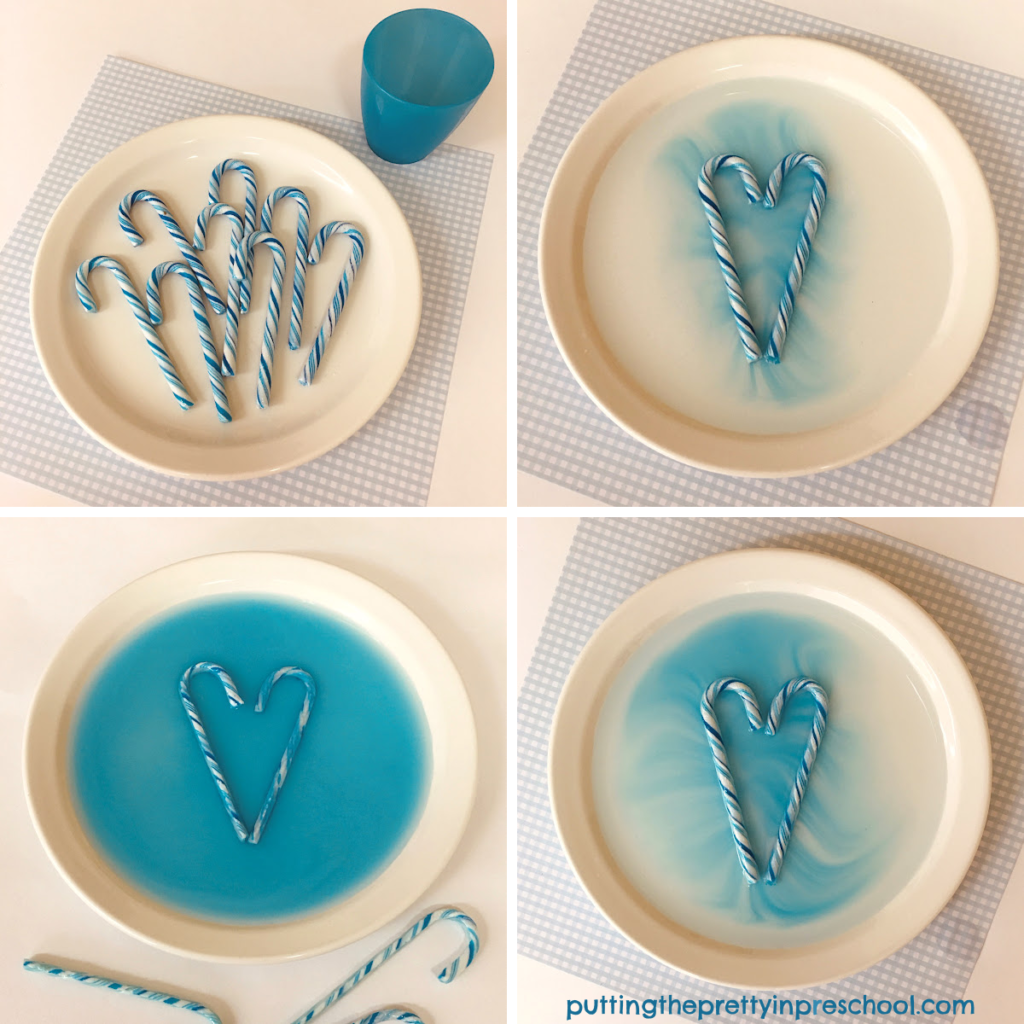
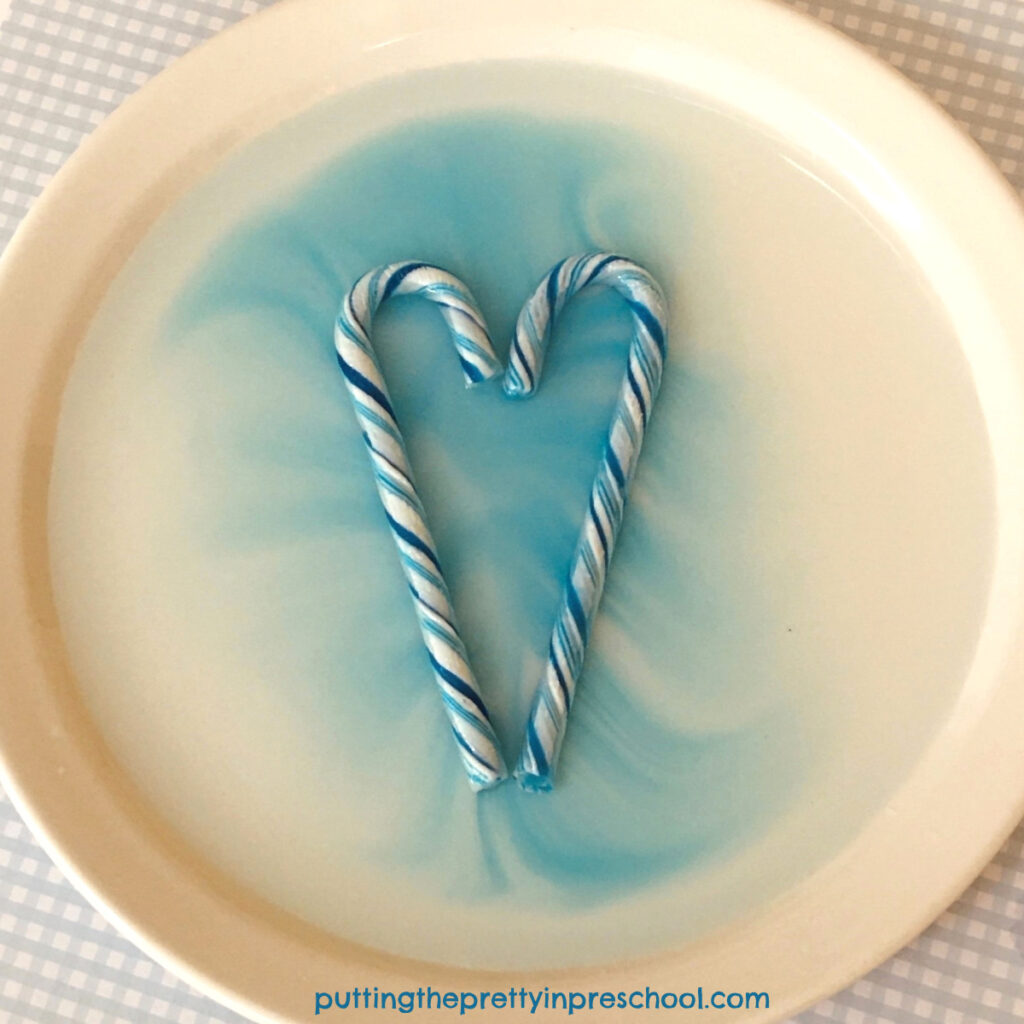
For a simpler but equally striking version, form two candy canes into a heart shape on the plate. When water is slowly added, little learners will notice a different color pattern developing.

This blue candy cane heart science experiment fits into winter and transitions nicely into Valentine's Day.

_______

A pretty blue candy cane science experiment that will wow little learners.

_______

The Science Behind The Color Movement

The candy canes are made of sugar. The water breaks the sugar molecules apart. Then the food colors move through the water away from areas of higher sugar concentration (near the candy) to areas with less sugar. When the sugar concentration is the same in all areas, the colors stop moving.

_______

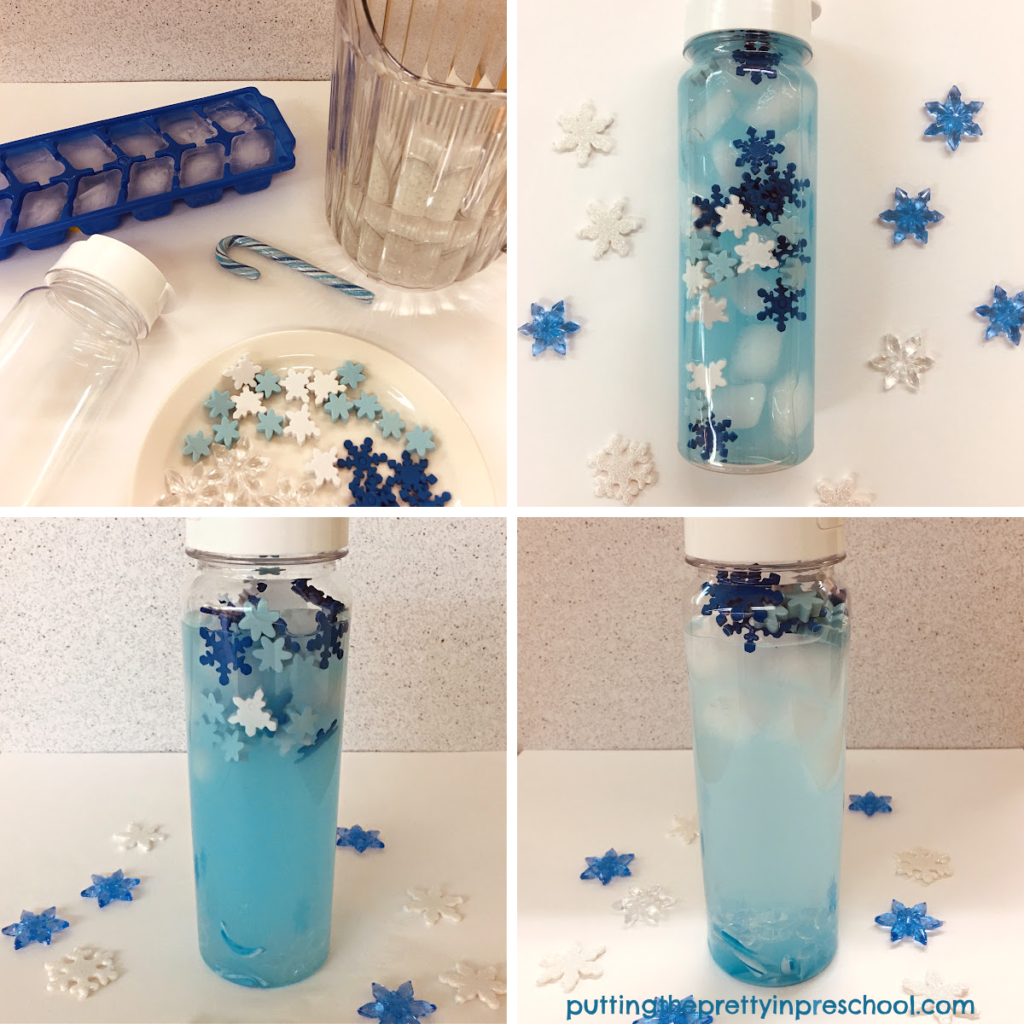
Blue Candy Cane Sensory Tube

If you have broken candy canes saved that weren’t suitable to display or hand out over the holidays, use them in a sensory tube.

Candy cane winter sensory tube with ice cubes and snowflakes.

_______

To make the winter-themed tube above, freeze ice cubes and add them to a clear tube with a wide mouth.

Next, sprinkle in blue and white foam and gem snowflakes.

Gently drop in blue-striped candy cane pieces.

Then fill the sensory tube with cool water and tightly screw on the lid.

Invite little learners to play with the tube.

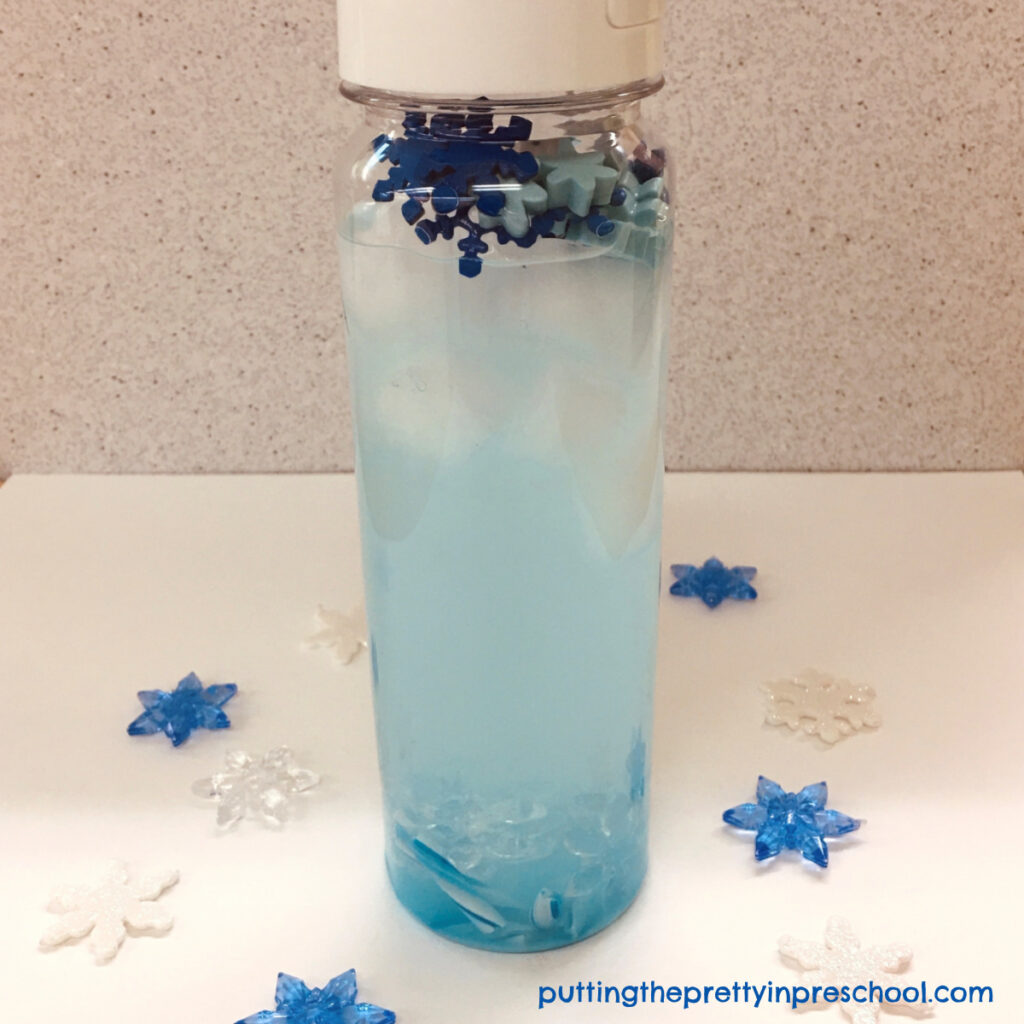
An icy blue candy cane winter sensory tube doubling as a float and sink experiment.

_______

Because the water in the tube is cool, it changes color at a slower pace than in the snowflake and heart versions of the experiment.

Float and sink experimentation happens naturally with this candy cane tube. The snowflake gems and candy cane pieces sink to the bottom and hang out there, while the foam shapes congregate at the top.

This eye-appealing blue candy cane sensory tube doubles as a float and sink experiment.

_______

Related: Color Explosion Science Experiment

_______

[Read more…] about Blue Candy Cane Science Experiment
Tweet
Share
Share
Pin

Filed Under: preschool, science, sensory, winter Tagged With: candy canes, colors, science experiment, sensory tubes

Candy Cane Science Experiment

January 1, 2022 by Annette Kaminsky Leave a Comment

Tweet
Share
Share
Pin
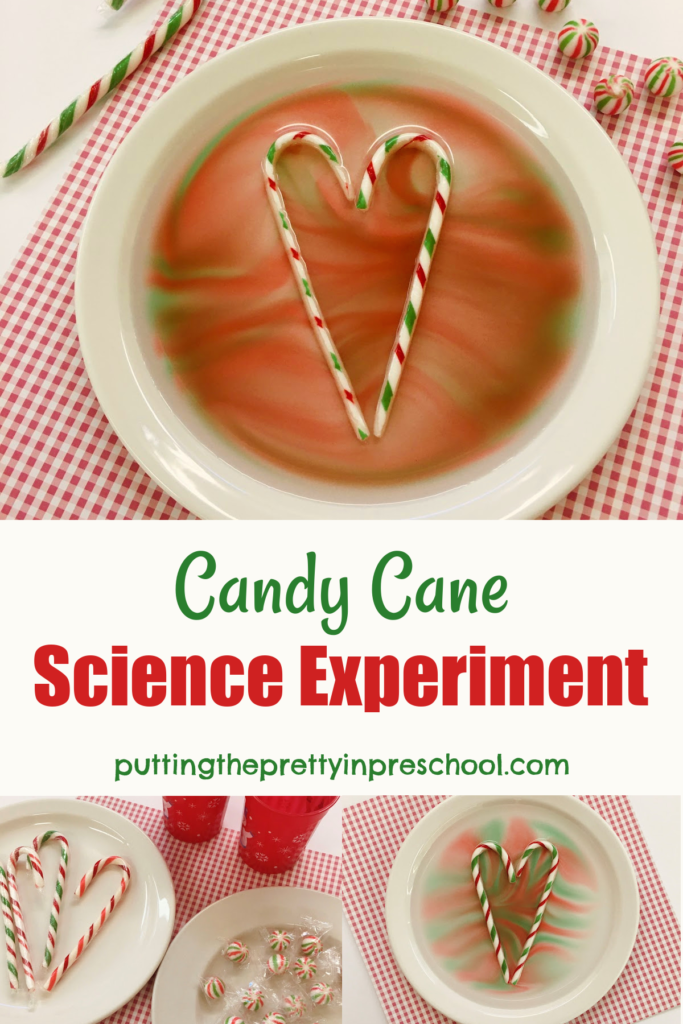
This easy-peasy candy cane science experiment shows immediate results and brings the WOW factor, perfect for little learners!

_______

This Christmas I went on a candy cane hunt, primarily to add a few of these festive treats to my preschoolers’ party bags. Although easy to find in the past, I visited three different stores before I spotted some.

Candy canes had been brought up in class discussions, so I thought the children would be excited to discover them in their party bags. As I tried to give one child extra candy canes for his siblings, I noticed that he was furiously trying to give his original ones away. It turned out that he immensely dislikes them! So needless to say, there were a few candy canes leftover at school after the holiday celebrations.

So then came Plan B…the decision to use some for this easy-peasy candy cane science experiment.

_______

Supplies To Collect

Gather just three supplies for an easy-to-perform candy cane or candy experiment with a WOW factor.

_______

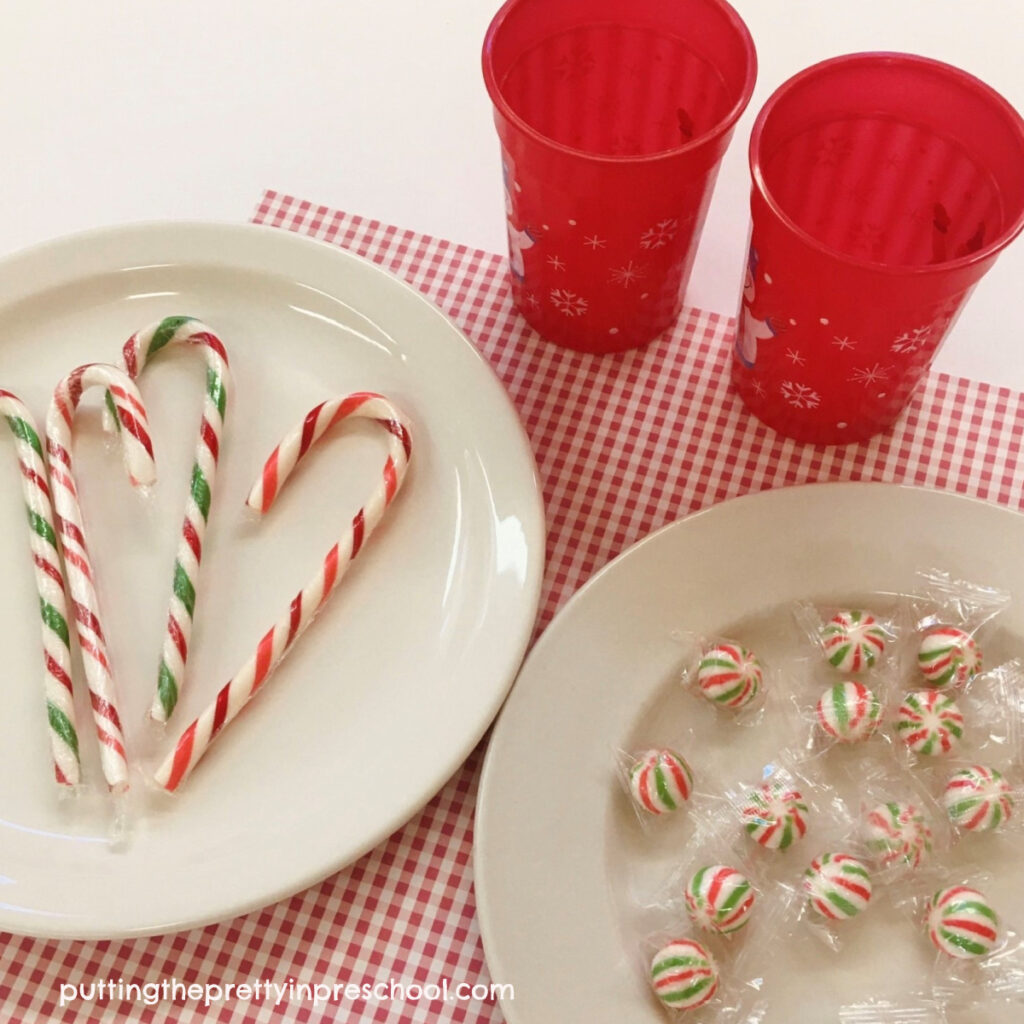
The supplies for this science experiment couldn’t be any simpler. Gather the following three things:

  • white or cream-colored dinner plate with a rim
  • cup of warm water
  • two large candy canes

_______

Conducting The Candy Cane Science Experiment

Try this candy cane Science experiment today! It is easy to do and has immediate results.

_______

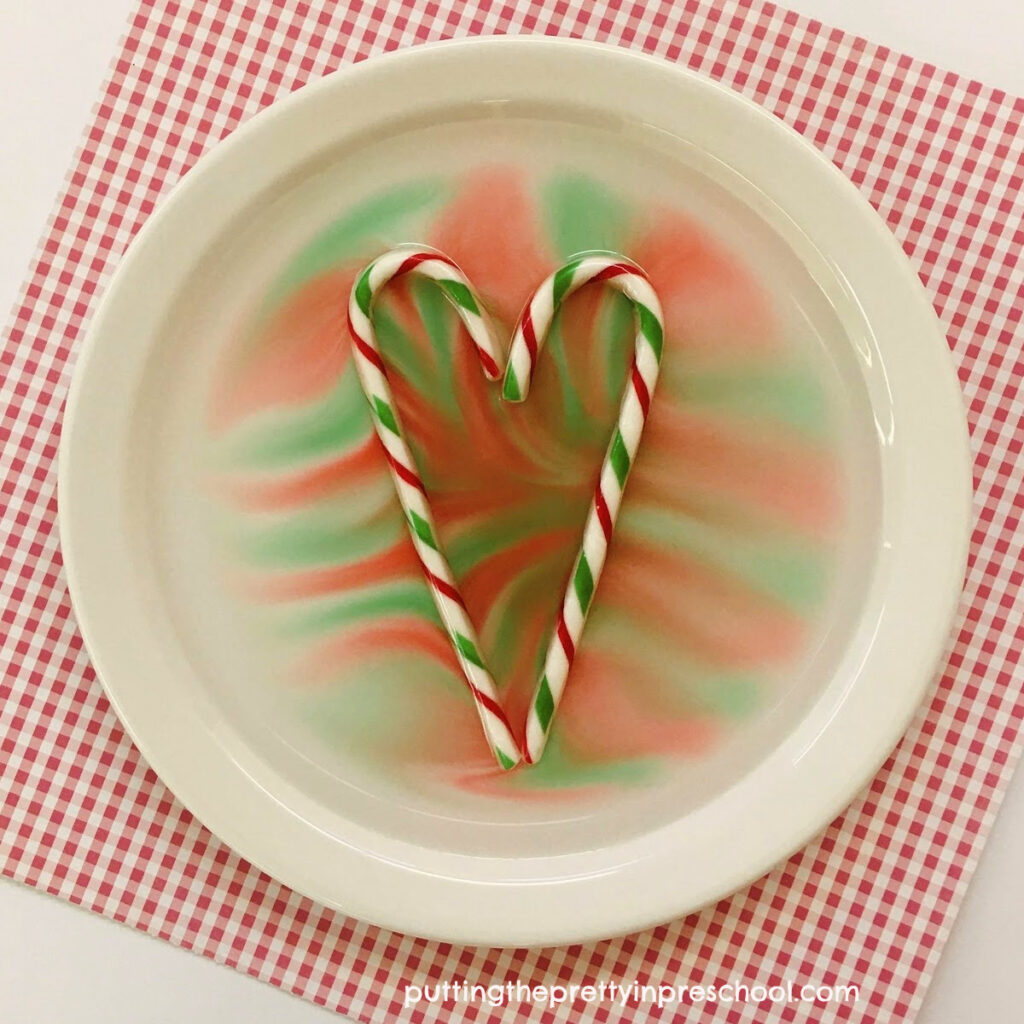
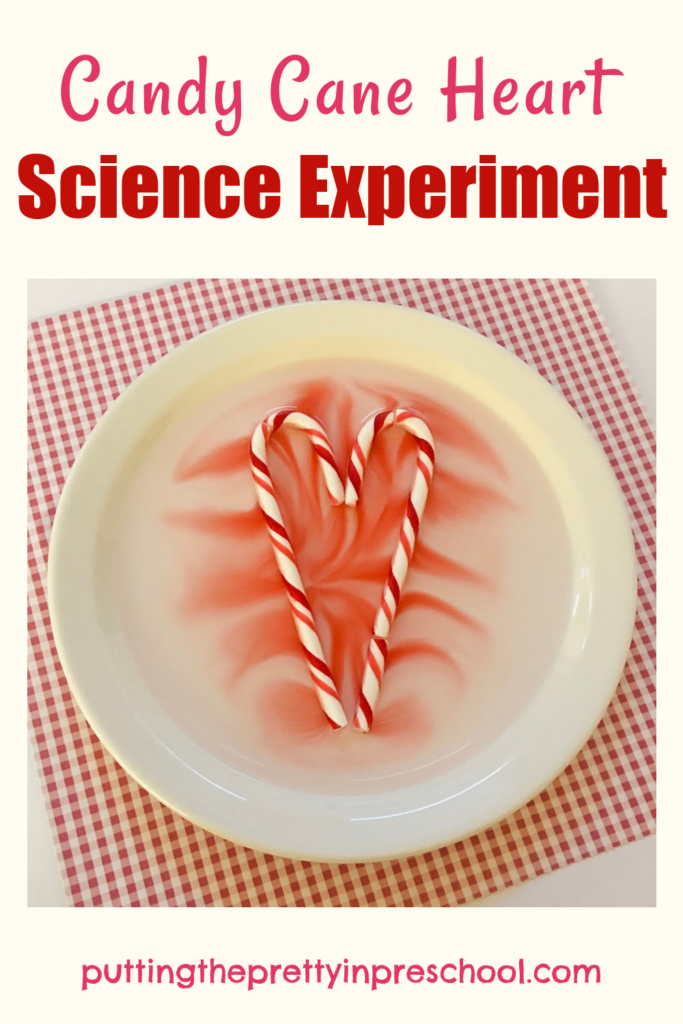
Place two candy canes in the center of the plate in a heart shape.

Slowly pour in warm water to a level just beneath the plate rim.

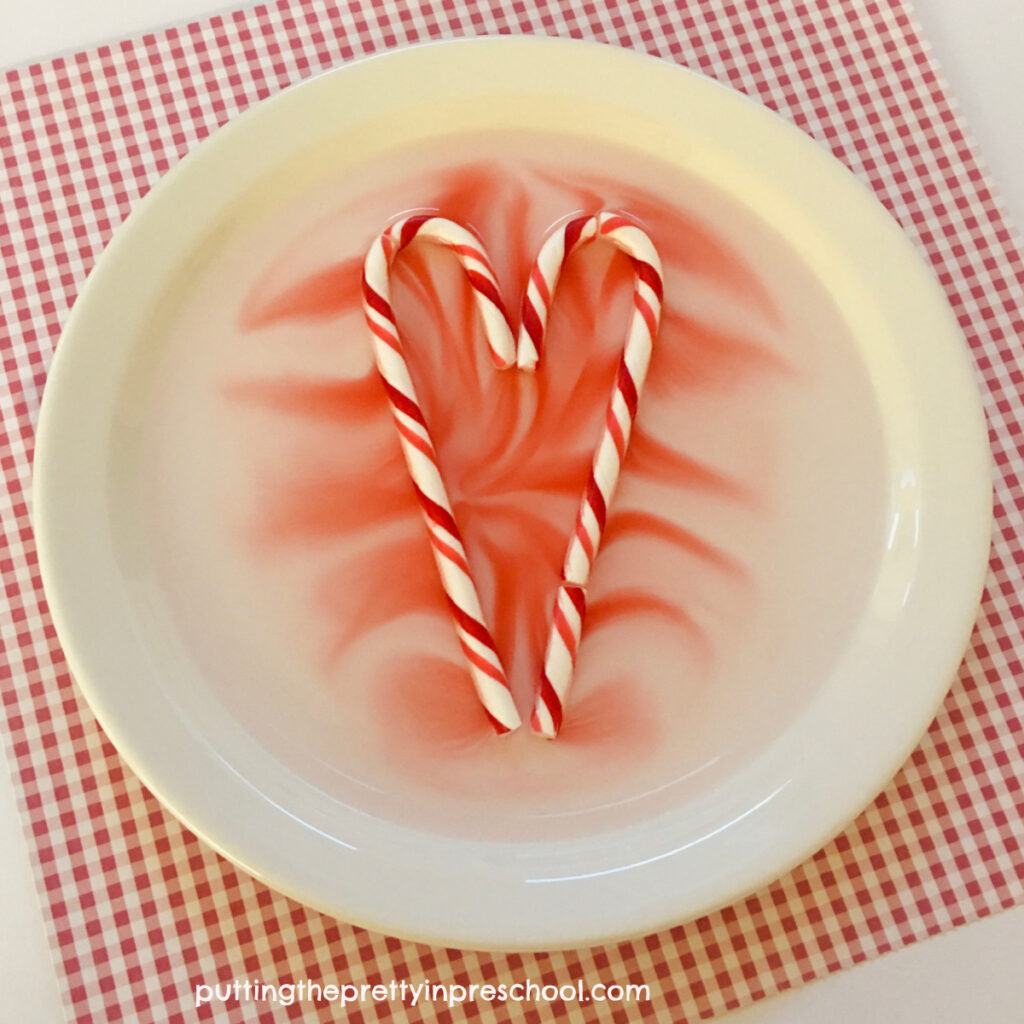
The food coloring will immediately diffuse from the candy canes, and the color patterns will change right before your eyes!

This experiment can be tried with other colors of these treats. The red, pink, and white color scheme below would work perfectly for Valentine’s Day.

This easy to perform heart-themed candy cane science experiment is perfect for Valentine's Day. Give it a try!

_______

Variation Of The Candy Cane Experiment

There was a second candy escapade this holiday season, as a type of striped, spherical, Christmas candies I purchased turned out to be much too hard. I tasted one, and it just wouldn’t dissolve in my mouth. I imagined students choking on the candy on the drive home from preschool, and didn’t want to risk that. As you might have guessed, the super hard candies didn’t make the treat bag cut.

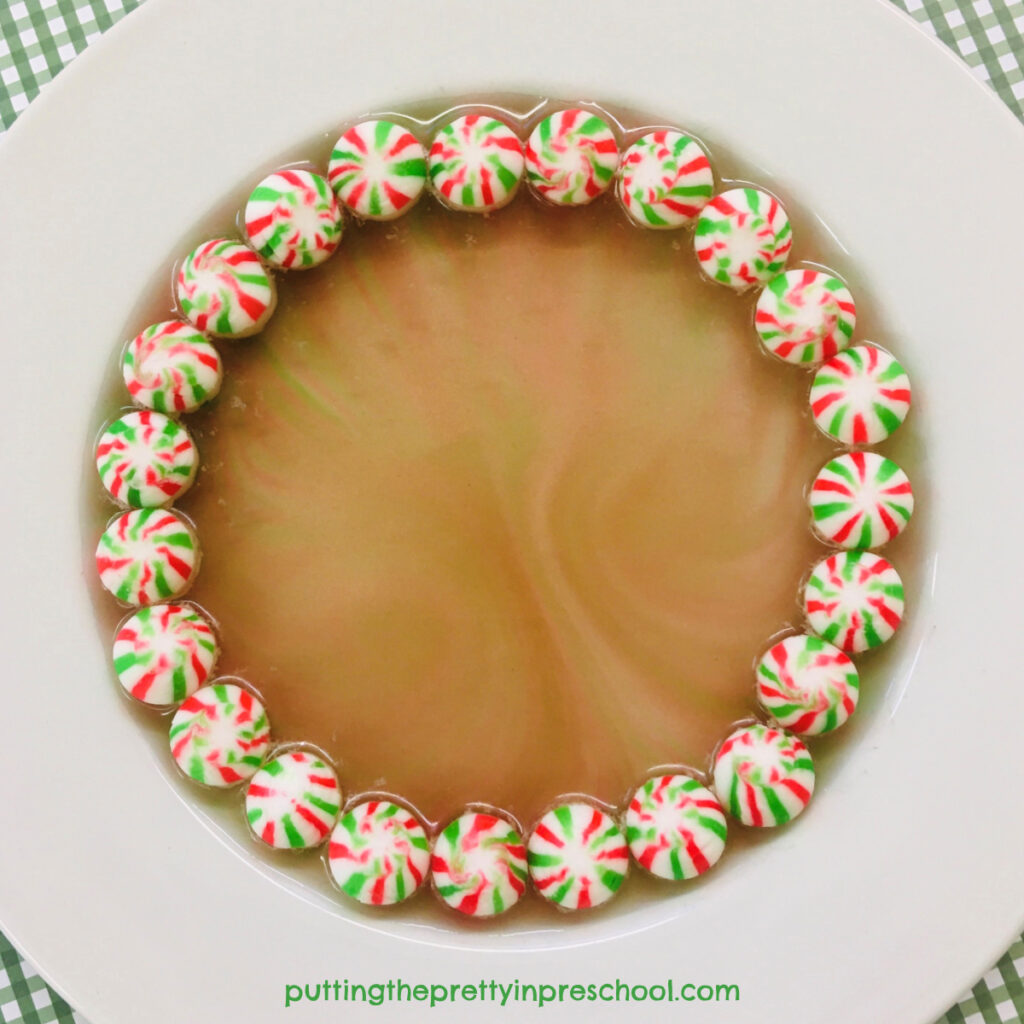
Conveniently, these holiday candies work in the same science experiment. In the picture below, the candies are arranged next to the rim of a plate. When warm water is added, green and red food colors slowly move through the liquid away from the candies. The process is so slow, the colors blend to make a rich brown hue soon after they spread. Since little learners love mixing colors to make brown, they would be excited to see this!

An oh-so-easy Christmas candy science experiment. Can't you smell the candy already?

_______

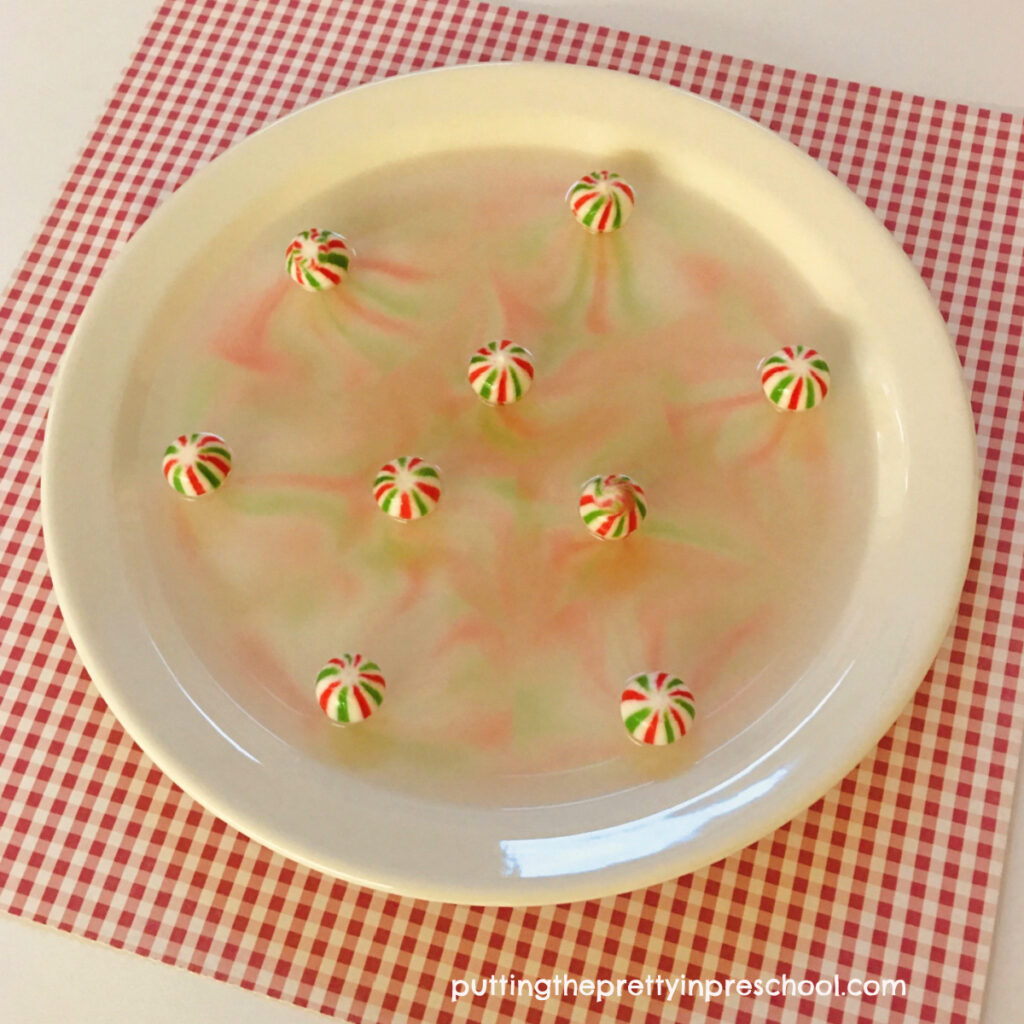
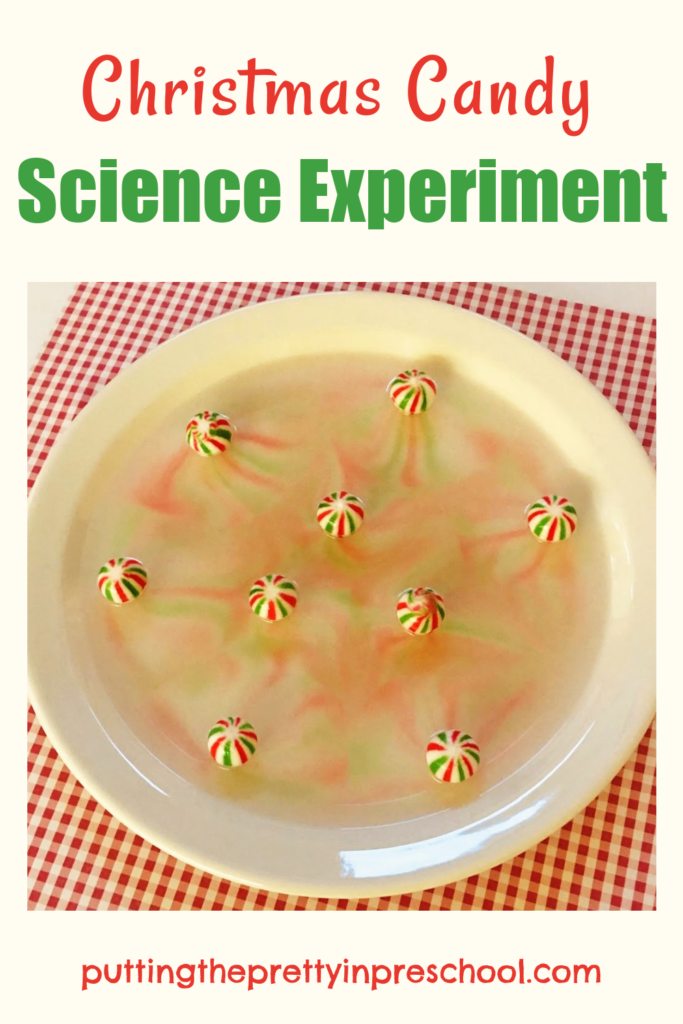
The candies can be placed a little farther apart around the plate rim, so the colors don’t mix as quickly when water is added.  Or they can be spread apart as in the picture below. Then moving red and green colors are visible a little while after warm water is added.

Try this Christmas candy Science experiment today! It is easy to do and has immediate results.

_______

Tip: If the colors in the candies dissolve at a snail’s pace, as in one of my experiments, you can choose to use hot water. This will speed up the scientific process. Make sure little learners observe what happens only with their eyes, keeping their hands and bodies away from the plate.

After the science experiment is finished and the liquid is cool, you may wish to let your little charges taste a teaspoon of colored water. It will have a strong mint taste.

_______

A simple Christmas candy science experiment with quick results. Can't you smell the candy already?

_______

Explanation Of This Candy Cane/Candy Experiment

The candy canes and candies are made of sugar. The water breaks the sugar molecules apart. Then the food colors move through the water from areas of higher sugar concentration (near the candy) to areas with less sugar (the center of the plate.) When the sugar concentration is the same in all areas, the colors stop moving.

Water temperature is a variant in this experiment. Sugar dissolves quicker in warm water, and food coloring moves at a faster pace.

This science experiment is so easy to set up and has immediate results, perfect for little learners. And participants get to use their senses of sight, smell, taste, and touch. Try it today with candies or candy canes!

Related: Color Explosion Science Experiment

_______

This easy-peasy candy cane heart science experiment shows immediate results and brings the WOW factor, perfect for little learners!

_______

More Christmas Activities

Christmas Village Tuff Tray

Orange-scented Playdough Invitation

Santa Claus Sensory Bin

Chocolate Mint Playdough

Plaid-themed Christmas Rice Bin

Lemon-scented Christmas Playdough

Easy S’mores Bars

Christmas Tree Decorating Center

Christmas Sensory Play

Handprint Angel Christmas Keepsake

Llama Christmas Sensory Bin

_______

[Read more…] about Candy Cane Science Experiment
Tweet
Share
Share
Pin

Filed Under: Christmas, party, preschool, science, sensory, Valentine's Day Tagged With: candy canes, Christmas, colors, hearts, science experiment

Turtle Pond Sensory Bin

November 4, 2021 by Annette Kaminsky Leave a Comment

Tweet
Share
Share
Pin
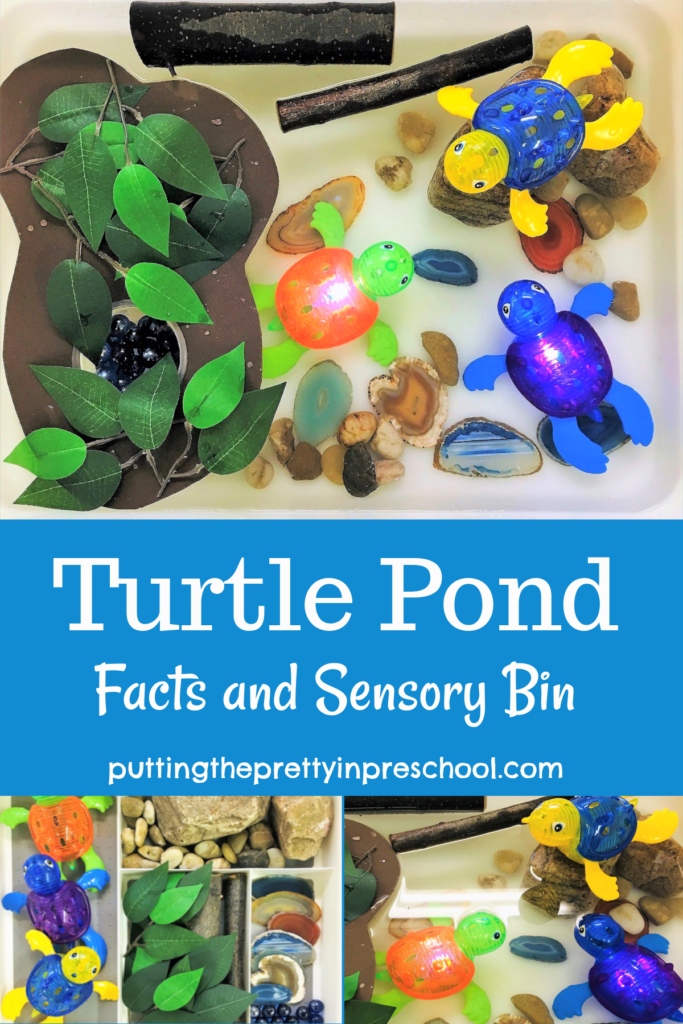
Easy to sert up nature-based tutle pond sensory bin.

_______

Why debut a turtle pond sensory bin, eggs included, in fall? Because although we generally associate spring as the time for baby animals to be born, many turtle hatchlings peck out of their shells in autumn.

And…because I have a light-up “toss and dive” turtle set that I’ve longed to use for over two years! I never stored it in a permanent spot because I was always planning to do a pond activity “very soon.” But with so many fantastic curriculum ideas to choose from every week, “soon” never came.

So this September as I was reorganizing storage areas, I noticed the colorful turtles once again. I googled “turtles in fall” to see how I could use them alongside typical fall themes such as leaves, pumpkins, bats, and spiders. Finding that turtle eggs and hatchlings are part of the fall season motivated me to include the diving turtles in a sensory activity at this time.

_______

Ten Turtle Reproduction Facts

  • Although turtles spend a lot of time in water, nearly all lay their eggs on land.
  • Many turtles lay a clutch of eggs in about 3 – 6 weeks after mating.
  • Mother turtles dig a nest in sandy or wet dirt with their hind legs. They cover the eggs laid in the nest with soil and plants.
  • Depending on turtle size and species, there can be from 5 to 100 eggs in a clutch.
  • Most turtles don’t guard their nests, leaving right afterwards.
  • It takes the baby turtles two to three months to hatch.
  • Most hatch in autumn, pecking their way out with an egg tooth.
  • These fall babies often stay in the nest through winter and emerge the following spring.
  • They survive their first winter by not eating and living on their own fat reserves. Some can handle cold temperatures and may even produce a sort of antifreeze.
  • Only a few turtles survive to adulthood. Turtle eggs and hatchlings have many predators.

_______

Turtle Pond Supplies To Collect

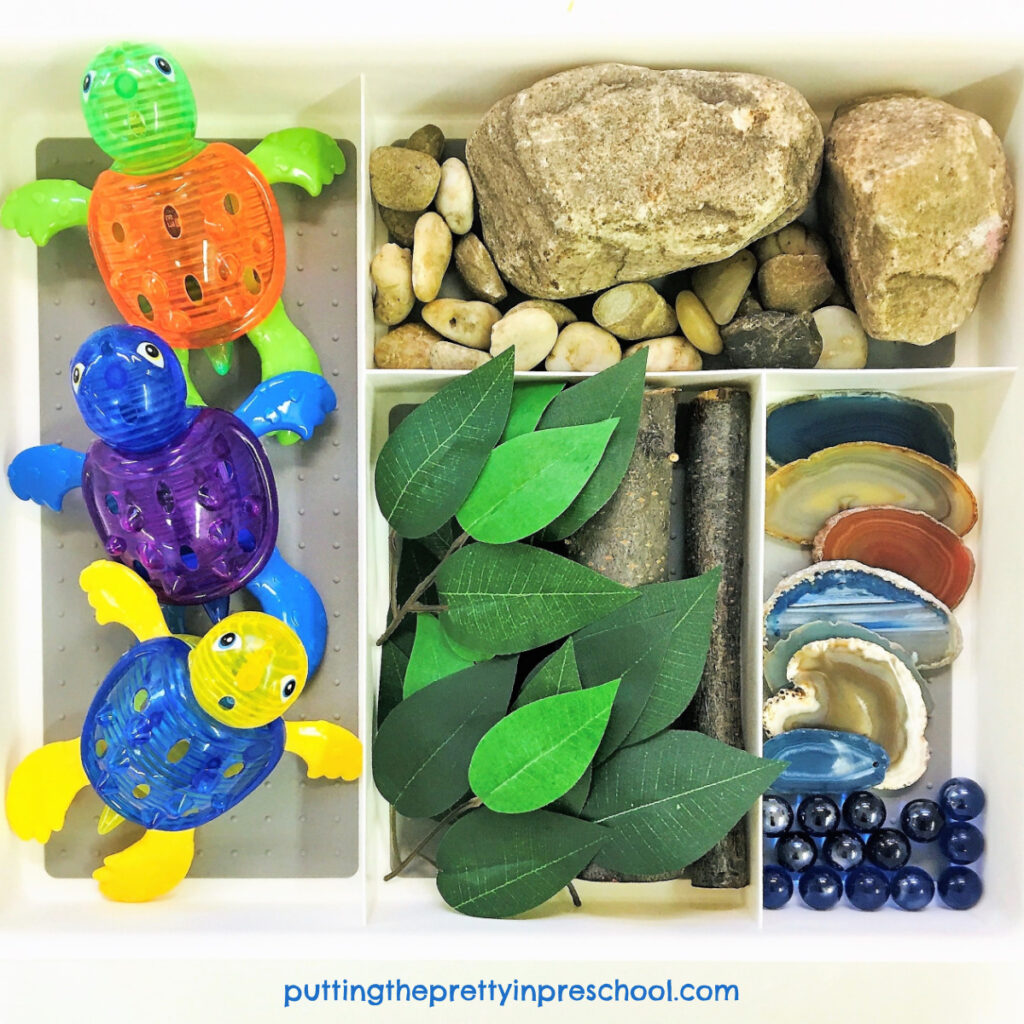
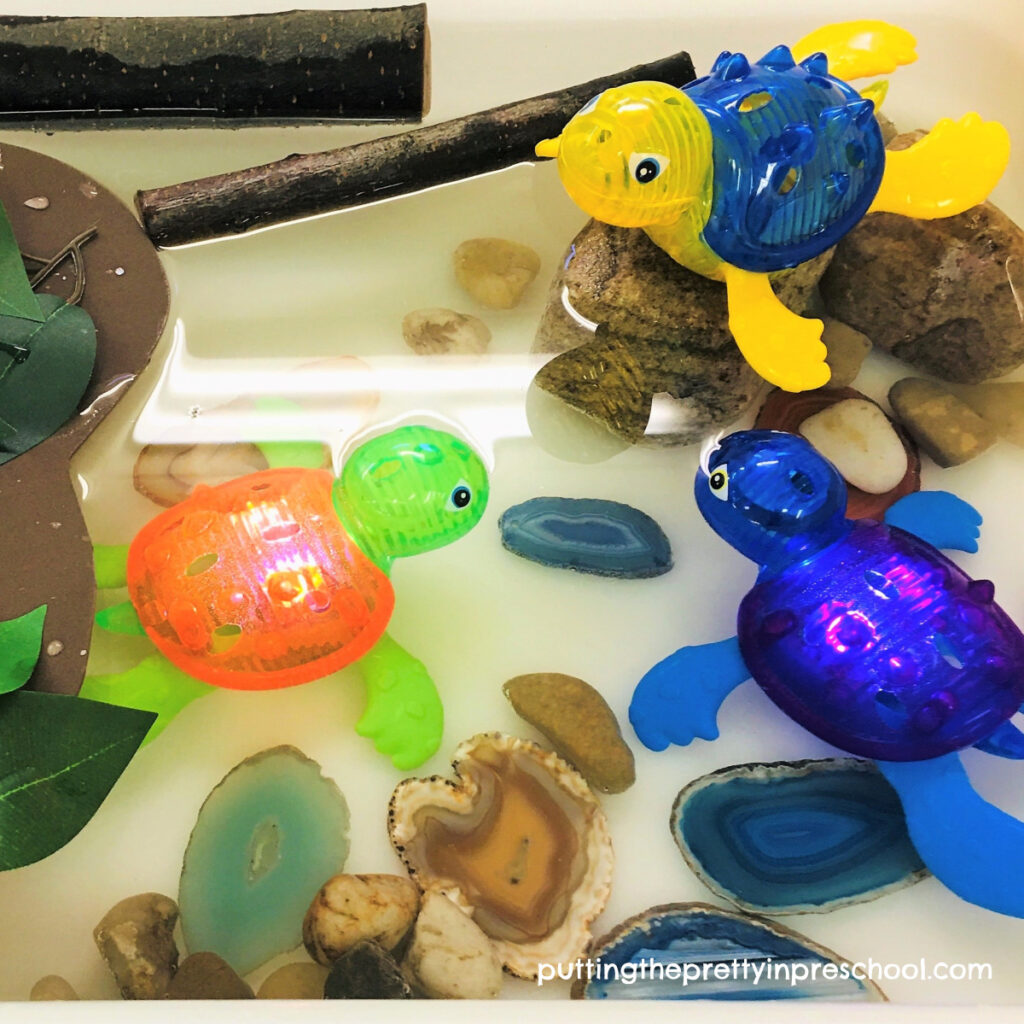
Loose parts for a turtle-themed sensory bin.

_______

A turtle-themed sensory bin can be set up very quickly with the following supplies:

  • kitchen supply bus bin
  • turtle figurines
  • rocks of varying sizes
  • small logs or twigs
  • gemstone slices
  • real or artificial leaves
  • marbles
  • small disposable food container with a ridge
  • a large piece of brown craft foam

_________

Making The Turtle Pond Sensory Bin

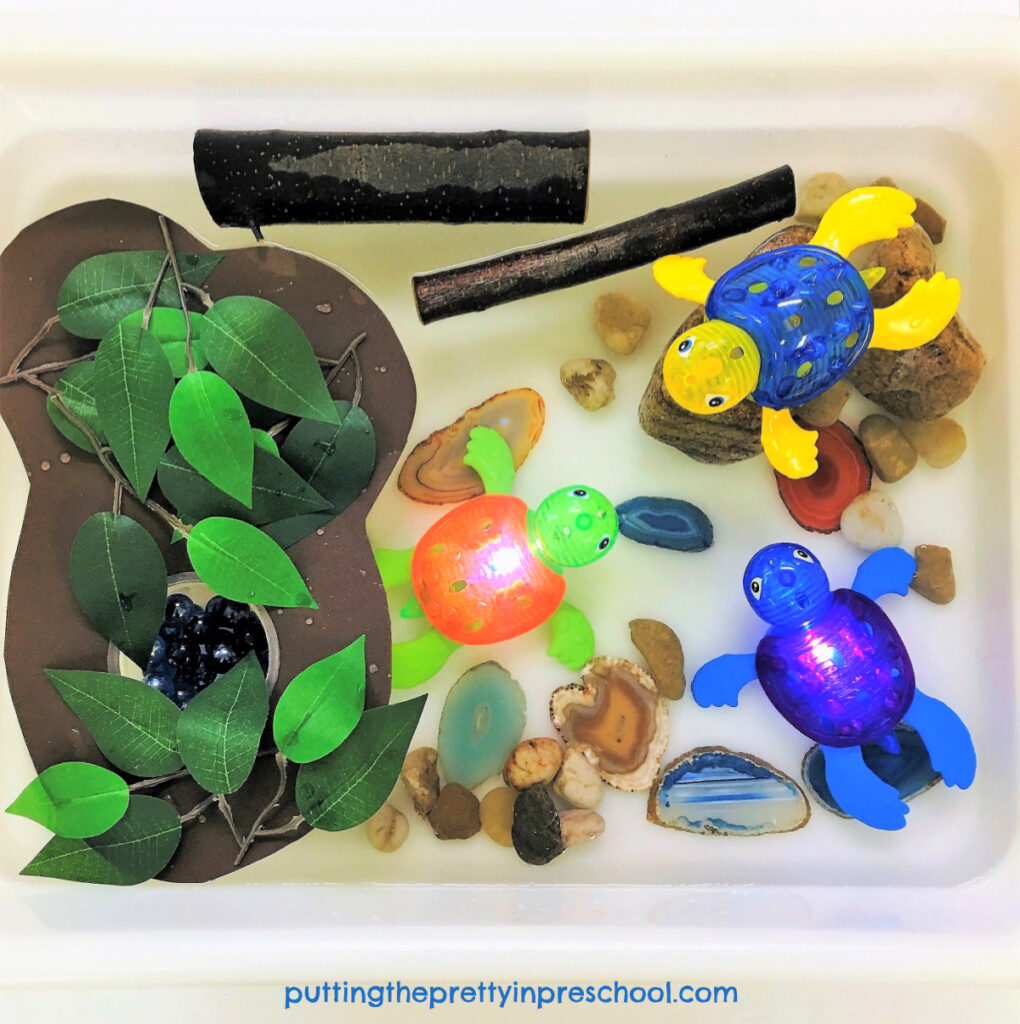
Nature[ based, easy to set up turtle pond sensory bin.

_______

Pour a layer of water into the bin. I used a kitchen bus bin for this activity.

Add rocks, logs, and gemstone slices.

Cut a few curves around the edge of the foam, and a hole in the middle just big enough to fit the disposable container. Float the foam in the water.

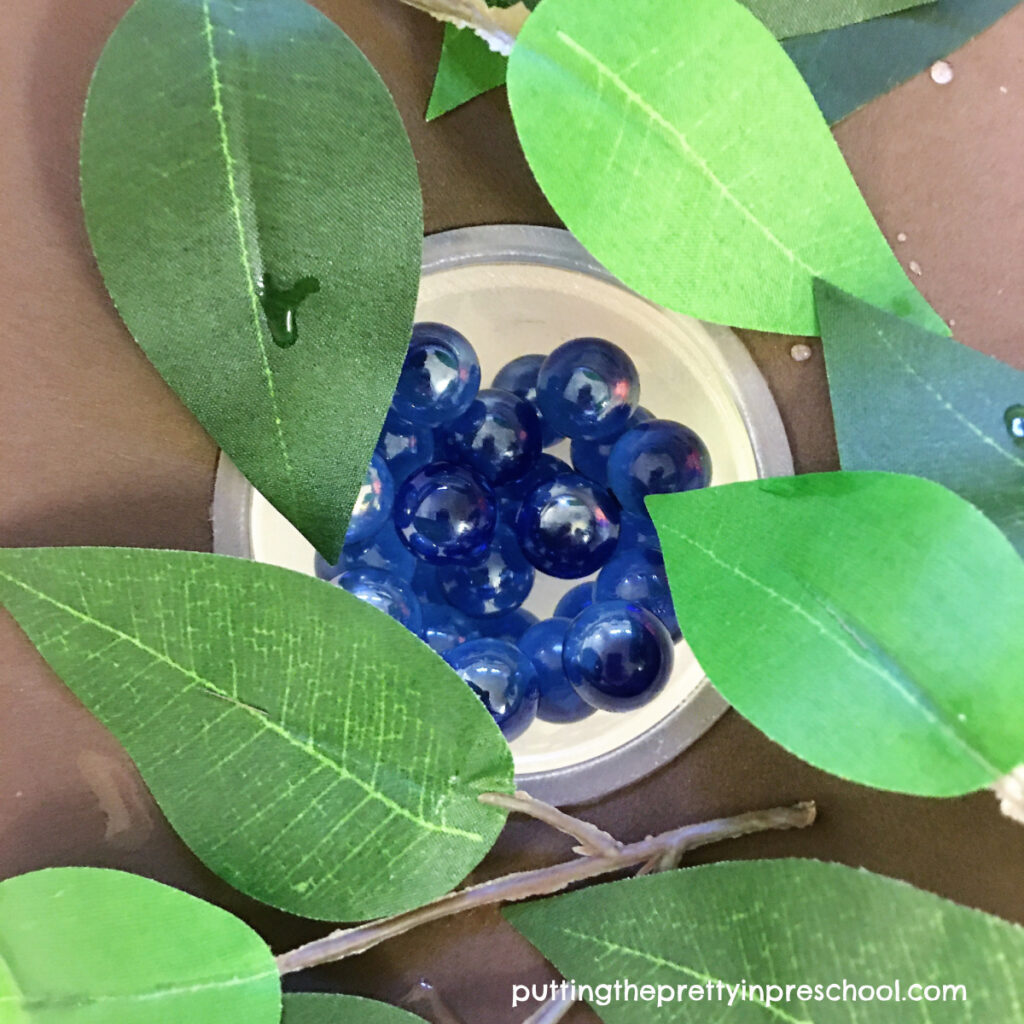
Set the disposable container in the hole to represent a turtle nest.

Add marble “eggs” to it. I used blue marbles because they were handy, but real turtle eggs are white or cream-colored.

This turtle pond sensory bin includes a sunken nest with "eggs."

_______

Surround the “nest” with a few craft or real leaves for covering the eggs up.

Add turtle figurines. Three light-up “toss and dive” turtles are the stars of this sensory bin, but any turtle figurines would be heartily welcomed by early learners.

Three "toss and dive" turtles are the stars of this pond sensory bin.

_______

[Read more…] about Turtle Pond Sensory Bin
Tweet
Share
Share
Pin

Filed Under: fall, preschool, pretend play, reptiles, science, sensory Tagged With: sensory bin, turtles, water play

Floral Decorated Skeleton

October 30, 2021 by Annette Kaminsky Leave a Comment

Tweet
Share
Share
Pin
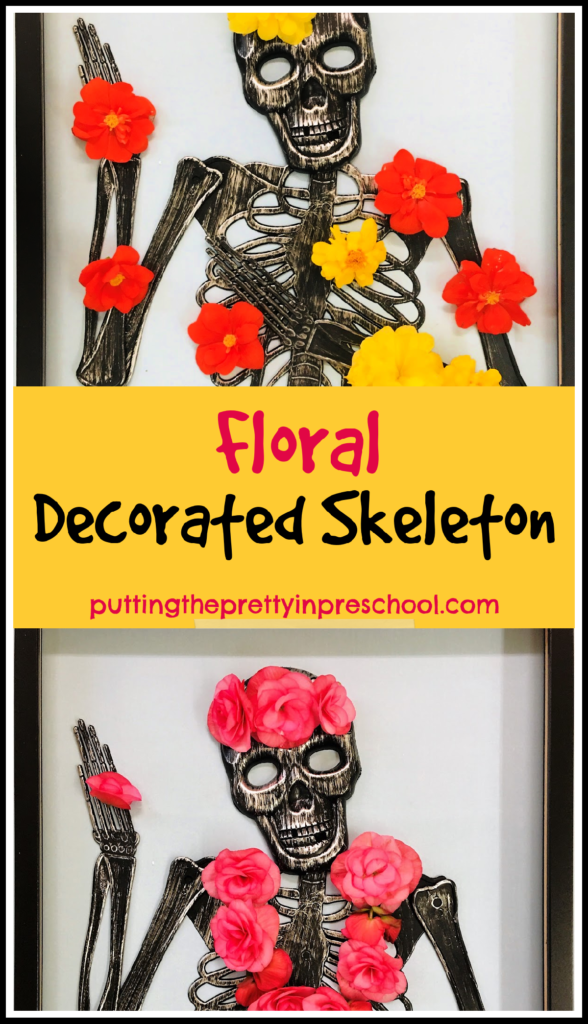
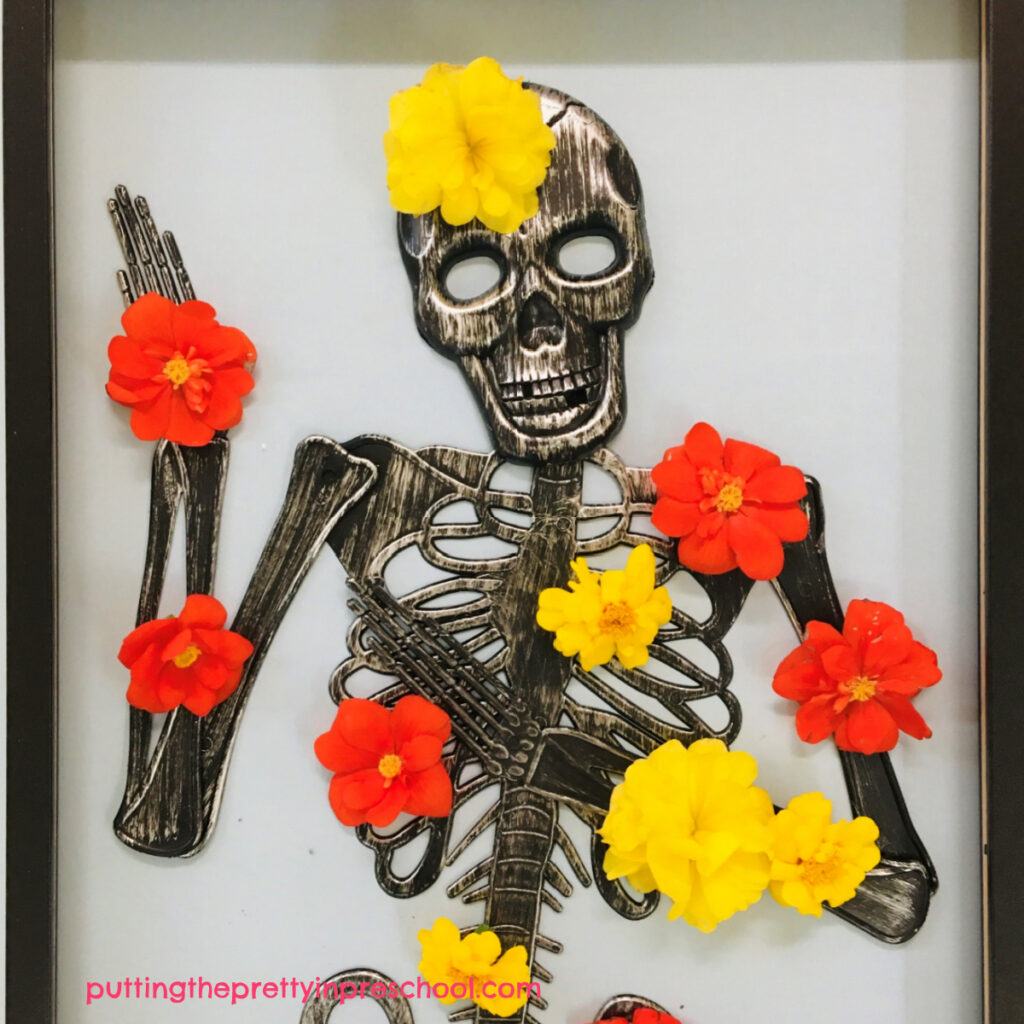
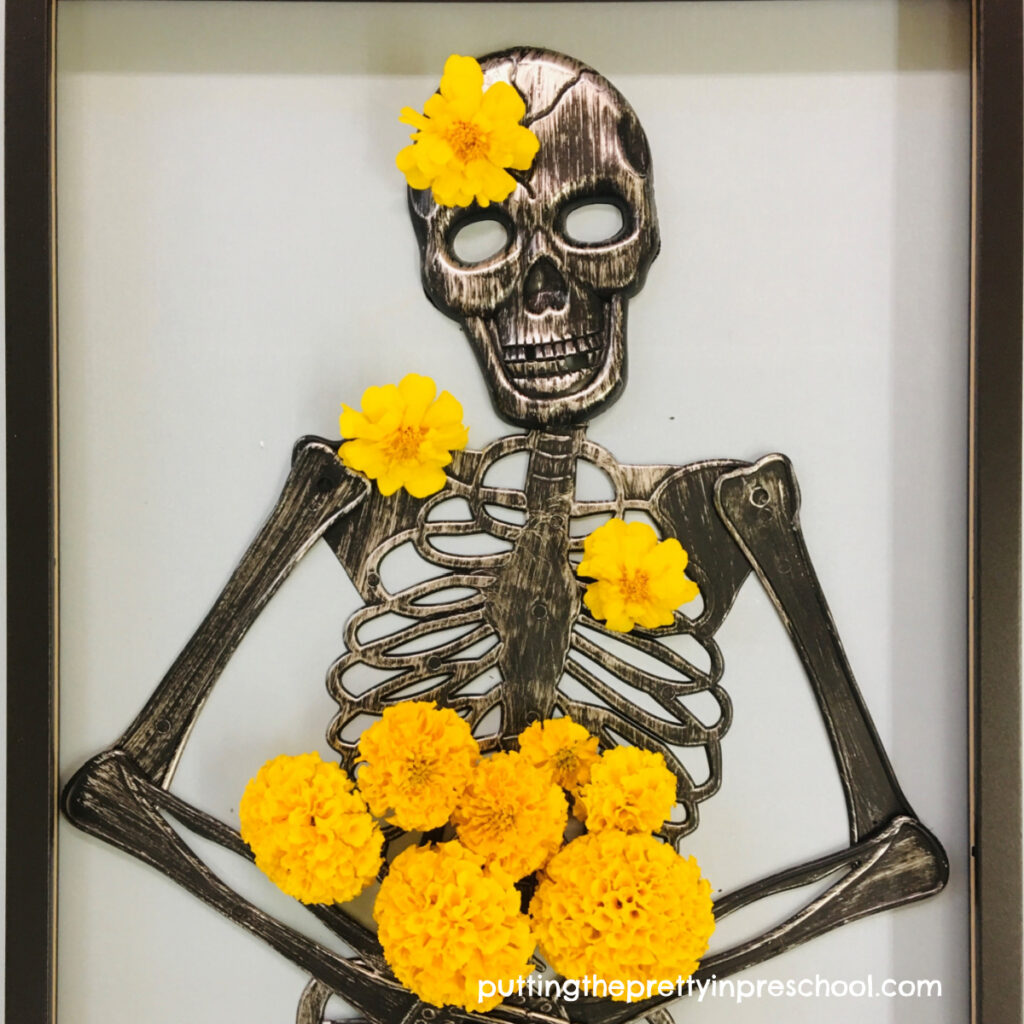
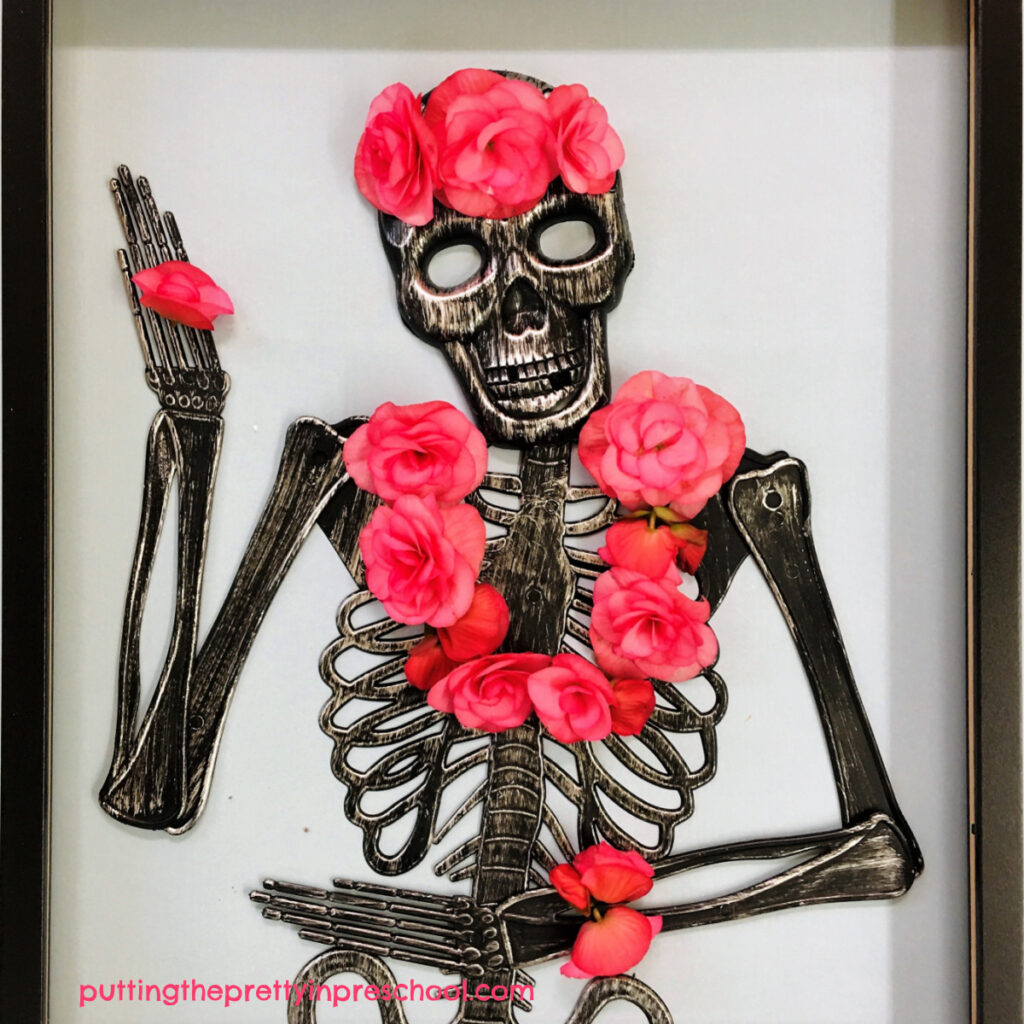
Flowers soften and brighten this floral decorated skeleton and give children an invitation to create with nature materials.

_______

It’s always a treat to check the latest trends in home décor and craft stores, and this fall the offerings did not disappoint. Design ideas that stood out from the crowd were the floral accents on skeletons in wall art, sculptures, and figurines spotted at Michael’s stores. The pastel flowers totally romanticized and softened skeletons and skulls, and made them super fun.

Little learners can experience and create a floral decorated skeleton with a nature-themed transient art opportunity.

_______

Floral Decorated Skeleton Supplies To Collect

Gather the following supplies for this invitation to create:

  • flowers
  • tray
  • large model skeleton
  • large frame

_______

Decorating The Skeleton

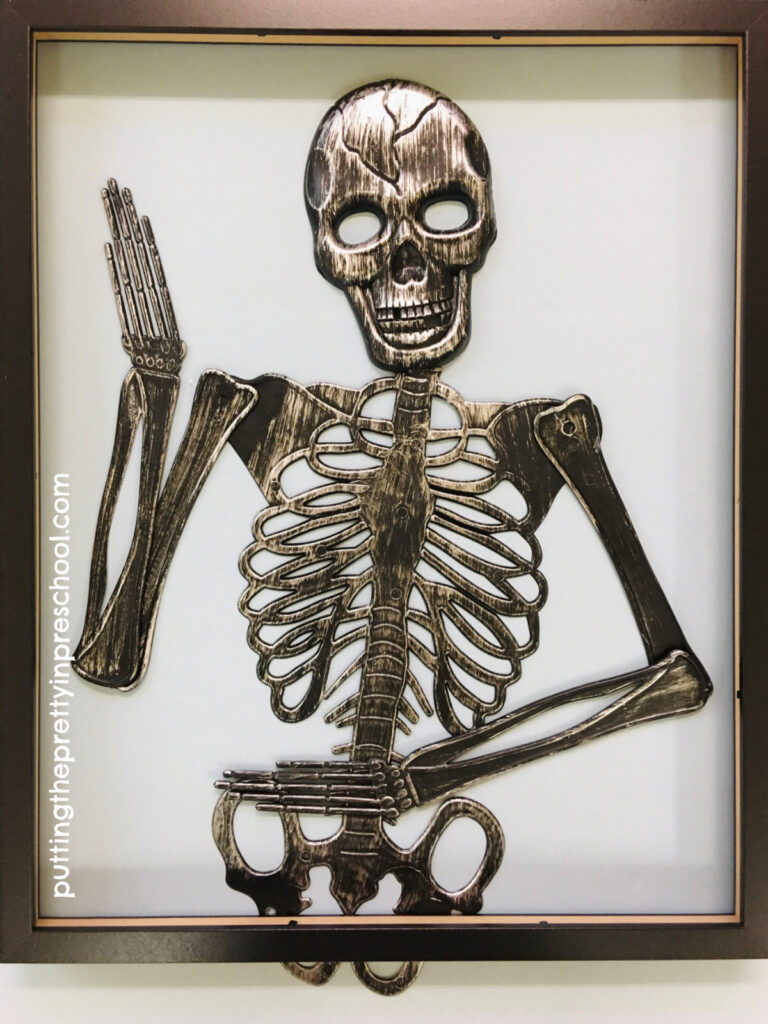
Set a skeleton in a frame and add floral accents to soften up the look.

_______

On a table, set a skeleton model inside a 16-inch x 20-inch art frame.

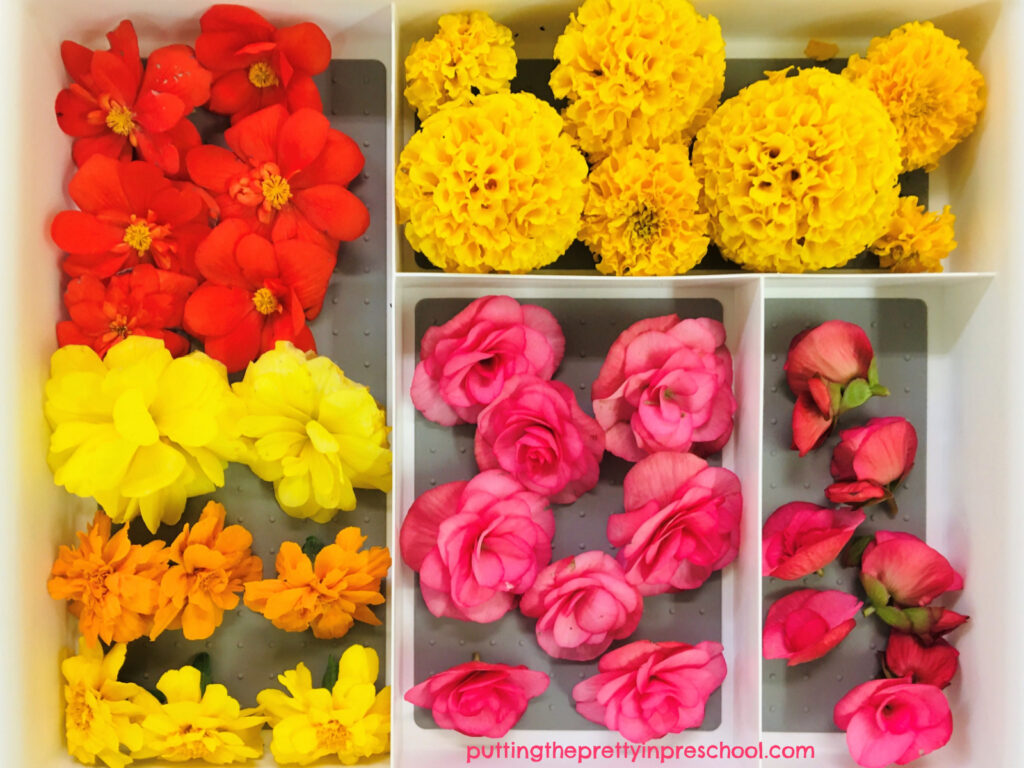
Arrange flower heads in a tray. Mine were picked from begonias and marigolds grown in my yard over the summer: end-of-season plants that were about to freeze over due to frosty fall mornings.

A nature tray filled with flowers ready to be used for crafts, playdough, and sensory play.

_______

Invite early learners to decorate the skeleton with flowers.

Yellow and orange flowers brighten up this skeleton and allow children to become floral designers.

_______

You might enjoy adding floral touches to the skeleton too!

Yellow marigolds brighten up this skeleton and allow children to become floral designers.

_________

Pink begonia flowers soften up this skeleton and give young children a chance to be floral designers.

_______

[Read more…] about Floral Decorated Skeleton
Tweet
Share
Share
Pin

Filed Under: art, autumn, fall, gardening, preschool, science, sensory Tagged With: flowers, skeleton

  • « Go to Previous Page
  • Page 1
  • Interim pages omitted …
  • Page 12
  • Page 13
  • Page 14
  • Page 15
  • Page 16
  • Interim pages omitted …
  • Page 18
  • Go to Next Page »

Primary Sidebar

Hi, I'm Annette Kaminsky, a preschool teacher who loves sharing learning through play activities for young children. Thanks for visiting my site. Feel free to stay awhile!

Subscribe Via Email

Recent Posts

  • Teacher Appreciation A to Z Alphabet June 21, 2026
  • Expanding Balloon Science Experiment May 18, 2026
  • Earth Day Spin Painting April 21, 2026
  • Easter Bunny Scavenger Hunt April 4, 2026
  • Celebrate Diversity Coloring Pages March 1, 2026
  • Lunar New Year Lantern Craft February 11, 2026
  • Black History Month Positive Affirmations Art January 29, 2026
  • Snowflake Cafe Dramatic Play Set January 19, 2026
  • Pastel Christmas Letterhead and Envelope December 20, 2025
  • December Kindness Activities November 30, 2025

Categories

Topics

apples bunnies butterflies Chinese New Year Christmas Christmas craft color colors dramatic play Easter fall flowers hearts holiday jewelry leaves leprechauns light table loose parts painting paper crafts playdough pretend play printables printmaking process art pumpkins rice bin scented playdough science experiment scissor skills sensory bin sensory play sensory tray shamrocks skeletons snakes snowflakes spiders spring St. Patrick's Day sunflowers tablescapes Valentine's Day water play

Copyright © 2026 · Lifestyle Pro on Genesis Framework · WordPress · Log in