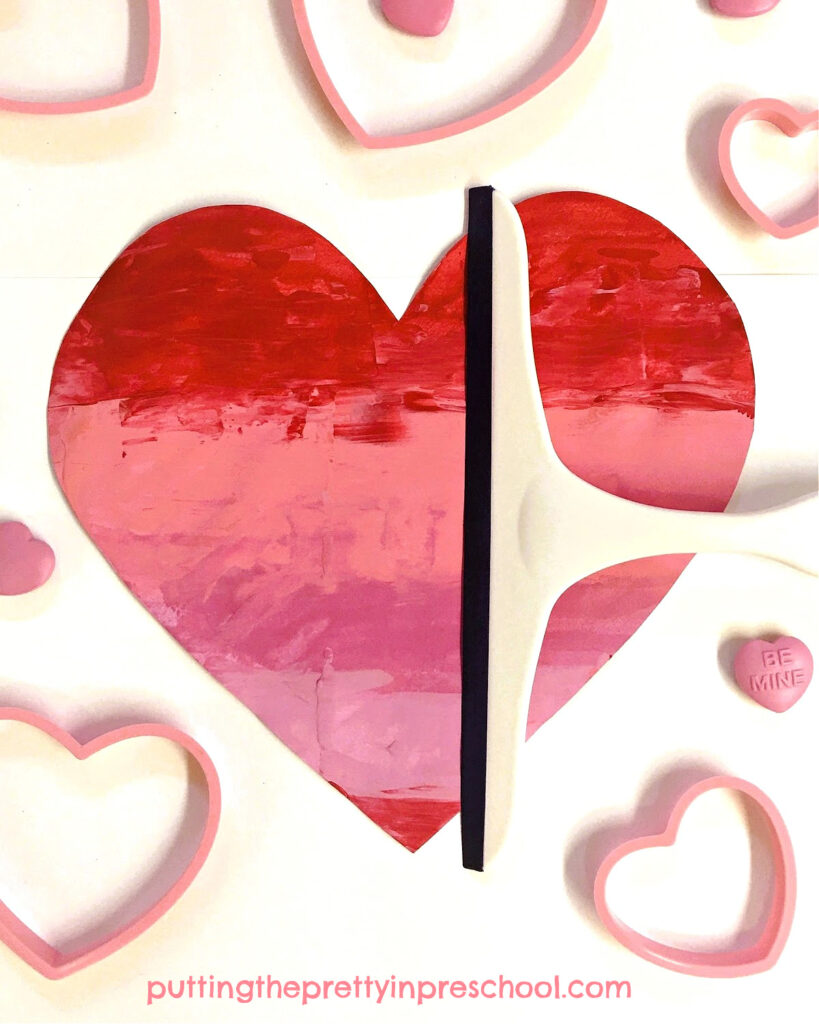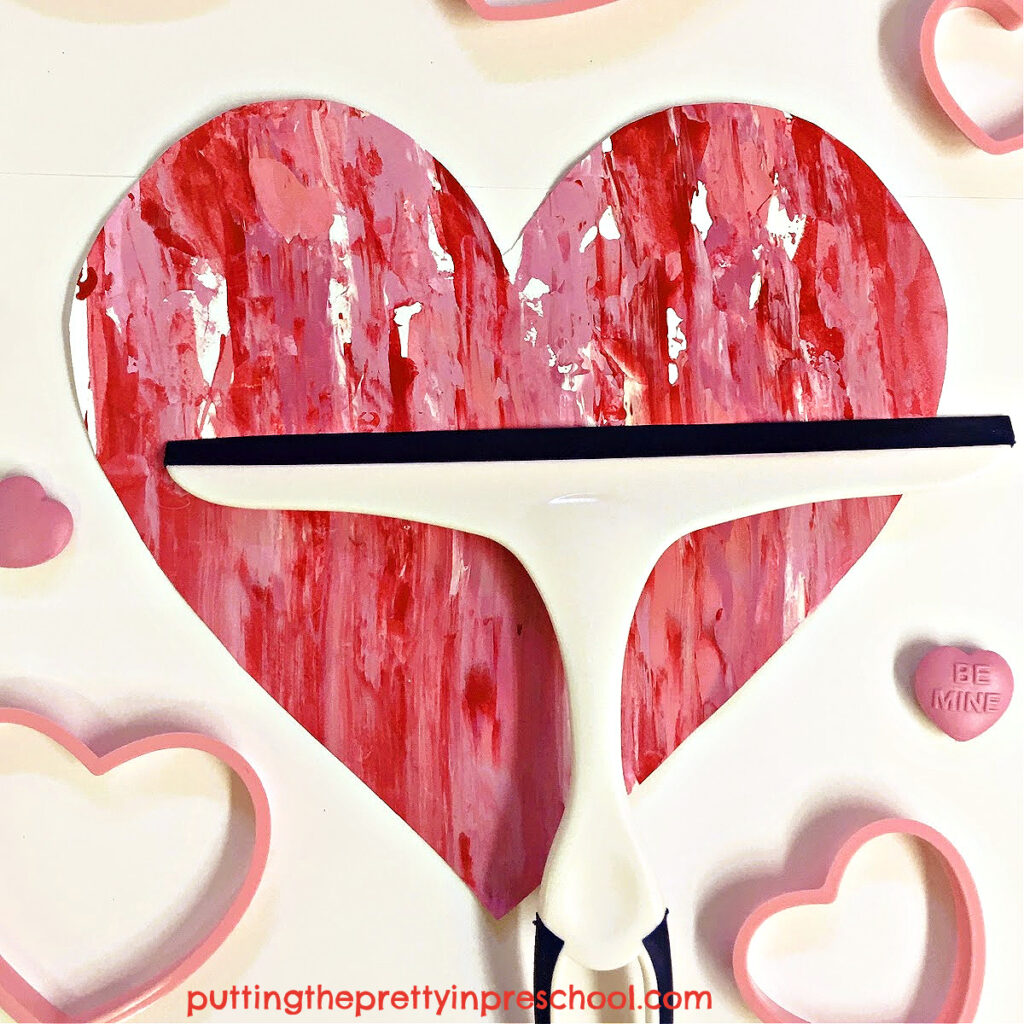
_______
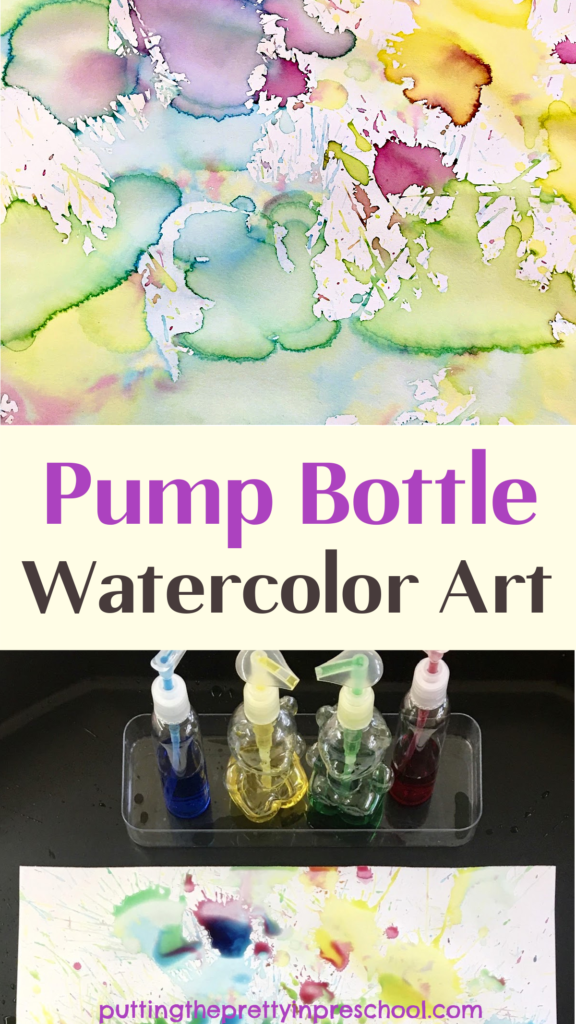
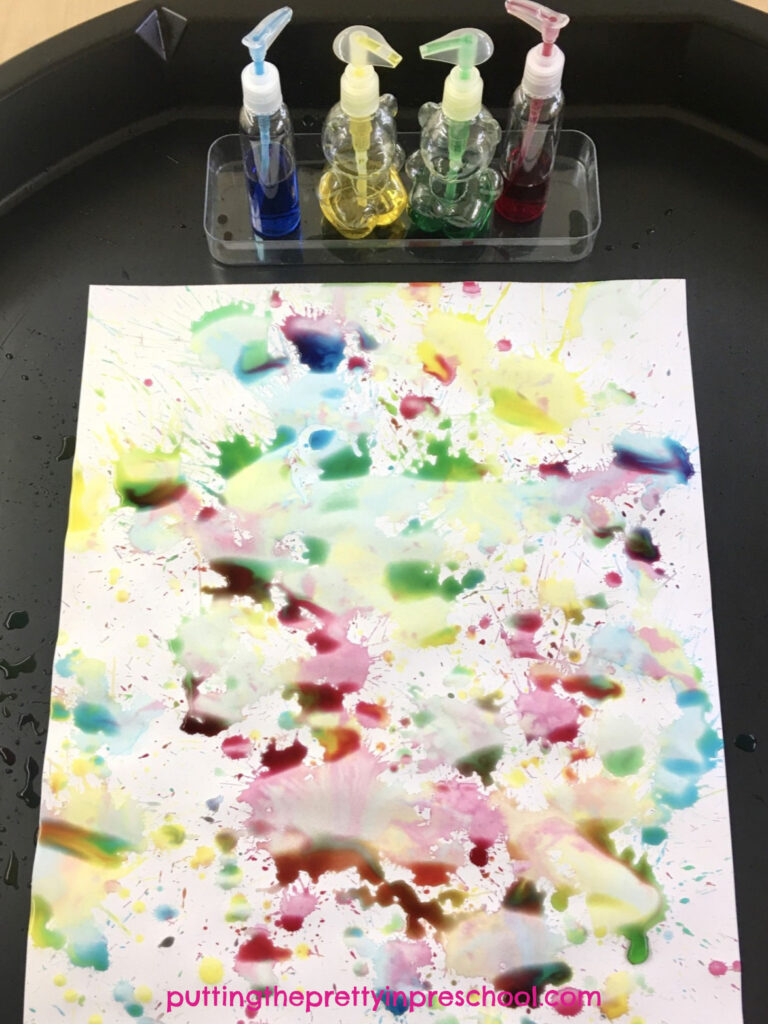
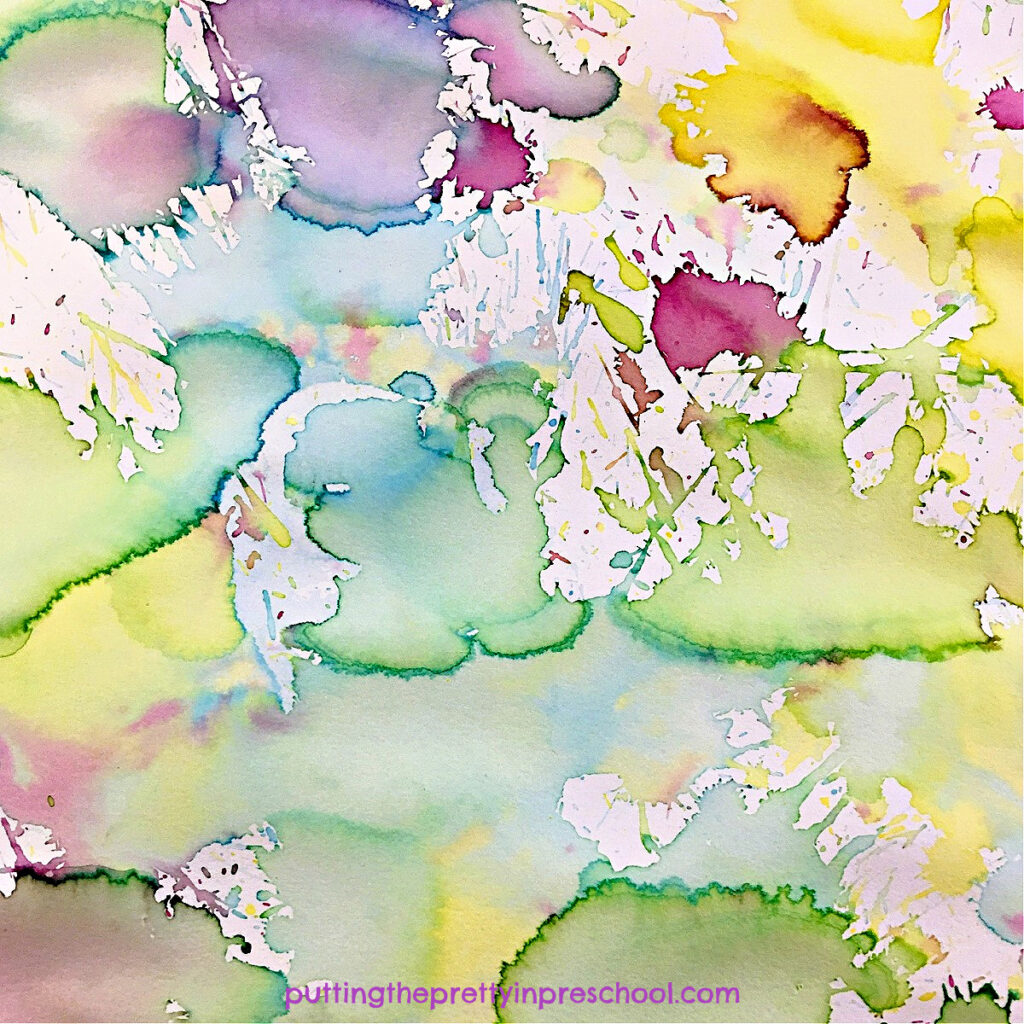
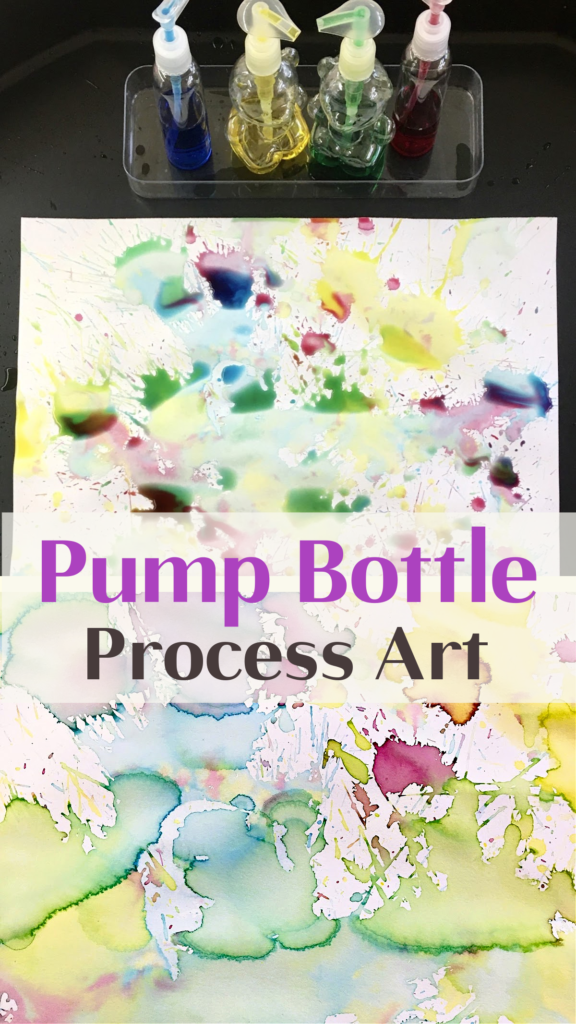
A little extra watercolor paint and some repurposed and never been used pump bottles were the inspiration for this pump bottle watercolor art project. It’s a process art activity your early learners will love to do, and everyone in the family could give it a try.
_______
Follow me on Pinterest for more early learning ideas.
_______
Supplies To Collect
_______
Gather the following supplies for this super fun art activity:
- large sheets of copy paper, cardstock, or art paper
- food coloring or liquid watercolors in a variety of hues
- pump bottles
- newsprint or water-resistant tablecloth
_________
The Pump Bottle Watercolor Art Project
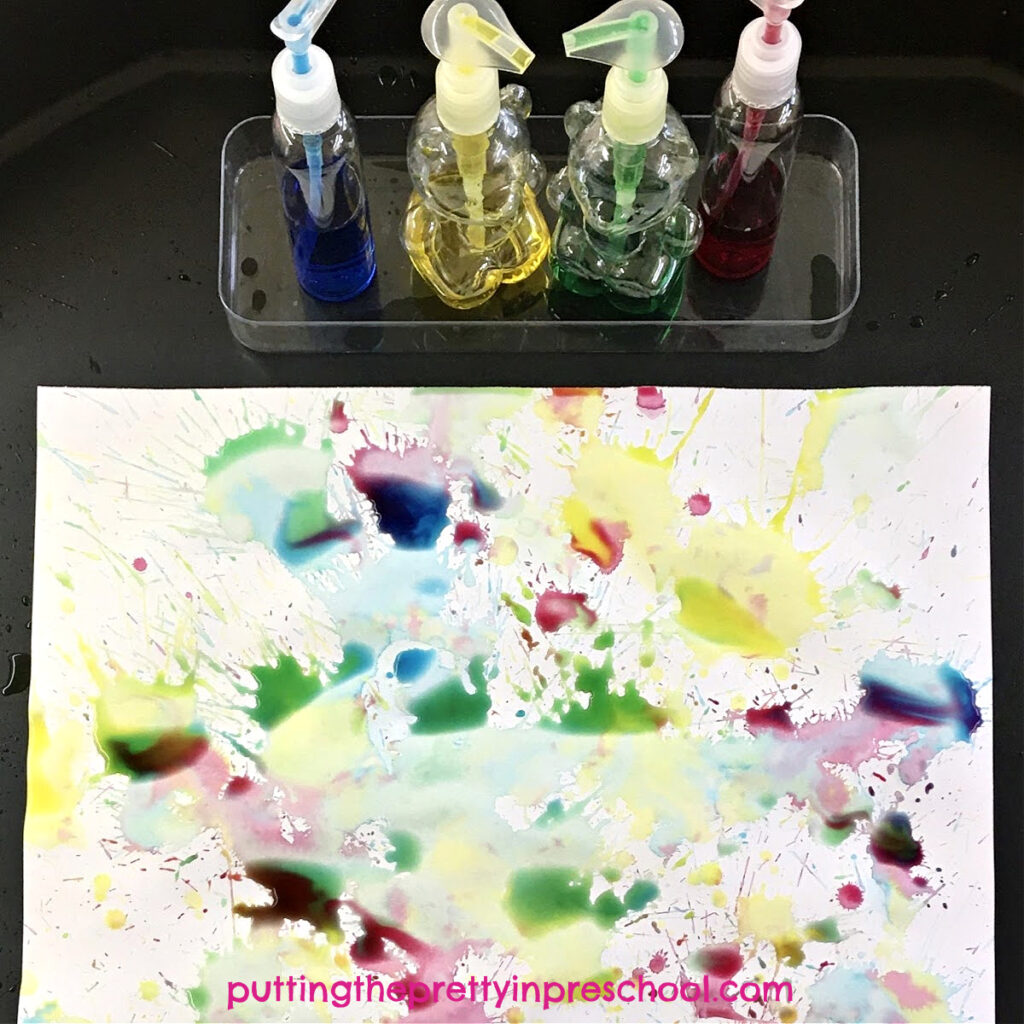
This process art activity is so easy to set up and do. First, cover your work area with newspaper or a water-resistant tablecloth. You can also do the activity in an active world tray.
Next, fill pump bottles at least half full of liquid watercolors or food coloring mixed with water. Two of my pump bottles are repurposed teddy bear tempera paint bottles…so fun to use.
_______
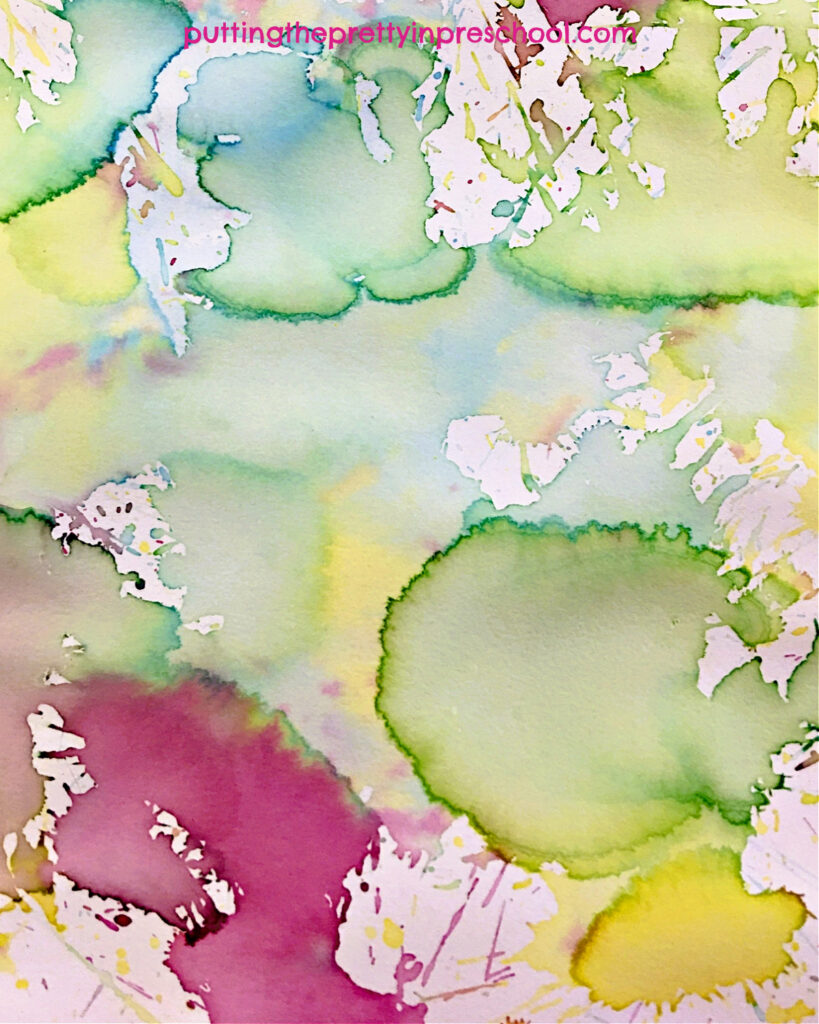
Then invite each participant to pump paint colors onto a large piece of copy paper, cardstock, or art paper.
Finally, let the pump bottle painted pictures dry and display.
Note: As this art activity is a little messy, it’s a great one to do outside.
_______
_______
Related:
Watercolor Planets With Markers
Northern Lights Squish Painting
Monochromatic Christmas Tree Art
_______
[Read more…] about Pump Bottle Watercolor Art