_______
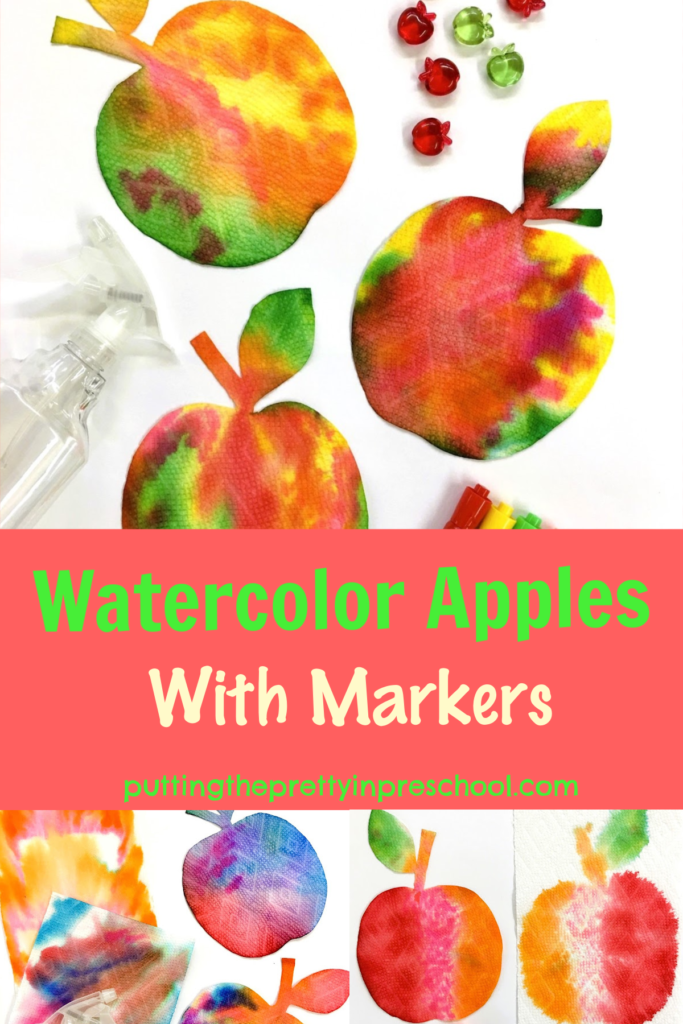
If you are looking for an easy art activity with a WOW factor, this watercolor apples with markers art project is for you. Just a few supplies are needed for this gorgeous art activity.
_______
Follow me on Pinterest for more early learning ideas.
_______
_______
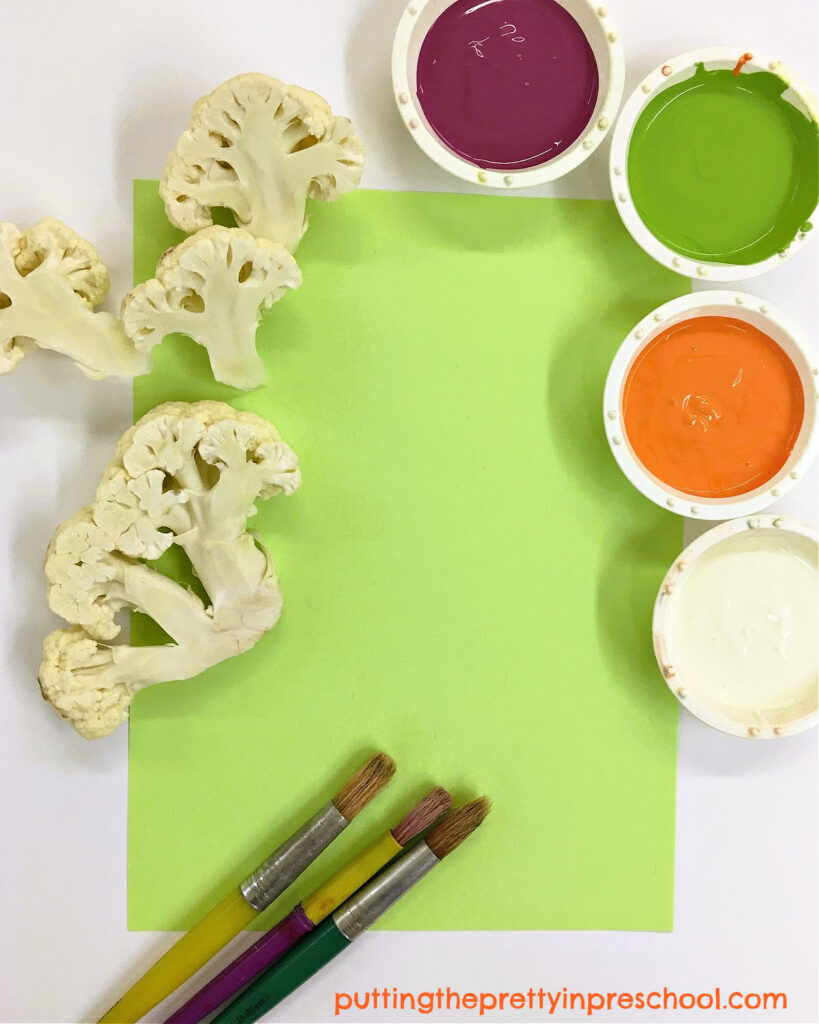
Supplies To Collect
Gather the following supplies for this super simple art activity:
- paper towel sheets
- watercolor markers
- spray bottles with water
- trays or small utility tubs
- waterproof tablecloth
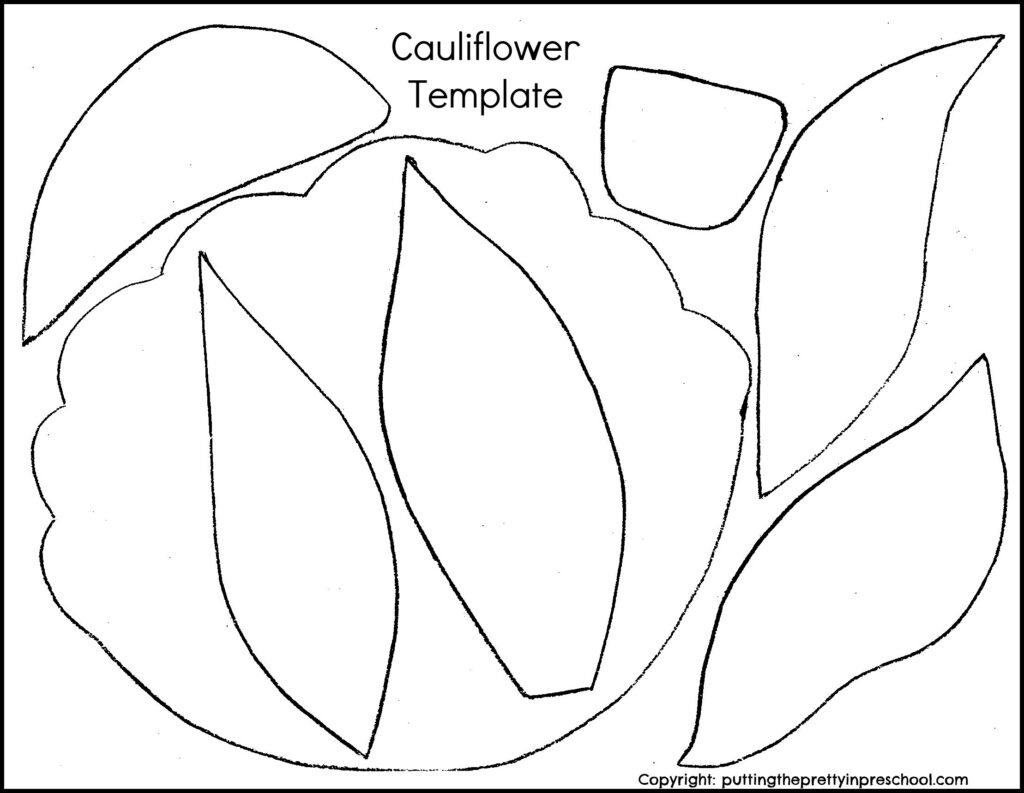
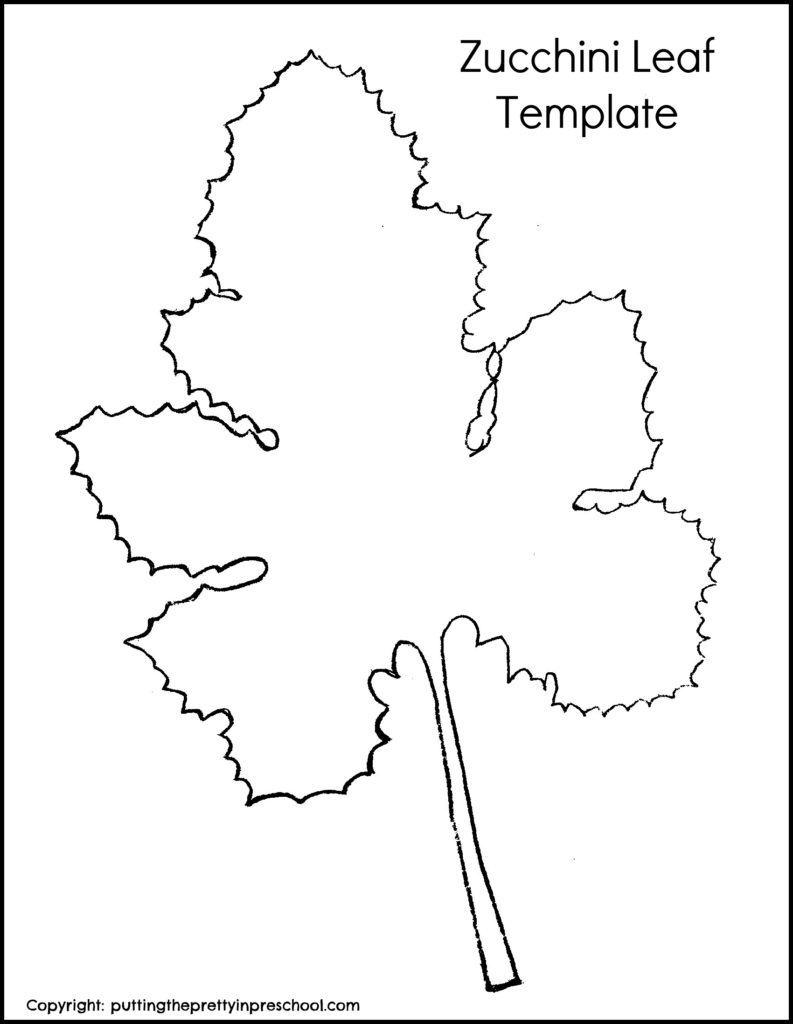
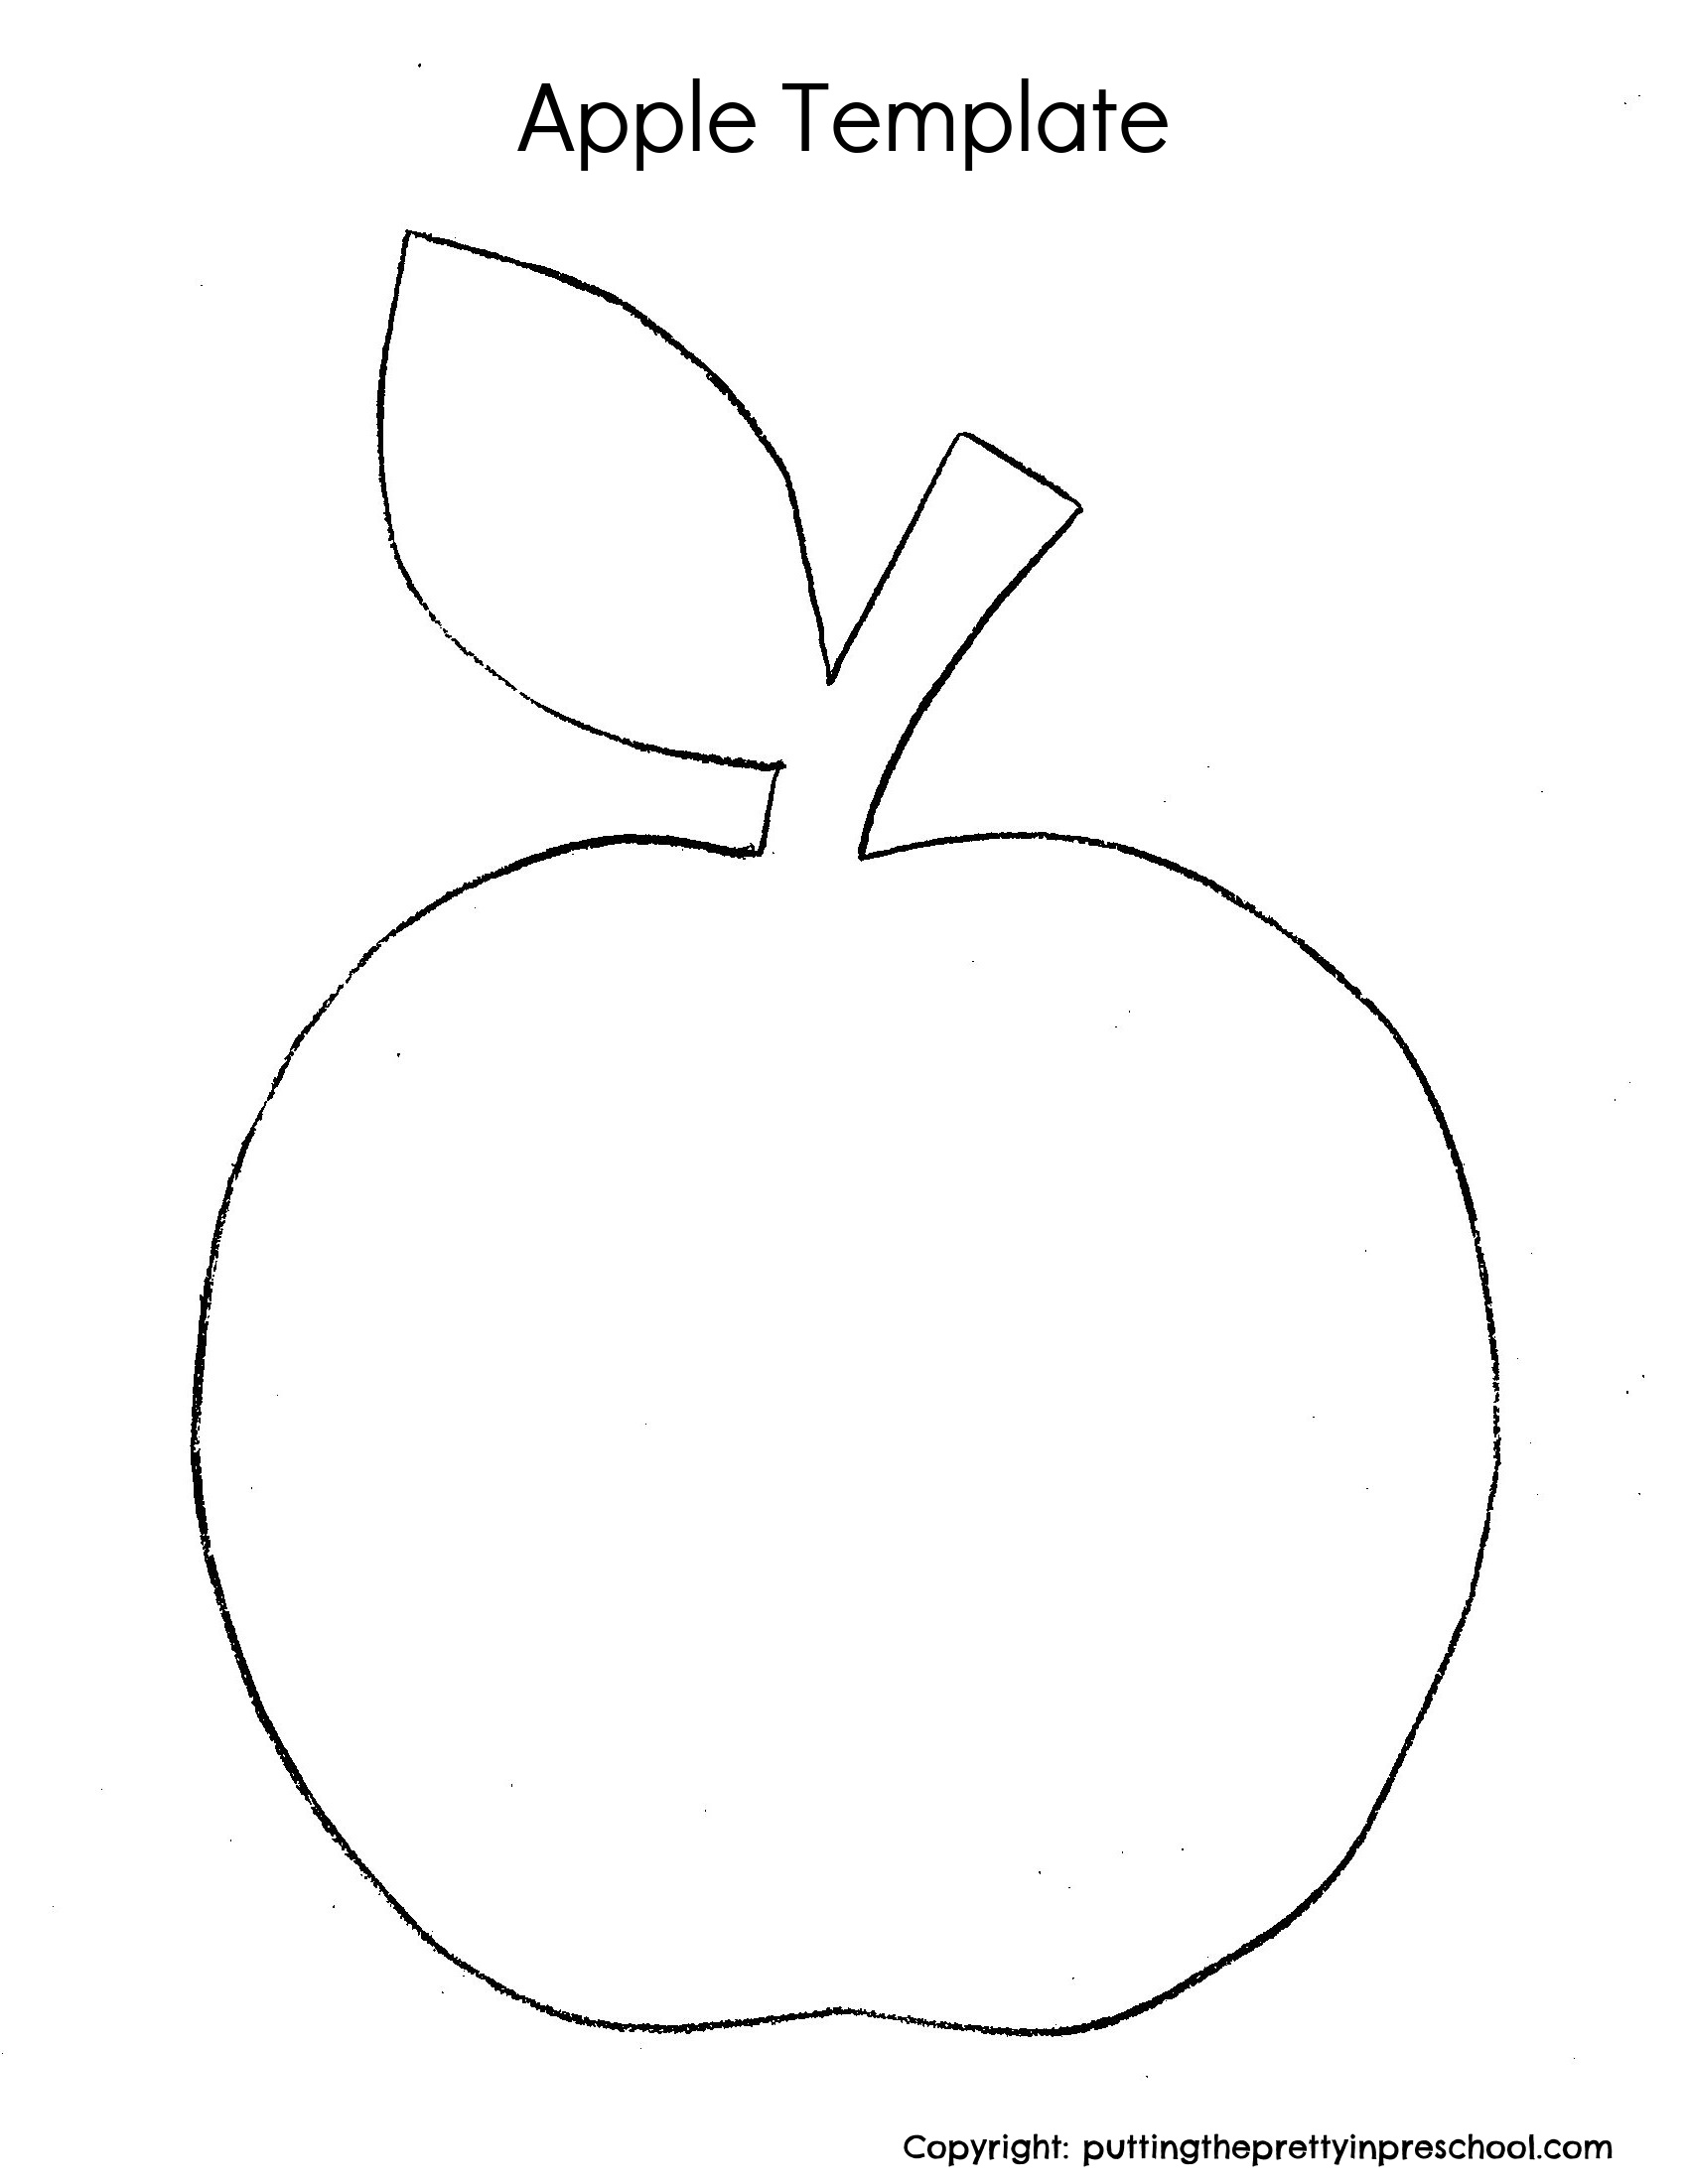
- apple template
_______
Creating Watercolor Apples With Markers
_______
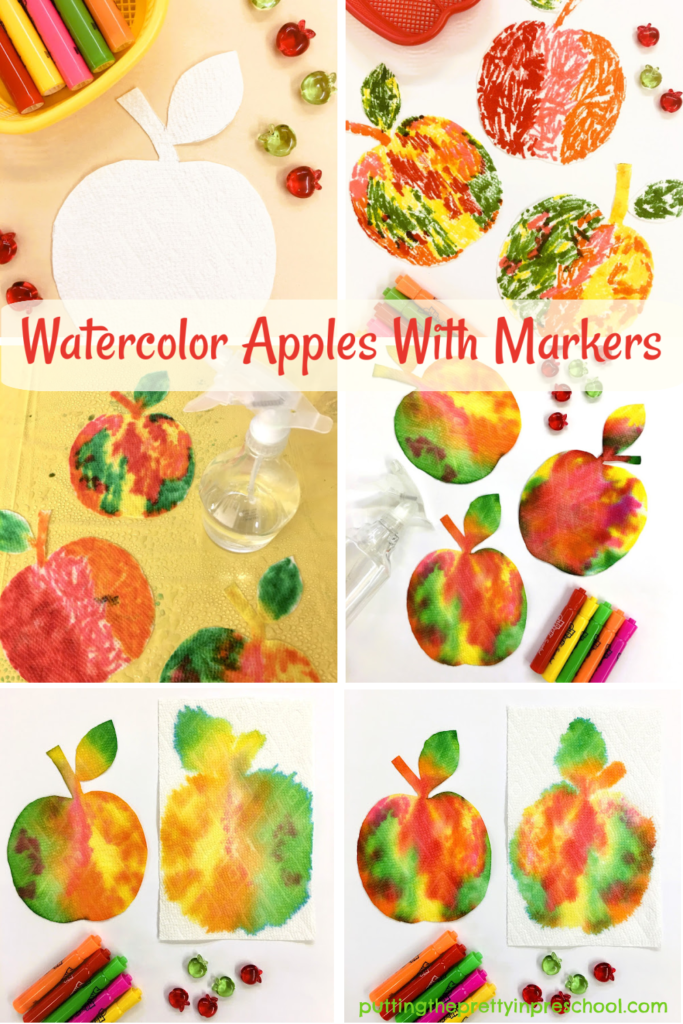
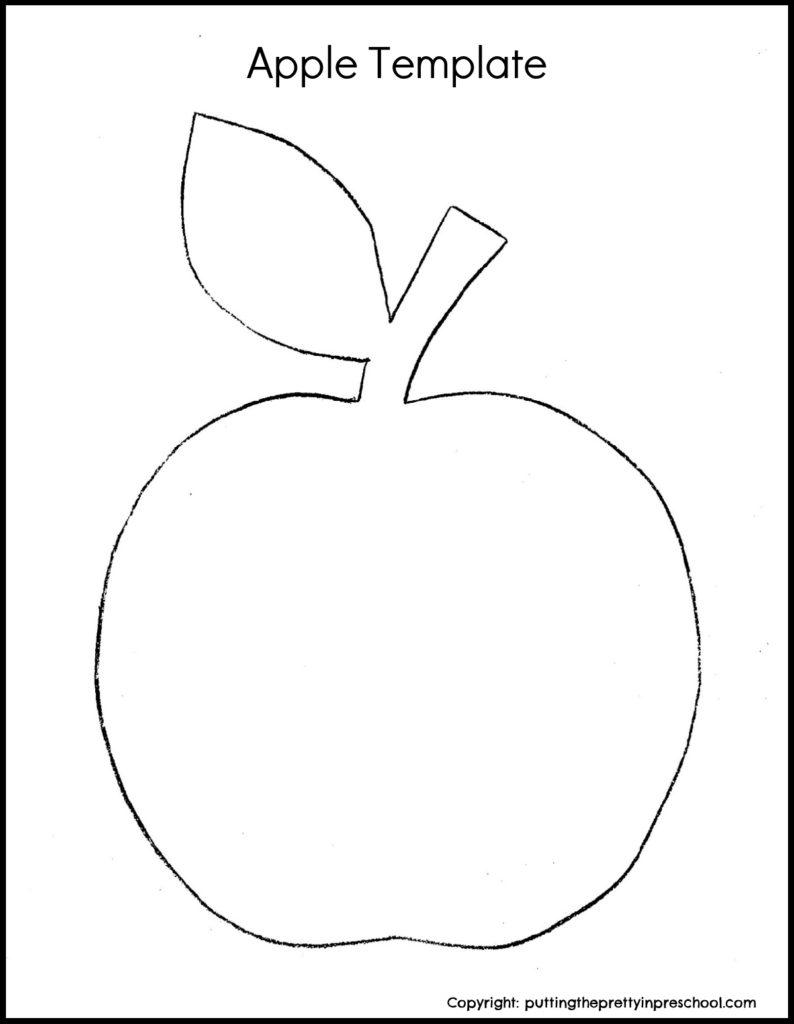
To offer this effortless art activity, first cut out apple shapes from sheets of paper towel. Choosing a thick paper towel brand is recommended, but any kind will do. Feel free to download this apple template for the art project.
_______
This template is for individual or one classroom use only.
_______
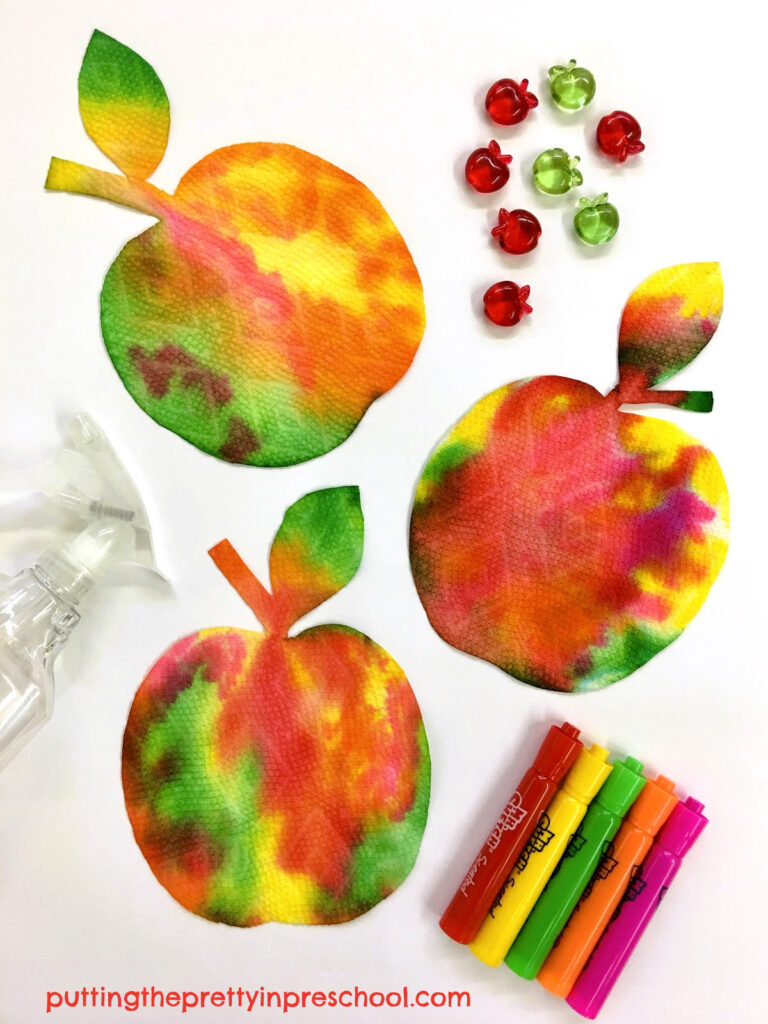
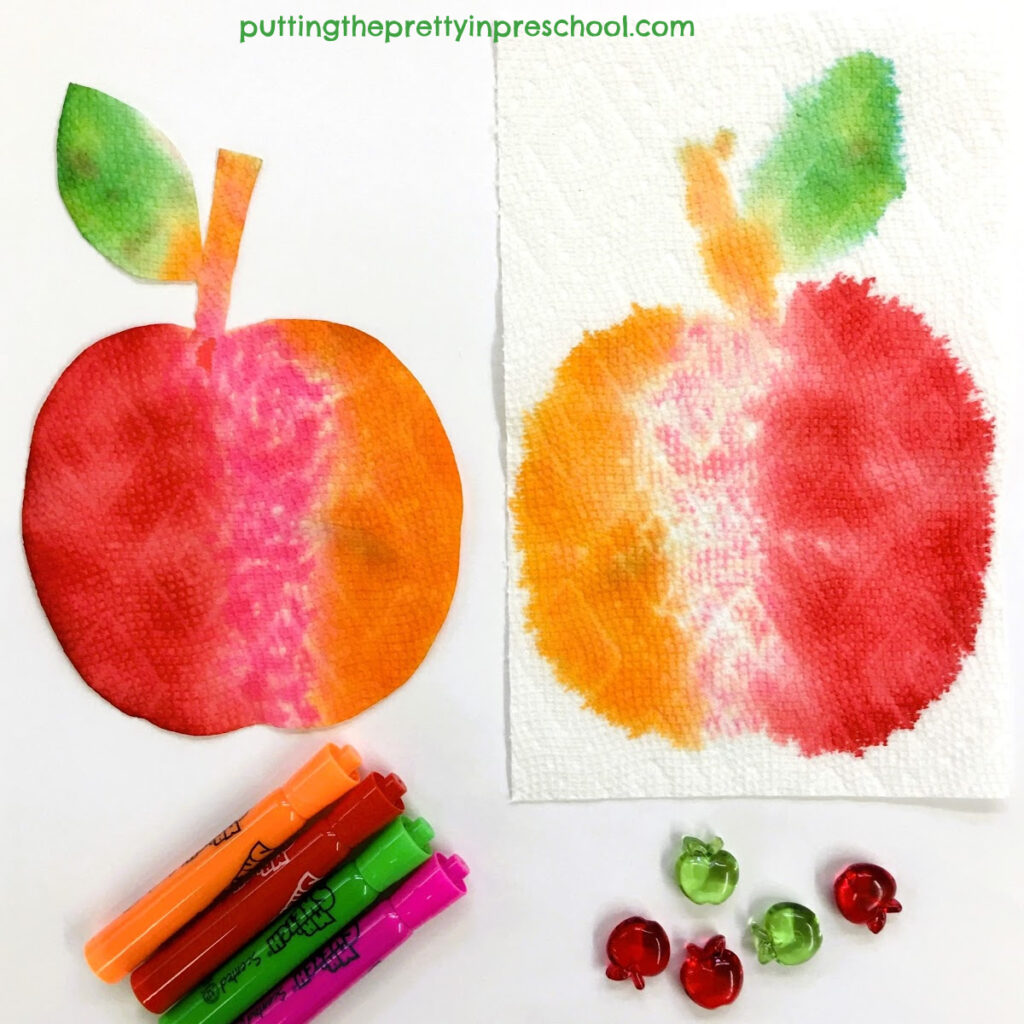
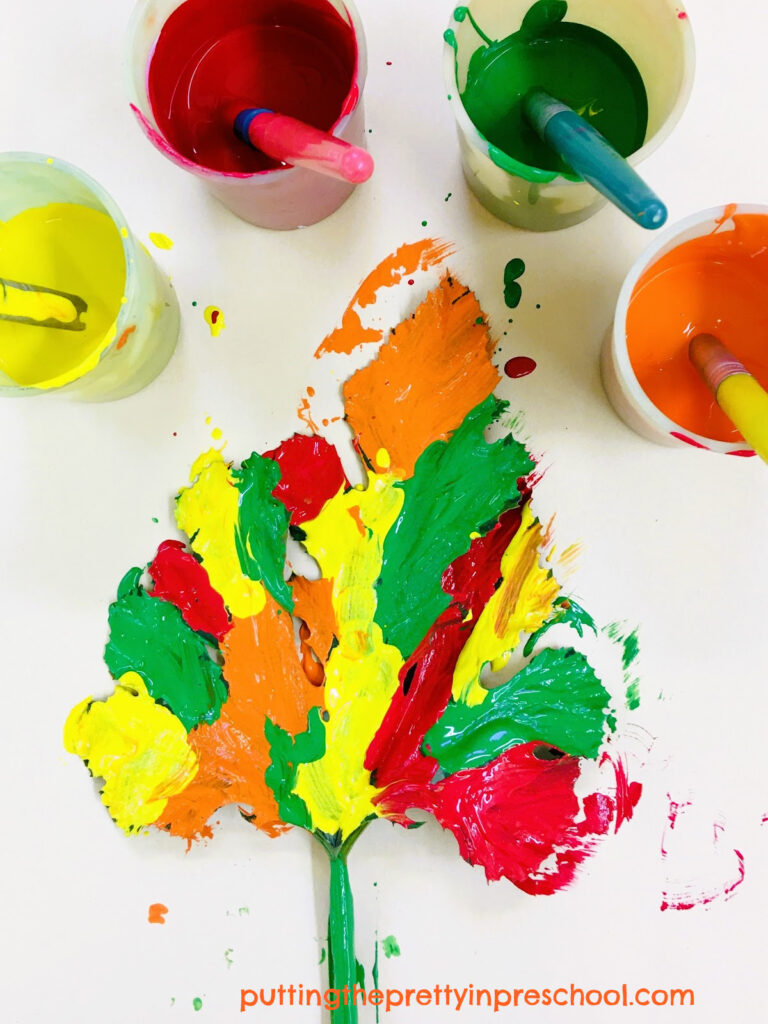
Next, set up stations with a paper towel apple, and washable markers. Select hues such as red, pink, yellow, orange, and green to represent apple colors.
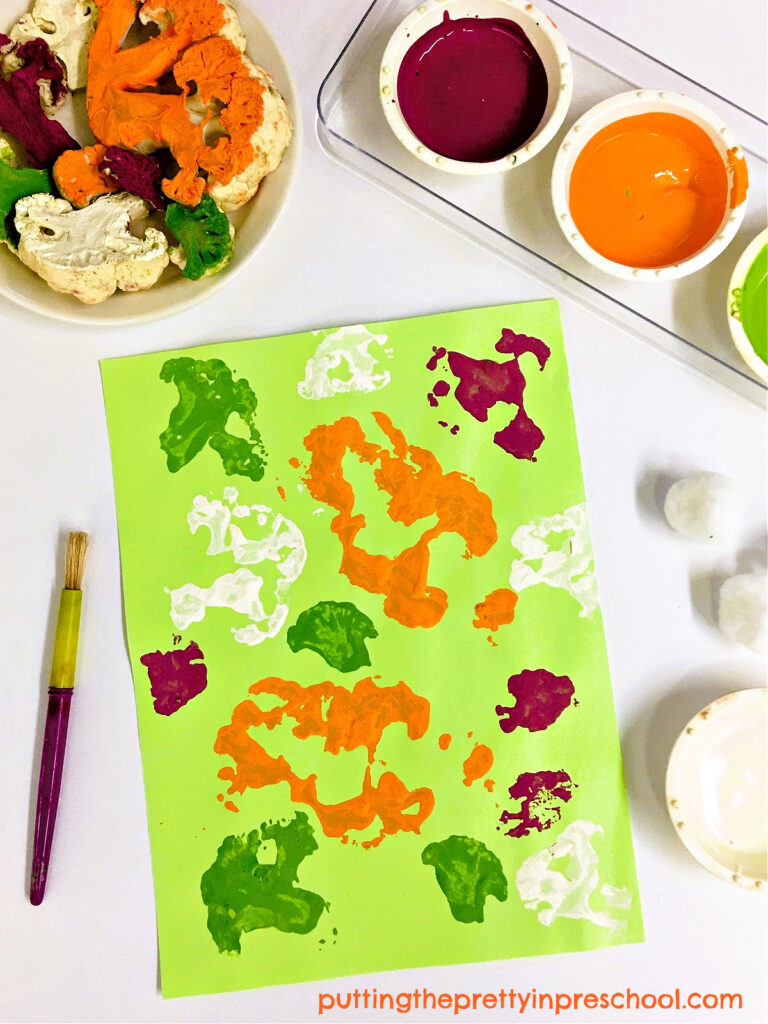
Invite participants to carefully color their apples.
_______
Then have the little artists place their arty apple in a tray or small utility tub and spray it with water. Afterward, carefully lift off each apple and set it to dry on a table covered with a waterproof tablecloth.
_______
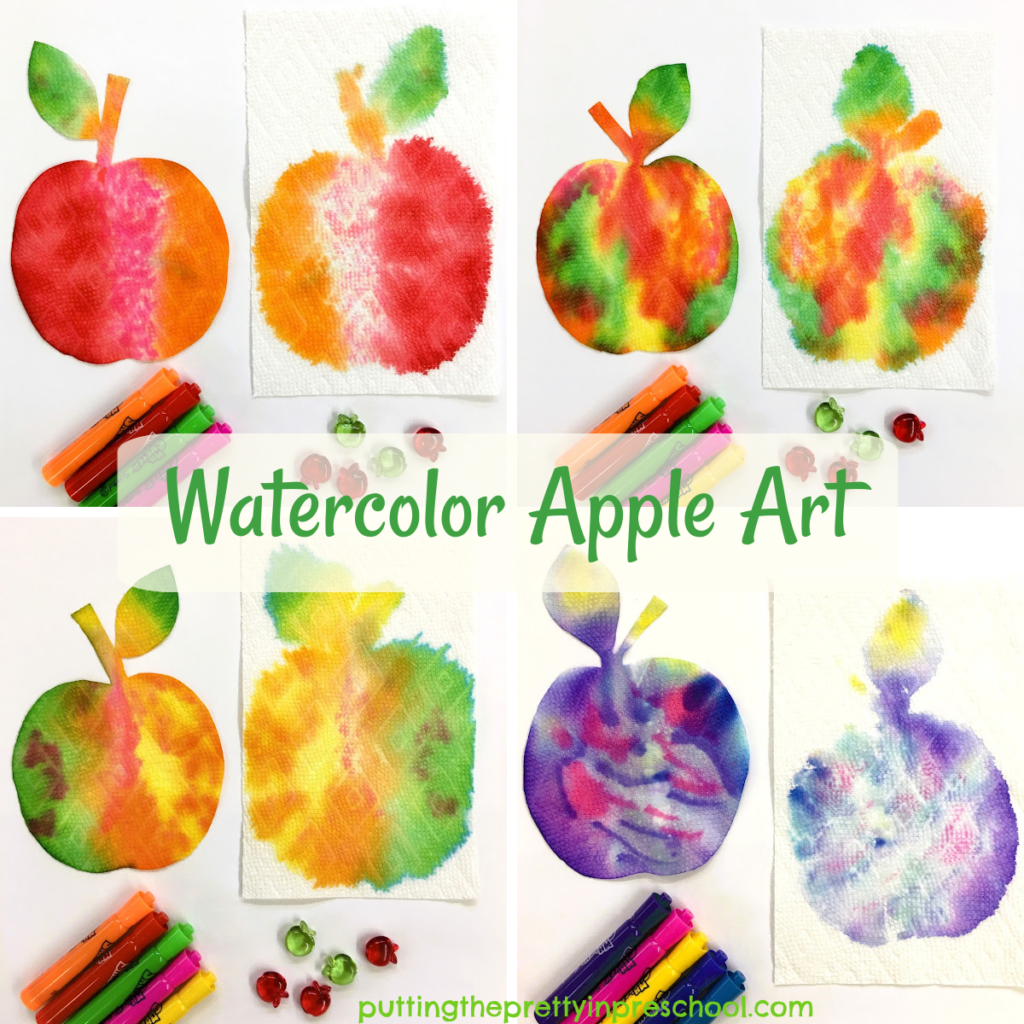
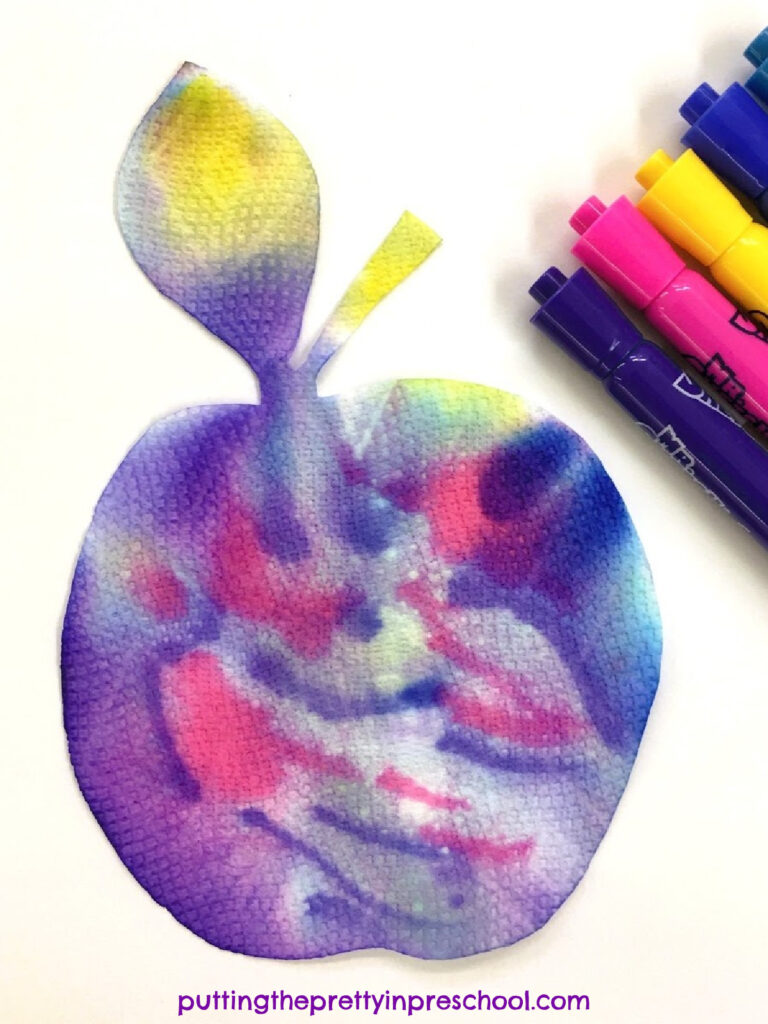
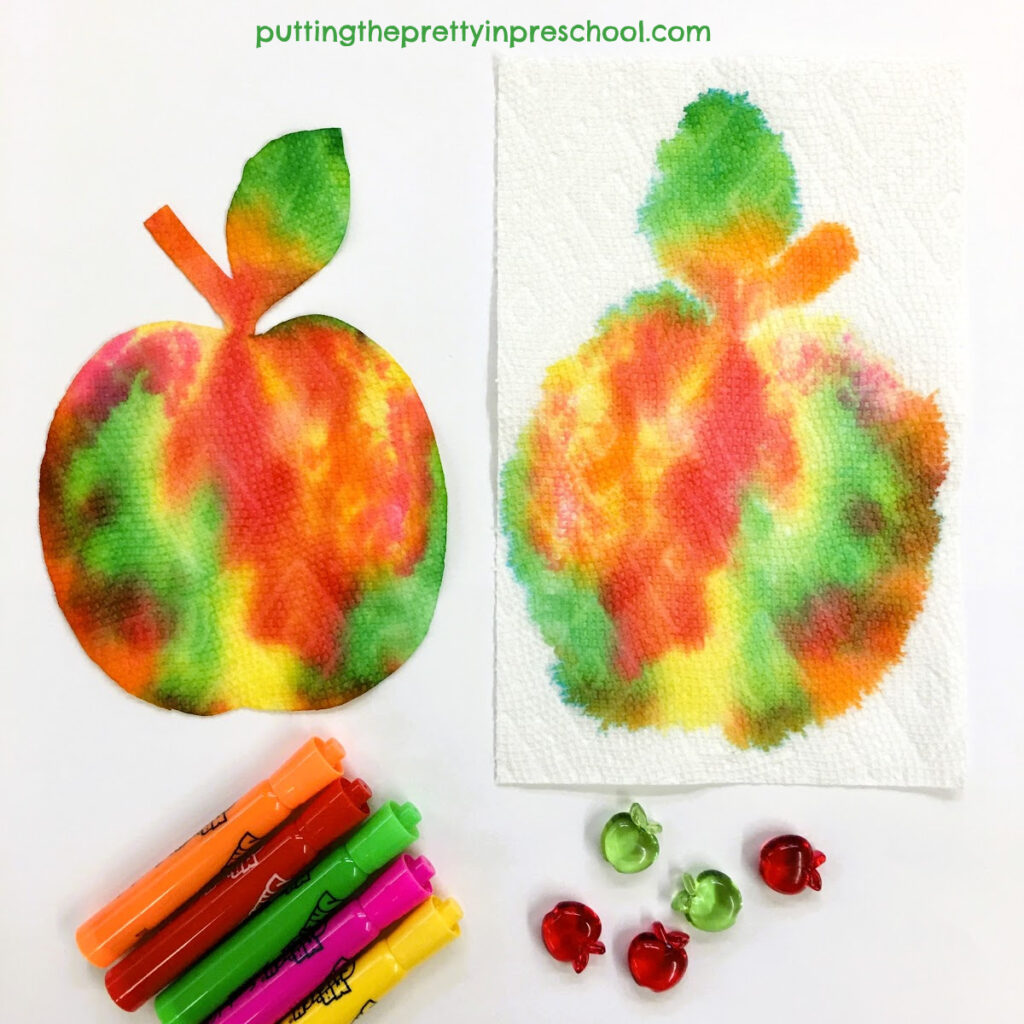
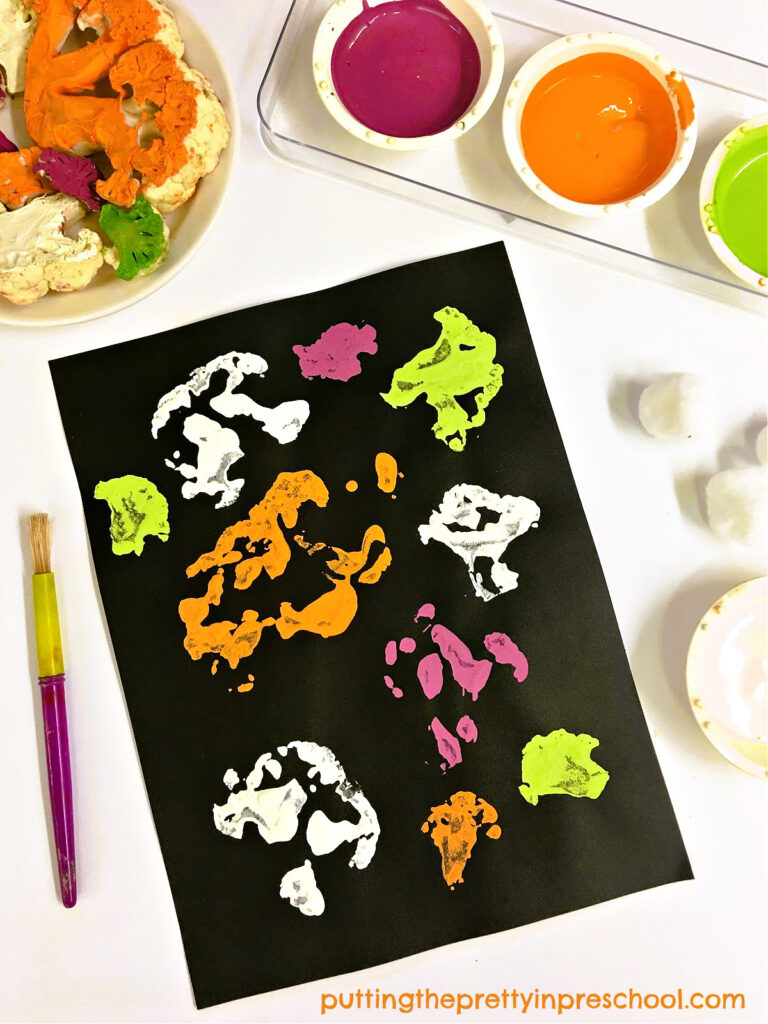
Your little learners will likely wish to create a few watercolor apples using this technique. In this case, you may decide to offer the activity with apple-hued markers one or two times, and then all the markers (except black) another time.
_______
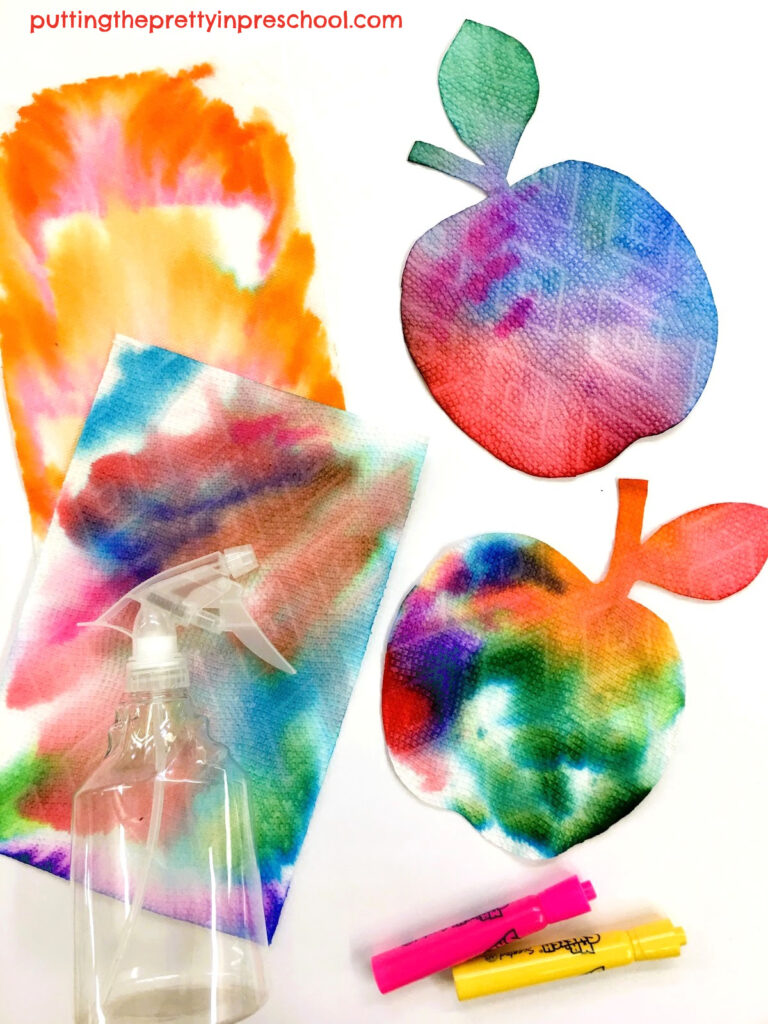
Coloring and spraying rectangular, uncut paper towel sheets is fun too.
_______
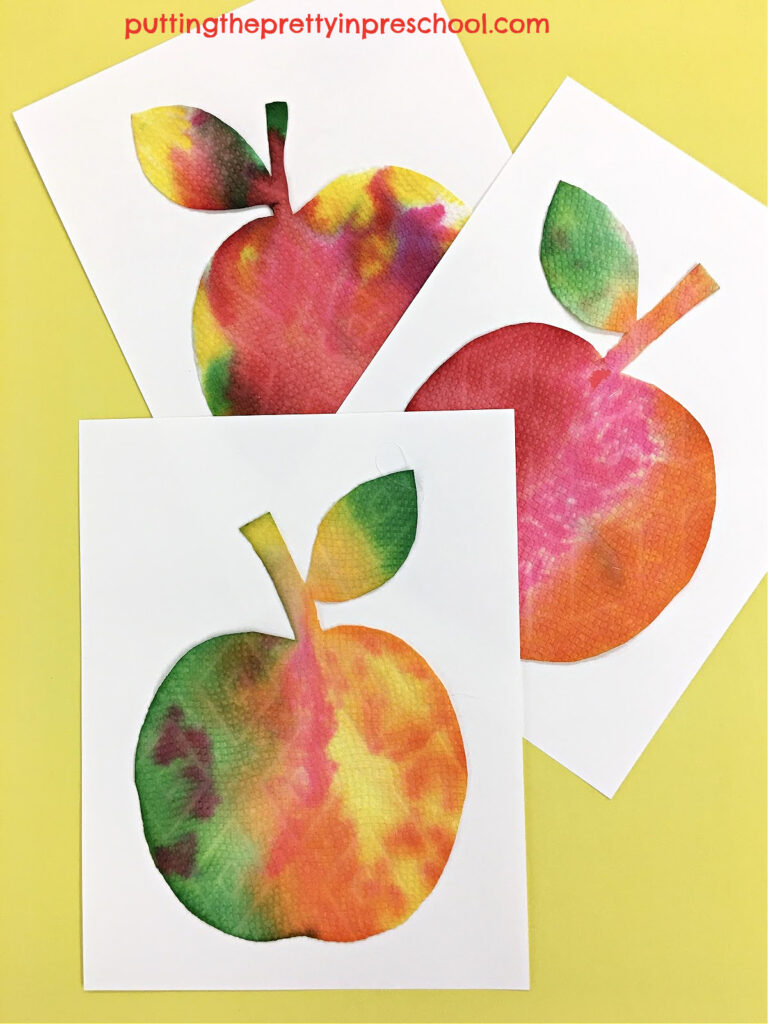
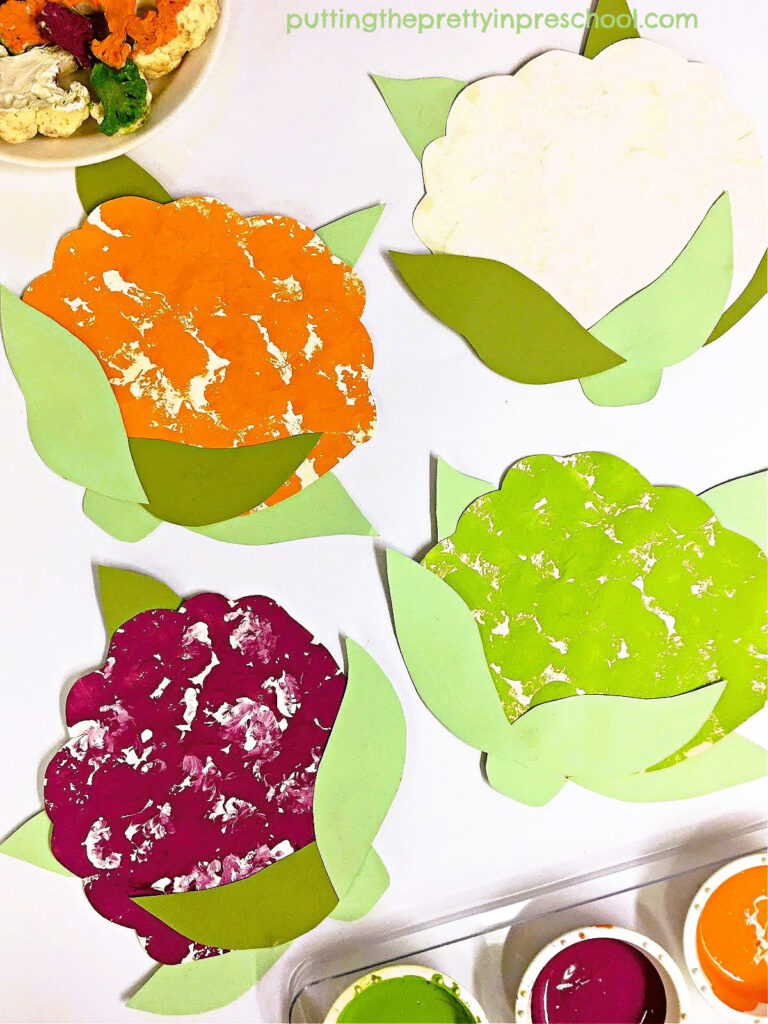
When the fruity art has dried, use a glue stick or mini glue gun to mount each project on a cardstock or construction paper background.
_______
Tip: Paper towel sheets are usually double-layered. If the paper apple layers come apart, use a glue stick to dab a little glue between them. Then gently press the layers together
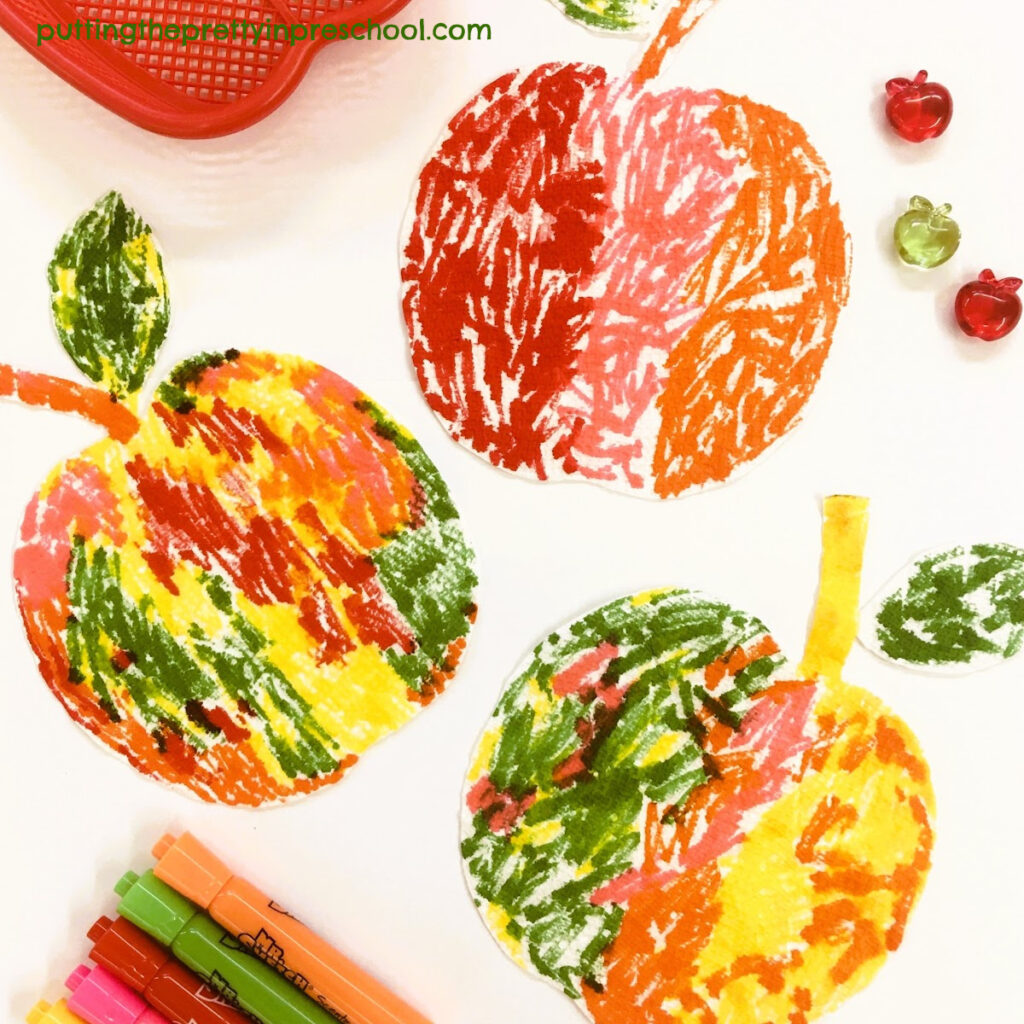
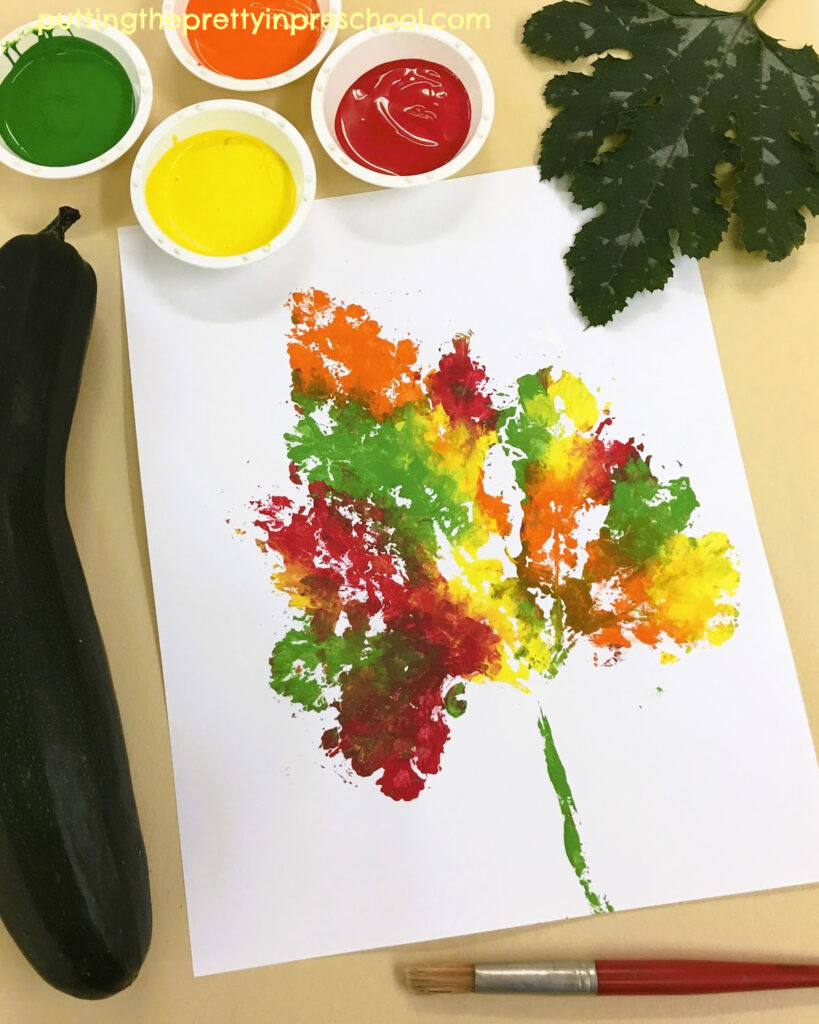
Watercolor Apple Prints
When a paper towel apple is colored in with markers and thoroughly sprayed with water, it takes a while to dry. To speed up the drying process, lay a rectangular sheet of paper towel over the sprayed apple and press down gently. This will remove excess water and reveal a lovely print of the apple design.
_______
_______
Interested in another watercolor activity with markers? Check out the blog post “Watercolor Planets With Markers.”
_______
More Apple Activities
_______
[Read more…] about Watercolor Apples With Markers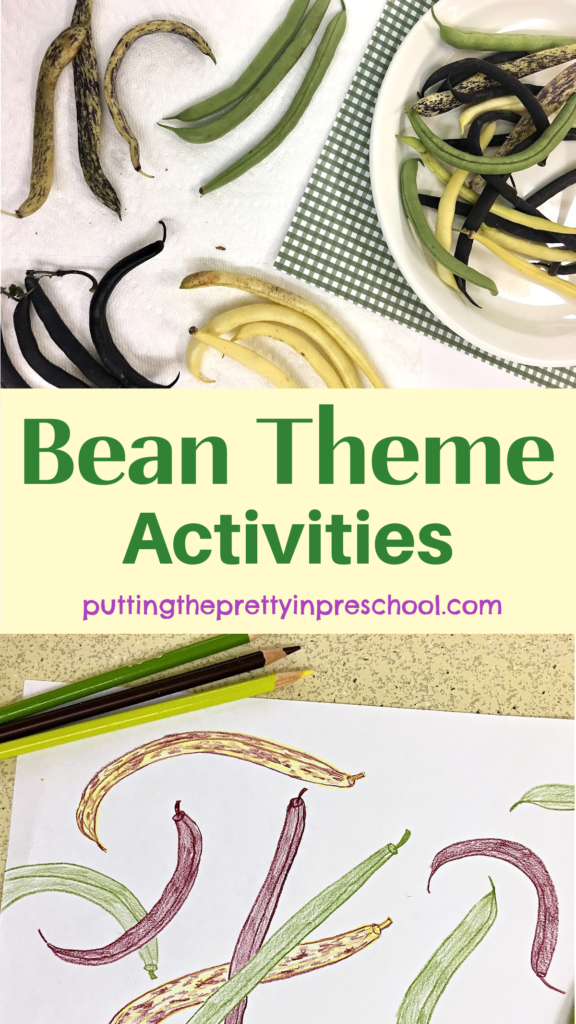


