_______
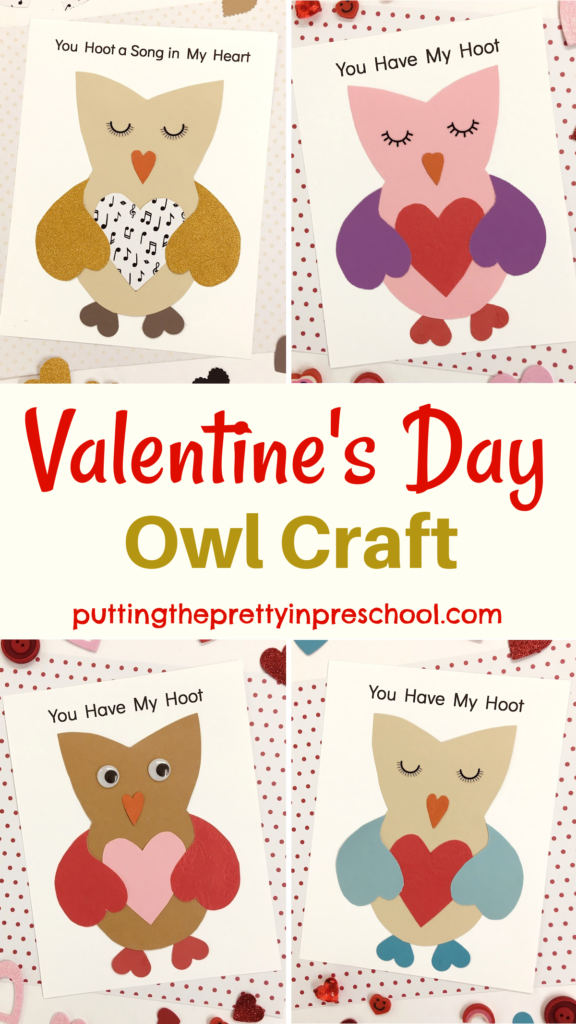
Here’s a cute Valentine’s Day owl craft that doubles as a fun card to give to someone you love on February 14. It can be made entirely from paper or embellished with a few more supplies. Download the free template to make craft preparation easy.
_______
Follow me on Pinterest for more early learning ideas.
_______
Supplies To Collect

_______
Gather the following supplies for this sweet owl-themed Valentine’s Day craft:
- various colors cardstock or construction paper
- 8 ½-inch x 11-inch white cardstock paper
- wiggly eyes
- eyelash stickers
- thin felt pen
- scissors and pencil
- glue stick
_______
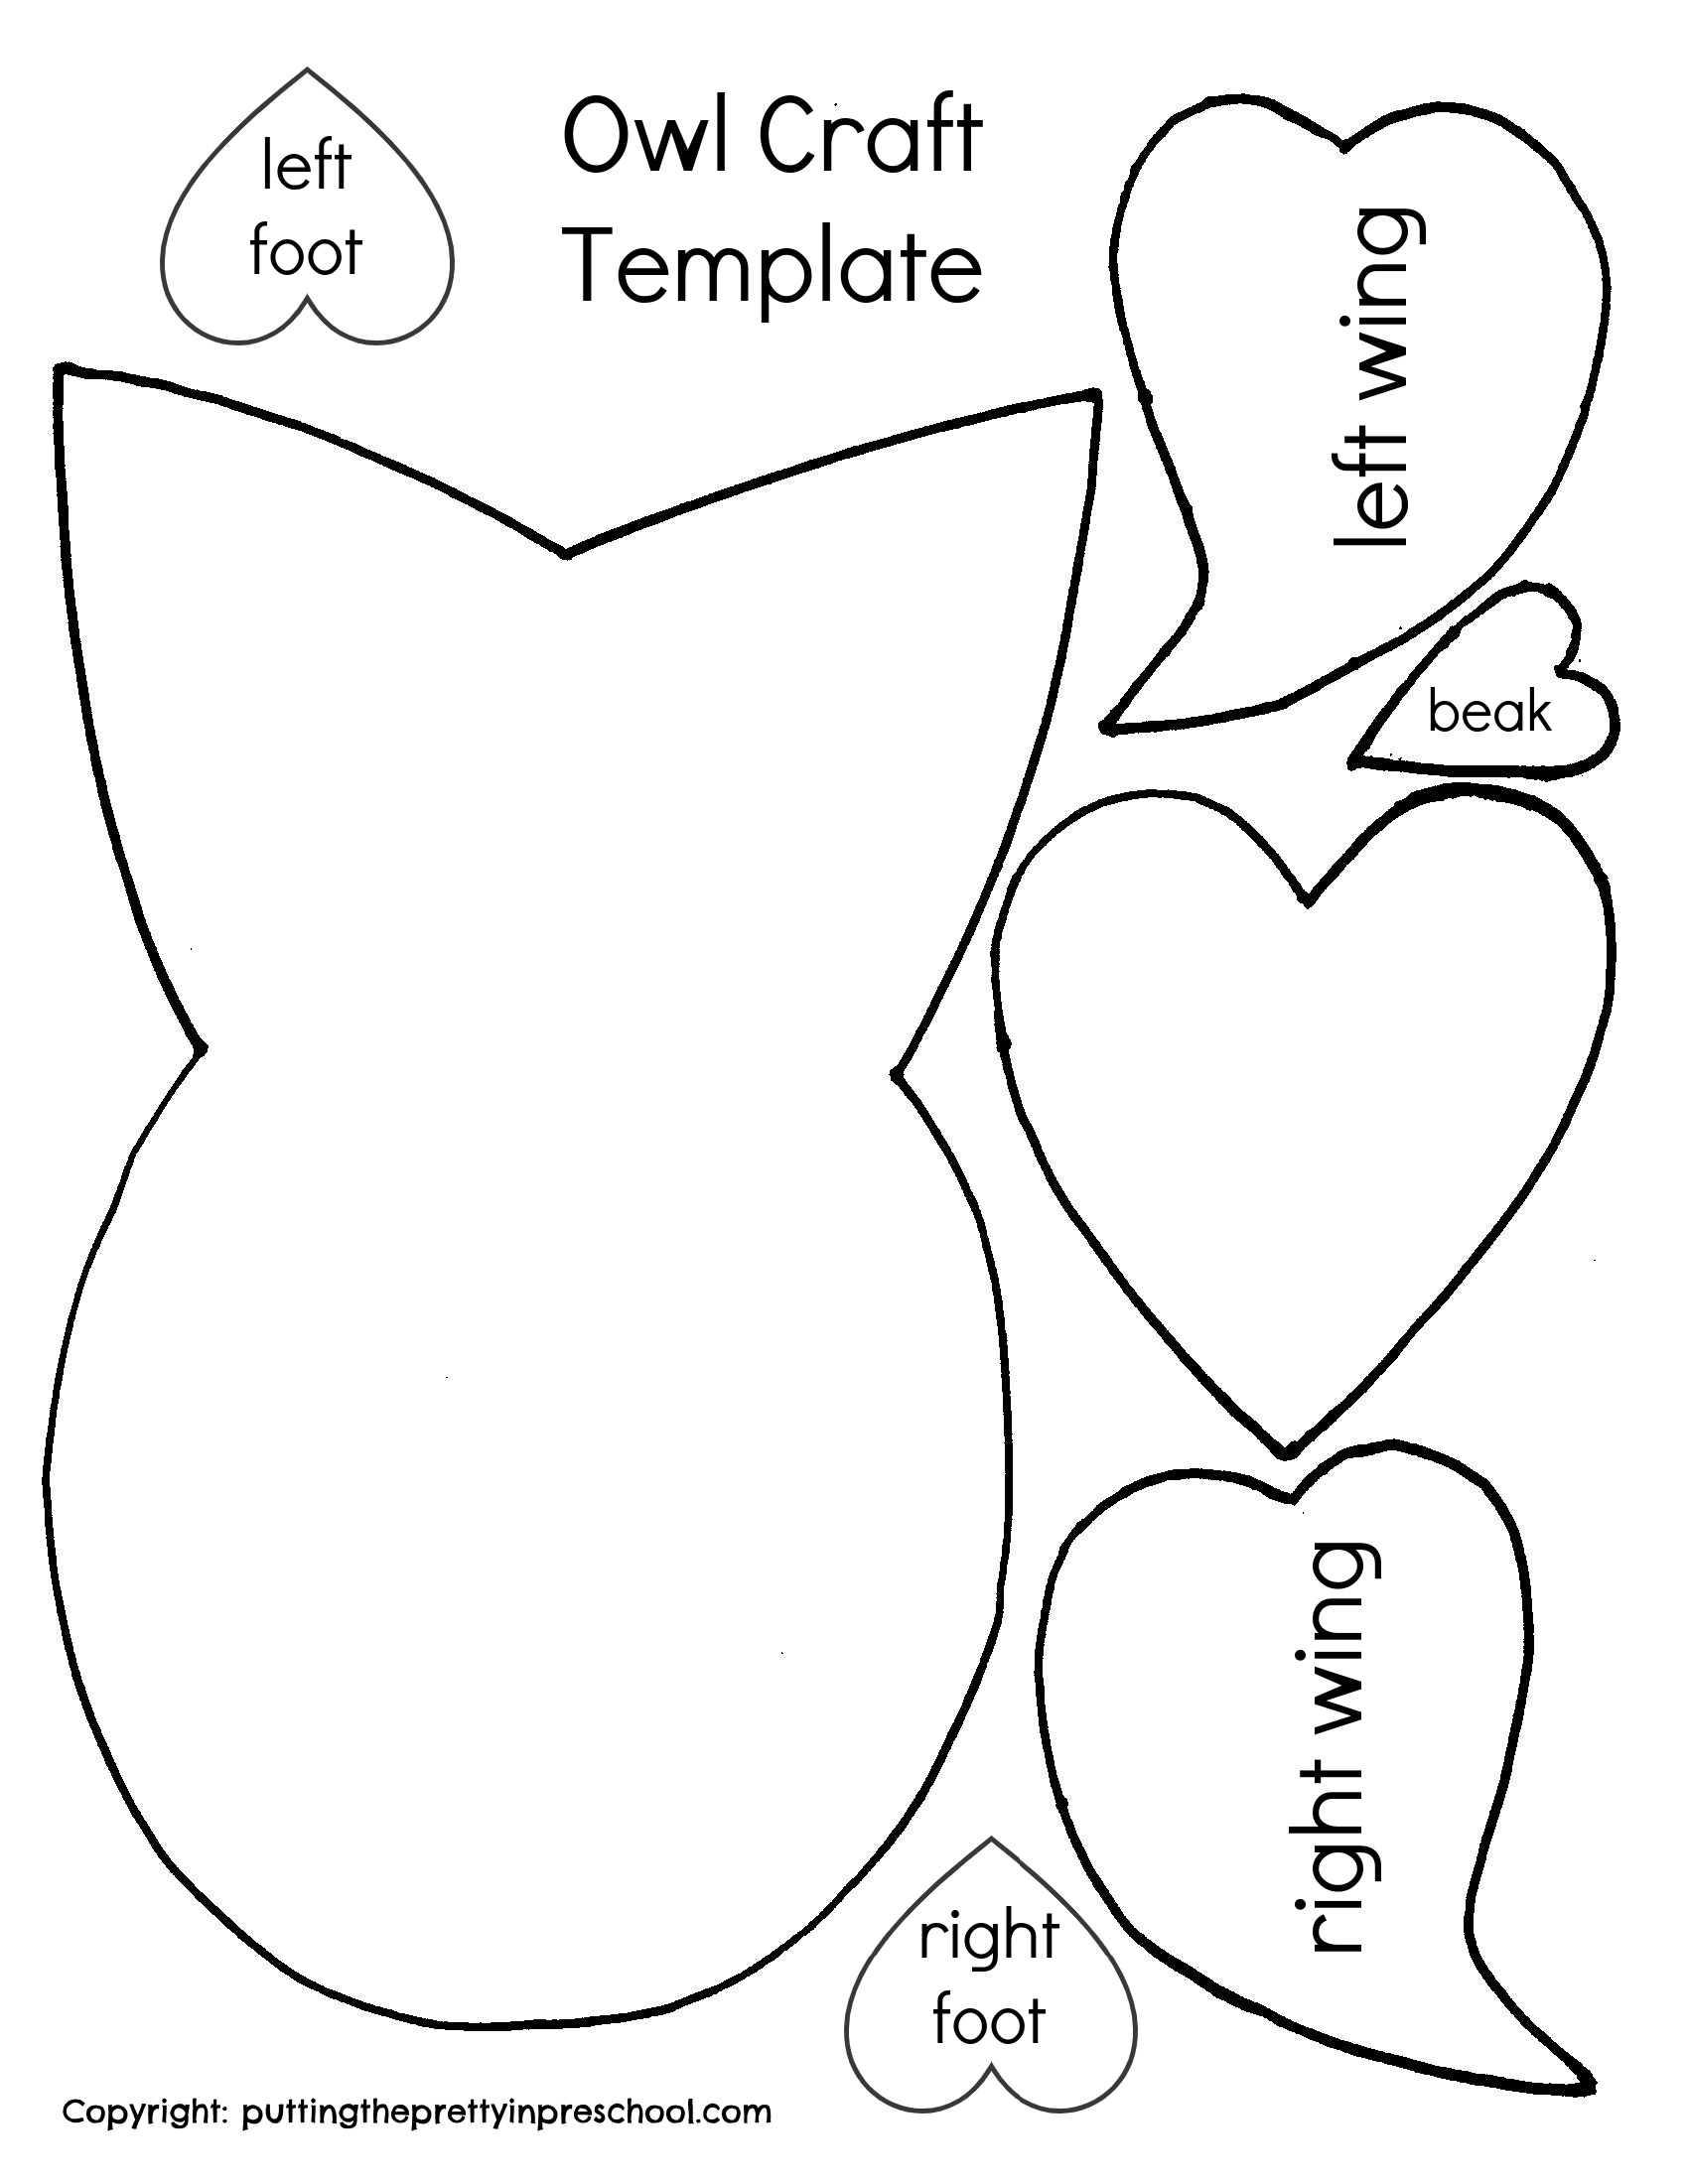
The Valentine’s Day Owl Craft
This owl-dorable Valentine’s Day craft is so easy to make. The first thing to do is pick a few different colors of cardstock or construction paper to use.
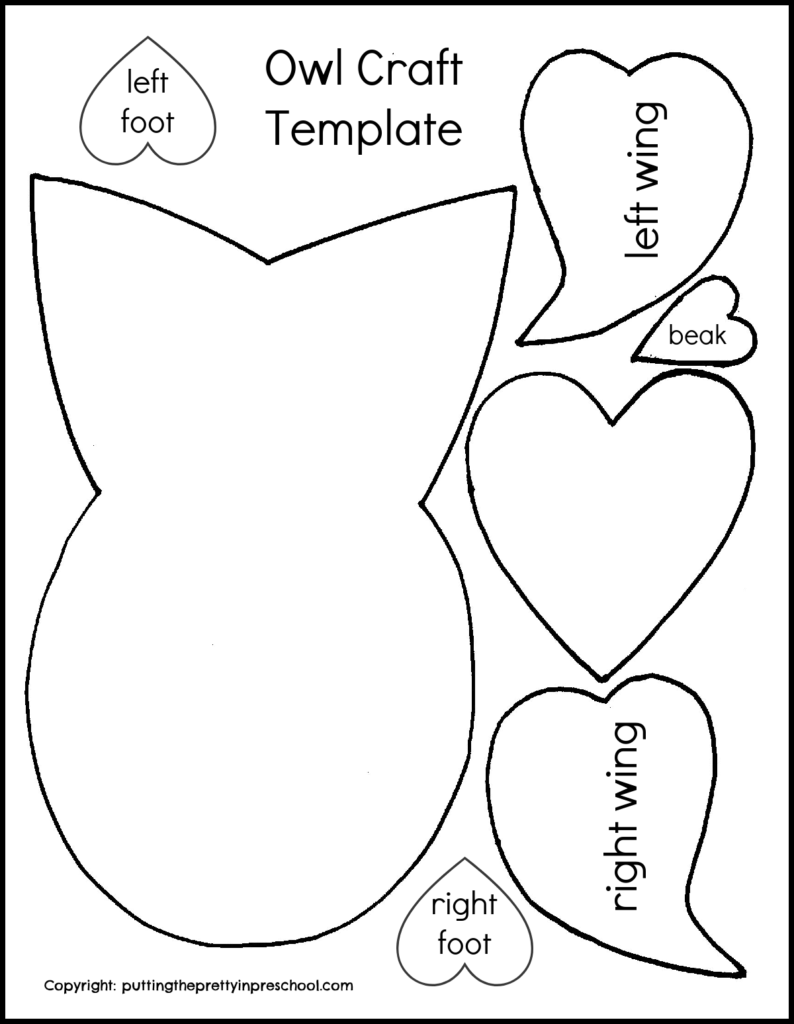
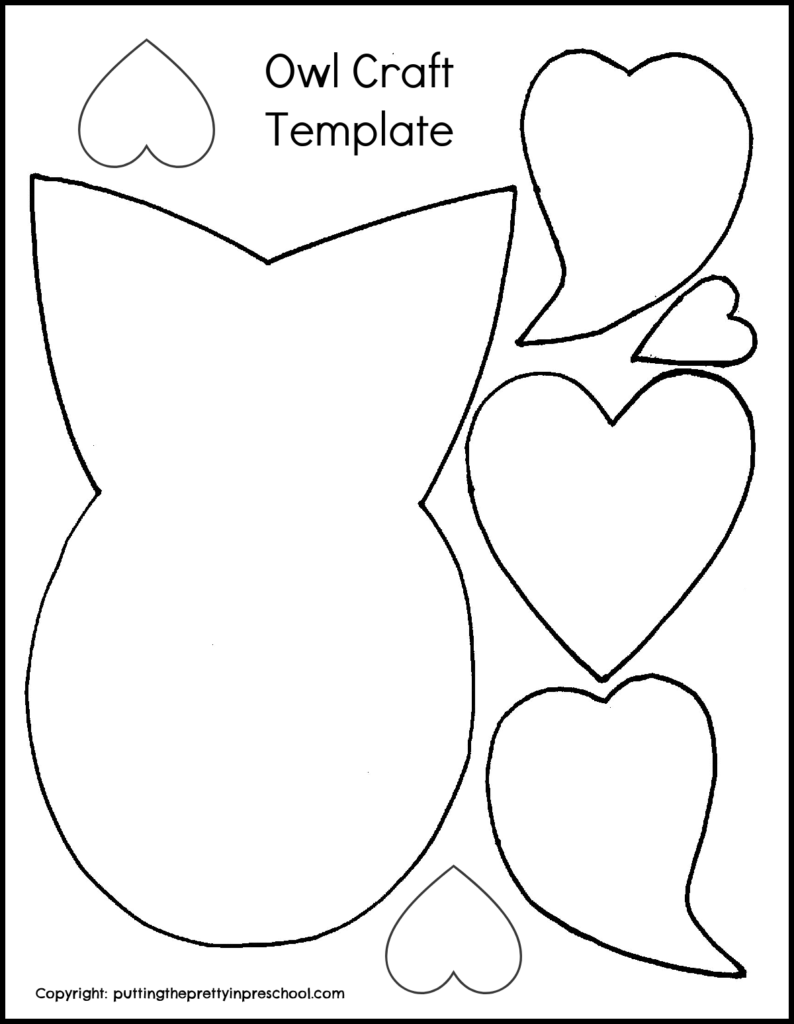
Then, download this template and use it to cut out the owl’s body, wings, beak, and feet. Pick different colors of paper for the task.
_______
Get the free printable:
This printable is for individual or one classroom use only.
_______
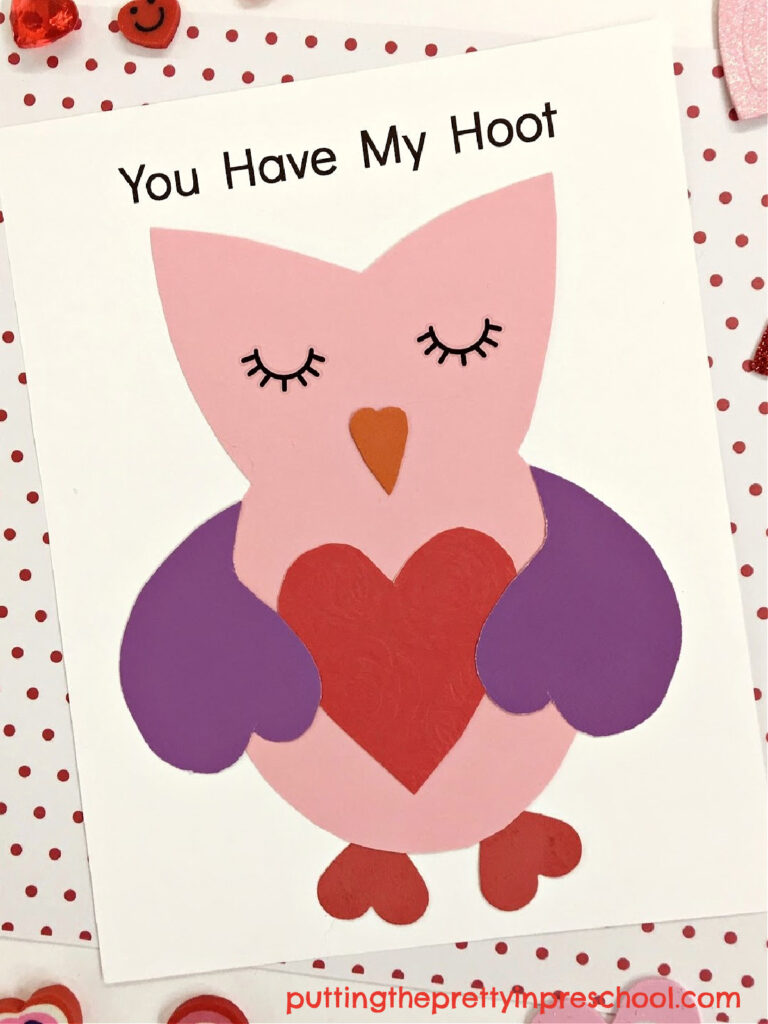
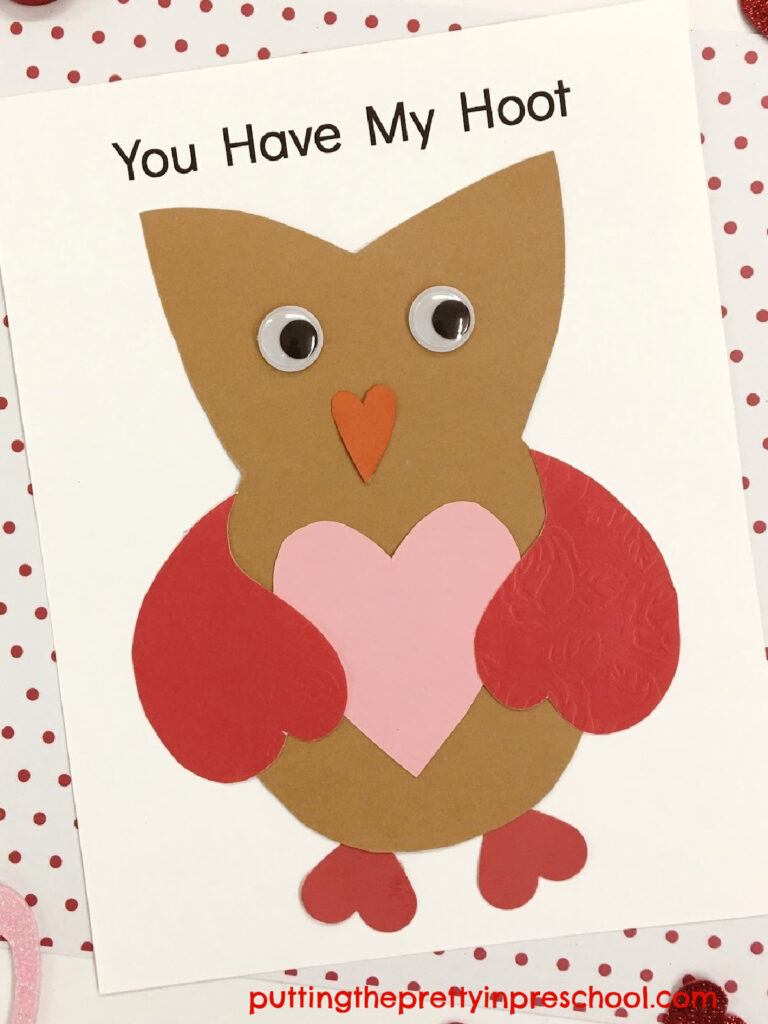
Next, use a glue stick to affix the body onto a neutral-colored sheet of 8 ½ inch x 11-inch cardstock paper.
Afterward, cut out a paper heart and glue it in the center of the body.
_______
Then glue a wing on either side, positioning each one to touch the edge of the heart.
Glue on two small hearts on the bottom of the body to serve as feet.
_______
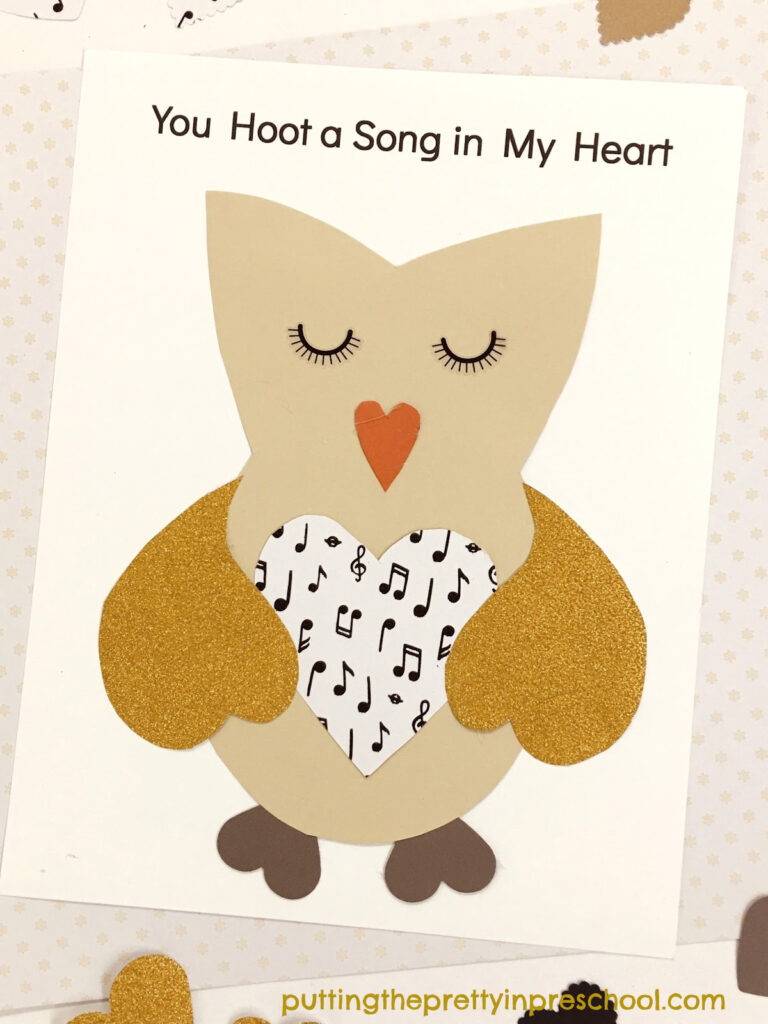
Then add two eyelash stickers or wiggly eyes to the head, and glue a paper beak. Or draw in the eyes with a thin felt marker or pencil.
Finally, add the words “You Have My Hoot” to the top of the picture using the art medium of your choice.

_______
The owl-themed saying on this craft can be varied. Below, the Valentine’s message is “You Hoot a Song in My Heart,” and the large heart is cut from musical note-themed scrapbook paper.
_______
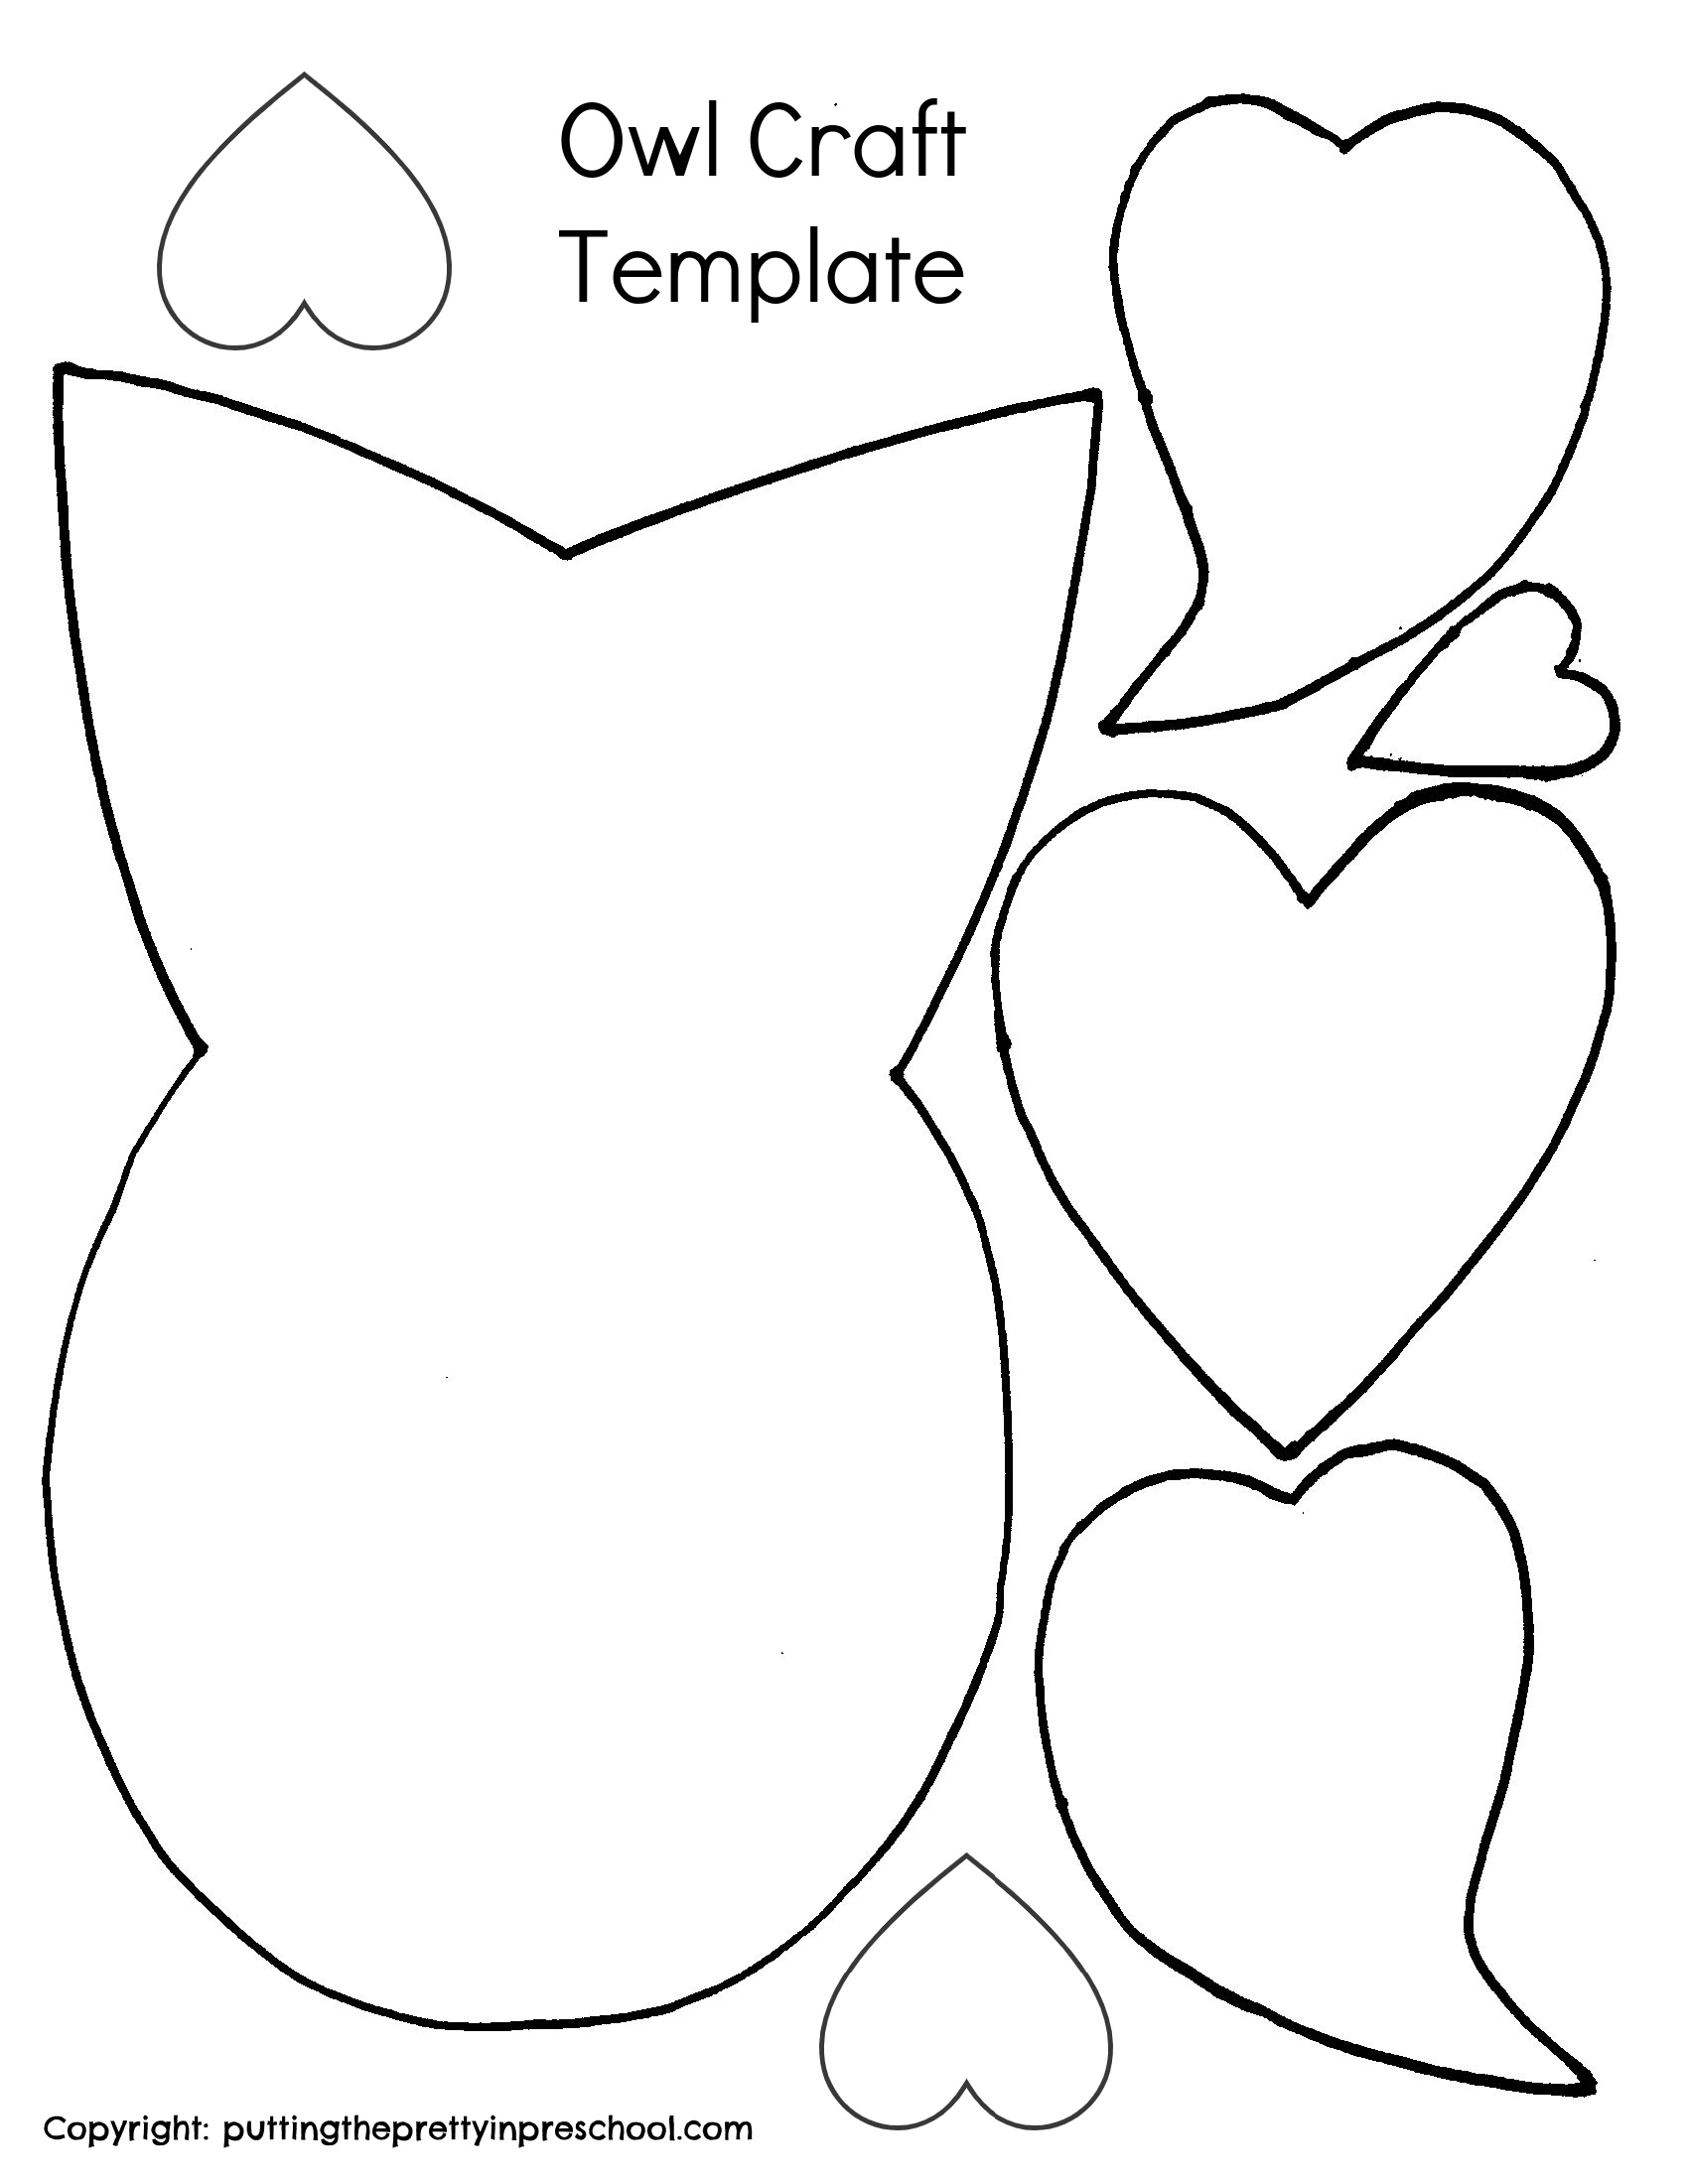
The Valentine’s Day Owl Craft Simplified
For a simple classroom or home-based activity, print the free owl craft template below onto copy paper. Give a template to each child participating in the craft. Invite participants to color each owl body part with crayons or pencil crayons, and cut the parts out. Then have them glue the colored shapes to a cardstock background to create the Valentine’s Day owl craft. Finally, have everyone draw eyelashes or eyes on their bird and add the words “You Have My Hoot” with a felt pen or pencil.
_______
_______
Get the free printable:
This printable is for individual or one classroom use only.
______
More Valentine’s Day Crafts
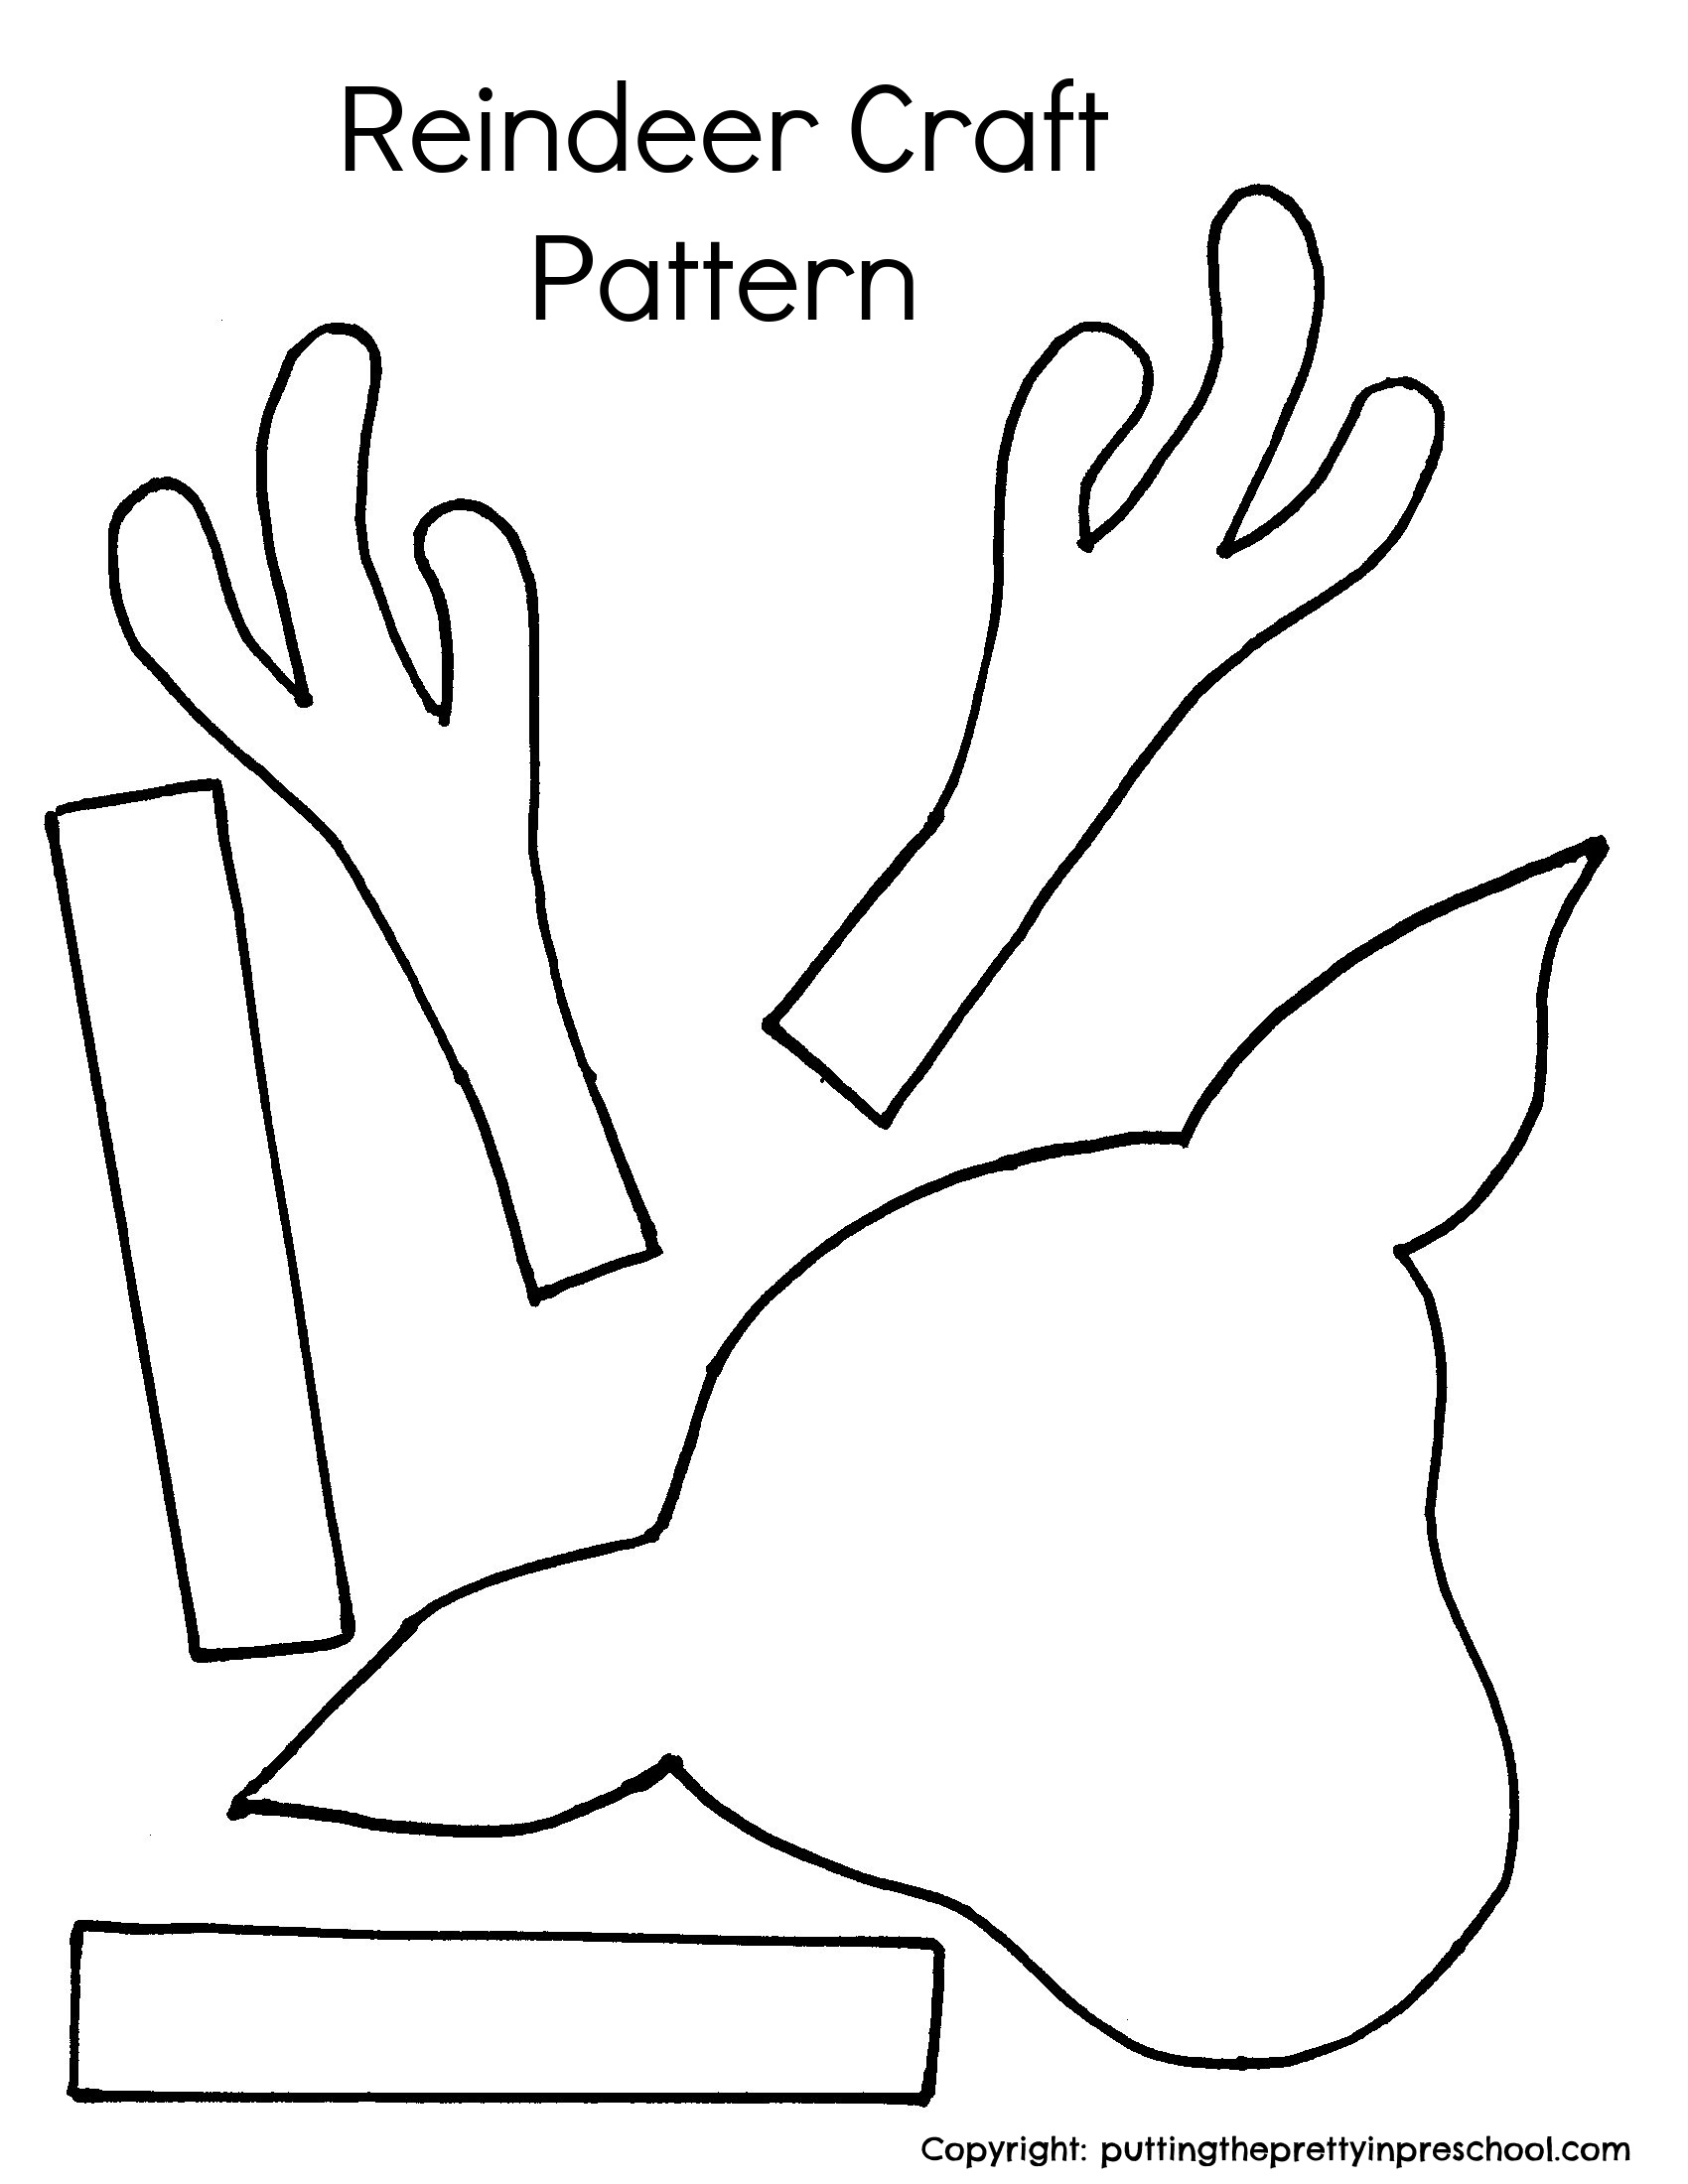
Woolly Sheep Valentine’s Day Craft
_______
[Read more…] about Valentine’s Day Owl Craft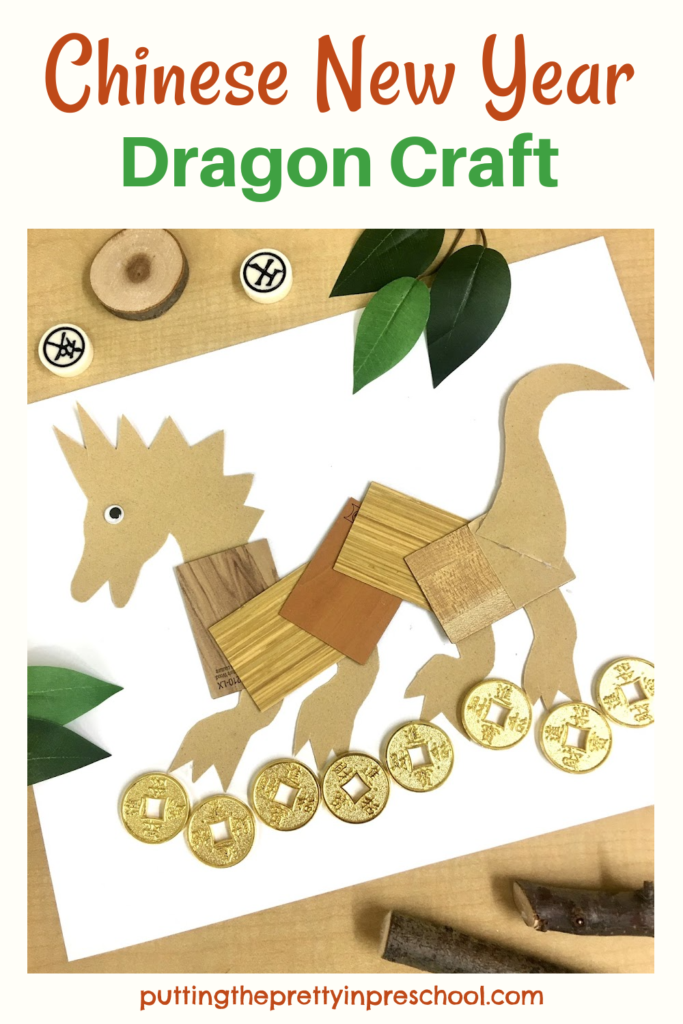
