_______
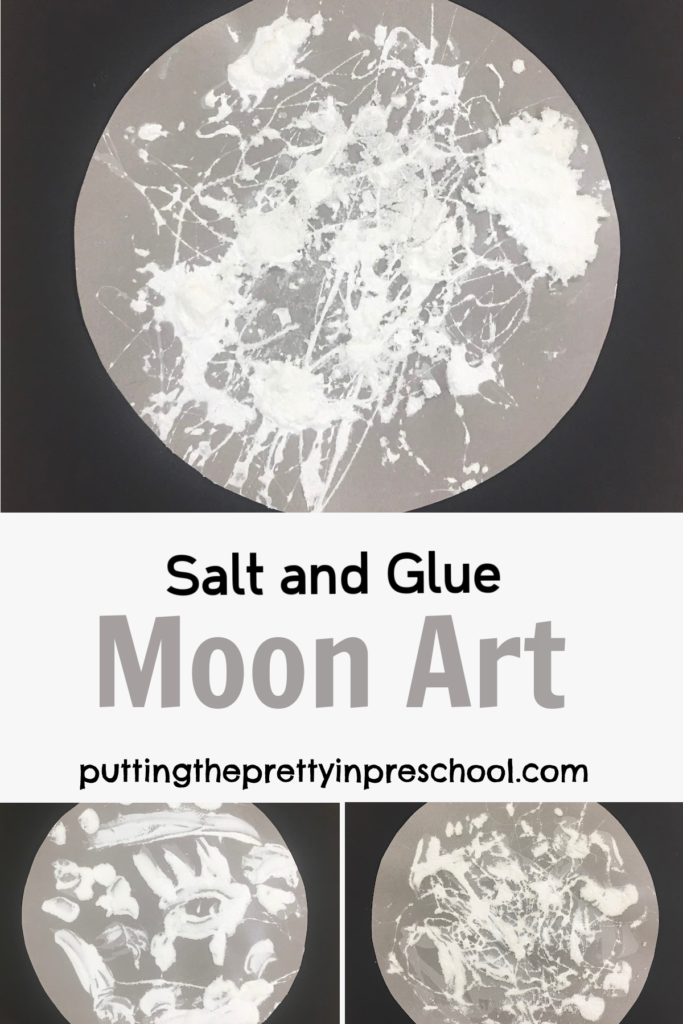
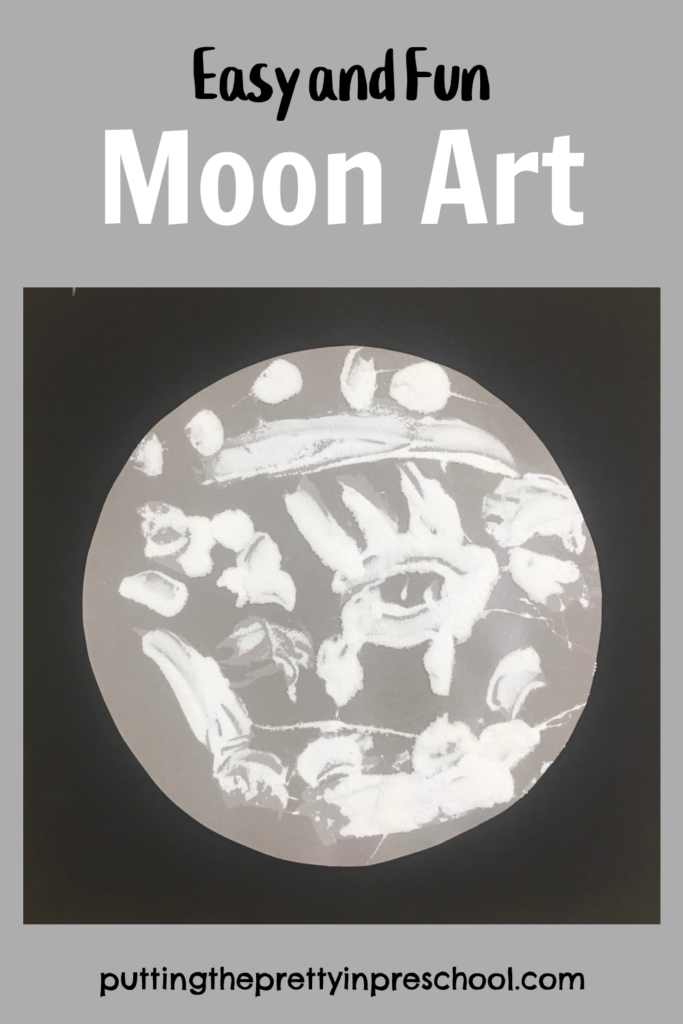
This salt and glue moon art activity is a simple way to create a realistic moon in its natural colors. It’s easy for little learners to do, and looks showy when displayed.
To help set the tone for the art activity, here are ten fun facts about the moon’s surface to share.
_______
Ten Moon Facts
- The moon usually appears bright whitish, silvery gray, or pale yellow. This is because its surface is illuminated by the sun.
- Close up, the moon is colored in shades of gray, with a little bit of black and white. There are tinges of orange, blue, or green in some parts.
- The moon is rocky and bumpy.
- There are light and dark areas on it’s surface.
- The dark areas are huge craters filled primarily with basalt lava that has cooled and formed smooth, dark plains. Much of the lava is rich in magnesium and iron, which is the reason for the dark color.
- The lighter areas are highlands with mountains and many craters. The highlands are low in iron and rich in calcium, giving them a lighter color.
- There are volcanic domes and shield volcanoes, as well as channel-like depressions on the moon.
- The moon is covered in a thin layer of moon dust, which is a dark grey color.
- There are traces of water in the form of water ice at the moon’s poles. Water molecules have recently been discovered on the sunlit side of the moon.
- From earth, we always see the same side of the moon.
_______
Powerful telescopes, space probes that orbit or land on the moon, spacecraft that circle the moon, and robotic rovers are some ways the moon is regularly explored. Twelve astronauts have had the chance to walk on the moon and see it up close.
_______
Moon Art Supplies
Just a few supplies are needed for this striking moon art project:
- 8 ½ inch x 11- inch gray cardstock paper
- 12 x 12-inch black cardstock paper
- white glue
- glue paddles
- disposable plates
- table salt
- small bowls or paint cups
- spray adhesive
- hot glue gun
_______
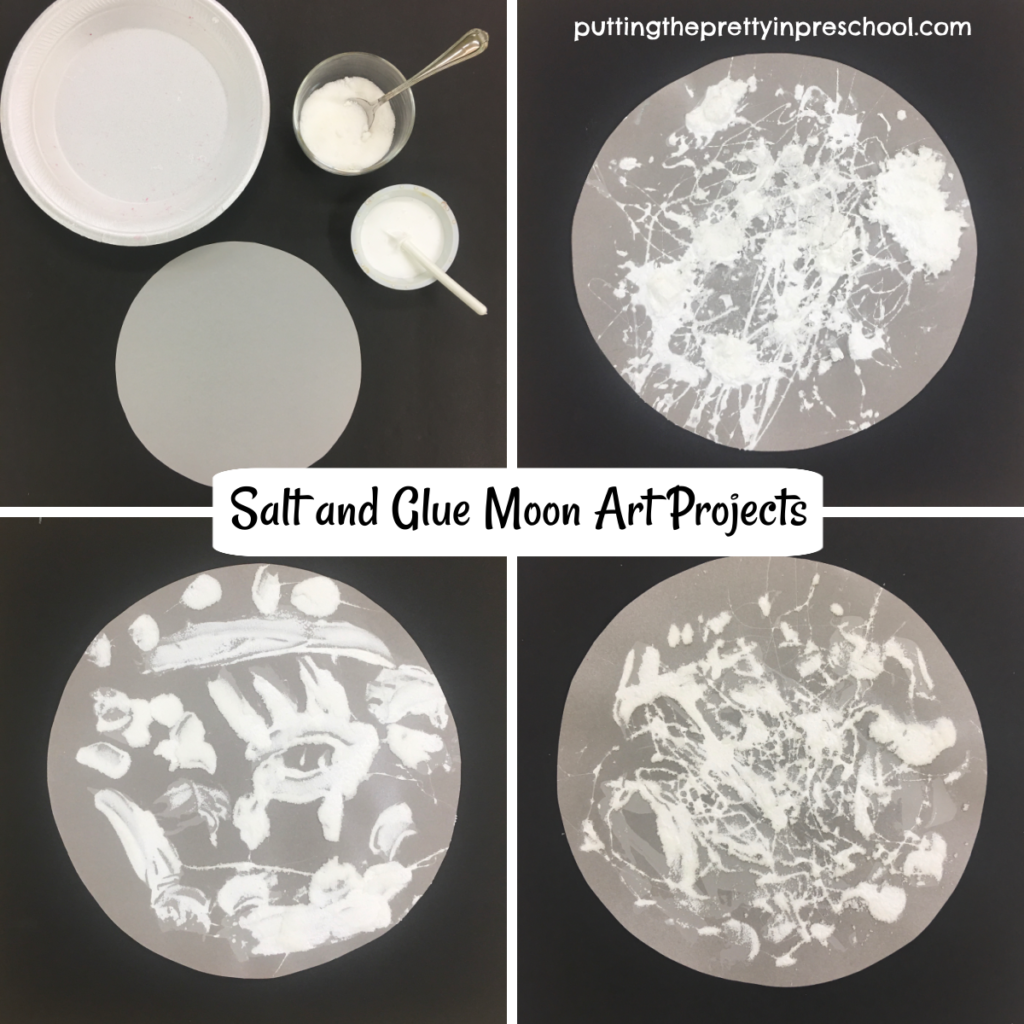
The Salt And Glue Moon Art Process
To prepare for the activity, cut circles about 8 ½ inches in diameter from gray cardstock.
Next, set up a station for each child participating with a
- gray cardstock paper circle
- small bowl of salt and a teaspoon
- container of white glue and glue paddle
- disposable plate
_______
Invite little learners to drizzle white glue on their circle-shaped paper.
Then have them sprinkle salt from a teaspoon over the glue, and shake excess salt onto their disposable plate.
Let the art projects dry overnight.

_______
To help preserve the moon art, spray each salted circle with adhesive spray. Hairspray works fine for this task too.
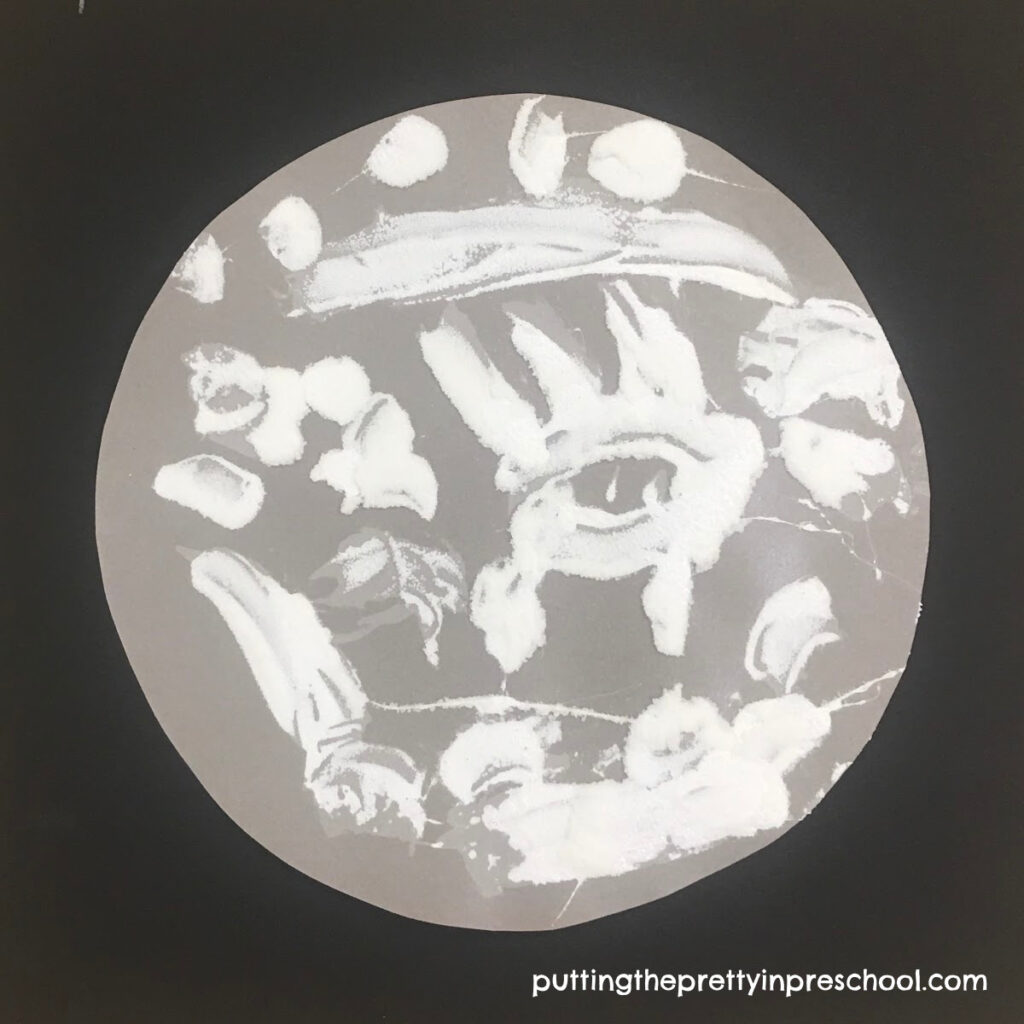
When thoroughly dry, adhere each paper moon to a black cardstock or construction paper background using a hot glue gun.
Display the stunning art projects on a bulletin board or wall. They will look amazing!
_______
Follow me on Pinterest for more early learning ideas.
_______
Little learners may have their own thoughts about the art they are creating. One of my students pretended he was making “The North Pole.” This led to a discussion about who was on Santa’s nice and naughty list!
Another student asked if he could taste the salt. After saying it was ok to taste a little of it, we discussed that it is a good choice to ask if it is safe to taste an art supply before doing it. We also talked about how there is a lot of salt in many playdough recipes, but we only use a little bit to season food.
_______
Related:
Space Restaurant Dramatic Play
Watercolor Planets With Markers
_______
[Read more…] about Salt And Glue Moon Art