_______
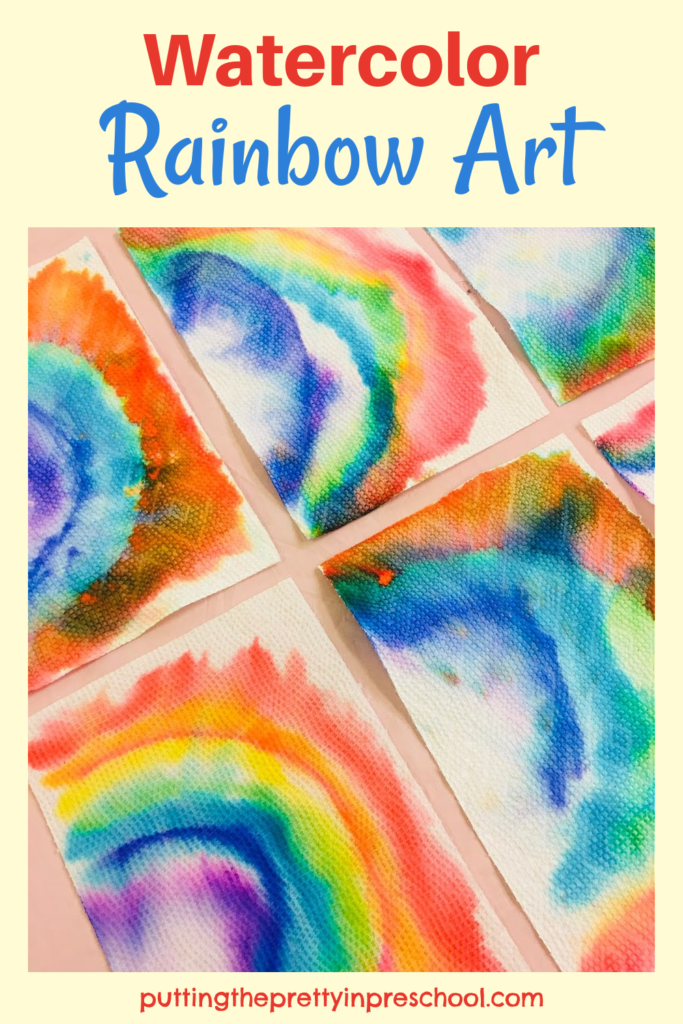
Making watercolor rainbows with markers is one of the easiest and most fun art activities for early learners to do. Preparation time is minimal, and the art project is stunning every time.
_______
Supplies To Collect
Only the following few supplies are needed for this gorgeous watercolor art project:
- eye droppers or pipettes
- paper towel roll
- set of 10 water-based markers
- paint pot with water
- ice cream pail lid
- reusable tablecover
_______
_______
Follow me on Pinterest for more early learning ideas.
_______
The Watercolor Rainbows With Markers Art Project
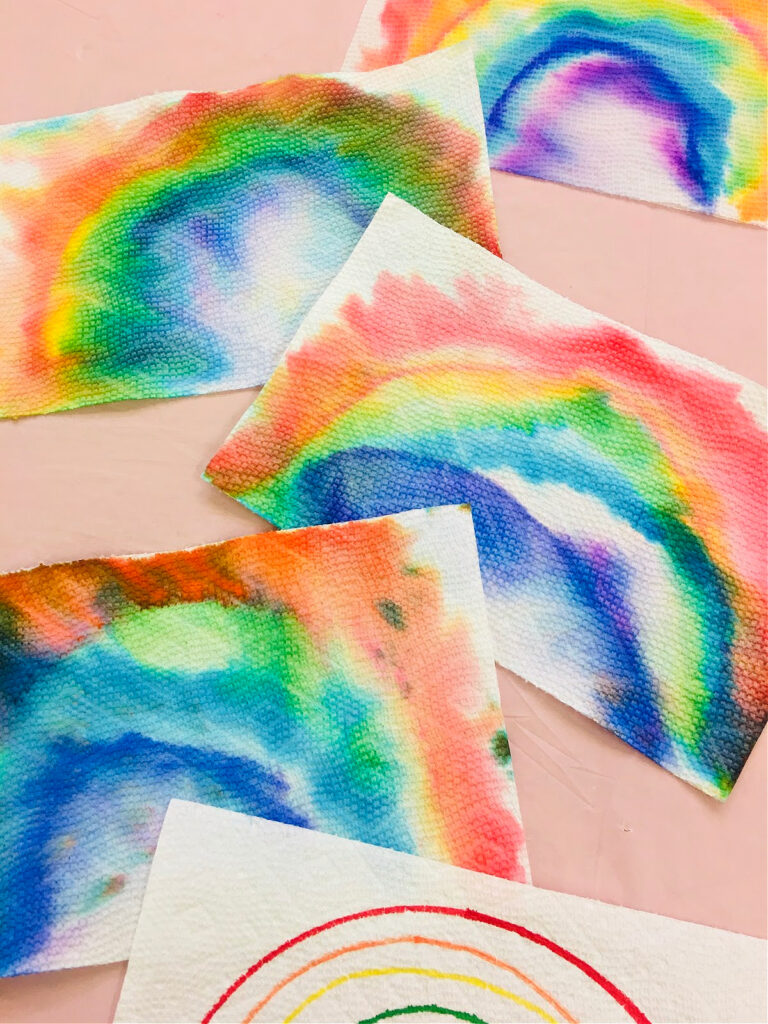
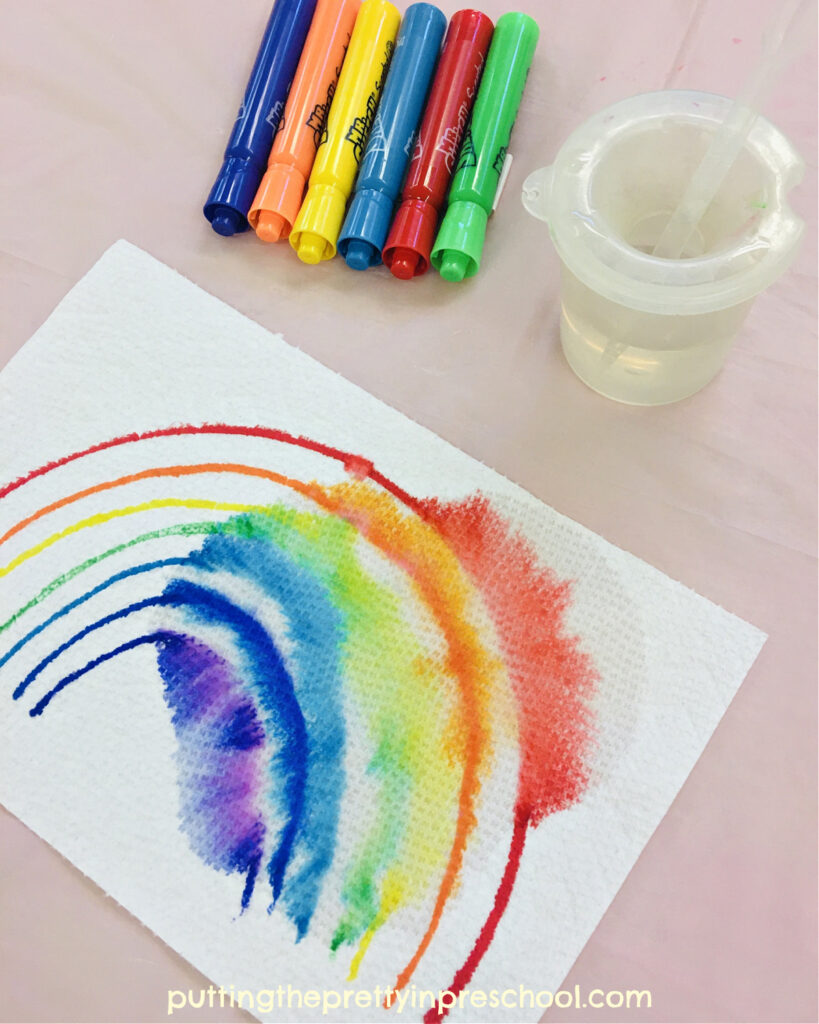
To offer this fun watercolor art project, set out a sample rainbow drawing, a paper towel roll sheet, and a set of water-based markers.
Discuss the colors of the rainbow, and the acronym ROYGBIV. Explain that this acronym stands for the order of colors in a rainbow: red, orange, yellow, green, blue, indigo, and violet.
Invite participants to draw a rainbow, starting with a red curved line near the edges of their paper towel sheet.
Tip: To make it easier for young children, draw a large red half circle on each paper towel sheet using an ice cream pail lid as a guide. Then ask participants to draw in the rest of the curved lines of the rainbow.
_______
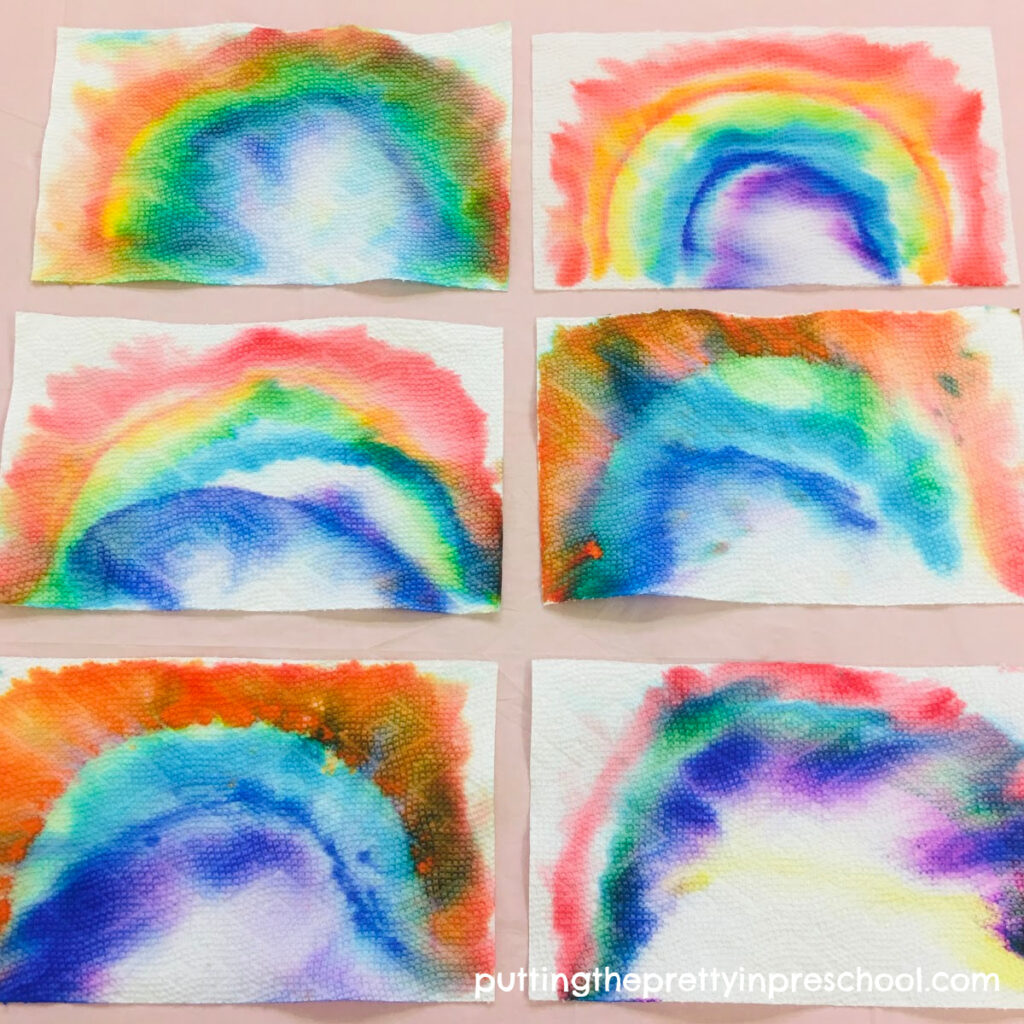
After each child has finished their rainbow drawing, direct them to a table with eye droppers or pipettes and paint pots filled with water. Ask participants to drop water on their rainbow with the droppers. They will absolutely love this part of the art activity.
Let the beautiful rainbow art dry overnight and display it.
_______
Note: Children may draw their rainbows in a unique color pattern. That is just fine…the rainbows will look beautiful in any color order.

_______
More Eye Dropper Art
_______
More Watercolor Art
Watercolor Apples With Markers
Watercolor Planets With Markers
Crayon Resist Watercolor Shamrock
_______
[Read more…] about Watercolor Rainbows With Markers