_______
It was clear jellyfish that got me interested in this unique sea creature, and are the inspiration behind this jellyfish theme post. Three transparent jellyfish crafts are included in the theme, along with scissor skills, math, and water play ideas.
Sea jelly is the proper name for jellyfish since these creatures are not fish. Fish have a face, brains, tails, fins, and backbone, which sea jellies don’t have. But since most people still use the term jellyfish and find activities by searching this name, I’m using both words in my facts and activities.
_______
Follow me on Pinterest for more early learning ideas.
_______
Fascinating Jellyfish Facts
Here are ten interesting facts about jellyfish:
- Sea jellies are found in waters all over the world: cold or warm, shallow or deep, near shore or deep in the ocean.
- These graceful creatures have a bell-shaped body, with oral arms and tentacles that look like streamers.
- Jellyfish come in many colors and are often luminescent.
- The tiny stinging cells on their tentacles capture prey. The tentacles can also sting people.
- Inside the bell, sea jellies have a mouth to eat food with.
_______
- These floaty creatures eat fish, crabs, shrimp, tiny plants, and zooplankton.
- Their predators are large fish, sea turtles, and sometimes other jellyfish.
- Sea Jellies are slow swimmers, pulsing along. They often get overpowered by strong currents that carry them along.
- From small to humungous, sea jellies come in many different sizes and shapes.
- The Portuguese Man Of War is the biggest sea jelly. Nomeus fish live in their deadly tentacles and do not get eaten. The tiny fish help attract large prey that this massive sea jelly ends up eating.
- Jellyfish live for just under two days to under a year.
For more facts about sea jellies, view the blog post “Jellies” on montereybayaquarium.org.
_______
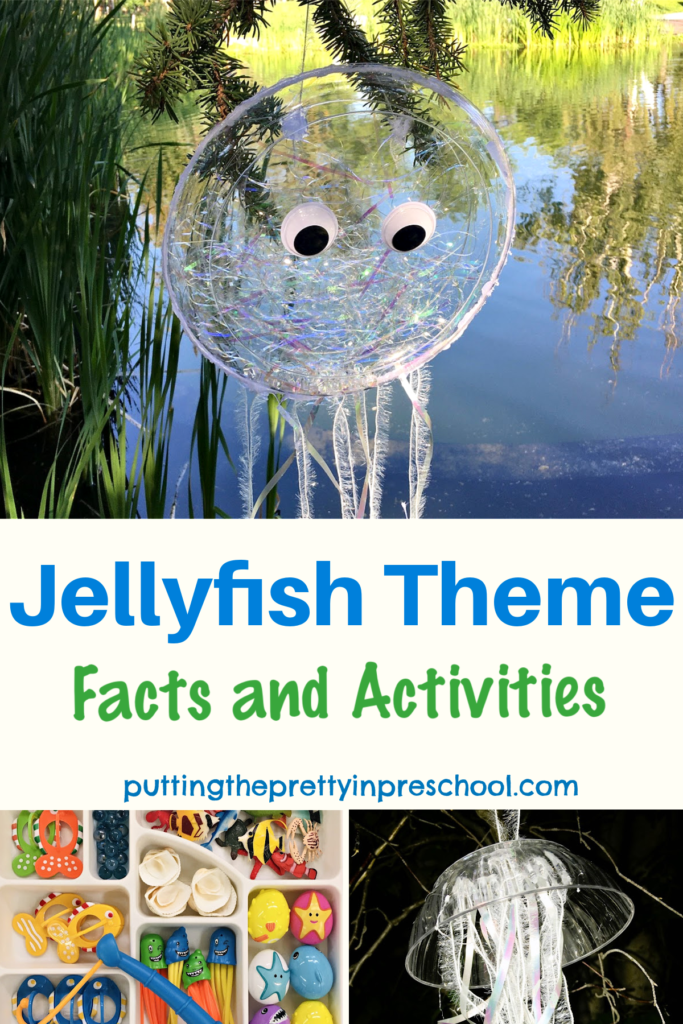
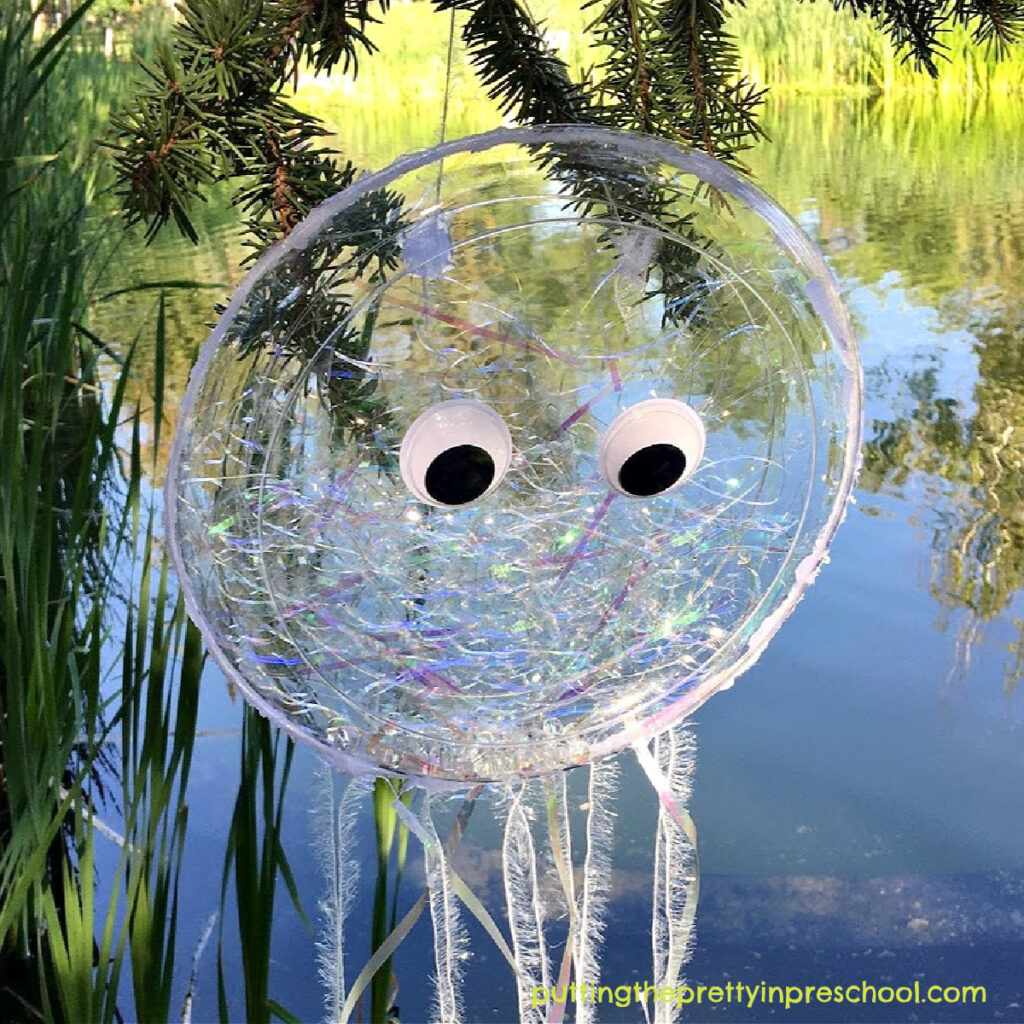
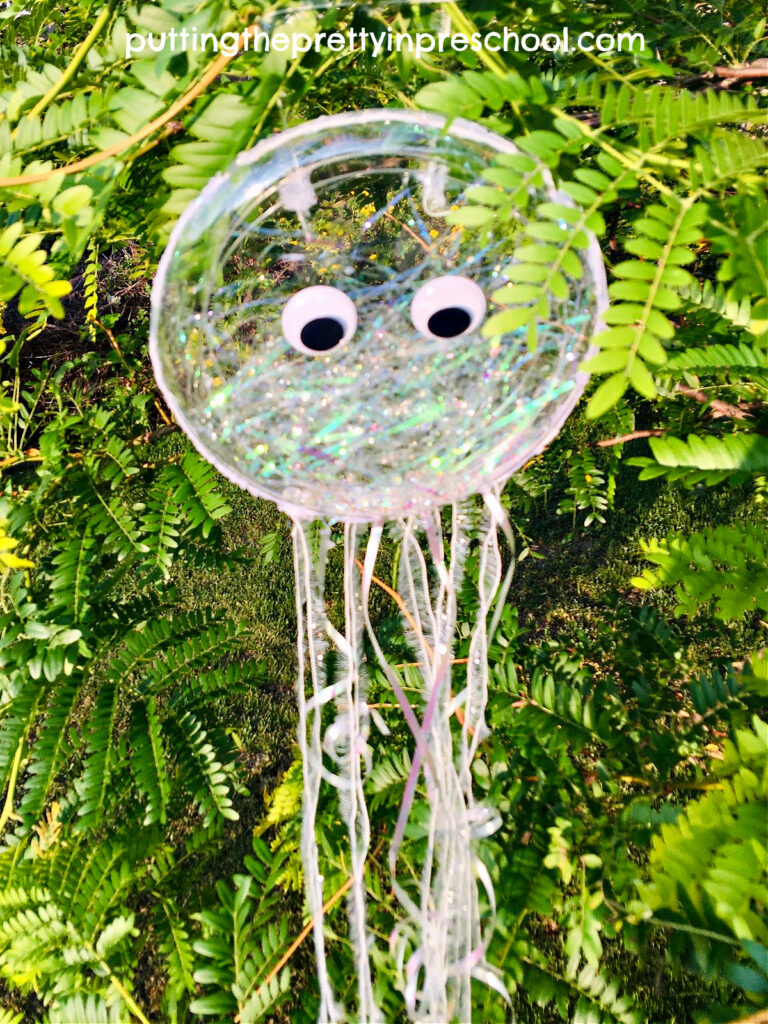
Iridescent Jellyfish Crafts
These three jellyfish crafts are inspired by the moon jelly, which has a transparent, umbrella-shaped bell. Iridescent craft supplies shine in the stringy crafts.
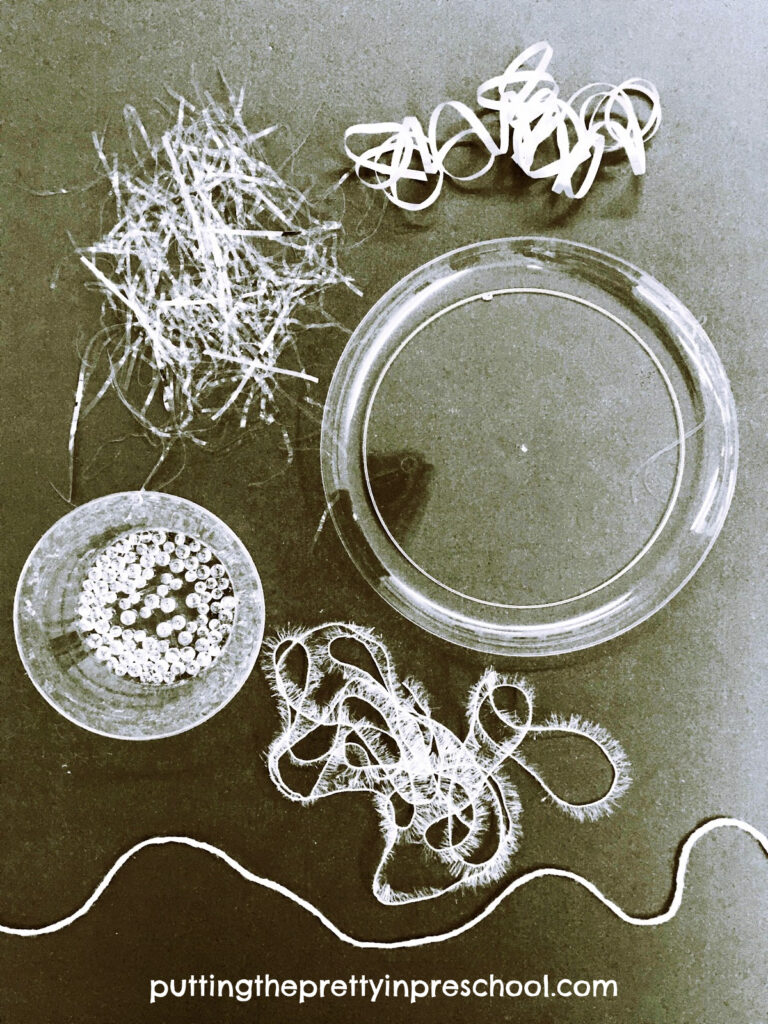
Supplies To Collect
_______
Gather the following supplies for the transparent sea jelly crafts:
- two clear disposable dinner plates
- opaque or clear transparent disposable drinking cup
- clear dessert bowl
- iridescent beads
- two kinds of sparkly, textured, thin yarn
- iridescent curly ribbon
- iridescent metallic shreds
- glue gun
- wiggly eyes
_______
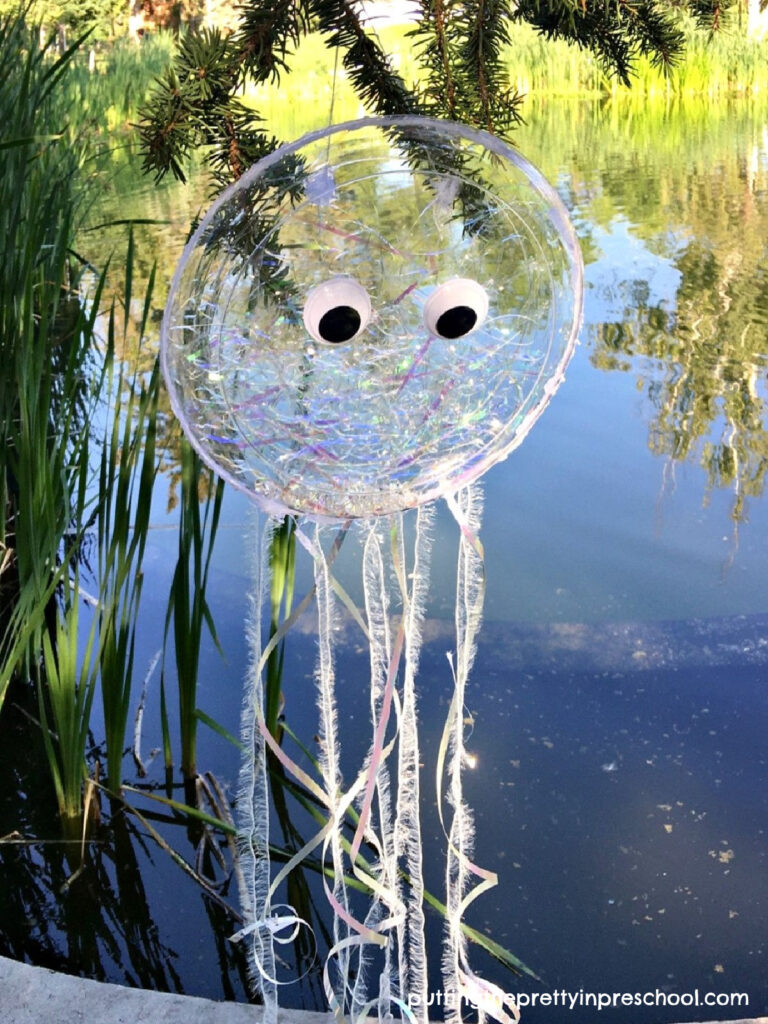
Clear Plate Jellyfish
_______
To make this large jellyfish, start by positioning one clear dinner plate right side up, and laying metallic shreds and a small handful of iridescent beads on it.
Next, cut strips of sparkly and /or iridescent yarn and curly ribbon and glue them in a row at the bottom of the plate using the glue gun.
Then glue the second dinner plate upside down on top of the first one by applying hot glue to the edge of one or both plates.
Lastly, glue two large wiggly eyes to one of the plates, and affix a yarn strip to hang the jellyfish on the other side.
_______
This jellyfish looks beautiful displayed in the classroom in a sunny spot, or outside on a tree. The crafted jellyfish also makes an ocean drum musical instrument and can be a unique accessory for language arts. music, and movement activities.
_______
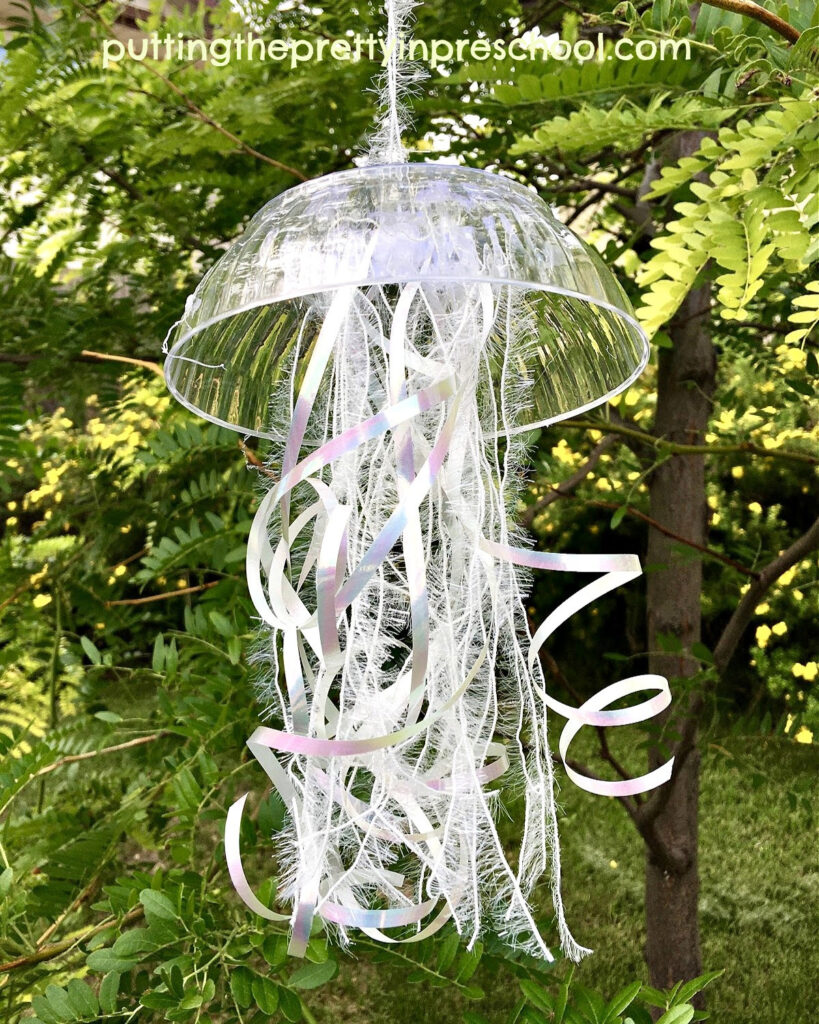
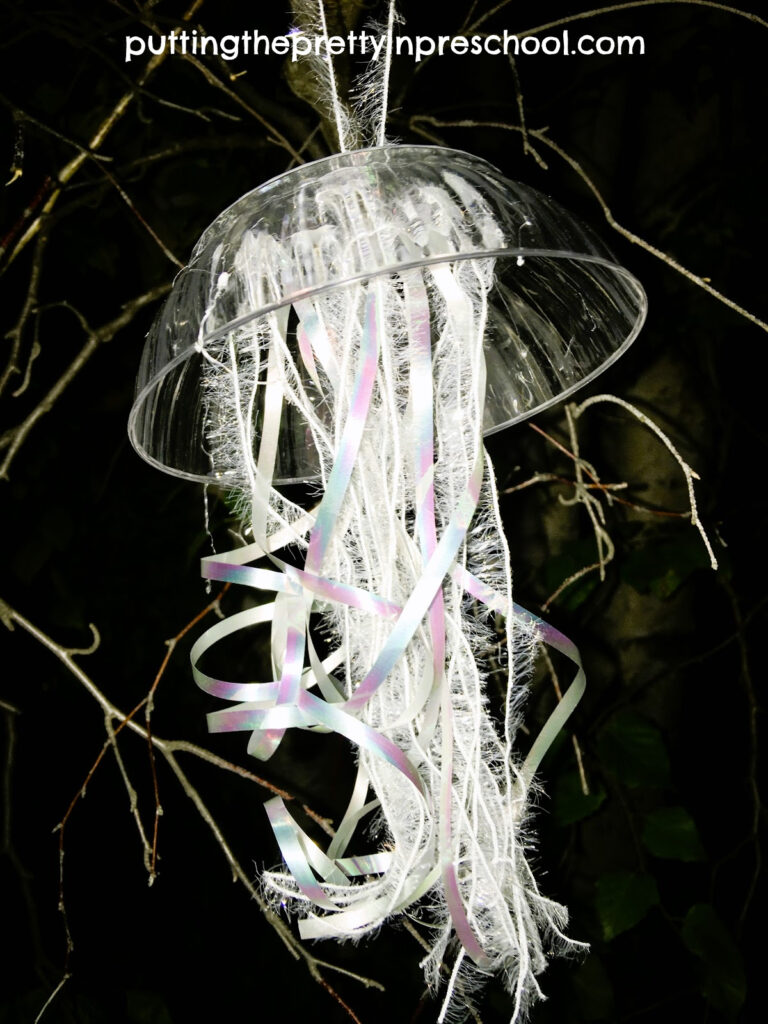
Dessert Bowl Jellyfish
_______
This second jellyfish craft most replicates the moon jelly shape and is so easy to make. Just glue one end of the yarn and curly ribbon strips to the inside of the bowl so that they hang down like jellyfish arms and tentacles. Affix a loop to hang on the bottom of the bowl, and this sea jelly is ready to be displayed.
Hanging outside at night, it looks like a sea jelly floating deep in the ocean.
_______
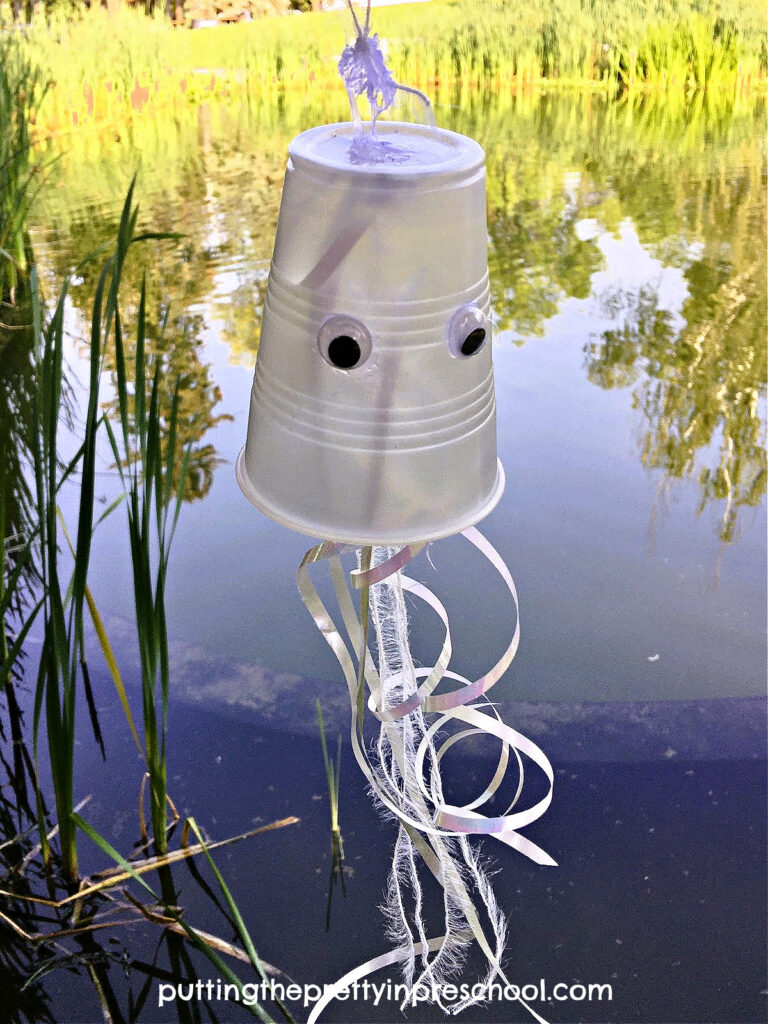
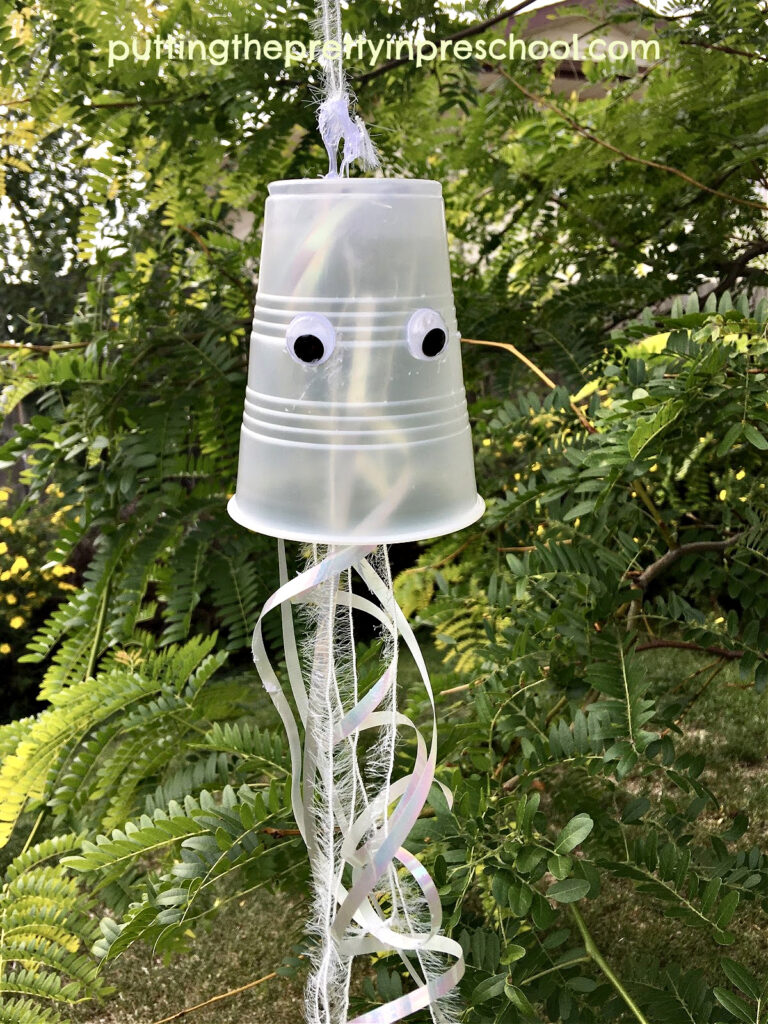
Disposable Cup Jellyfish
_______
Make this craft just like the one above using a clear or opaque disposable cup instead of the dessert bowl. Add wiggly eyes for the finishing touch.
_______
More Jellyfish Activities
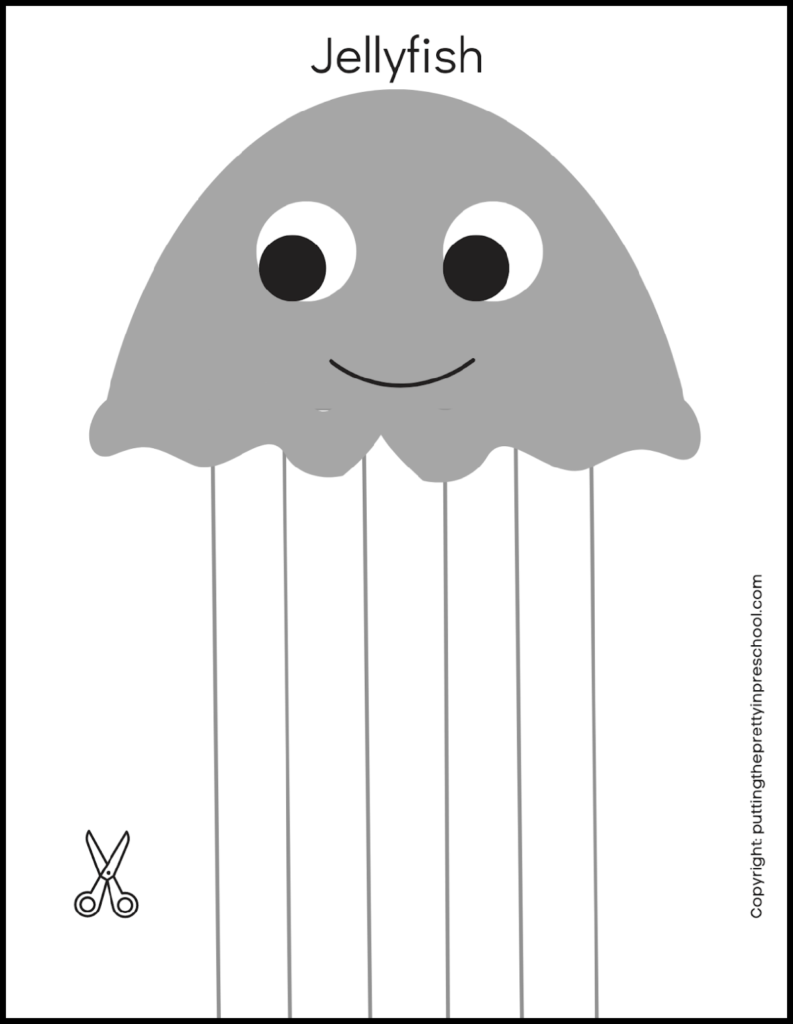
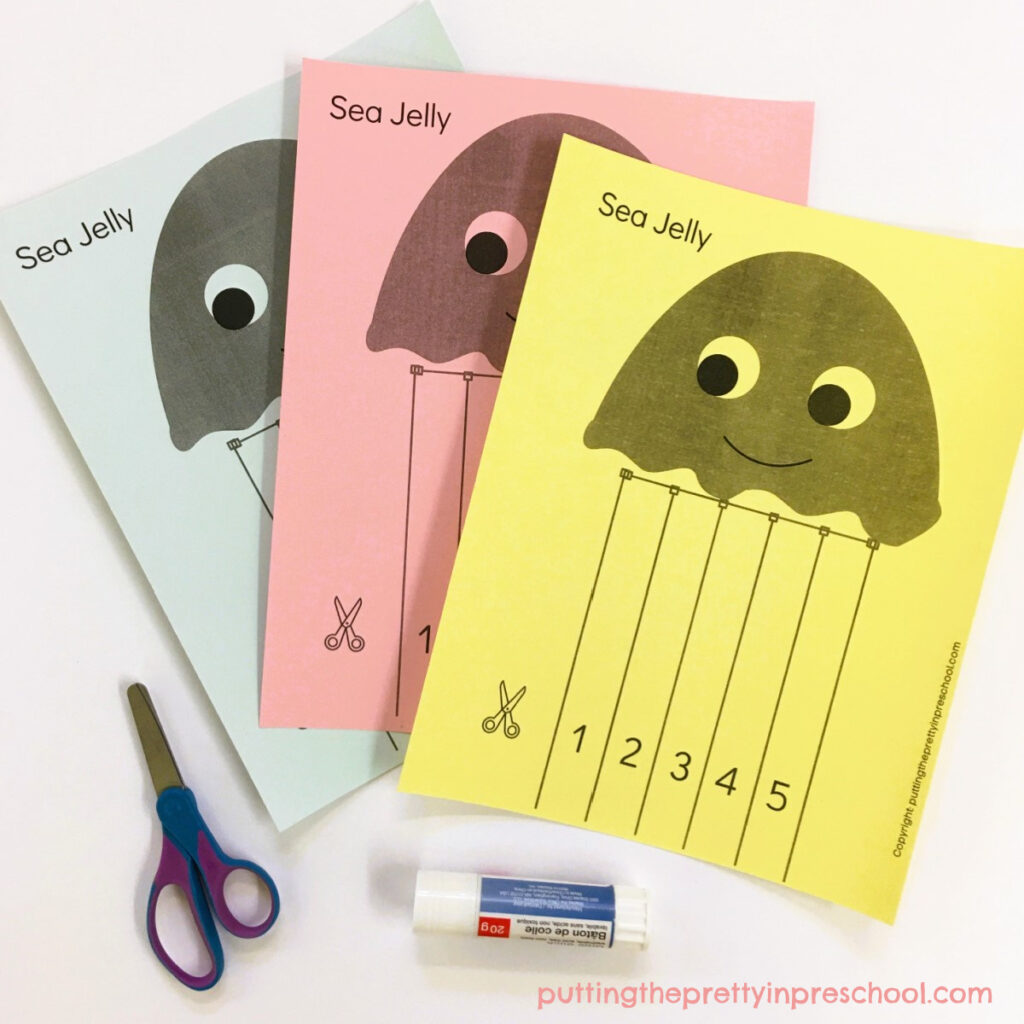
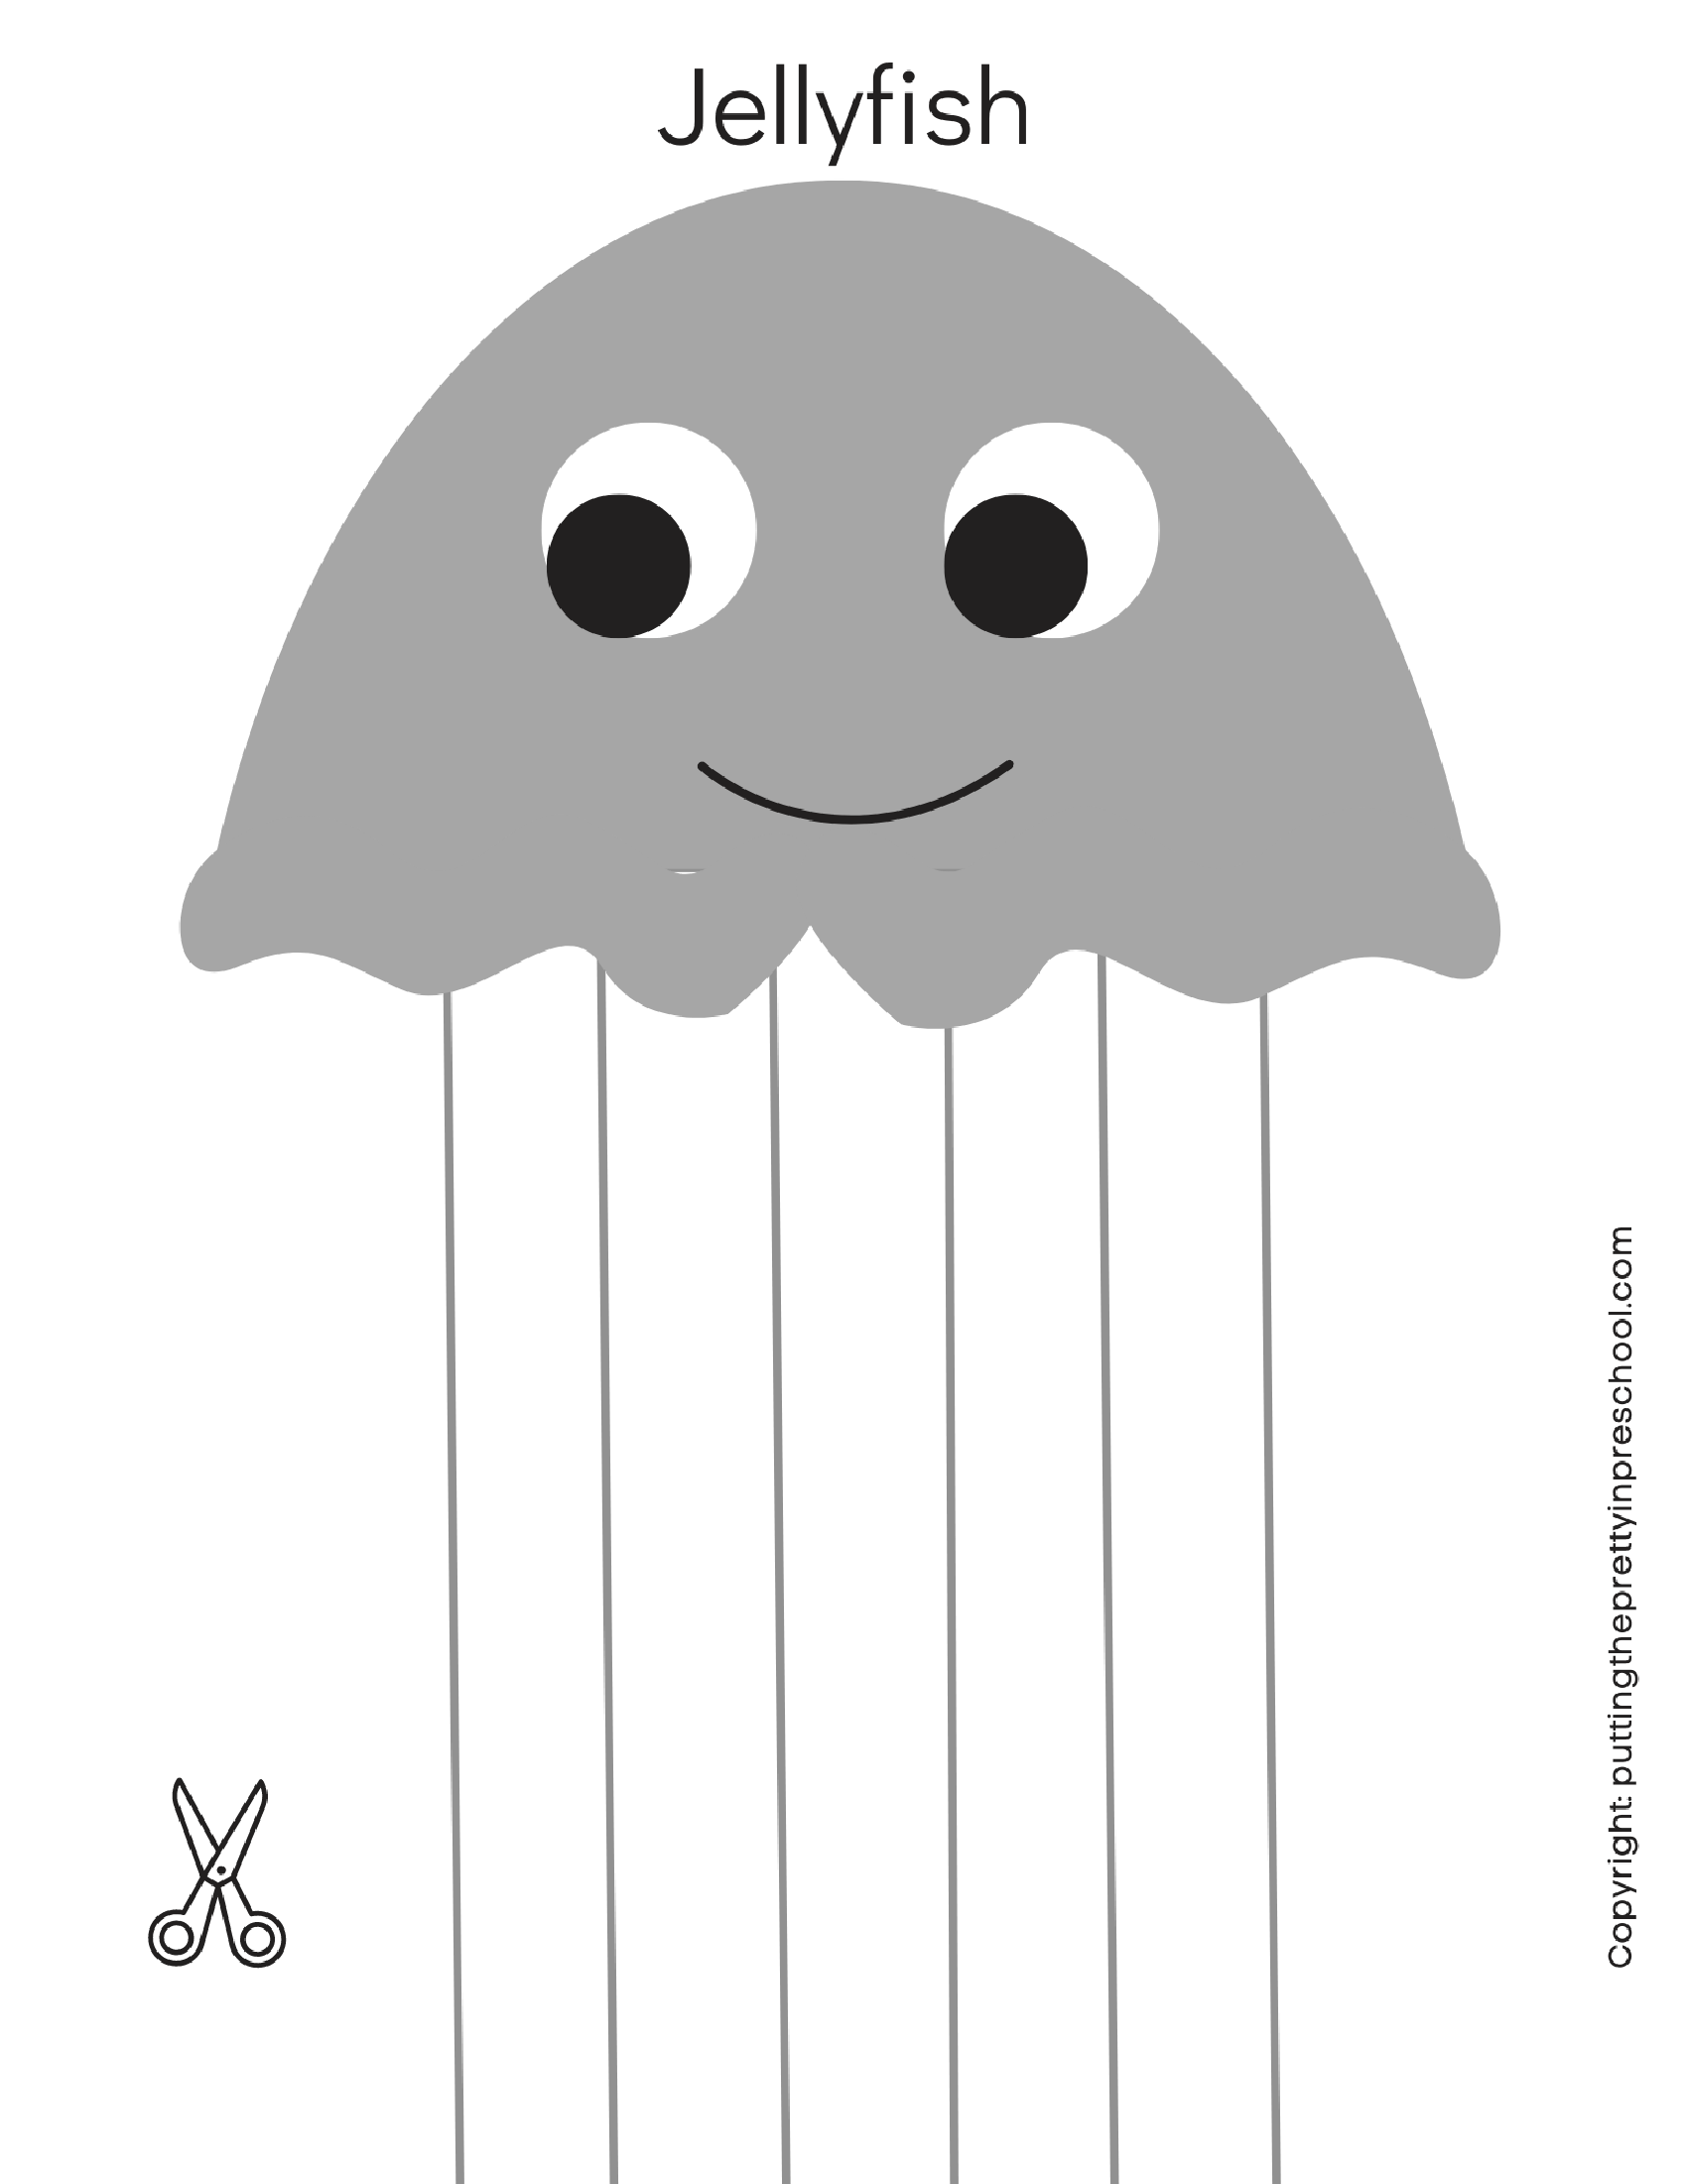
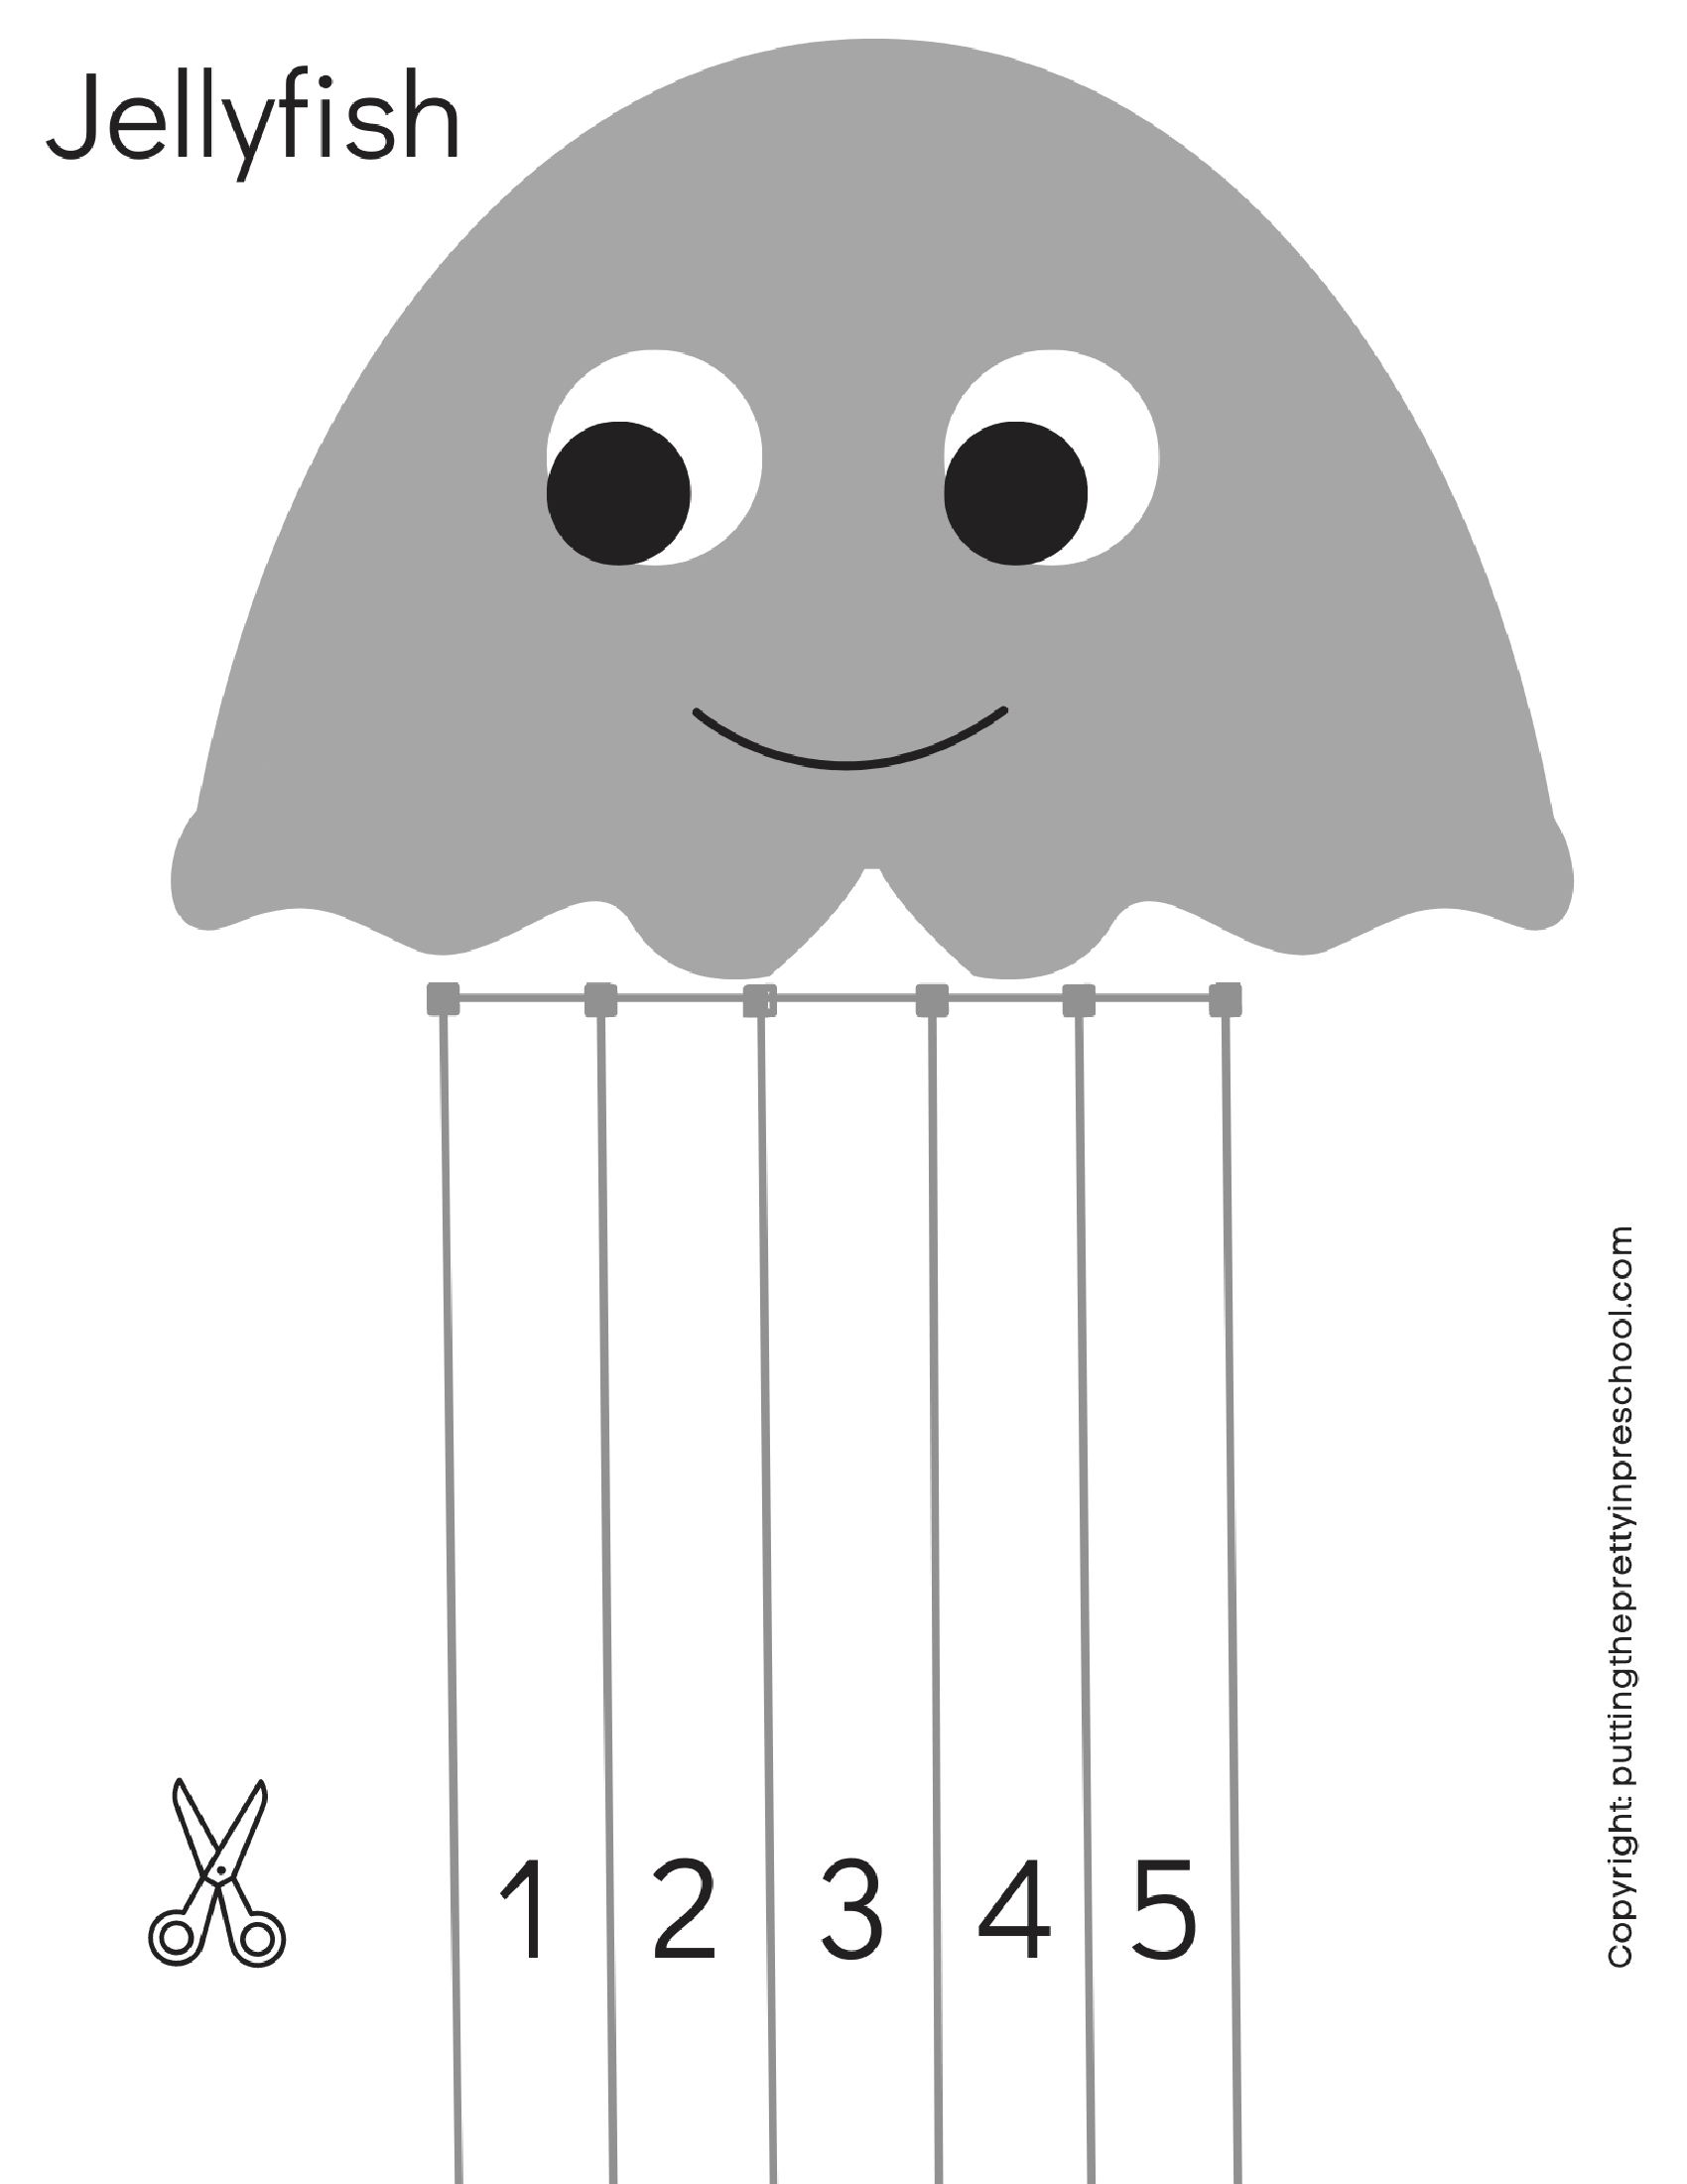
Scissor Skill Jellyfish
Here’s an easy jellyfish scissor skills project to download for your little learners. Invite participants to cut out along the lines to create sea jelly tentacles, and then cut out the bell-shaped body.
_______
(This printable is for individual or one classroom use only.)
_______
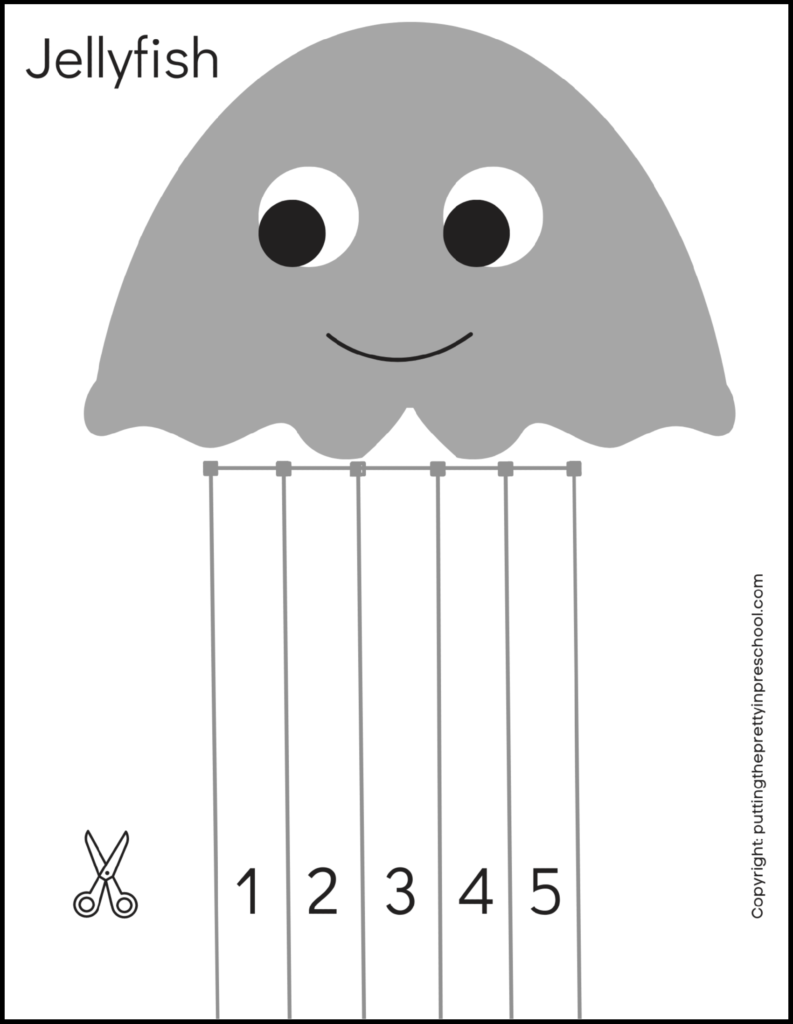
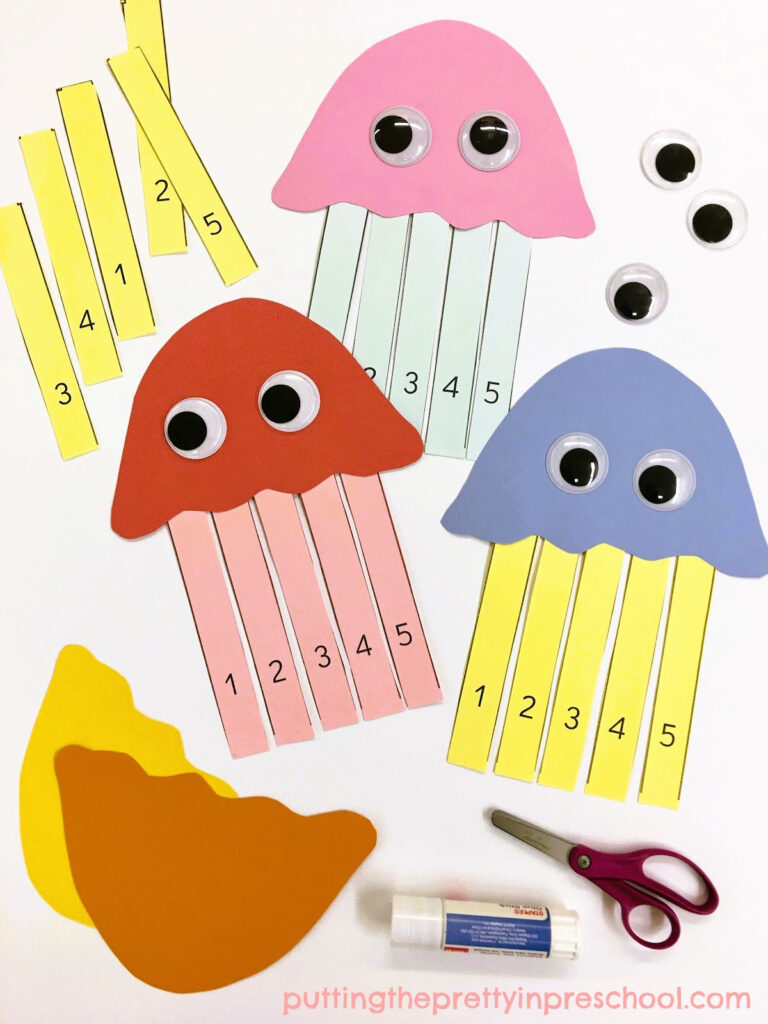
In this next activity, trace and cut out jellyfish bells from colored cardstock paper, and then print and snip apart the numbered tentacles. Invite little learners to glue tentacles to their jellyfish bell in order from one to five. Use this second printable for the project.
_______
(This printable is for individual or one classroom use only.)
_______
_______
Or simply photocopy the jellyfish printable on pastel-colored paper or cardstock to add pops of color to the activity.
_______
More Jellyfish Math
Use paper jellyfish or jellyfish figurines in counting rhymes and songs.
_______
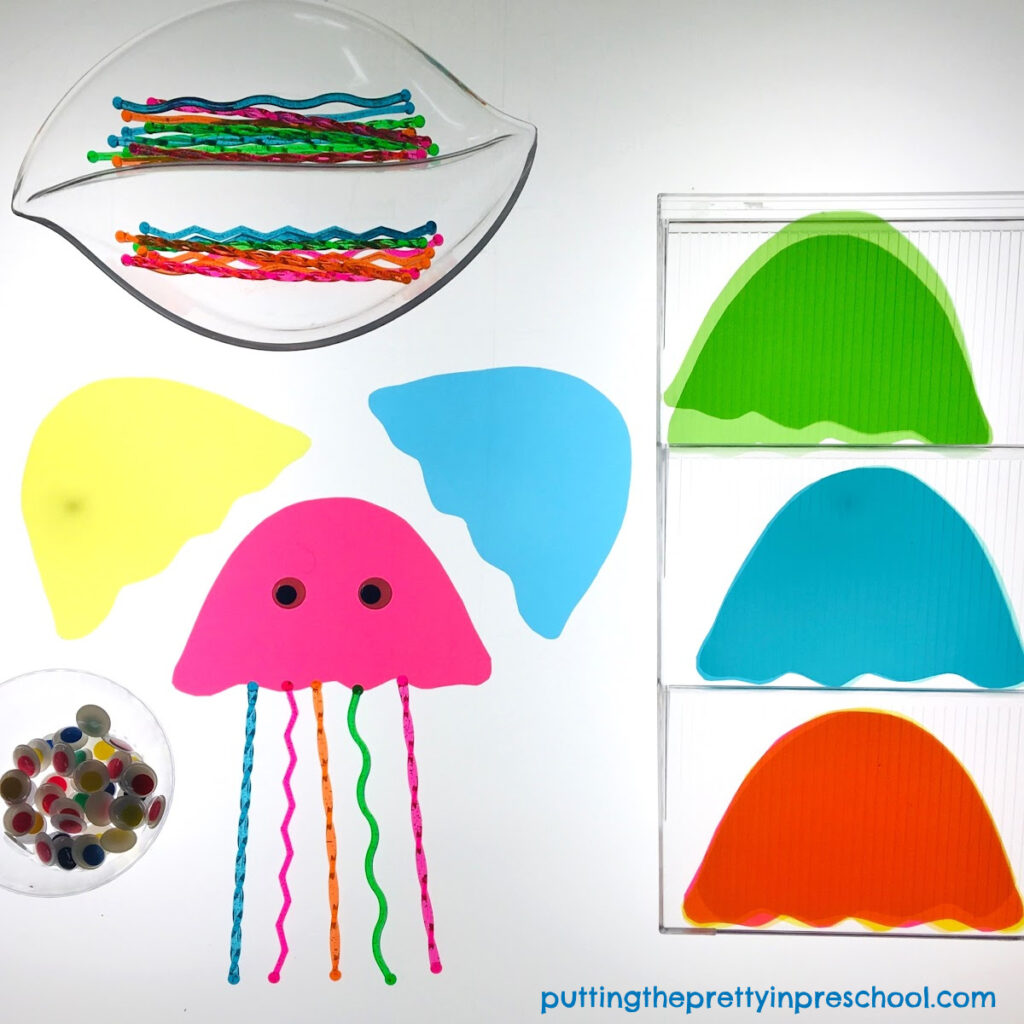
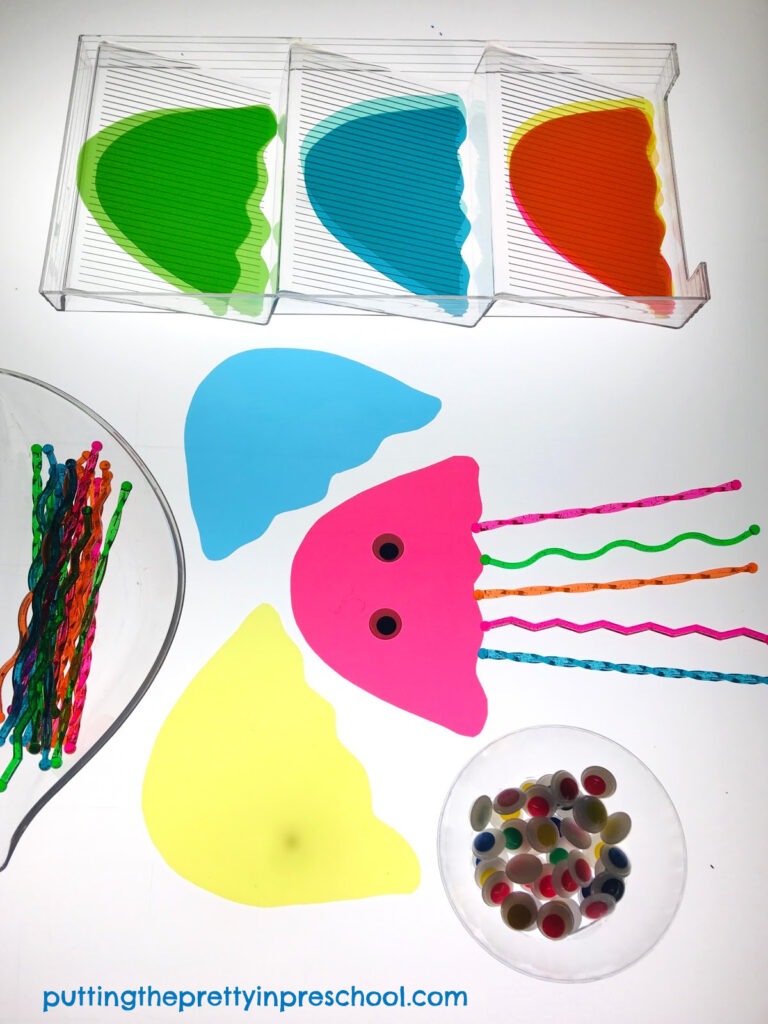
Light Table Jellyfish
_______
Invite little learners to create jellyfish on a light table with transparent page divider cutouts and stir sticks.
_______
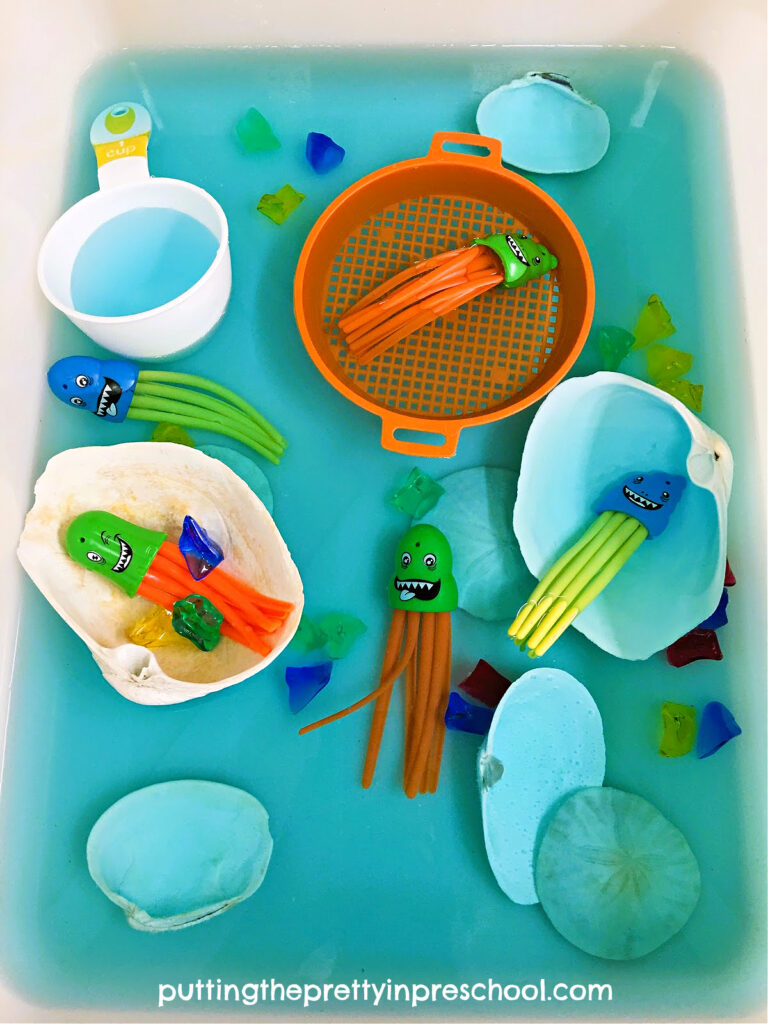
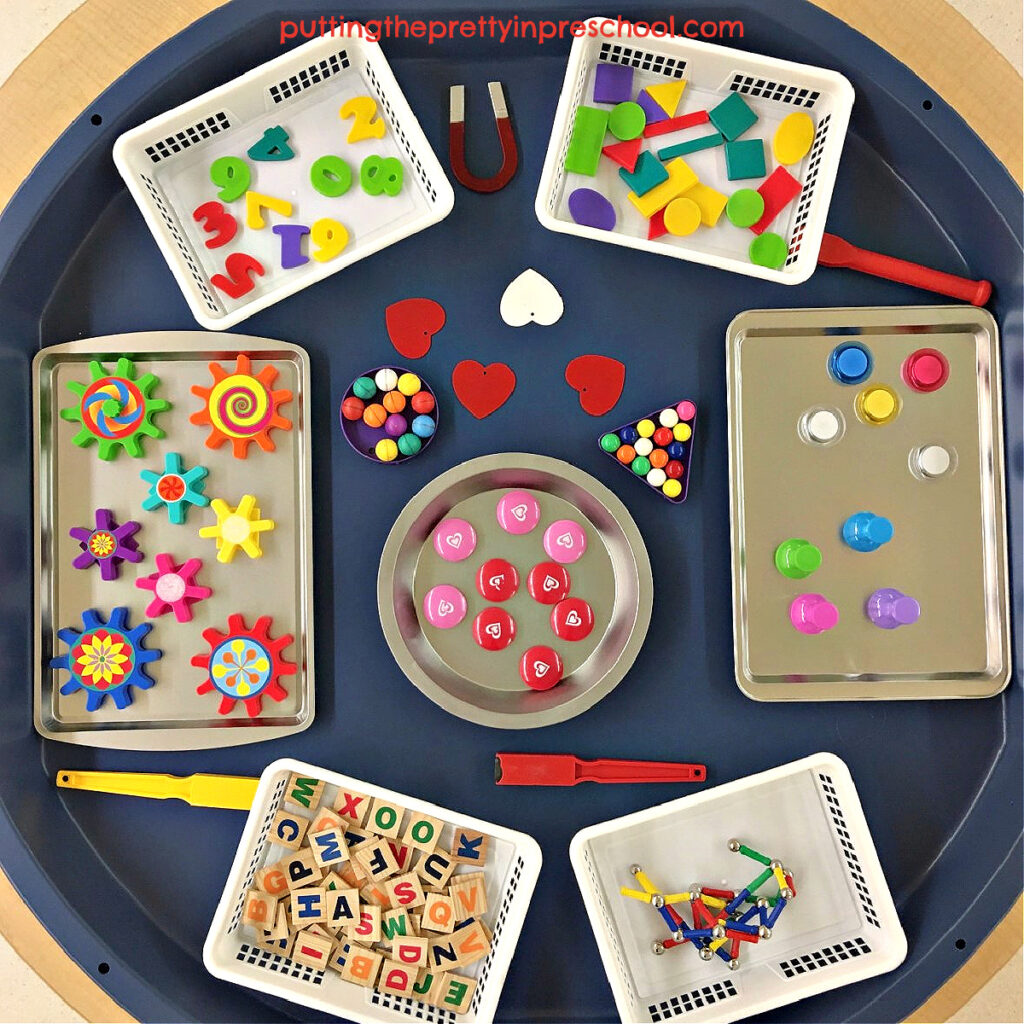
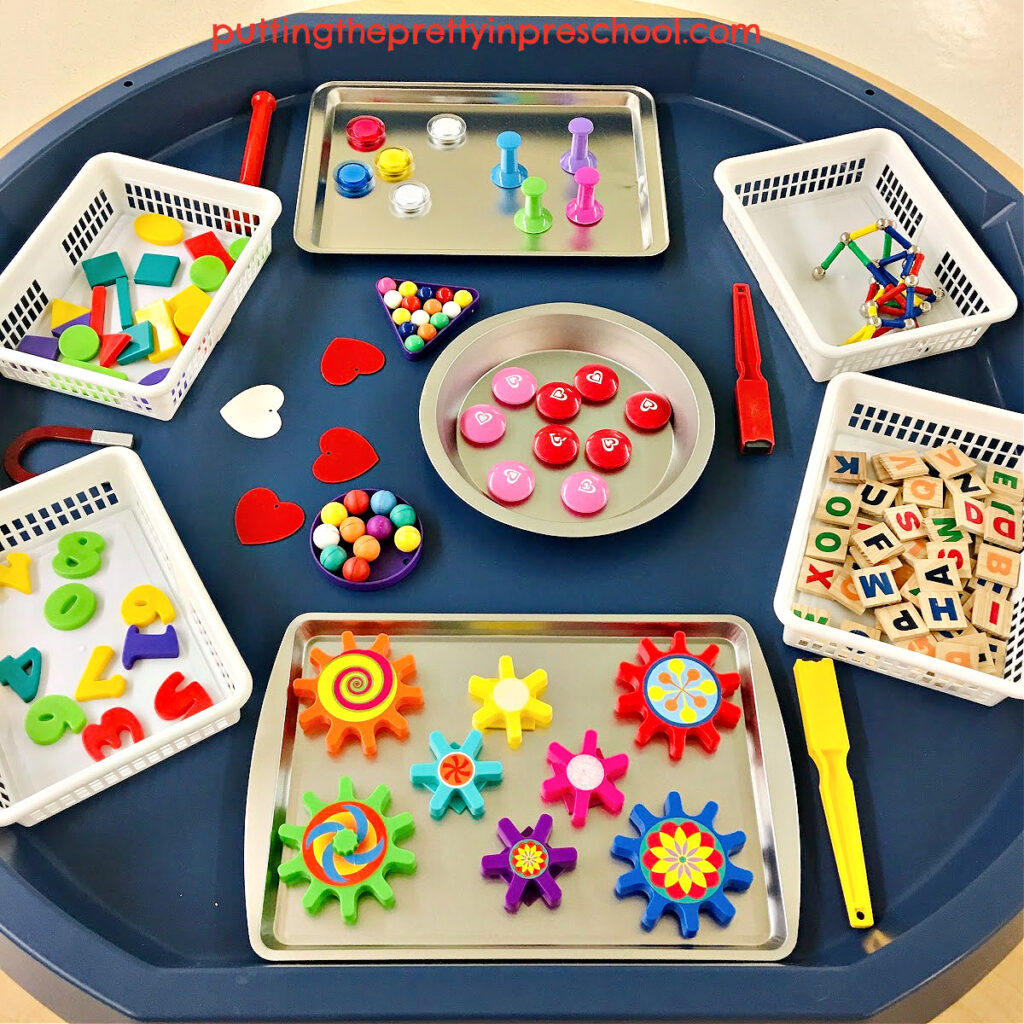
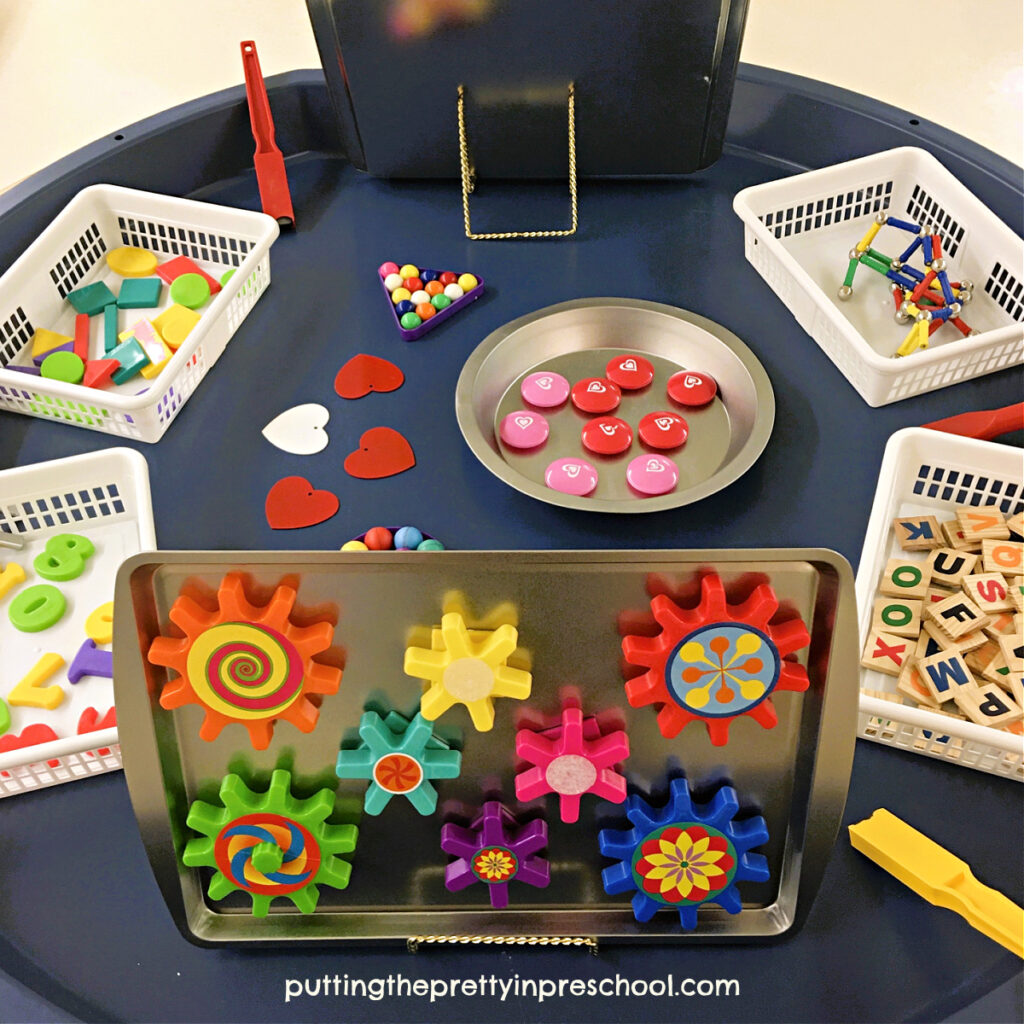
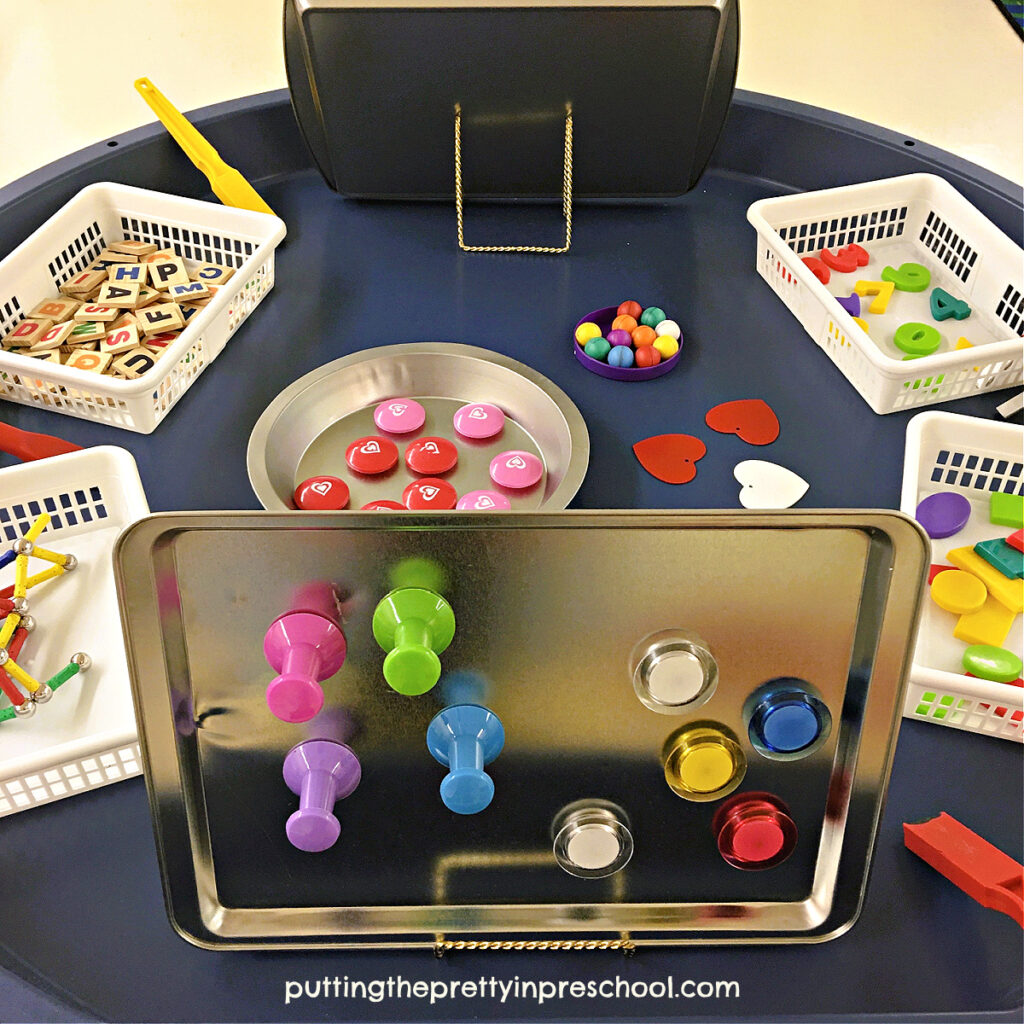
Jellyfish Water Play
Include jellyfish dive toys, fishing nets, strainers, and foam numbers in a water table, tuff tray, or bus tub. Little learners can count, sort, and scoop the colored jellyfish in the bin.
_______
Related:
_______
[Read more…] about Jellyfish Theme Activities


