_______
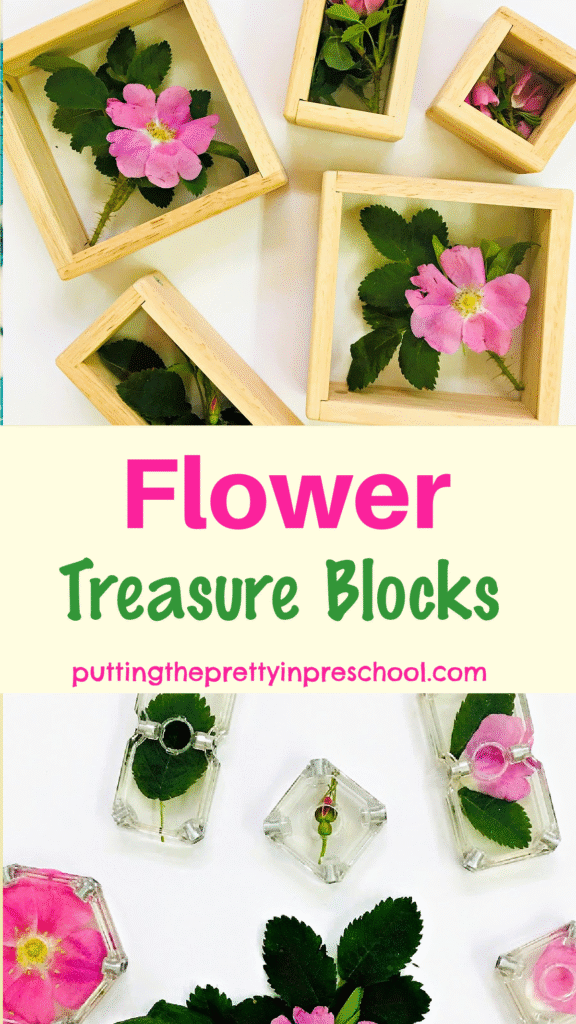
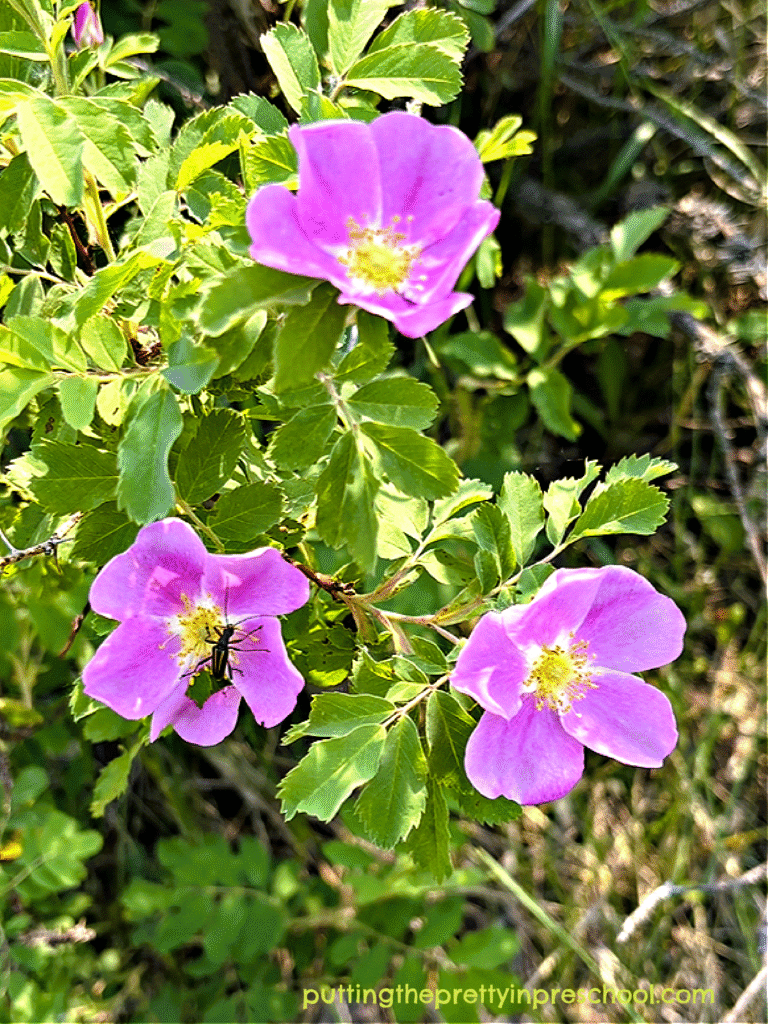
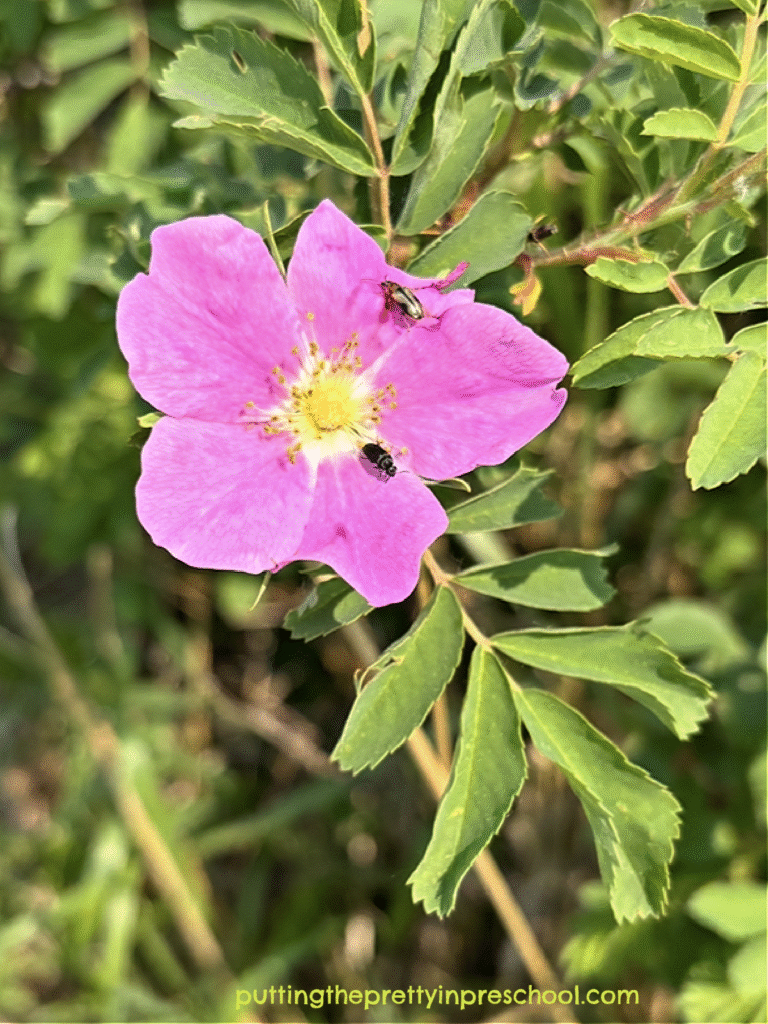
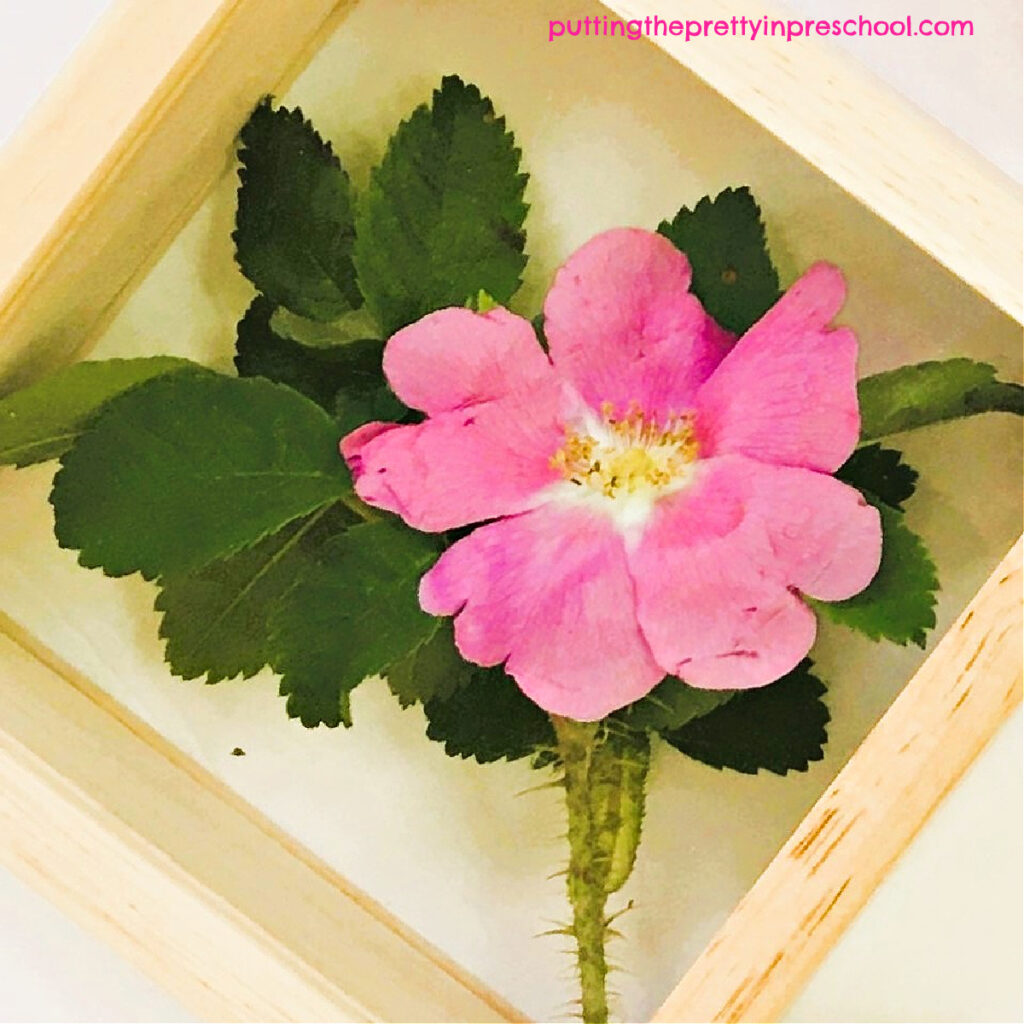
Flowers can be delicate and fierce simultaneously, making it hard for children to get up close to study them. The Alberta Wild Rose, with its fragile rosy-pink flowers and thick thorny stems, is one such flower. Rather than having children handle the prickly-stemmed blooms, flower treasure blocks are a good way to introduce the prickly rose.
_______
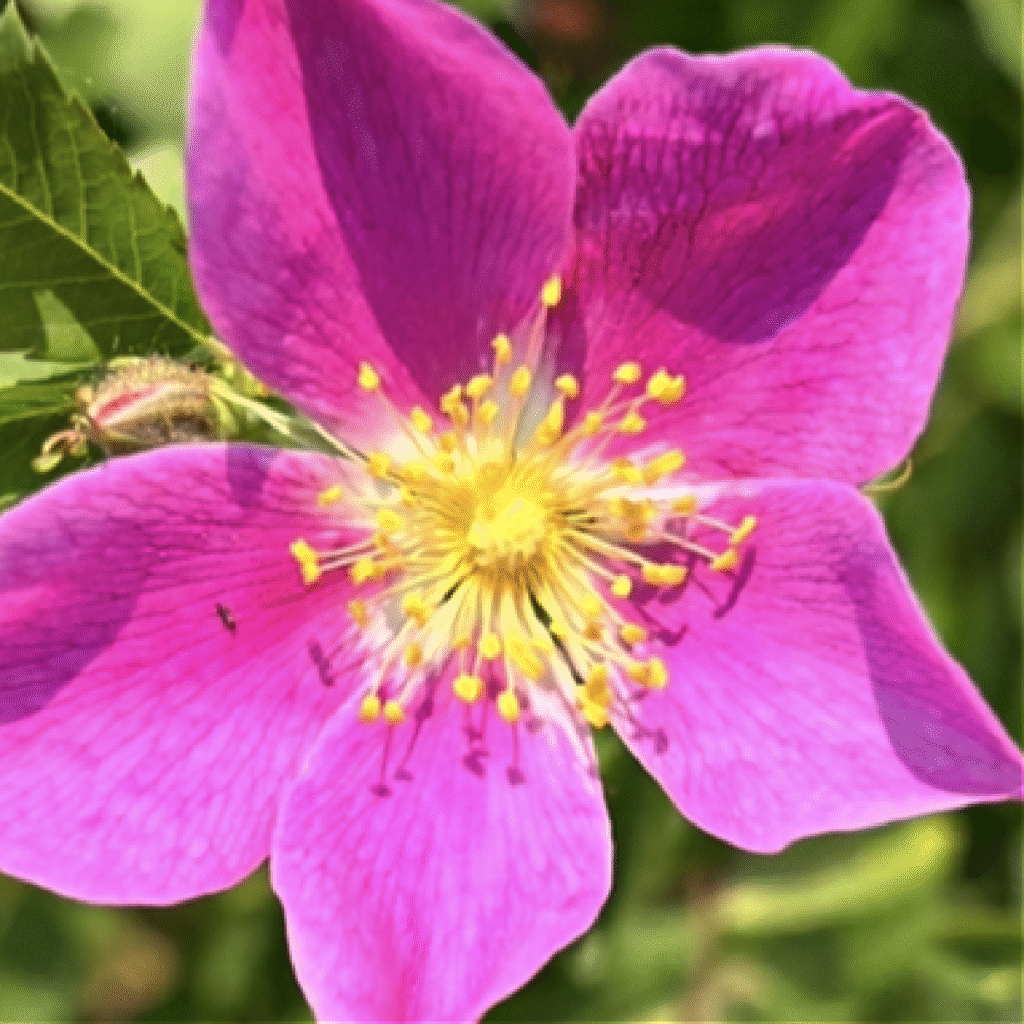
The Alberta Wild Rose is a hardy, bushy shrub that grows in sunny spots in the wild all over temperate regions in Canada. It is a low-maintenance plant that is drought-tolerant and fire-resistant. The plant is non-toxic, and the leaves and fruits are edible. The beautiful, five-petaled flowers with yellow stamens are easy to spot at this time of year.
_______
_______
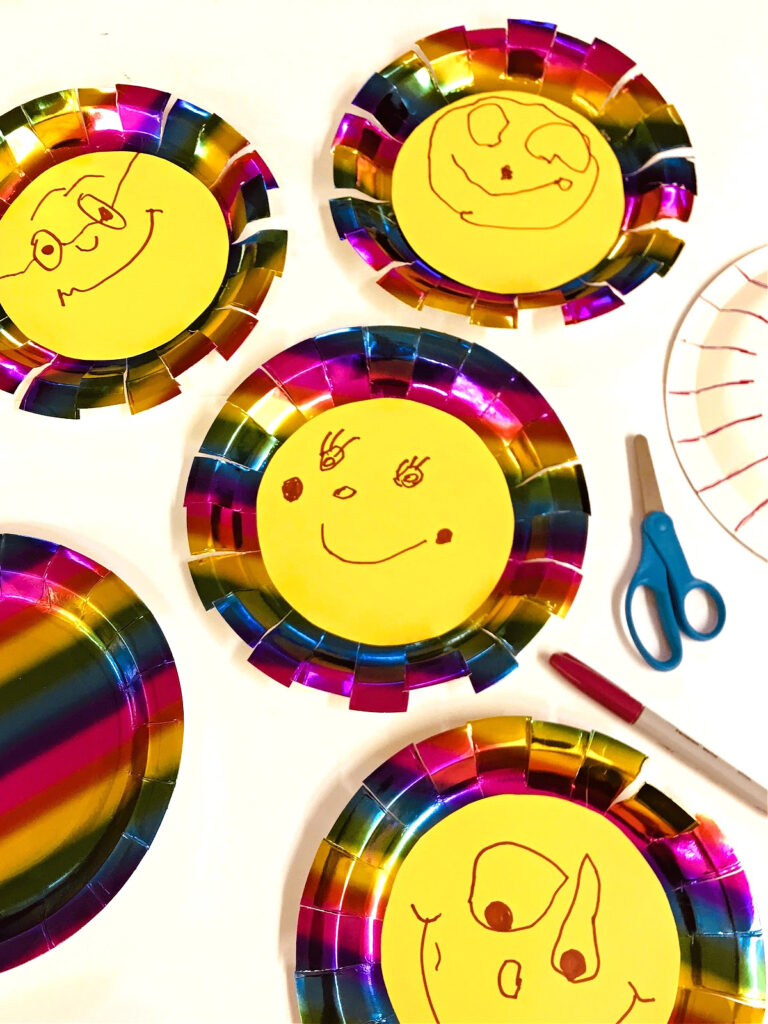
Supplies to Collect
Gather the following supplies for this flower-themed science and sensory activity:
- fillable treasure blocks
- flowers, petals, leaves, and stems
_______
Follow me on Pinterest for more early learning ideas.
_______
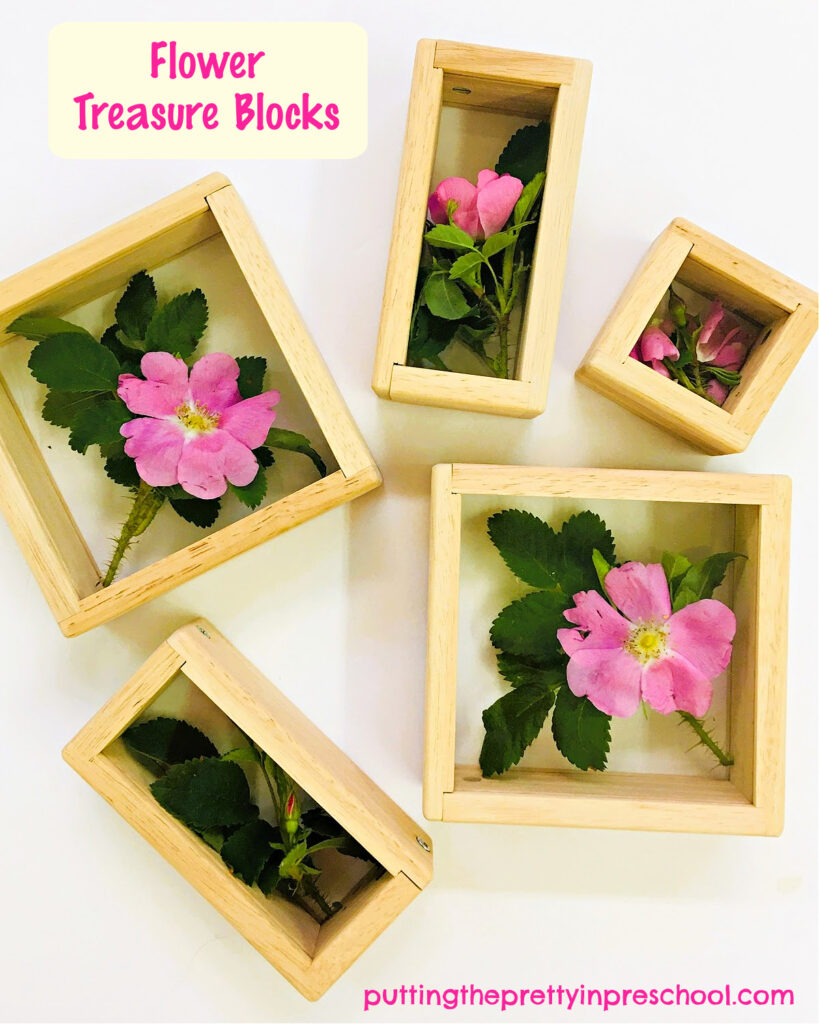
Introducing Flower Treasure Blocks
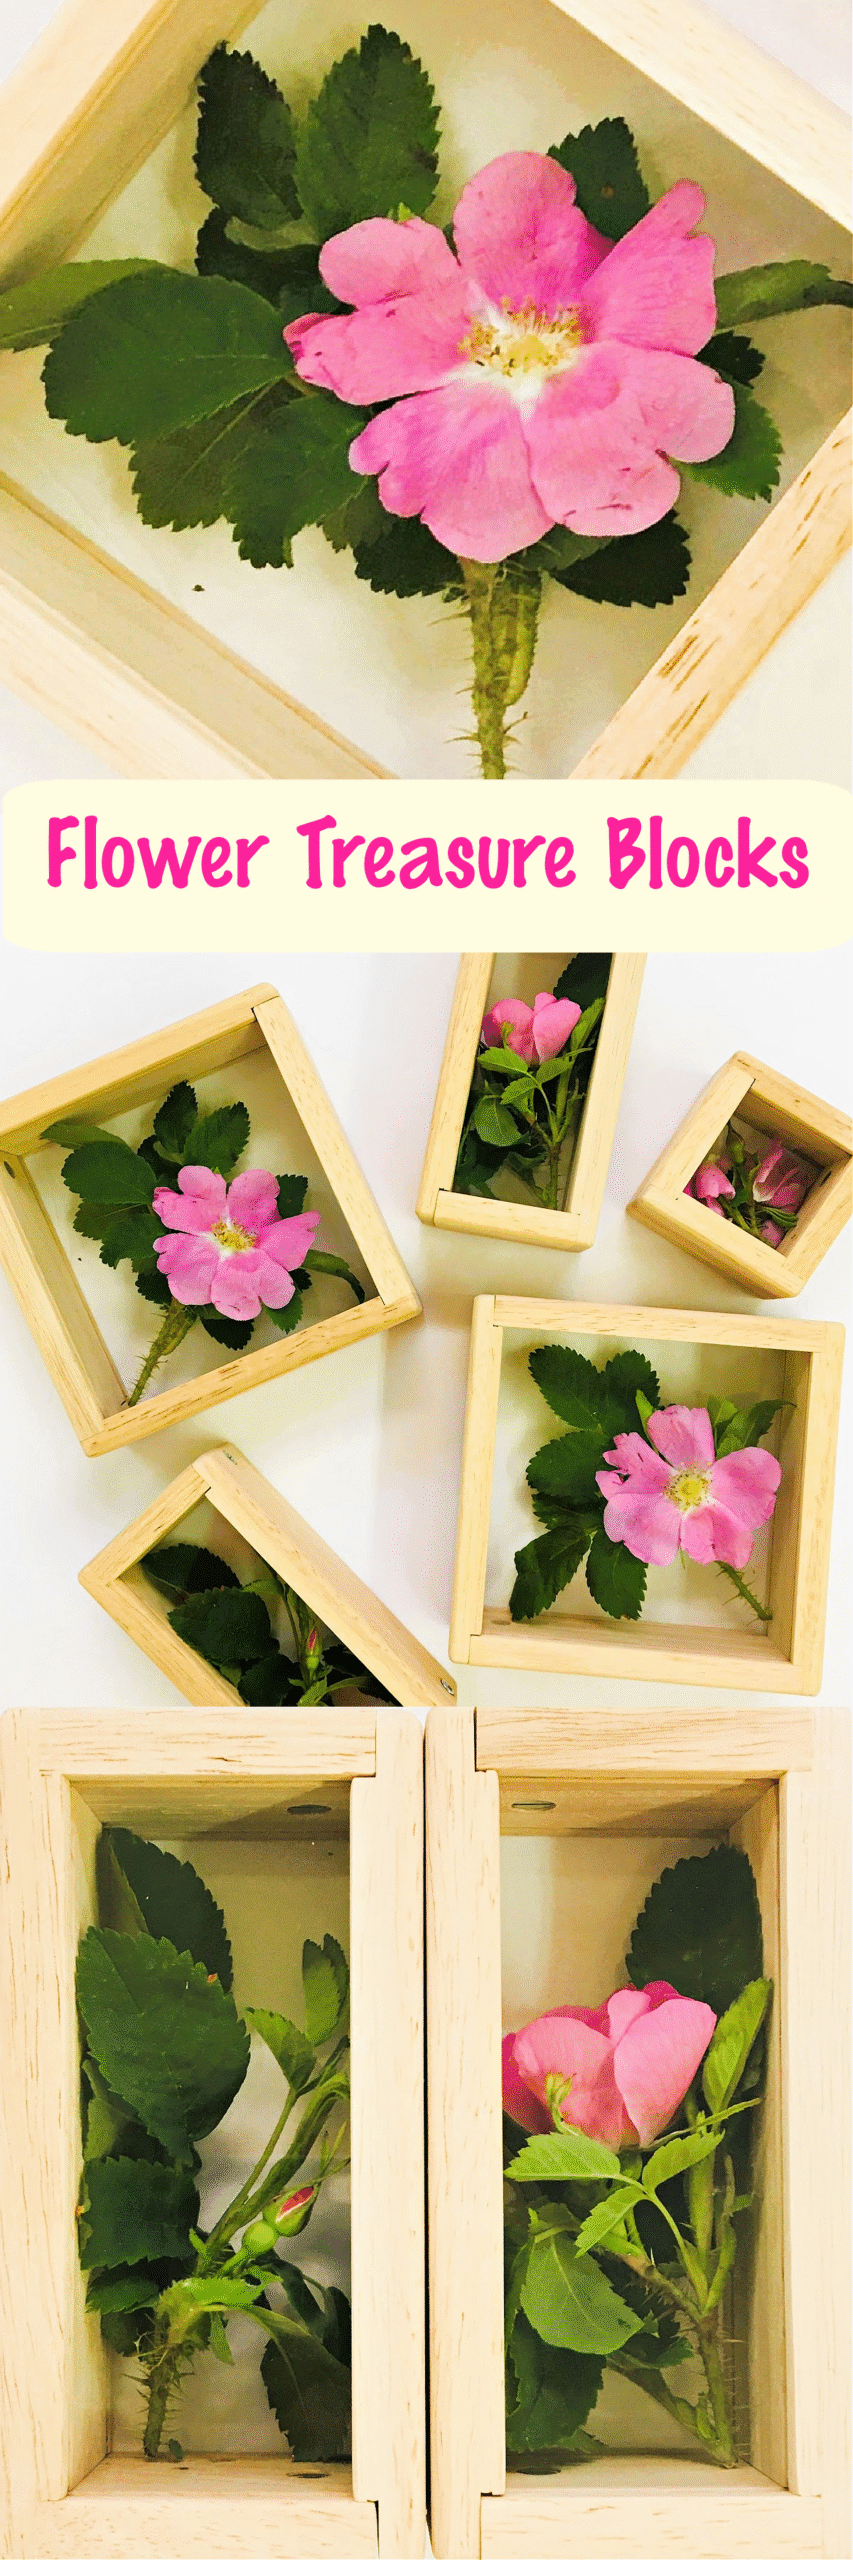
Fillable treasure blocks, also called window blocks, generally have wooden frames and clear panels. One side of each block is removable, so loose parts like buttons, beads, gems, or natural items such as flowers, leaves, pine cones, and twigs can be placed inside. The see-through blocks are a valuable resource for the home or classroom.
_______
Unscrew one side of each block and add flowers such as the Alberta Wild Rose or your favorite flowers to the blocks. Include the blooms, buds, leaves, and stems. Then screw the panels back on.
_______
Set the flower-filled blocks in a display corner or on a light table for children to observe. Or place them in a block corner with a variety of other blocks. Your little charges will be delighted to handle the see-through blocks and study what’s inside.
_______
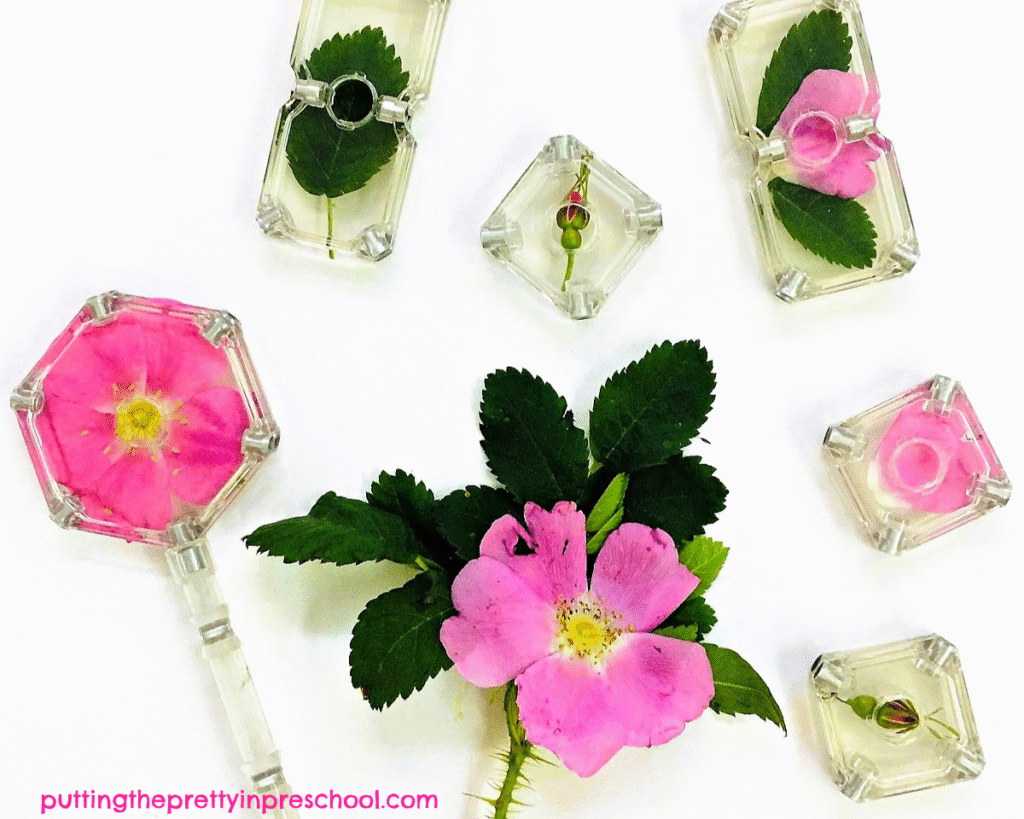
Another Way to Display Flower Parts
Instead of using treasure blocks to display flowers, gently place their parts between two clear magnetic tiles.
_______
The Alberta Wild Rose showcases brilliantly between the tiles, and the flowers look gorgeous. I skipped adding the spiky stems since the magnetic tiles are easy to take apart.

_______
_______
Related:
Valentine’s Day Treasure Blocks
St. Patrick’s Day Treasure Blocks
_______
[Read more…] about Flower Treasure Blocks