_______
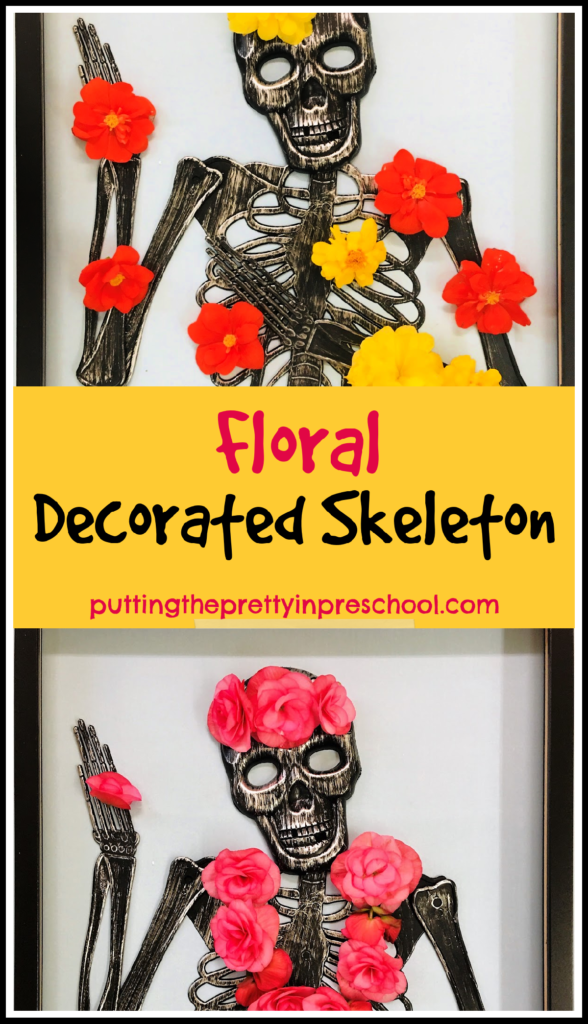
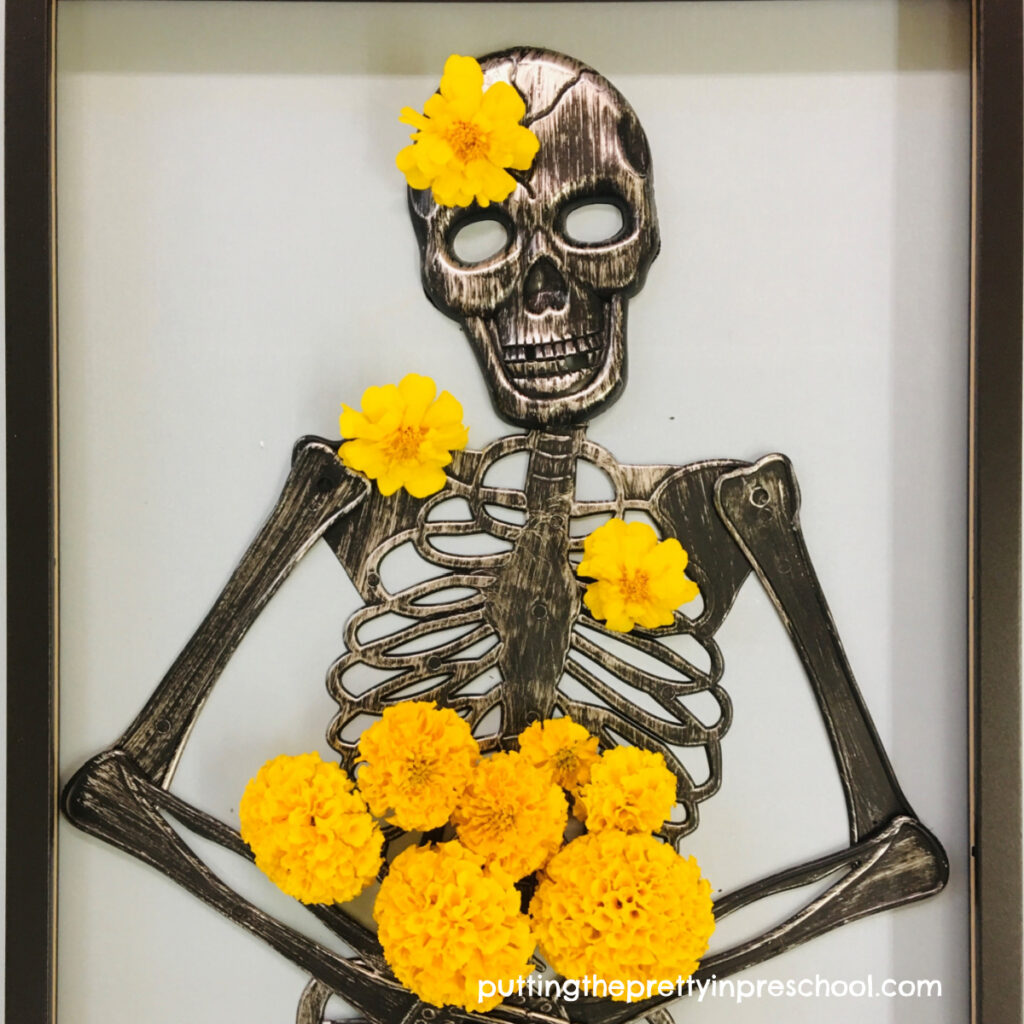
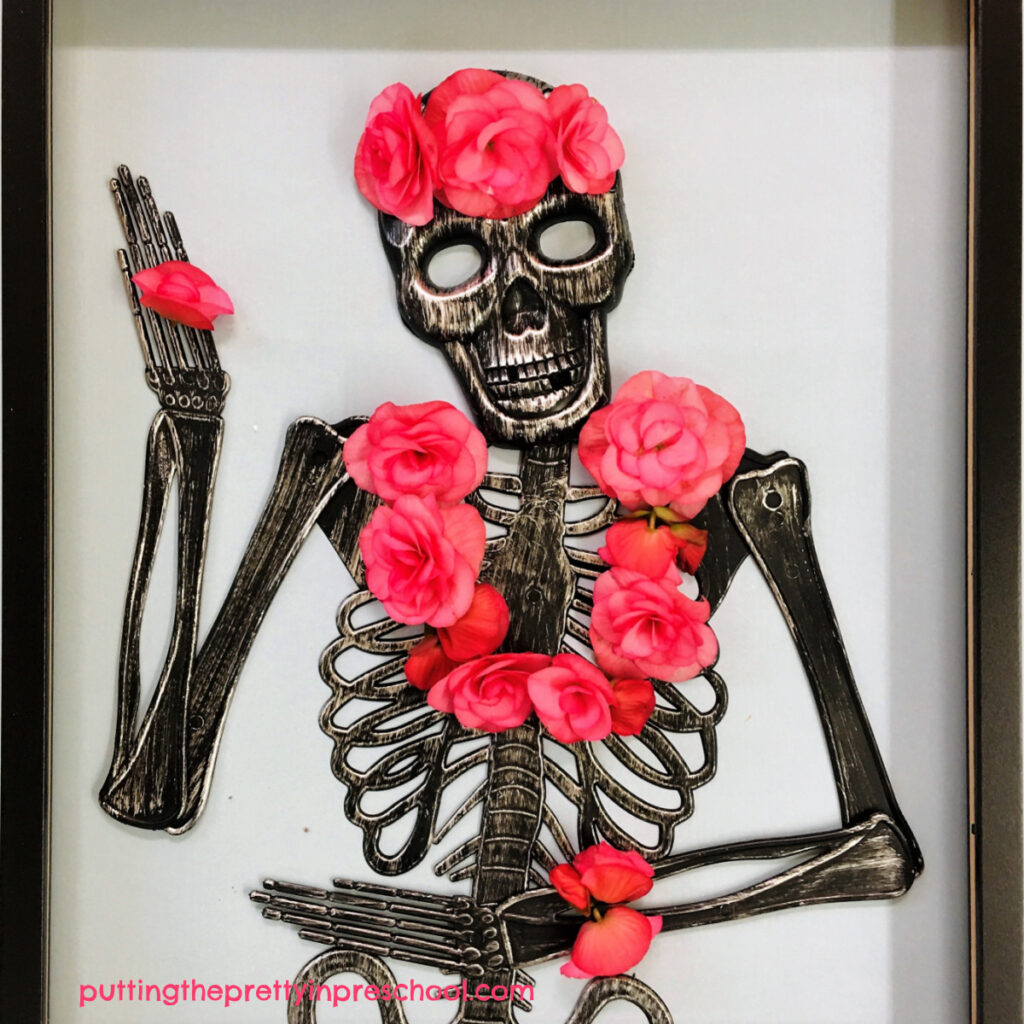
It’s always a treat to check the latest trends in home décor and craft stores, and this fall the offerings did not disappoint. Design ideas that stood out from the crowd were the floral accents on skeletons in wall art, sculptures, and figurines spotted at Michael’s stores. The pastel flowers totally romanticized and softened skeletons and skulls, and made them super fun.
Little learners can experience and create a floral decorated skeleton with a nature-themed transient art opportunity.
_______
Floral Decorated Skeleton Supplies To Collect
Gather the following supplies for this invitation to create:
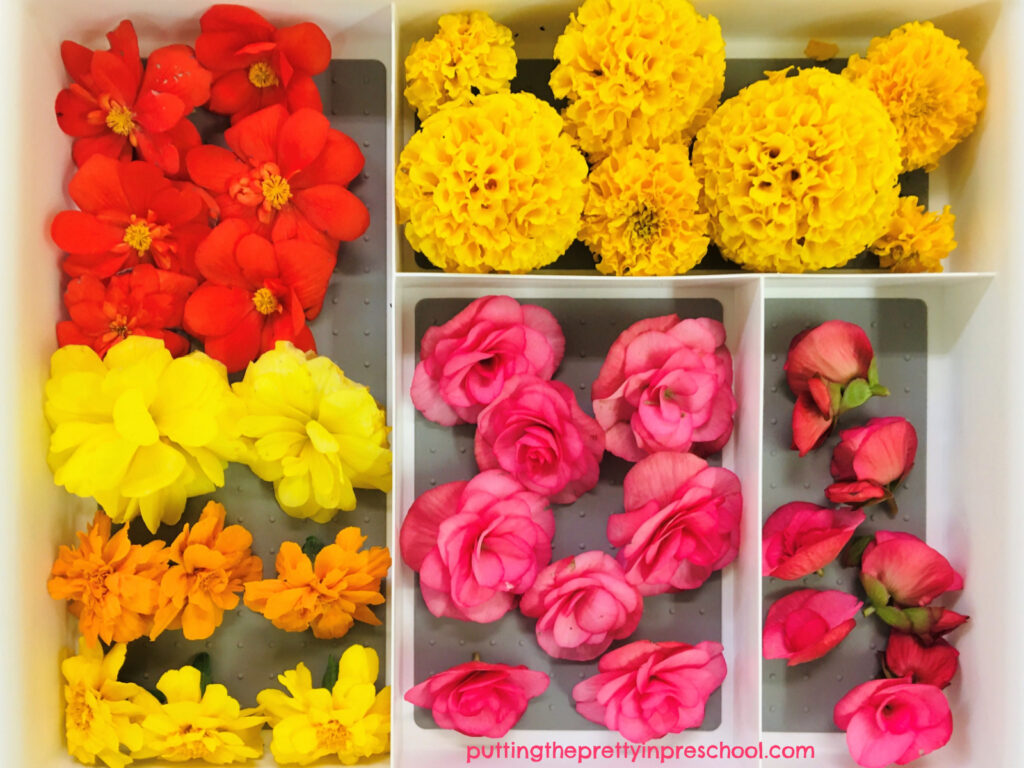
- flowers
- tray
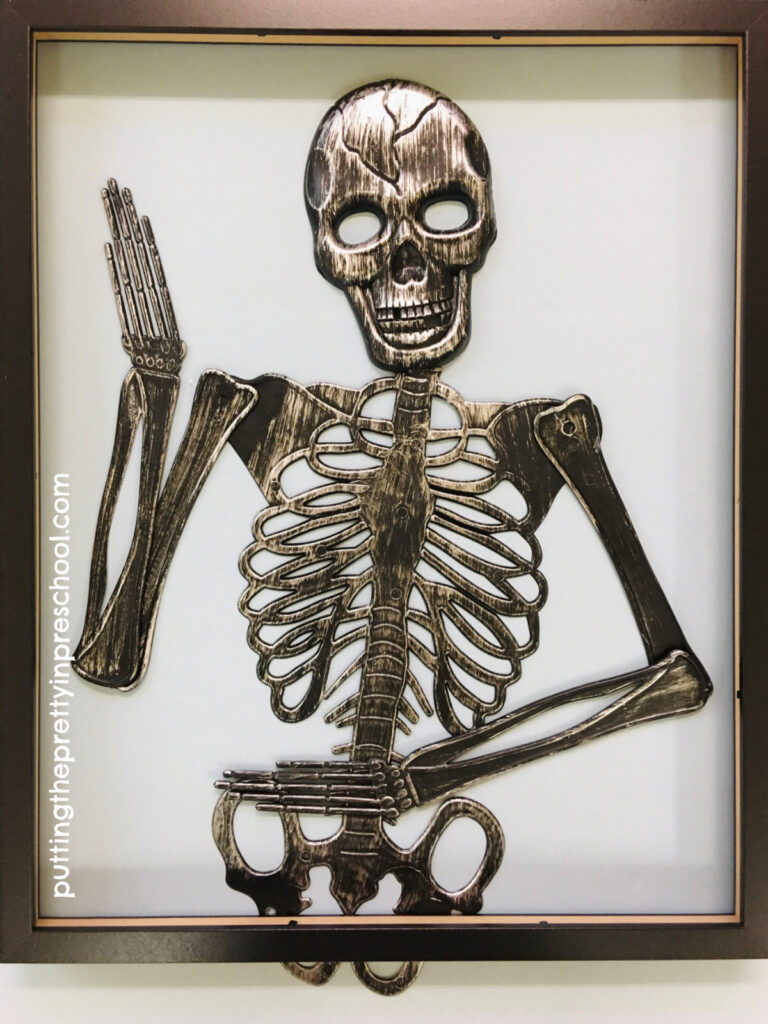
- large model skeleton
- large frame
_______
Decorating The Skeleton
_______
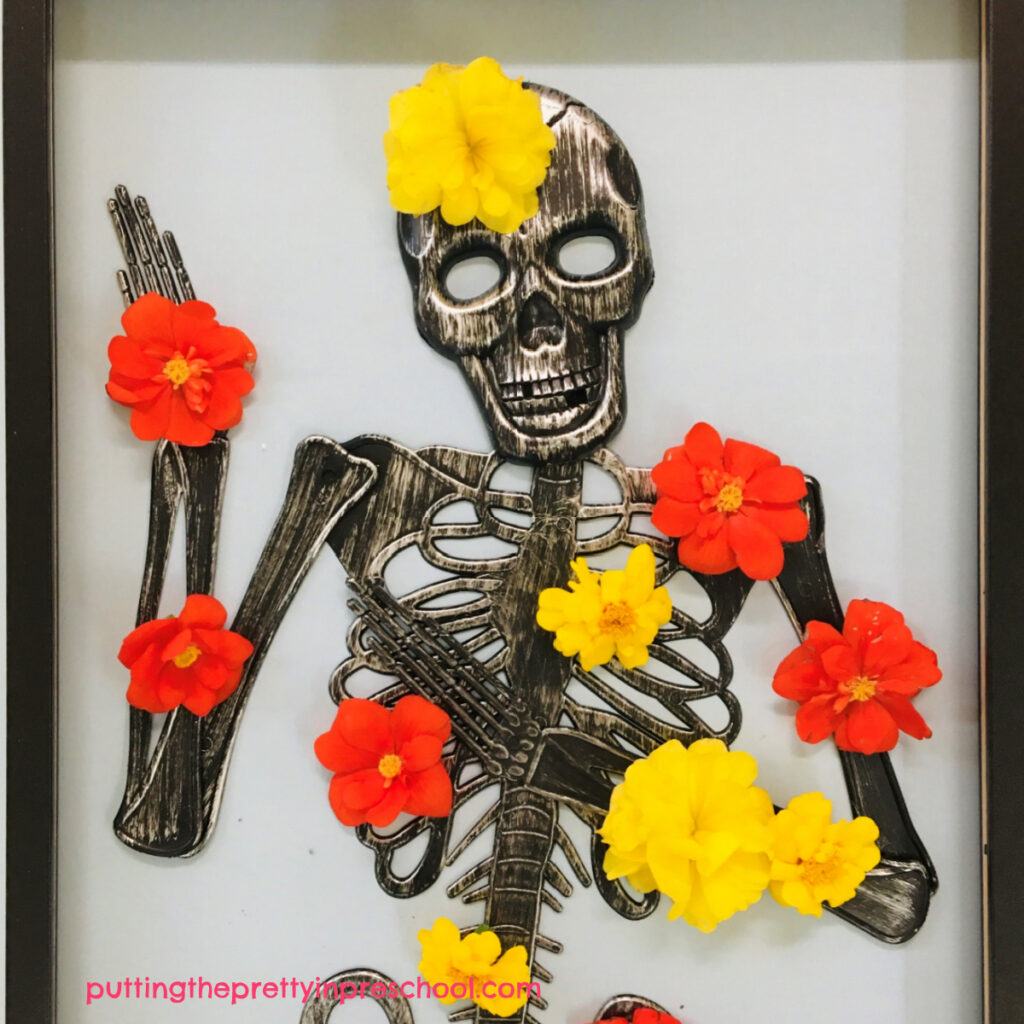
On a table, set a skeleton model inside a 16-inch x 20-inch art frame.
Arrange flower heads in a tray. Mine were picked from begonias and marigolds grown in my yard over the summer: end-of-season plants that were about to freeze over due to frosty fall mornings.
_______
Invite early learners to decorate the skeleton with flowers.
_______
You might enjoy adding floral touches to the skeleton too!
_________
_______
[Read more…] about Floral Decorated Skeleton


