_______
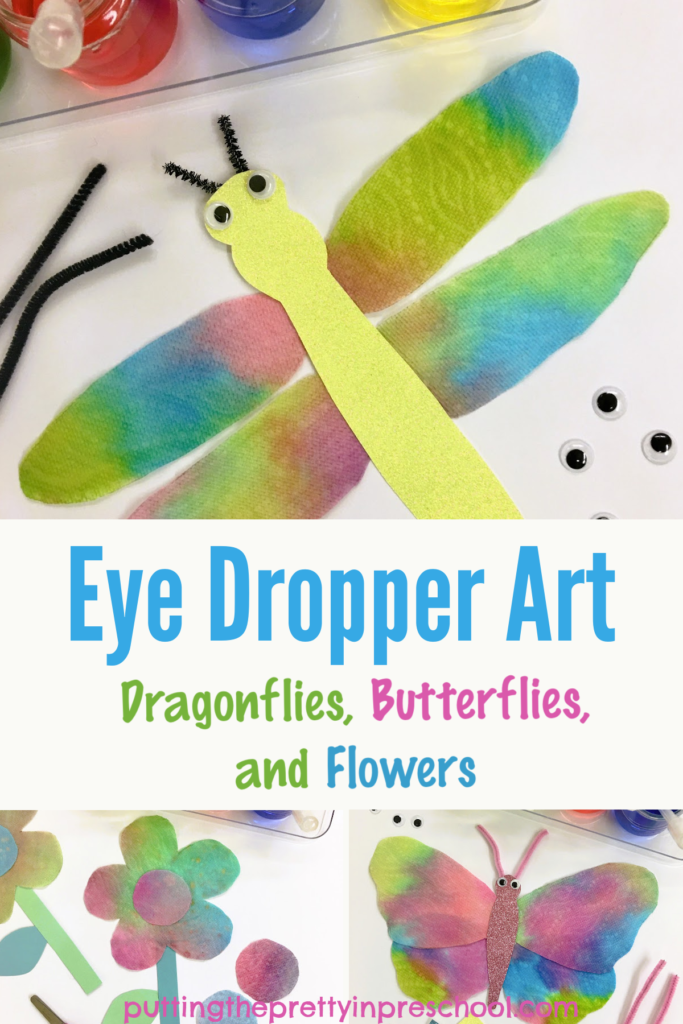
What do dragonflies, butterflies, and flowers have in common? Aside from appearing during the summer season, they all look spectacular in eye dropper art. This easy-to-do, oh-so-satisfying process art technique is one of children’s favorite ways to paint.
_______
Follow me on Pinterest for more early learning ideas.
_______
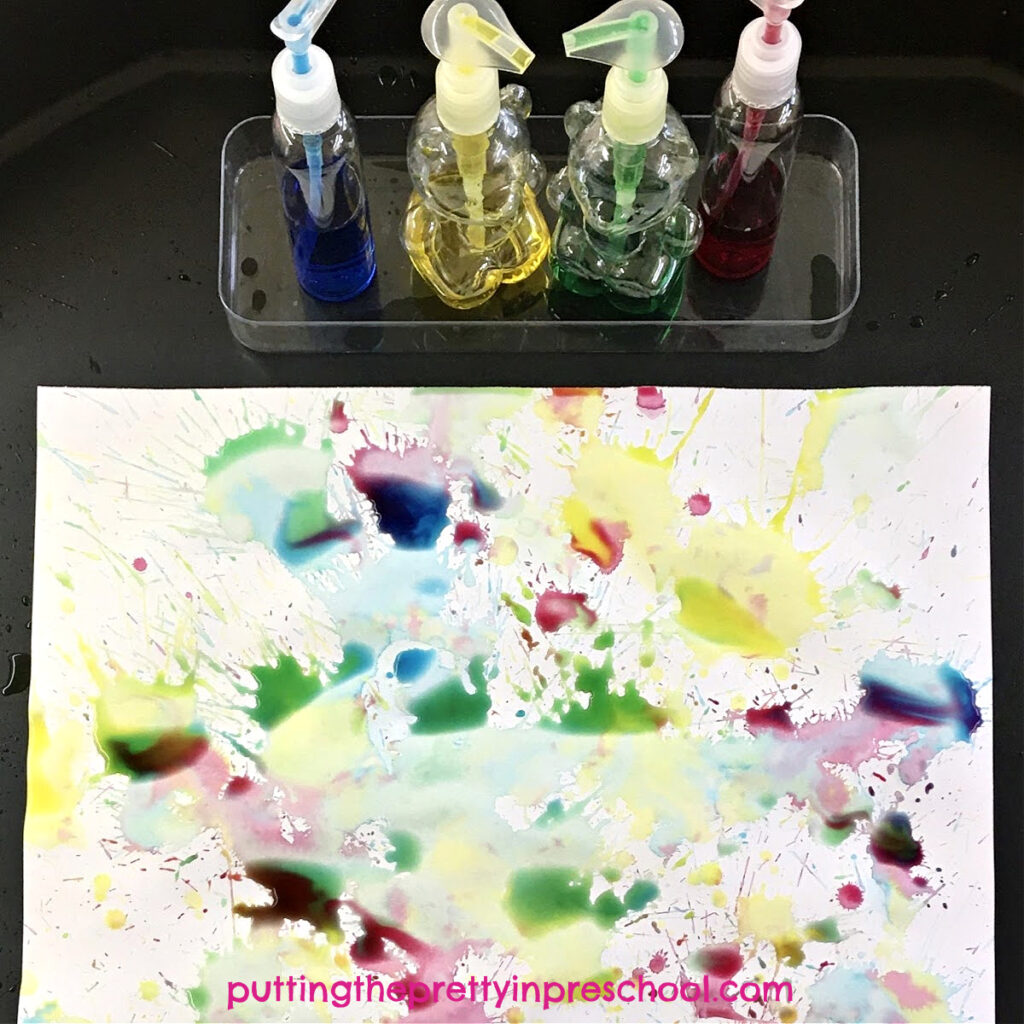
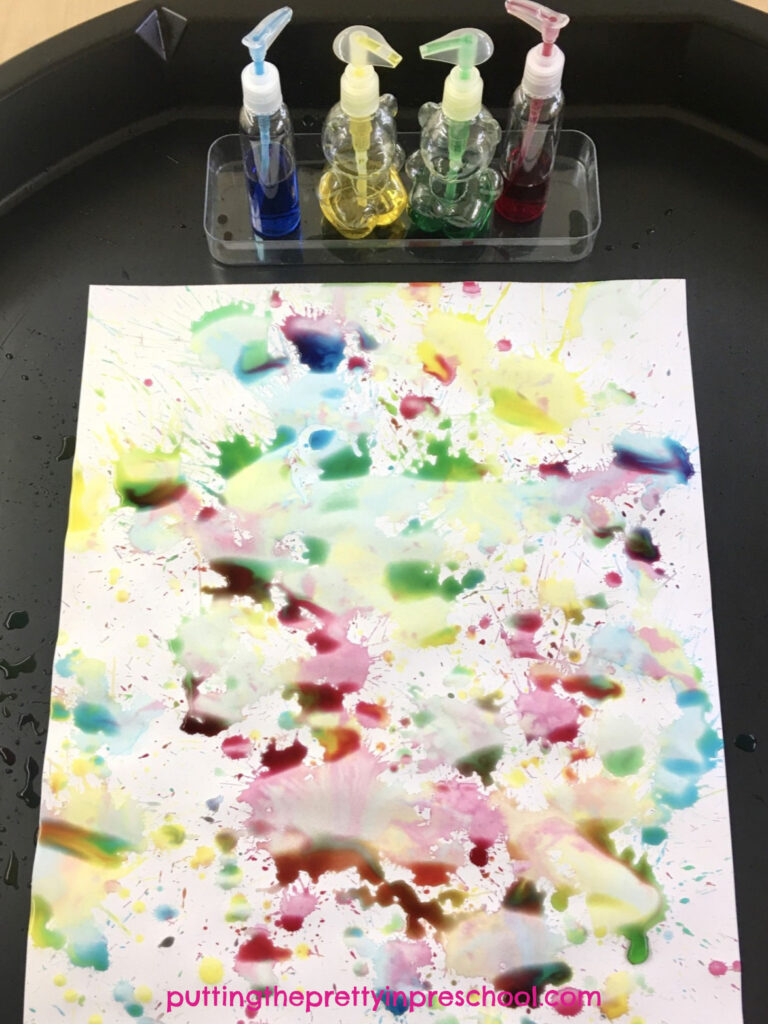
Supplies To Collect
For this stunning art activity, gather the following:
- liquid watercolors or food coloring
- roll of absorbent paper towels
- pipette eye droppers
- paint containers
- waterproof tablecloth
_______
The Eye Dropper Art Process
_______
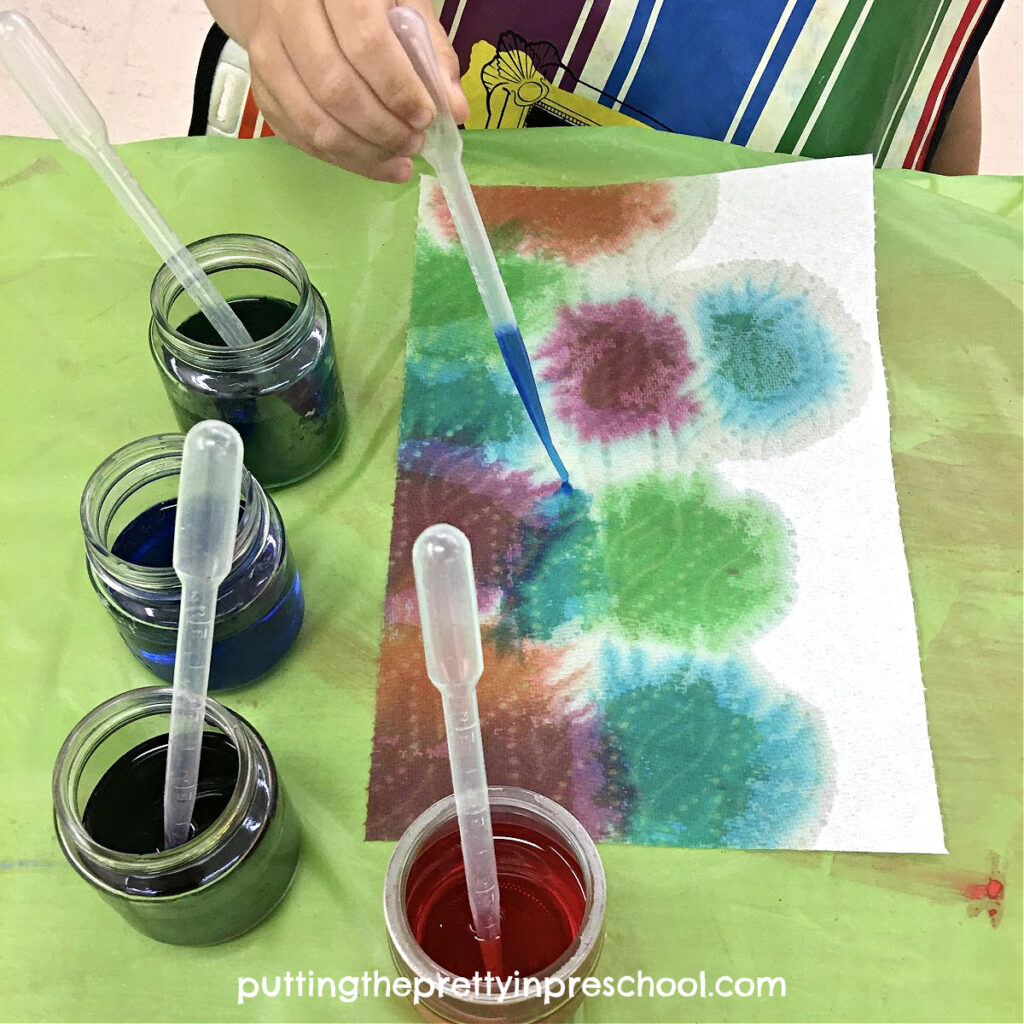
Things might get very wet with this art technique, so the first thing to do is cover the working surface with a waterproof tablecloth.
Next, tear off sheets from a paper towel roll. If you have a choice, pick a thicker brand, as it will be more absorbent. But any kind of paper towel will work fine.
Then pour water into paint pots, and mix a few drops of liquid watercolors or food coloring in each one.
Set up an art station with a paper towel sheet and paint pots with eyedropper pipettes for each participant.
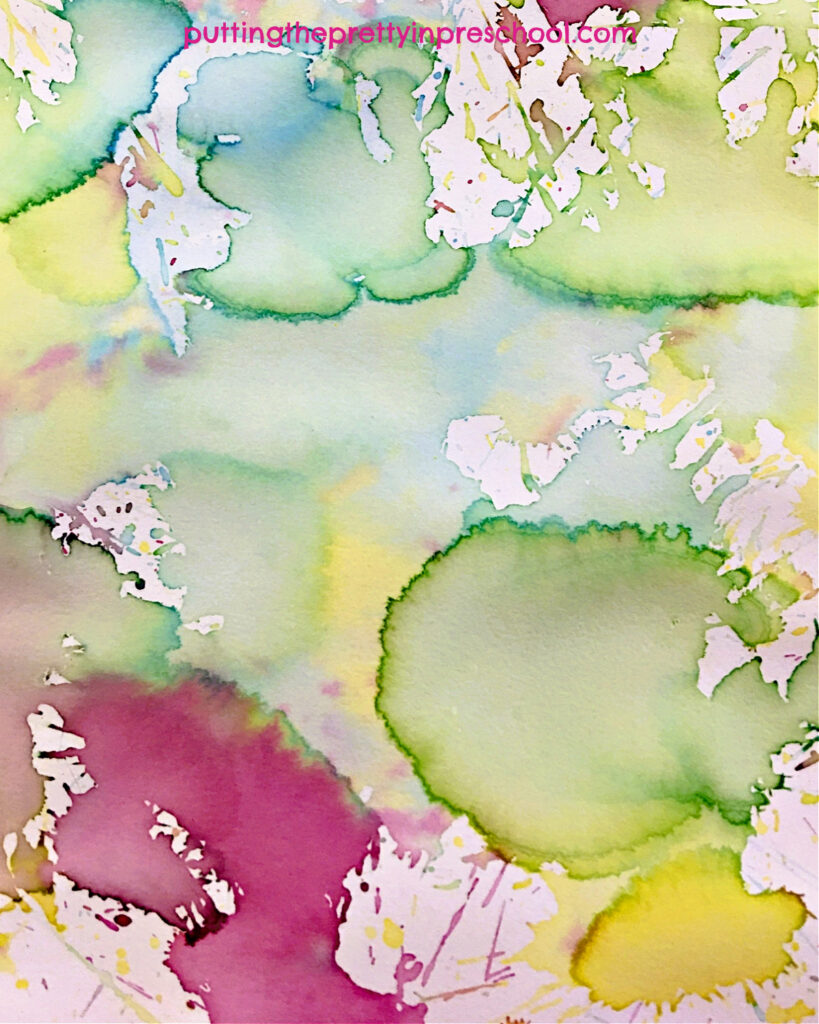
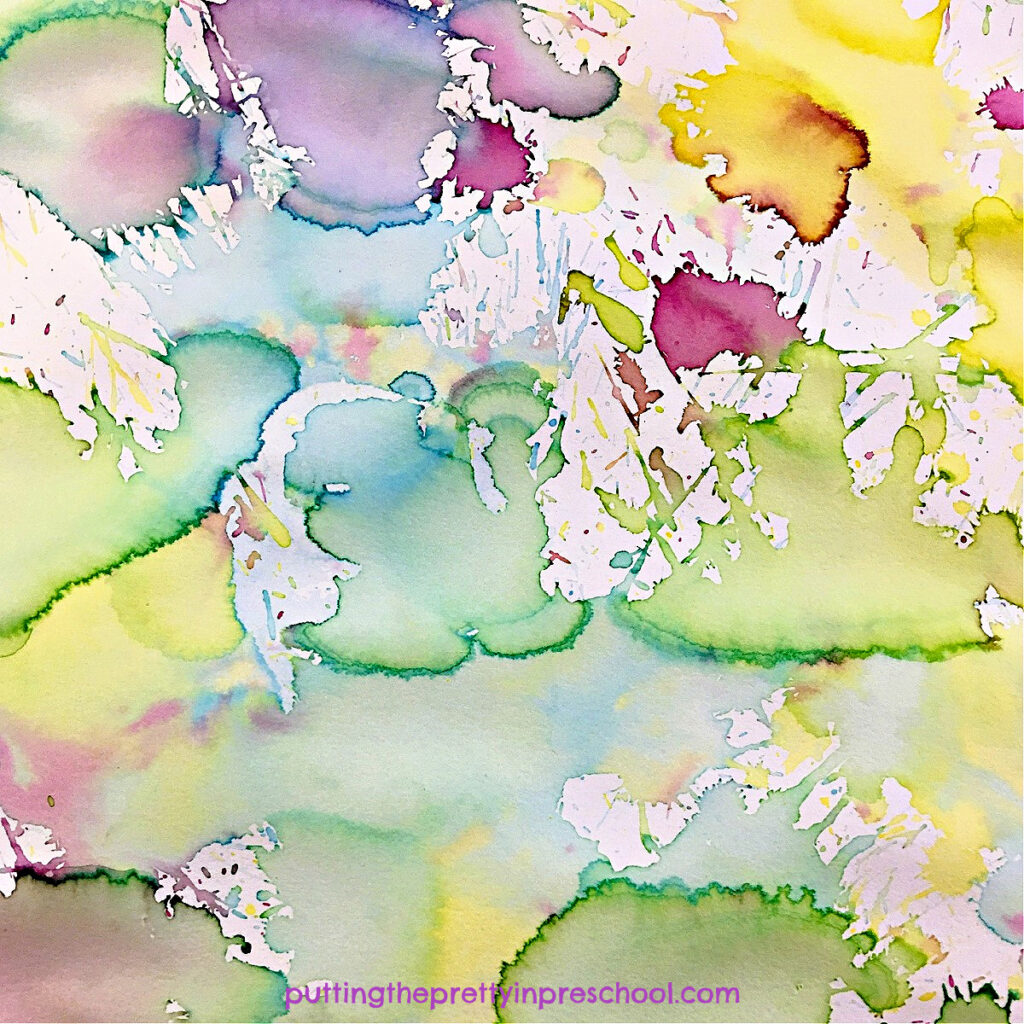
Invite children to squeeze paint on their paper towel canvas with the droppers.
_______
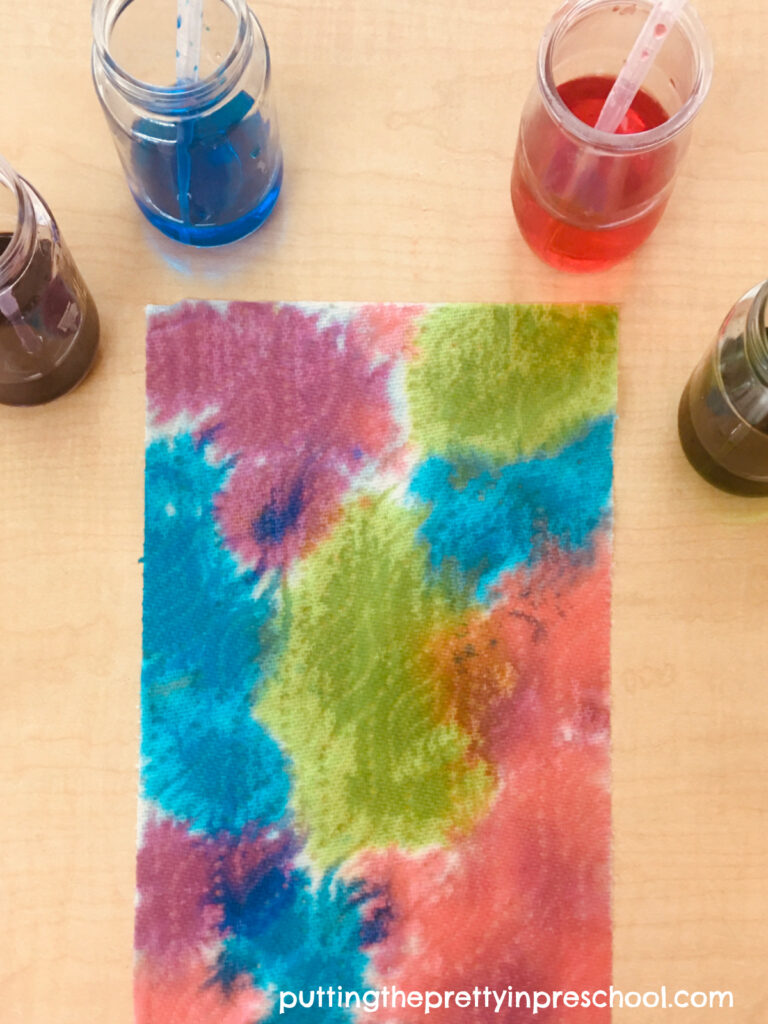
When the arty paper towel sheets are thoroughly covered in paint, set them aside to dry.
_______
Eye Dropper Paint Crafts
Eye dropper painting is a well-loved process art activity, and participating artists will likely want to decorate a few paper towels. In this case, send some of the paper towel art home, and save a few sheets for crafts or other activities. The paper towel art looks beautiful in the following three crafts.
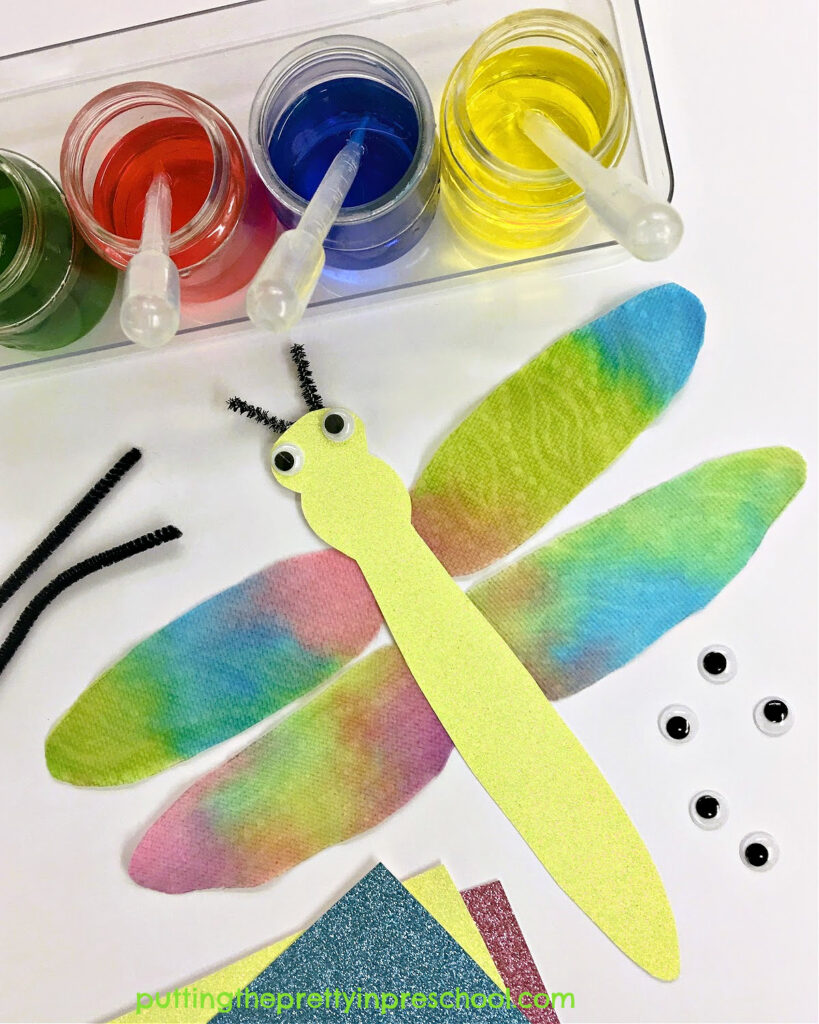
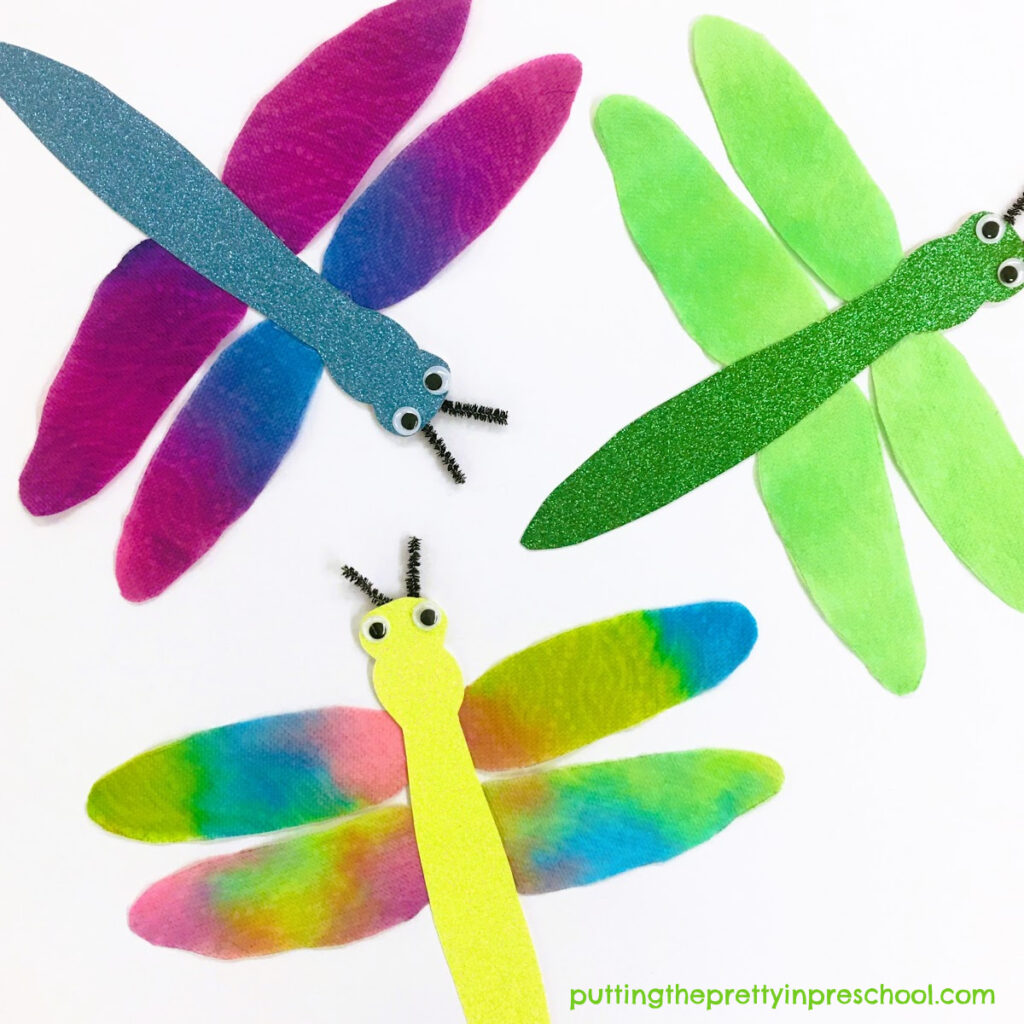
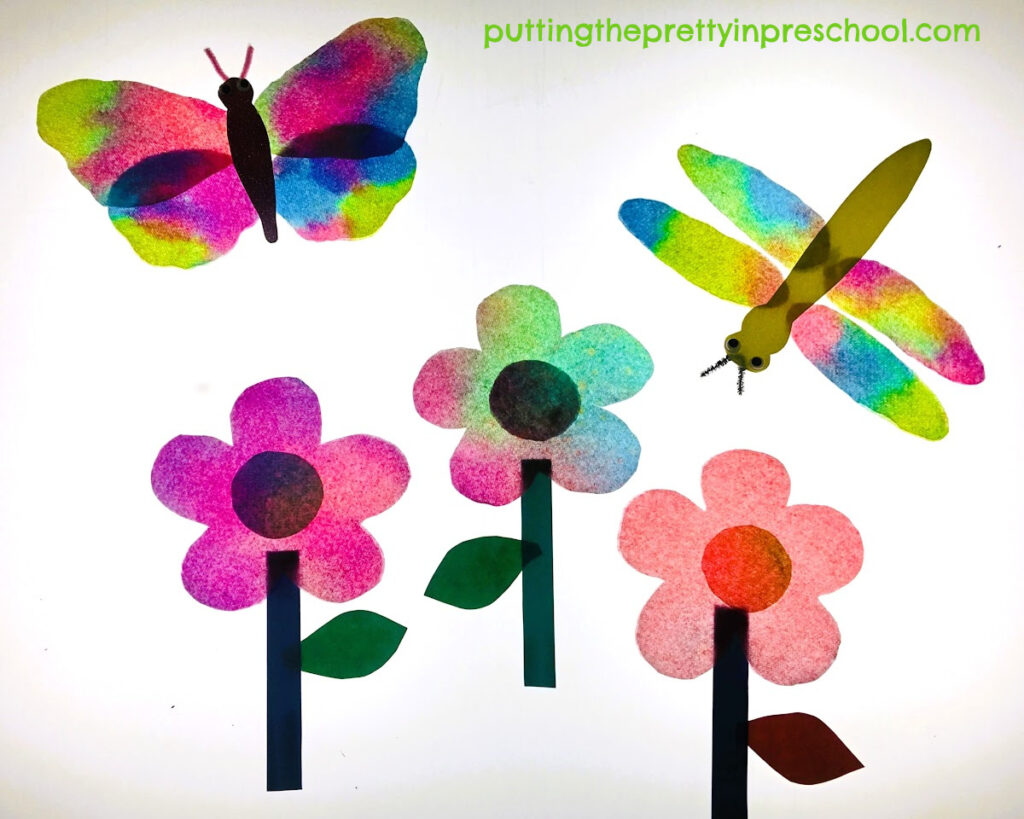
Paper Towel Dragonflies
_______
The large wings of mosquito-munching dragonflies have a moment with the eye dropper art technique. To craft the dragonflies, cut two pairs of long wings out of painted paper towel sheets, and a one-piece head, thorax, and abdomen from complementary-toned regular or glitter cardstock. Use a glue stick to affix the dragonfly wings to the back of the cardstock shapes. Finally, use a glue gun to add folded pipe cleaner antennae and wiggly eyes to the heads.
Tip: Paper towel rolls are often two-ply. If the layers in your cutouts separate while you are working, dab a little glue in a few spots between them so they stay in place.
_______
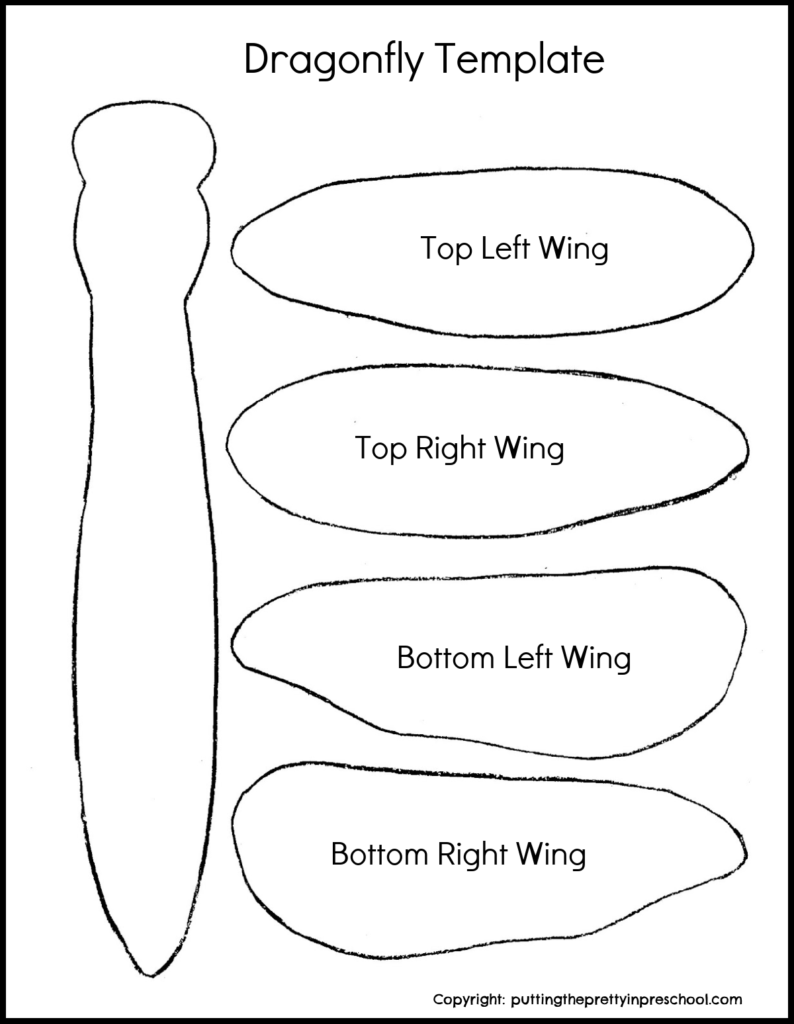
Download this free dragonfly template to make the craft.
_______
_______
This printable is for individual or one classroom use only.
_______
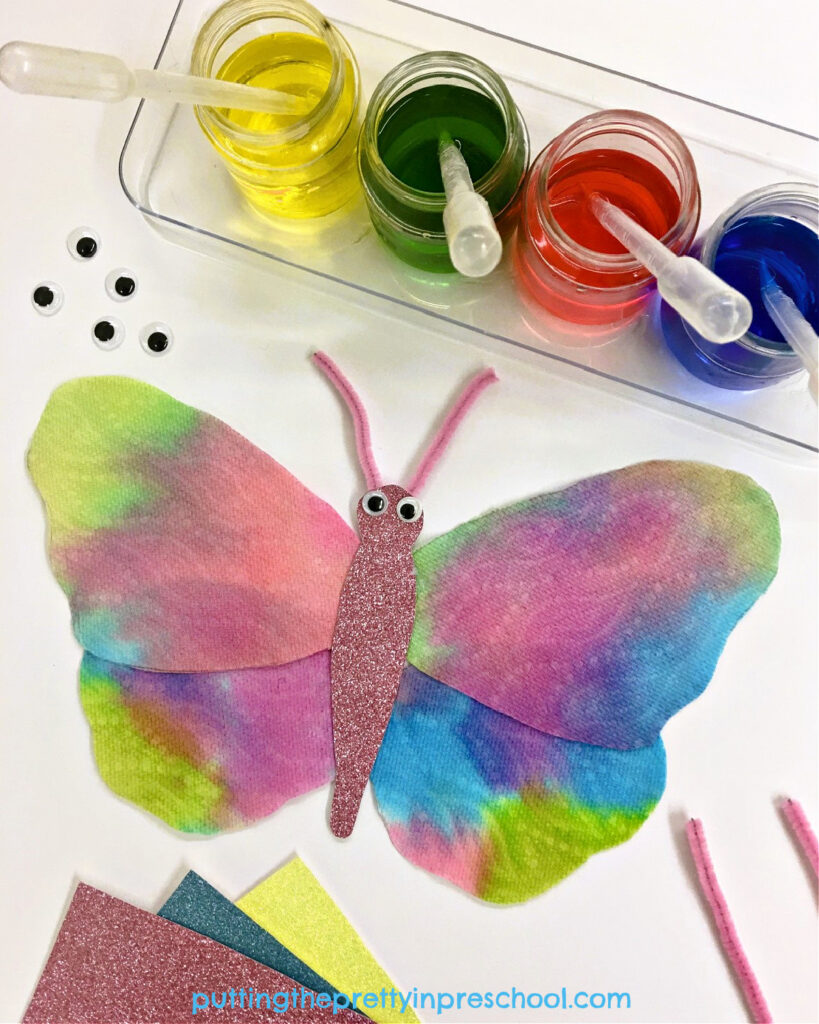
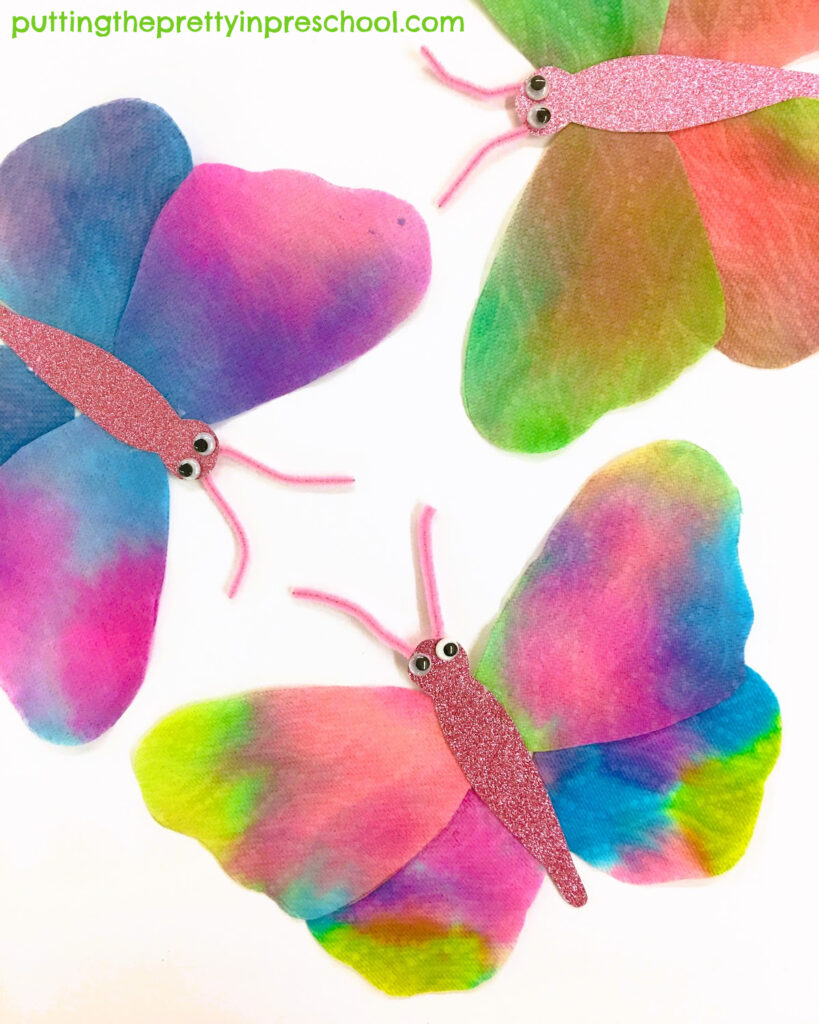
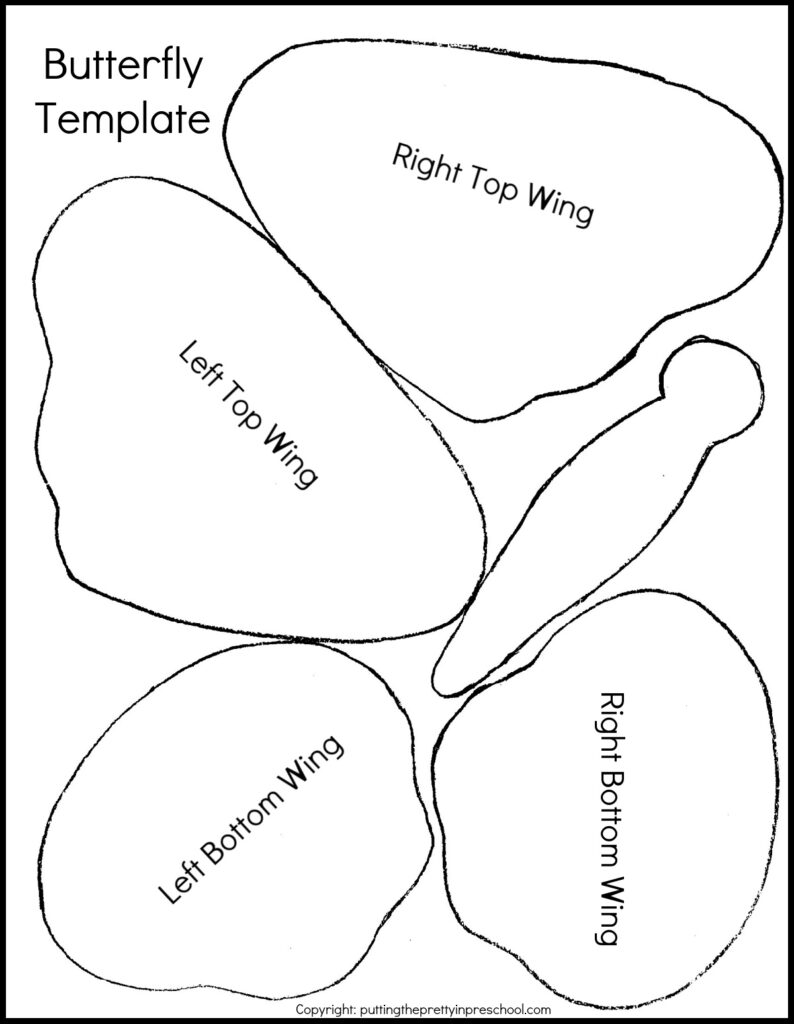
Paper Towel Butterflies
_______
Butterflies look fantastical in any kind of art technique, and the wings look especially dainty when crafted from painted paper towels. To create the butterflies, snip two pairs of butterfly wings from a colored paper towel. Then cut a one-piece head, thorax, and abdomen from cardstock. As with the dragonflies, affix the wings to the back of the cardstock bodies. With a glue gun, attach a folded pipe cleaner antennae and two small wiggly eyes to the heads.
_______
Download this free butterfly template to make the craft.
_______
_______
This printable is for individual or one-classroom use only.
_______
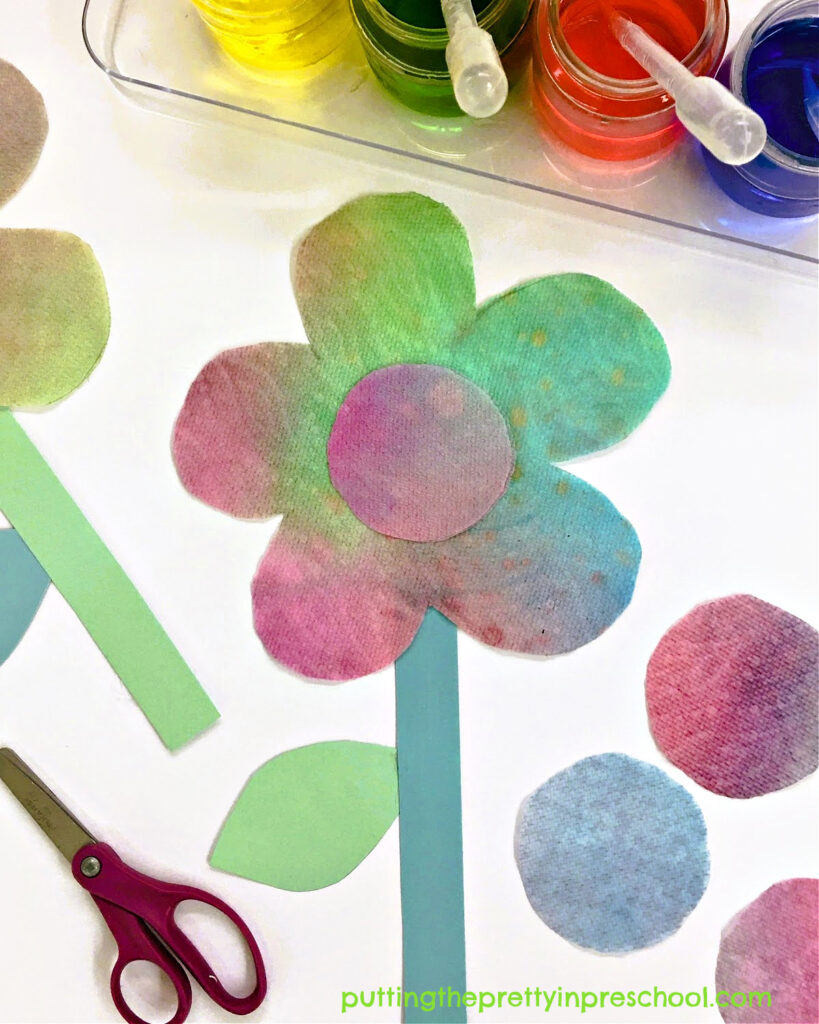
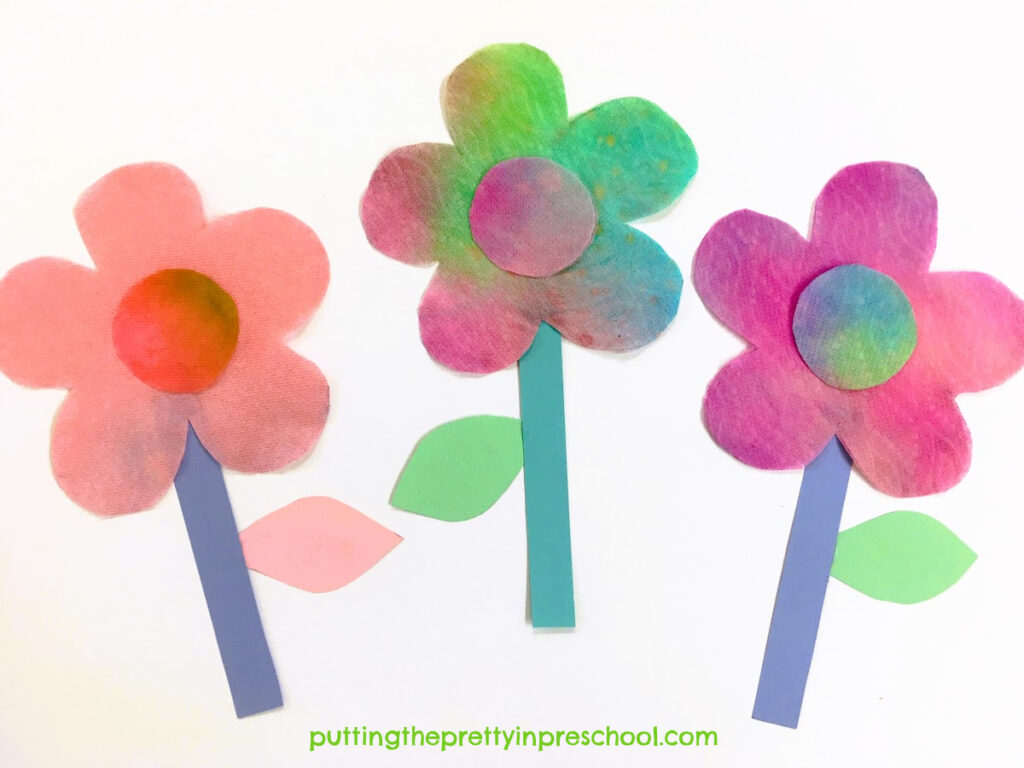
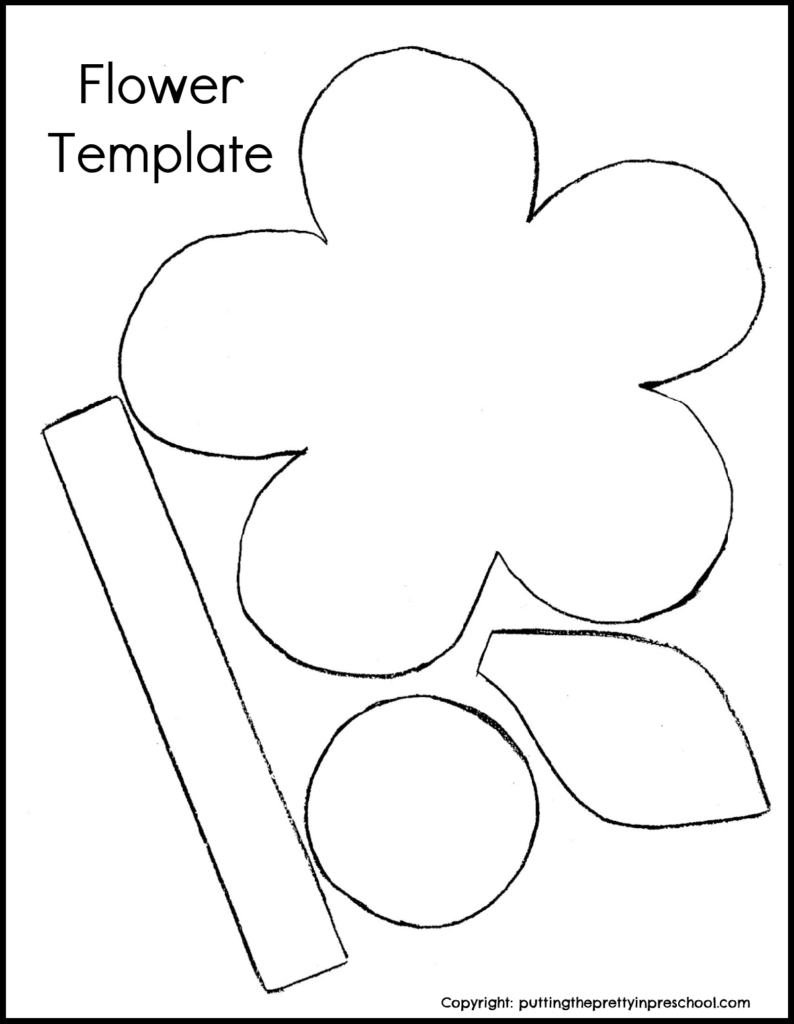
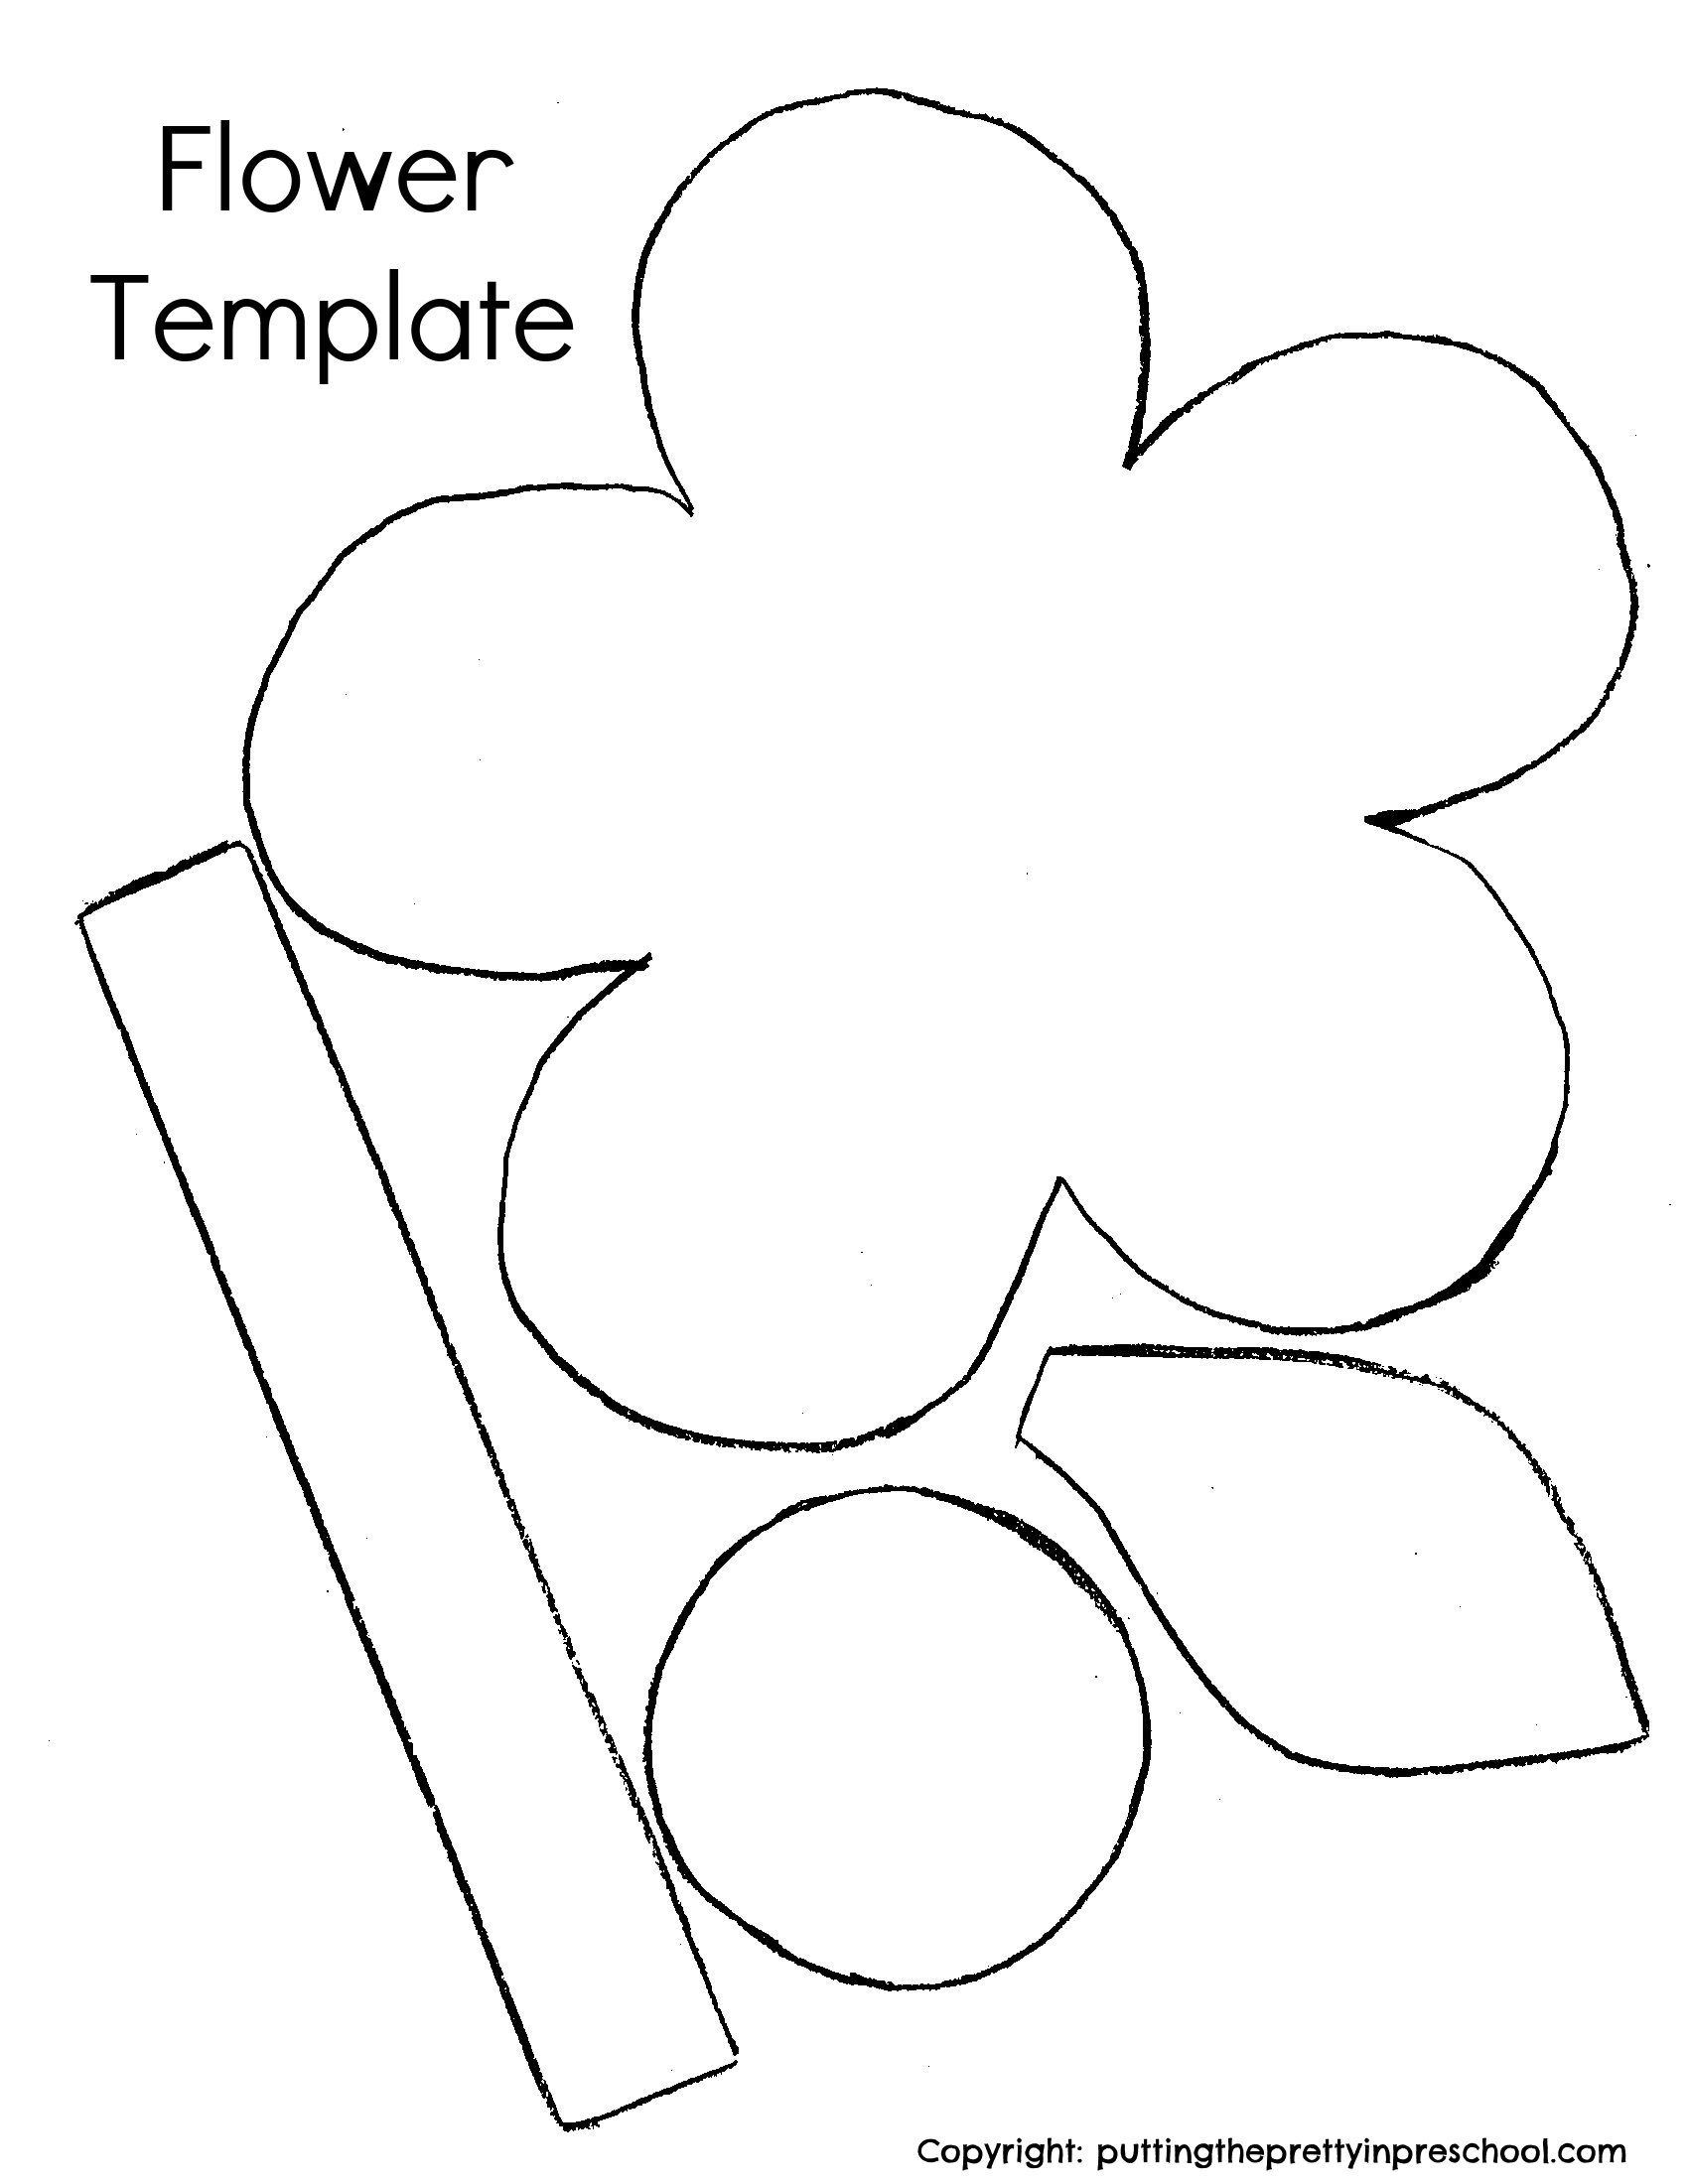
Paper Towel Flowers
_______
A third art project is to create paper towel flowers. Cut the flowers and circular centers from painted paper towel sheets, and add cardstock or construction paper stems and leaves.
_______
Download this free flower template to make the craft.
_______
This printable is for individual or one-classroom use only.
_______
Light Table Play
The eye dropper paper towel dragonflies, butterflies, and flowers look especially beautiful displayed on a light table.
_______
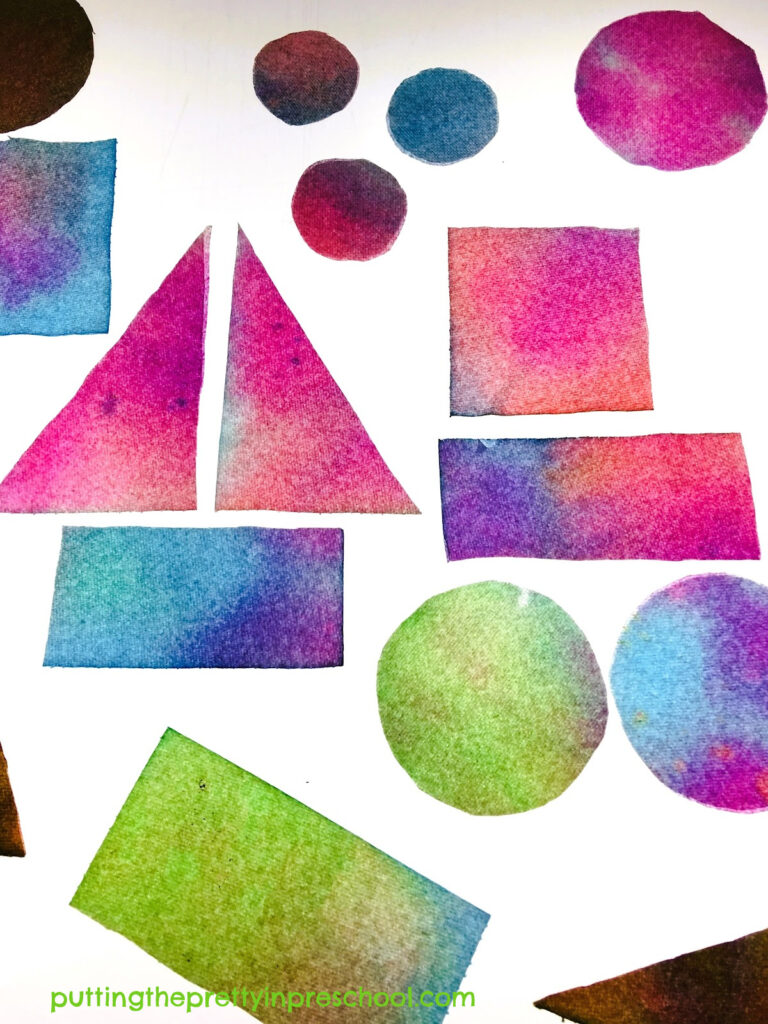
As an alternative, eye dropper-painted geometric shapes cut from paper towel sheets also illuminate wonderfully and offer opportunities to create original designs.
_______
Related:
_______

_______
[Read more…] about Gorgeous Eye Dropper Art

