_______
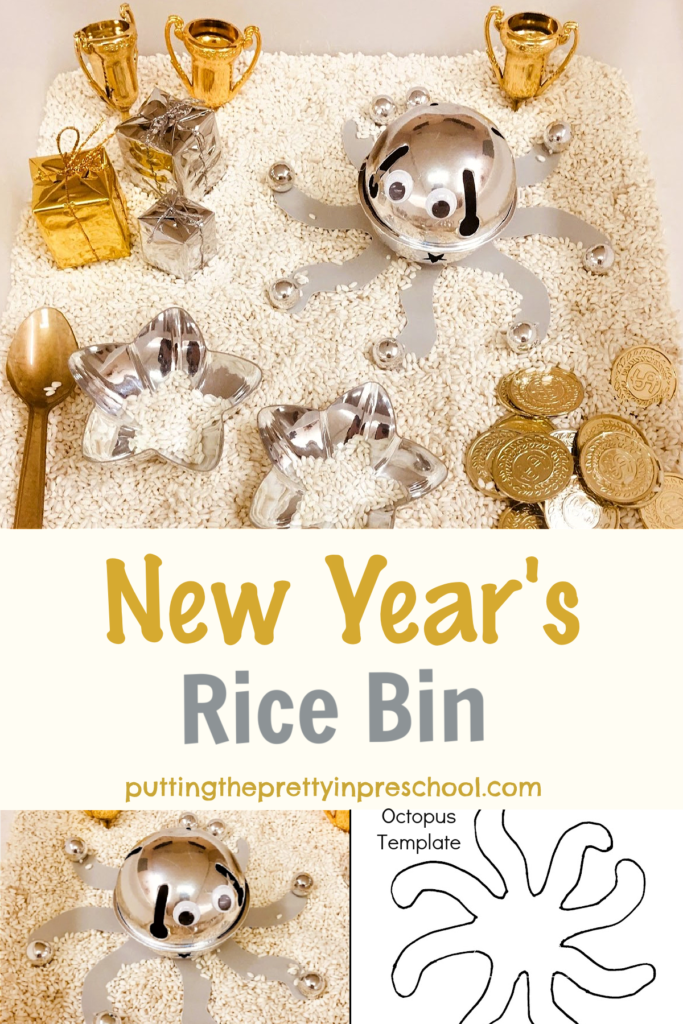
A sensory bin is one of the easiest ways to usher in a new theme, and this new year’s rice bin does just that. I have this gold and silver-laden bin waiting for my preschoolers to explore when they return from their Christmas break next week.
_______
Follow me on Pinterest for more early learning ideas.
_______
Supplies In The Bin
_______
The following supplies are in the glitzy bin:
- gold and silver wrapped foam mini presents
- silver star-shaped dessert cups
- tiny gold trophies
- gold play coins
- silver beads
- gold clip tree decorations
- gold spoon
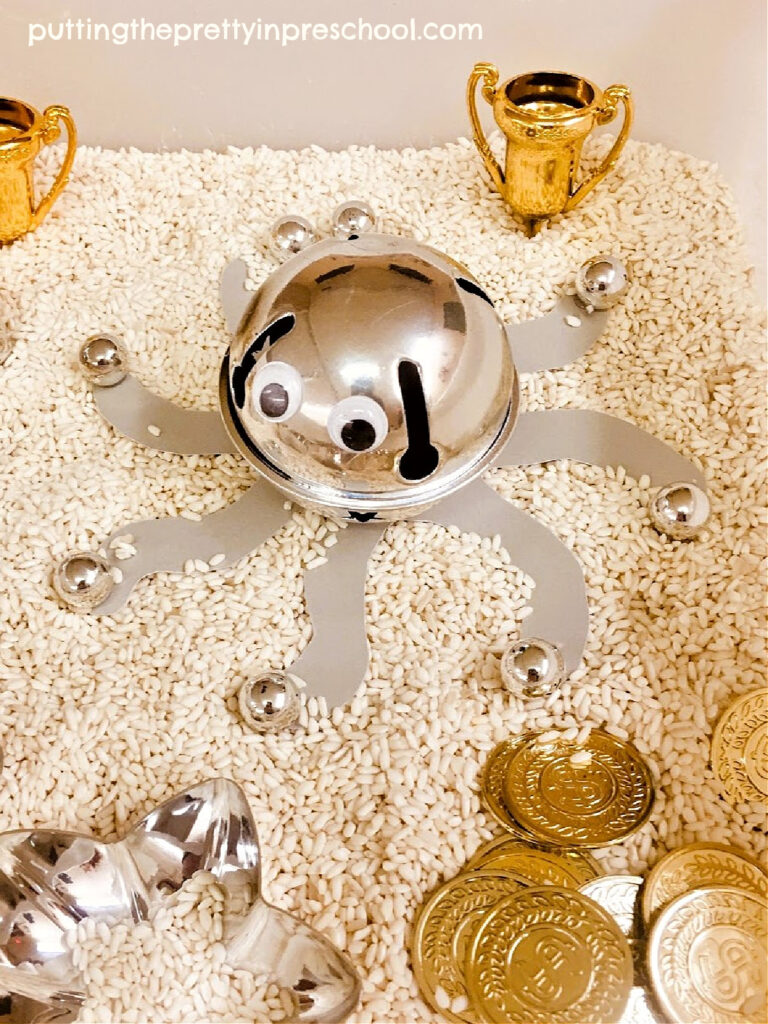
- silver bell ornament
_______
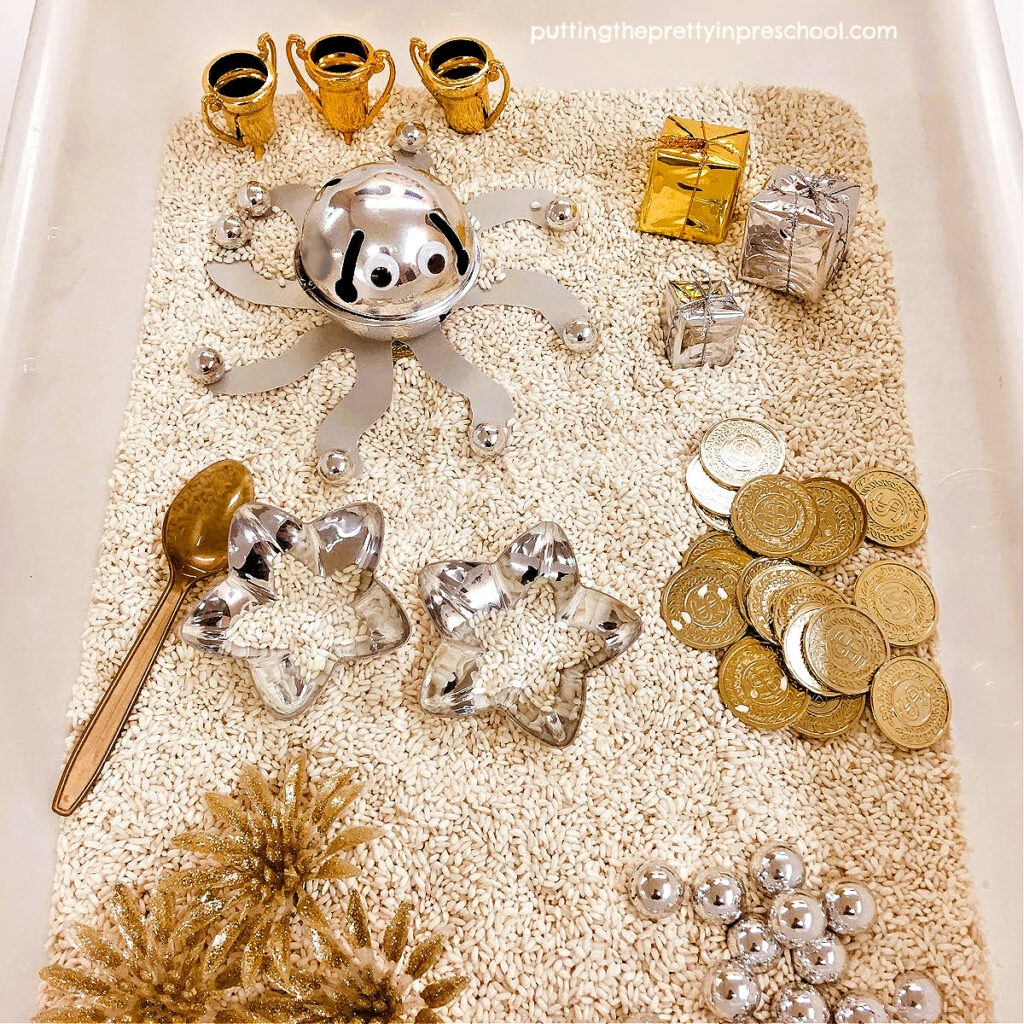
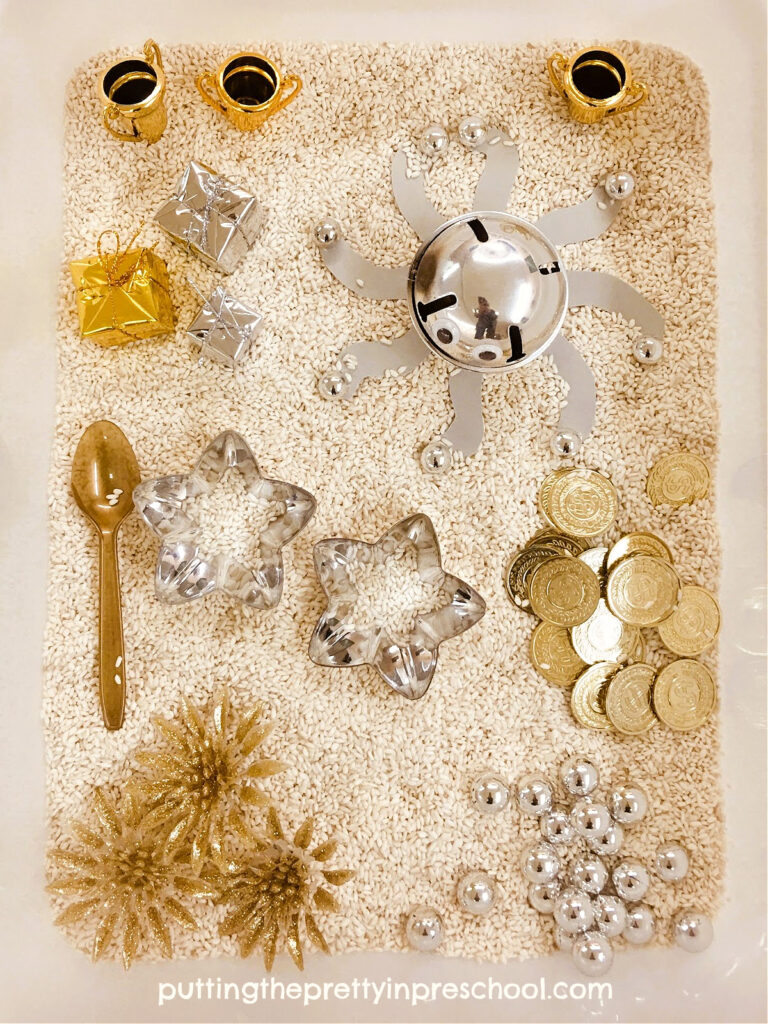
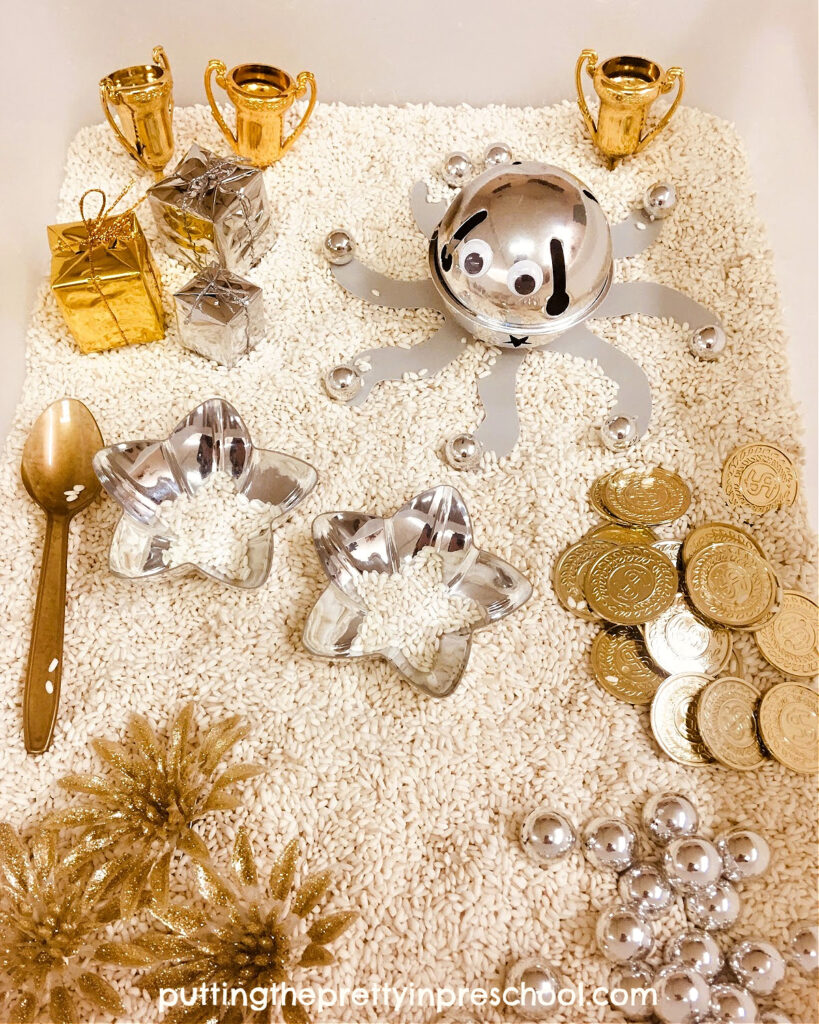
New Year’s Rice Bin
As with many of my sensory activities on the blog, a white bus tub is the bin of choice. It is large enough for two or three children to explore comfortably and doesn’t require an exorbitant amount of sensory base.
_______
White glutinous rice is the base for the bin, another one of my favorite sensory supplies.
Scooping and pouring rice using the tiny gold trophies and silver star-shaped dessert cups develops eye-hand coordination.
Little learners can gather and count the gold coins.
Gold clip tree decorations and silver beads (cut from a garland) add glitz to the bin.
Spoons are a basic accessory my preschoolers always want to be included in a sensory bin.
_______
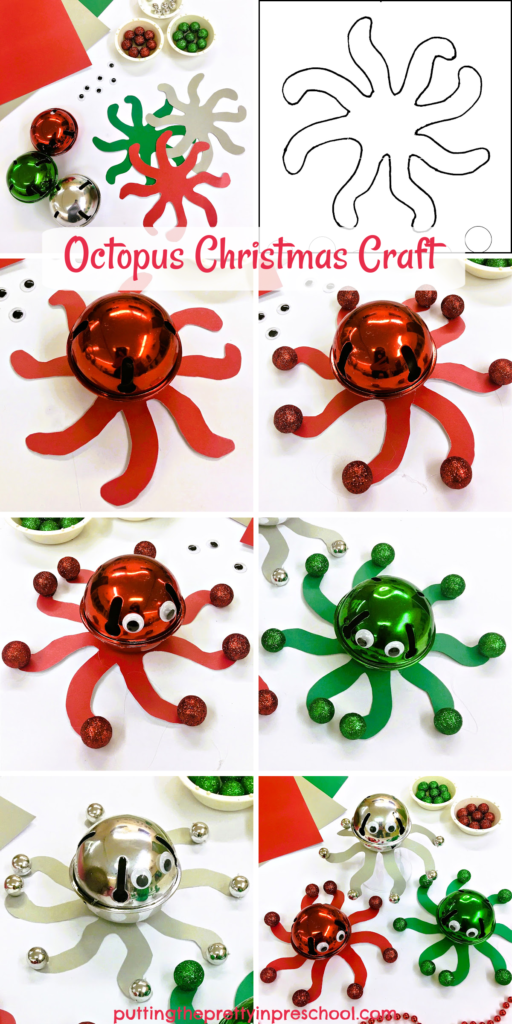
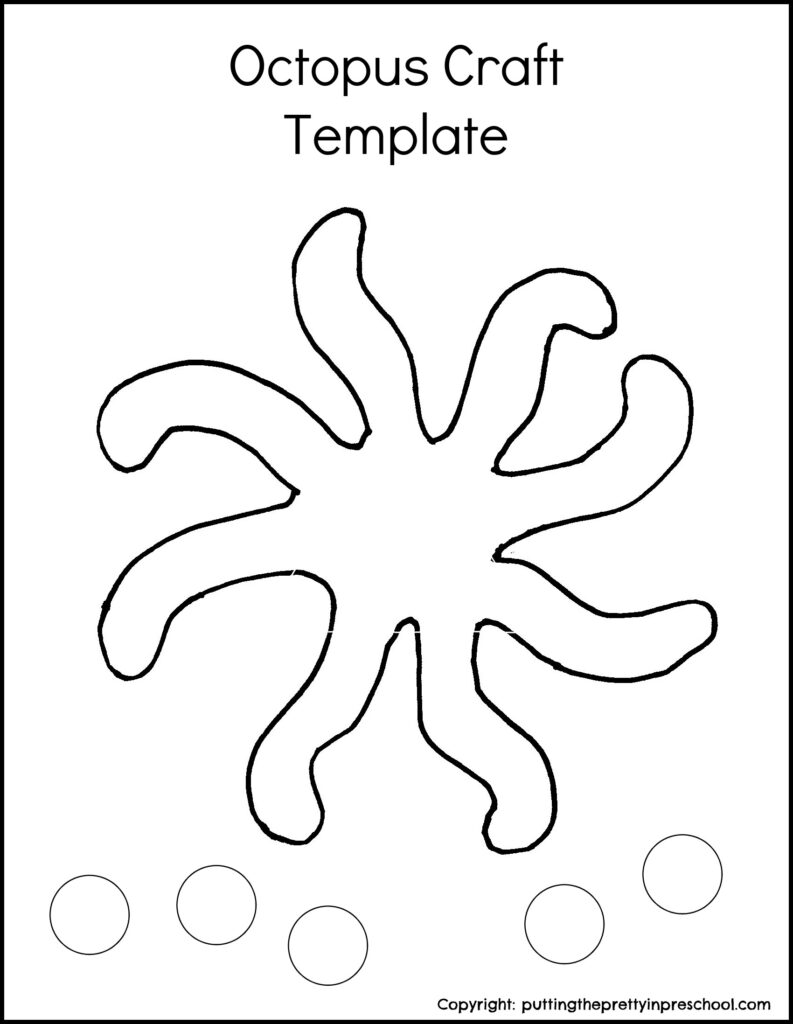
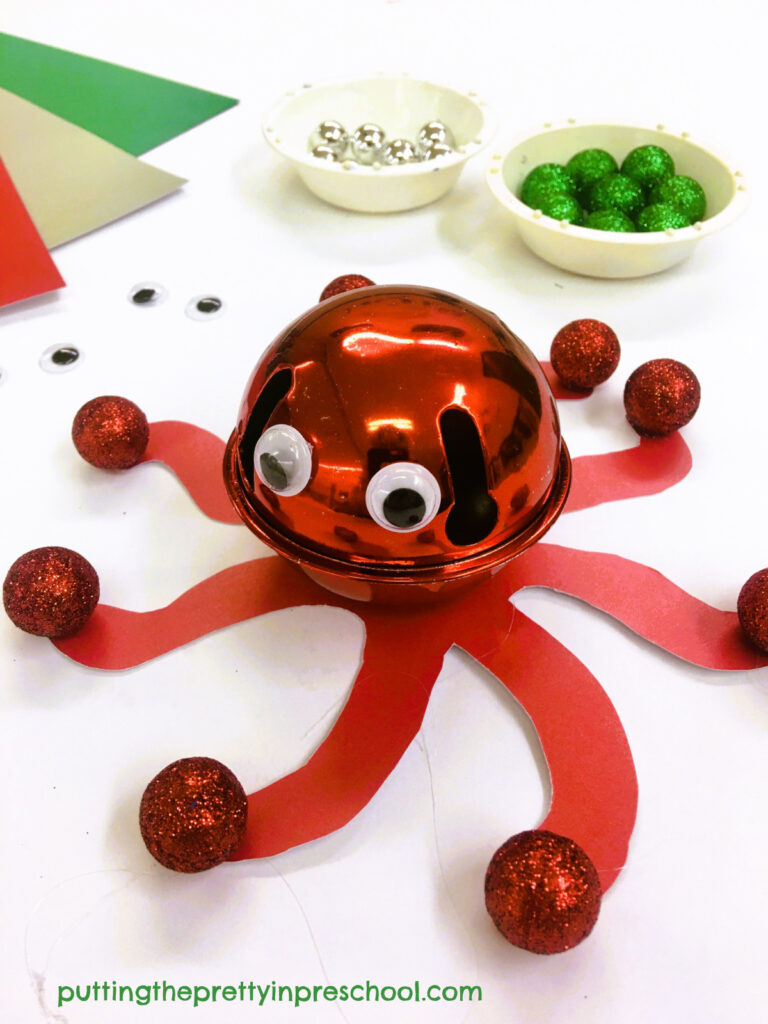
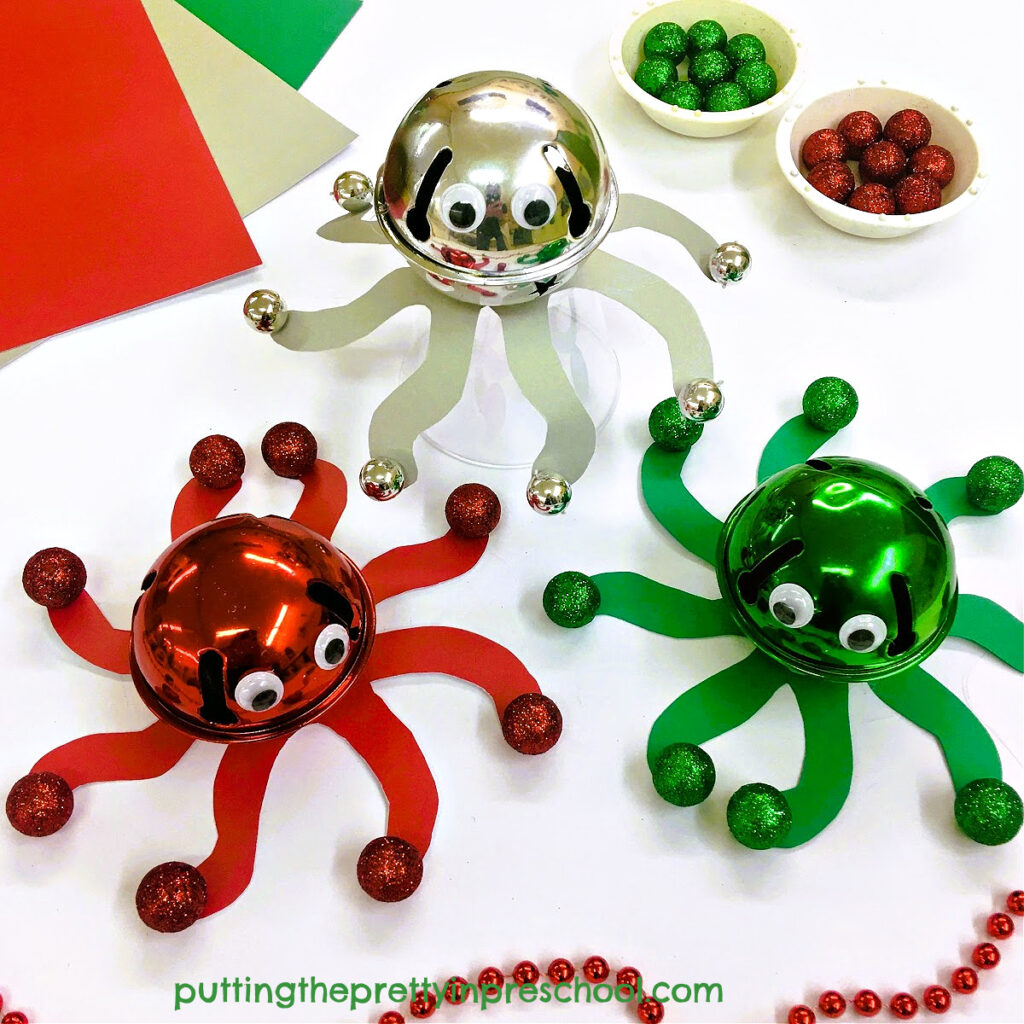
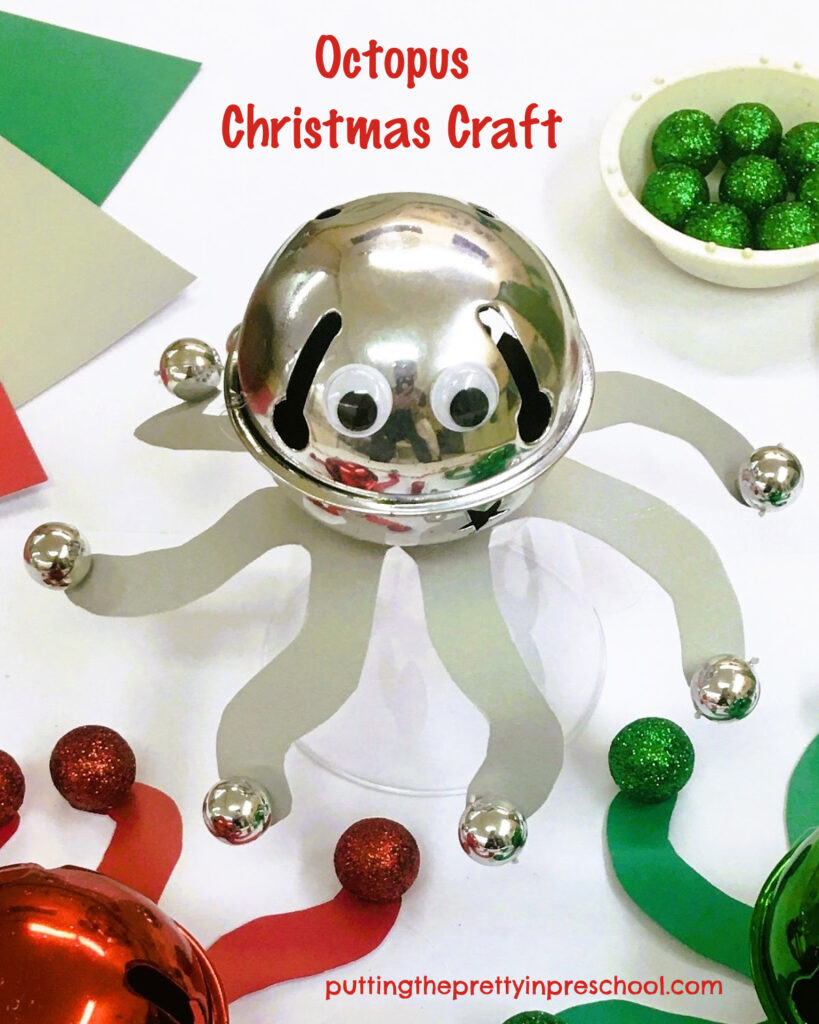
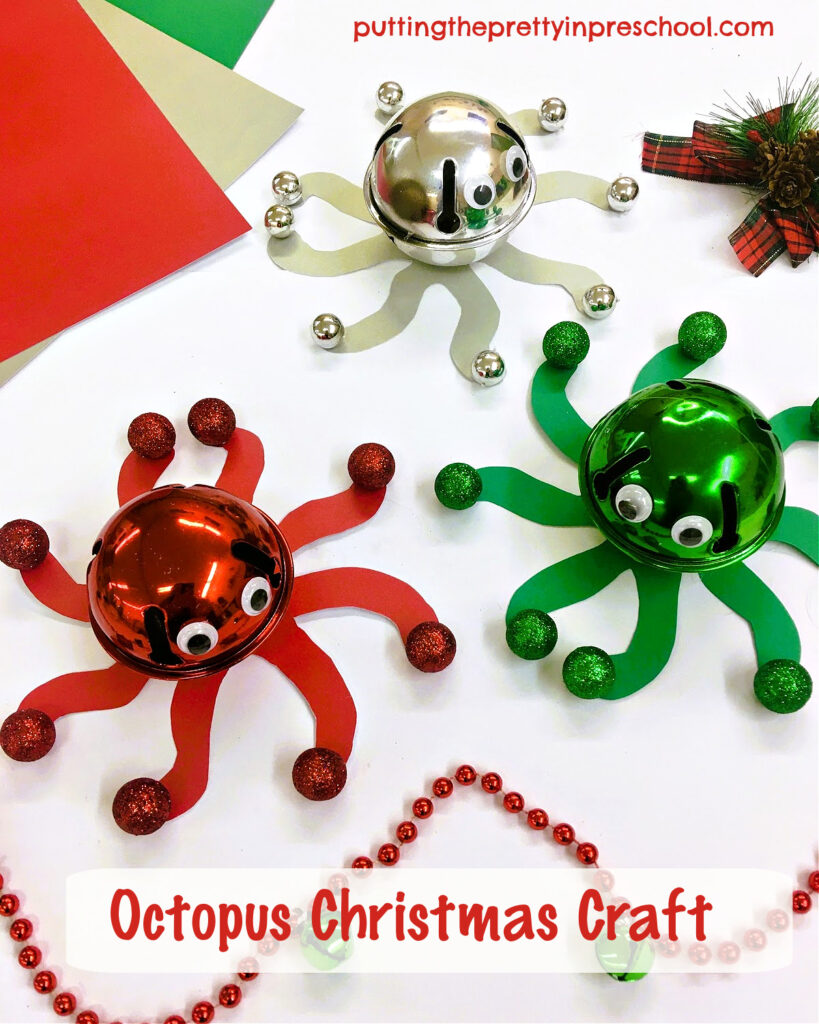
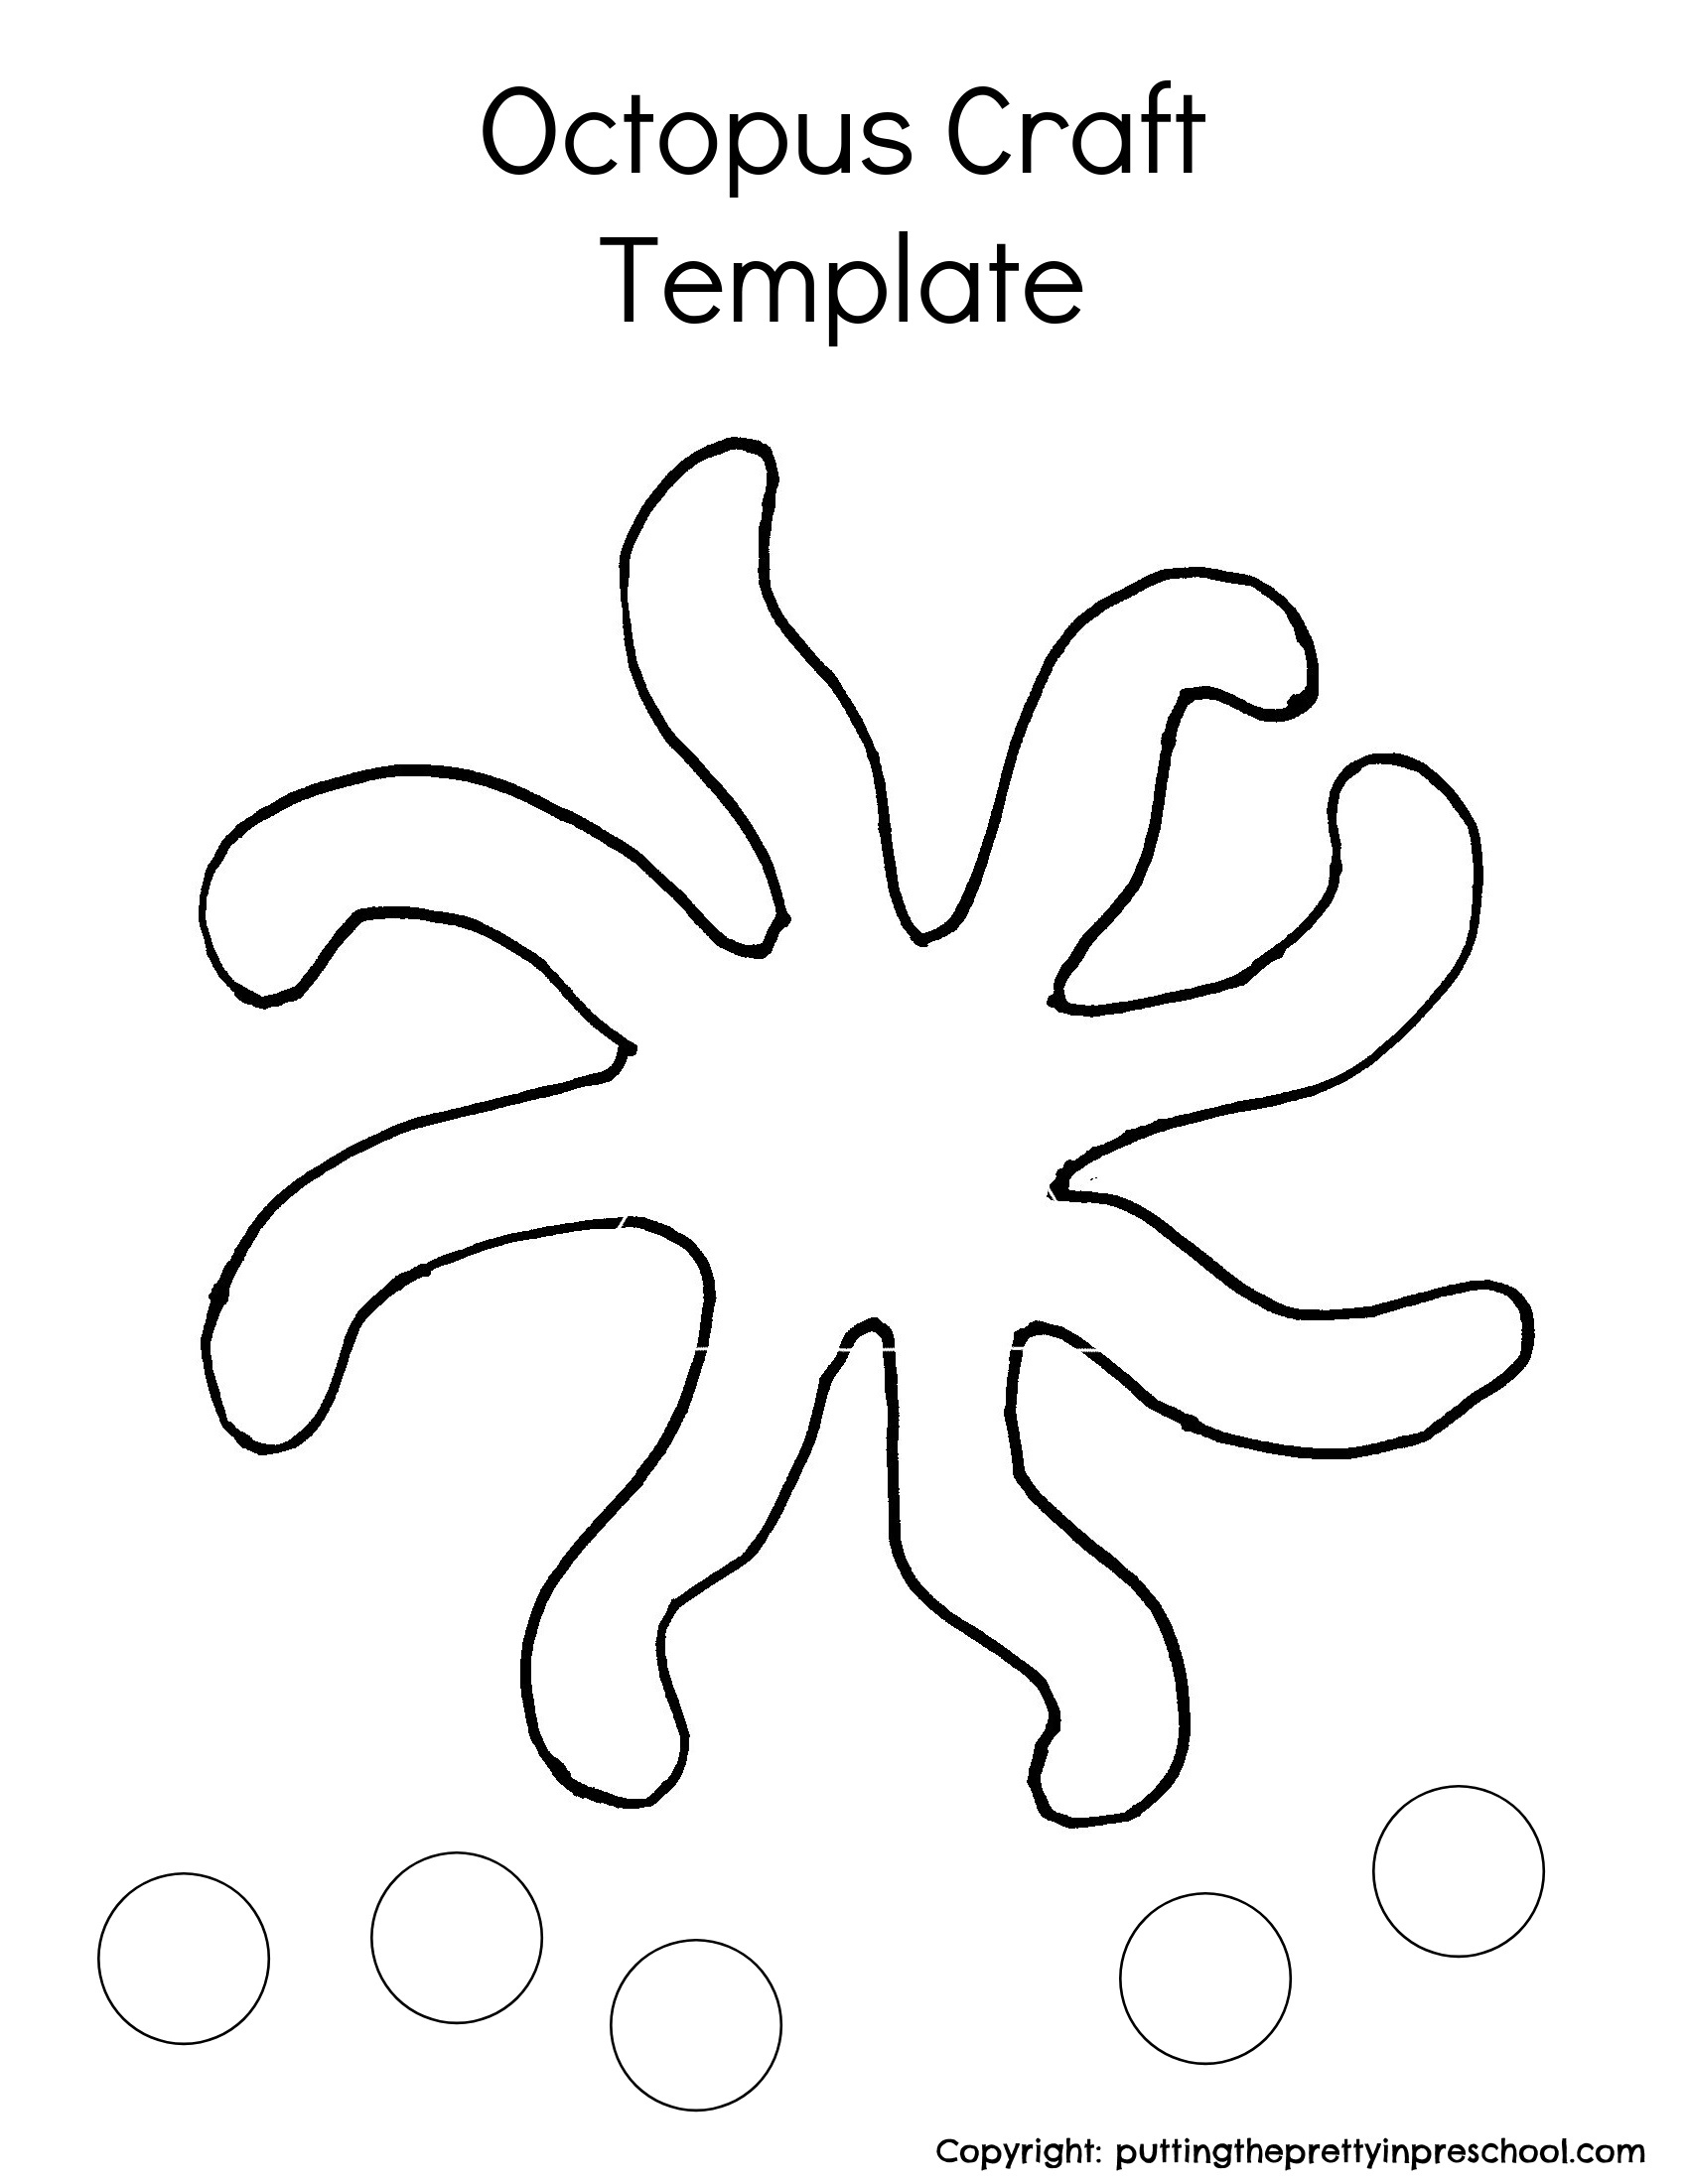
The silver bell is not just a plain bell. It is shaped like an octopus. To see how it is made, view my blog post Octopus Christmas Craft. There is a free template to download should you decide to make an octopus-themed bell to help ring in the new year.
Happy New Year!
_______
More New Year’s Activities
New Year’s All Gold Sensory Activity
New Year’s Countdown Activities
New Year’s Art and Math Activities
_______
[Read more…] about New Year’s Rice Bin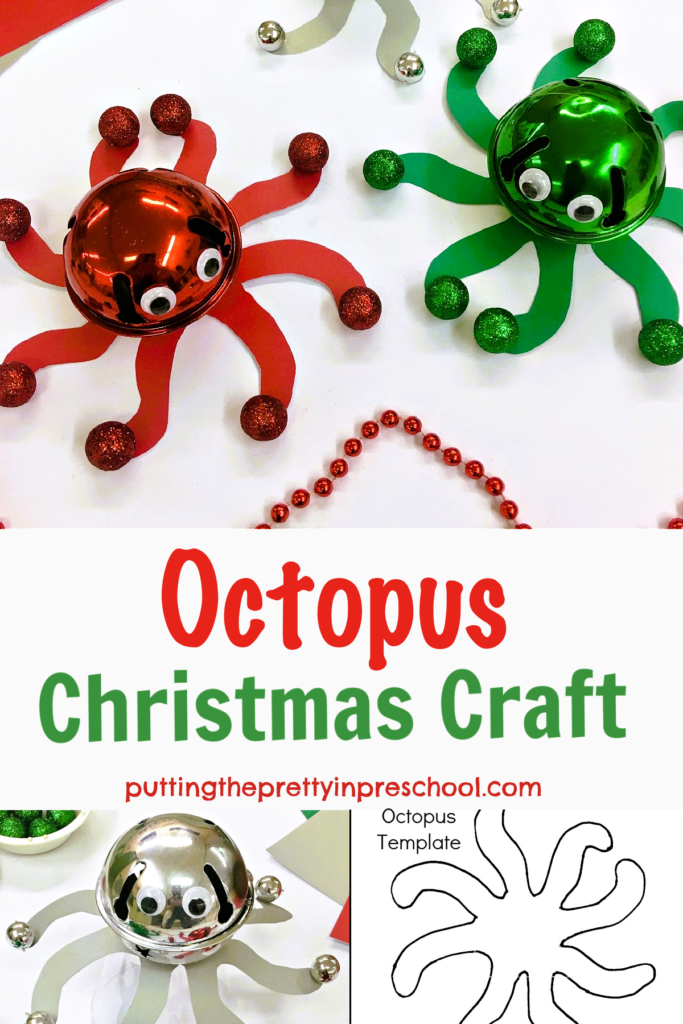
